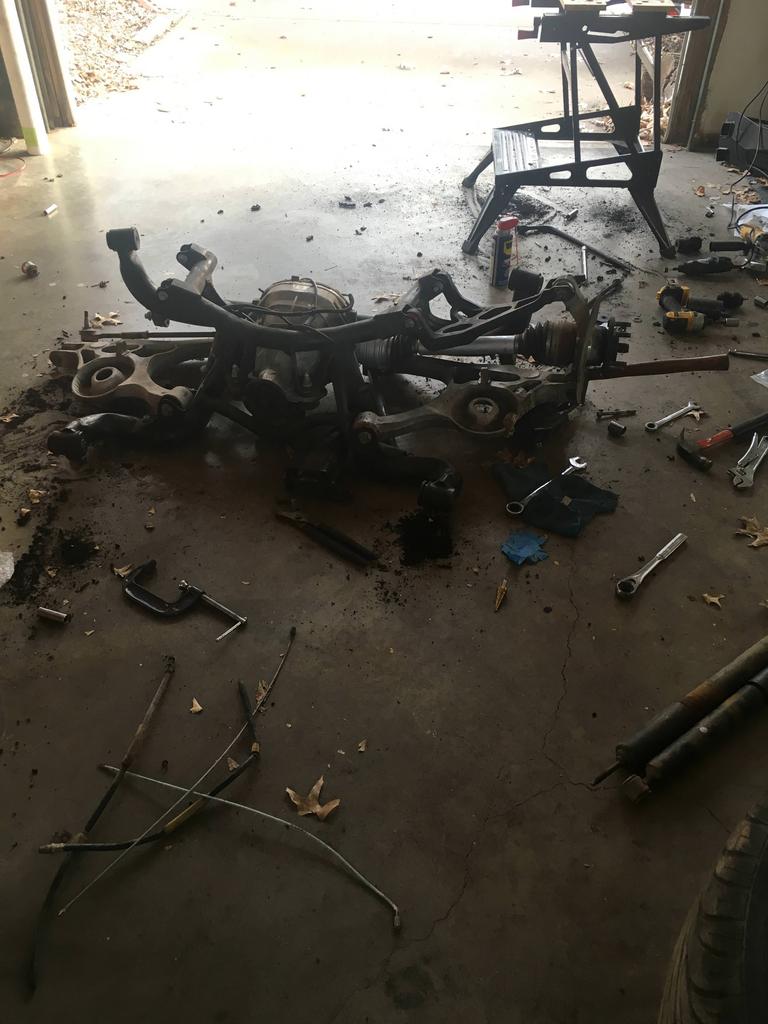
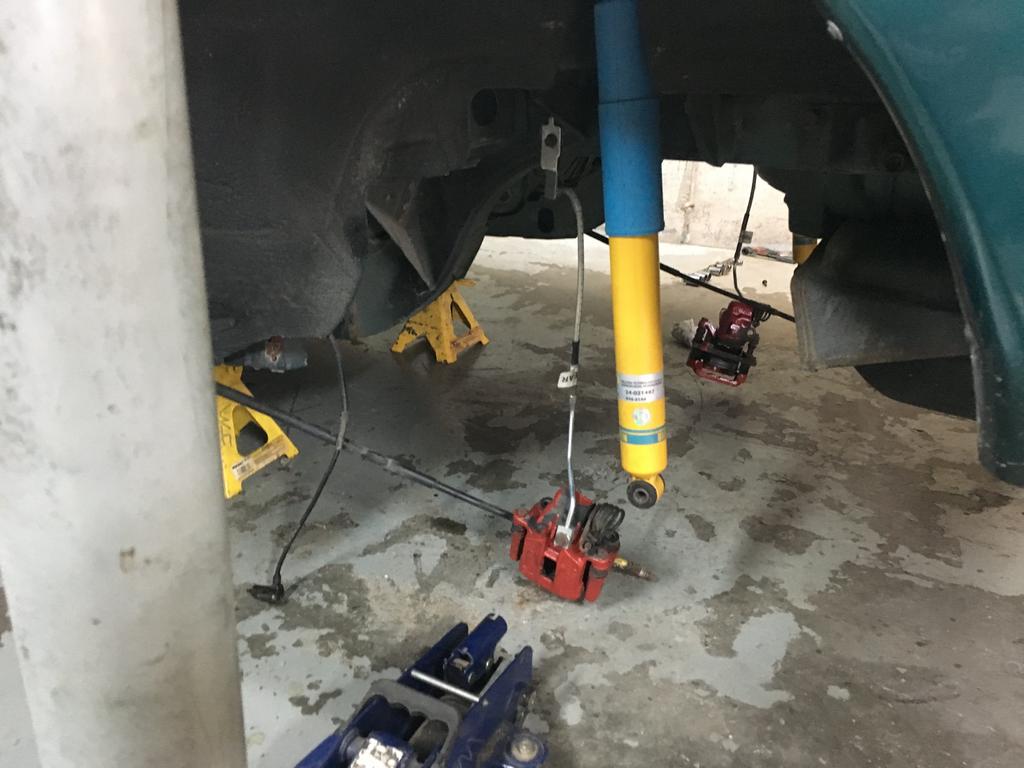
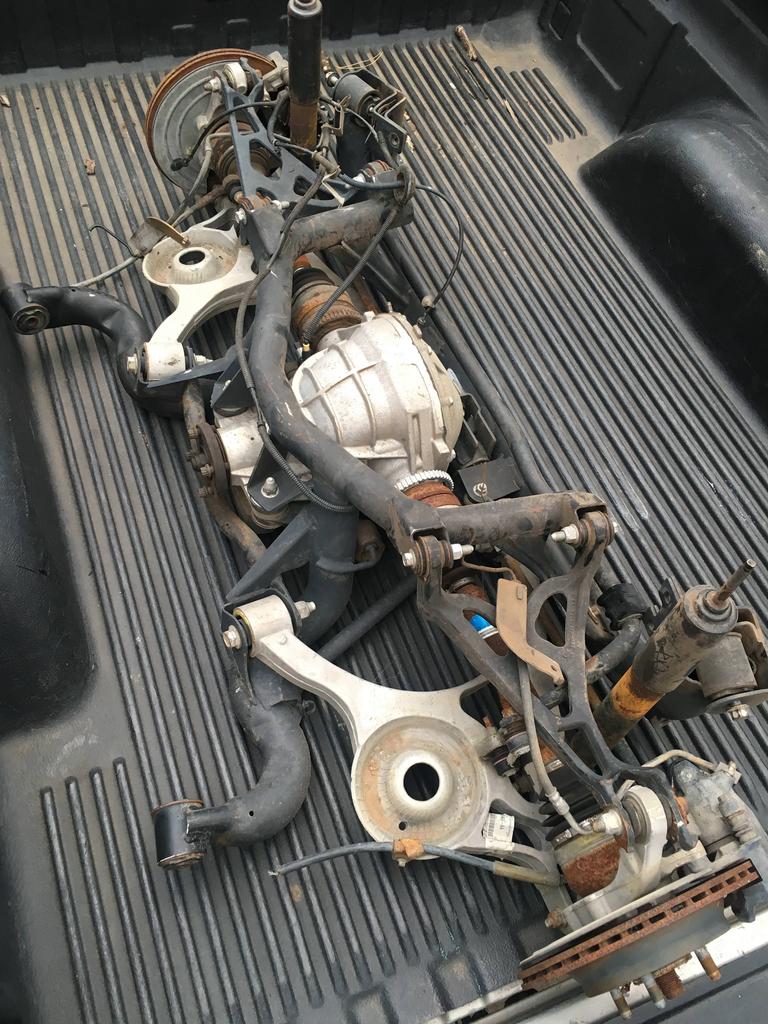
So I have the swap about 90% complete. I'm waiting on low profile subframe bolts as my tires hit the current ones. May still need spacers after that, but I hope not. I literally did not take any pictures beyond when I removed the SRA as I was too dirty and frustrated.
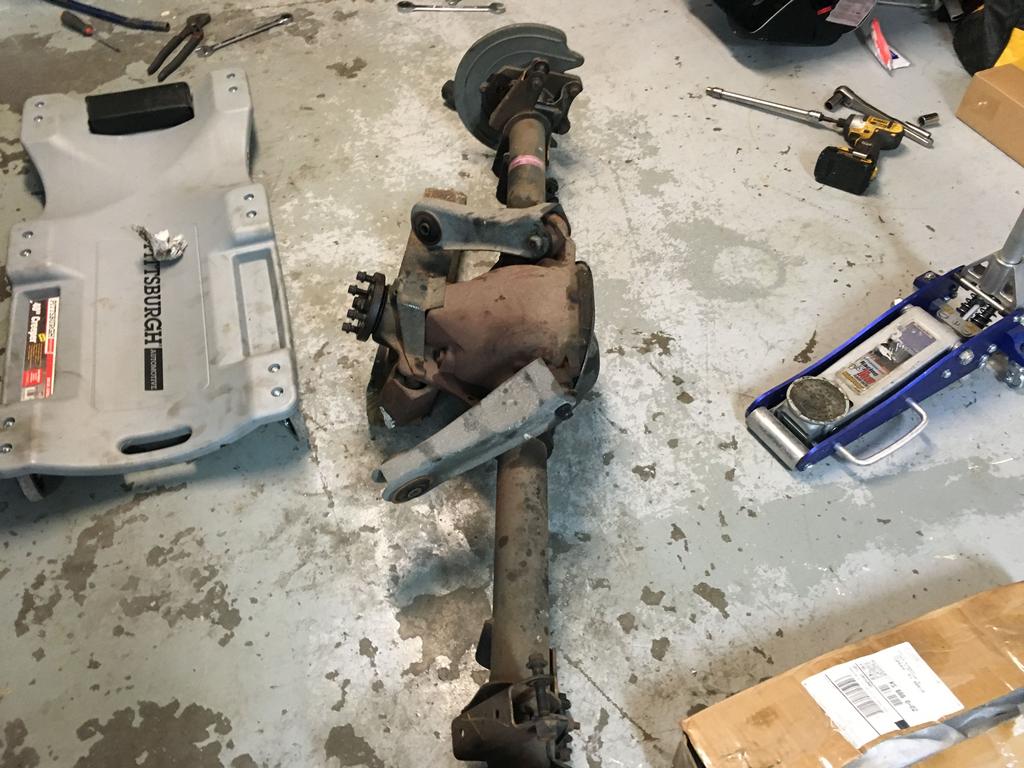
SRA out. This took me literally about 1 hour to get to this point. I was shocked at how easy I could remove it, by myself no less.
After that, I got the brake lines changed over. That was a pain. Mainly because I got a crap flaring tool from the parts store that kept slipping on the tubing. I cut off the original line, then put a 3/16" inverted flare tube nut onto it. I then split the line that runs to both sides right where the main line comes in. Then I got a 3/16" IF tee and put IF tube nuts on either side. Then I kept the standard bubble flare ends, which mate up to the factory IRS soft lines. (I'll get stainless eventually). I did have to bend the passenger side bracket under the frame rail a bit to get it to reach the hardline. Drivers side was perfect as is.
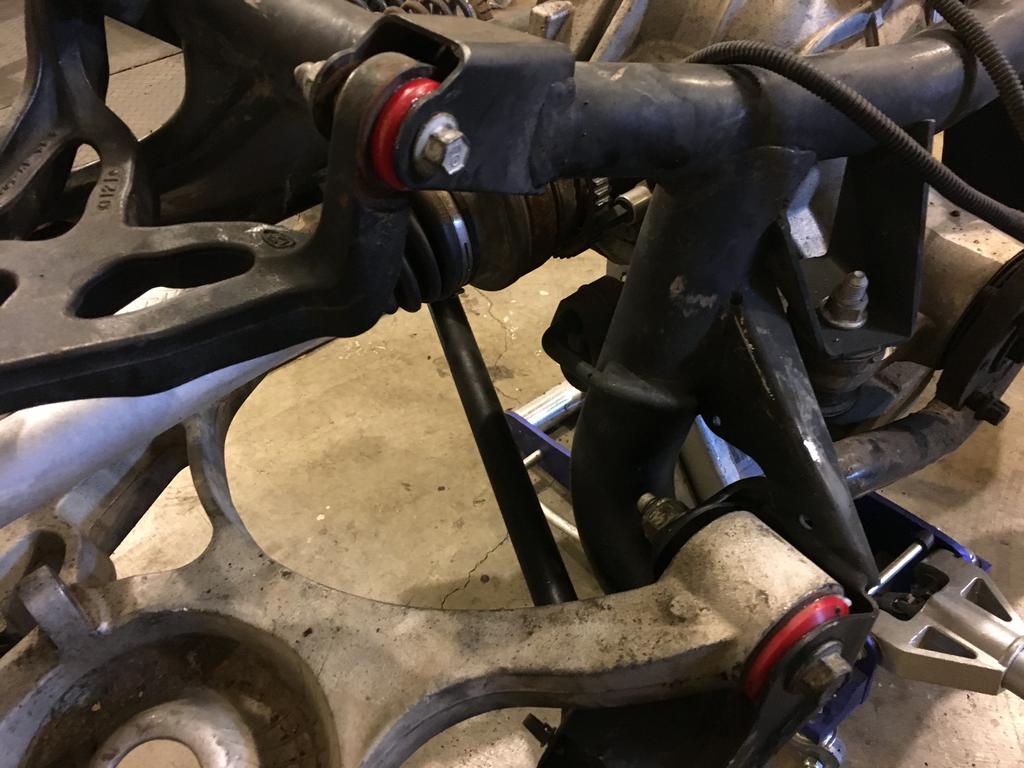
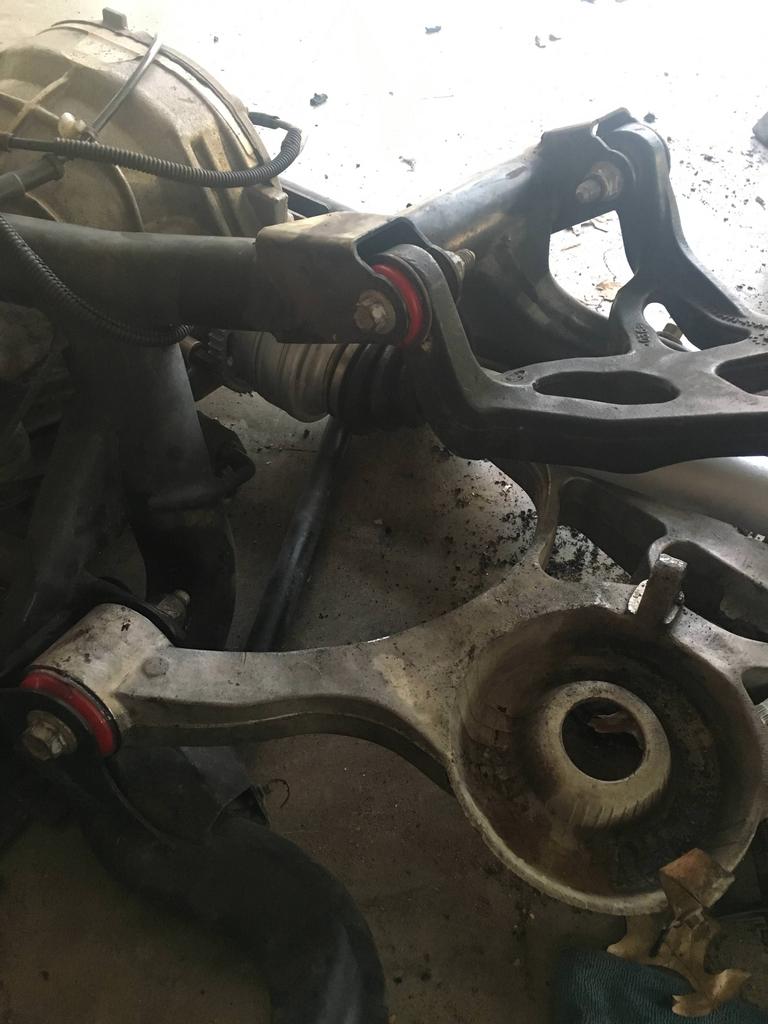
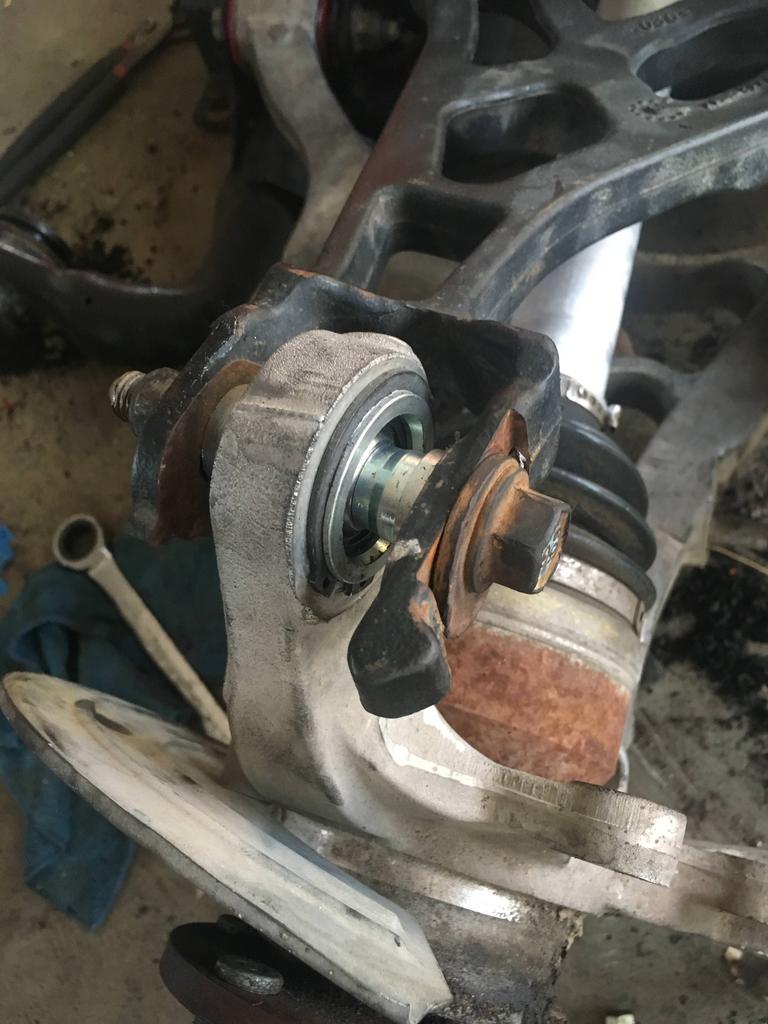
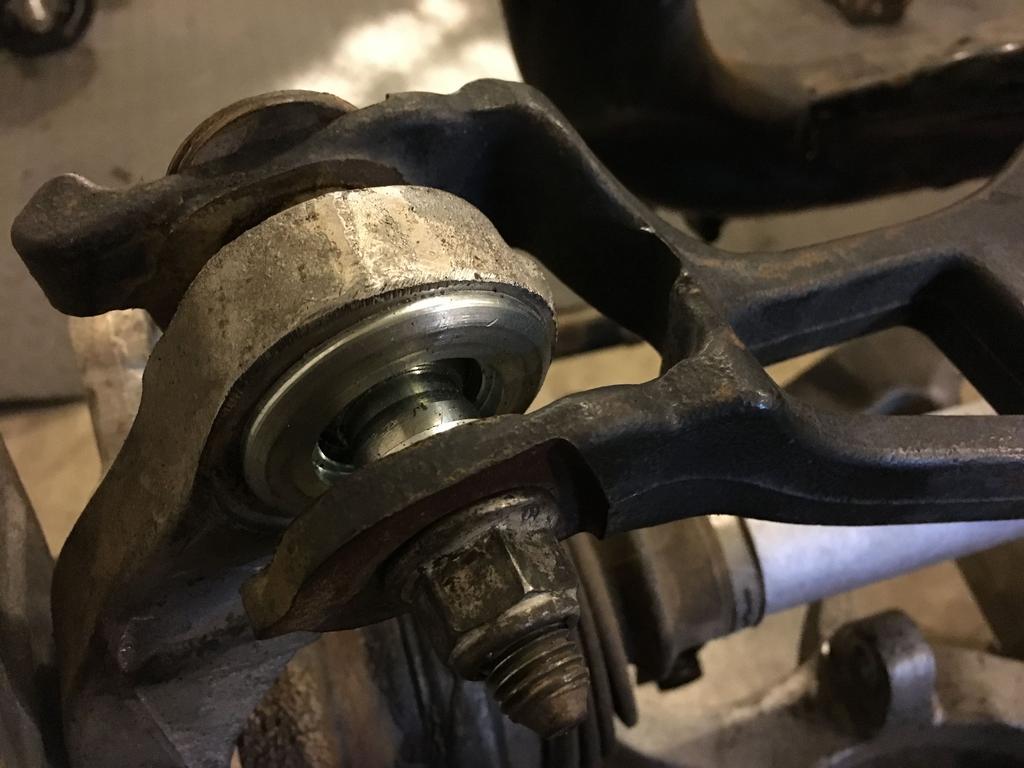
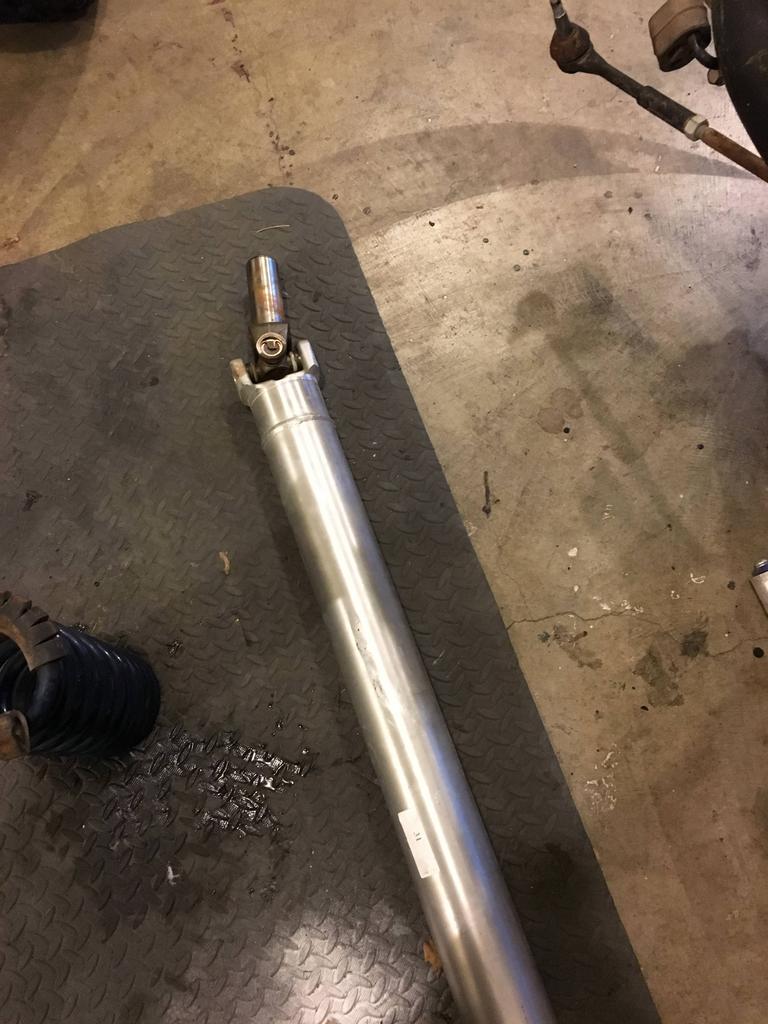
The front two subframe mounting points fought me hard. As did the rear two (currently just bolted in, going to my buddies with a lift and a welder to do them before I really drive it much). The driveshaft BARELY made it over the pinion nut. There's not much play, probably 3/8". What else.... Oh, the e-brake cables... I swapped my calipers from my SRA over to the IRS (they were already painted and I didn't want to do new pads/resurface the rotors cause they were near new) and the drivers side e-brake cable pretty much hits the lower caliper bolt. I thought the rear calipers were the same from the IRS to the SRA?? Major design flaw if they are. ABS lines were a breeze.
So, what's left is subframe bolts, eyeball alignment (new MM toe link kit), install exhaust, drive over to weld brackets, get pro alignment.
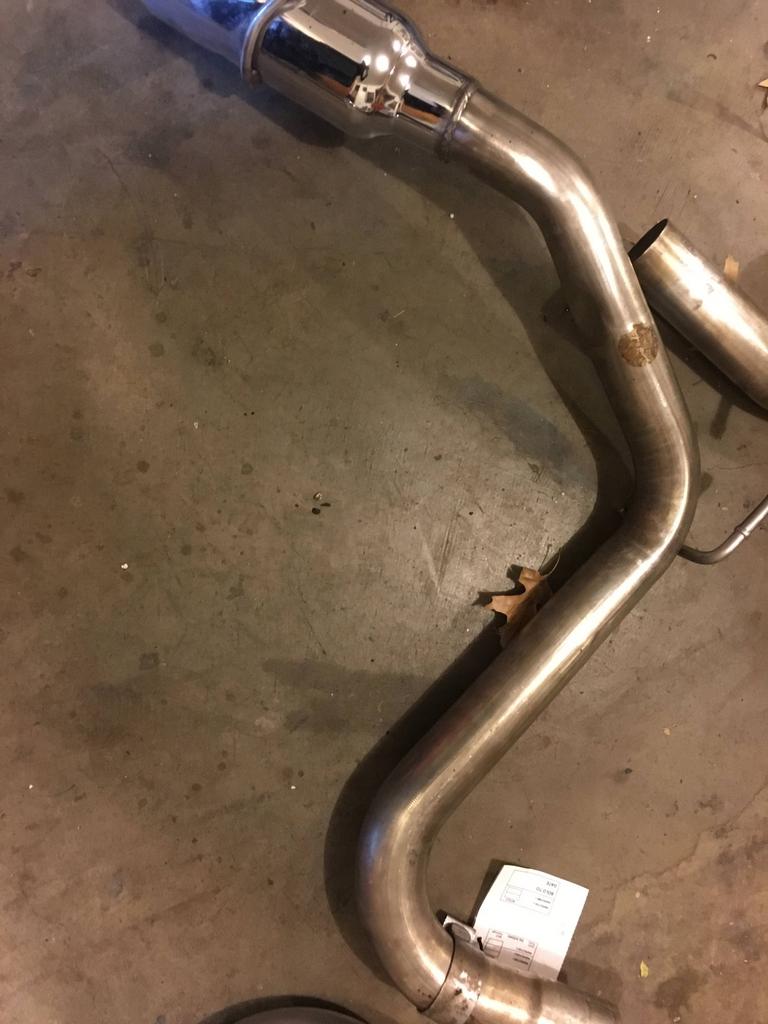
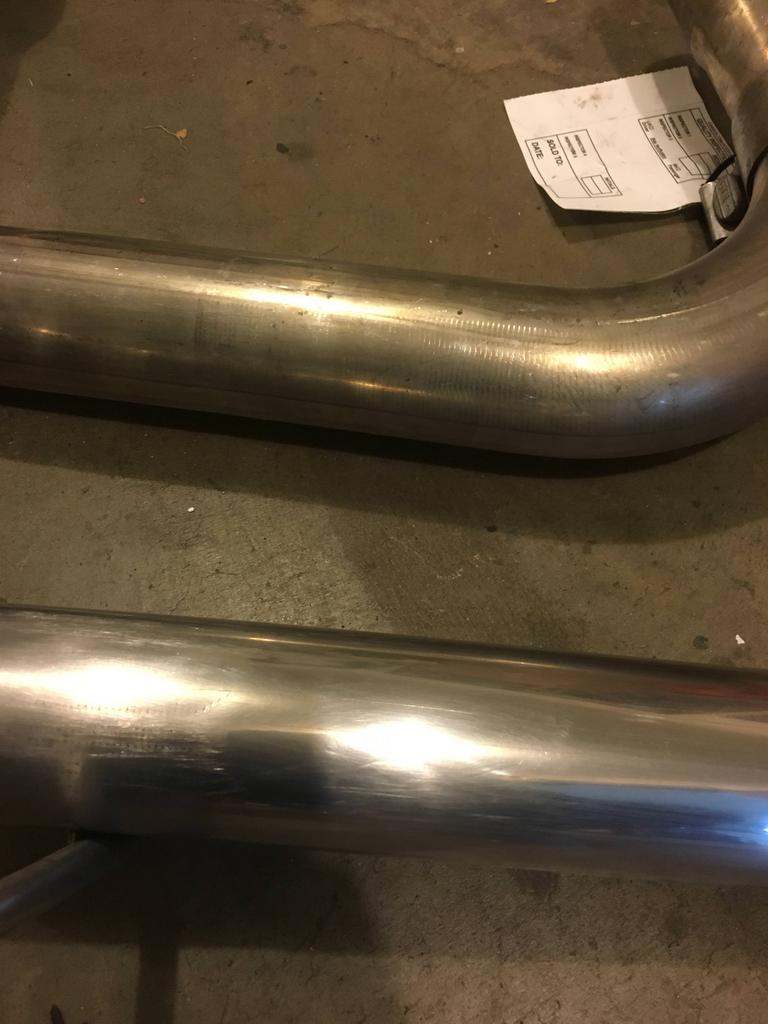
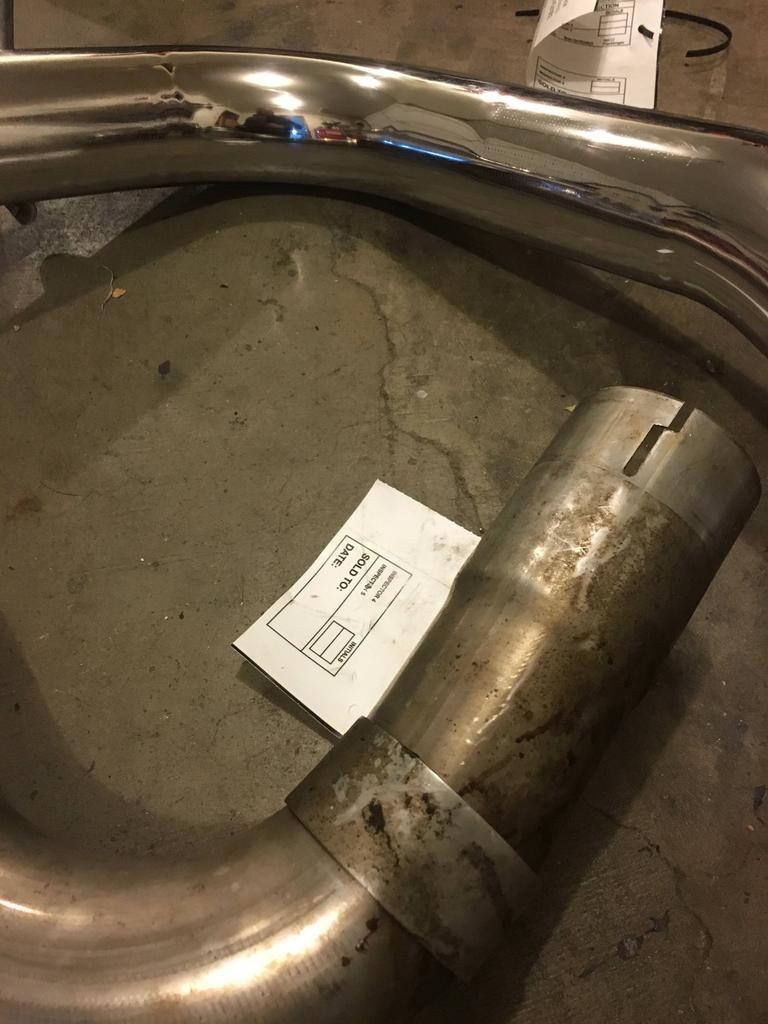
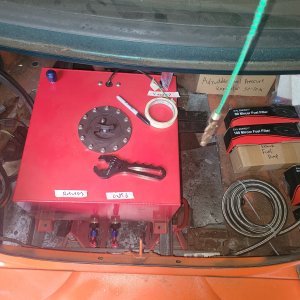
Speaking of exhaust, I got a used Borla cat back. Since it's cold and snowy, I'm in no rush to finish this. So I decided to take a crack at polishing the tailpipe sections of the exhaust.
It looked pretty much like this to start (this side still isn't done)
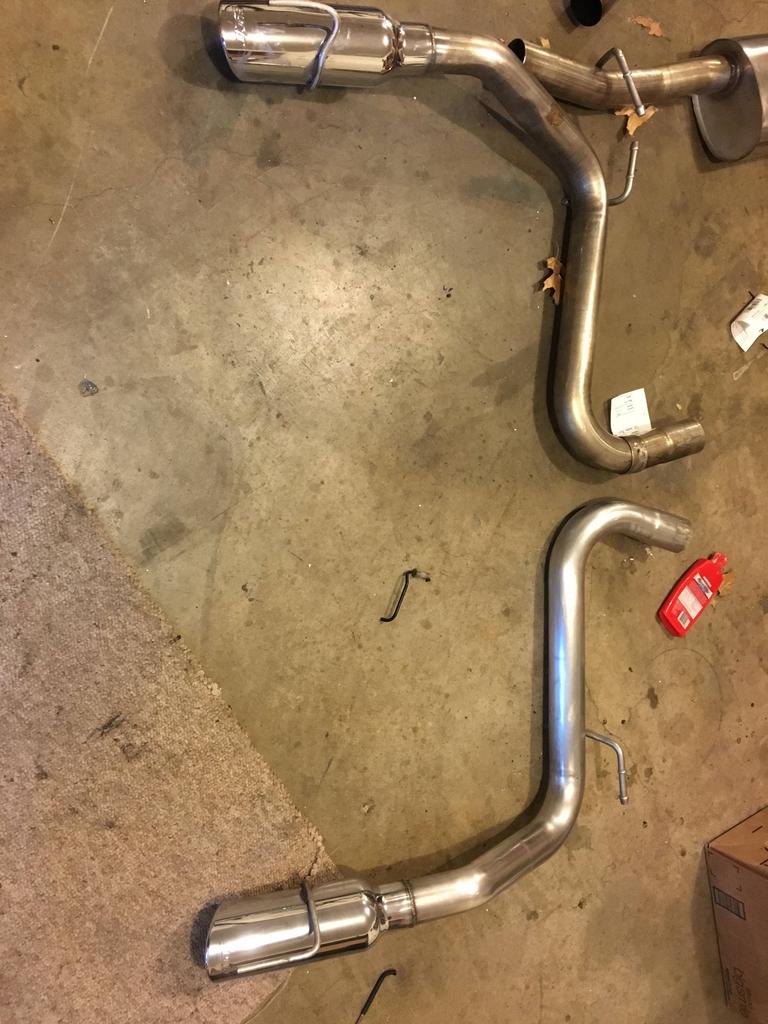
My process was a 120 grit flapper wheel for the drill, then a 240 grit nylon abrasive wheel, then 400 grit sandpaper, then 600, then 1500, then metal polish with a dremel and buffer wheel. It didn't come out near as nice as some I've seen, but I do believe it'll still look really nice. All told, I have about 2.5 hours in to finish one side.
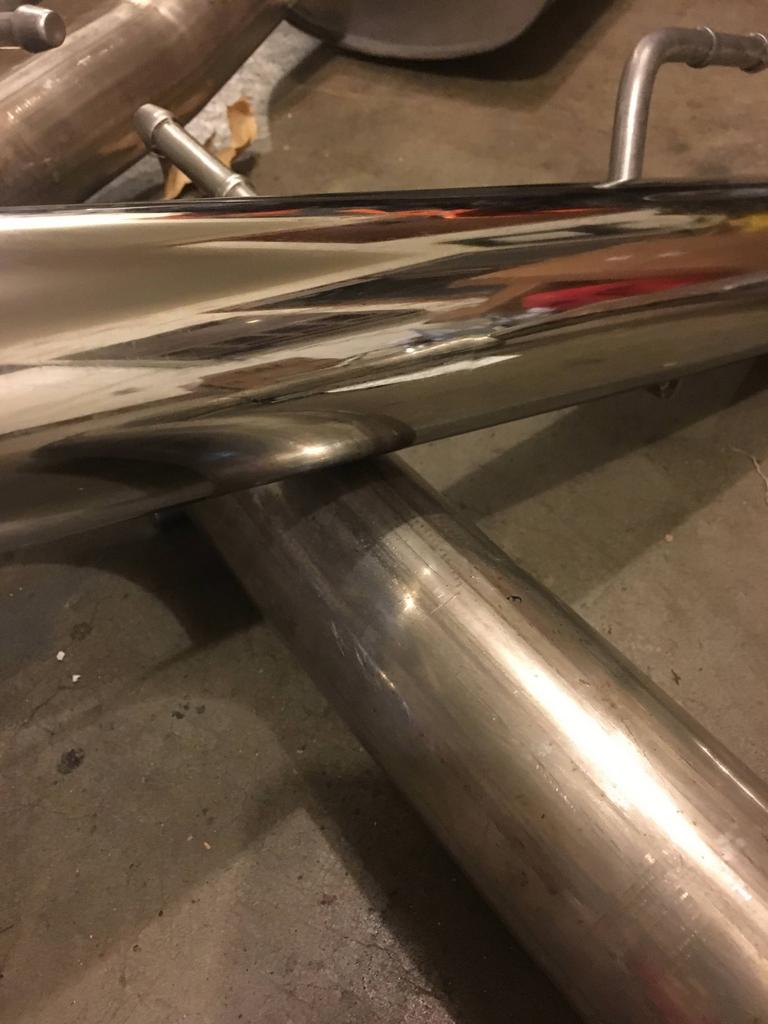
After the flapper wheel
A bit more sanding
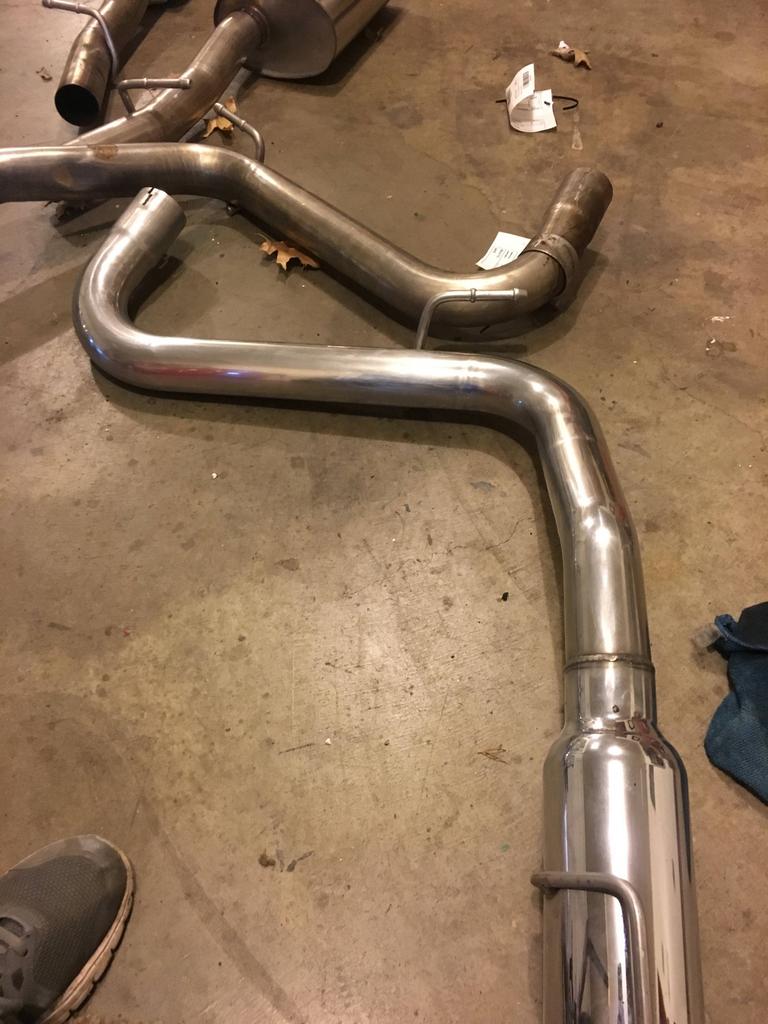
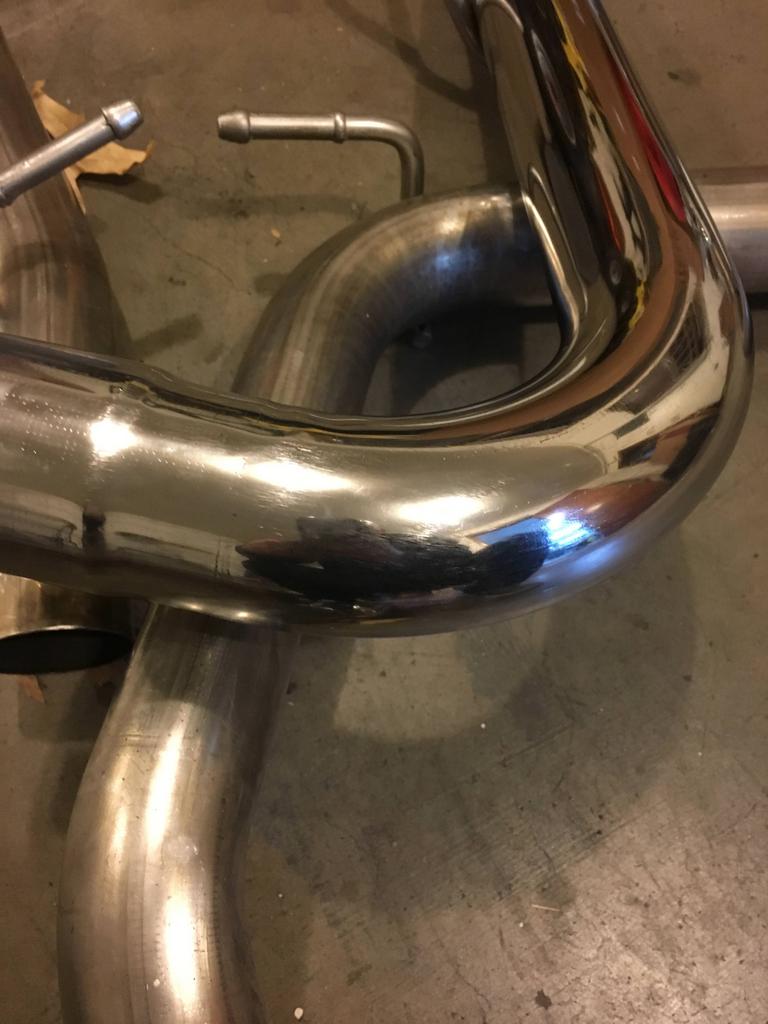
And after 1500
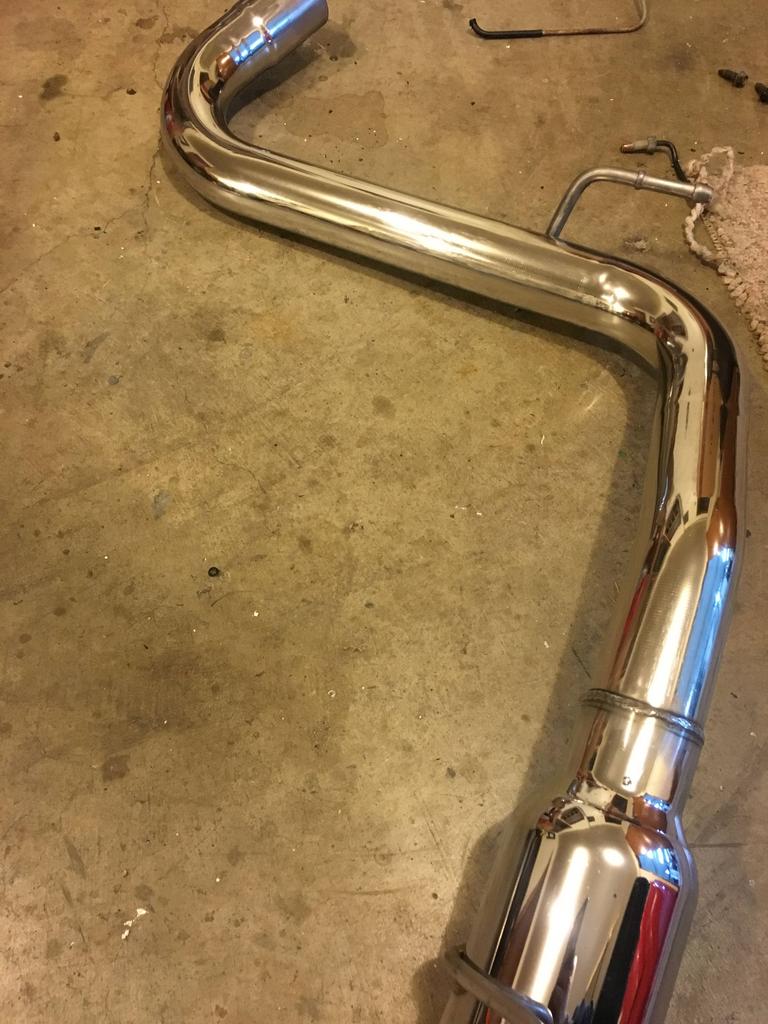
And after polishing
Hopefully I'll finish up the other side soon.


")