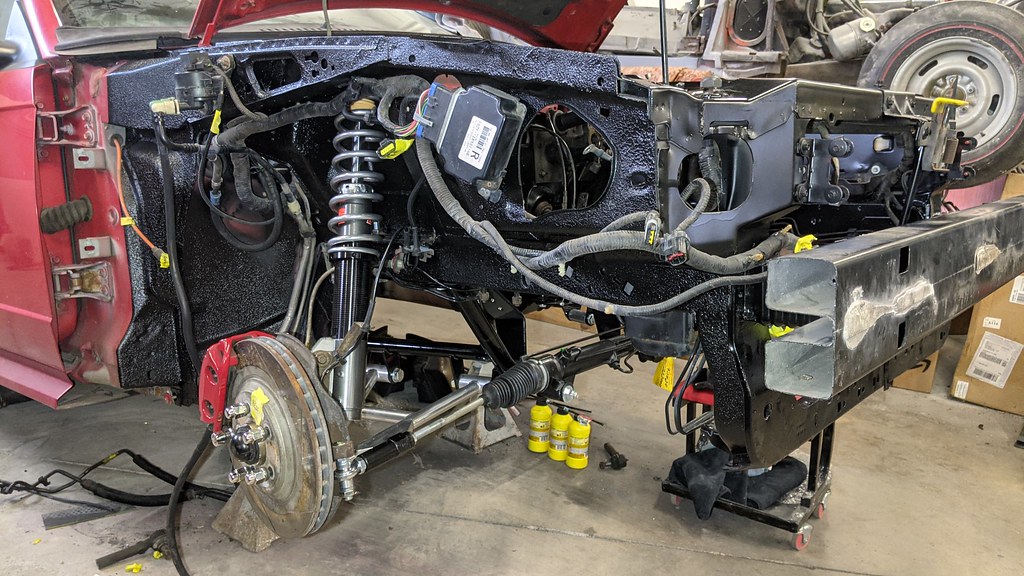
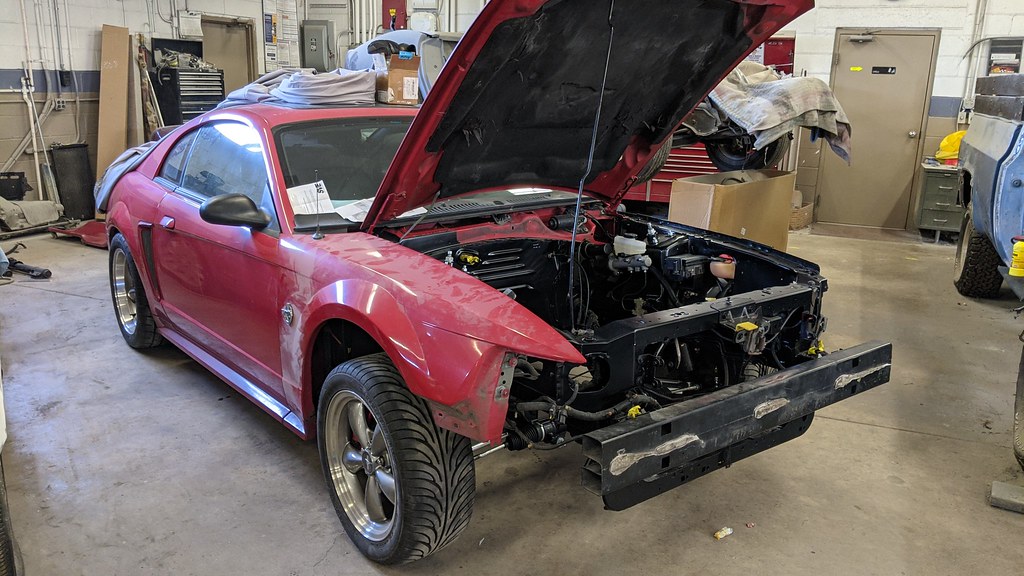
Checked a few things on the seemingly never ending list
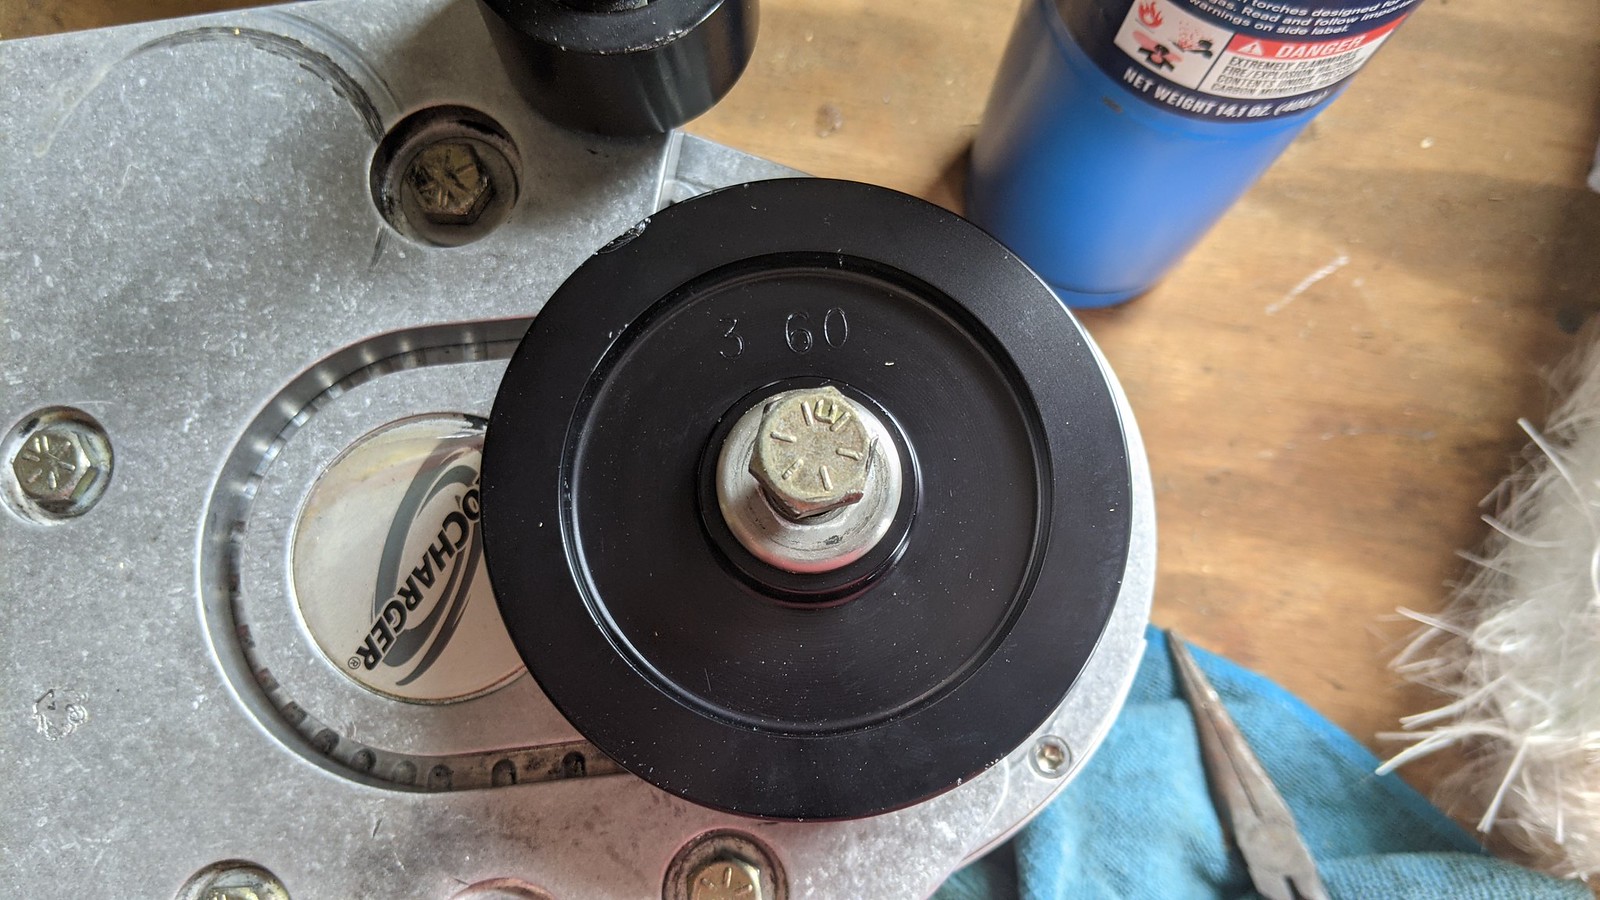
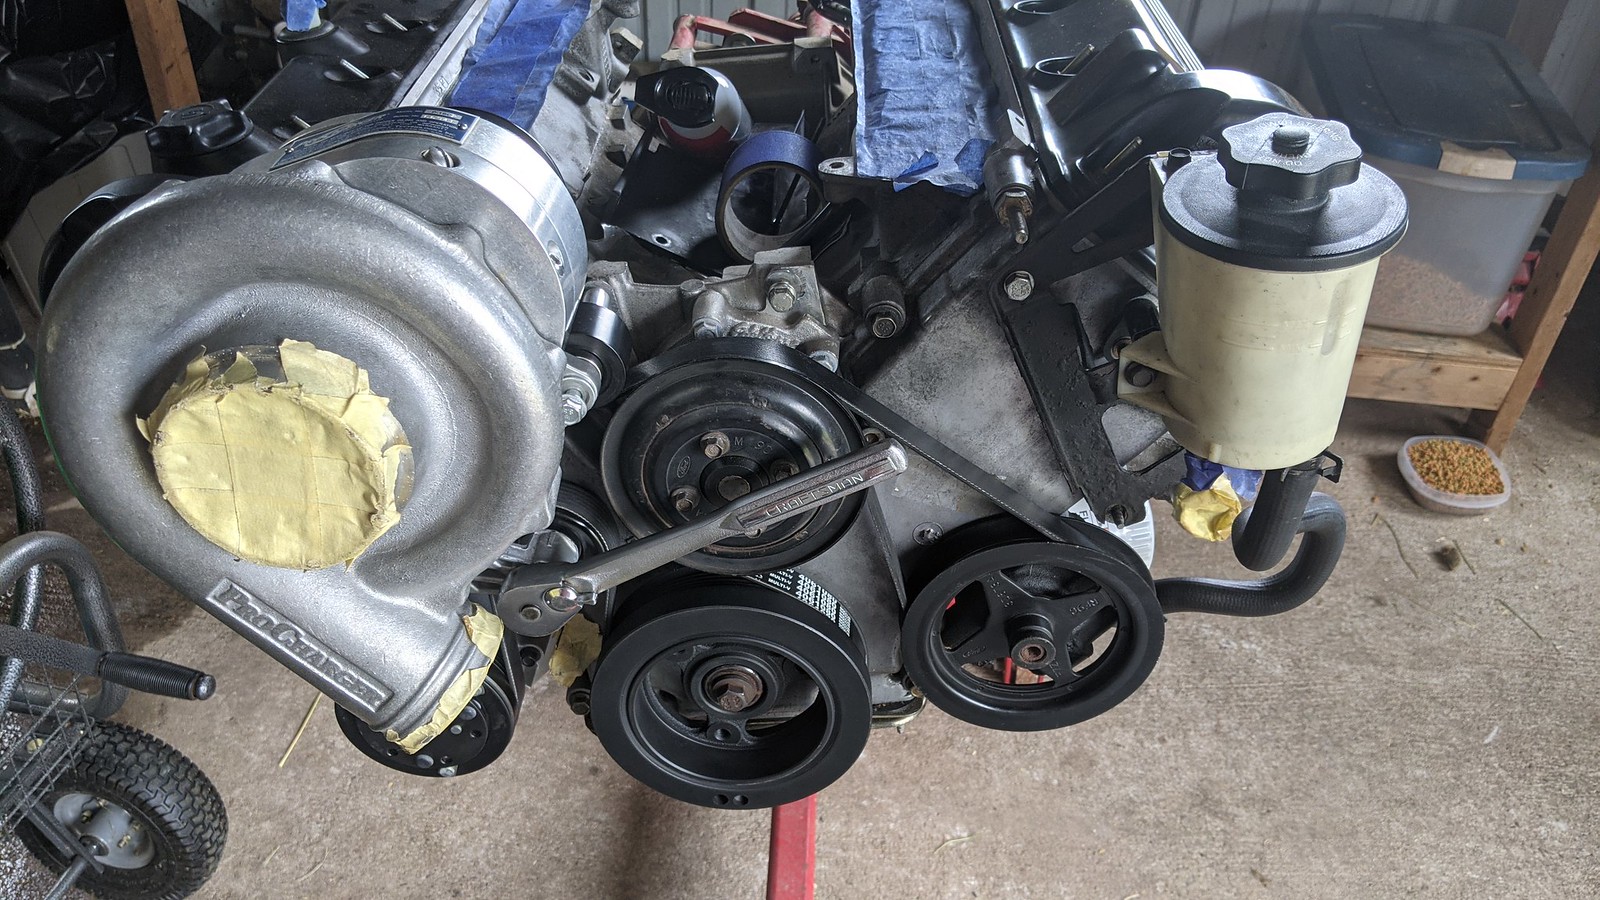
Swapped out the 4.13 inch pulley for a 3.6inch one. Super easy just had to heat the pully up a little bit to get it to come off. The new pulley went on with no fuss.
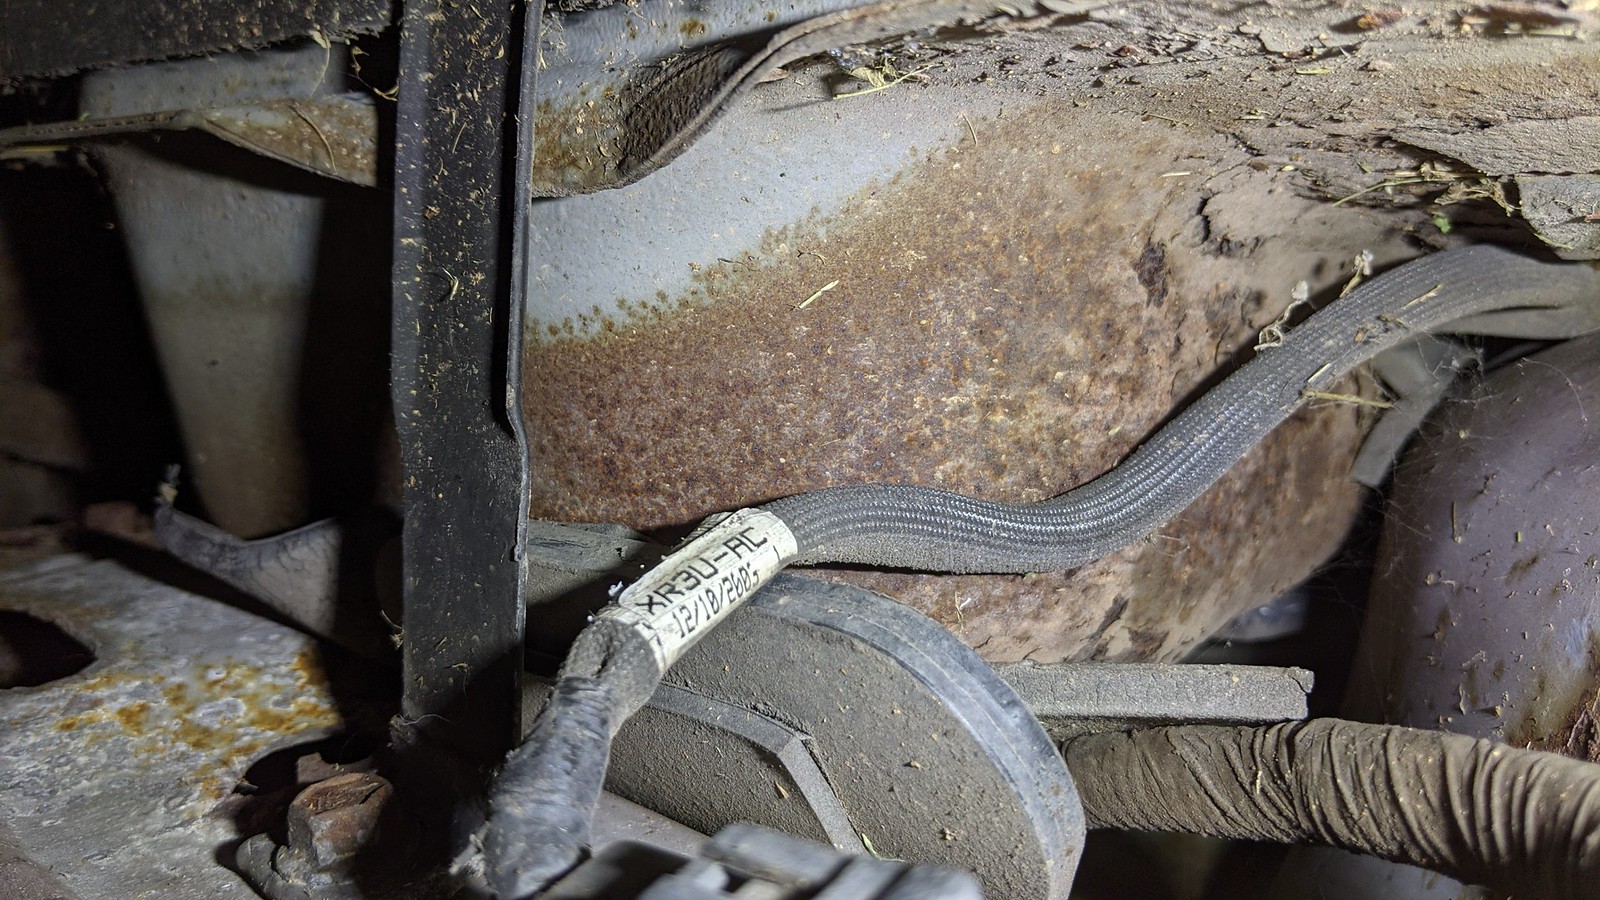
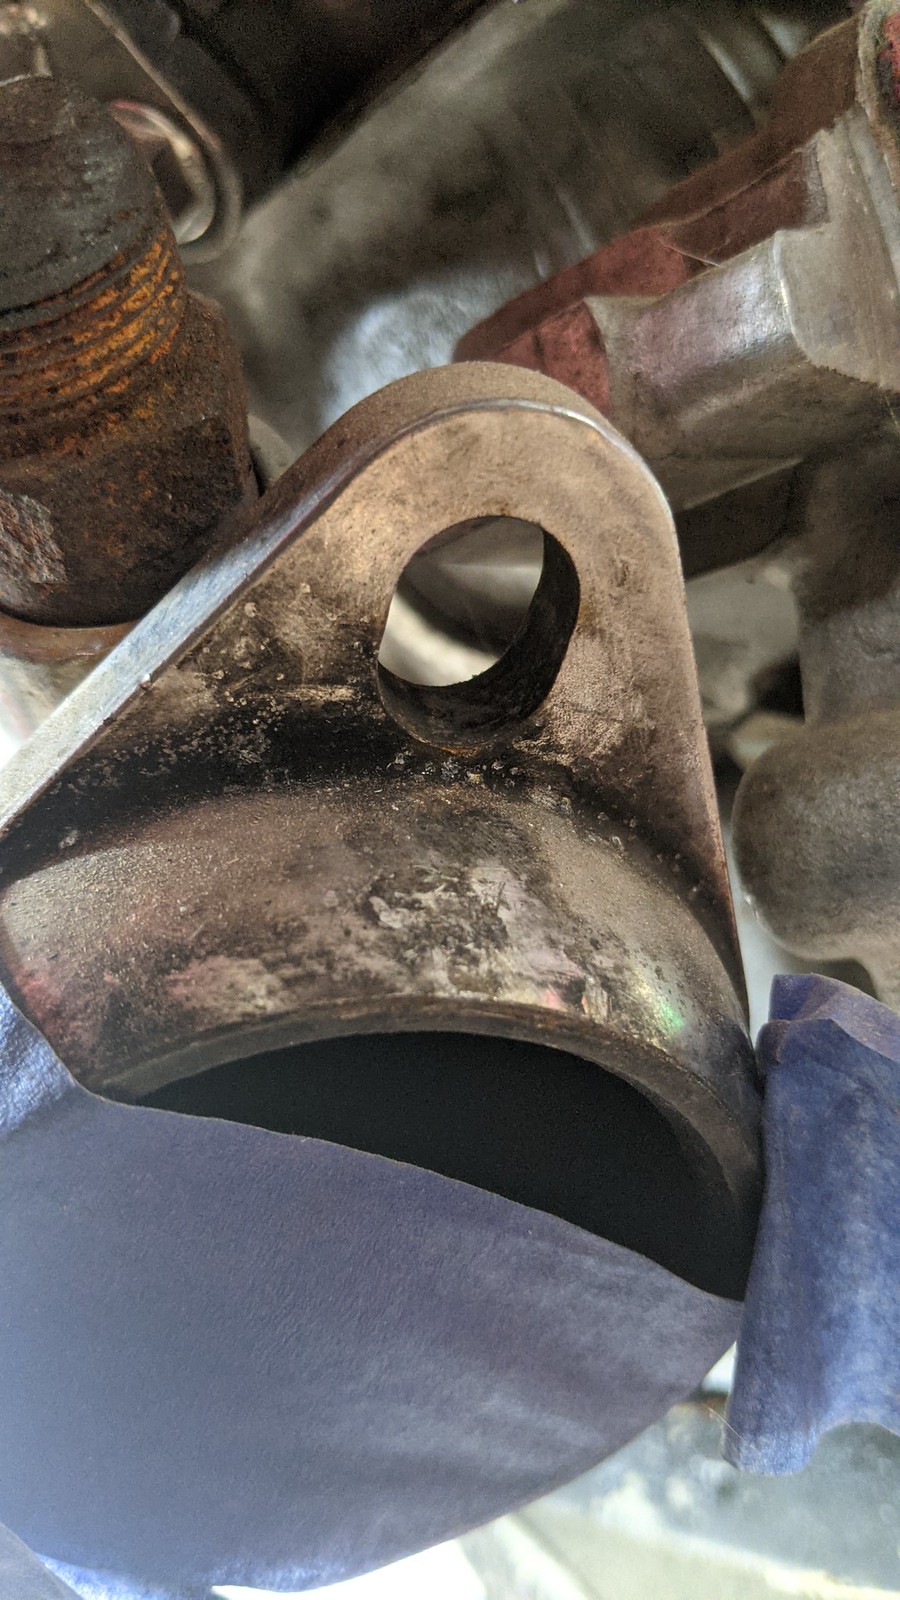
I picked up some new exhaust manifold studs, the ones that connect to the mid-pipe Dorman part #03129. Comes with four studs and they fit these old FRPP shorty headers perfectly.. well one of them at least. the driver side header the holes have no thread and are larger oval shaped holes? Does anyone have any idea what I am suppose to use?
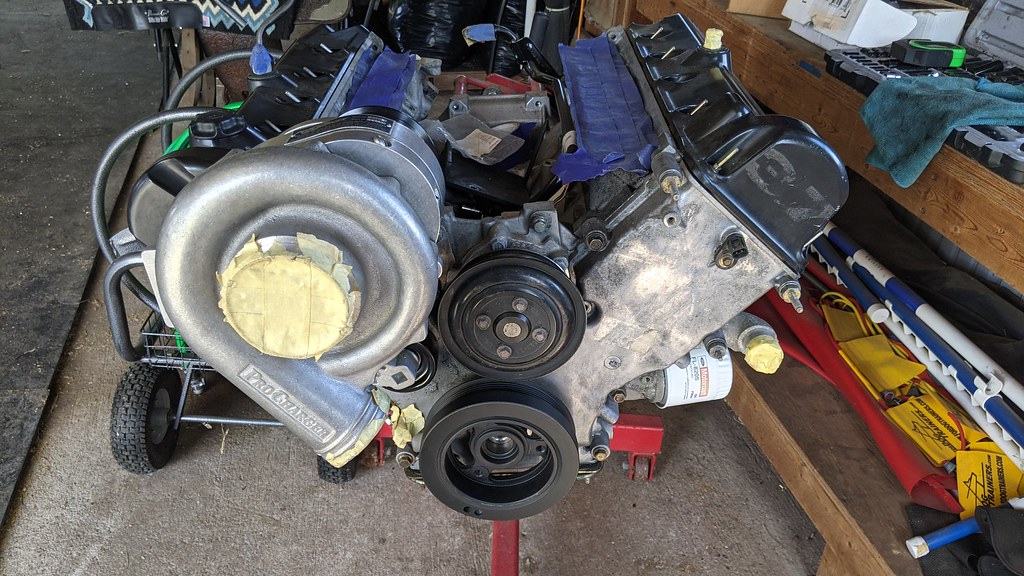
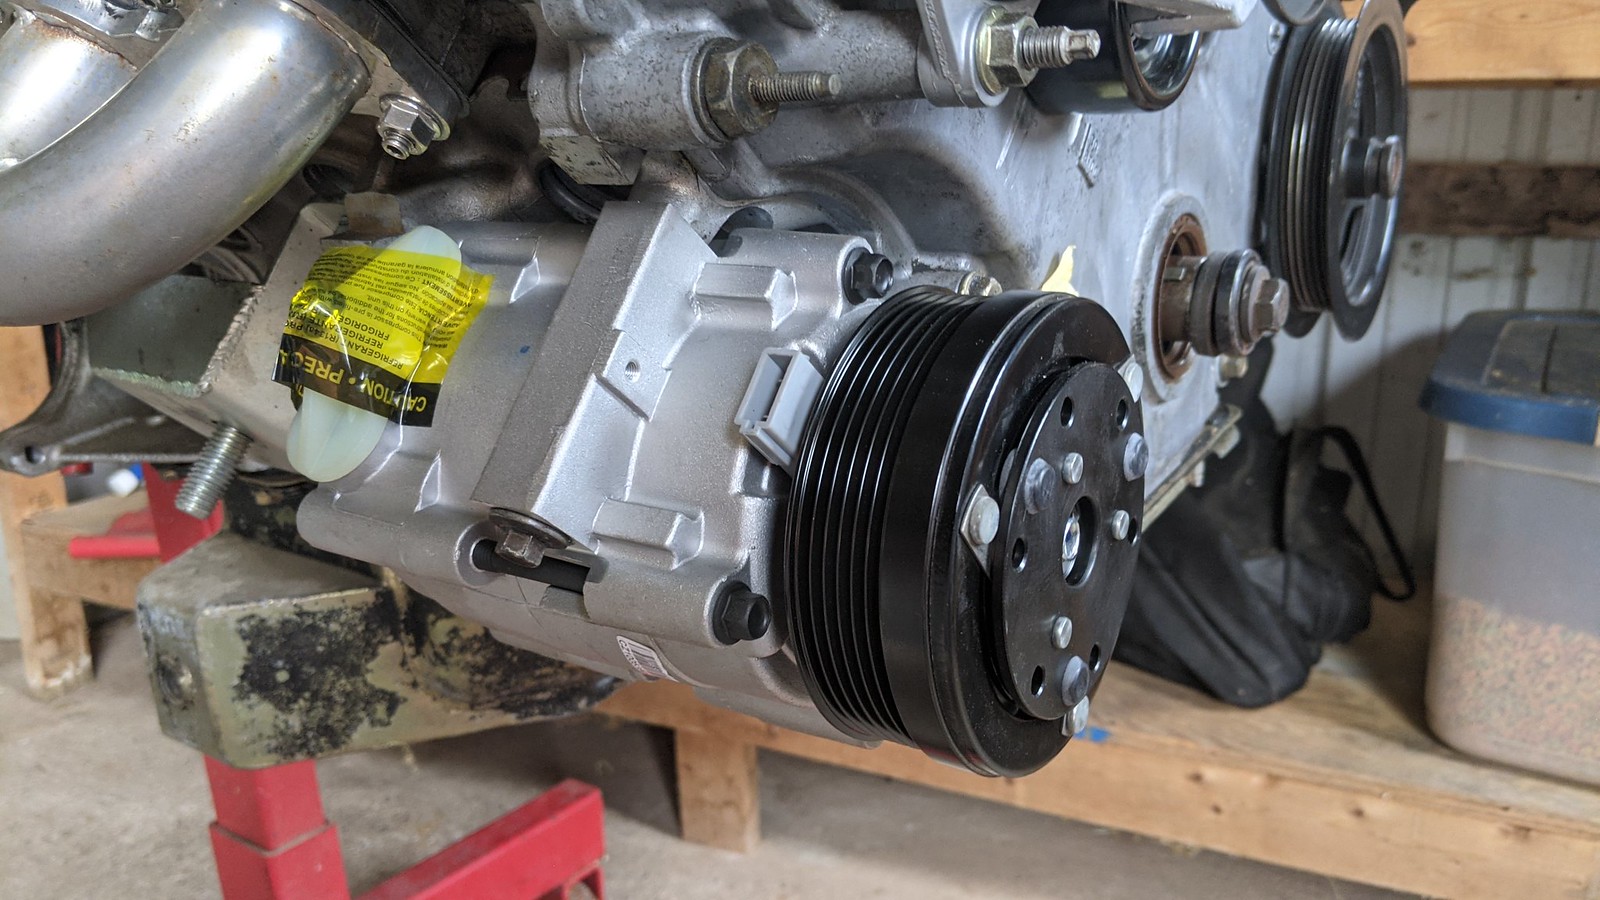
Also picked up a new AC compressor from the local parts store. My old one was covered in the green leak dye so i figured "while im at it.." got it mounted up and then test fitted the belt. Also bolted my power steering pump and res onto the block as well.
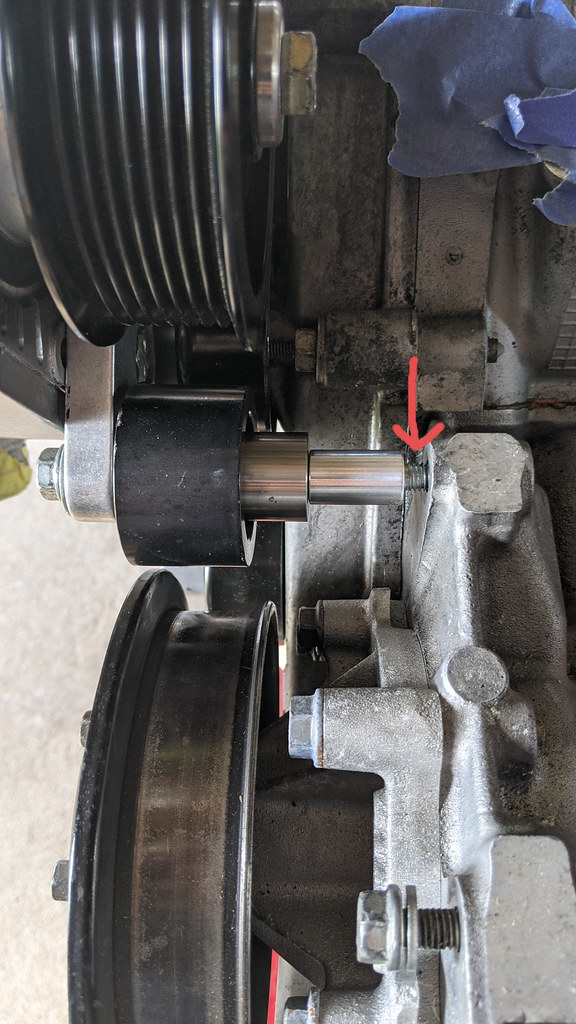
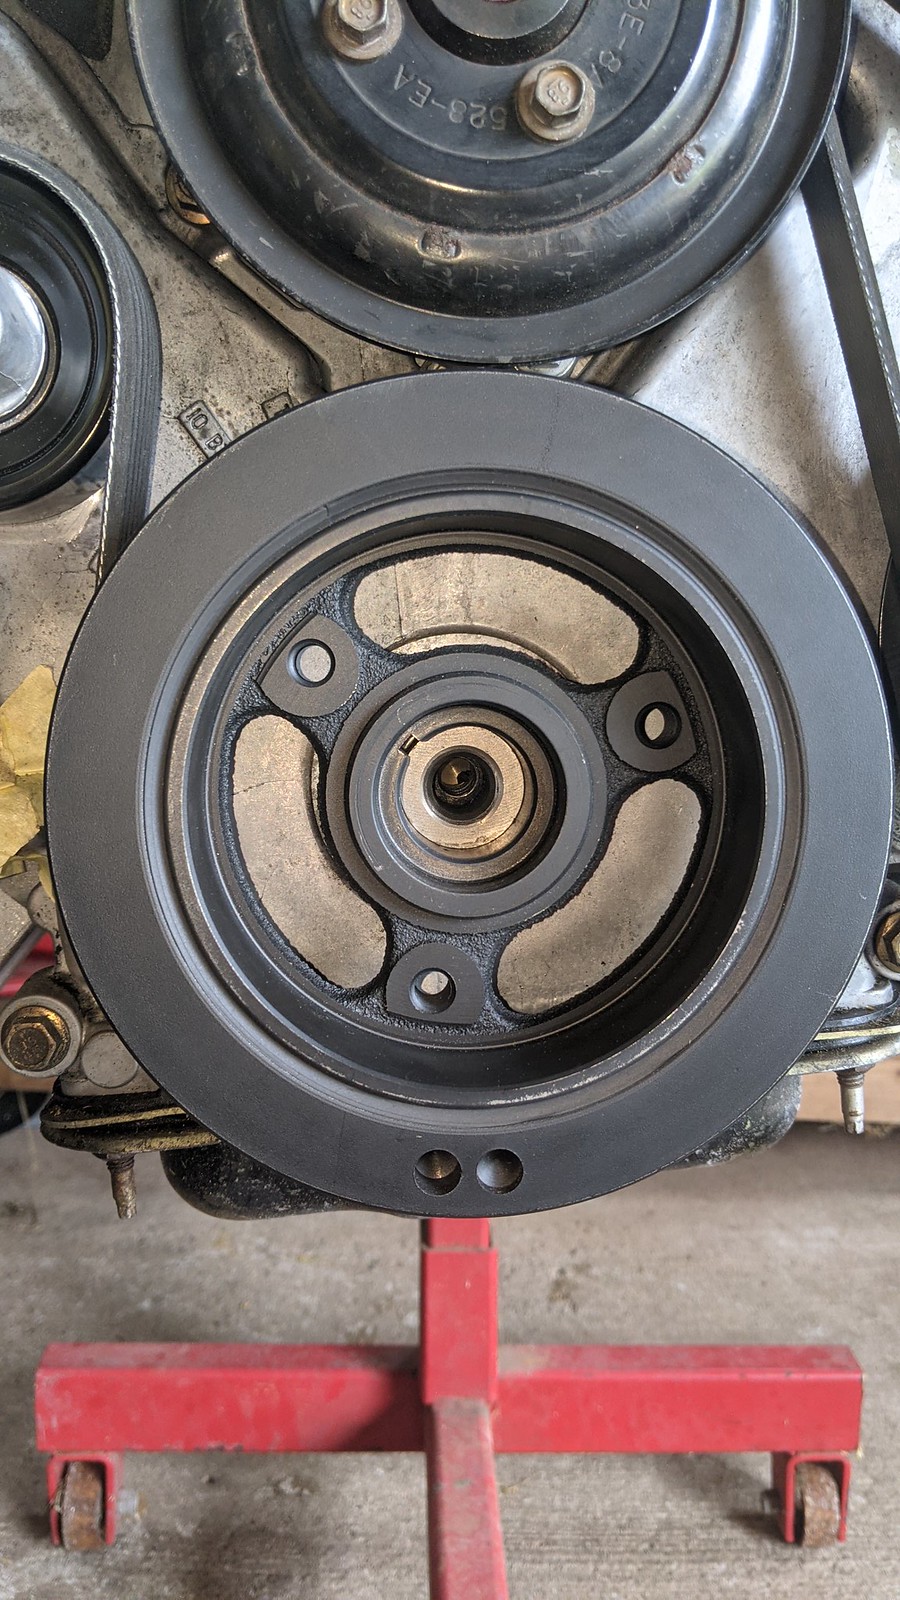
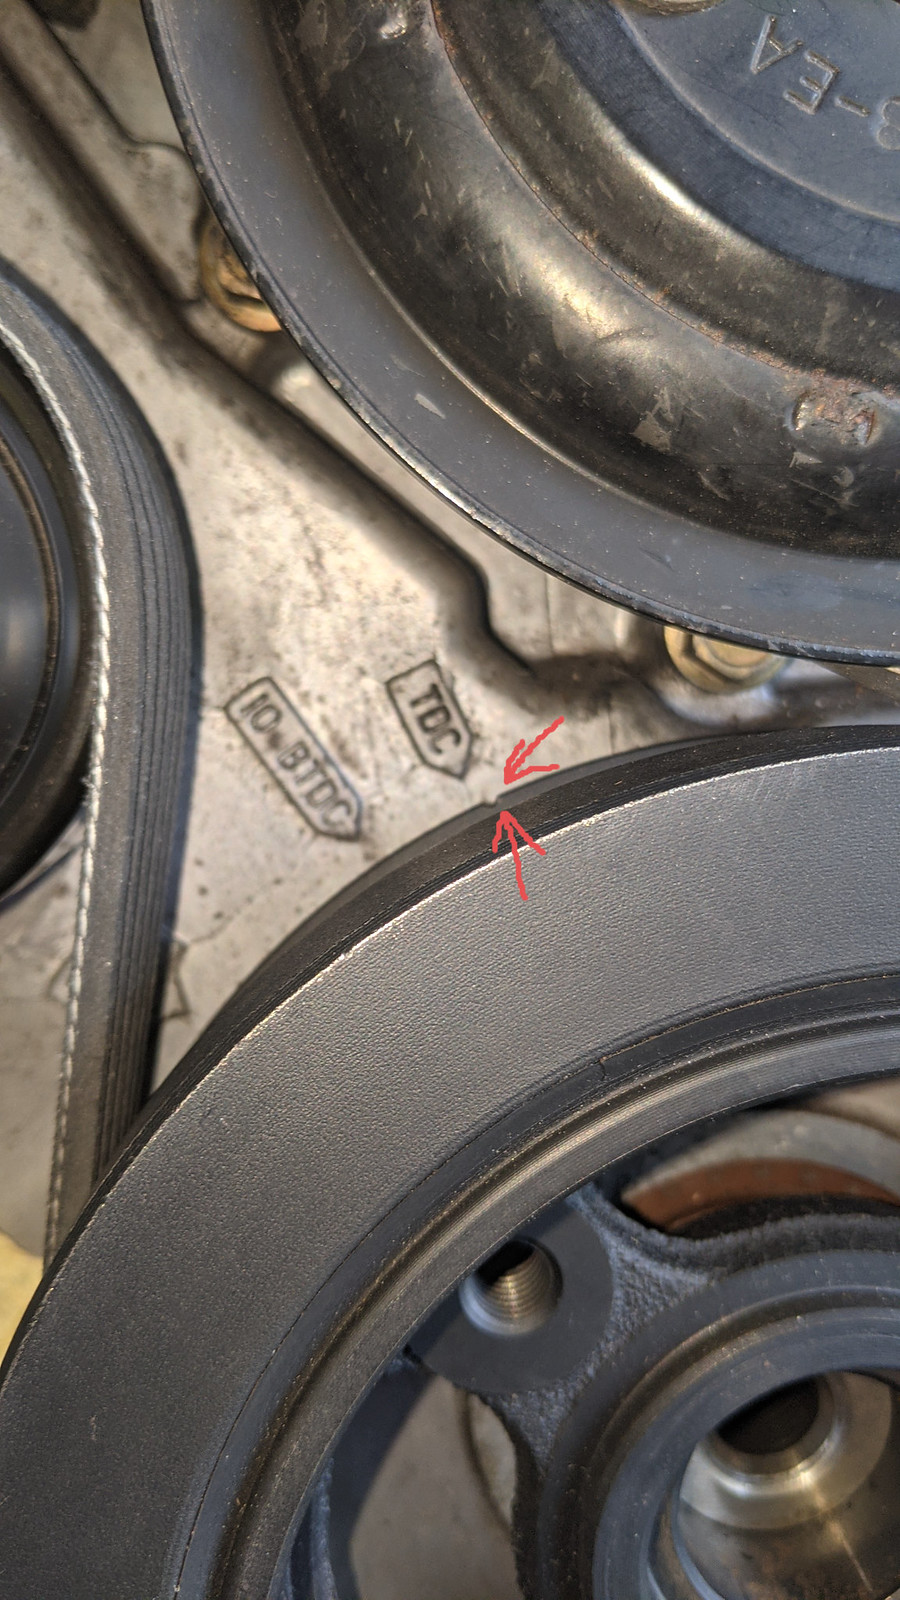
After the AC compressor was bolted up I mocked up the harmonic balancer. Maybe someone can chime in here. Compared to the HB i just put on my 65' this one has absolutely no timing marks on it. The only indication I can see is this tiny notch on the back side of it. from the photos below, does this look to be correct for TDC? It looks odd to be as again, on my 65' the keyway is at the 12 o'clock position to mark TDC. The keyway on this is at the 10 o'clock position but the little notch is at the TDC arrow on the timing chain cover?
All my research lead me to believe that a 108 inch belt would be the correct size. However once I had it routed correctly it quickly realized it would be far too short once the alternator was on. Kind of a bummer. I'll return the belt and pick up a 114inch belt as that was what Procharger told me I would need for the 4.13inch pulley the unit originally had. However I thought the 108 would be correct for the 3.6inch pulley that it now on the P1SC. Maybe I should pick up a few sizes and see what fits best, maybe a 110-112inch belt?