200,000 mile GT build

Akurma

Active Member
Joined
Apr 22, 2020
Messages
283
Reaction score
353
Location
Pennsylvania
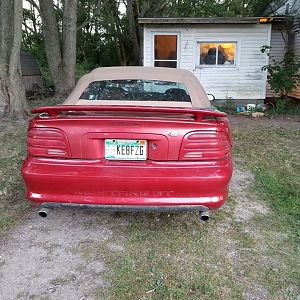
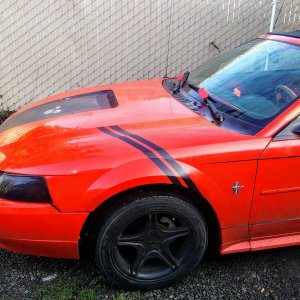
Hi everyone, Name is Alex I was recommended to come over to this forum from some members of the ModdedMustangs forum. I have a 1999 Mustang GT and a 1965 coupe with a 289 2bbl auto that you can read about if you'd like, warning the 99Gt thread is long lol. Maybe I'll create a thread about the 65 as well.

Anyway I plan to use this thread to update, post questions and ask for feedback as I build my 99 2v. Currently in the process of swapping in a built Teksid block 2v with a P1SC-2 and doing some strut tower rust repair. So stick around for the journey!

Carrying over some recent posts from the other forum to get the ball rolling

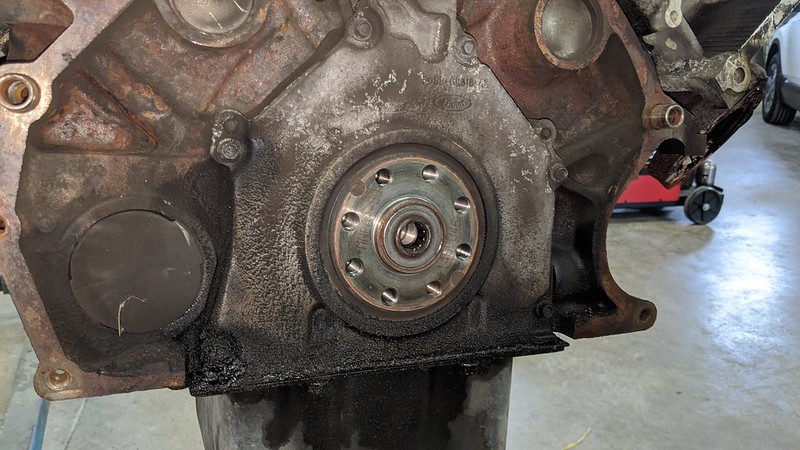
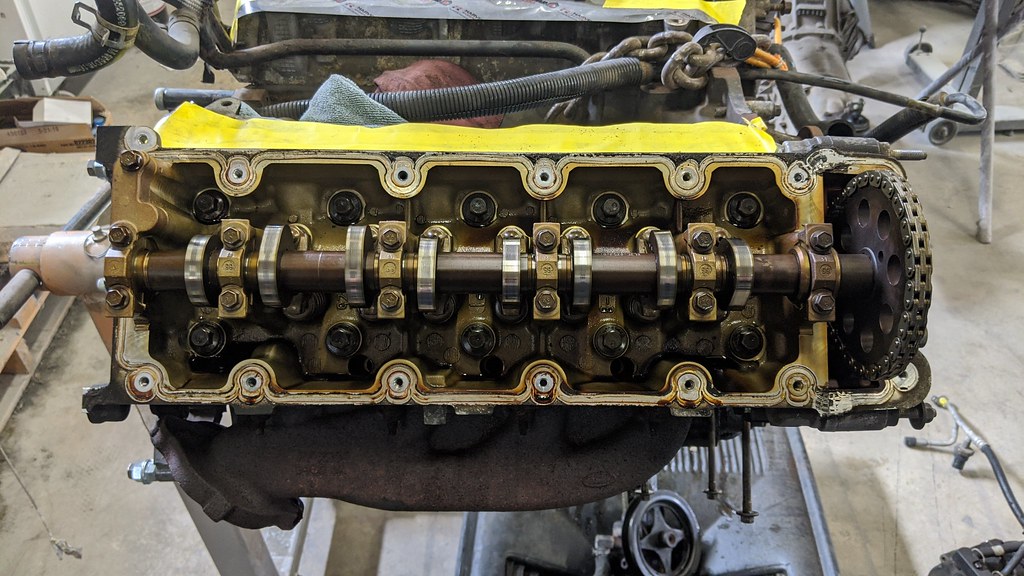
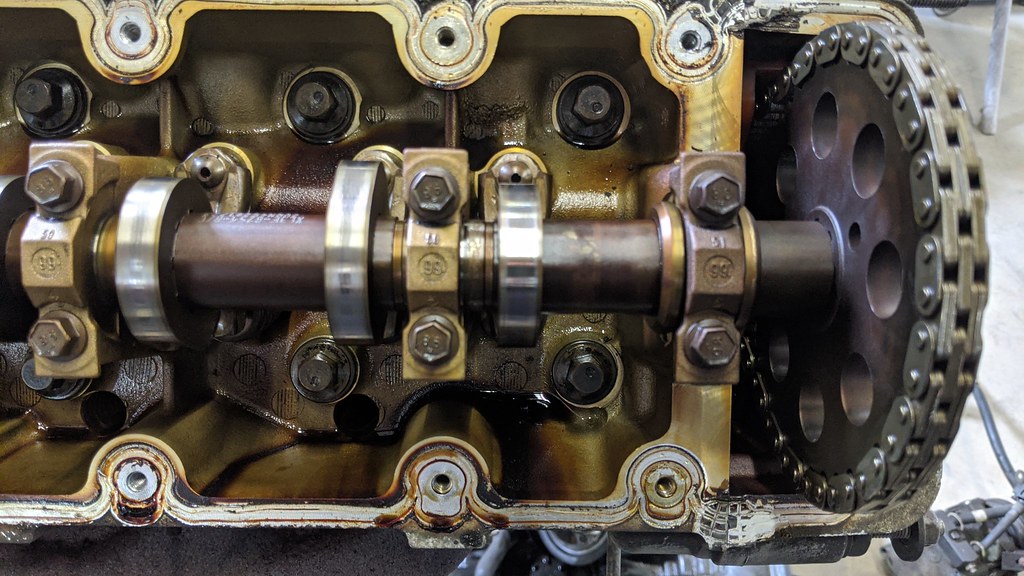
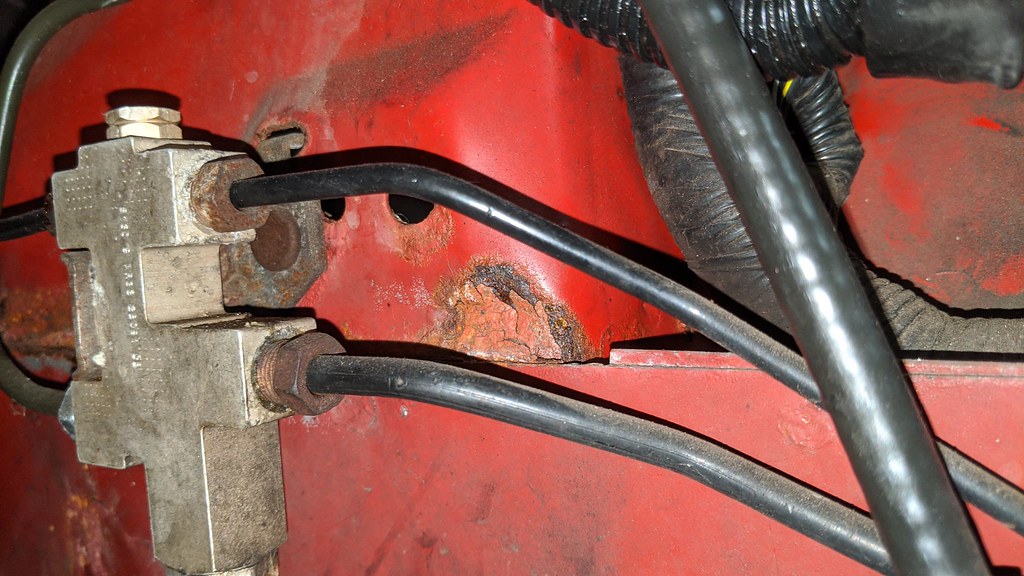
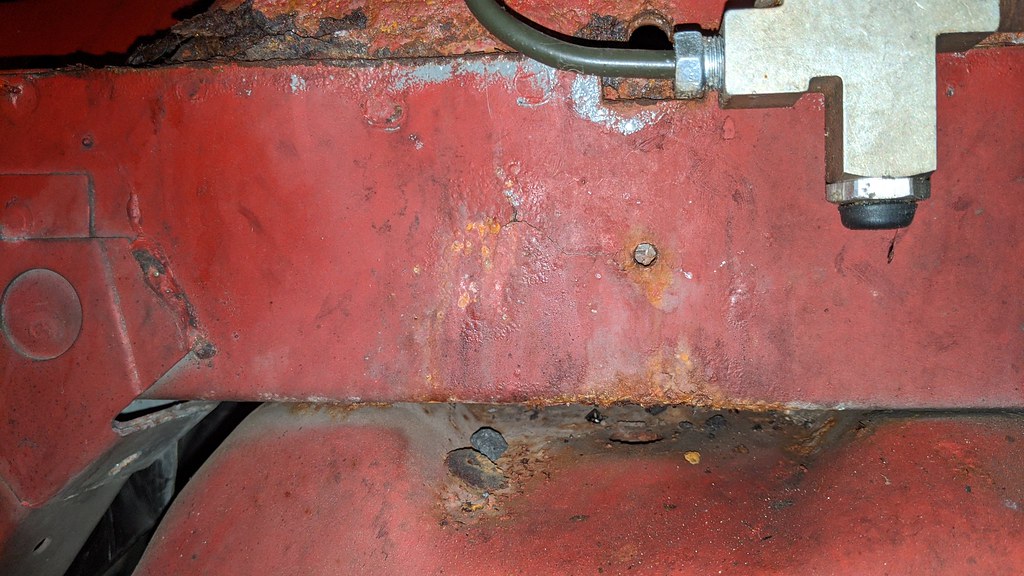
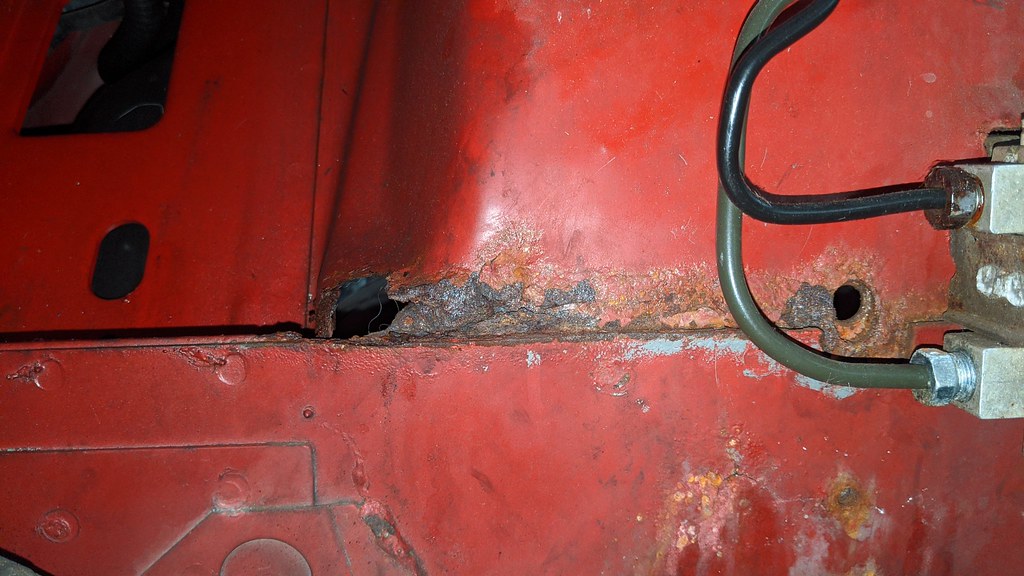
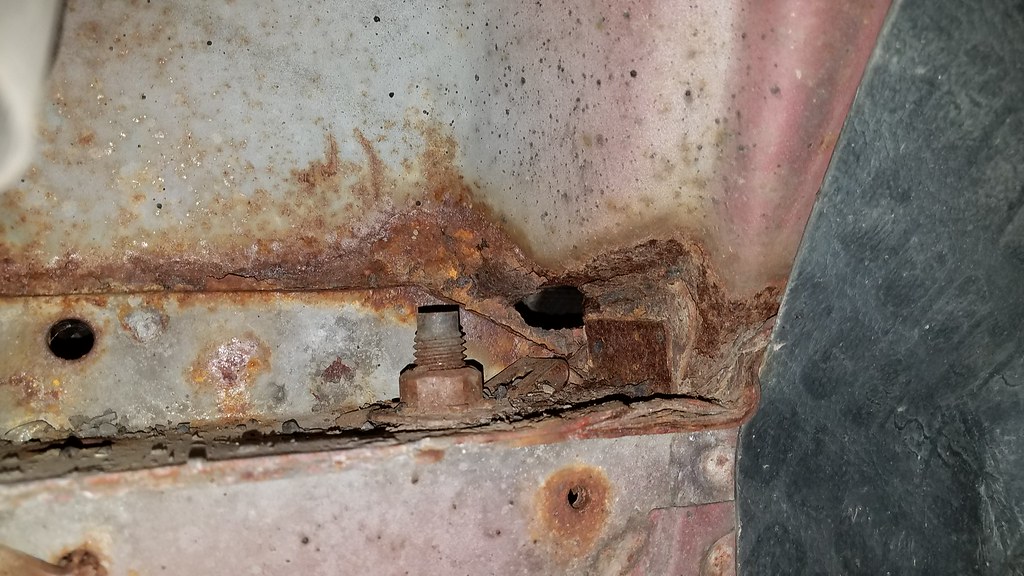
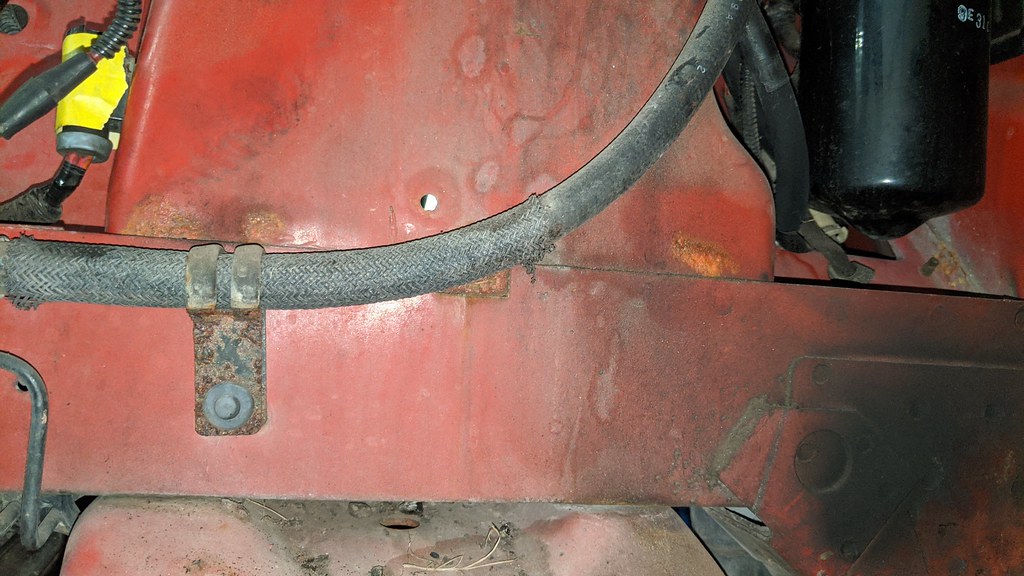
After pushing off the project I finally got the time to pull the ol' 218,000 mile 2v motor in my car, I was also somewhat forced to pull it as the rust on my driver side strut tower is a safety concernupload_2020-4-22_19-18-14.gif. Pulled it out yesterday and my god I didn't realize how dirty my engine bay really was!

49793390348_038d2289c4_c.jpg


My plan was to do this last week but I hit a bit of a snag with the UPR tubular K-member i order a few years back. I ordered it on a black Friday sale with intent to install it soon, obviously that didn't happen, so the box sat in the garage for a long time. Fast forward to last week when i went to assemble the control arms. The first issue I ran into was the bushings for the control arms themselves. They are slightly different lengths and nowhere in the instructions does UPR say this. So i installed them thinking they are all the same. the picture below will show they are not and i didn't notice until i went to bolt the arm to the K-member. No biggie, pushed the bushings out and fixed it. Then I found my second issue. The passenger side control arm fit perfectly... the driver side arm on the other hand did not fit at all. After spending some time thinking I had the wrong arm on the wrong side or that I messed up the bushings. I broke out the tape measure and turns out the driver side control arm has the bushing tubes welding on incorrectly, the bigger tube was welded to where to smaller one was suppose to go and vice versa.

49793390183_c89e7a1c8a_c.jpg


49794242537_a0f40d082e_c.jpg


49794242152_77ec0a30f2_c.jpg


49794241987_b8d5f42151_c.jpg


Called UPR, got an actual person explained the issue, they asked me to email them some photos, they agreed with the issue and told me to send the arms back to them and they will send replacement ones out no charge. Honestly impressed with that as like I said above, I bought this kit a few years ago. So good on UPR! Only downside was that they didn't have any black arms available so told me they would send silver, it looks kinda weird but not like most people will see the underside of my car anyway. New arms arrived, had a few chips/scratches on the one arm but again, I was just grateful that they helped me out and its under the car so im not that worried. More importantly the silver arms fit like a glove!

49793935641_64e0d1e053_c.jpg


49794241467_649b7ef198_c.jpg


49794241277_548b8d0960_c.jpg


49794241377_78d6097fa1_c.jpg


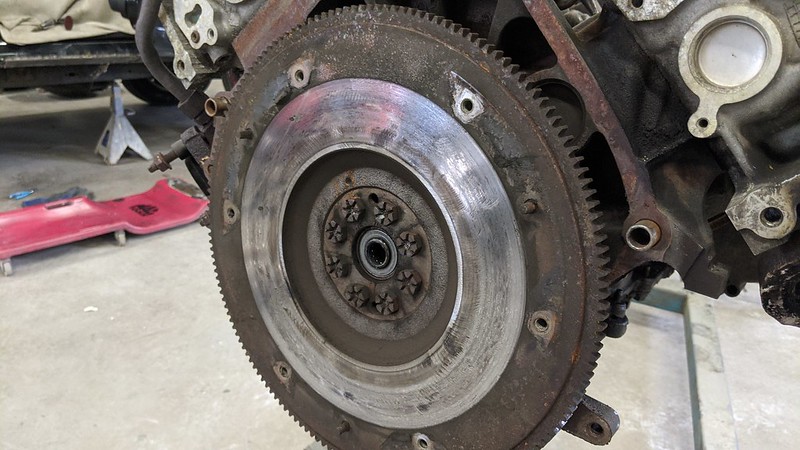
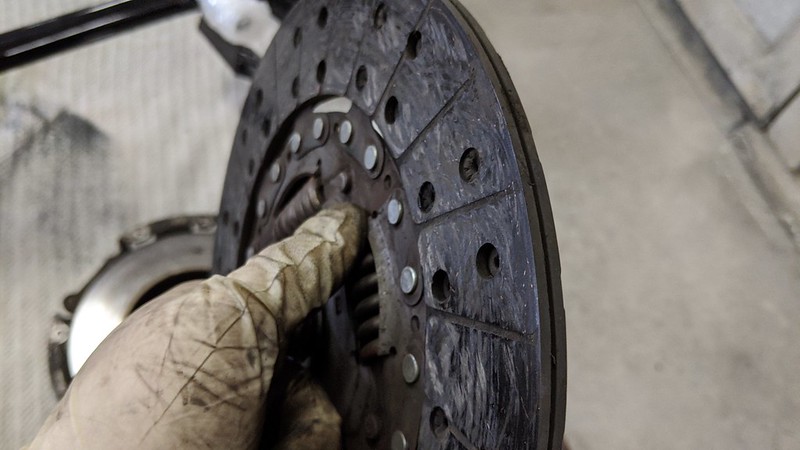
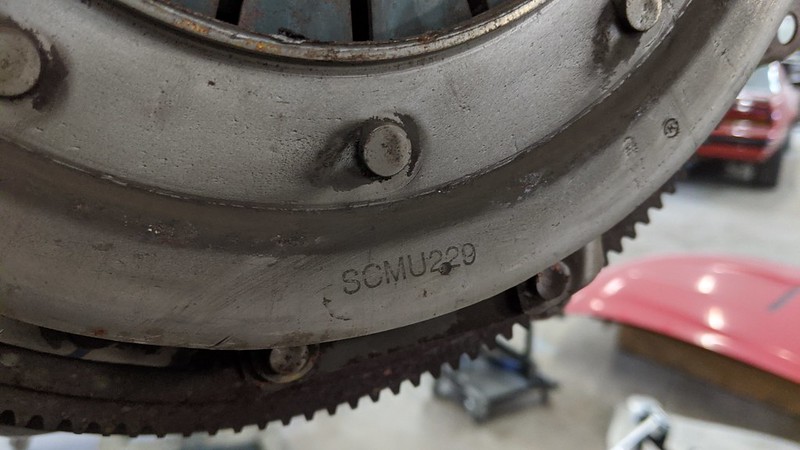
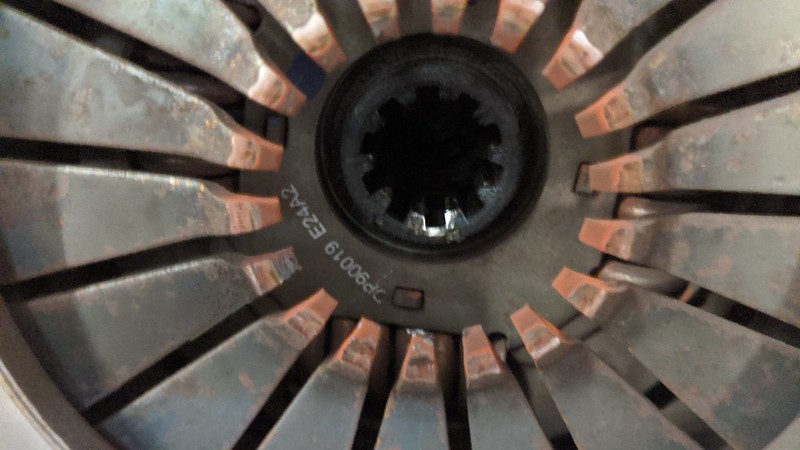
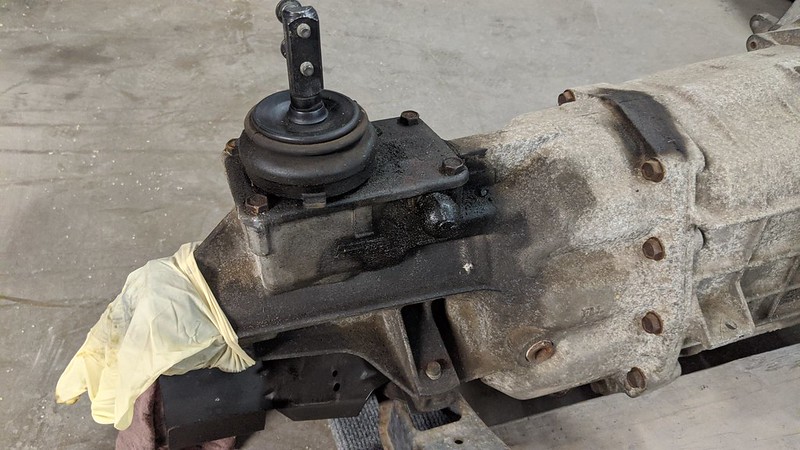
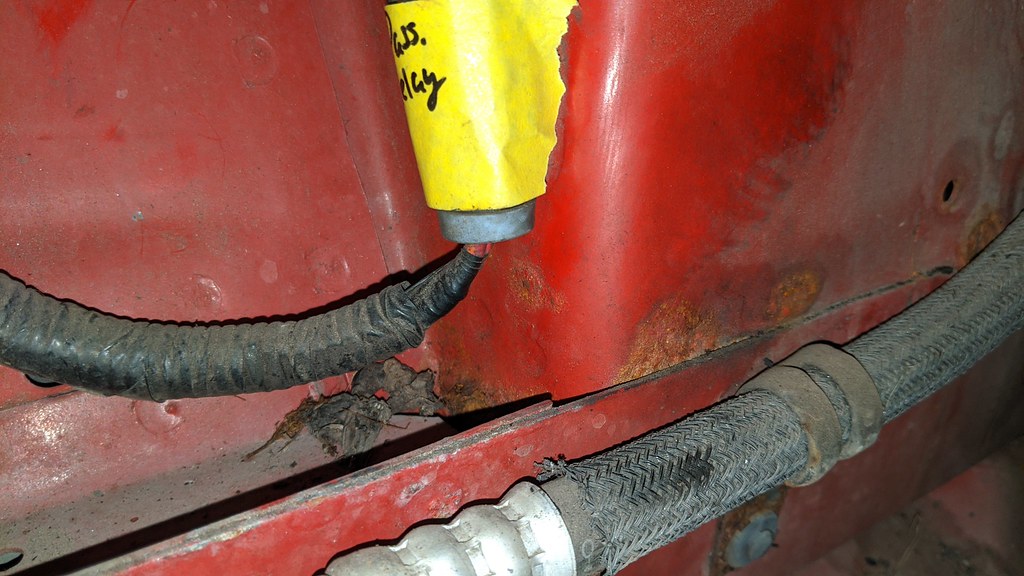
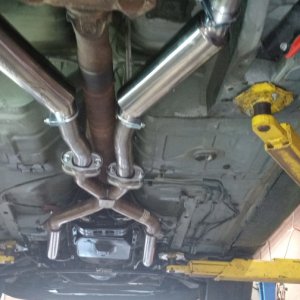
While i waited for the replacement control arms to arrive I got started on removing the wiring harness, labeling everything i possible could in order to make it as easy as possible when hooking up the built 2v. I also removed the intake manifold so that i could pull the motor. I am going to reuse the stock manifold on my built 2v so I figured i'll take it off now. After that it was a piece of cake.. well besides that top passenger trans bolt and that top start bolt... if ya know ya know upload_2020-4-22_19-18-14.gif. With the trans disconnected and backed off the dowel pins, it was time to finally remove the 2v after nearly 21 years. Honestly it lived a good life and would probably keep on trucking if i didn't have to remove it because of the rust.

49793390238_0d580bd24a_c.jpg


49793935946_dc8a2e90bf_c.jpg


49794240892_57f717f00e_c.jpg


49794240807_152cbf9683_c.jpg


49793388428_91c8a9ba18_c.jpg


49793934856_f4c853a53d_c.jpg


49793388318_7e2239d080_c.jpg

I will be updating this a bit more frequently now that i got the ball rolling, I am a lot more active on Instagram so if you want to see more pictures of this or any of my other projects or ask me questions feel free to do so over there!
 

Attachments

  • upload_2020-4-22_19-21-48.gif
    upload_2020-4-22_19-21-48.gif
    42 bytes · Views: 18
OP
OP
Akurma

Akurma

Active Member
Joined
Apr 22, 2020
Messages
283
Reaction score
353
Location
Pennsylvania
Now I know that the clutch in my car was replaced in 2009, the mileage at which it was replaced at I do not know because the shop that did it didn't write the mileage on the repair order upload_2020-4-22_19-26-22.gif However, looking at service records before the clutch was done and records a few weeks after the clutch was done, I believe it was done somewhere around 150,000 miles. The car currently has 217,800 miles on it now, that's 11 years and about 70,000 miles 20,000 miles of those were from me.. and when I first got this car in High School I learned to drive stick in it and well... I beat on it every now and then, what high schooler wouldn't!?


To me the flywheel looks like hell, especially compared to how the one in my 97' cobra looked when I put a clutch in that. What is everyone's opinion on how the flywheel looks? I am not reusing it as i have a lightweight SPEC flywheel and a King Cobra stage 2 clutch to go with the new motor. The clutch however looks pretty on par with having 70,000 on it and honestly it felt great! wish I knew what clutch kit it was, but the only markings i could find were a part number on the pressure plate and a stamping that seemed to say "Modo SP"? I googled the "SCMU229" pressure plate number and didn't find anything besides a Sachs clutch disk, so maybe Sachs or I assume Valeo? who knows, it was a good clutch, it taught myself and two others how to drive stick as well as made a handful of passes down the strip!

Did a little more digging on the clutch, looks like it is made my a company called "Seco Global" From what i can tell is they are a factory for many clutch companies. So it was probably just your average run of the mill parts store clutch kit.

99-mustang-clutch-jpg.225398


49794240417_03ba130278_c.jpg


49793935031_684293eded_c.jpg


49793388493_37b5b00801_c.jpg


49794240327_ea1cb40419_c.jpg


49793934686_76d649d5a1_c.jpg


49793935536_26f1fdf24d_c.jpg


49793388723_b8a3c45e98_c.jpg


also got a look at the rear main seal, to me it looks nice and dry, I assume when they did the clutch they also did the rear main seal. The oil/grease all around it I believe to be from the oil pan gasket because my god that **** is everywhere around the bottom of the motor. I also found a date sticker on the back of the driver side valve cover, its a few days off from the date written in the V of the block, surprised its in such great shape!

49793388123_0695492466_c.jpg


49794240802_77981c2a46_c.jpg


Got the trans unbolted from the car, I left it in the car and put a jack stand under it for the time being. Anything I should replace/update "while im in there?" I already bought a new clutch fork, pivot stud, Ford TOB and even new trans bolts as i had a few with questionable looking bolt heads. I was thinking maybe a tail shaft or input shaft seal? Don't know how labor intensive either of those are or if I even need to do so. Didn't clean the input shaft off before this picture, its much nicer than what is shown lol

49803516751_43ecea7e46_c.jpg


49803820487_ecdcb8e643_c.jpg


Obviously there is a leak coming from I believe the shifter base or the vent and dripping down. There is also a little bit of grease on the top side of the trans just in front of the shifter base. Not sure whats going on there? You can see what im talking about below.

49803820497_fb0b5e9e0f_c.jpg


49802964143_55c91aa0b7_c.jpg


Not transmission related, but I have always has a little bit of a wobble/dead spot/delay whatever you want to call it, in my steering. I replaced tie rod ends years ago, and it helped a little but still was there and chalked it up to the steering rack being old and worn. I plan on upgrading to the 03/04 ZM rack soon so that will eliminate that possibility. The picture below, is that the "rag joint" that everyone talks about failing causing play in the steering? Whatever it is, it is completely shot, it crumbled in my hands when I gave it a soft squeeze. I know Maximum Motorsports makes a solid steering shaft, Do they replace this rubber part? Is the solid shaft really worth it or can i just replace this bushing?

49803532686_6ce5f6a906_c.jpg
 

evilcw311

Most Evil Member!
SN95 Supporter
Joined
May 9, 2010
Messages
7,456
Reaction score
2,134
Location
Louisville, KY
I kinda like the silver arms with the black K. Gives it contrast.

Welcome to the site. If you get time post up a thread for the old school as well!!!!!


Sent from my iPhone using Tapatalk
 

lwarrior1016

Mr. Secondary Timing Chain
Staff
Joined
Sep 22, 2014
Messages
8,536
Reaction score
4,334
Location
South Mississippi
Hey there, and welcome to the forum. Good job breaking the door down and going full swing with the thread. We really enjoy looking at pictures. Good progress, I’m looking forward to keeping up with your build.
 

lwarrior1016

Mr. Secondary Timing Chain
Staff
Joined
Sep 22, 2014
Messages
8,536
Reaction score
4,334
Location
South Mississippi
Also, if this is a build thread for the car, would you rather it be in the build up section instead of the 2v tech section?
 

Silver95bird

Active Member
Joined
Sep 5, 2016
Messages
491
Reaction score
113
Great build up. I'm at 192k myself, i love to see other cars getting saved at high mileage as well.

Don't give up on the flywheel, it may come back to life with a good resurfacing. I thought mine was shot from being overheated (only 5 bolts were in the pressure plate!) but it's still going after a cut.

Nice shop, i see that yellow tape in my sleep. We went envirobase around '13 i think.

Teksid 2v. what pistons/cr are you going, and what cams and boost level do you plan on?

Sent from my moto z3 using Tapatalk
 

kyholm

New Member
Joined
Feb 5, 2020
Messages
30
Reaction score
54
Location
Canadanada
This is great! Keep it up. I'm kinda sorta doing the same thing.

Where did you source the built teskid from? What are you going with for F/I?
 
OP
OP
Akurma

Akurma

Active Member
Joined
Apr 22, 2020
Messages
283
Reaction score
353
Location
Pennsylvania
I kinda like the silver arms with the black K. Gives it contrast.

Welcome to the site. If you get time post up a thread for the old school as well!!!!!

I honestly don't mind the different colors! And yeah I'll try to post a thread about the 65 soon, car has an interesting story behind it

Hey there, and welcome to the forum. Good job breaking the door down and going full swing with the thread. We really enjoy looking at pictures. Good progress, I’m looking forward to keeping up with your build.

Also, if this is a build thread for the car, would you rather it be in the build up section instead of the 2v tech section?

I feel pictures make threads 100% better, and it seems pretty easy to add them to posts over here compared to other forums i've used. As for the build/tech sections, I didn't realize there were two different sections. whatever the Mods feel is a better place for a thread like this, doesn't bother me!

Great build up. I'm at 192k myself, i love to see other cars getting saved at high mileage as well.

Don't give up on the flywheel, it may come back to life with a good resurfacing. I thought mine was shot from being overheated (only 5 bolts were in the pressure plate!) but it's still going after a cut.

Nice shop, i see that yellow tape in my sleep. We went envirobase around '13 i think.

Teksid 2v. what pistons/cr are you going, and what cams and boost level do you plan on?

192k? just getting broken in! haha and yeah alot of people said "why are you dumping time and money into a 200,000 mile car?!" this car has a lot of sentimental value to me. It was a car I bought when I graduated high school, learned how to drive stick in it, learned how to work on cars from this and so on. I'll be hanging on to this one for a longgg time.

As for the flywheel, I actually have a SPEC lightweight flywheel and King Cobra stage 2 clutch to go with the built 2v, so im not worried about it.
As for the built 2v

Teksid 2v bored .020 over
Cobra crank
ModMax/CP 17cc pistons
ModMax Forged H beam rods
APR 2000 rod bolts
ARP head studs
Melling high volume oil pump
Ported 2v PI heads - local business did them
Anderson Ford F52 blower cams
Shorty headers - old school FRPP ones!
P1SC-2 - currently has a 4.13" pulley but also have a 3.6" the 3.6" should land me between 10-12 PSI

Honestly i'll be happy with anything over 425rwhp, im afraid the trans wont take much more lol

This is great! Keep it up. I'm kinda sorta doing the same thing.

Where did you source the built teskid from? What are you going with for F/I?

Thanks I will definitely update this frequently! as for the Teksid block, I got it off of a buddy of mine, it came from a 97 cobra

Great start on the thread! I like how you jump right on in!

Thank you!
 
Last edited:

DKblue98GT

Well-Known Member
Joined
Dec 19, 2009
Messages
1,406
Reaction score
333
Welcome! The MM steering shaft is totally worth it as are the solid rack bushings.
 

TheOdessa

Member
Joined
Apr 2, 2020
Messages
181
Reaction score
111
Location
Tampa, FL
Hey you came over! Welcome Akurma! Looking forward to seeing the progress. You'll like it a lot more here. I know I do.

Also to answer your last question, the new MM shaft doesn't come with new bushing as shown because you don't need it. It's all fully solid. If you look at the picture towards your firewall, you may need to replace that. It's the firewall bushing/seal that's rubber and goes out over time. I will be replacing mine today because I have a dead spot about 1/2" when turning my wheel from dead center with the MM steering shaft installed. It fell apart when I took the stocker out.

Mine is sitting in the garage new in the box. Need to put it in and will update.
 
OP
OP
Akurma

Akurma

Active Member
Joined
Apr 22, 2020
Messages
283
Reaction score
353
Location
Pennsylvania
Subscribing.

I love following build threads, keep up the great work.

Thank you!

Welcome! The MM steering shaft is totally worth it as are the solid rack bushings.

yeah i am looking into the MM steering shaft, wonder if they ever have a sale as I also need to get their coil over kit

It’s too early to start drinking today!!!

5 o'clock somewhere!

Hey you came over! Welcome Akurma! Looking forward to seeing the progress. You'll like it a lot more here. I know I do.

Also to answer your last question, the new MM shaft doesn't come with new bushing as shown because you don't need it. It's all fully solid. If you look at the picture towards your firewall, you may need to replace that. It's the firewall bushing/seal that's rubber and goes out over time. I will be replacing mine today because I have a dead spot about 1/2" when turning my wheel from dead center with the MM steering shaft installed. It fell apart when I took the stocker out.

Mine is sitting in the garage new in the box. Need to put it in and will update.

yes i did! I can already tell its a hell of a lot more active than Modded Mustangs lol. It is a shame, that place was great but so dead now.

As for the steering shaft, If you get around to installing that seal/bushing I would love to know how it goes for you. I might as well do it while i have easy access to it. How do you like the MM steering shaft? worth the money?
 
Last edited:
OP
OP
Akurma

Akurma

Active Member
Joined
Apr 22, 2020
Messages
283
Reaction score
353
Location
Pennsylvania
Had a little bit of time today, took off the power steering pump and A/C compressor as I will be getting new ones and need to return the cores. Pretty sure the power steering pump is original, doesn't leak or make noise but they are cheap enough so i'll just pick up a new one. My A/C compressor leaks real bad so a new one has been needed for a while. While I was taking them off I couldn't help but wonder what it looked like under the valve covers. To my utter surprise, it was DAMN clean, especially for 217,795 miles!

49803532701_374ff7af85_b.jpg


49803532691_04bb05f9e1_b.jpg


Also got a closer look at the strut towers. The driver side is worse than the passenger but it isn't terrible... or at least from what i can tell, wont really know until I start grinding. Also looking at the third photo of the driver side tower, it looks like one of the brake lines is weeping at the distribution block... never noticed that before and will definitely have to check that out. I did replace the master cylinder a couple year ago and also replaced the lines and the one line already looks rusted at the connection.

49803532831_9f96b017c8_b.jpg


49802980633_7cc6da84bb_b.jpg


49803532956_85affe74fe_b.jpg


46968819085_c5e74f95ce_b.jpg


And here is the passenger side

49803836757_9f96b017c8_b.jpg


49803532826_b297ec4b31_b.jpg


Should be working on this tomorrow as well, will update with progress.
 

TheOdessa

Member
Joined
Apr 2, 2020
Messages
181
Reaction score
111
Location
Tampa, FL
Thank you!


yeah i am looking into the MM steering shaft, wonder if they ever have a sale as I also need to get their coil over kit


5 o'clock somewhere!


yes i did! I can already tell its a hell of a lot more active than Modded Mustangs lol. It is a shame, that place was great but so dead now.

As for the steering shaft, If you get around to installing that seal/bushing I would love to know how it goes for you. I might as well do it while i have easy access to it. How do you like the MM steering shaft? worth the money?

Apparently it's a swap in but its raining like crazy here and just got done with work. I think it's going to get postponed to sometime this weekend. From reading the Cobra guys love it. I can already tell its leaps and bounds better from stock after opening the box. Here's a picture of it and the box/part number. it's made for a newer mustang.

For me, anything that tightens the steering and makes the car drive better is worth it. The response from it is crazy. It goes from steering like a boat to steering like a go kart. It cracks me up and this is even with the 1/2" slack in it. The steering shaft is expensive but I feel its worth it. You can apparently buy a part that Borg and Werner makes to just replace the rag joint but I didn't want to mess with all that. I wanted a straight out of the box mod. Doing it killed my firewall seal and bearing. Probably because its over 20 years old and a rubber part. I like the solid shaft as well because of my long tubes.

e9tjHy.jpg

k0gqoR.jpg

oTH0Yw.jpg
 

TheOdessa

Member
Joined
Apr 2, 2020
Messages
181
Reaction score
111
Location
Tampa, FL
That rust would drive me INSANE. How are your valve stem seals after being in there? Mine took a crap at 68Kish but revived them using AT205. That was almost 10 years ago. I'm praying they don't give out. Talk about embarrassing as hell though at stop lights.
 

Latest posts

Forum statistics

Threads
77,492
Messages
1,503,733
Members
14,964
Latest member
bs.austin.tx

Members online

Top