2013 Mustang Club of America Edition! Update 01/25/2017

TTSaleen

Active Member
Joined
Aug 12, 2011
Messages
769
Reaction score
332
Location
NC
And so the student becomes the teacher! LOL!

Glad you have it and can see what I was talking about.
I threw all my clay bars in the trash after buying the Nanoskin! It's awesome!

Ryan
 

evilcw311

Most Evil Member!
SN95 Supporter
Joined
May 9, 2010
Messages
7,456
Reaction score
2,136
Location
Louisville, KY
If only I could do this stuff to my car............. :-(


Biggest downfall to satin paint. No claybar, no buff, no polish, no nothing..........


This message courtesy of crapatalk!
 

g36 monkey

Post Whore
SN95 Supporter
Joined
Nov 15, 2008
Messages
14,081
Reaction score
596
Location
Orlando, Fl
And so the student becomes the teacher! LOL!

Glad you have it and can see what I was talking about.
I threw all my clay bars in the trash after buying the Nanoskin! It's awesome!

Ryan

Really glad you showed it to me! Can't wait to finish the whole car!

If only I could do this stuff to my car............. :-(


Biggest downfall to satin paint. No claybar, no buff, no polish, no nothing..........


This message courtesy of crapatalk!

No cry :(
 
OP
OP
g36 monkeys wifey

g36 monkeys wifey

New Member
Joined
Jun 8, 2014
Messages
64
Reaction score
2
Location
Altamonte Springs
It's been a while since I posted and I've done some minor things to the car...

Raxiom Tail Light Sequencer..why, because my lights need to do the cool sequence thing whenever I do anything even though I can't see it...I'm sure the people behind me get as much joy out of it as I do.

Trunk mat!


Getting her ready to install a BMR radiator support and Boss front sway bar...


I was actually allowed to help unbolt things on my own car this time! This was the aftermath. Wooo!


This guy here is measuring the new sway bar just to make sure it's different than my stock one. This only took about 30 minutes and he ended up involving a neighbor...


It looks so purtty under there


Yesterday, we installed some KONI STR.T Rear Shocks.


That's all the excitement I have for my car for now...
 
OP
OP
g36 monkeys wifey

g36 monkeys wifey

New Member
Joined
Jun 8, 2014
Messages
64
Reaction score
2
Location
Altamonte Springs
New license plate to poke fun at people!


Also now have a GT/CS spoiler. This thing is as big as me =/ Need to drop it off for paint one of these days and then figure out how to have this and hookup the factory backup camera that came with the car...Soooo, if anyone is good with wiring and can offer some tips/help let me know.


g36 monkey

Post Whore
SN95 Supporter
Joined
Nov 15, 2008
Messages
14,081
Reaction score
596
Location
Orlando, Fl
Alright, it’s about time for an update!

Since our last update, we have done a few things. Around Christmas time, we went ahead and popped an aluminum 1-piece drive shaft in. This helps with safety, and shaves about 18 pounds of rotating mass. Only thing that hurts is the price tag!

No pics of that install unfortunately.

Then, we took the car to a couple events:

22831370068_116451a953_h.jpg


25373917659_6eb6a6983f_h.jpg


However, this past weekend, January 21, 2017 is where the fun began.

Finally pulled the trigger on some ported intakes for the car from Super Six Motorsports. Tom is still the man, he is super helpful and still remembered me from way back when!

There was a slight leak from the header on the passenger side, and it was irritating. The real trick to tackling the headers is to remove the starter and the upper intake. My thought process was, if we are taking off the upper, may as well use that time to go ahead and do all the spark plugs since they are easy to get to. Not only that, may as well do the lower intake and a radiator flush as well, you know, since we're in there.

So, one thing led to another, and there we were.

Here are some pics, and of course, some narration.

31010012895_30fdab3fa4_b.jpg


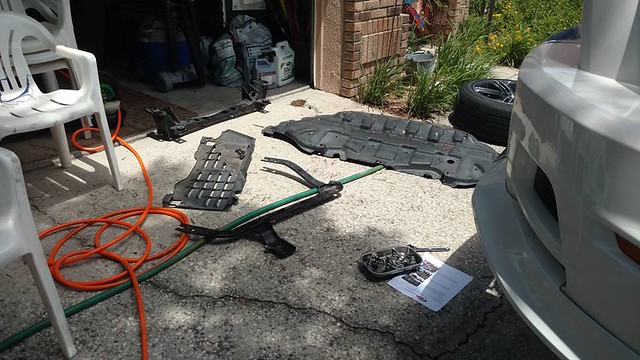
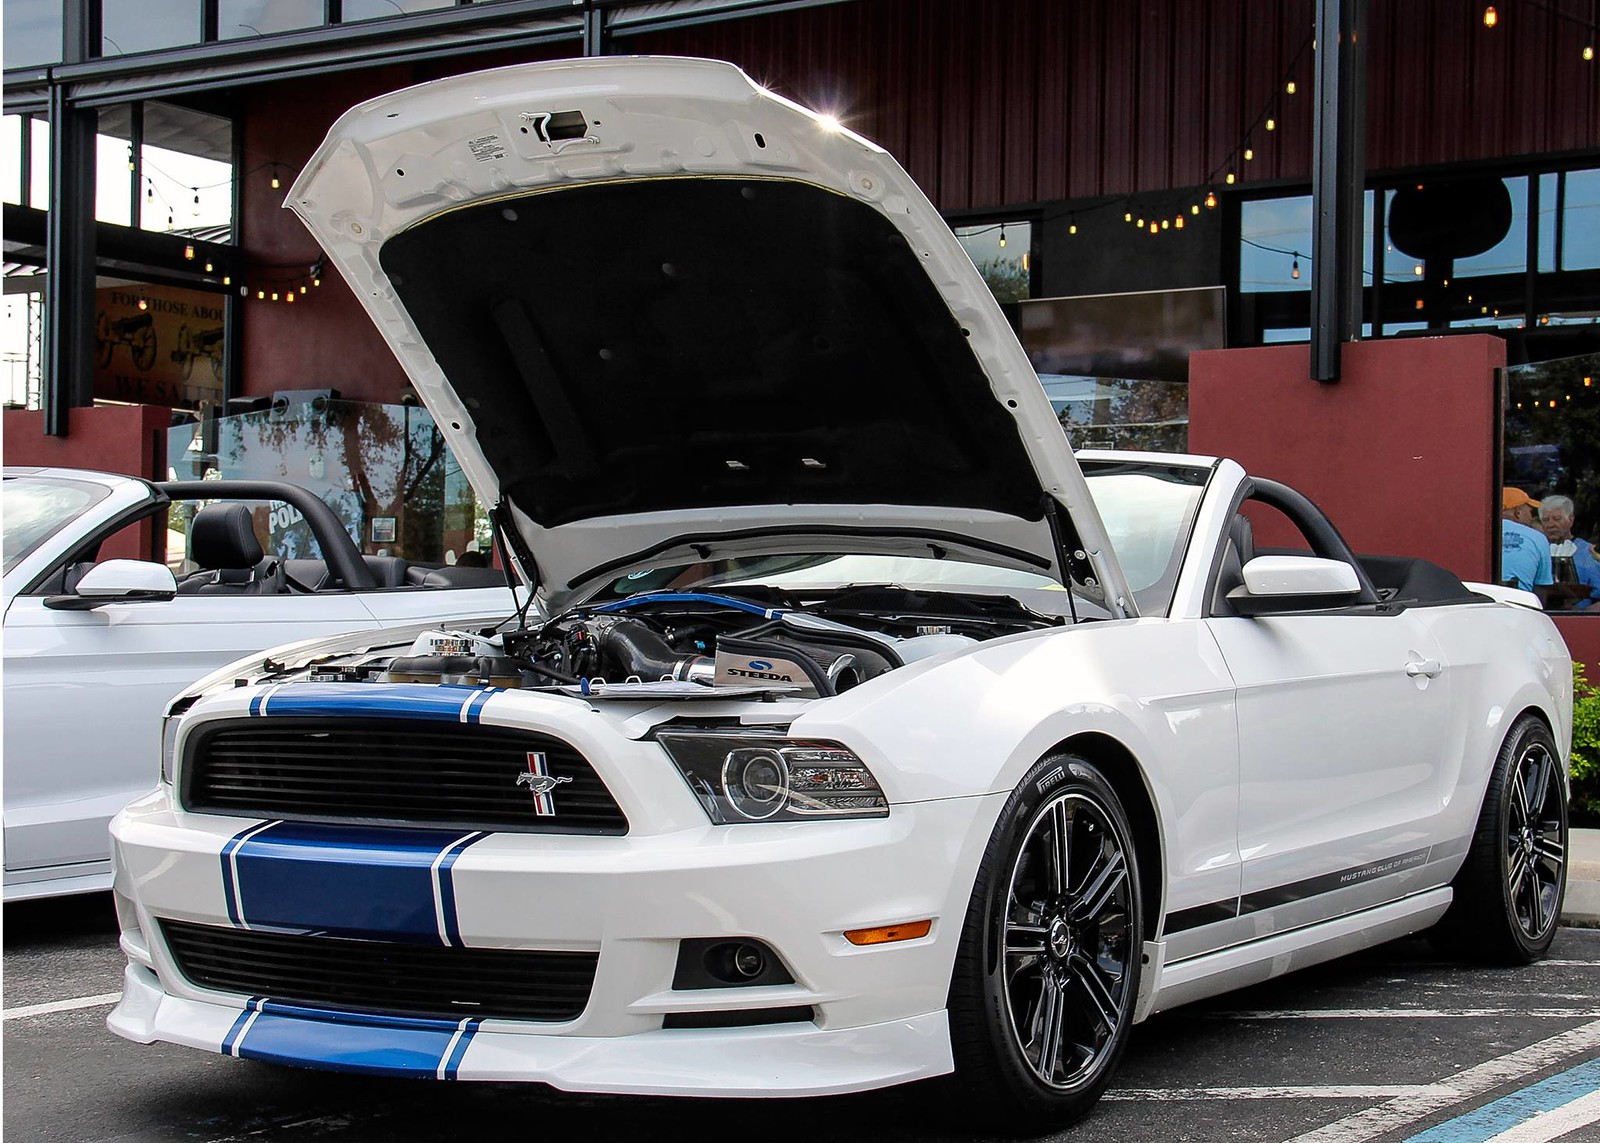
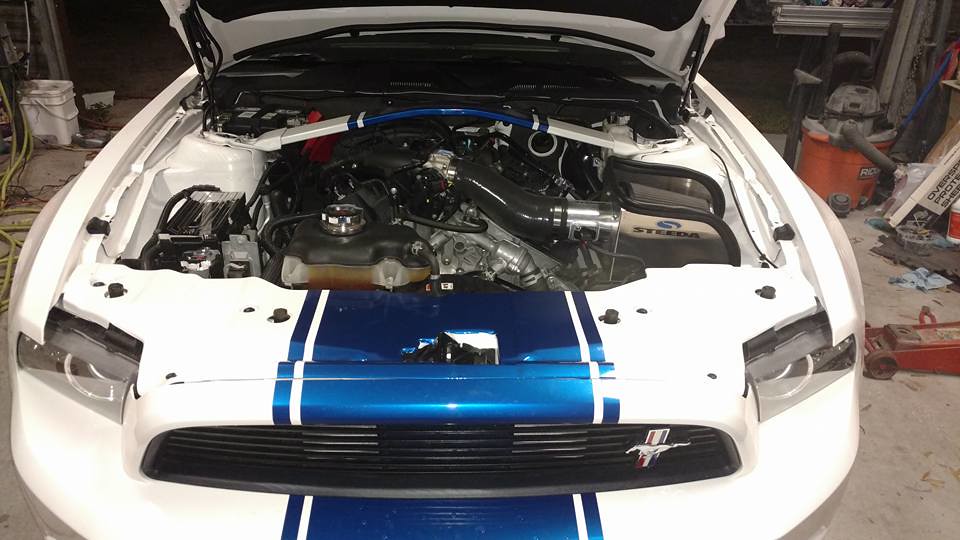
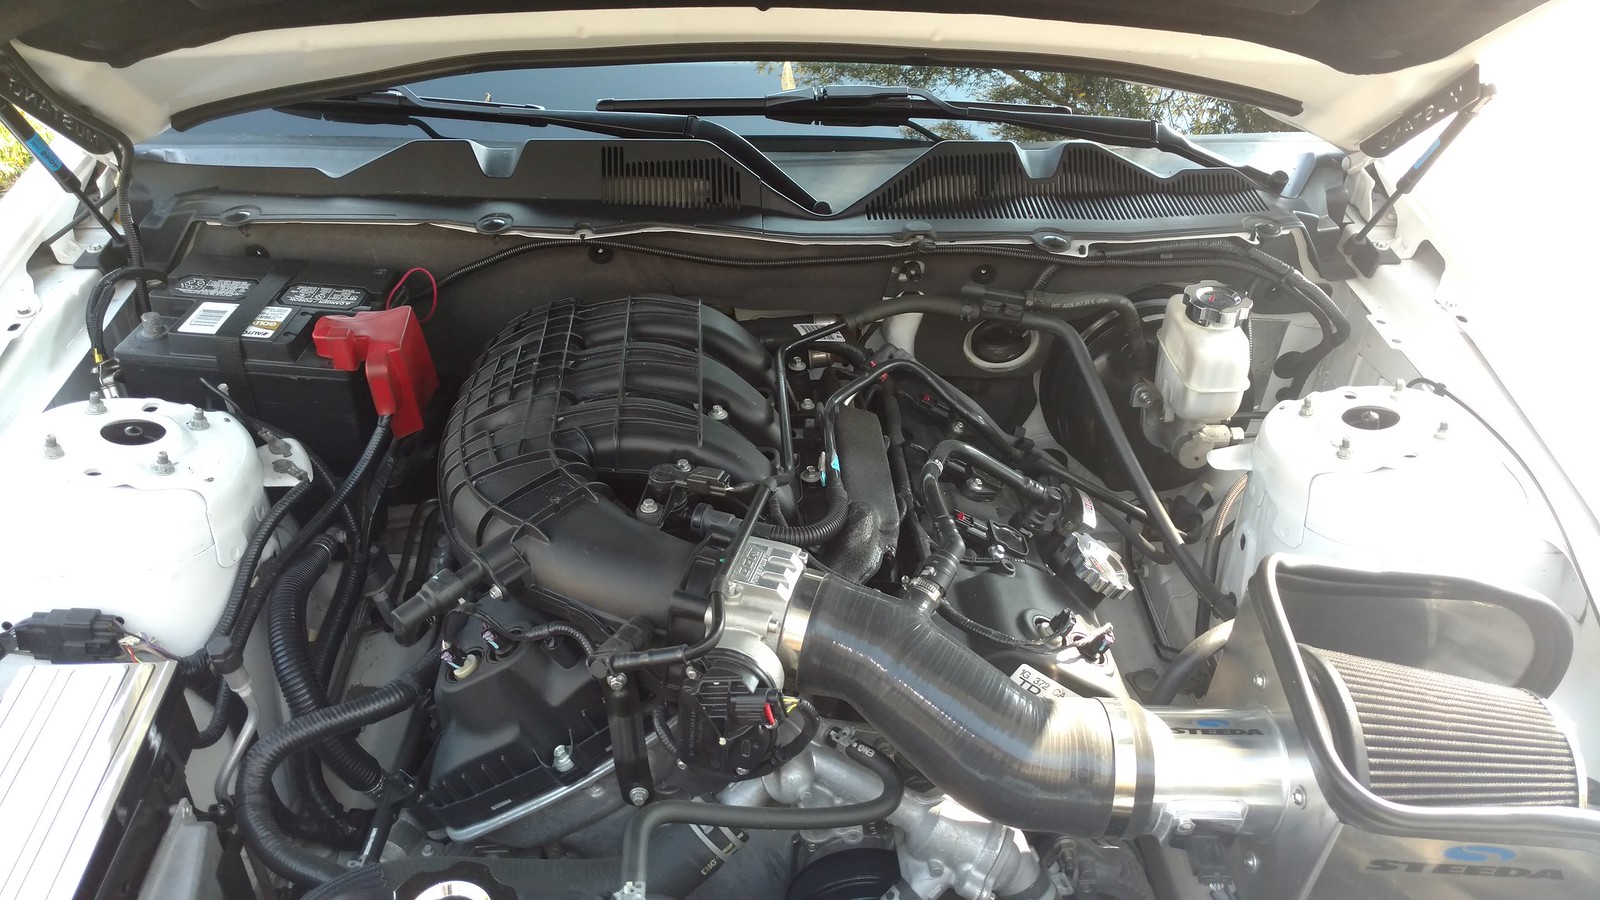
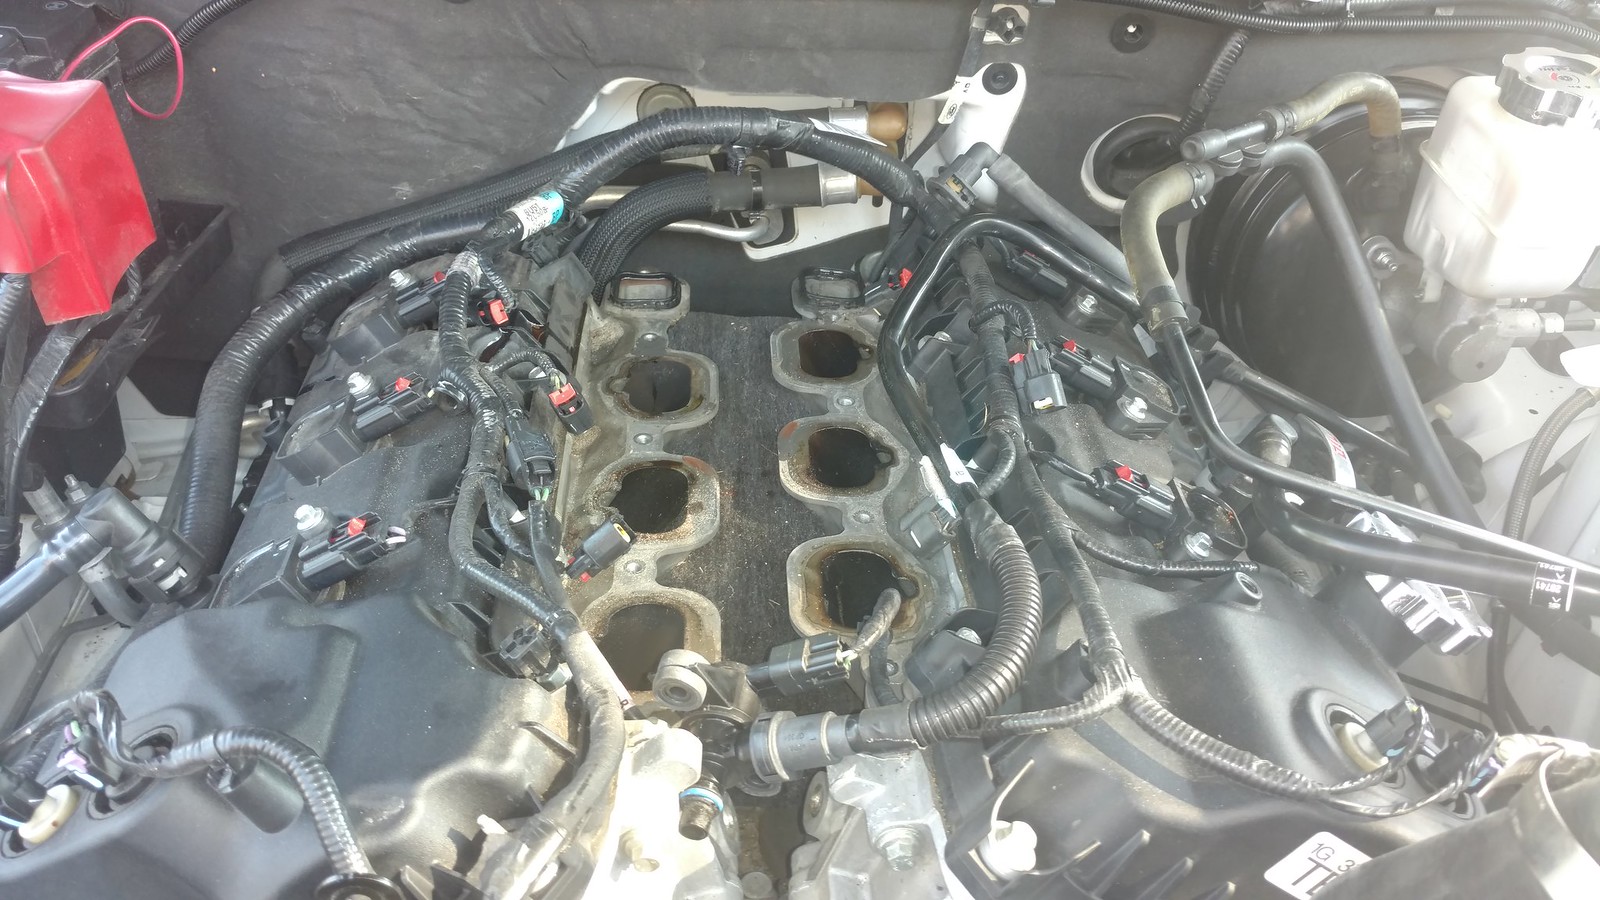
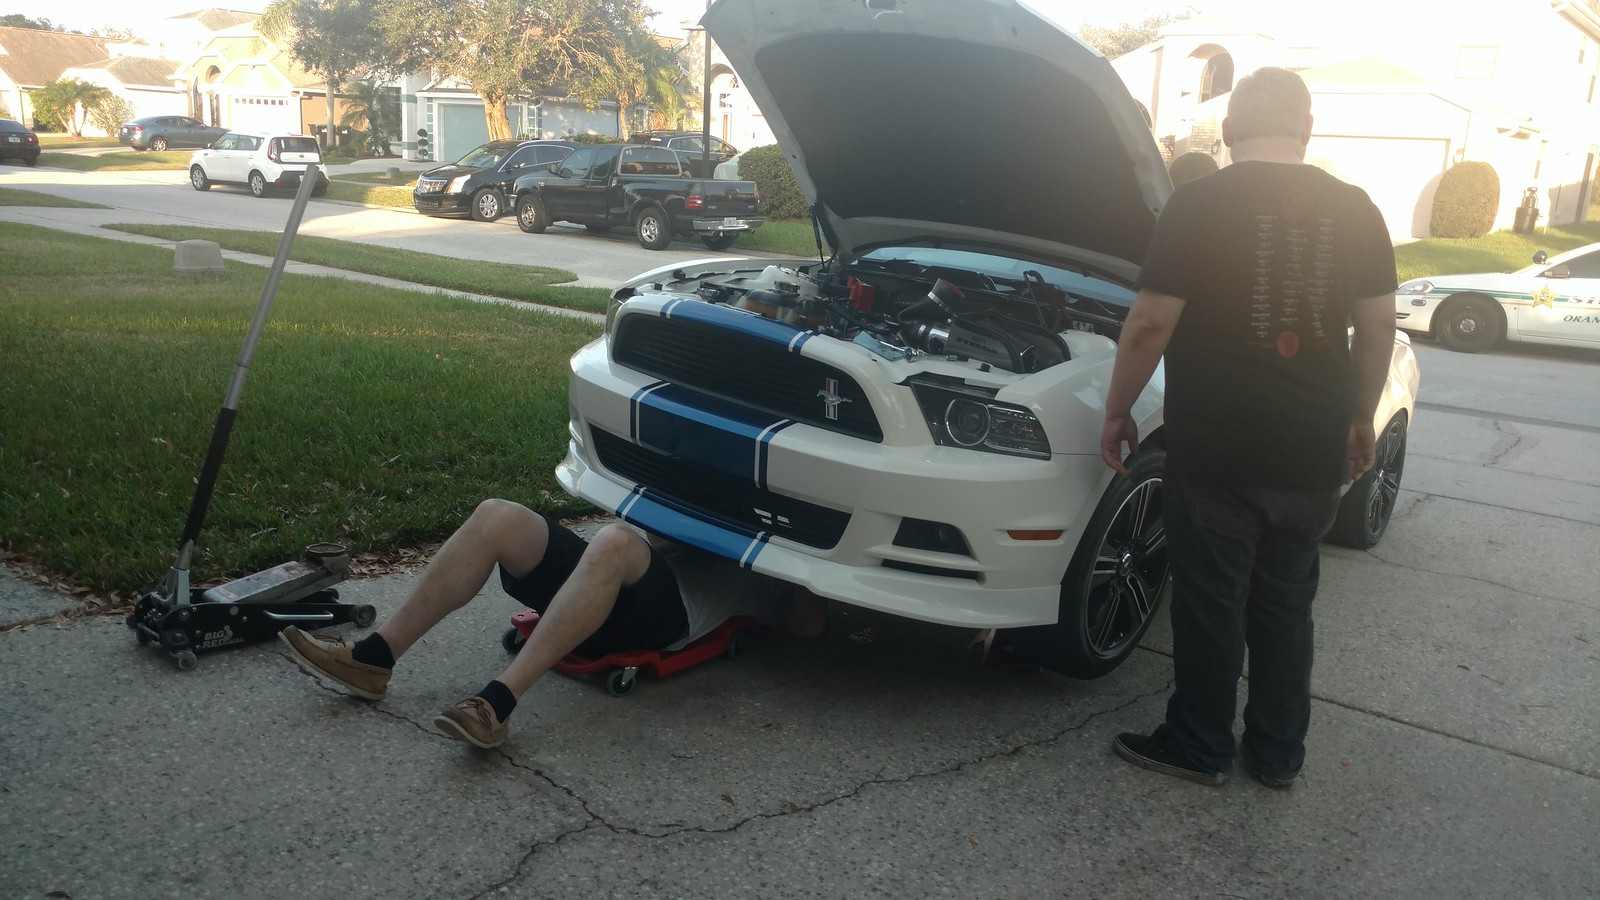
This is an older pic, but this is more or less how we started the day.

32071879250_9218f06c7e_h.jpg


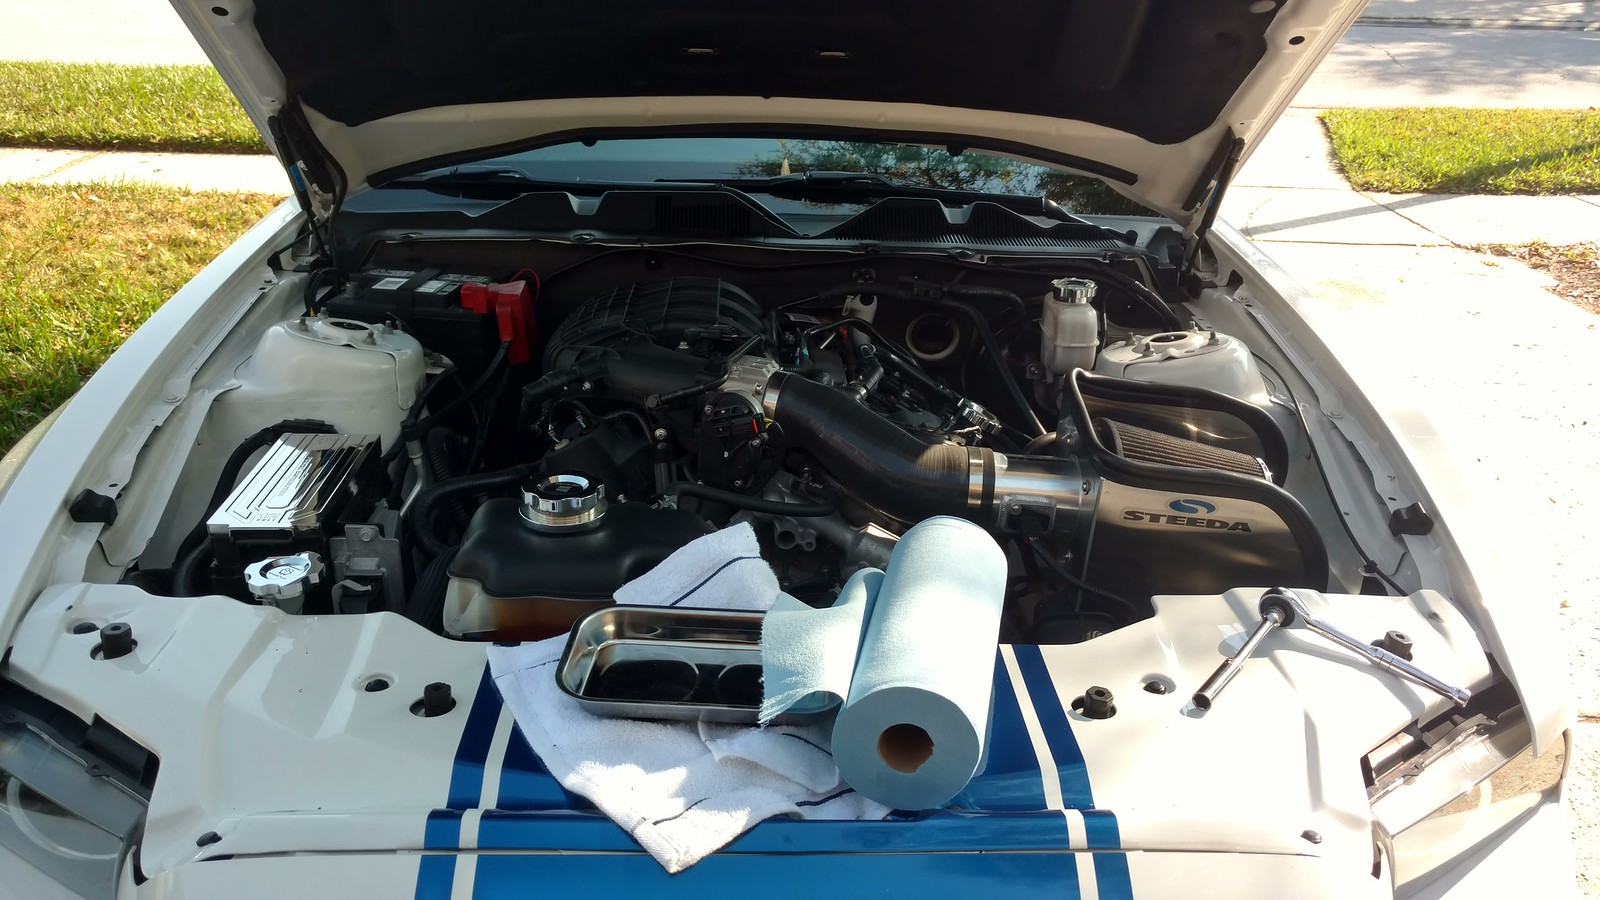
Got the essentials out, you know, a magnet bowl and some shop towels. Also, removed the strut tower brace.

32450136345_952b82e4a8_h.jpg


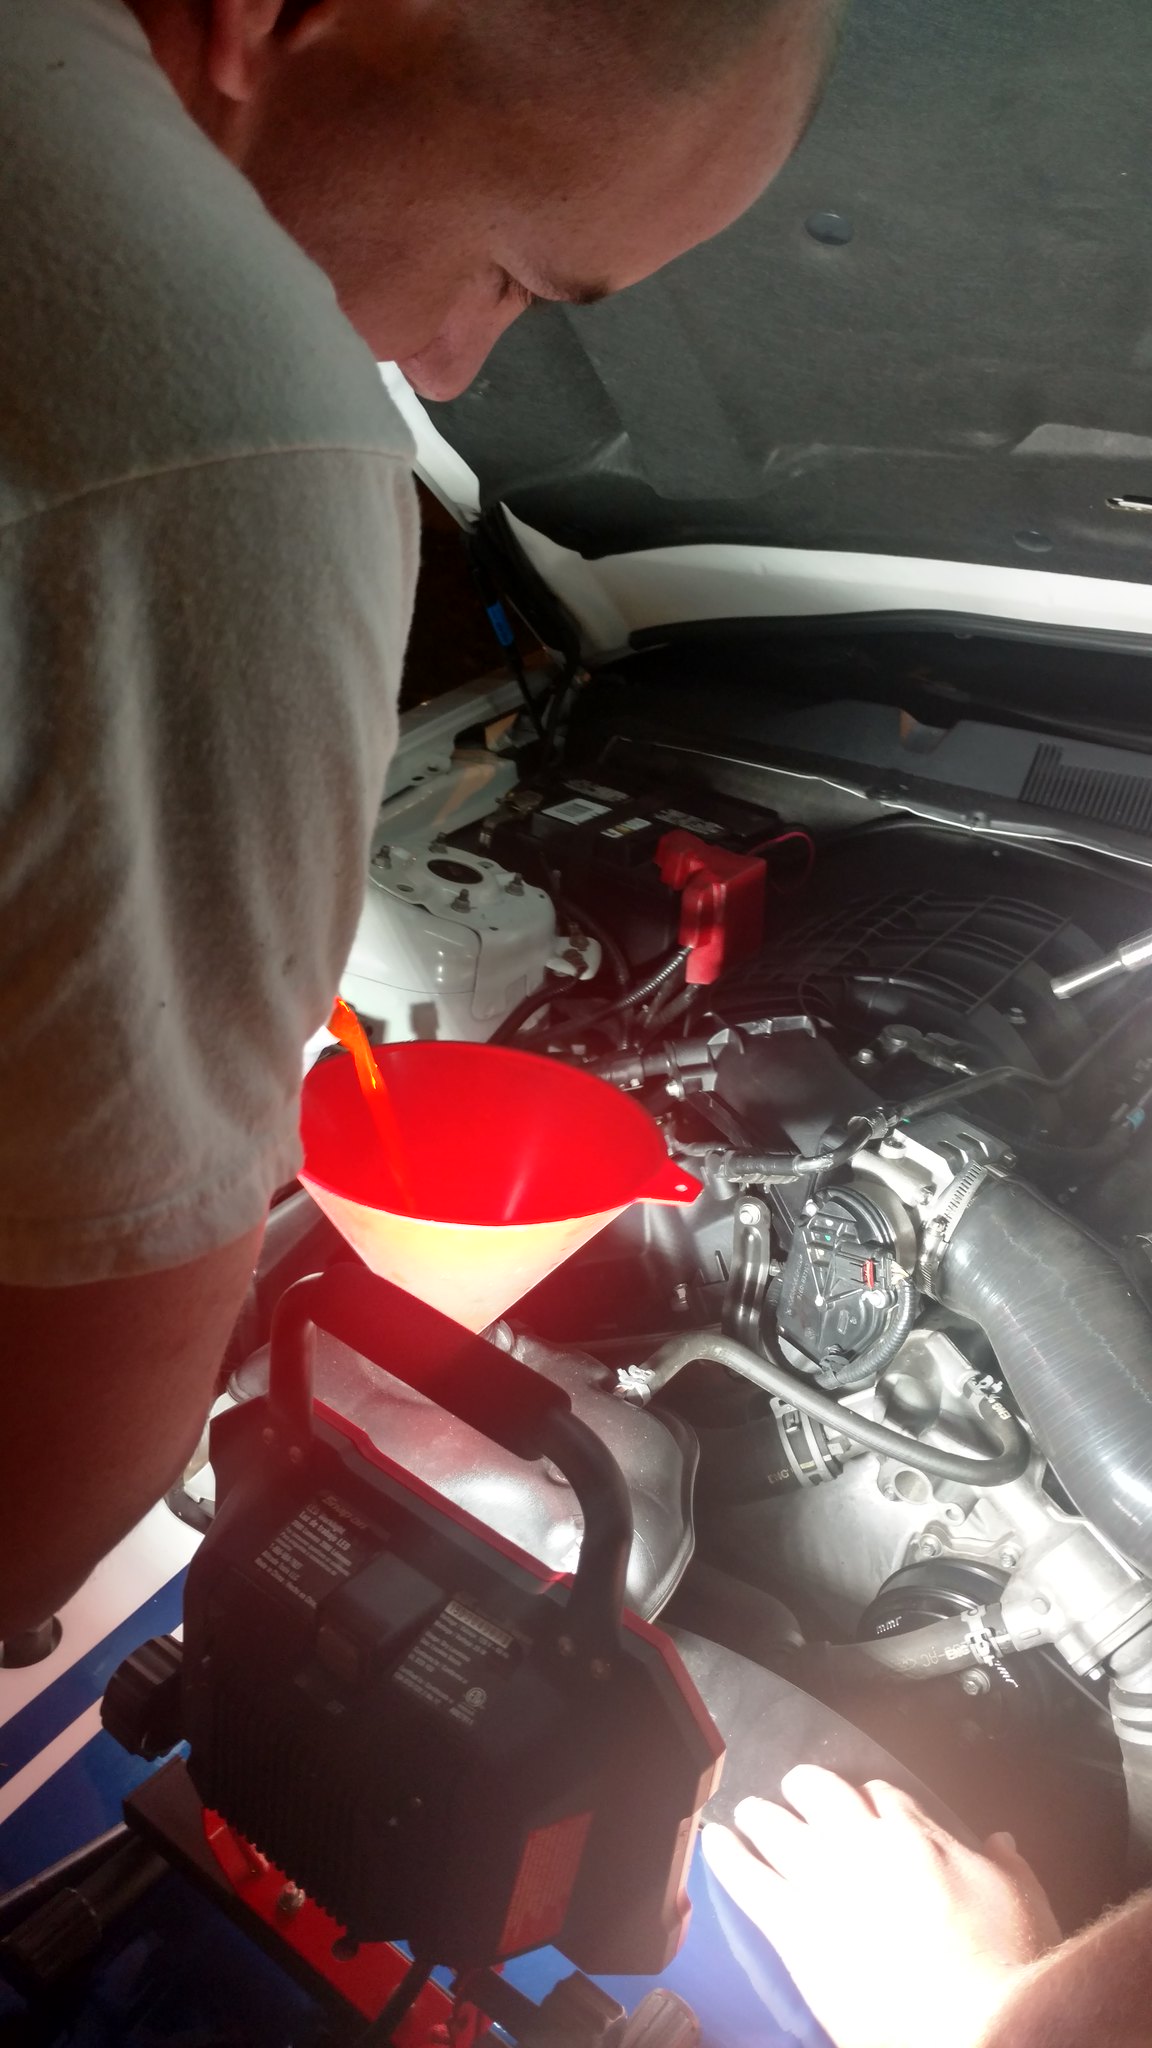
Draining the radiator

32450140505_4ab35c2d10_h.jpg


Before we touched anything else.

32450130655_59d3945370_h.jpg


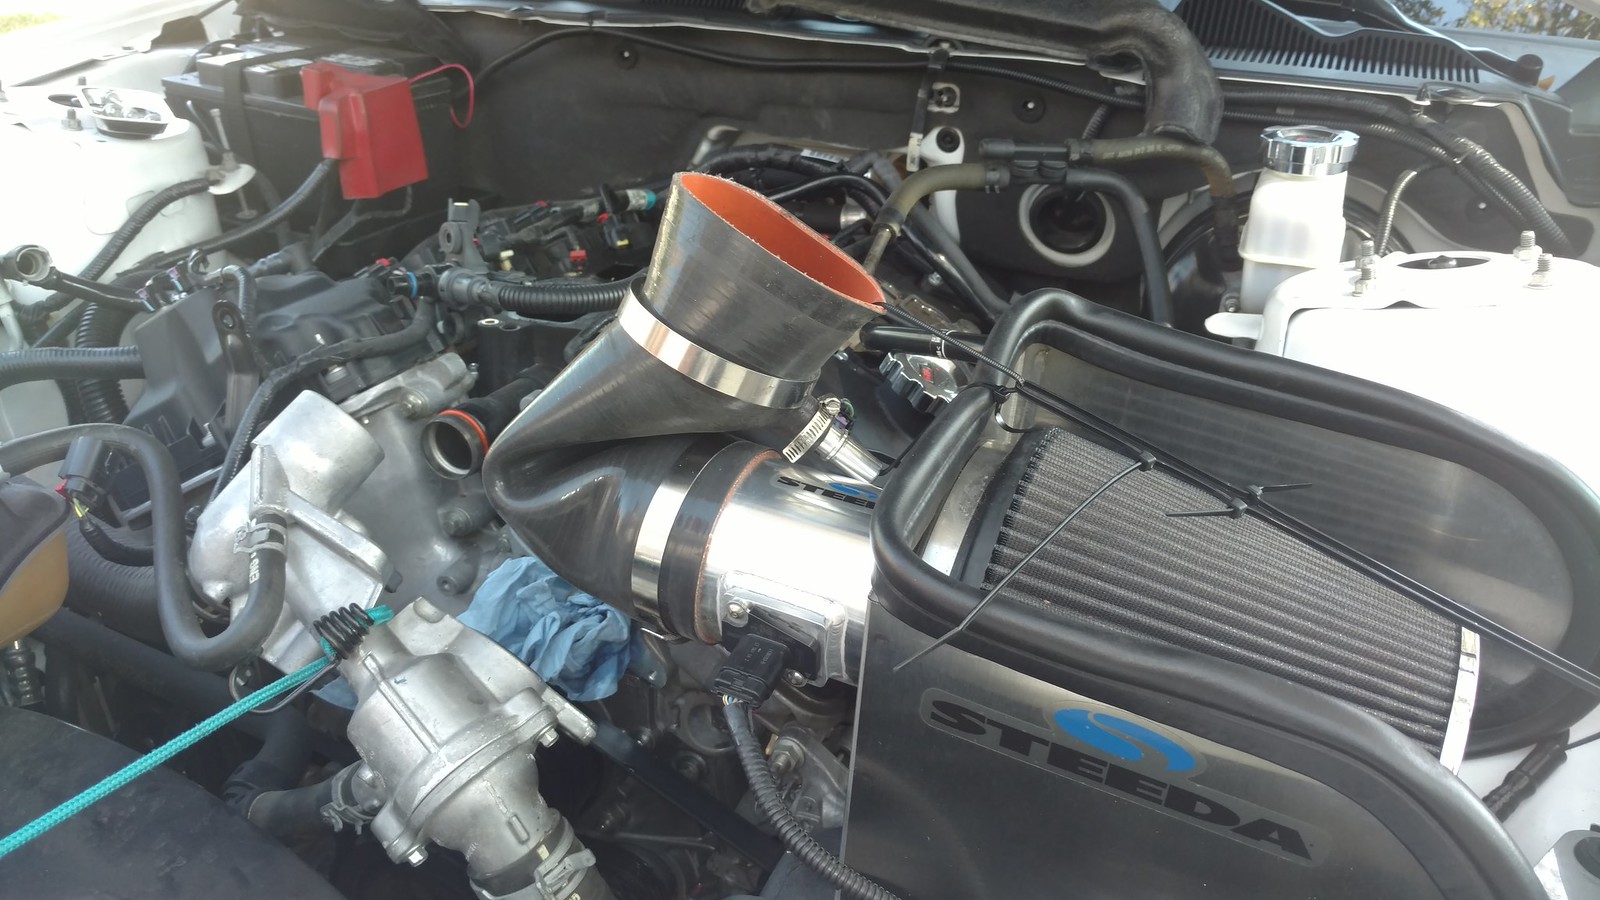
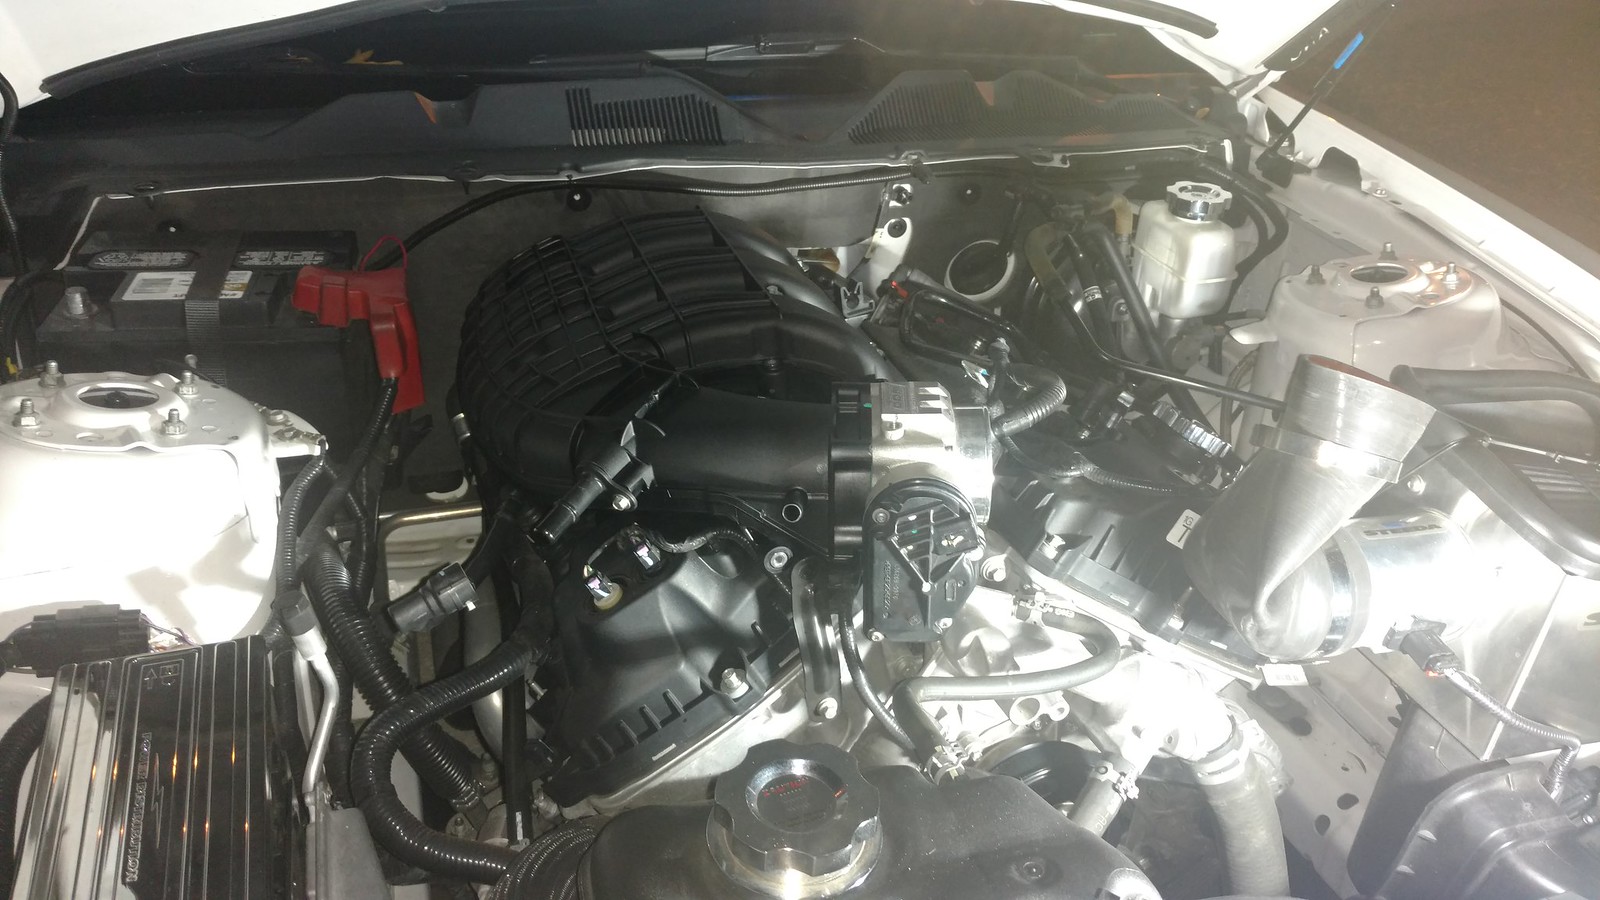
Custom method to hold the intake tube out of the way, as well as the thermostat housing.

32298966462_a5b72764d4_h.jpg


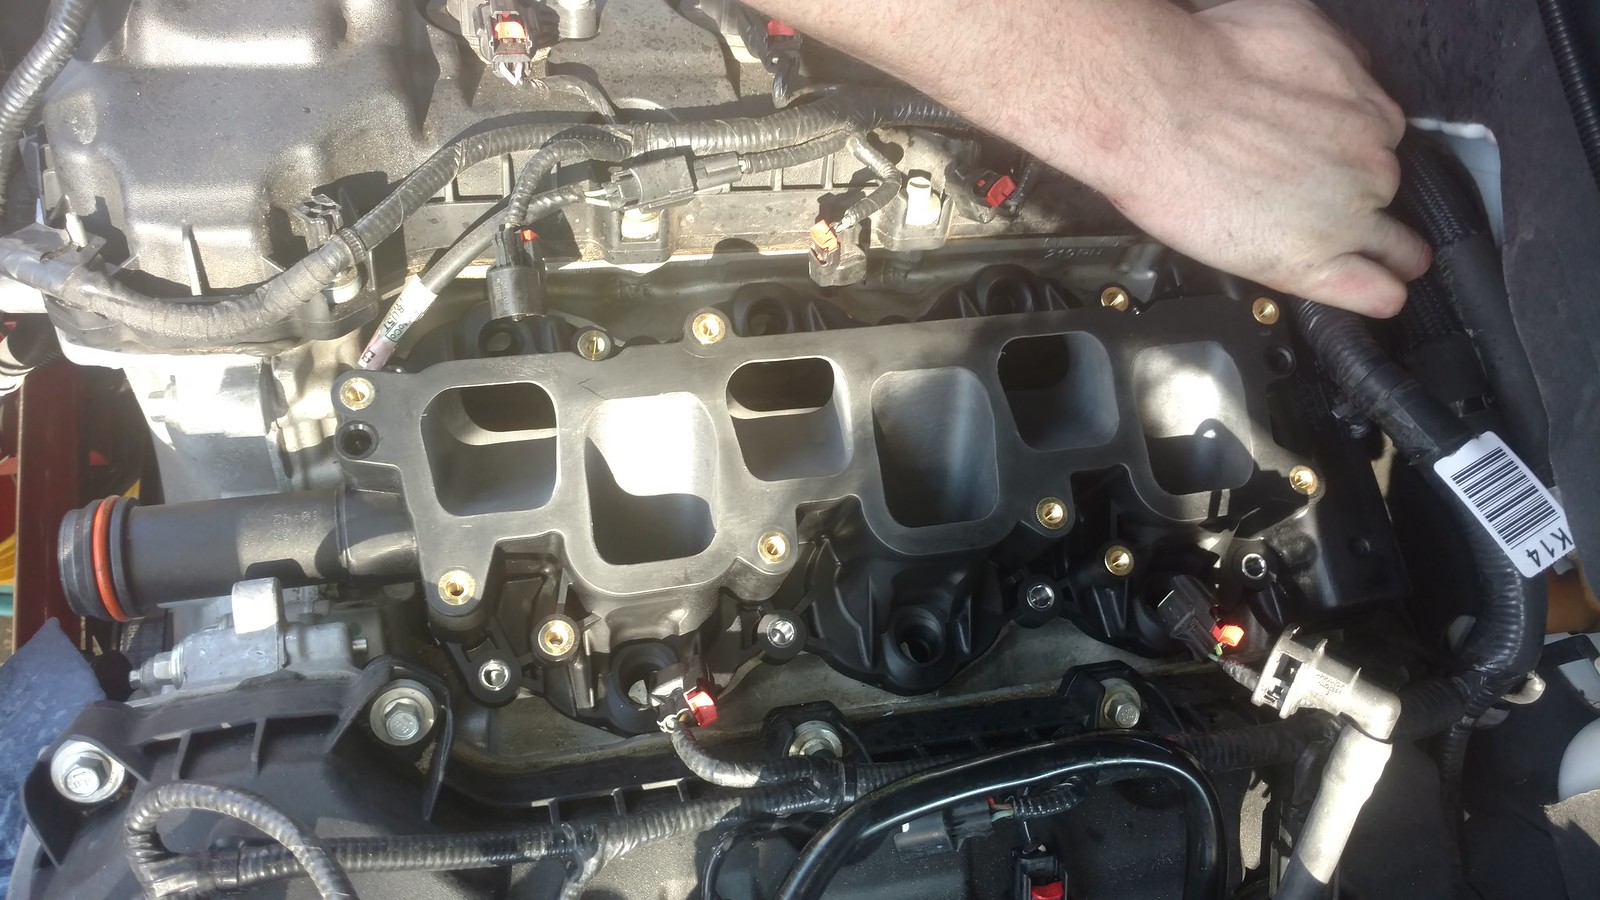
Coaxing the intake out. Pretty easy overall.

32071866630_d940853224_h.jpg


That was a cake walk.

32450132955_68d10d537f_h.jpg


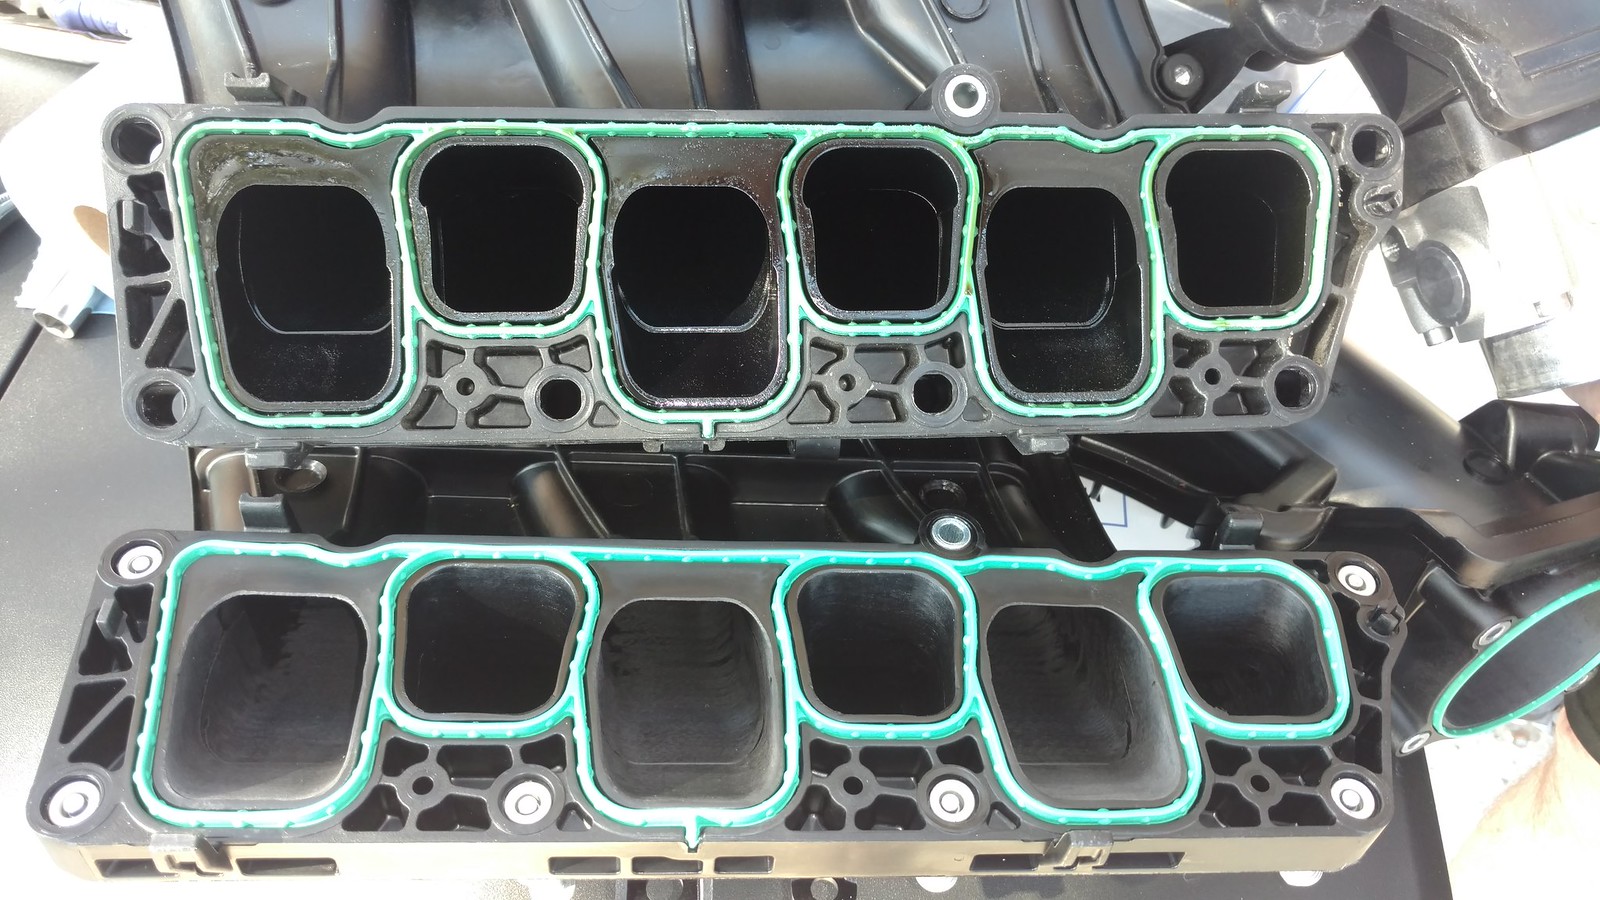
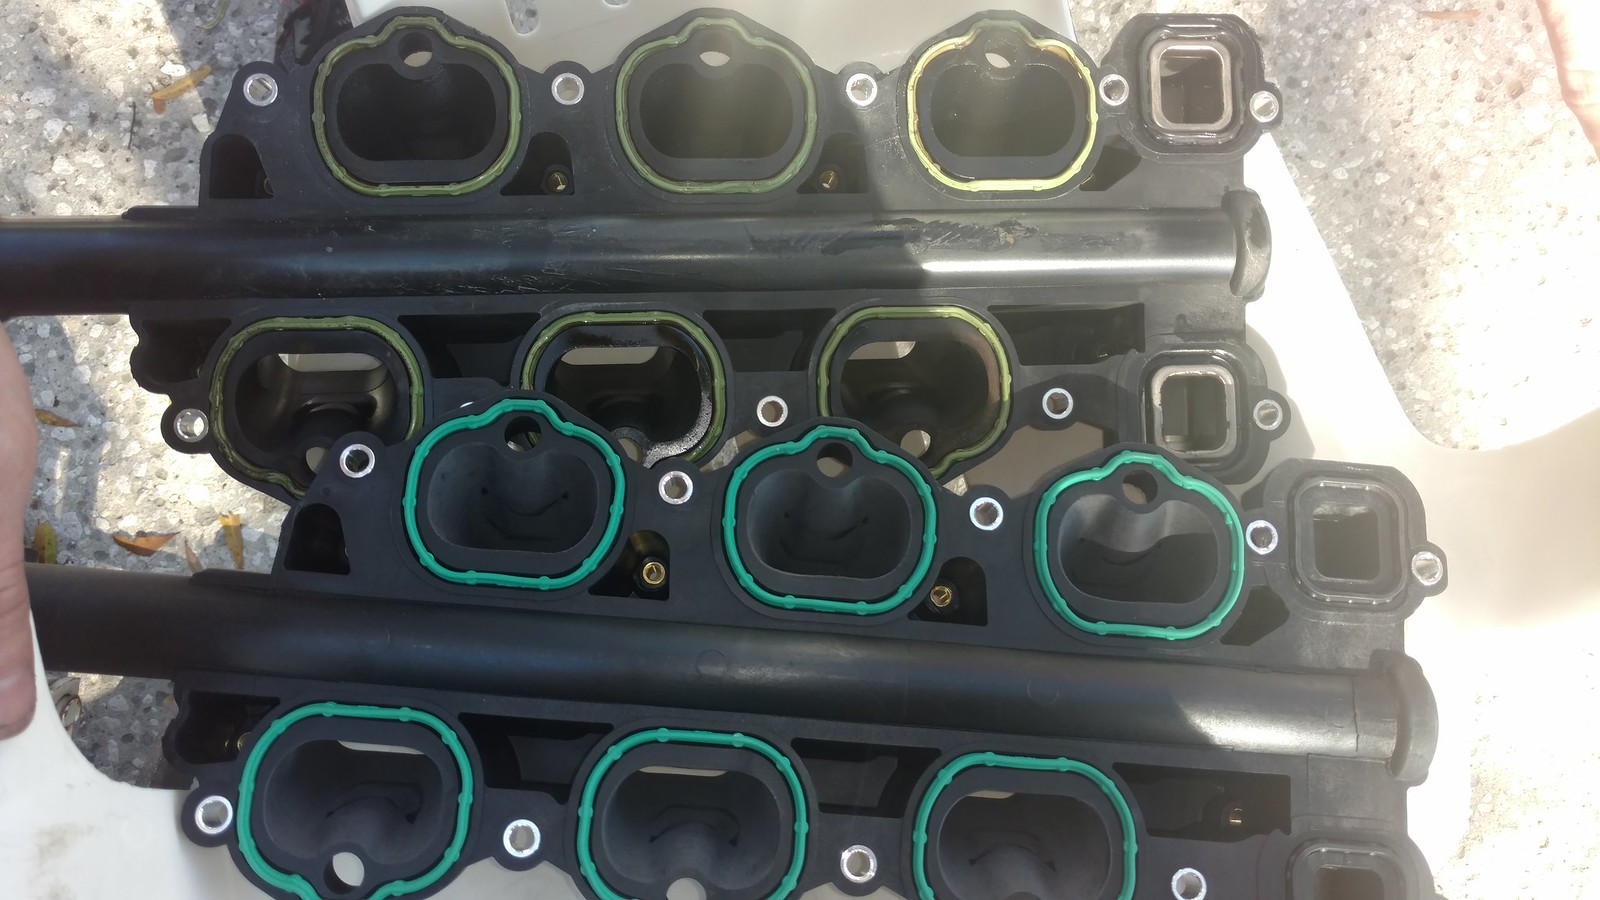
Here is a side by side of the old intake next to the new one. You can definitely see the difference in porting. Super Six claims a pretty healthy gain in CFM from this.

32071837750_f41615d9eb_h.jpg


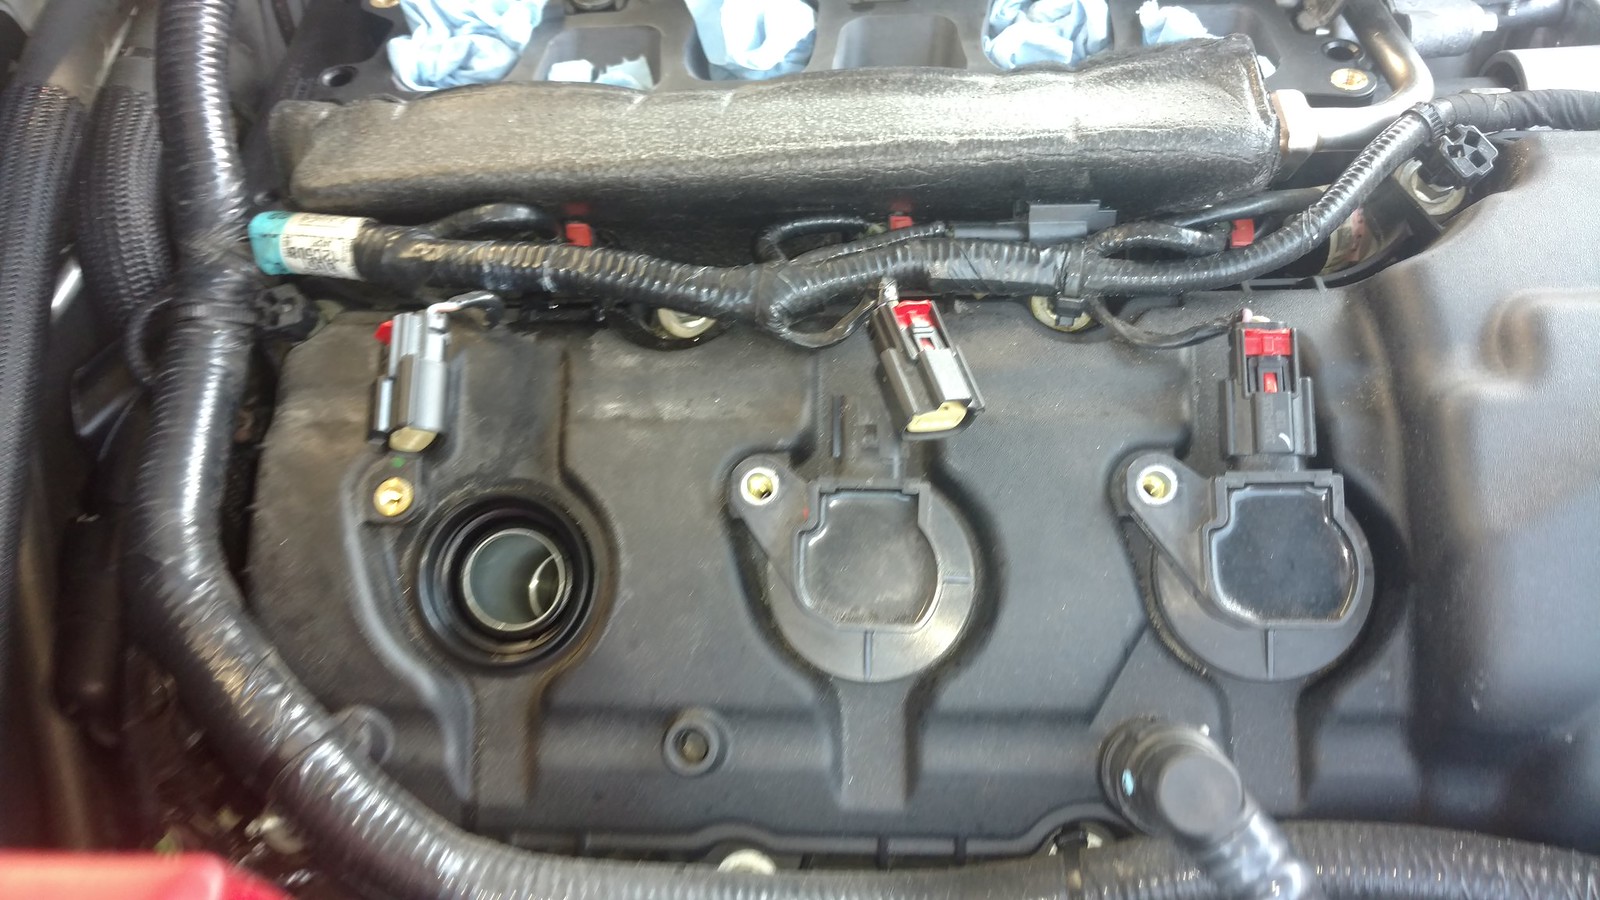
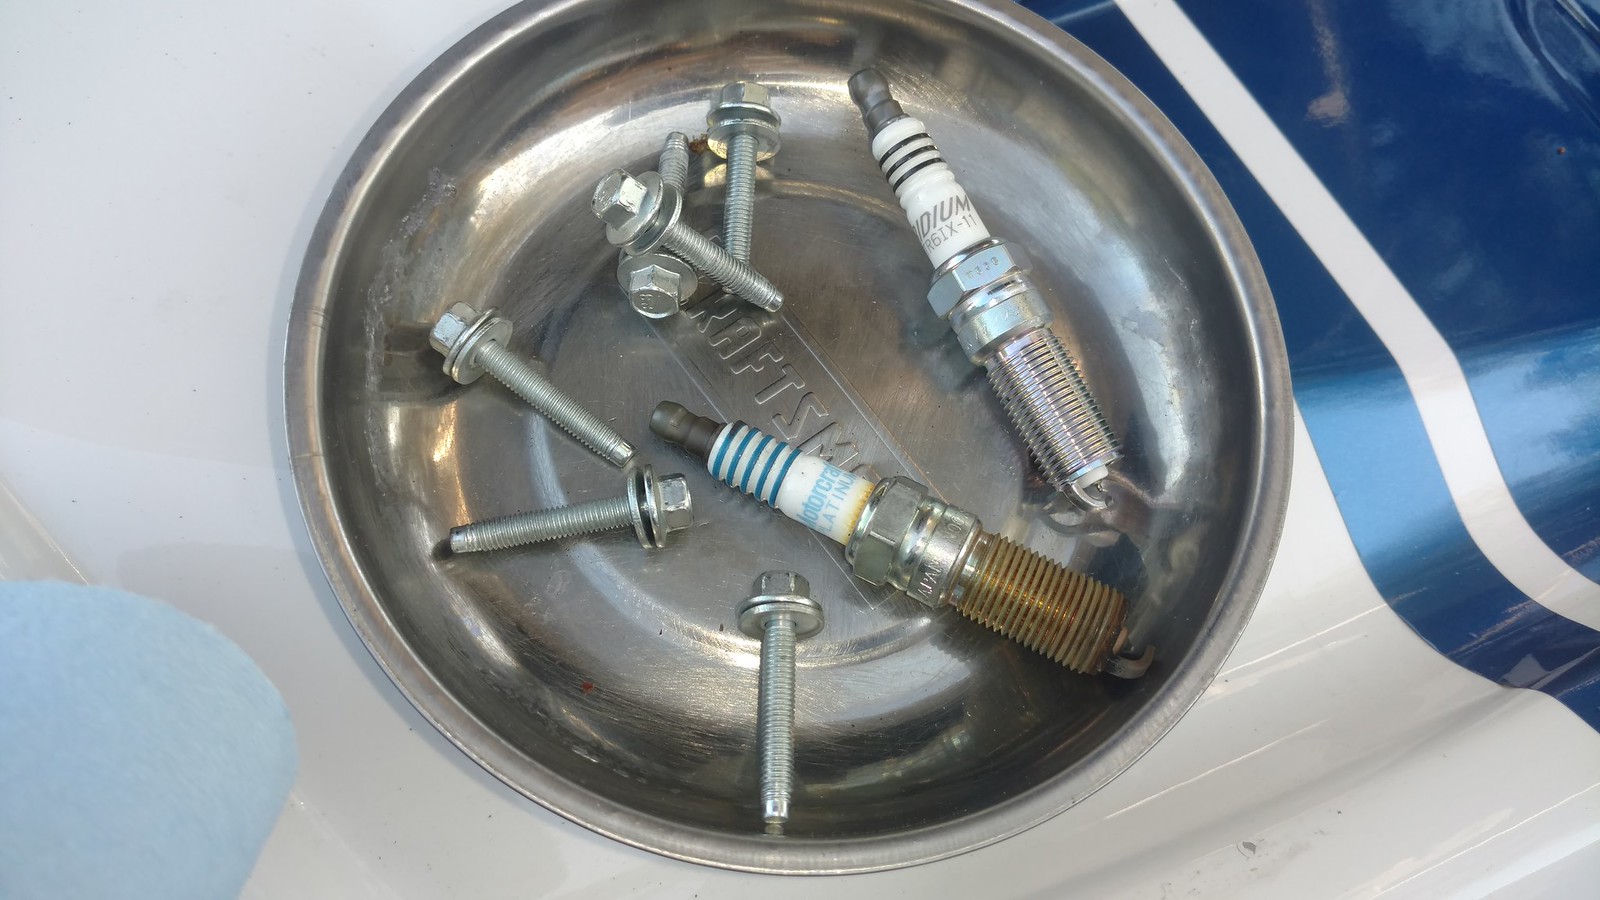
With the intake off, it was time to start pulling coils and changing plugs, and of course cleaning up some of that dirt.

31638251843_262feb2d02_h.jpg


56,000 Mile platinum, next to the nice new Iridium.
 

g36 monkey

Post Whore
SN95 Supporter
Joined
Nov 15, 2008
Messages
14,081
Reaction score
596
Location
Orlando, Fl
Of course, there's more:


32450129365_5d96dbca04_h.jpg


After pulling the lower. Sorry no pics of this! The hardest part is the crossover pipe on the back, the little clip that holds it on is a but cumbersome. After much wailing and gnashing of teeth, it came right off.

32409882986_baf9995abb_h.jpg


A side by side of the new lower compared to the new one. I'll let you guess which is which.

32450123745_1331a4293b_h.jpg


With the intakes off, it was time to do some cleaning. Not pictured, we pulled the fuel rail and cleaned each injector individually, re-oiled their O-rings, and cleaned the rail. Also, the guy in this picture is a STUD!

32409874926_8daf578e6e_h.jpg


The new lower, in its' place!

32409872596_7418765a7c_h.jpg


At this point, we decided to raise the car a bit more to help getting to the headers like I mentioned earlier. Also, look, [MENTION=11091]atlanticblue98[/MENTION] showed up to play!

32409911156_a8e54b1932_h.jpg


Not high enough to get comfortable with that creeper unfortunately!

32071833410_0a5777ca1d_h.jpg


The struggle of loosening the starter bolts! No room to work, and of course they were put on by the hand of God.

32450114715_43ae2dcce1_h.jpg


Jolly helping out to snug the header down. It was loose exactly where I suspected, and without removing all this crap, we would have never been able to touch the last two bolts!

31638245523_ac8d16055e_h.jpg


The nice new upper in place!

31606610344_ccf9690571_h.jpg


Connecting all the hoses and sensors. One of my coworkers also showed up to help!

32071827600_d11817bc03_k.jpg


The last step: adding coolant.

We took a video of it all started up, bear in mind it's a 3.7L DOHC V6. It is prone to rasp, but I think we have done a really good job of mitigating that and making the car sound pretty throaty!

https://m.flickr.com/photos/2013mca/31641689933/play/

The car feels a lot stronger. Everything seems to operate more smoothly and happily.

Planning to take it to Test N Tune tonight to see if we can break our current record of a 13.9. Not bad for a 30 MPG convertible daily driver at full weight (actually more than factory if you count those heavy wheels!)

The butt dyno can feel the mods, so I'm hoping it pans out on the track!

Thanks for looking :)
 

Forum statistics

Threads
77,511
Messages
1,504,061
Members
14,980
Latest member
TreeScholar

Members online

Top