afghanibob's 1995 Cobra build up---(2021) - things got out of hand

OP
OP
A

AfghaniBob

Member
Joined
Jun 19, 2007
Messages
130
Reaction score
20
Ever wanted to know if 315's will fit on the back? Well they will BUT I used a M-1007-R58 17X9 wheel with a 1.5" added into the bs. With a .25" spacer this is what happened.
20120418_101050.jpg


$230 after tax and a new tire later it went back on the road. Sucks, this tire only had dyno miles on it. Oh, well.
 
OP
OP
A

AfghaniBob

Member
Joined
Jun 19, 2007
Messages
130
Reaction score
20
Cause leaving well enough alone is just not my style; started installing the A/C and making my own lines.
I found a company that is local that stocks a TON of fittings for what I am about to do.
http://www.airproair.com/pdf/illustrated/Fittings-new.pdf
The plan is to find the largest condensor that is a true parrallel flow system because they are so much more efficient than the Ford fin type. I ended up with a '99 GM F Body condensor. $120 from Autozone. The problem is the condensor has the wrong type of connections to work with the Ford springlok fittings. Perfect, I am making my own lines anyway. I only need to hit the pick and pull yard to get some donor ends to weld to. More on that later.

I picked up a new compressor since mine has been off for several years now. Might as well shell out the $200 now for one I know (it better be) is good vs risking my old one being ridled with condensation inside and causing me problems after it is all together.
I also picked up a nifty little universal line block for the back of the compressor. Say good by to the old style line set and hello to routing the lines how ever I see fit. The block cost me $34.
20120526_124015.jpg

20120526_124003.jpg

The line attached is just a spare piece I scavenged to use to match the threads. It will be replaced with a 45* hose end crimped
20120526_123935.jpg

You are gonna have to imagine the block is down another inch but look at all that room it gives me now. The old line set puts the lines right against the header primary and that is after bending the lines to the point of breaking.
20120526_123844.jpg
 
OP
OP
A

AfghaniBob

Member
Joined
Jun 19, 2007
Messages
130
Reaction score
20
Zip ties, zip ties and more zip ties. :rofl:
Half my AC lines were finished on Friday and I had an opportunity to get the install near completed. All I lack is the liquid line from evap to condenser and the line from compressor to condenser. Should be done and I just need to pick them up tomorrow.
20120603_130204.jpg

I relocated the breathers and the evac pump to the rear of the car since I had so much room on the sides of the fuel tank. Mounted to a plate which is on studs to make pulling it off in one piece a simpler task.
20120603_130139.jpg

Yes I need to peel the plastic protective sheet off the aluminum plate still.

20120603_130131.jpg

Notice the roll over fuel vent too. It comes out of the tank and goes all the way up to the body over the axle to get height out of it before bringing it back down. Now the test will be when I fill up, fuel doesn't come out the vent. :rolleyes:
I used a clear nylon 3/4" ID tubing from Home Depot to span the distance from the firewall to the breathers in the back of the car. This will also let me see if oil vapors are turning back to liquid in the line and keeping the system from breathing.
The pump got moved also. It took me a few rounds to get the angle and mounting right but I think it looks fine and in theory, should work fine (like before).
20120531_213426.jpg

20120531_183857.jpg


Jesse James is not the only guy that can bend metal without a brake, I can too. :rofl: My results just aren't as nice. I made a little plate to mount the FPR.
20120531_212545.jpg
 

MustangChris

Post Whore
SN95 Supporter
Joined
Aug 20, 2008
Messages
27,425
Reaction score
910
Location
Aurora, CO
awesome build man.

i know how you feel with the zip ties! Lol. been there, done that.
 

white95

Apex Junky
Admin
Joined
Dec 30, 2007
Messages
20,615
Reaction score
8,752
Location
Prairieville, LA
Bob!! Glad to see you're still plugging away on your build! You make it back stateside on a more permanent basis?
 

ProKiller

Well-Known Member
Joined
Jan 27, 2006
Messages
3,070
Reaction score
200
Location
PA
just read through this whole thing. absolutely amazing. best build i've seen in long time.
 
OP
OP
A

AfghaniBob

Member
Joined
Jun 19, 2007
Messages
130
Reaction score
20
The wheels were widened by Wheels America in Dallas. They have places all around the US. To widen 2 and completely refinish 4, fixing some curb rash along the way cost me right at $900. I am happy as hell with the finish on them. They turned out great. I hunted for months for a brand new set of m-1007-R58 wheels but of course being discontinued, my search left me with a bunch of used junk. I got a smoking deal on these four and it justified the $900 for refinish and widening.

I made it home to a local job for all of 9 months in 2012. Actually just got back to Afghanistan, October 2012.


Thanks for the compliments guys. It took a lot of work to get it here. Little problems turned into engineering projects. Even getting the throttle to work (new Lokar cable flipped around) the way it is turned 90* was a challenge.

Next up is to move the coils out of sight (maybe), pull most of it back apart for powder coating, and turn the boost up closer to 20#s to see if we can hit 900+ at the rear wheels.
 

9838stang

Well-Known Member
Joined
Sep 13, 2010
Messages
2,563
Reaction score
204
Location
Minneapolis,MN
Wow i sat here looking at the entire thing. and just wow. i love everything about the car! very well done and keep the work up!

You think you will add another turbo? looks like you have the room?
 
OP
OP
A

AfghaniBob

Member
Joined
Jun 19, 2007
Messages
130
Reaction score
20
Thanks guys. I am working on redoing the cluster and all my gauges next.

Something like this. Autometer Phantom II tach and speedo and few others but keeping my AEM Fuel PSI, Boost (controller) Gauge, Air Fuel, water temp and oil psi.

Finalcomplete.jpg
 
OP
OP
A

AfghaniBob

Member
Joined
Jun 19, 2007
Messages
130
Reaction score
20
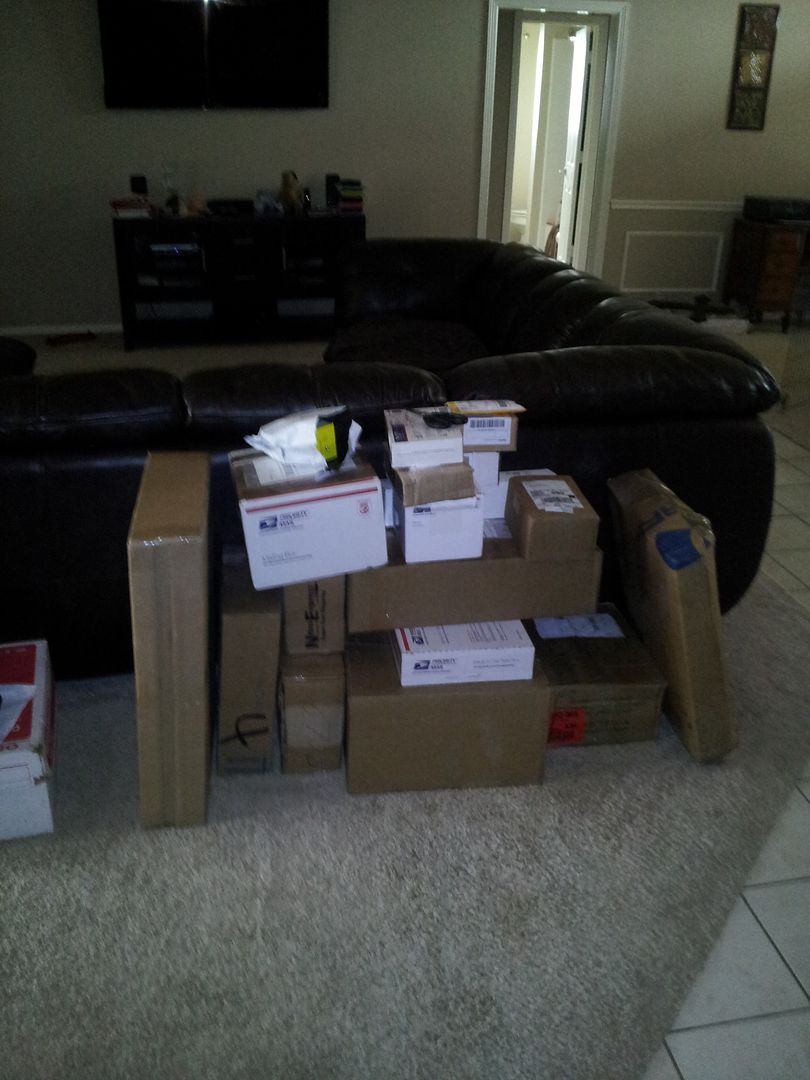
Unpacked mound of parts. Sad thing this is minus a few big boxes by the door still.
20130407_161510.jpg

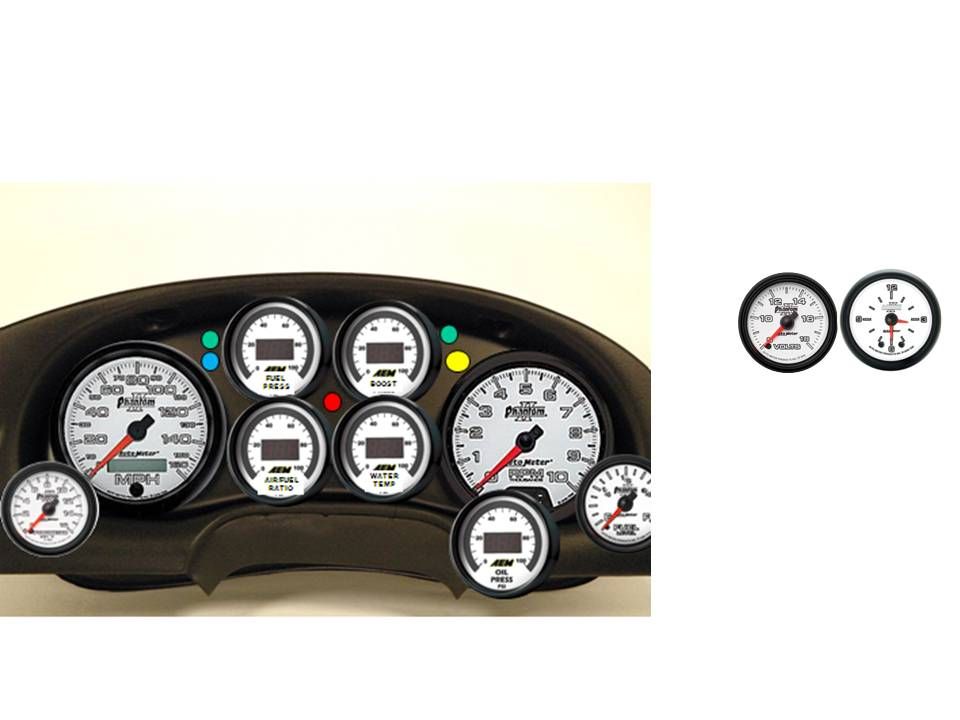
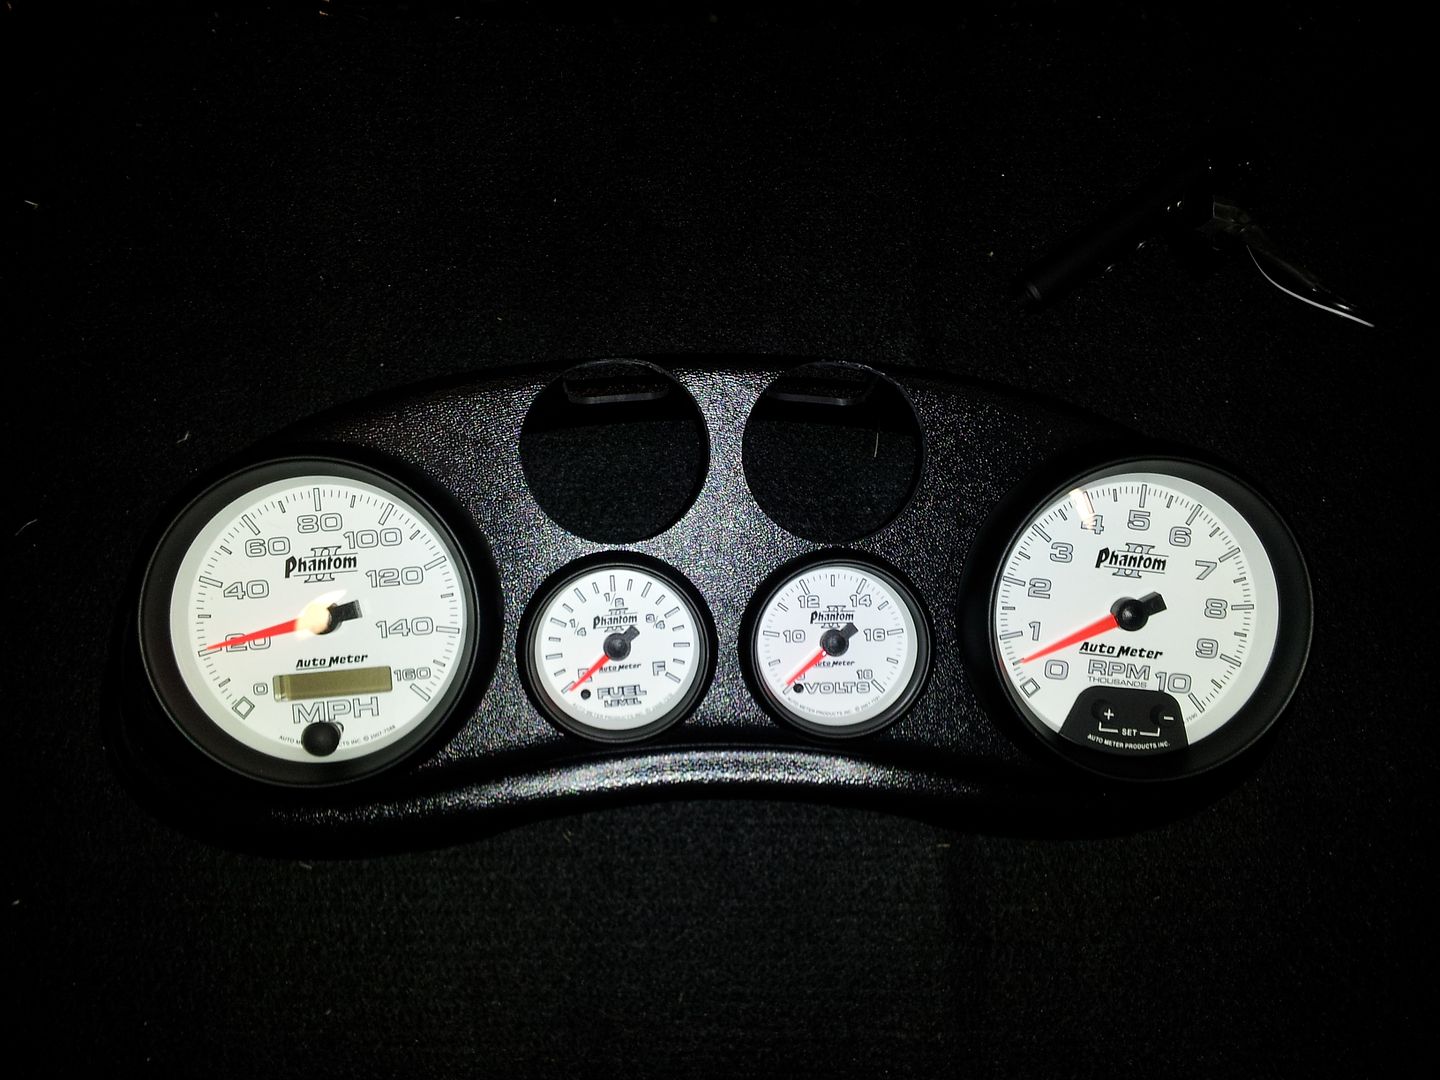
Florida5.0 came through with a bada$$ gauge panel. I am loving this thing already.
20130409_123023.jpg

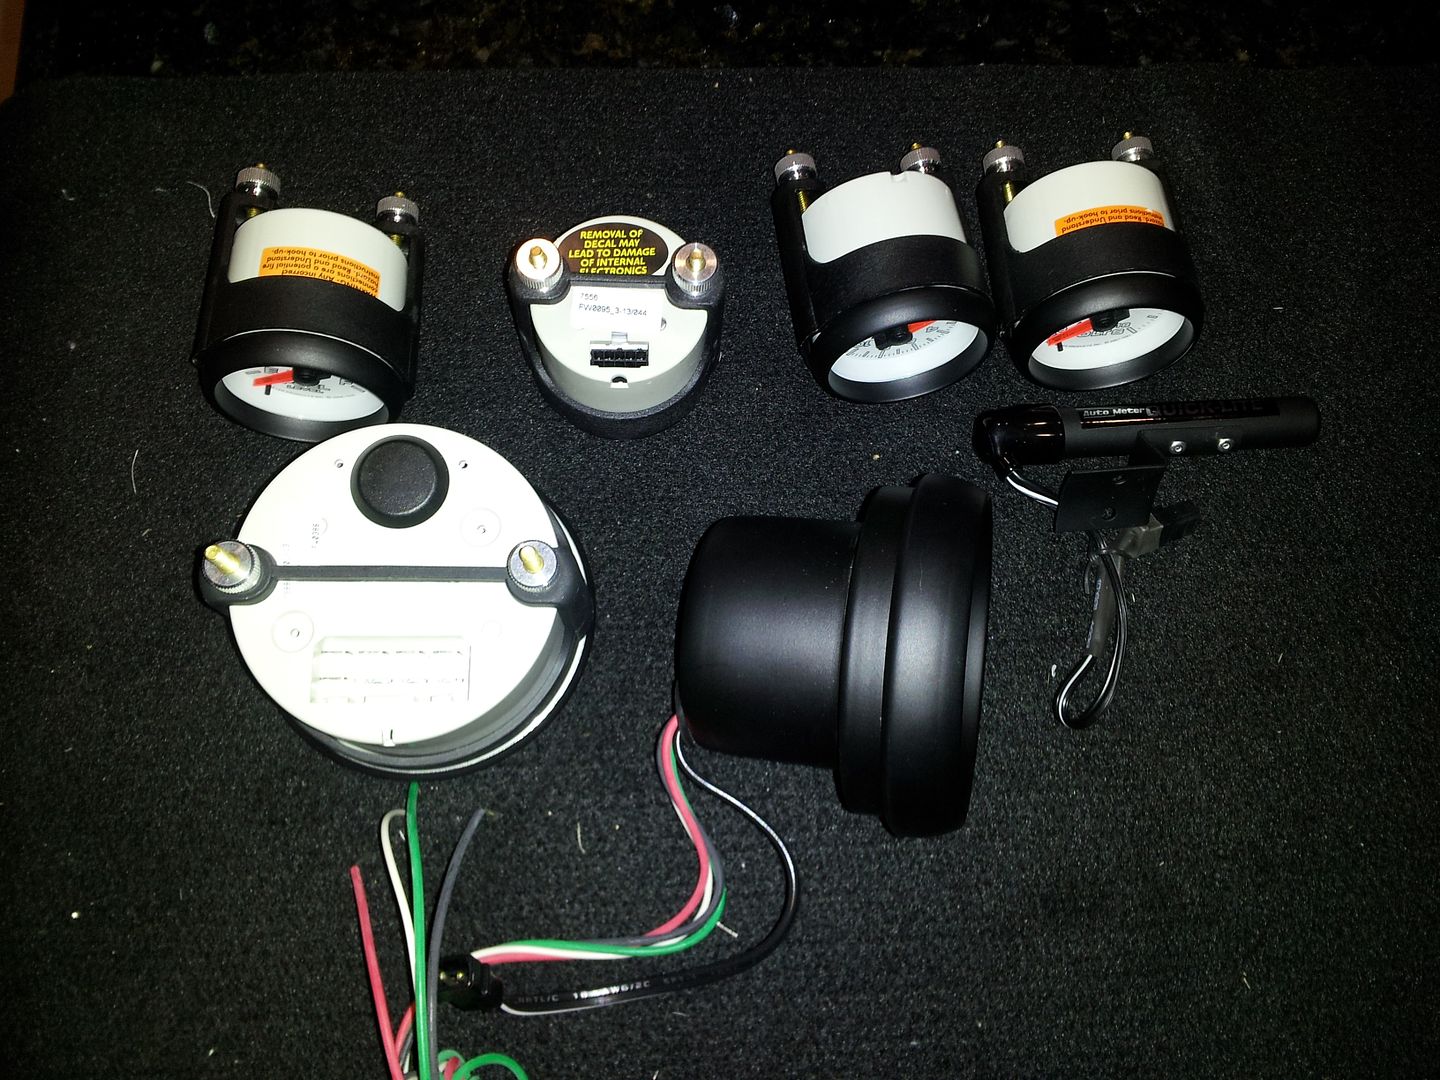
Mocked up the Autometer Phantom II gauges. The two empty cavities on the top will be my AEM Digital Oil PSI and H2O Temp.
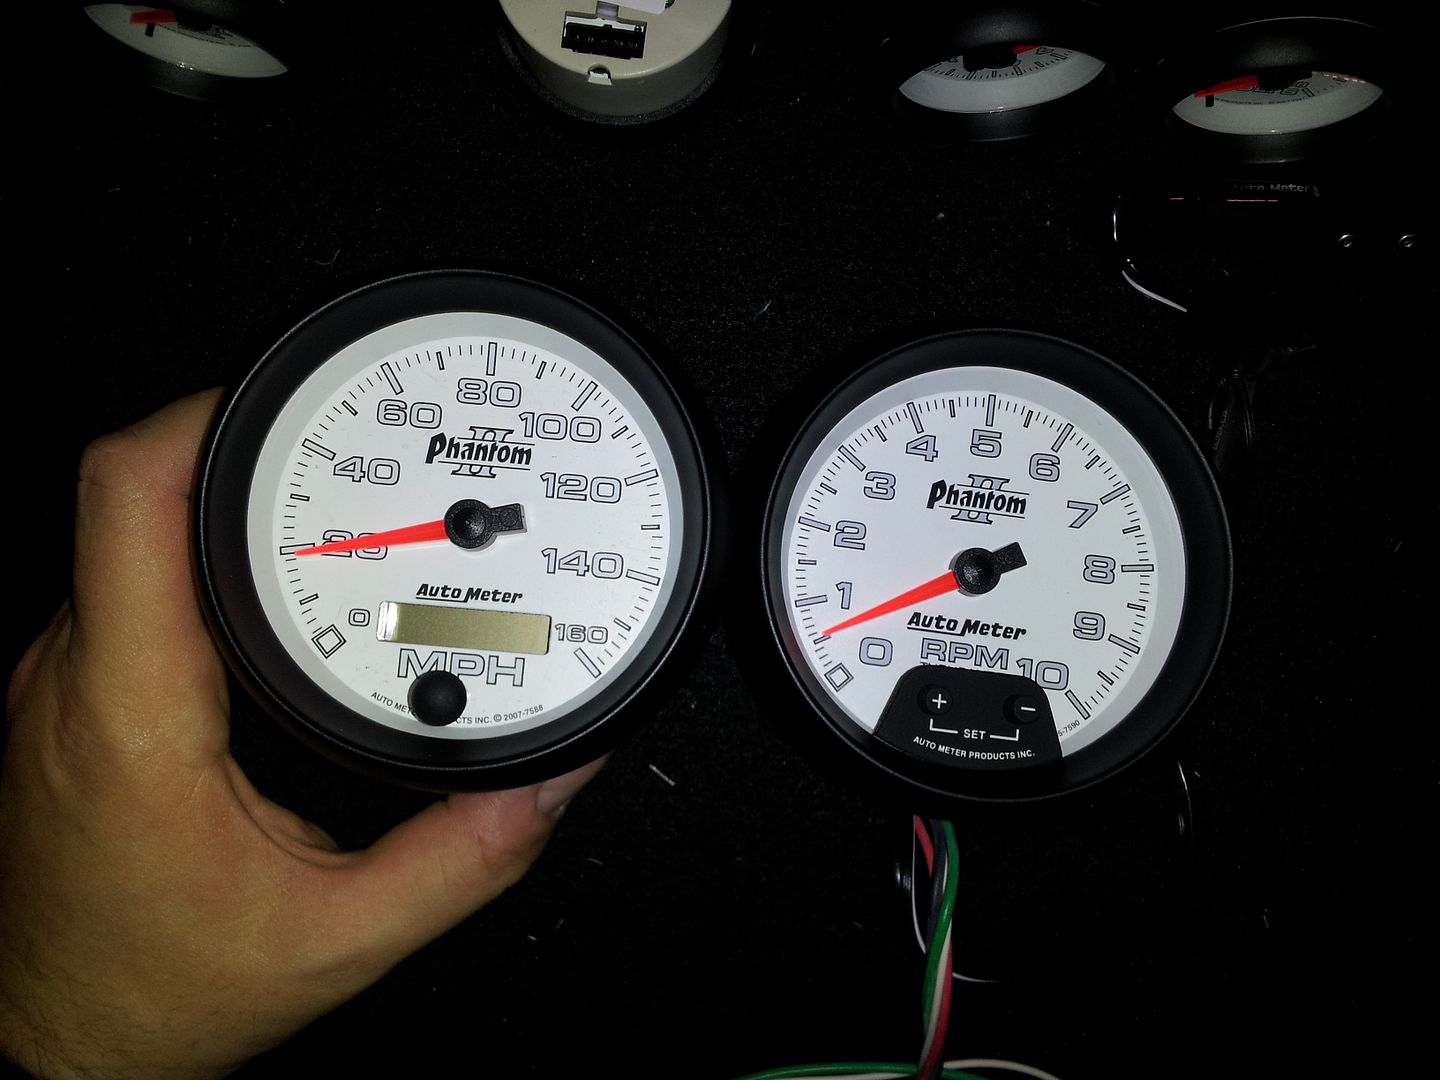
I was surprised at how similar the in dash Speedo and the dash mount tach are. The faces are identical.
20130409_124323.jpg

Only the rears are different and the hole in the dash panel only lacks a little massaging to slip the tach in. Holding it in is gonna take a little engineering. Speedo on the right, Tach on the left.
20130409_124248.jpg

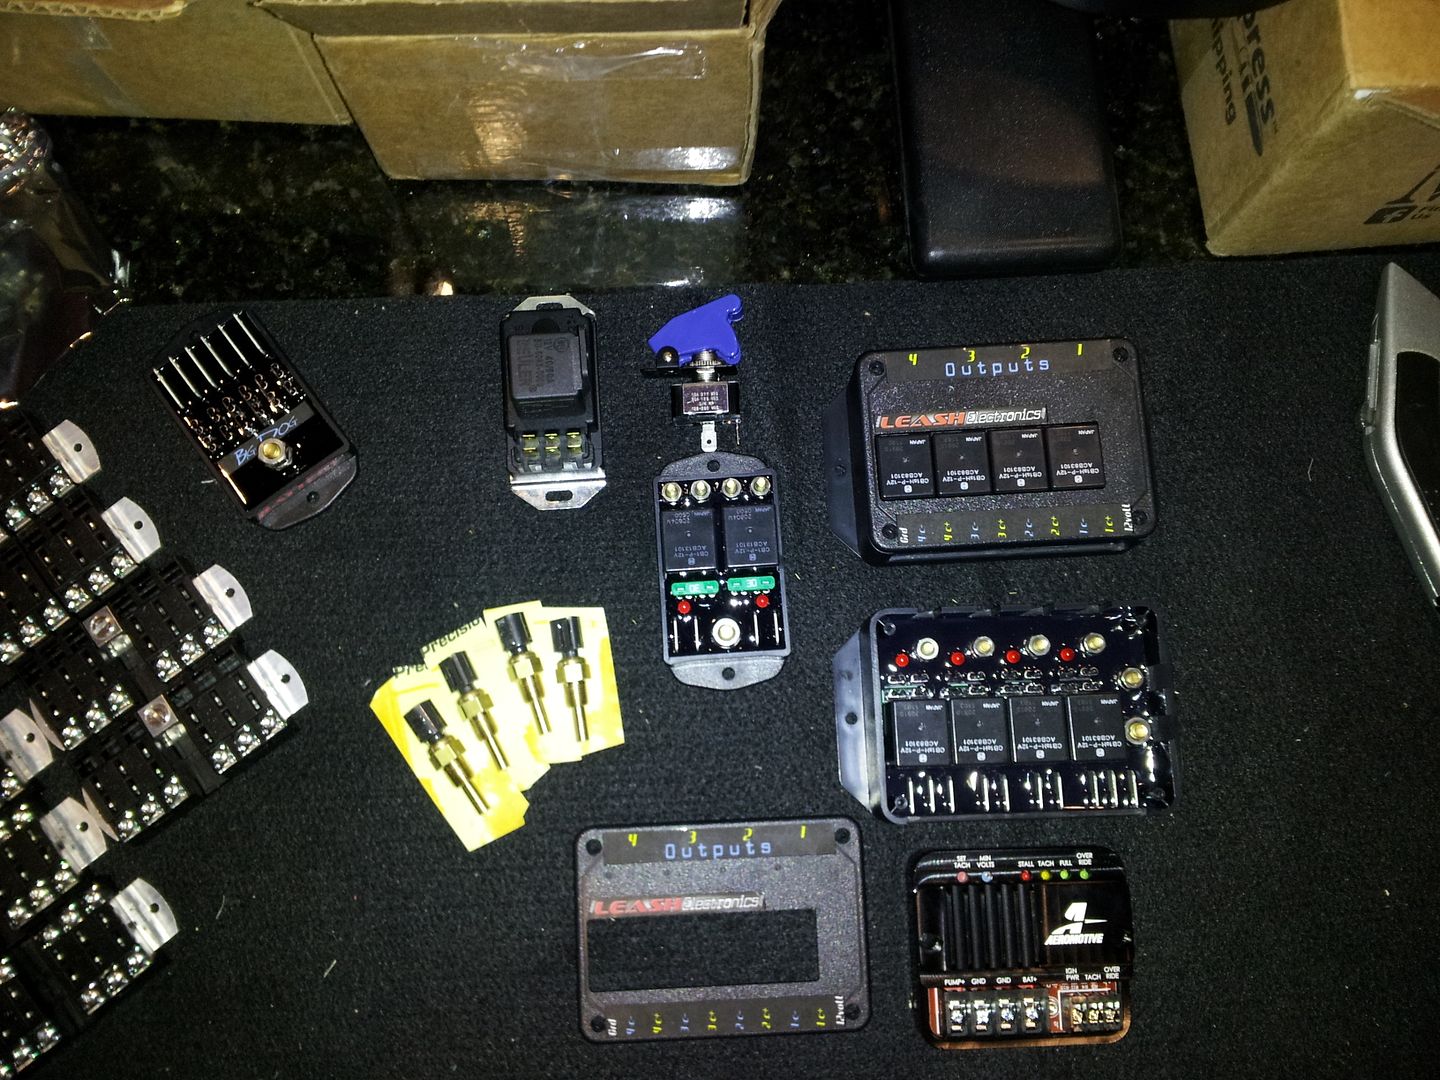
Electronics, electronics, electronics. Time to rewire the dash and factory fuse boxes to eliminate some unneeded stuff and ditch the CCRM. The blue safety switch is to manually turn the high side of the fan on with.
20130409_131433.jpg

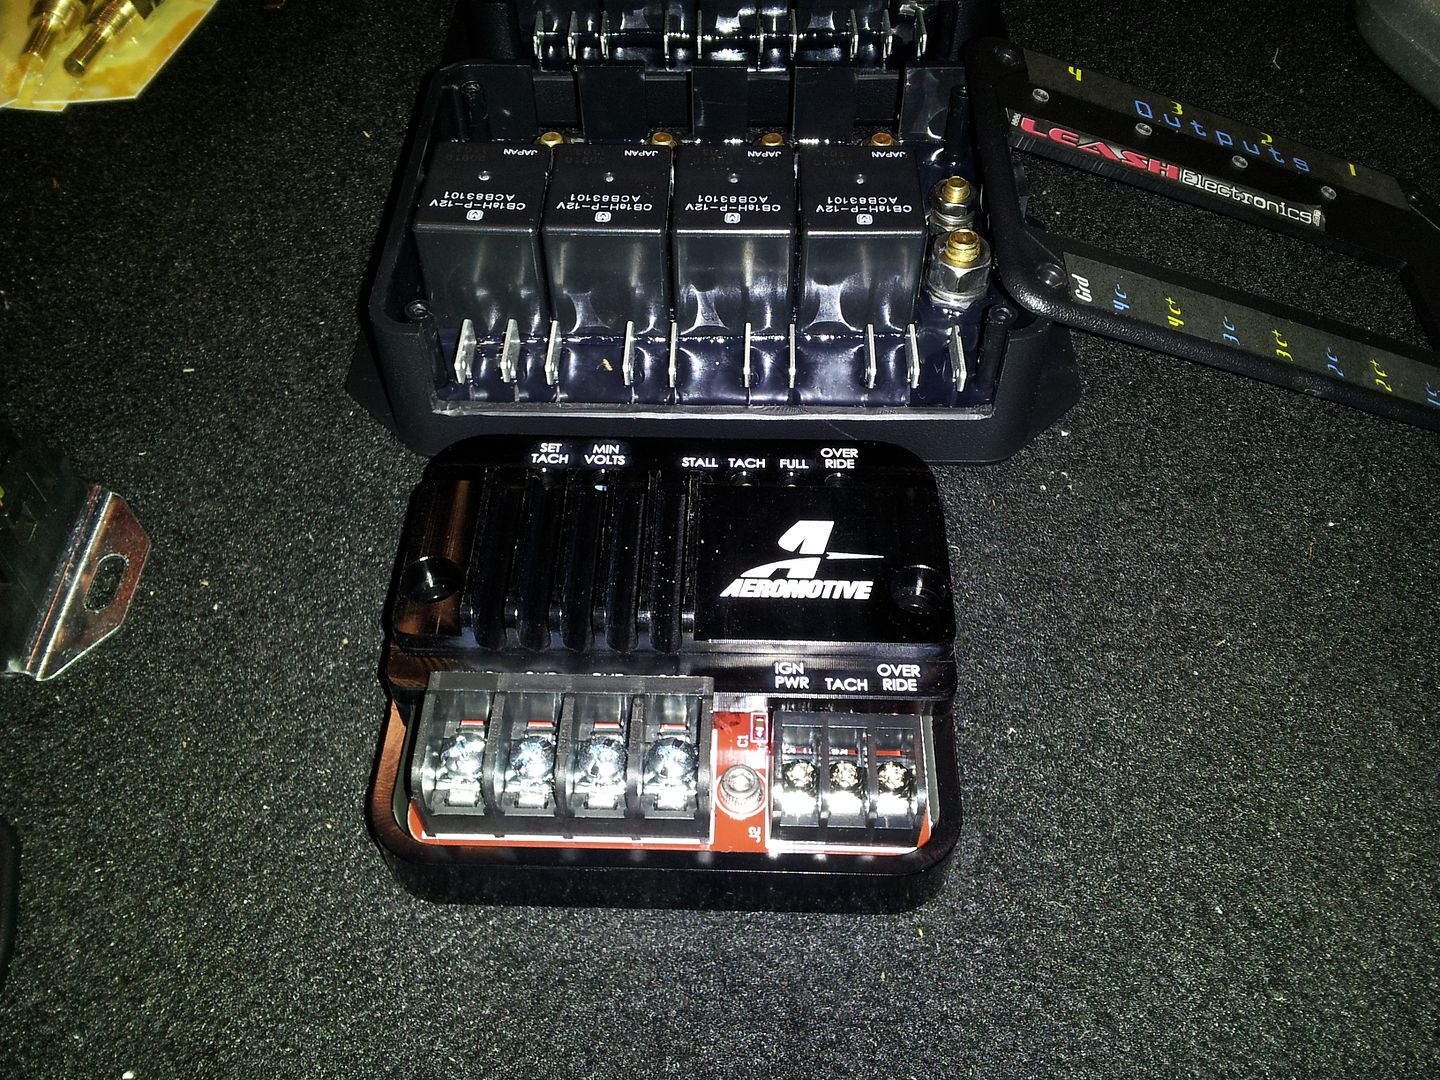
Aermotive fuel speed controller
20130409_131510.jpg

Leash Electronics 4 relay potted boxes. Very nice and solid. Even have weight to them for their size. [Russian]heavy means quality[/Russian]
20130409_131442.jpg


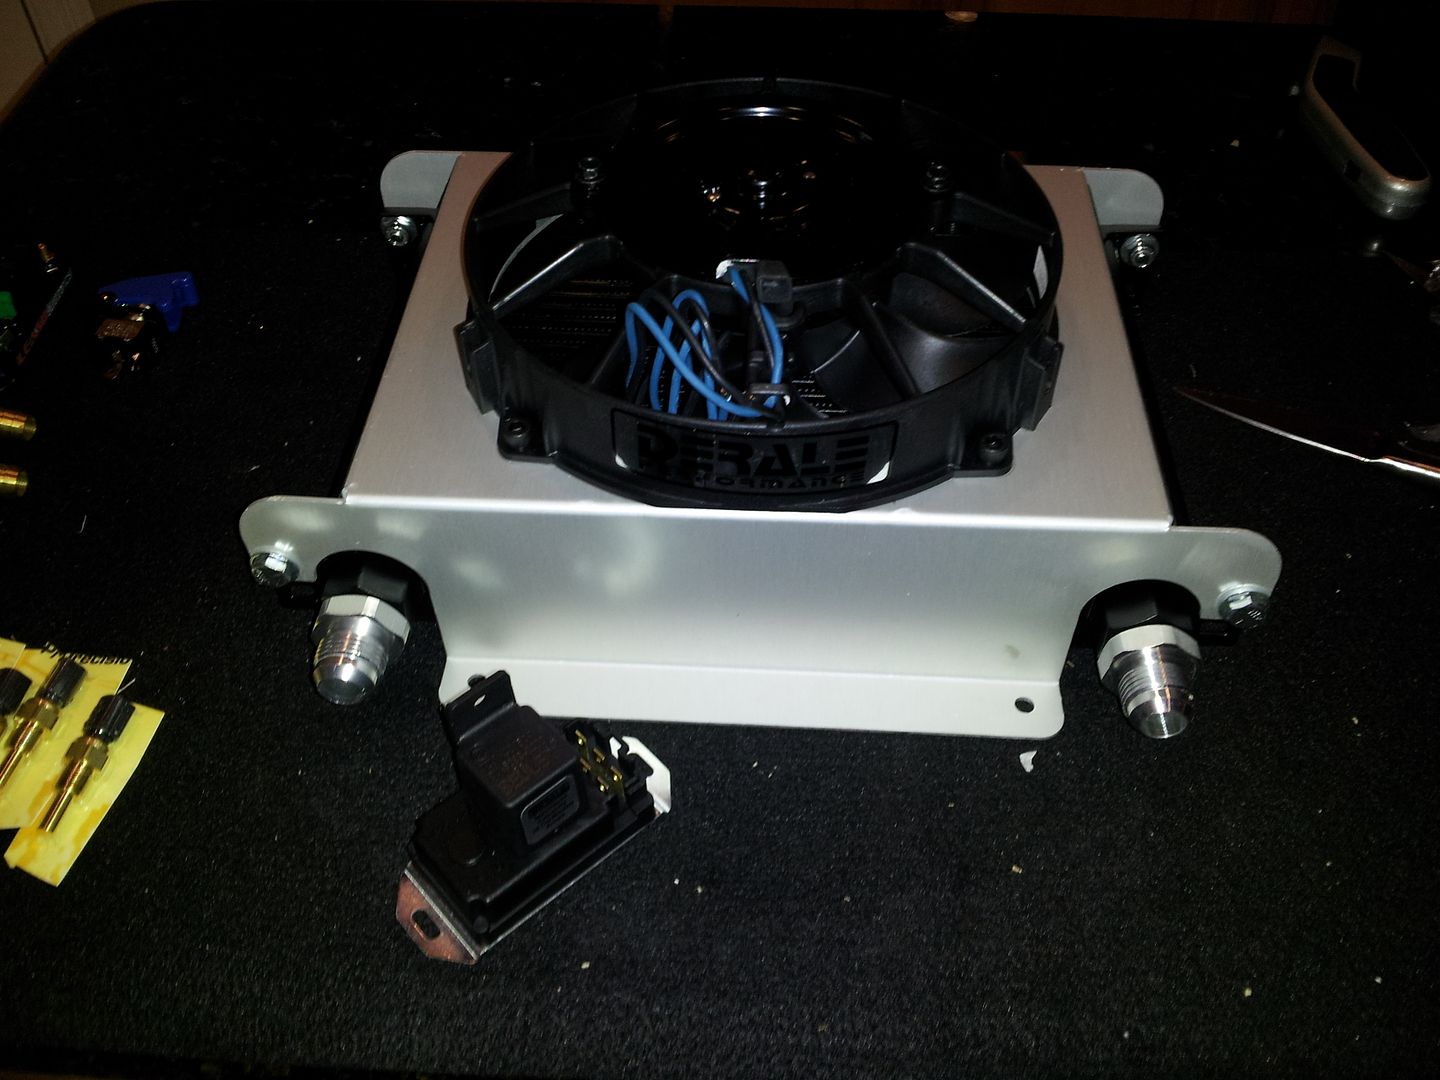
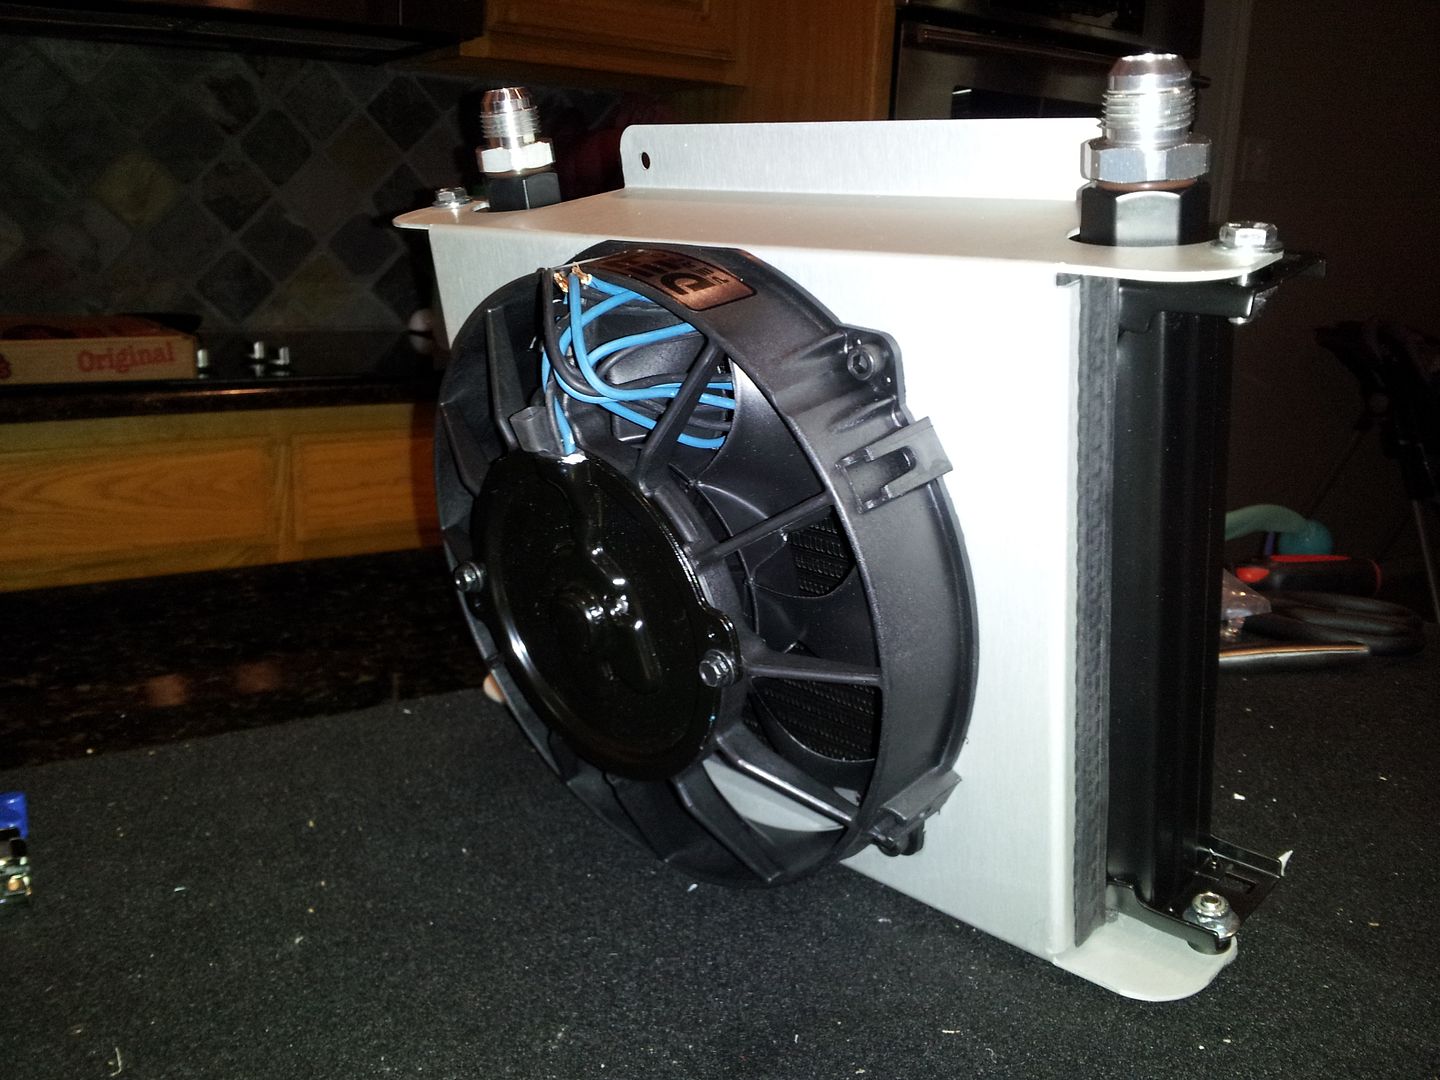
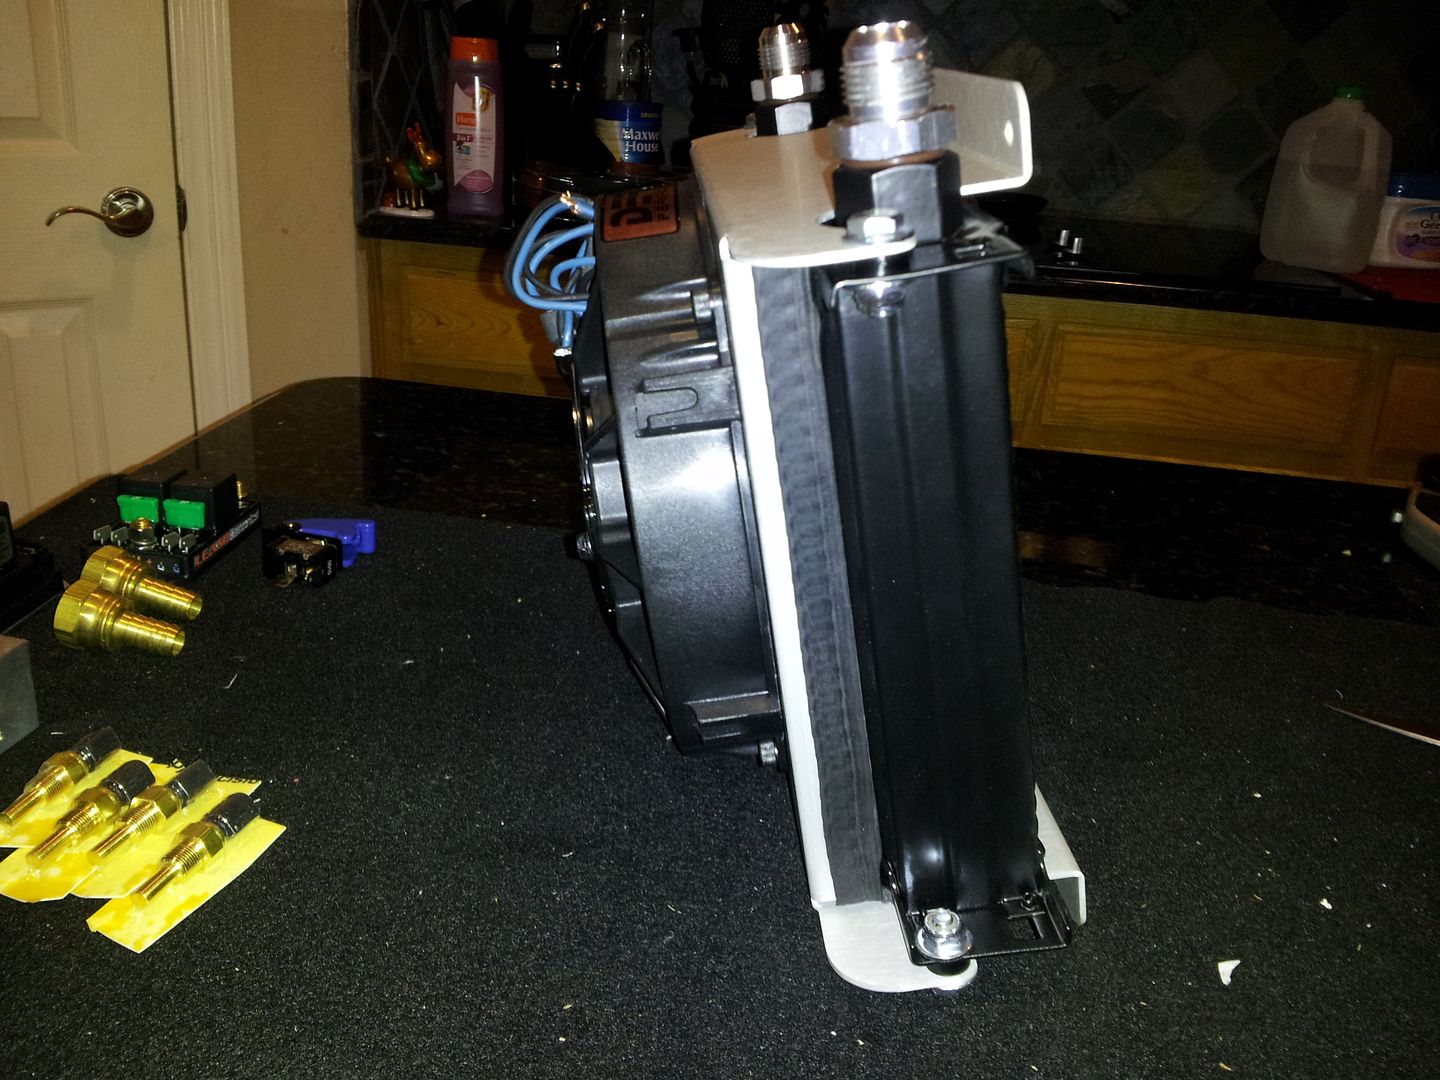
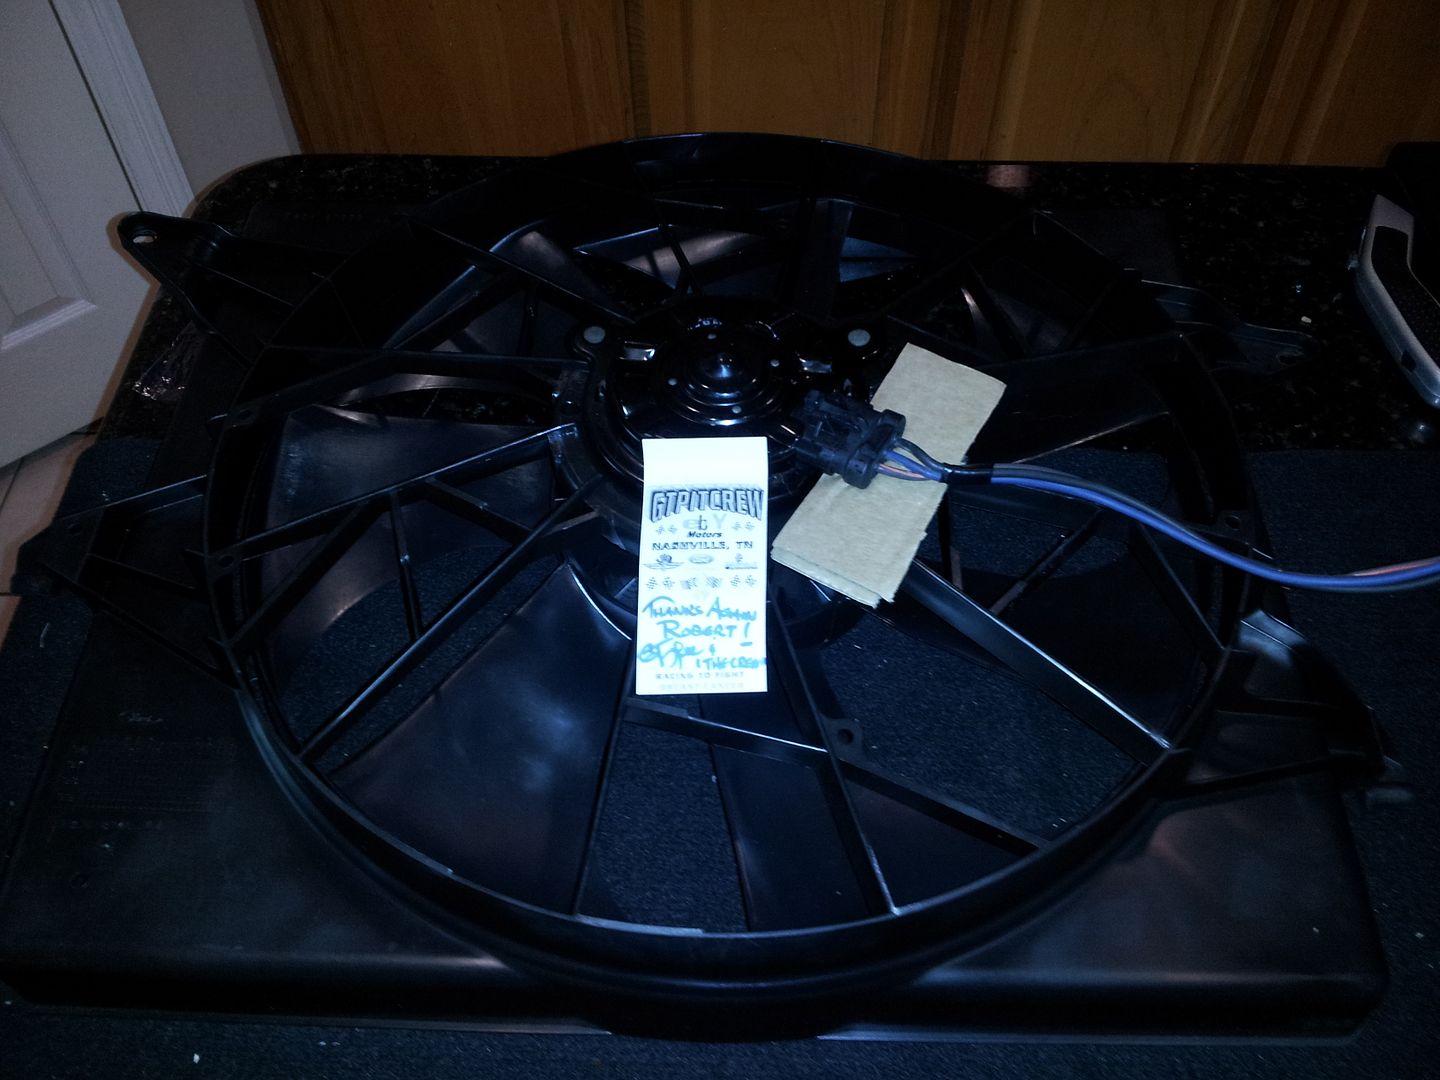
Here is the new fan relays, BOTH. The dual 40amp Leash Electronics, is the Lo and Hi speed controls for the coolant fan. The other is the Derale adjustable for the new oil cooler fan.
20130409_131506.jpg
 
OP
OP
A

AfghaniBob

Member
Joined
Jun 19, 2007
Messages
130
Reaction score
20
Aforementioned oil cooler fan. I am swapping out my -8an cooler for a slightly larger -10an with a fan mounted to it. I can not say enough about the quality of the Derale stuff.
20130409_132846.jpg

20130409_132924.jpg

20130409_132913.jpg

.....and the Earls oil thermostat. Aids in engine warm up and the quicker I can get the oil to temp the minimal amount of moisture in the crankcase.
20130409_133059.jpg

You can see the pre/post temp sending units. For the oil temp gauge that will be on a rotary switch to flip between.
...............made for the Autometer probes. The cavity sits right at the fittings.
20130409_133035.jpg

Got a NEW and used Lincoln Mark VIII fan. The new one was actually cheaper than the used one. Should pull 4,800 to 5,000 cfm and once I box in the radio and intercoolers, will hopefully cool it.
20130409_135613.jpg

The plan is to cut the shroud down the bare minimum and build an aluminum shroud to close off the radiator.
20130409_135208.jpg
 
OP
OP
A

AfghaniBob

Member
Joined
Jun 19, 2007
Messages
130
Reaction score
20
Got more work done on the cluster and getting it closer.

dual green lights on the left are for the fans (hi/lo speed) indicators.


The bus bars lined up perfect with the speedo studs. Bolted one down to the speedo then bolted the other on top.

In other news. Today I got the car (pushed) out of the garage and hosed down. Few months ago we had contractors cutting tile in the garage and coated my black car in tile dust. Not cool. Tomorrow she gets a full bath. With the car out I was able to scrub the floor and clean. Only 3 days left of this visit home and should make some real headway before I leave.
I did buy a spare dash, harness, and center console to use for trial fitting cluster and more.
More pics to follow.
 
OP
OP
A

AfghaniBob

Member
Joined
Jun 19, 2007
Messages
130
Reaction score
20
Got her apart today. Pulled the EFI harness and CCRM, pulled the -8an oil cooler, drained the oil and pulled the filter off, pulled most of the wiring that is getting redone.
New cooler mocked up. I think it will clear the wheel, just need to try.


Forum statistics

Threads
77,512
Messages
1,504,070
Members
14,980
Latest member
TreeScholar

Members online

Top