Cpotts13
Well-Known Member
First off I would like to say I am writing this how to based off of the help a fellow member, Red, who did the install and taught me how to do it while I documented it.
Disclaimer: This is confirmed to work on the Mach 460/1000 of 2001+ double din head units. Like with all modifications, proceed at your own risk. I nor Red are responsible for any mishaps.
HOW TO: Install a hardwired FM modulator
Parts you will need:
- iSimple IS31 Antenna Bypass FM Modulator ($24 @ Amazon)
- iSimple IS335 Dash Mountable Auxiliary Input Adapter ($11 @ Amazon)
Tools needed:
- 1/4in socket set
- Drill
- Drill bits
- Multimeter
- Electrical tape
- Fresh razor blades
Step 1:
Unscrew the shift knob, set aside. Grab under the shift boot and gently pry upwards. The trim surrounding the shifter is held on by clips and will easily pop off. Disconnect the cigarette lighter connection.
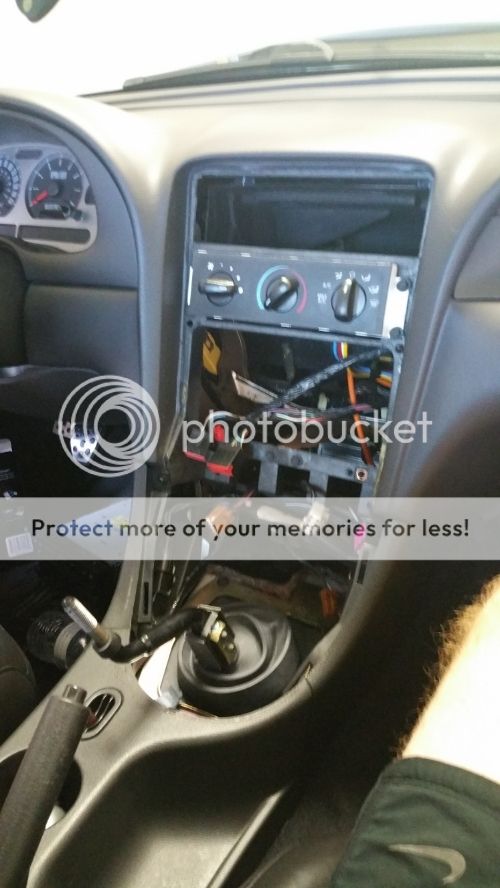
Step 2:
Grab underneath the traction control/fog lights/defrost buttons and gently pry upwards working your way around the trim surrounding the stereo. This to is held on with clips. Once loose disconnect the traction control/fog light/defrost switches.
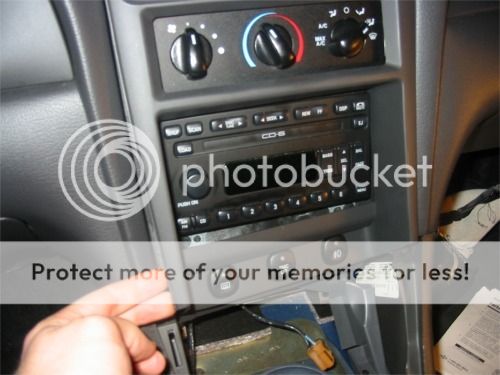
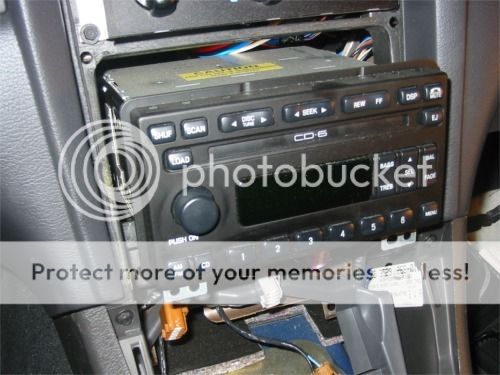
Step 3:
Using your socket set remove the 2 bolts holding the stereo in place, slide it out, disconnect all the harnesses from the rear and set aside. It should look like this when done.
Step 4:
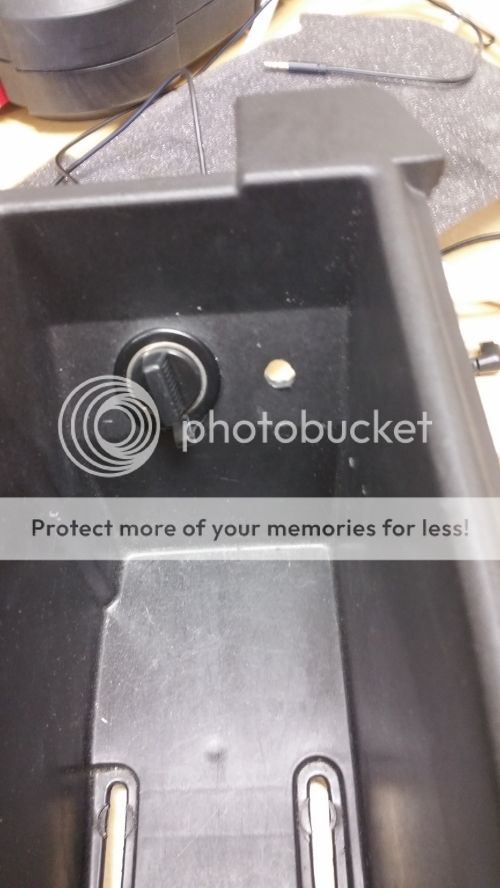
Open your armrest and remove contents. At the very bottom, under the felt overlay, there will be two bolts holding the inside container in place. Using the socket set remove the bolt and lift container out. With the container midway out rotate it so you can disconnect the cigarette lighter from it. Set aside for later.

Step 5:
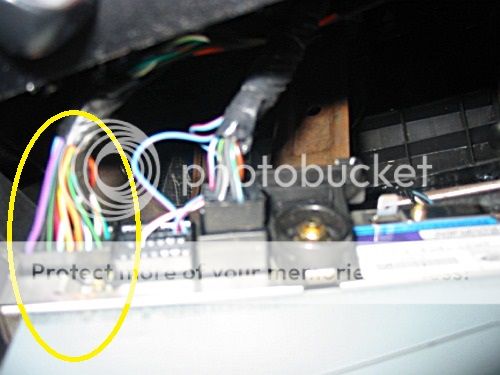
Moving back to the head unit area, locate the wiring harness on the far drivers side. There will be two wires that we will need to splice into on this harness. The red/black will be your power and the green/black will be your ground. The red/black power wire is only powered when the radio is on. NOTE: there was 2 green/black wires in my harness, i used the one on the opposite side from the red/black on the top row.
Step 6:
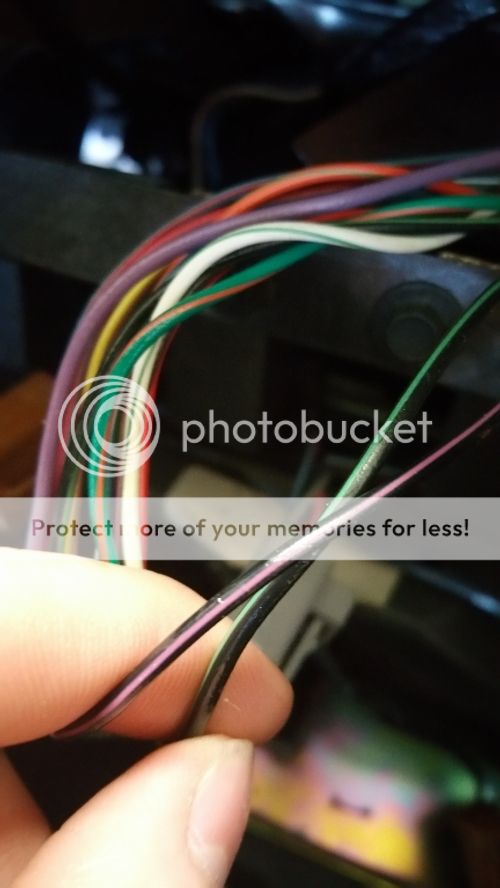
Slice away the outer part of the wire with the razor blade about 1 inch up from the pigtail until it is bare wire. Using the razor, part the wire in the middle like this.. Now would be a good time to confirm that the red/black is power (with radio on) and the green/black is the ground. A multimeter can be used for this.

Step 7:
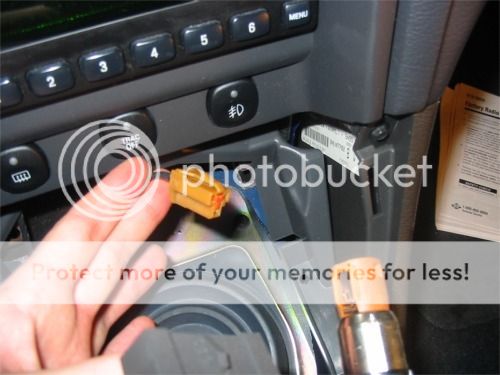
On the IS31 the power wire (red) has an inline fuse and a power on/off switch. You can choose to mount the on/off switch somewhere at a later time, I however placed the switch in the ON position and tucked it behind the dash. Slip the red wire in the IS31 through the red/black wire on the harness and twist together. Slip the black wire on the IS31 through the green/black wire on the harness and twist together. Wrap bothe the red/black and green/black wires individually in electrical tape then wrap all wires together in electrical tape.
Step 8:
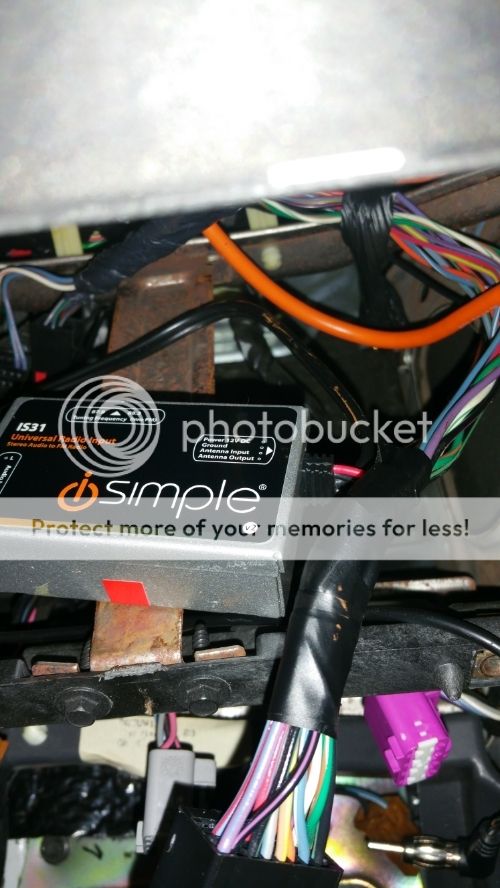
Plug the factory antenna (orange wire) into the IS31. Connect the RCA adapter included in the IS335 kit into the IS31.
Step 9:
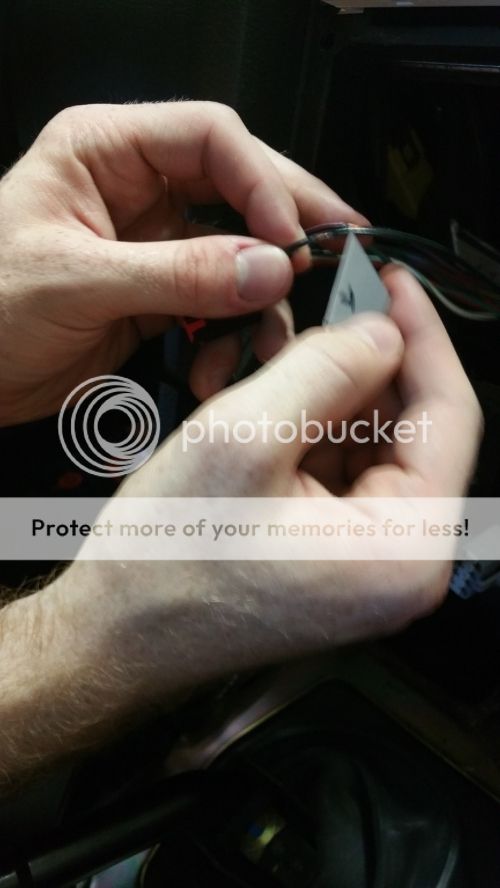
Choose the location you want to mount the aux input, for me i chose inside the armrest. At the location you chose, drill an appropriate sized hole to slide the aux input port through like this..

Step 10:
Route the male audio cable from the audio input underneath the cup holder up by the shifter and plug into the female plug on the RCA adapter.
Step 11:
Before reconnecting the harness' and testing everything out, take a look at the IS31 module. On the side there will be a choice between 2 stations, the station selected will be the station that the radio has to be tuned to too play your music. Also, there will be a gain adjustment knob on the bottom. This is used to match the input volume to your stereo's volume. I found at the lowest setting it was way to quiet, the max setting seemed to be just right for me. Once you have chosen your station tuck the IS31 behind your dash in a secure place, reattach all the harness' and attach the antenna from the IS31 to your head unit.
Step 12:
Before completely buttoning everything up now would be the time to tune your stereo to the appropriate channel and test it out. Make adjustments to the gain as needed and button everything up once satisfied.
Closing notes: Some of the pictures used in this tutorial were sourced from the internet and are not all mine. This post will likely be under construction for some time as I go through and check for grammar, resize/add pictures and clarify things.
Disclaimer: This is confirmed to work on the Mach 460/1000 of 2001+ double din head units. Like with all modifications, proceed at your own risk. I nor Red are responsible for any mishaps.
HOW TO: Install a hardwired FM modulator
Parts you will need:
- iSimple IS31 Antenna Bypass FM Modulator ($24 @ Amazon)
- iSimple IS335 Dash Mountable Auxiliary Input Adapter ($11 @ Amazon)
Tools needed:
- 1/4in socket set
- Drill
- Drill bits
- Multimeter
- Electrical tape
- Fresh razor blades
Step 1:
Unscrew the shift knob, set aside. Grab under the shift boot and gently pry upwards. The trim surrounding the shifter is held on by clips and will easily pop off. Disconnect the cigarette lighter connection.
Step 2:
Grab underneath the traction control/fog lights/defrost buttons and gently pry upwards working your way around the trim surrounding the stereo. This to is held on with clips. Once loose disconnect the traction control/fog light/defrost switches.
Step 3:
Using your socket set remove the 2 bolts holding the stereo in place, slide it out, disconnect all the harnesses from the rear and set aside. It should look like this when done.
Step 4:
Open your armrest and remove contents. At the very bottom, under the felt overlay, there will be two bolts holding the inside container in place. Using the socket set remove the bolt and lift container out. With the container midway out rotate it so you can disconnect the cigarette lighter from it. Set aside for later.
Step 5:
Moving back to the head unit area, locate the wiring harness on the far drivers side. There will be two wires that we will need to splice into on this harness. The red/black will be your power and the green/black will be your ground. The red/black power wire is only powered when the radio is on. NOTE: there was 2 green/black wires in my harness, i used the one on the opposite side from the red/black on the top row.
Step 6:
Slice away the outer part of the wire with the razor blade about 1 inch up from the pigtail until it is bare wire. Using the razor, part the wire in the middle like this.. Now would be a good time to confirm that the red/black is power (with radio on) and the green/black is the ground. A multimeter can be used for this.
Step 7:
On the IS31 the power wire (red) has an inline fuse and a power on/off switch. You can choose to mount the on/off switch somewhere at a later time, I however placed the switch in the ON position and tucked it behind the dash. Slip the red wire in the IS31 through the red/black wire on the harness and twist together. Slip the black wire on the IS31 through the green/black wire on the harness and twist together. Wrap bothe the red/black and green/black wires individually in electrical tape then wrap all wires together in electrical tape.
Step 8:
Plug the factory antenna (orange wire) into the IS31. Connect the RCA adapter included in the IS335 kit into the IS31.
Step 9:
Choose the location you want to mount the aux input, for me i chose inside the armrest. At the location you chose, drill an appropriate sized hole to slide the aux input port through like this..
Step 10:
Route the male audio cable from the audio input underneath the cup holder up by the shifter and plug into the female plug on the RCA adapter.
Step 11:
Before reconnecting the harness' and testing everything out, take a look at the IS31 module. On the side there will be a choice between 2 stations, the station selected will be the station that the radio has to be tuned to too play your music. Also, there will be a gain adjustment knob on the bottom. This is used to match the input volume to your stereo's volume. I found at the lowest setting it was way to quiet, the max setting seemed to be just right for me. Once you have chosen your station tuck the IS31 behind your dash in a secure place, reattach all the harness' and attach the antenna from the IS31 to your head unit.
Step 12:
Before completely buttoning everything up now would be the time to tune your stereo to the appropriate channel and test it out. Make adjustments to the gain as needed and button everything up once satisfied.
Closing notes: Some of the pictures used in this tutorial were sourced from the internet and are not all mine. This post will likely be under construction for some time as I go through and check for grammar, resize/add pictures and clarify things.