How to make an Explorer intake presentable

Status
Not open for further replies.

white95

Apex Junky
Admin
Joined
Dec 30, 2007
Messages
20,615
Reaction score
8,752
Location
Prairieville, LA
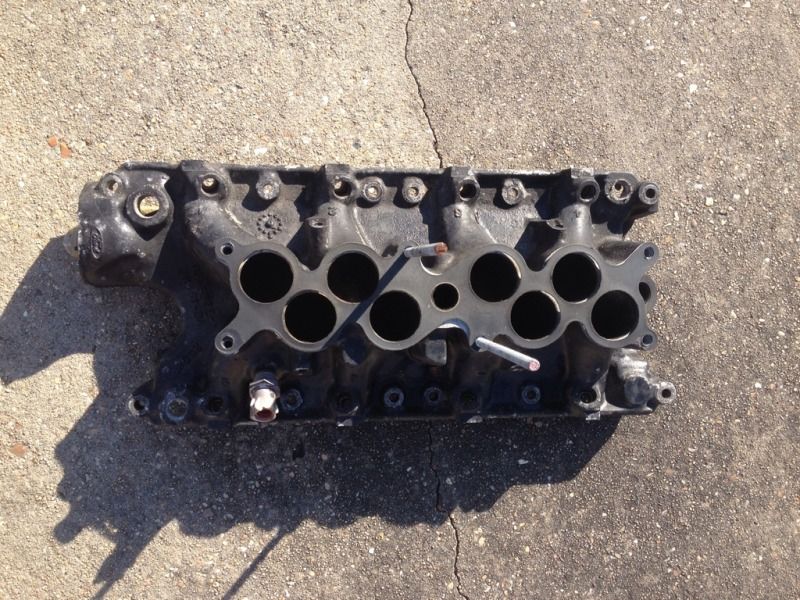
Well, I have this Explorer intake laying around and I've decided to make it look better. Ive noticed a few of our members are doing an Explorer swap and decided a nice write-up was in order.

The victim:
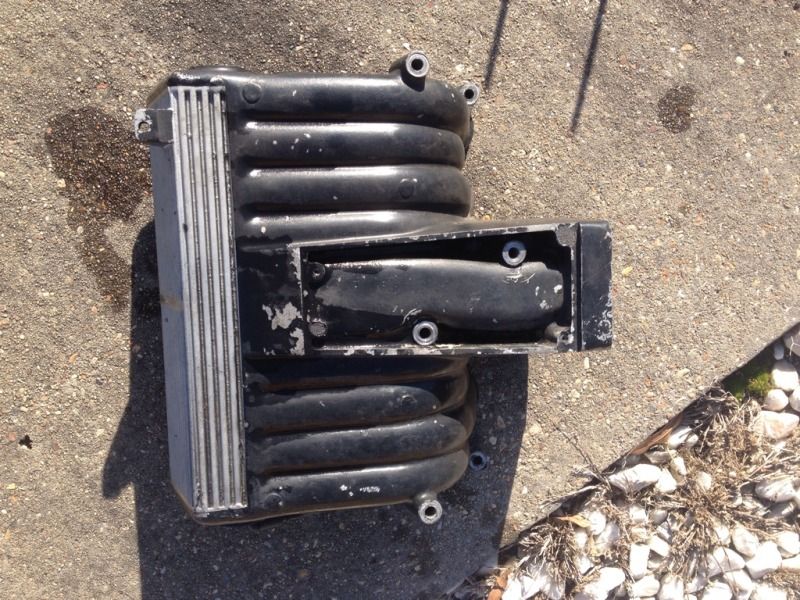
E1E99B59-66FB-423A-9B5F-6331D11CE954-595-0000008CF1B2AAFA_zps13a7e0df.jpg


D635B5EB-E757-44EE-9967-2F062A572513-595-0000008CFEC13EAD_zps2f4cb454.jpg


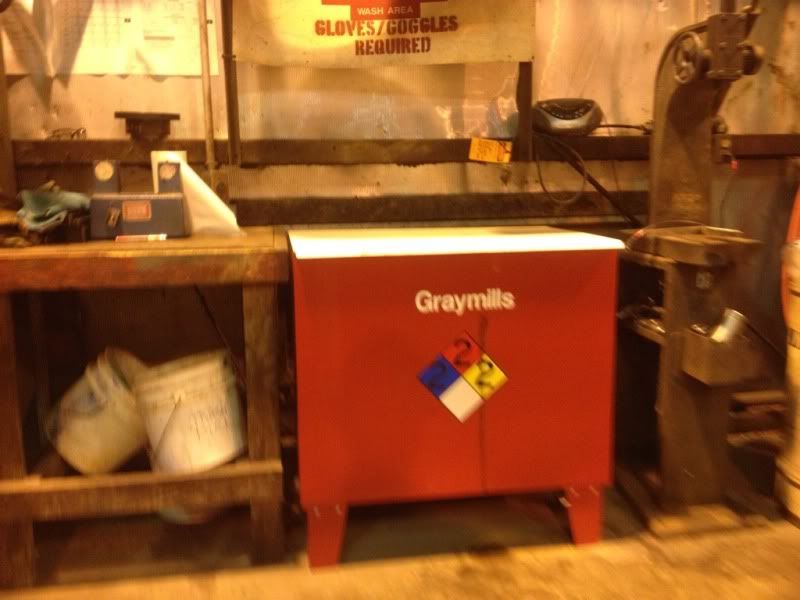
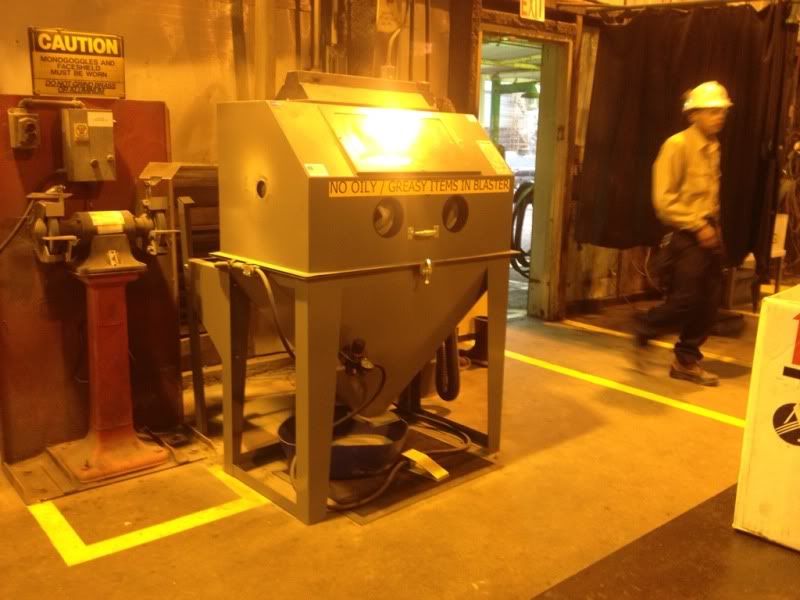
This process will take sometime, as I'll do most of this during my breaks at work. That way I have access to a parts washer, sandblast cabinet, air grinders, the central machine shop (complete with friends to make me stuff) and all kinds of sweet tools.

Phase 1 Scope:

To remove unnecessary vacuum ports, drill/tap/plug leftover holes, strip old powder coating and remove throttle cable boss

696DCE32-8389-42A0-B5B6-3F6BE0D06400-3248-000003167425511A_zpsd780bfb3.jpg


FDD2B4C6-B131-4490-9951-2289A17B7E27-3248-000003165DC55485_zpse2544ba0.jpg


ADE31EF0-9069-4397-A1EC-D4111756CC40-3248-0000031657E059C6_zpsba610908.jpg


942166C2-81B6-41B3-B03B-B64B481D3FA4-3248-0000031652B827F5_zps7c29ba3c.jpg
 
OP
OP
white95

white95

Apex Junky
Admin
Joined
Dec 30, 2007
Messages
20,615
Reaction score
8,752
Location
Prairieville, LA
First step will be a good soaking in the parts wash cabinet:

895007C5-51CB-4BA6-B932-C093CD0B4F65-2720-000002C8ADEB314A_zpsf96037ce.jpg


79CFB317-173E-4294-820E-6E40A940EC48-3248-0000031683947DC5_zps8934f774.jpg


5B3F3FF3-491F-4C12-A875-84E8262E2D55-3248-00000316792AB270_zps12d0ca11.jpg


The second step is removing the old powder coat in the media blasting cabinet:

82B807CD-AC1C-4CBE-85D2-25DD9BAB78E0-2720-000002C8A4EE6C18_zpsf48817ab.jpg

[FONT=.HelveticaNeueUI]
[/FONT]
2830952E-2929-4D34-9754-9DFB4069F4DD-4758-00000435E7ADD884_zps17edda90.jpg
[FONT=.HelveticaNeueUI]
[/FONT]
AA5C85F7-12A4-46B3-8607-A3AC196F7B33-4758-00000435E3321FBD_zpsa8c86467.jpg


F7EA6649-8FB0-47DA-A5F4-7FF14A196A32-5091-0000046D966FCA58_zpsf65b0ddd.jpg

63C1ED4F-BBBD-46D7-9116-21CD28EC3C11-7176-000005F24CE73EE5_zps7cc69bcb.jpg
 
OP
OP
white95

white95

Apex Junky
Admin
Joined
Dec 30, 2007
Messages
20,615
Reaction score
8,752
Location
Prairieville, LA
Today, I cut that useless bracket off and begun the smoothing process. I used a sawzall on the bracket and for the smoothing, im using this:

E7169992-9D5D-448C-844E-6DAA3DA0709A-11089-00000CF3ECAC3CA8_zps412faa9f.jpg
 
OP
OP
white95

white95

Apex Junky
Admin
Joined
Dec 30, 2007
Messages
20,615
Reaction score
8,752
Location
Prairieville, LA
Made short work of the "raised circular things":

DBA8F9D3-150E-4193-982D-68A4FF966AB4-11054-00000CF15DD94616_zps5cf63f13.jpg


I removed the casting seam from one end as well:

716110F5-2A52-48C4-B6D2-C482B478F315-11054-00000CF15A4650EB_zps96253858.jpg


I will revisit this later to completely smooth it out.

AE787BAF-B485-4108-B4DF-5F863EEAC236-11054-00000CF13BFAFE30_zps211fda3f.jpg


This will take a lot of time but eventually, you'll never know it was there:

85E9F078-3063-4ED1-9683-A9DBF7948DF3-11033-00000CF09EAA9B32_zps88372627.jpg
 
OP
OP
white95

white95

Apex Junky
Admin
Joined
Dec 30, 2007
Messages
20,615
Reaction score
8,752
Location
Prairieville, LA
I have been super busy at work with no spare time to finish this, I promise more progress very soon!
 
OP
OP
white95

white95

Apex Junky
Admin
Joined
Dec 30, 2007
Messages
20,615
Reaction score
8,752
Location
Prairieville, LA
If I can squeeze some time in at work, I'll finish the few things I started. I'm on day 55 straight at work and have been exhausted lately. You should see my yard, it's atrocious.
 
Status
Not open for further replies.

Forum statistics

Threads
77,510
Messages
1,504,051
Members
14,980
Latest member
TreeScholar

Members online

Top