Laser Red 01 GT

Caleb2v

New Member
Joined
Jun 20, 2018
Messages
29
Reaction score
0
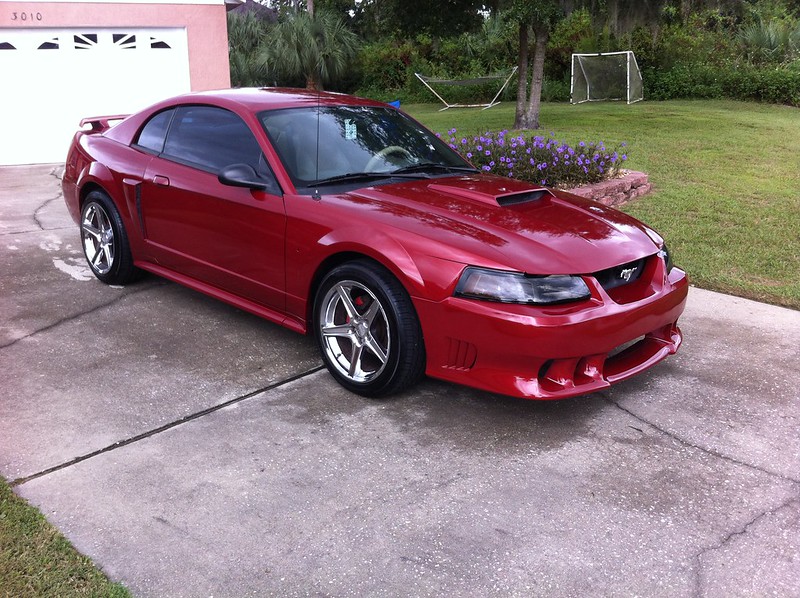
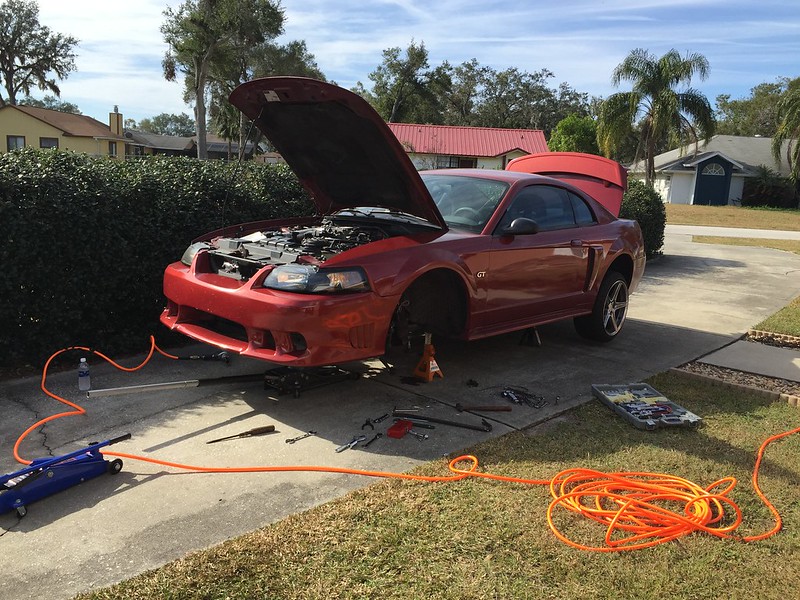
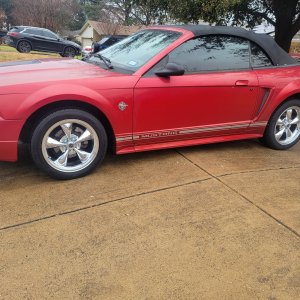
Hey guys. I've been lurking on the forum for years now and decided to finally make an account. I wanted to start a build thread on my 2001 Gt that I've owned for a little over four years now. I'd like to be able to go through all I've done to it over the years so I can see how far the car has come. It was my first car and needed a lot of love when I first got it. My dad and I have worked on it over the years together and I've learned a lot along the way. I couldn't be more grateful to him for all the help. Here's how she sat when I first got her.

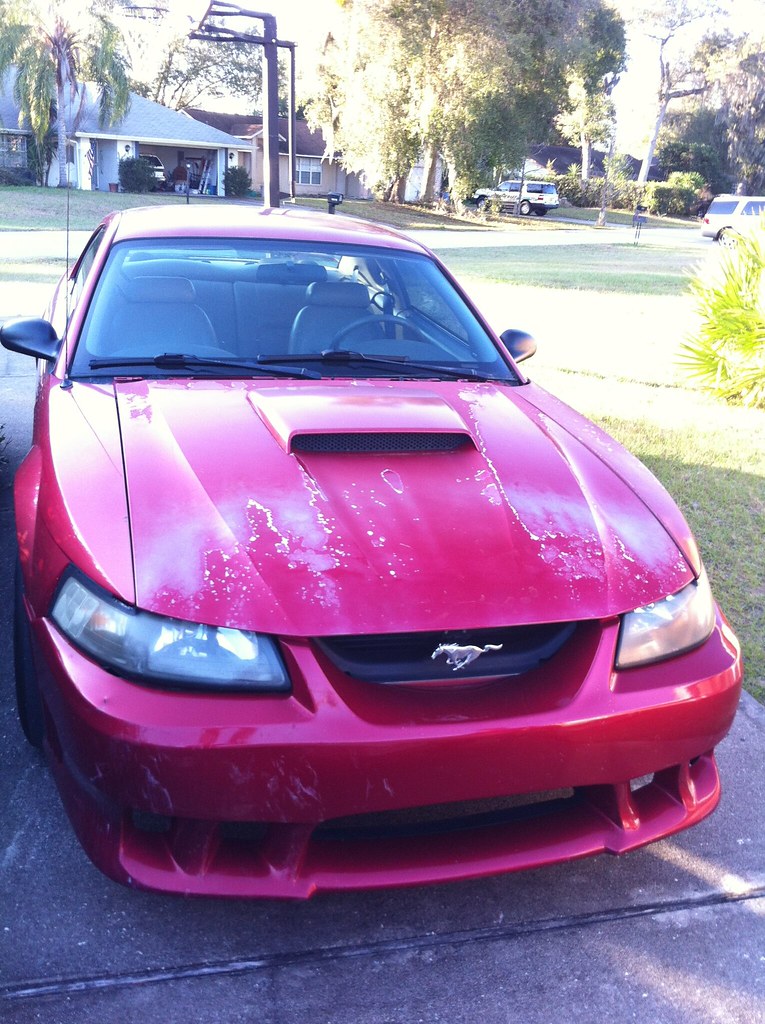
IMG_0948 by Caleb Clayton, on Flickr

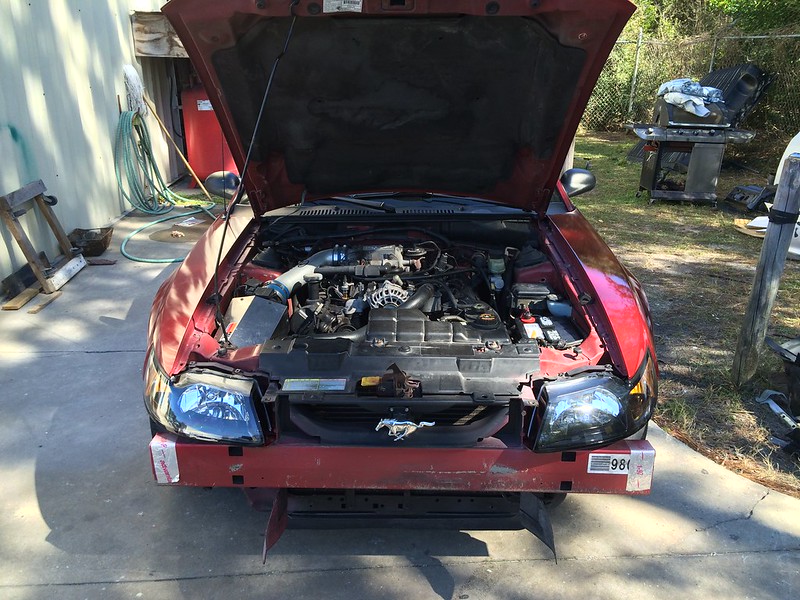
Within three days of buying her she refused to crank over and we discovered she had a battery drain somewhere. My dad's somewhat of a technical genius and helped me narrow it down to the amp for the stereo system. After I replaced that everything was golden.

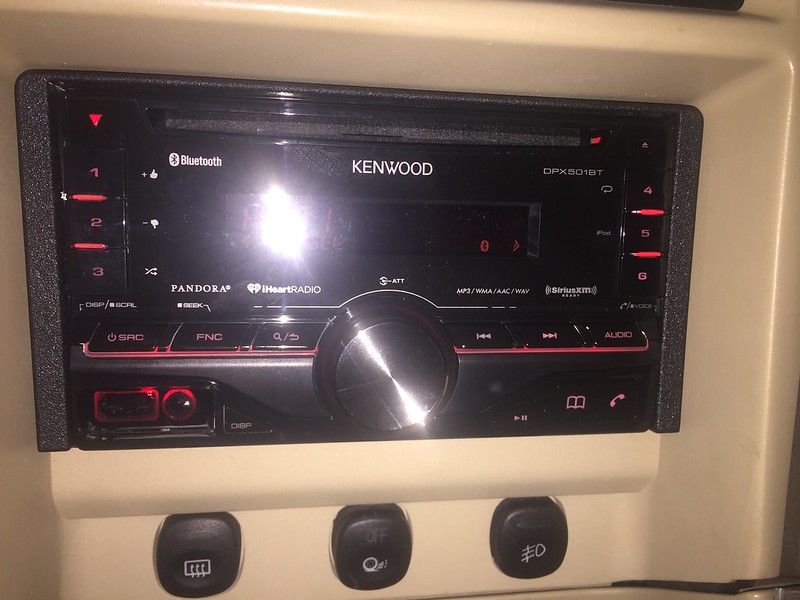
So far we've replaced the header panel, radiator, carpet, seats, radio and most of the interior knobs and bezels. The previous owner had pretty awful taste and painted several panels inside the car silver. They had broken most of the panels during their attempt and decided the appropriate fix was sheet metal screws. Needless to say silver didn't look great with tan, and screws didn't look good period. We've replaced all of the painted panels with panels we painted ourselves and I couldn't be happier with how they turned out. The original seat was more duct tape than seat so I found some tan racing seats on Summit that lasted about a year (buy cheap things and you get what you pay for.) I replaced them later with a pair that is higher quality and they've held up great.

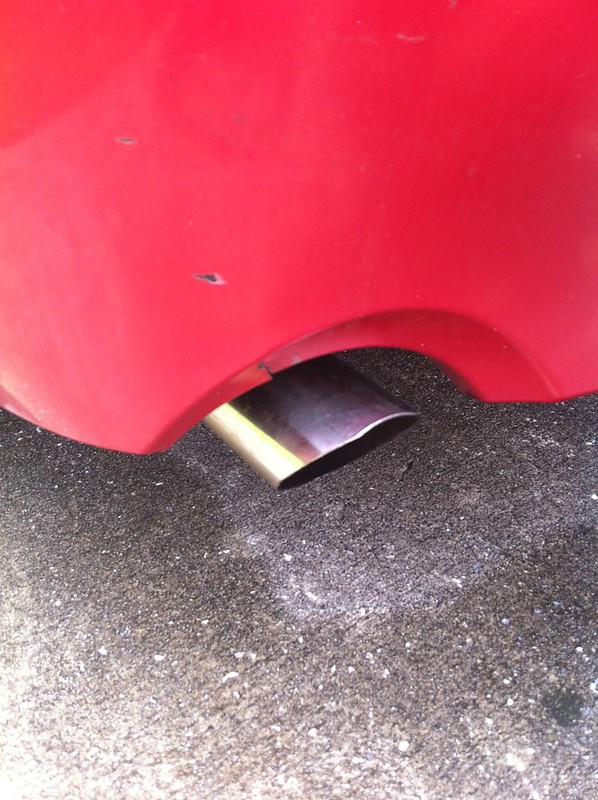
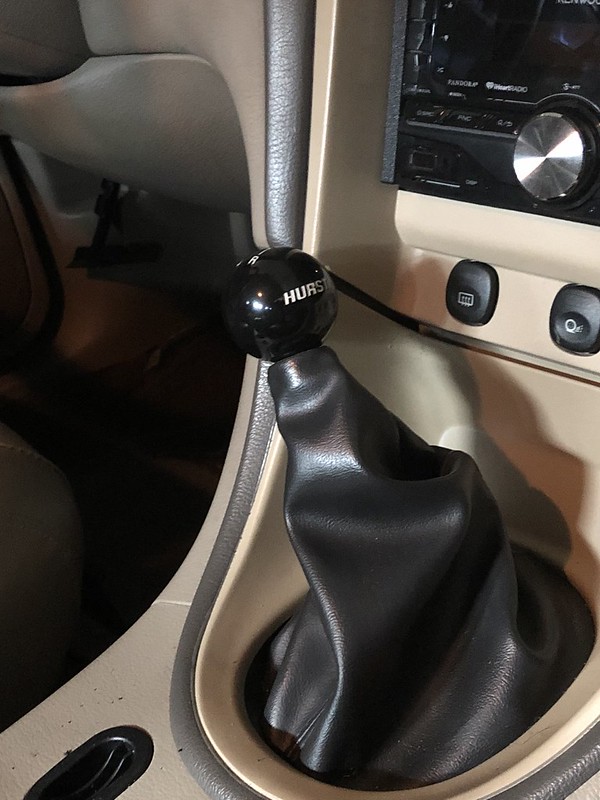
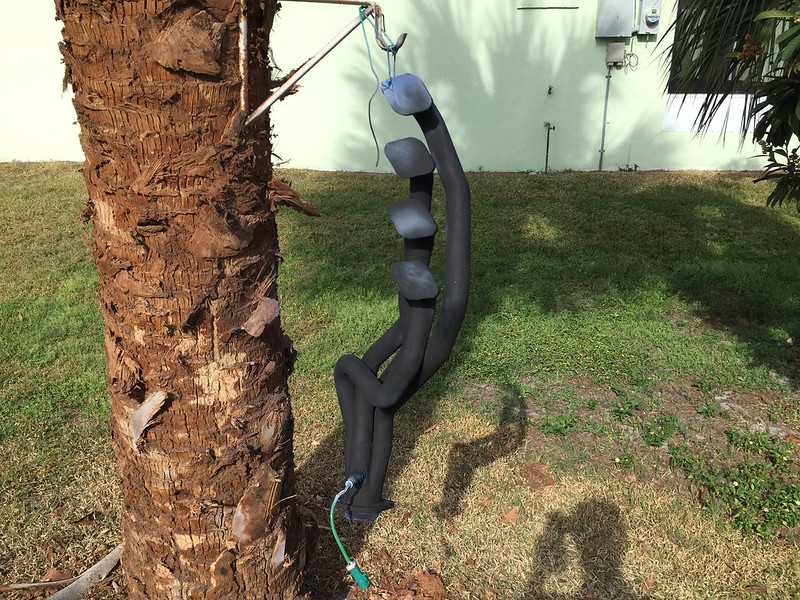
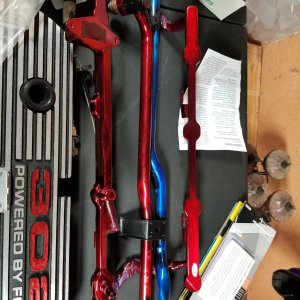
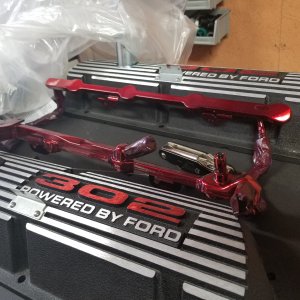
So far I've added a cold air intake, Mac longtubes and prochamber h-pipe, 3.73 gears, lowering springs, caster/camber plates, a Hust short throw shifter, BBK throttle body and a Steeda strut tower brace. I'm really excited to be adding performance parts now since the first year or so was mostly spent fixing things the previous owner had messed up.

There's a ton of stuff I'm forgetting but I want to at least get the thread started and go back and fill in the gaps later.

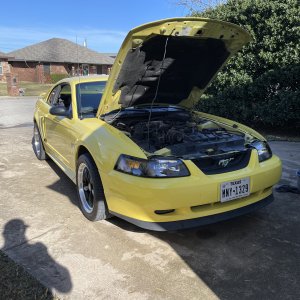
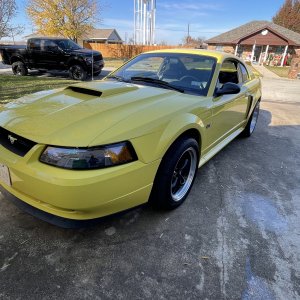
Here's how she sits now aside from the lowering springs. I need to get out and take some more updated pictures lol.

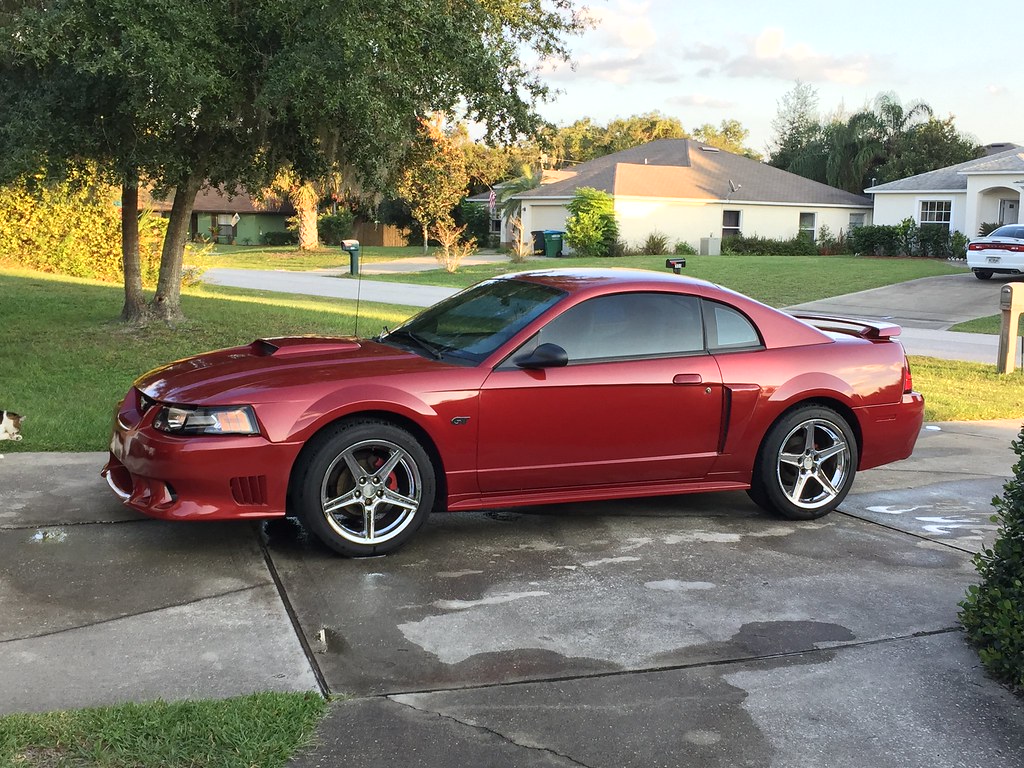
IMG_0129 by Caleb Clayton, on Flickr
 

Burninriverdiver

Well-Known Member
Joined
Jan 1, 2014
Messages
2,770
Reaction score
234
Welcome to the site! The car looks great man, I like the front bumper a lot. It's not as much fun fixing the worn out parts but now that you've done that it should be more enjoyable to start upgrading things as you go. Keep us posted on your progress!
 
OP
OP
C

Caleb2v

New Member
Joined
Jun 20, 2018
Messages
29
Reaction score
0
Thanks I appreciate it. I'm really happy with how the bumper looks. Your car looks awesome by the way!
 

96blak54

Moderator
Staff
Joined
Feb 21, 2011
Messages
10,030
Reaction score
2,874
Location
In the shop
Thats a good lookin car! Id be proud of it too!

Got any interior pics? Maybe before and after pics?
 

Silver95bird

Active Member
Joined
Sep 5, 2016
Messages
491
Reaction score
113
Dad pre-ordered his laser red 01gt to get the bullit wheels when they came out. Nice choice. The new edge cars were great cars. You'll get a lot of enjoyment out of it.
 
OP
OP
C

Caleb2v

New Member
Joined
Jun 20, 2018
Messages
29
Reaction score
0
Thanks for all the replies. I have a few before pictures of the interior and I can post some after pictures when I get home tomorrow. I used to have to sit on a towel in the summer because the glue on the packing tape would melt onto my pants lol

IMG_0985 by Caleb Clayton, on Flickr

IMG_0986 by Caleb Clayton, on Flickr

IMG_0987 by Caleb Clayton, on Flickr

IMG_0989 by Caleb Clayton, on Flickr

I appreciate all of the interest!
 
OP
OP
C

Caleb2v

New Member
Joined
Jun 20, 2018
Messages
29
Reaction score
0
Just got home so I can upload some better pictures. Here are some more up close pictures of how they looked beforehand.

IMG_0057 by Caleb Clayton, on Flickr

IMG_0055 by Caleb Clayton, on Flickr

IMG_0989 by Caleb Clayton, on Flickr

I pulled the bezels out and tossed the center and drivers side. The passenger one was actually in really good shape aside from the paint so I kept that one. The one around the radio had a huge crack in it and the posts/clips that held it in were broken off so it mostly just sat there with no real attachment to the rest of the car. I went to the junkyard closest to me because ordering the panels new was something I couldn't afford. Mustangs there get picked over immediately but I was able to find a set of door panels in black and decided paint was the best way to go. They were really fairly priced so I bought both and kept the silver one as an extra just in case I need it in the future. I found the center radio bezel on Craigslist and picked that up as well. Up next was home depot paint and clear coat and paint time!

IMG_0060 by Caleb Clayton, on Flickr

IMG_0059 by Caleb Clayton, on Flickr

IMG_0058 by Caleb Clayton, on Flickr

IMG_0046 by Caleb Clayton, on Flickr

I don't have a picture of it but I also swapped the gauge bezel back to the stock black one.
 
OP
OP
C

Caleb2v

New Member
Joined
Jun 20, 2018
Messages
29
Reaction score
0
The next thing we did was replace the carpet. The PO was a smoker and the car smelled like cigarettes. Aside from that the carpet was stained and torn. Dad surprised me with a carpet kit and helped me with the sound deadening in the car. We used the old carpet as a template for the new one and cut holes in the same places. It fit pretty well and was worlds better than what came in the car. I used Windex (that stuff cleans everything lol) on the headliner and the cigarette smell was gone. Here's what the old carpet looked like.

IMG_0051 by Caleb Clayton, on Flickr

IMG_0050 by Caleb Clayton, on Flickr

After that I replaced the seats. I learned a pretty good lesson here because I bought a really cheap set of universal tan racing seats from Summit and they barely made it a year. The passenger seat ripped along the seam almost identically to the way the stock seat was ripped in the picture up there ^ lol. A year later I replaced them with really similar seats from Summit that were a bit more expensive and a lot higher quality. They look pretty much the same in pictures but in person the difference was night and day. The pictures are kind of blurry but I promise my picture taking skills have improved since then lol

IMG_0027 by Caleb Clayton, on Flickr

IMG_0025 by Caleb Clayton, on Flickr

Dad helped me figure out the seat brackets and we were even able to keep all of the power functions on the drivers side. I was willing to switch to manual but now that I've grown used to being able to move it in a million different ways I'm glad we could keep those functions. Here are some pictures as we were trying to figure out the rails. It was a fun experience getting to use a grinder to notch the stock rails the way we needed. Test fitting and seeing how natural they looked in the car was a great moment.

IMG_0035 by Caleb Clayton, on Flickr

IMG_0032 by Caleb Clayton, on Flickr

IMG_0031 by Caleb Clayton, on Flickr

IMG_0029 by Caleb Clayton, on Flickr

IMG_2299 by Caleb Clayton, on Flickr

The process of ordering the new-new seats was actually kind of a nightmare. I received the first pair and neither reclined the way they should. I contacted Summit and their customer service was excellent. They sent a second set but they had the same issues. I went through the process of sending them back again and got the third set which had the exact same issue. I called Summit again and went through my situation and they offered to go through their warehouse to pick out a pair that worked. A few days later they called me and told me that they weren't able to find a set that didn't have the issue and gave me a partial refund for them. We took them apart and discovered that the frame was the exact same from the low quality ones I had bought a year before, but the material was much thicker and was making it so that where the cable attached to the bracket that made the seat recline was too loose for it to actually make the seat recline. We fixed this by taking the cable off of the bracket and putting a hole further down so that the cable was taut. This fixed them both and they've worked well since then.

I forgot to mention in the last post I also replaced the silver ac knobs, cigarette lighter and headlight knob with the stock ones. They just looked better in my opinion. I also took the metal part off of the ebrake and left it stock looking. The boot around the ebrake was torn so I replaced that too. The cool thing was I was able to sell the billet silver pieces and put the money towards some other odds and ends for the car.
 

96blak54

Moderator
Staff
Joined
Feb 21, 2011
Messages
10,030
Reaction score
2,874
Location
In the shop
Oh wow! Just simply WOW!

Excellent work! You and your dad have it figured out. Even if you really didnt have a clue, you guys are talented!

The center radio and shifter bezel, are they from a new edge mustang? I gotta say i love it!

I to have considered purchasing the low buck seats from summit....im glad you posted!
 

evilcw311

Most Evil Member!
SN95 Supporter
Joined
May 9, 2010
Messages
7,456
Reaction score
2,134
Location
Louisville, KY
The center radio and shifter bezel, are they from a new edge mustang?

Double dins were only available in the new edge. Plus you can tell by the buttons under the radio


Sent from my iPhone using Tapatalk
 
OP
OP
C

Caleb2v

New Member
Joined
Jun 20, 2018
Messages
29
Reaction score
0
Thanks a lot guys! The low buck seats were really enticing, especially if you're on a budget like I am. The original type I bought aren't available on Summit anymore and I have to assume that's due to the quality issues. So far the newer ones have made it past the year mark and I'm loving them.

Up next for the car was paint. I needed to find a way to get the car painted without spending more than I spent on the car as a whole lol. This pretty much left me with one option and that's Maaco. I had heard horror stories about them and was really hesitant to even consider bringing my car there. I did a ton of research and the common theme seemed to be that the quality of Maaco paint jobs varied vastly by location. They're a chain, and the paint is only going to be as good as the people working at a specific location are able and willing to make it. That being said, I was still nervous lol. I found that I'm located in the middle of three different locations and I started reading reviews on each one. I immediately discounted one as the reviews were terrible. The second had decent reviews, but there were still a few that gave me a bad feeling. The third had almost completely positive reviews along with a website with some of their work on it. The cars looked like they had been done well so I went there first and talked to the guy who handled their paint and body. He was incredibly nice and helpful and the quote he gave me wasn't bad either. Still, I went to the second location to get a quote and check them out and saw they had a car in the parking lot that they had just finished painting. I got to check it out and I couldn't believe how awful it looked. There was orange peel like I have never seen before and over spray everywhere. The windows had it, the rims had it, it looked terrible. I left knowing I'd rather leave the car looking as-is than have them paint it.

Now that I had narrowed it down to which location I was the most comfortable with, the second most common thing I read was that I'd see better results if I did as much prep work as I could before taking it there. The good thing is that the shop said if I did a lot of the prep work myself that'd help keep the cost down. That was a definite win-win lol. That was a pretty large wall of text so here are some pictures of the prep work as well of some of the bodywork issues they'd be addressing.

IMG_1381 by Caleb Clayton, on Flickr

IMG_1378 by Caleb Clayton, on Flickr

IMG_1375 by Caleb Clayton, on Flickr

IMG_1374 by Caleb Clayton, on Flickr

IMG_1373 by Caleb Clayton, on Flickr

IMG_1372 by Caleb Clayton, on Flickr

IMG_1371 by Caleb Clayton, on Flickr

IMG_1370 by Caleb Clayton, on Flickr

If you look at the picture with the side scoop removed you might notice two extra holes that look out of place. That's because the scoops had fallen off at some point and the PO had decided the appropriate fix was sheet metal screws. The PO seemed to have the idea that they were the magic bullet that fixed all car issues. Also, the vinyl letters that were in the "Mustang" lettering on the back bumper had become one with the back bumper so removing them was a pain! lol. Anyways, I dropped the car off at the shop and these are the last pictures I have of her before paint.

IMG_1383 by Caleb Clayton, on Flickr

IMG_1382 by Caleb Clayton, on Flickr

So after about a week I got the call to come pick her up and the results were so much better than I had ever expected they could be. The car almost looked unrecognizable lol. The color used to be laser red, but they informed me beforehand that color was really expensive and we made the decision to go with another Ford color. The color we chose was Dark Toreador Red (paint code FL9). I swear they even added some flake into it because it almost sparkles in sunlight lol. As far as I know Mustangs never came in that color originally so it's cool to have it be similar to the original color while still being unique. Another plus to the color was that it's so similar to the original color that the door jambs match well too. Here's what she looked like afterwards.

IMG_1407 by Caleb Clayton, on Flickr

IMG_1408 by Caleb Clayton, on Flickr

IMG_0044 by Caleb Clayton, on Flickr

IMG_0036 by Caleb Clayton, on Flickr

IMG_0037 by Caleb Clayton, on Flickr
 
OP
OP
C

Caleb2v

New Member
Joined
Jun 20, 2018
Messages
29
Reaction score
0
Also, I'd give a shout out to the shop for doing such great work but they've closed down. I think the employees ended up starting their own shop but I'm not completely sure. The shop was the Maaco in Daytona. I also realized I forgot to mention that before paint I had replaced the cowl panel and header panel (more on that later) and I had painted the windshield wiper mounts black because they had oxidized like the rest of the car.
 

96blak54

Moderator
Staff
Joined
Feb 21, 2011
Messages
10,030
Reaction score
2,874
Location
In the shop
Man! This thread does not disappoint!

The painters gave you the hook up! The car is totally transformed!!
 
OP
OP
C

Caleb2v

New Member
Joined
Jun 20, 2018
Messages
29
Reaction score
0
Haha I appreciate it! They definitely did! I was both relieved and thankful when I saw how hard they worked on her. Before they closed I recommended them to a friend I had with a Firebird and they did a great job on hers as well. She got the cheapest paint package during one of their specials and they still made her car look amazing. I think they just genuinely took pride in their work so it's a shame the shop had to close.
 
OP
OP
C

Caleb2v

New Member
Joined
Jun 20, 2018
Messages
29
Reaction score
0
After the car got painted I worked on a couple small things while saving up money for some bigger things down the line. I did the LED swap behind the gauges and was surprised by how much of a difference that made. I don't have a lot of pictures of that because it was a pretty quick thing to do, but here's the cluster out of the car and reassembled. I also didn't have a picture of the silver to black bezel swap before so this one works for that as well.

IMG_1918 by Caleb Clayton, on Flickr

I also found a really good deal on a Steeda cold air intake and got that installed as well. It looked worlds better than the stock one.

Here's where stuff with the car got busy and I wasn't able to make as much progress at the time as I would have liked. I got home from school one day and heard the radiator puking up coolant from a bad crack in it that had apparently developed on the way home. After buying the car I had discovered the PO had run up on a curb at some point and bent the bottom passenger side corner of the radiator support. Nothing else really seemed too damaged and I had a lot of other things that needed to be addressed before I could get that fixed. It bothered me but it kind of just was what it was. (I also didn't have the money for it at the time so since the radiator seemed okay I pushed it into the back corner of my mind lol). I don't know if the radiator developing the crack was related to the damage or not, (I assume it was) but the radiator decided it had had enough. When we pulled out the radiator we discovered that putting a new one in wasn't really going to work with the damage to the radiator core support. Luckily, my brother's soccer coach at the time owned a body shop and did me a HUGE favor by helping me out with it. He got the damaged corner pulled back out and straightened. After he did it he reaffirmed what I had thought and told me that it wasn't that bad in the first place. He said since the damage was in such a small area fixing it wasn't too hard. I went to pay and he told me not to worry about it. I couldn't be more grateful to him for helping me out. Here's what it looked like before he got it looking right.

IMG_0023 by Caleb Clayton, on Flickr

IMG_0022 by Caleb Clayton, on Flickr

Kind of painful to look at lol.

And here's one I took as we reassembled it after getting it fixed. He was nice enough to let us put it back together in his parking lot so we wouldn't have to have it towed back to my house.

IMG_0021 by Caleb Clayton, on Flickr

Around this time the car had developed a stalling issue. We replaced the fuel pump thinking that might have been causing it but that didn't fix the problem. After experiencing it more I noticed it only happened when I was stopped in gear with the clutch pedal pushed in. It felt like I needed to push the pedal through the floorboard to get the clutch to completely disengage. My best guess at the time was a stretched clutch cable. I replaced it with an adjustable one along with a billet clutch quadrant. I had a hard time adjusting it and the nut that held the cable in the clutch fork needed to be all the way towards the end of the threads for it to feel remotely okay. There were like 2 threads holding it on, which wasn't a good sign. I tried adjusting it at the point in the firewall but that made no difference at all. The first test drive after this was over pretty quickly as the clutch slipped so badly I could only make it about 10 feet down the street before coming back. I guess the new parts didn't agree with the old parts, so up next was replacing the clutch.

IMG_0726 by Caleb Clayton, on Flickr

IMG_0725 by Caleb Clayton, on Flickr

IMG_0742 by Caleb Clayton, on Flickr

IMG_0740 by Caleb Clayton, on Flickr

The old clutch actually didn't look too bad, so I think the issue was actually with the pressure plate. The clutch fork also seemed to be a lot stiffer with less play after we replaced it and the nut on the cable went on like it should. After the clutch replacement all of the issues were resolved and she wasn't stalling anymore. I don't really know if a bad pressure plate could cause the issues I experienced, so maybe someone here can offer their opinion. Right after getting it fixed it was time to do a break job. As we were bleeding the breaks the fluid that came out was almost completely black. We had to bleed them for forever while putting new fluid in to flush them out and get the fluid coming out to be the right color.

None of these issues were too crazy, but they all happened within the span of like a month and a half. It felt like every time I took my car off jack stands she got allergic to the ground and wanted to go back up on them lol. The good thing with all of these things happening was that I did a lot of much needed maintenance and had peace of mind about the parts I had put into the car. I was also relieved to just have her running and driving like normal again.
 
OP
OP
C

Caleb2v

New Member
Joined
Jun 20, 2018
Messages
29
Reaction score
0
While doing the breaks I repainted my center caps because they were chipped and looked pretty bad. Here's how they look now.

IMG_0800 by Caleb Clayton, on Flickr

After getting all the issues sorted out I could finally focus on adding things to make the car better. I saved up and had 3.73 gears installed which really woke the car up. I also added a Hurst short throw shifter and a new radio. As far as the quality of the driving experience goes these two things did wonders. I should have cleaned my car before I took the picture of the shifter lol

IMG_0607 by Caleb Clayton, on Flickr

IMG_0071[1] by Caleb Clayton, on Flickr
 
OP
OP
C

Caleb2v

New Member
Joined
Jun 20, 2018
Messages
29
Reaction score
0
After saving for awhile with the intention of getting a throttle body I came across a pretty insane Craigslist deal. The guy was parting out an 02 GT with a ton of aftermarket parts on it. I was able to get a BBK 78mm throttle body, Mac longtube headers and a mac prochamber h-pipe for $400. Seeing as a new throttle body alone was almost that expensive on American Muscle I pounced on the deal. Installing the throttle body was incredibly easy and went a long way in terms of making the engine bay look better. The header installation was a bit more involved but it went pretty smoothly. We dropped the k member and raised the engine slightly with a jack. While we had the k member out we decided to replace all of the bushings in the suspension along with the ball joints. We also took the opportunity to replace the motor mounts.

IMG_3194 by Caleb Clayton, on Flickr

IMG_3197 by Caleb Clayton, on Flickr

IMG_3204 by Caleb Clayton, on Flickr

The headers were pretty rusty so I painted them with high temp paint and primer.

IMG_3195 by Caleb Clayton, on Flickr

Here are the old manifolds and motor mounts. The motor mounts were completely destroyed.

IMG_3205 by Caleb Clayton, on Flickr

IMG_3201 by Caleb Clayton, on Flickr

IMG_3202 by Caleb Clayton, on Flickr

IMG_3203 by Caleb Clayton, on Flickr

My brother's Mustang in the background looking good.

The bushings in the k member (especially the control arm bushings) were a complete pain to do. Dad got the bushings replaced and extended the o2 wires while I installed the throttle body, motor mounts and headers. During this time I also installed Tokiko orange shocks and struts, SR lowering springs and caster camber plates. The drop was perfect!

IMG_3236 by Caleb Clayton, on Flickr

IMG_3207 by Caleb Clayton, on Flickr

Here's the first start up. All of the changes were included in a Bama tune that I flashed to the car before starting her up. I followed the instructions for the paint and allowed it to bake onto the headers.

IMG_3237 by Caleb Clayton, on Flickr

The throttle body whistled loudly at first, but that went away after letting it idle for awhile. I'm surprised with how much I can hear it suck in air while I'm accelerating. Driving the car feels completely different now. The handling is worlds better than before and so is the stance. It doesn't dive as hard when going around corners and feels more comfortable when going over bumps. The sound is a lot more subtle than the off road x-pipe that was on there before and it accelerates noticeably faster.
 

Silver95bird

Active Member
Joined
Sep 5, 2016
Messages
491
Reaction score
113
The body/ paint issues really weren't that bad, but yeah they can be time consuming, and therefore expensive. The shop was right, E9 is laser red (read 3 stage ) which is also more materials, therefore expensive. The undercoat is actually like a pink metallic, with a clear/red middle layer that gives it the candy color. Thats why they fade so bad and turn pink as well. The midcoat practically fades completely out. Glad you found a solution you're happy with. Looks nice!

My engine mount beats yours though! Still have to do the other one.
1aca42704242c7d1eb9caf7d99b2b907.jpg


Sent from my XT1565 using Tapatalk
 

Latest posts

Forum statistics

Threads
77,492
Messages
1,503,733
Members
14,965
Latest member
wbarter

Members online

No members online now.
Top