RedTwilight
Active Member
This is the non-SN95 thread of where my money and time have gone when not spent on my Cobra or RC and airbrushing hobbies.
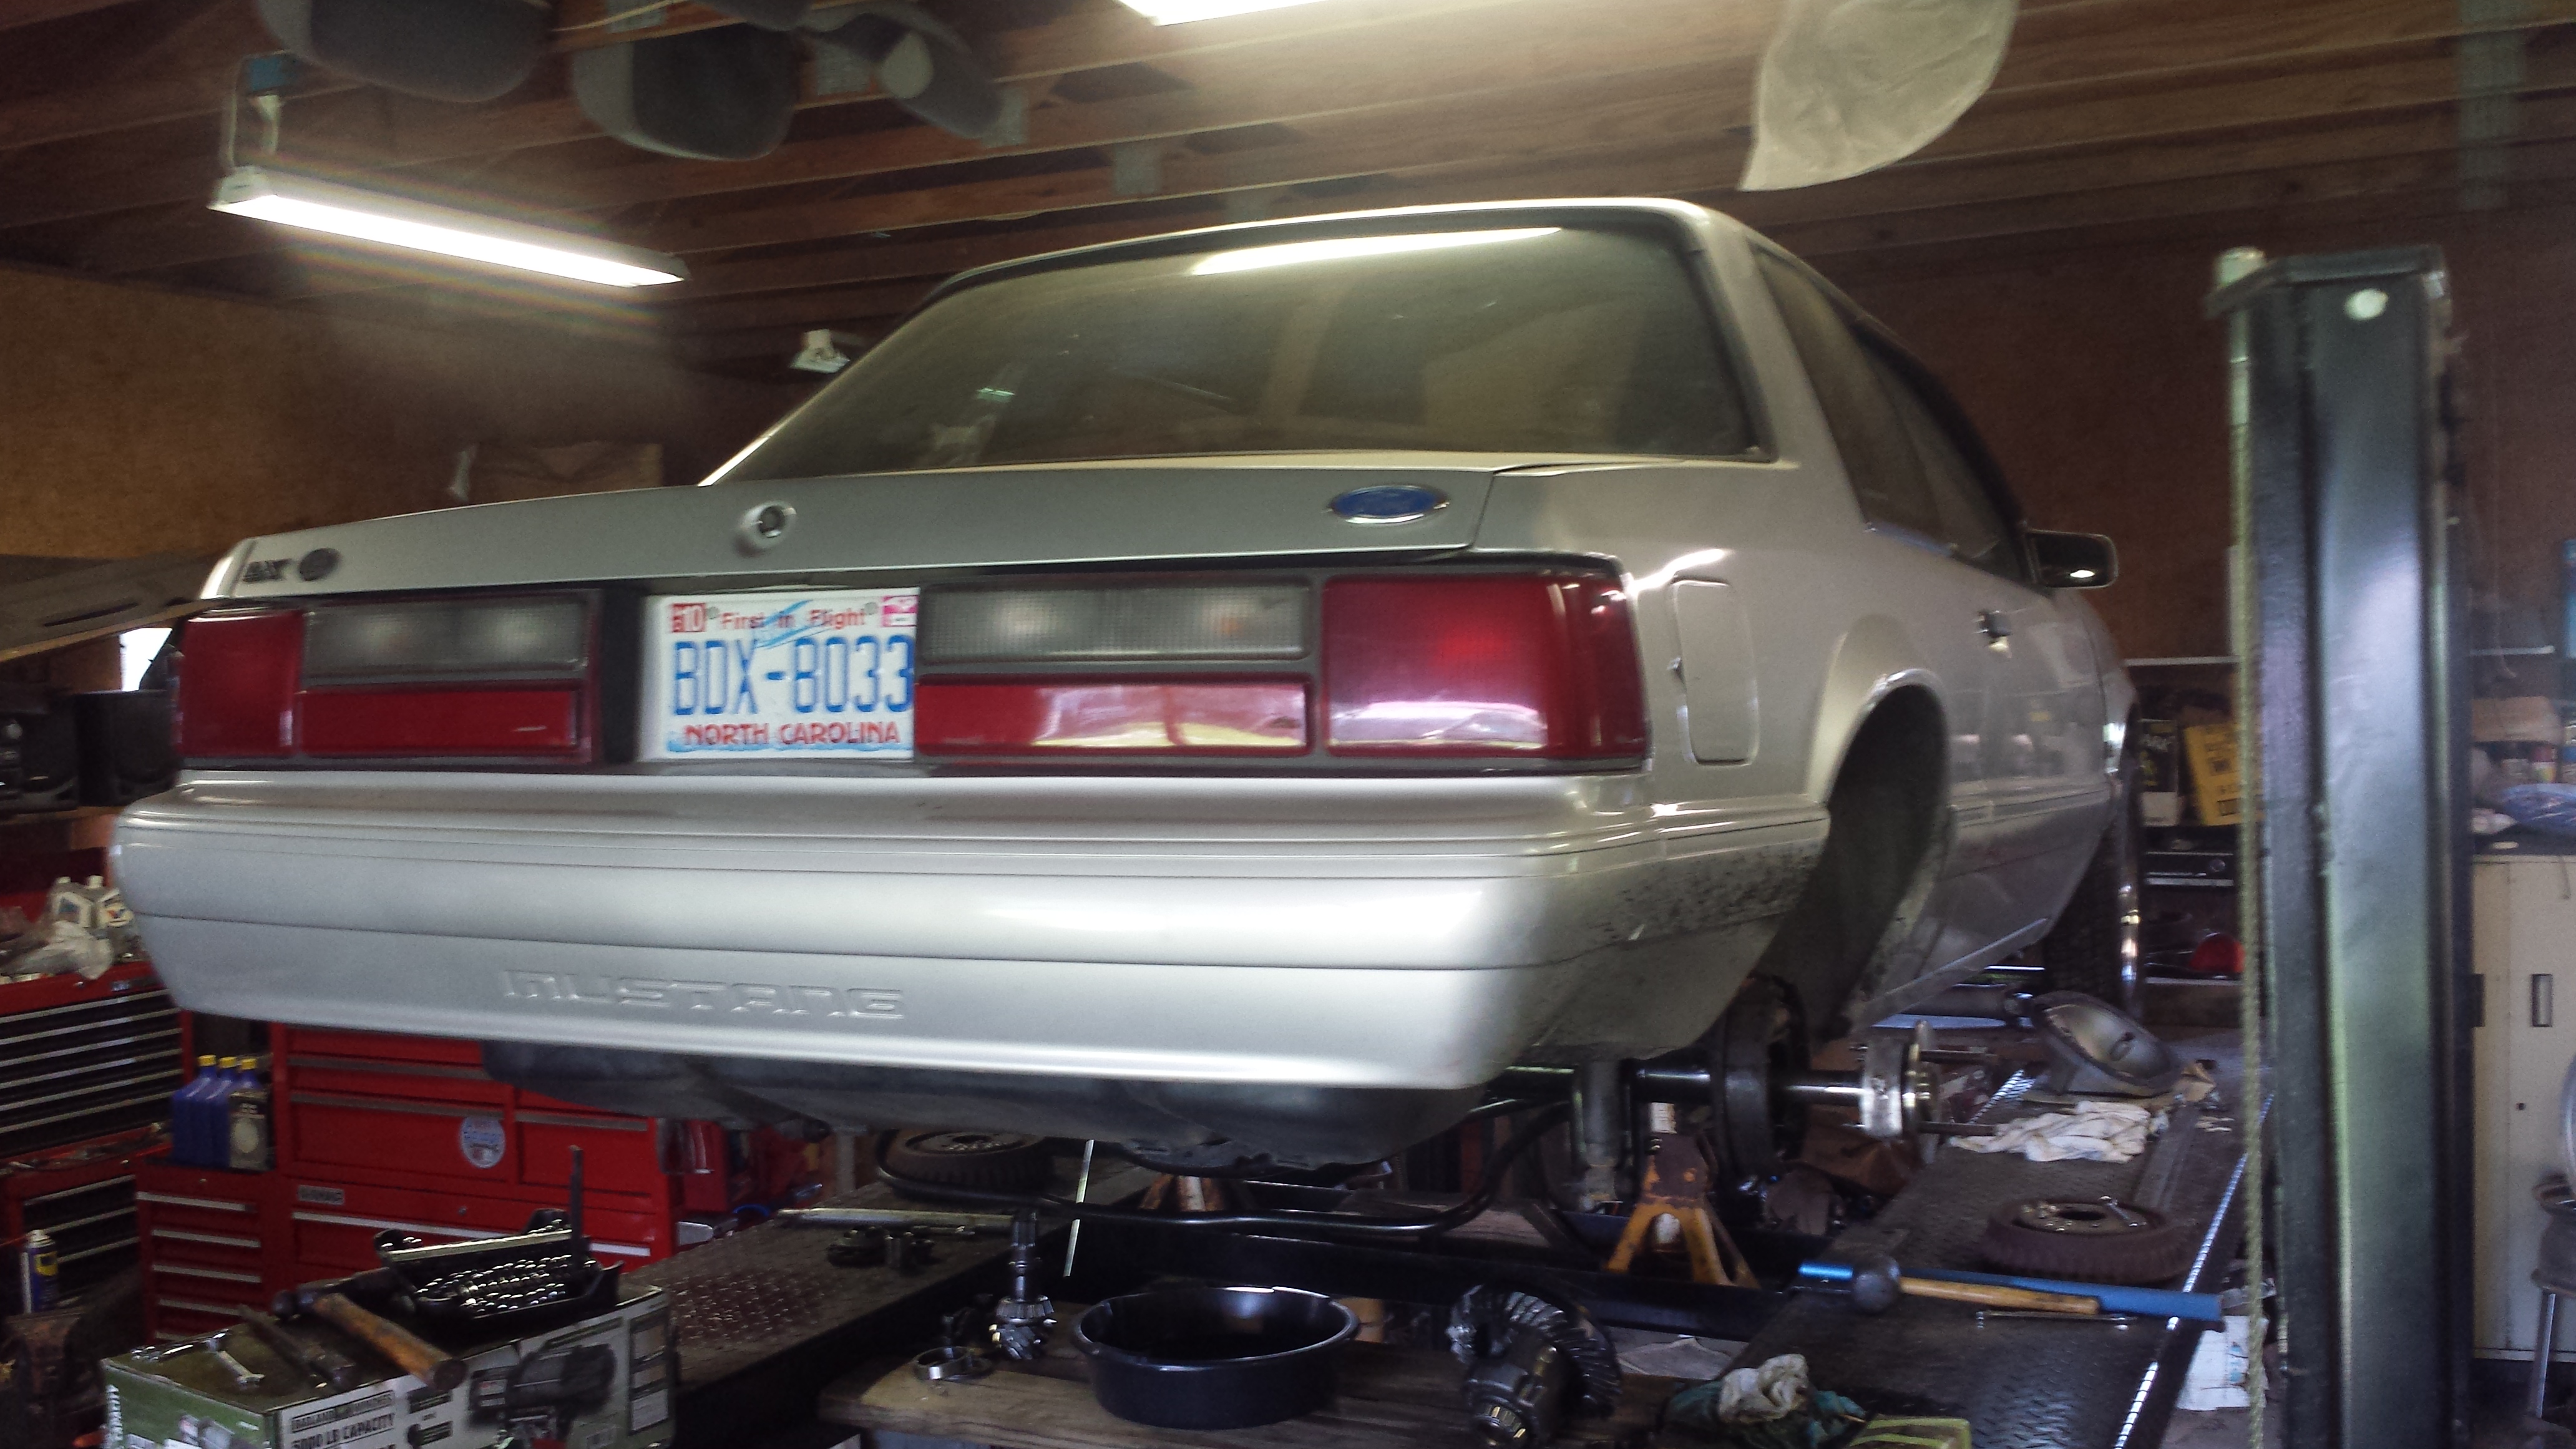
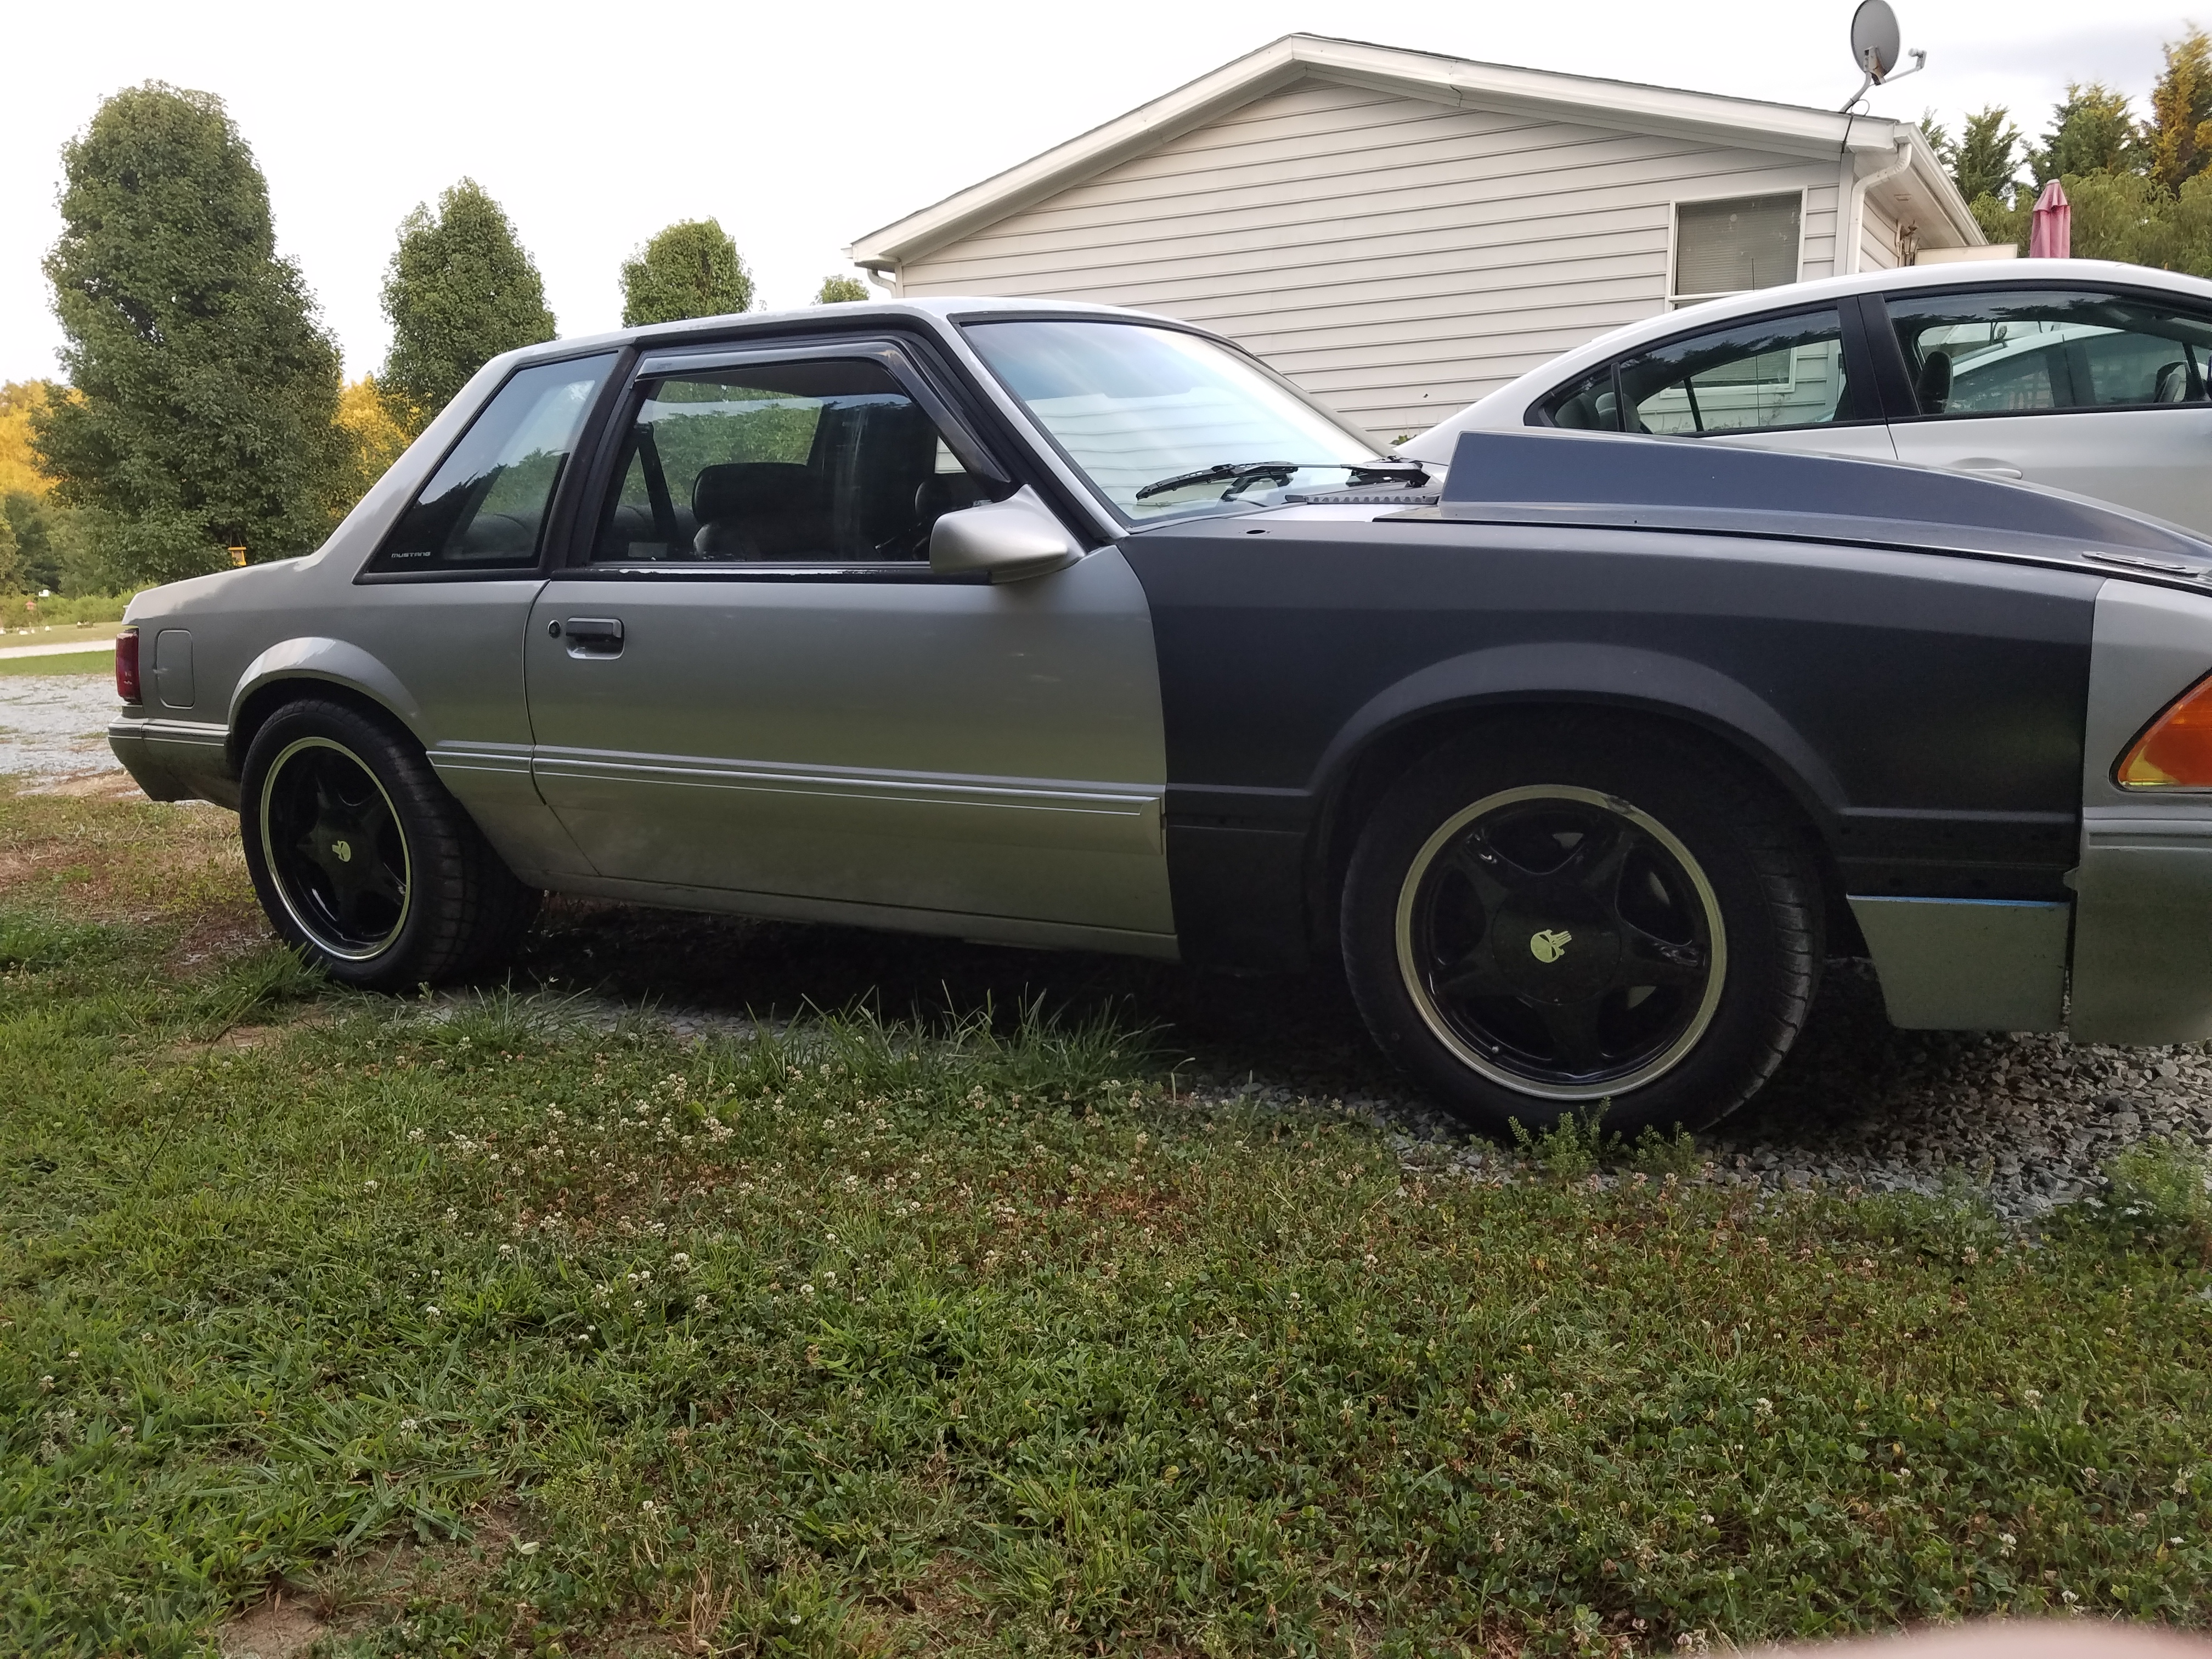
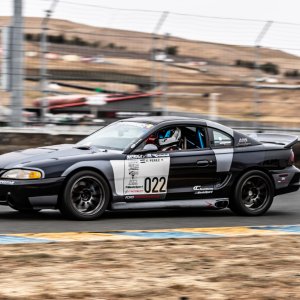
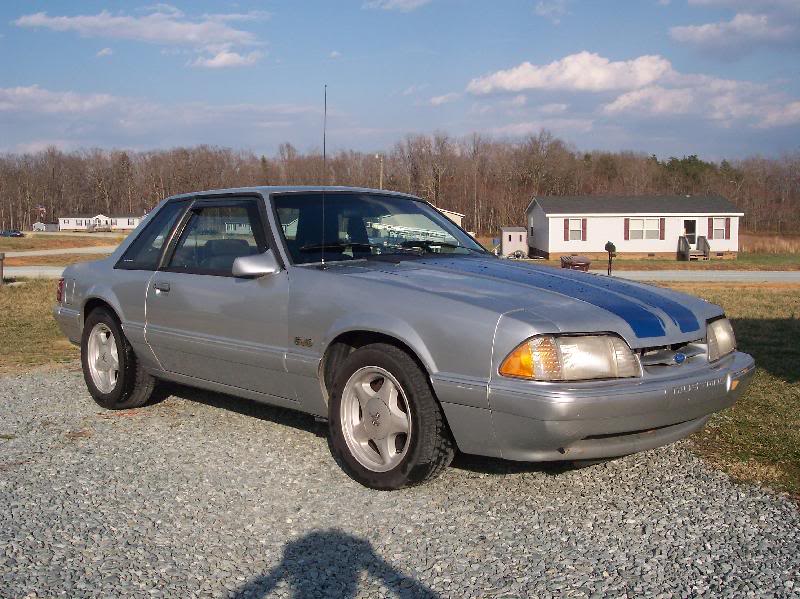
Here's the build thread of Shadow. My 1993 5.0 Notch.
I purchased it used in 2001 to help offset the daily driver duties of ZERO my '96 Cobra.
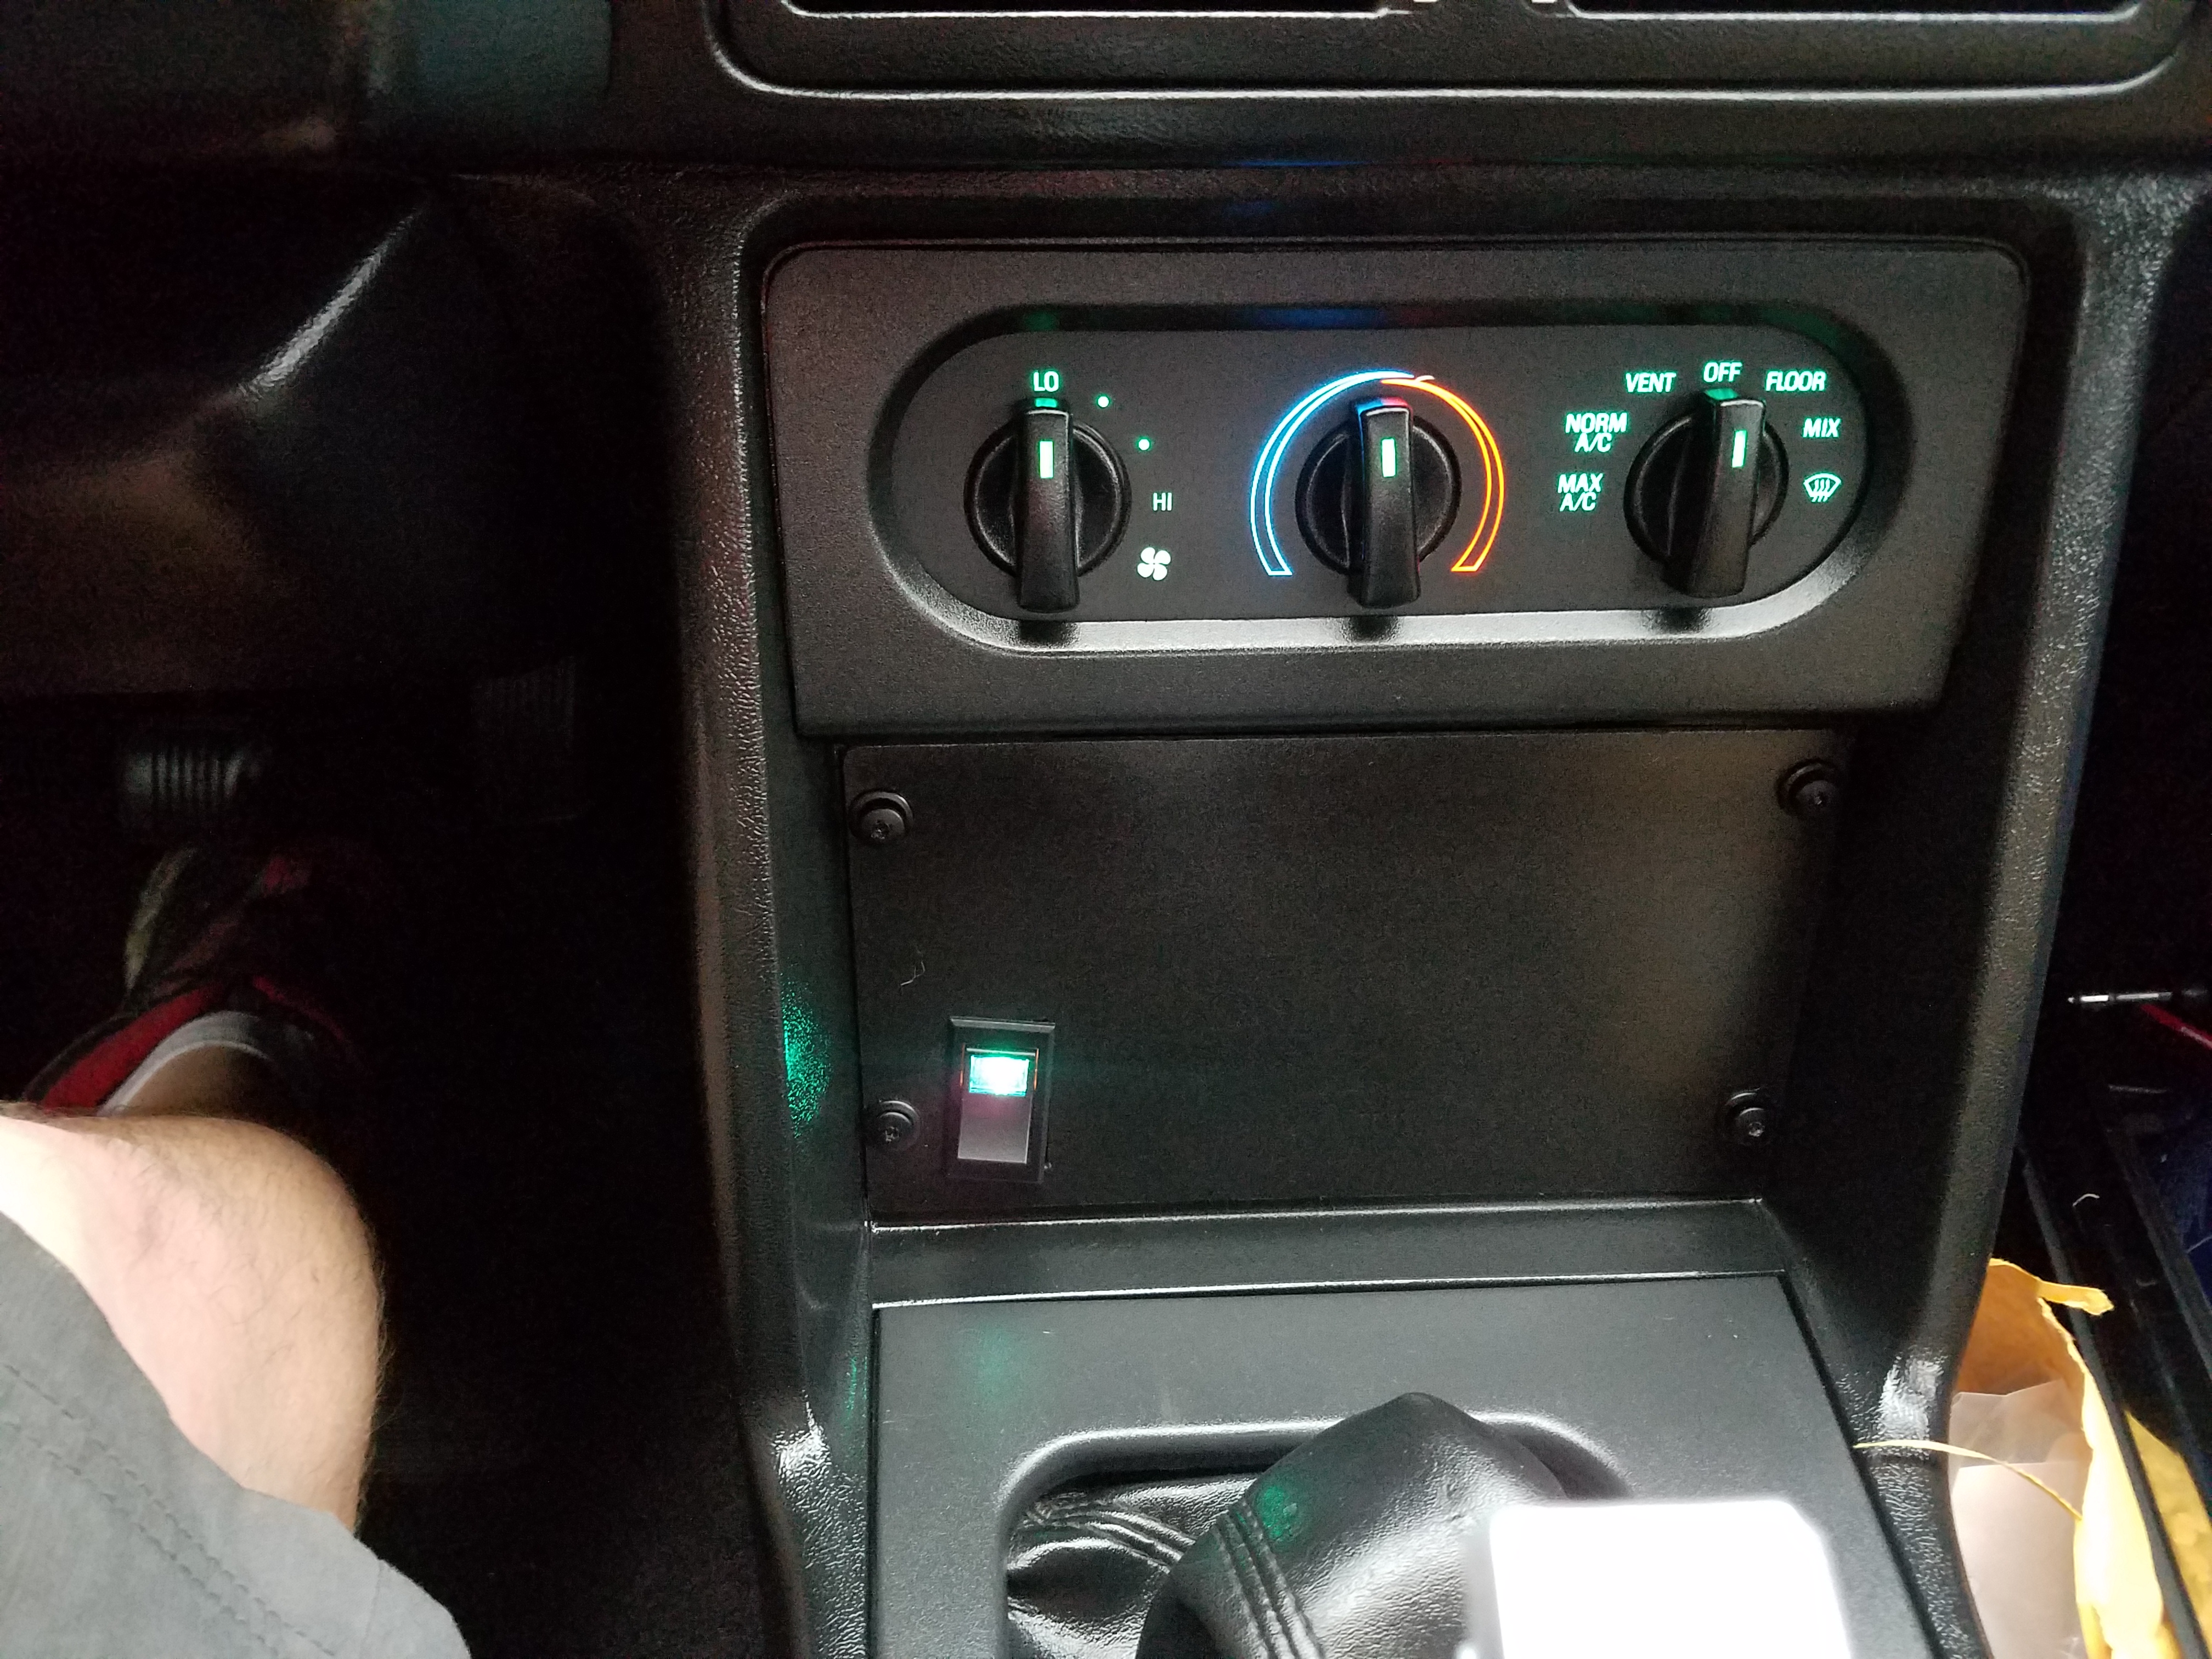
The only mods done to it by previous owners were Flowmaster's welded into the factory cat back, an AC delete due to a locked up AC compressor, a K&N conical filter, and a Tremec 3550 with Hurst shift handle and knob.
A Little Paint

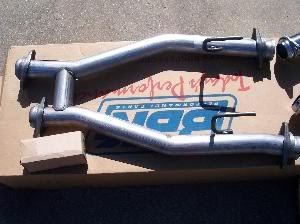
I wasn't long before the itch to modify it more kicked in and I purchased a set of BBK full length headers, BBK off road H-pipe and MAC dumped cat back system.
BBK Headers, Off Road H-pipe & MAC Dumped Cat Back


Shadow Cleaned Up
I drove it for a little while until the bug struck again.
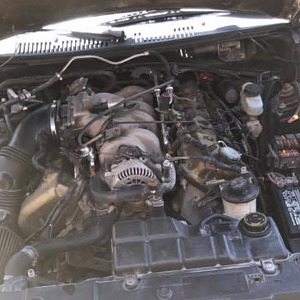
This time it was an electric fan when the old fan clutch went out. Also a set of aluminum undrive pulleys, Professional Products polished 70mm throttle body and EGR plate and smog pump delete. Also at this time I further stripped the rest of the remaining AC system.
And it stayed in this state for several years until one day on my way to work I crossed oven an ice slicked bridge and sent it into a ditch. It rolled over onto the drivers side. After rolling it back level to my surprise only the driver side view mirror was broken. The driver's side was scratch free. But the passenger side had snapped the rear axle and bent in the lower rear portion of the rear quarter panel.
After that incident I took it off the road for a while until things were fixed and my paycheck could with stand the insurance of another vehicle again.
While it was taken off the road my dad decided to get back into drag racing. He bought a roller and started building it up. After a couple of races the crank in his car broke. So he had the idea to put some slicks on Shadow and run it to stay in the points until he could rebuild.
After this I put it back on the road. But the bug to race had bit me as well.
So this spurred the next round of mods.
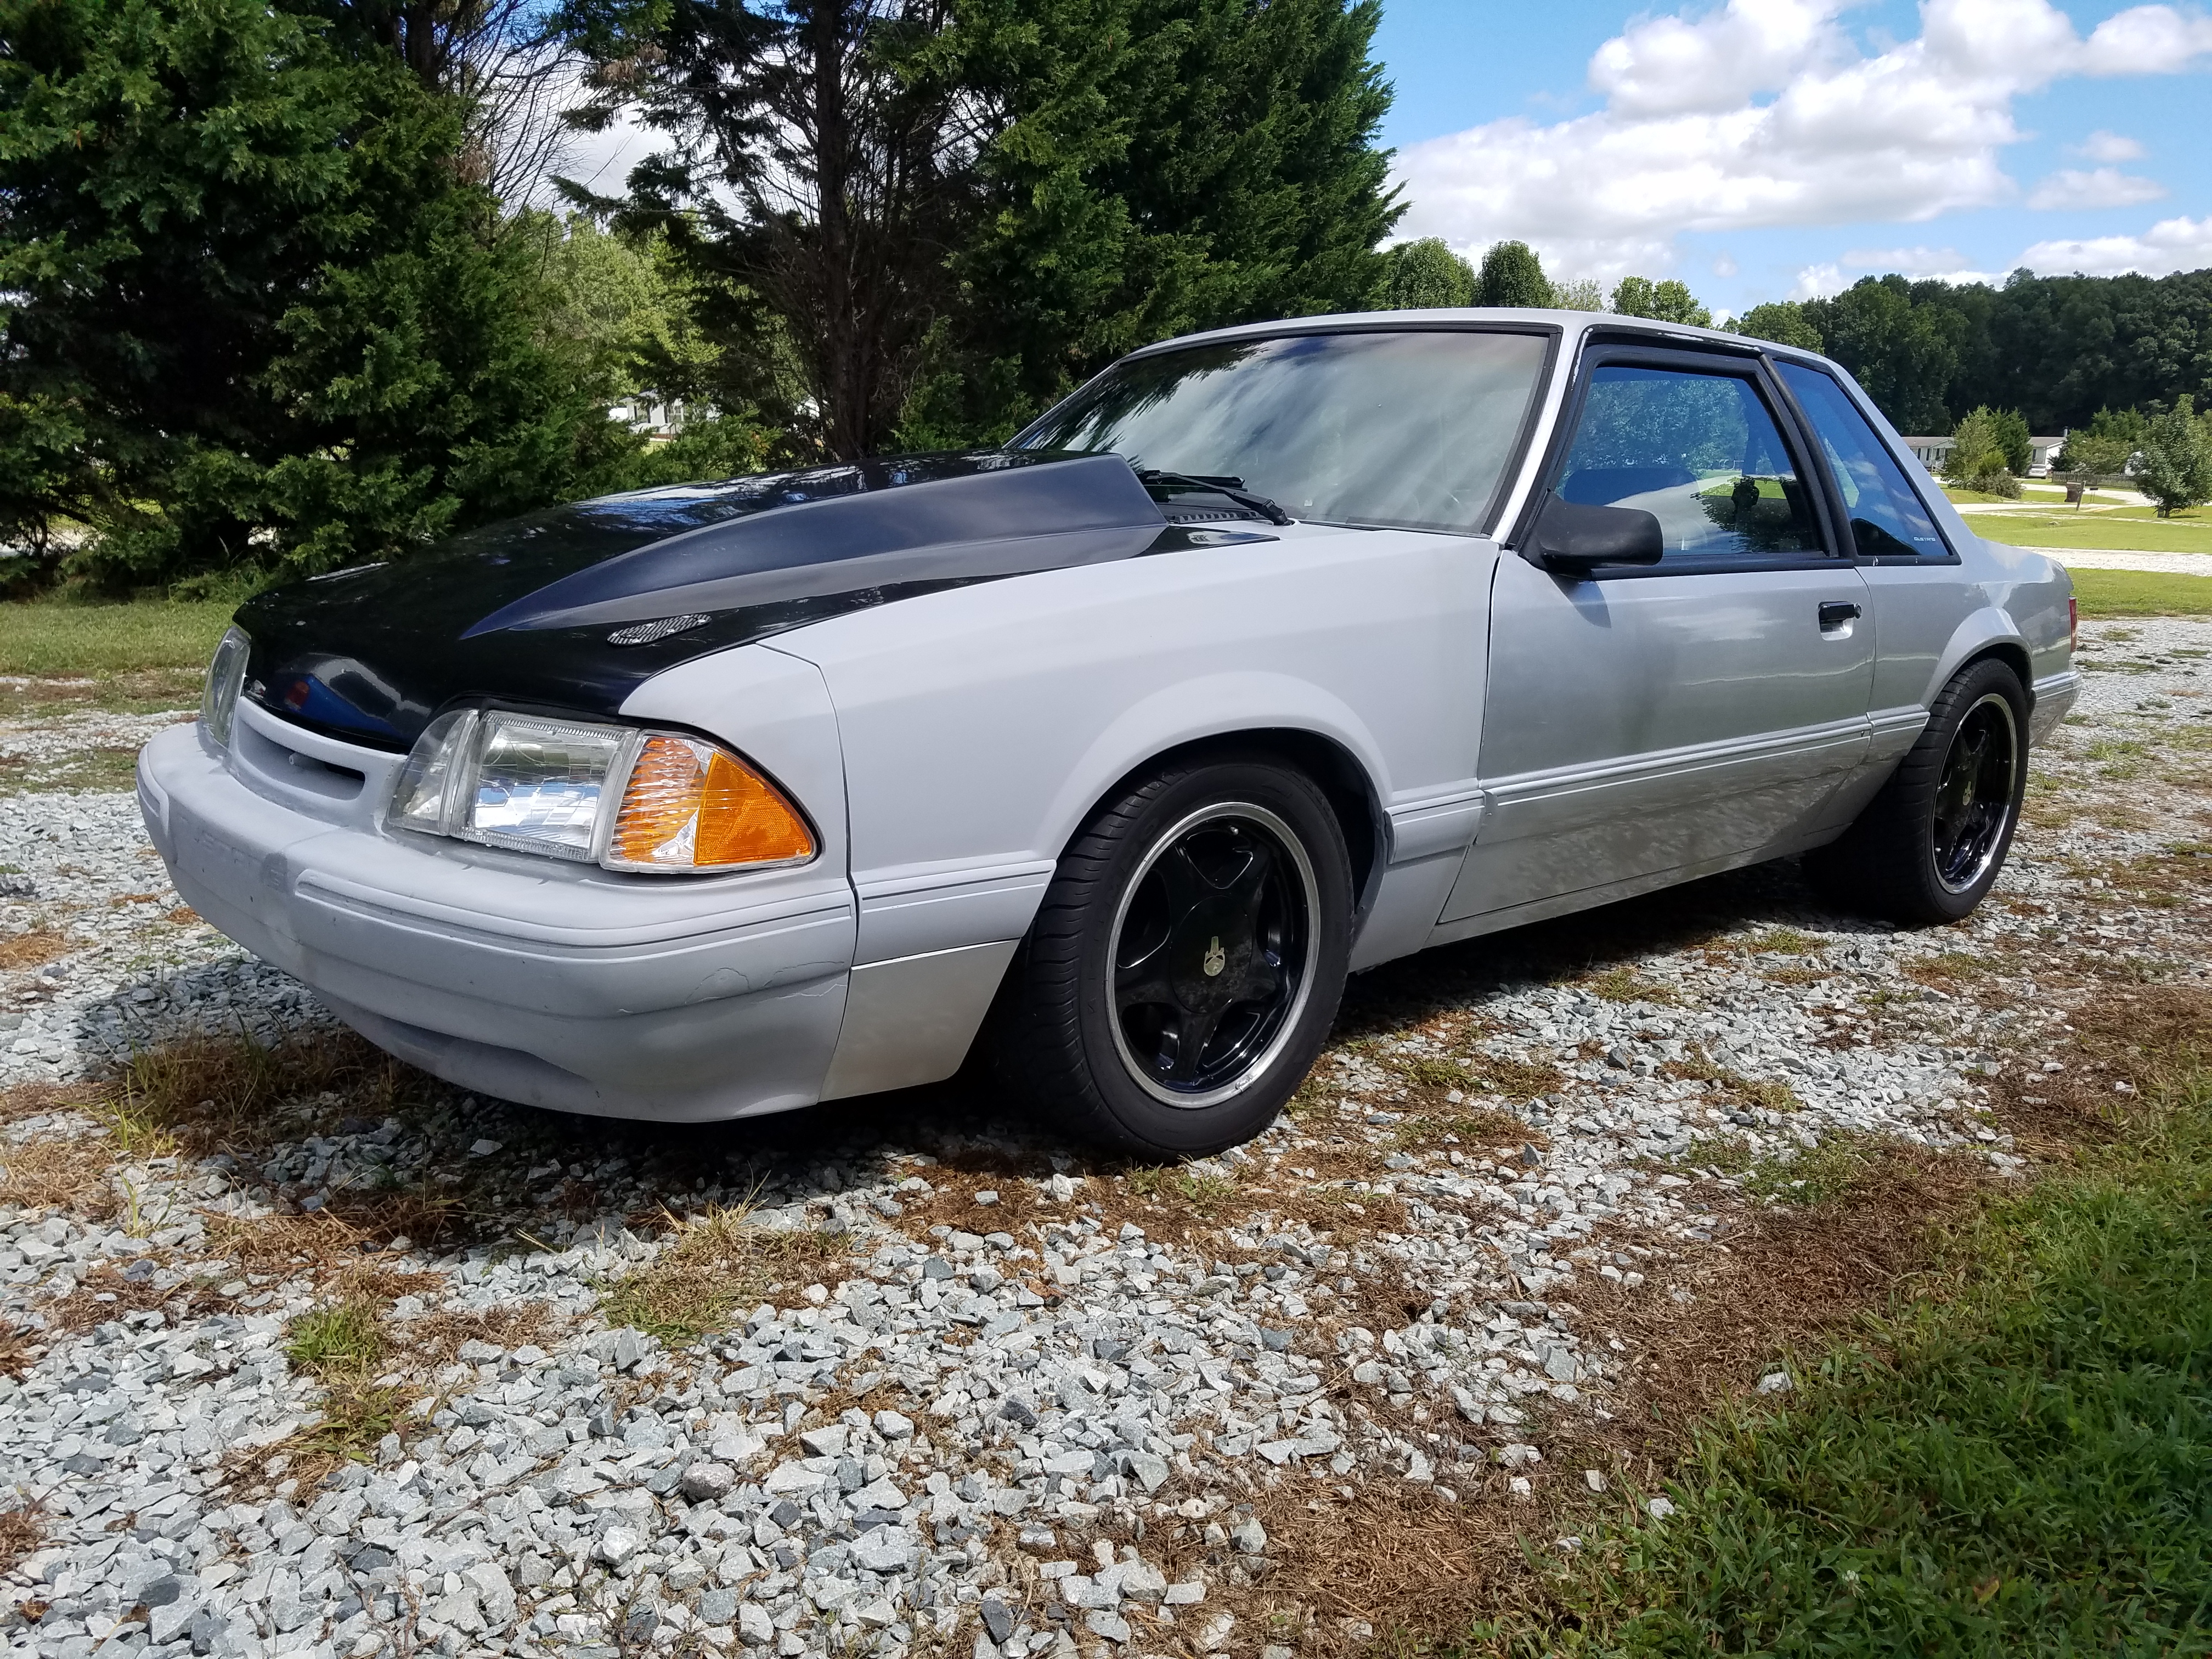
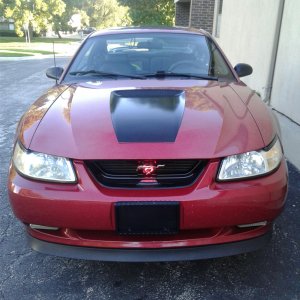
This time a fiberglass 4" cowl hood, light weight Weld Rod Lite wheels, 275/60-15 Mickey Thompson drag radials, and 4.10:1 Ford Racing ring and pinion gears were added to get it ready for the drag strip. Also a set of home made sub frame connectors got welded in at this time.
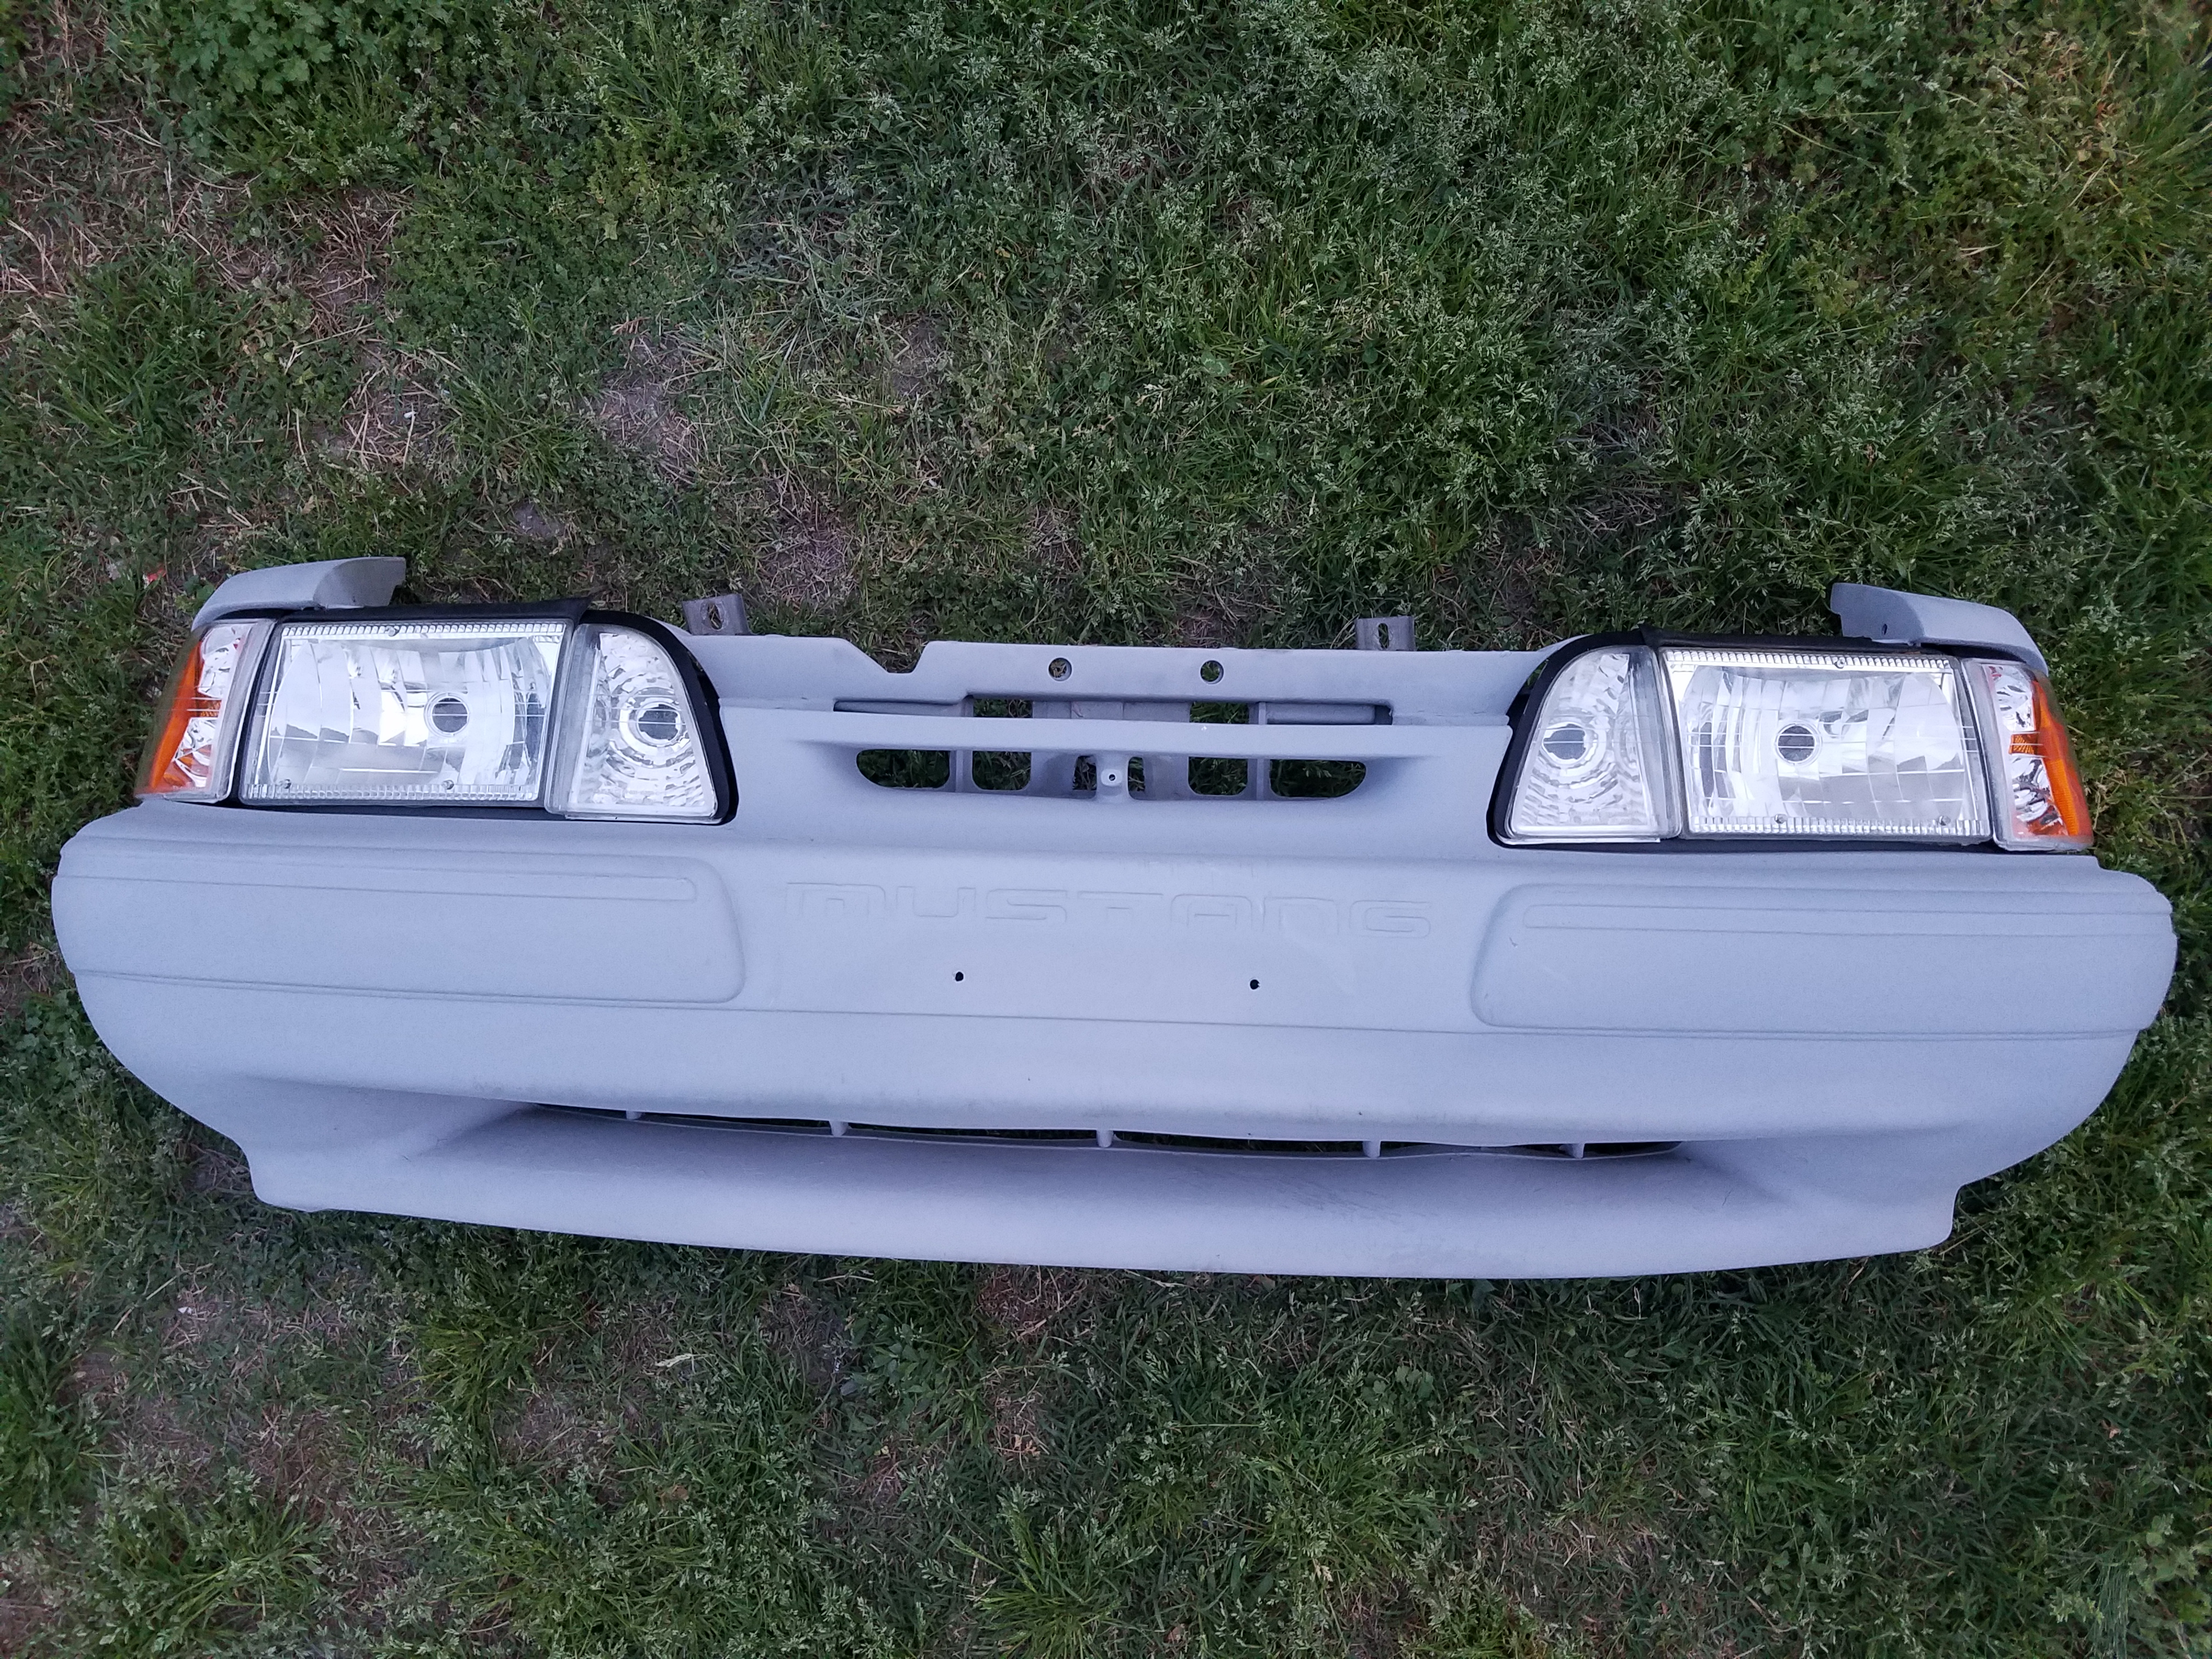
New Cowl Hood and Front Bumper

New Wheels Weld Rod Lites
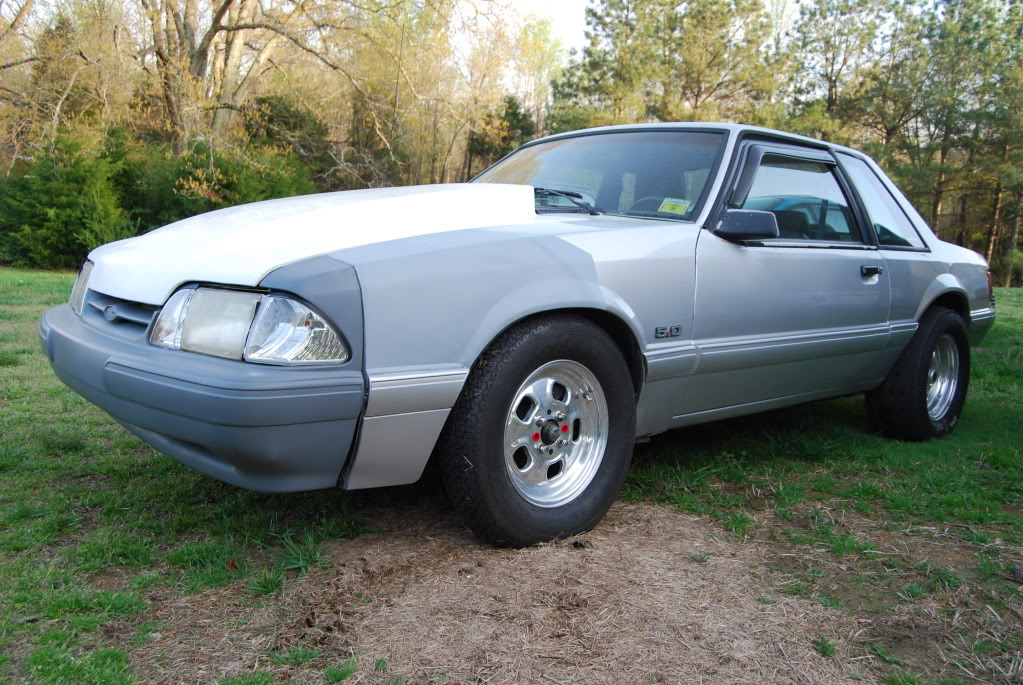
Some More Paint


I ran it like this all last season. For this year I only added a 70mm mass air meter from a '94 Gt. But I had other problems.
The very first run of the year during test and tune I snapped the left rear axle on the launch.
Broken Axle
So in went new Motive Gear 28 spline axles as replacements and new seals before the first points race of the year.
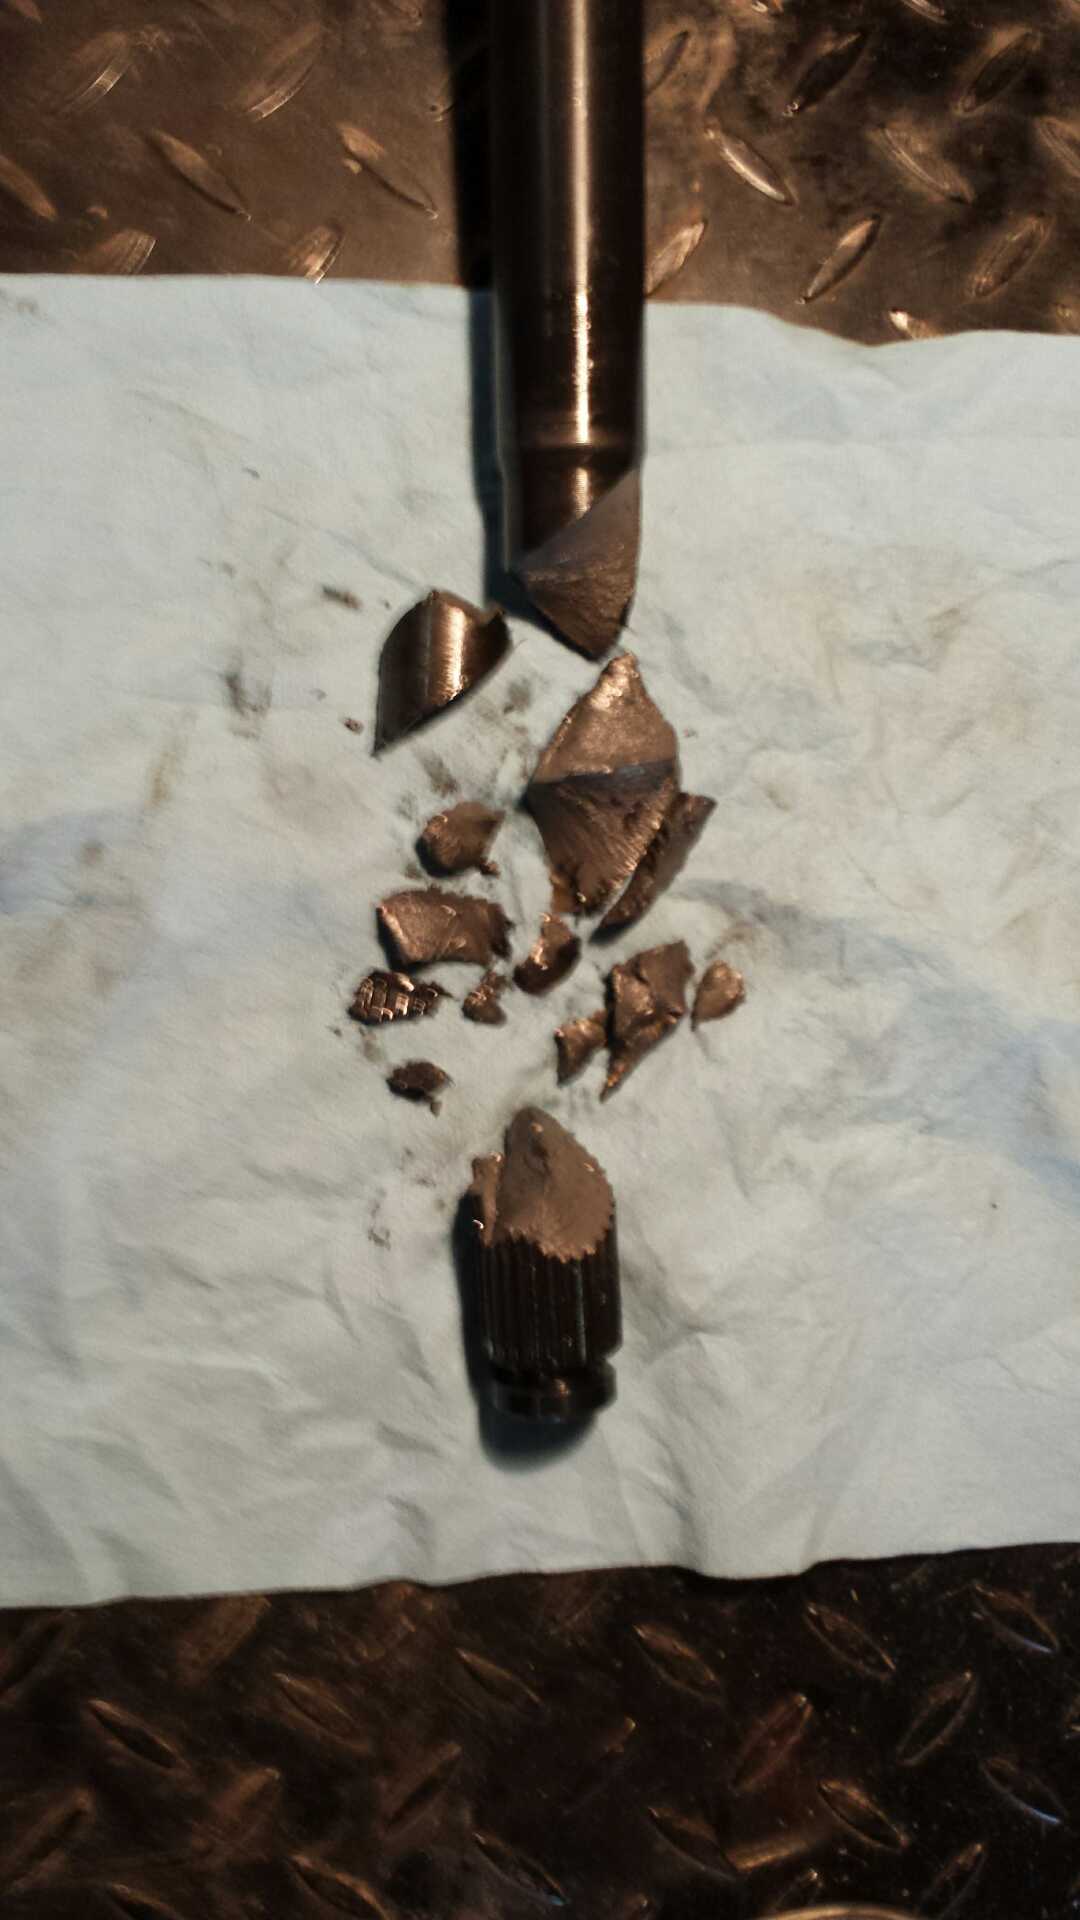
Broken Motive Gear 28 Spline Axle
This wasn't so good either as a bad lower control arm bushing had caused severe wheel hop. The seal was leaking on the right side axle tube. Upon further inspection the right rear lower control was also bent. It was bent approximately 5/8" up higher at the spring perch.
Bent Factory Lower Rear Control Arm

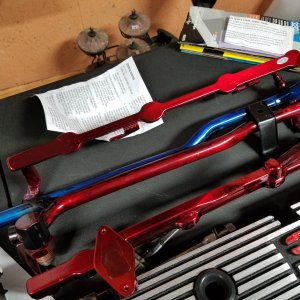
So on order went a pair of Team Z double adjustable rear lower control arms and 1/2" grade 8 bolts. At the same time I installed a 3 row aluminum radiator and new 180* thermostat.
Team Z Double Adjustable Lower Rear Control Arms

Things went well for one race. Then at the Horsepower Junkies Draggin Rights I broke another axle. Got that repaired and went to the track for the next points race.
Well, you guessed it! Broke a third axle.
Broken Motive Gear 28 Spline Axle

And that brings me to my current round of upgrades!
Thinking the housing could be bent and causing the breakage, a new housing was located.
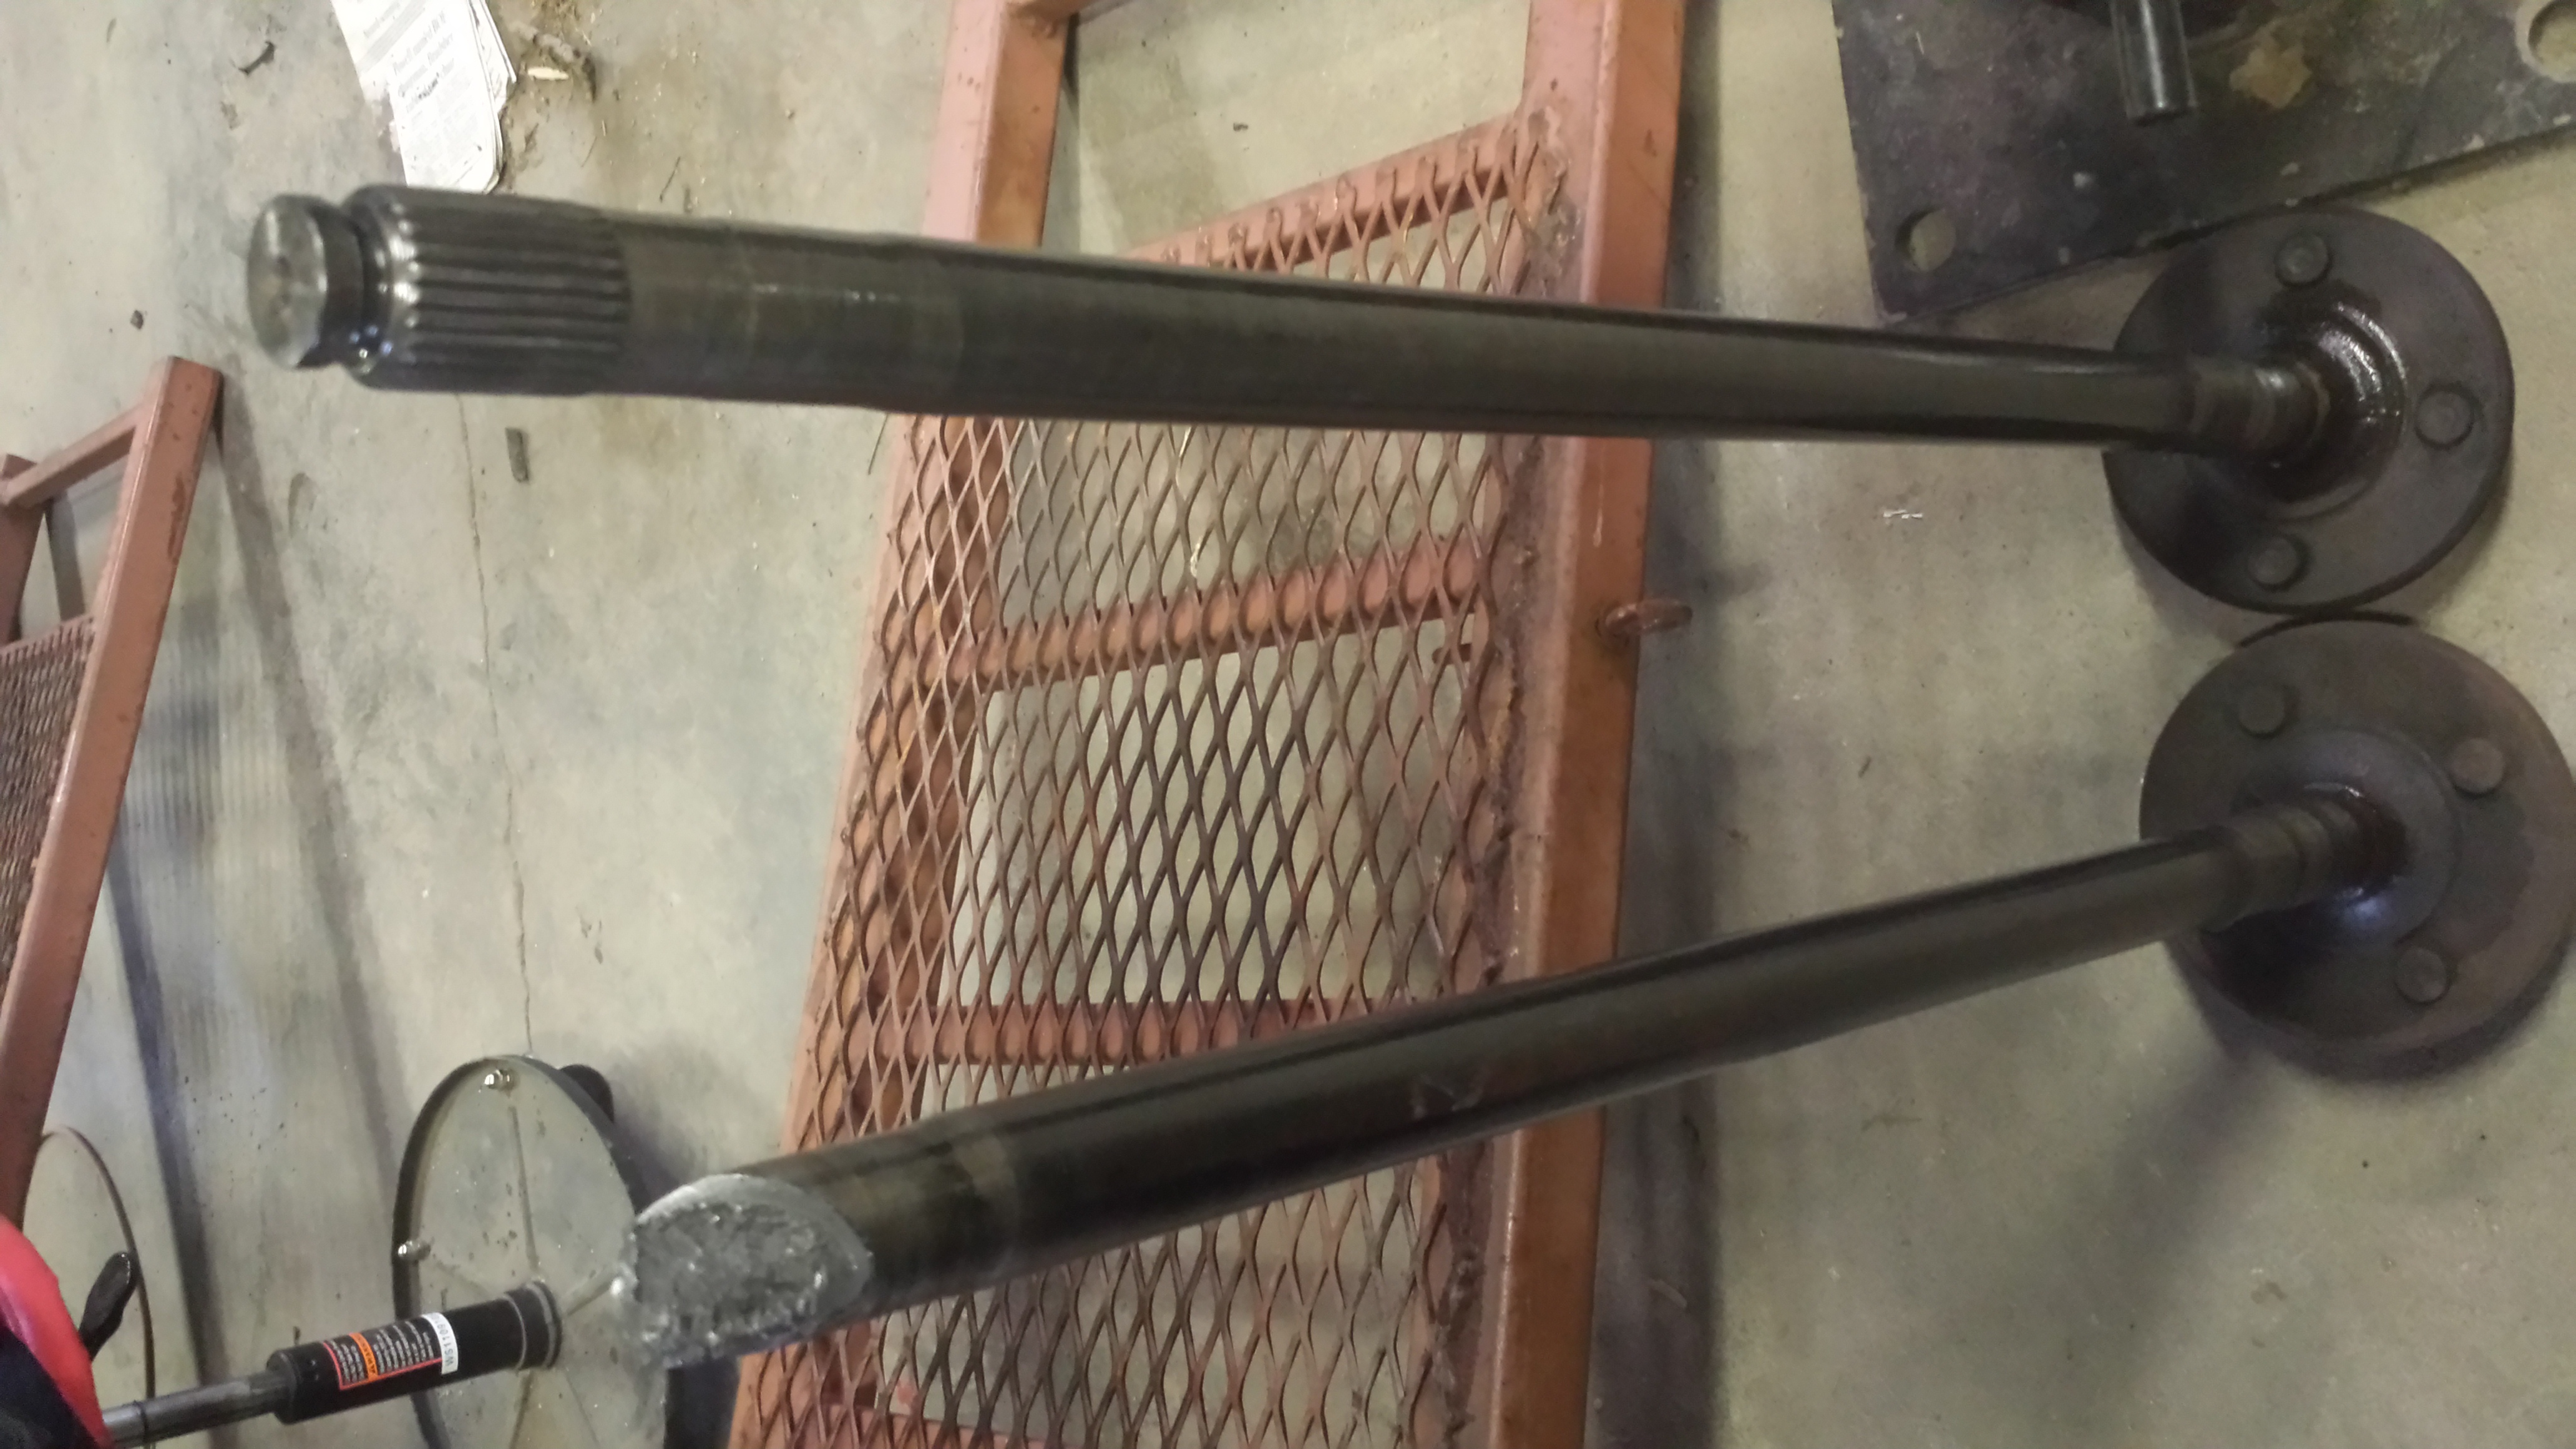
Also on order went a set of housing braces from Wild Rides Race Cars, a pair of Strange 31 spline race axles with C-clip eliminators and 1/2-20 x 3" wheel studs, and a FRPP 31 spline Cobra differential.
New Housing

Strange 31 Spline Race Axles

Axle out yet again.

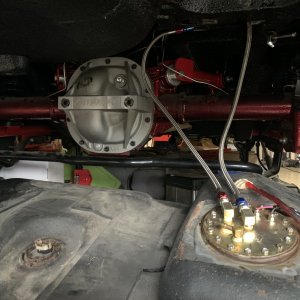
Bracing, Diff Girdle and 4.30:1 Gears going in.


After


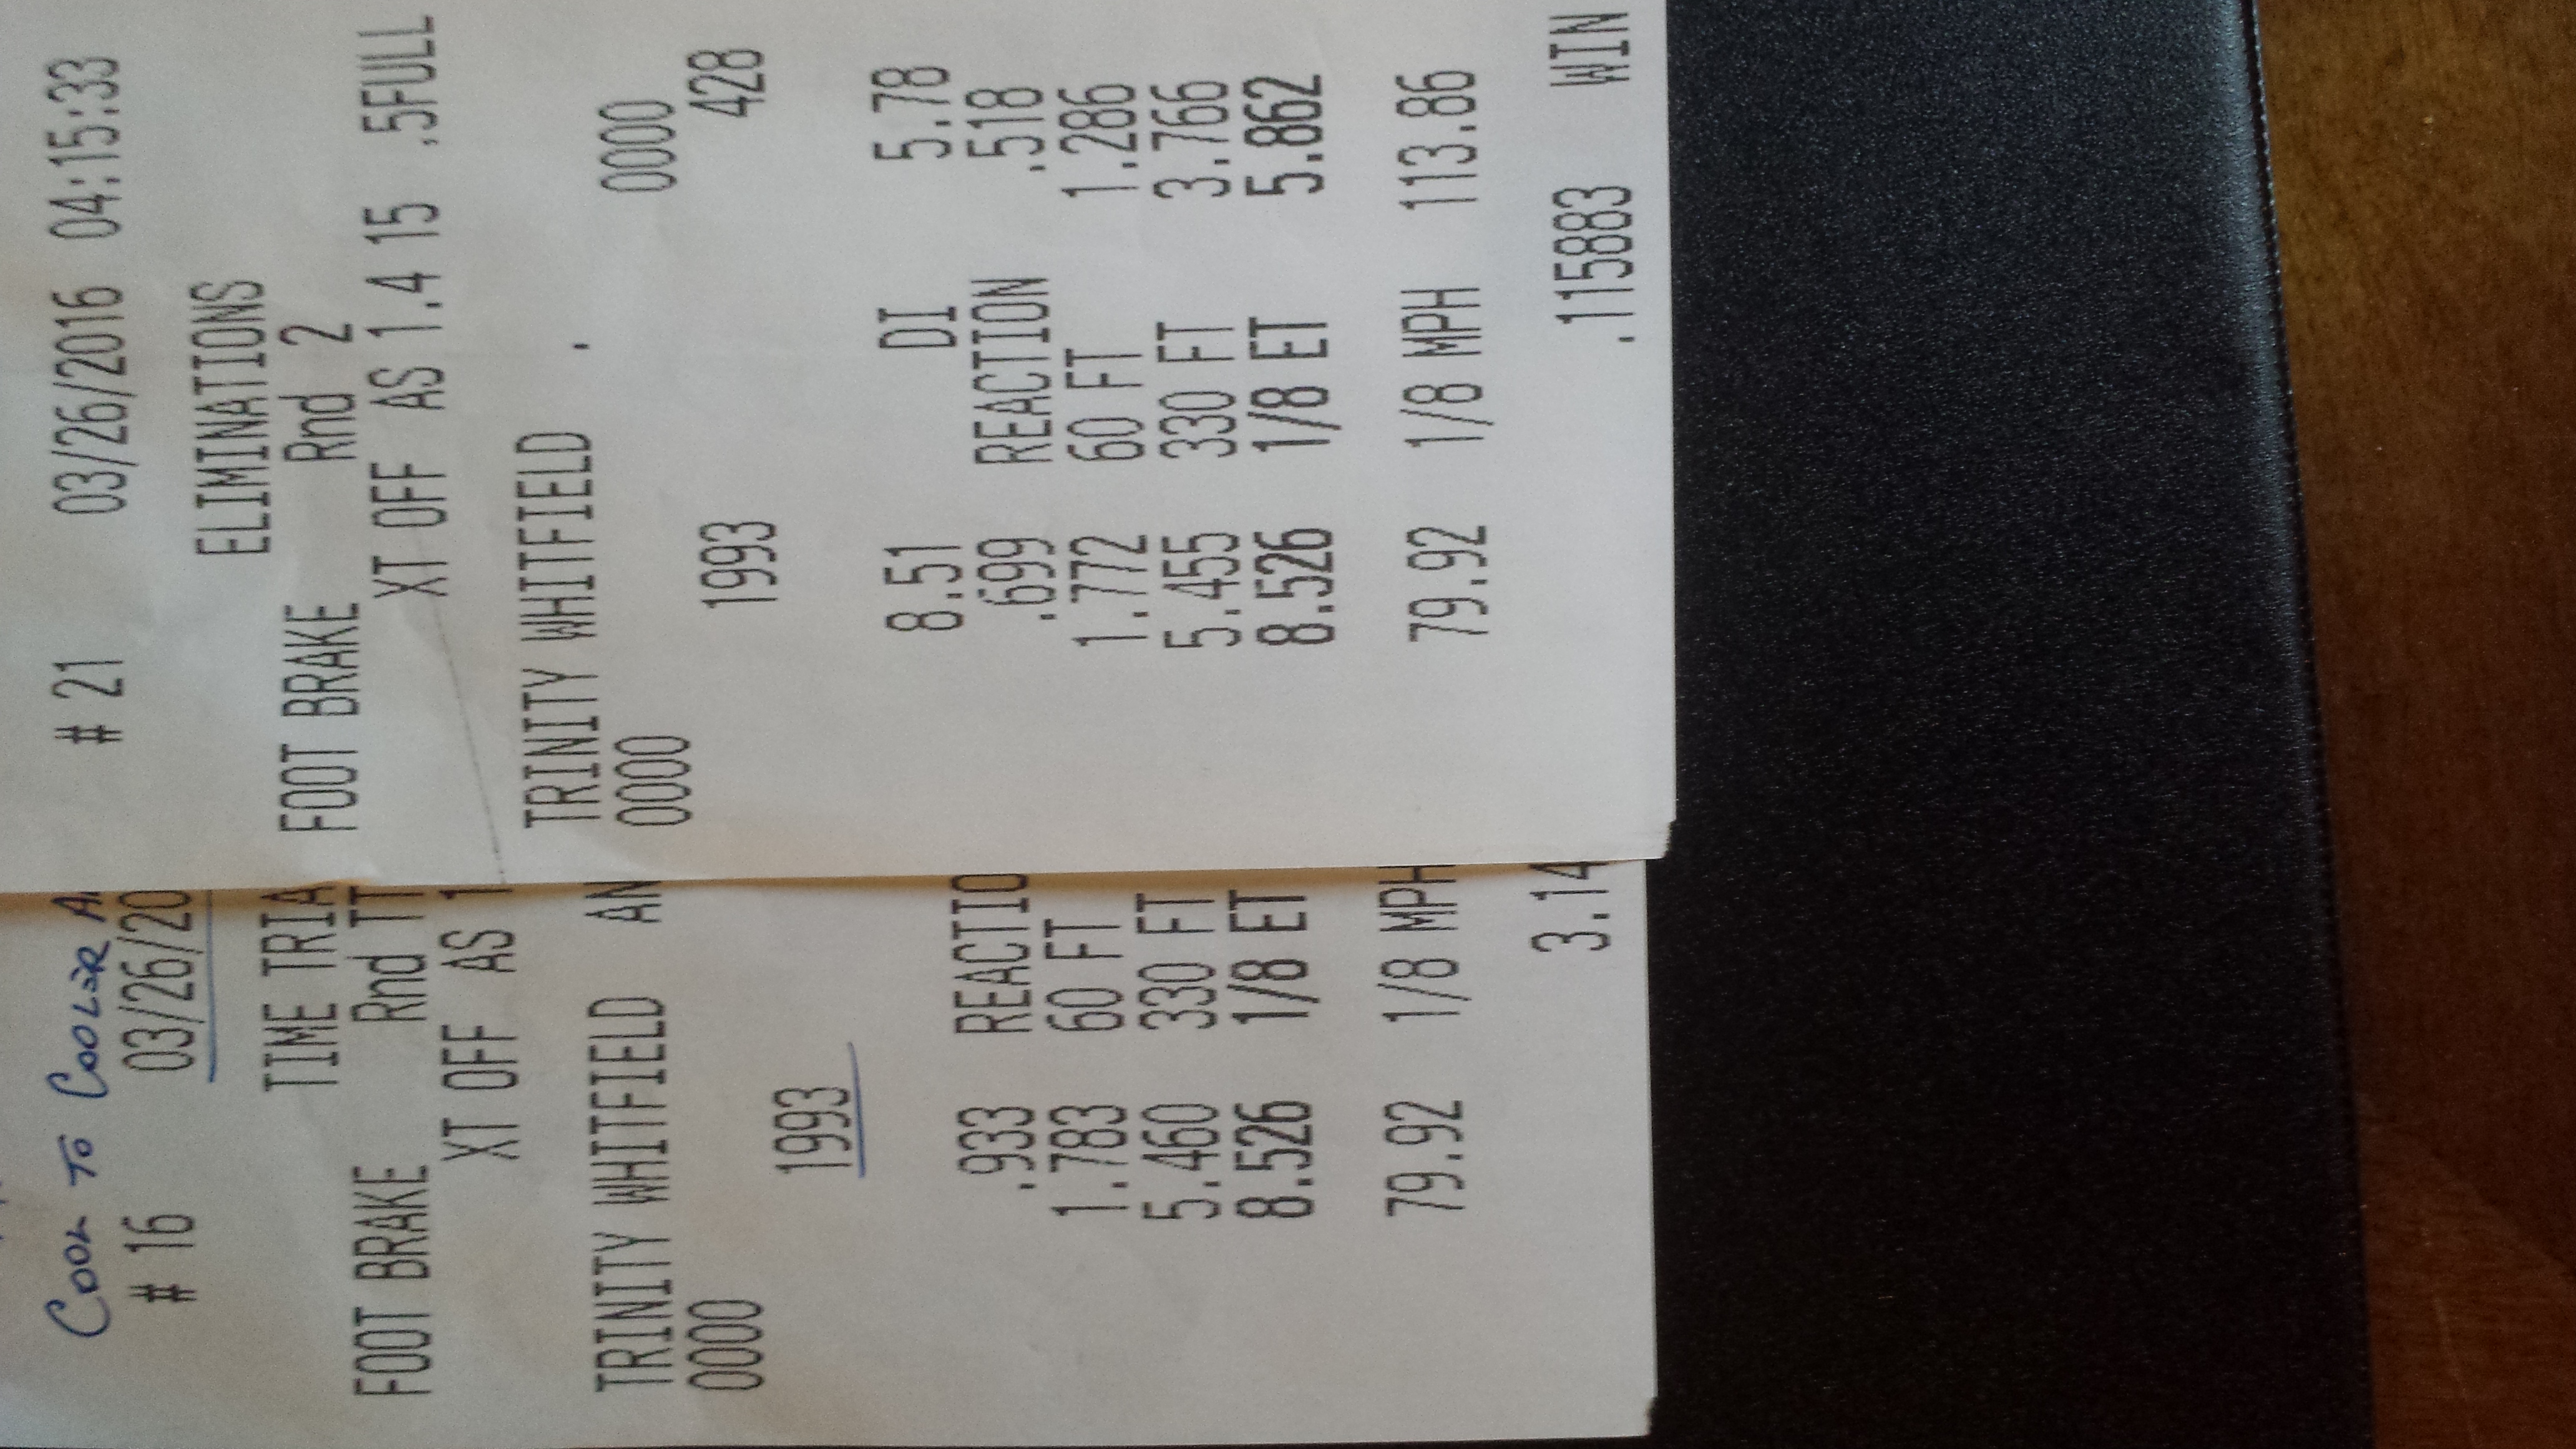
So far my best time has been 8.49 at 81 mph in the 1/8th. It's still mostly stock. The valve covers haven't even been removed since the factory.
Here's the build thread of Shadow. My 1993 5.0 Notch.
I purchased it used in 2001 to help offset the daily driver duties of ZERO my '96 Cobra.
The only mods done to it by previous owners were Flowmaster's welded into the factory cat back, an AC delete due to a locked up AC compressor, a K&N conical filter, and a Tremec 3550 with Hurst shift handle and knob.
A Little Paint
I wasn't long before the itch to modify it more kicked in and I purchased a set of BBK full length headers, BBK off road H-pipe and MAC dumped cat back system.
BBK Headers, Off Road H-pipe & MAC Dumped Cat Back
Shadow Cleaned Up
I drove it for a little while until the bug struck again.
This time it was an electric fan when the old fan clutch went out. Also a set of aluminum undrive pulleys, Professional Products polished 70mm throttle body and EGR plate and smog pump delete. Also at this time I further stripped the rest of the remaining AC system.
And it stayed in this state for several years until one day on my way to work I crossed oven an ice slicked bridge and sent it into a ditch. It rolled over onto the drivers side. After rolling it back level to my surprise only the driver side view mirror was broken. The driver's side was scratch free. But the passenger side had snapped the rear axle and bent in the lower rear portion of the rear quarter panel.
After that incident I took it off the road for a while until things were fixed and my paycheck could with stand the insurance of another vehicle again.
While it was taken off the road my dad decided to get back into drag racing. He bought a roller and started building it up. After a couple of races the crank in his car broke. So he had the idea to put some slicks on Shadow and run it to stay in the points until he could rebuild.
After this I put it back on the road. But the bug to race had bit me as well.
So this spurred the next round of mods.
This time a fiberglass 4" cowl hood, light weight Weld Rod Lite wheels, 275/60-15 Mickey Thompson drag radials, and 4.10:1 Ford Racing ring and pinion gears were added to get it ready for the drag strip. Also a set of home made sub frame connectors got welded in at this time.
New Cowl Hood and Front Bumper
New Wheels Weld Rod Lites
Some More Paint
I ran it like this all last season. For this year I only added a 70mm mass air meter from a '94 Gt. But I had other problems.
The very first run of the year during test and tune I snapped the left rear axle on the launch.
Broken Axle
So in went new Motive Gear 28 spline axles as replacements and new seals before the first points race of the year.
Broken Motive Gear 28 Spline Axle
This wasn't so good either as a bad lower control arm bushing had caused severe wheel hop. The seal was leaking on the right side axle tube. Upon further inspection the right rear lower control was also bent. It was bent approximately 5/8" up higher at the spring perch.
Bent Factory Lower Rear Control Arm
So on order went a pair of Team Z double adjustable rear lower control arms and 1/2" grade 8 bolts. At the same time I installed a 3 row aluminum radiator and new 180* thermostat.
Team Z Double Adjustable Lower Rear Control Arms
Things went well for one race. Then at the Horsepower Junkies Draggin Rights I broke another axle. Got that repaired and went to the track for the next points race.
Well, you guessed it! Broke a third axle.
Broken Motive Gear 28 Spline Axle
And that brings me to my current round of upgrades!
Thinking the housing could be bent and causing the breakage, a new housing was located.
Also on order went a set of housing braces from Wild Rides Race Cars, a pair of Strange 31 spline race axles with C-clip eliminators and 1/2-20 x 3" wheel studs, and a FRPP 31 spline Cobra differential.
New Housing
Strange 31 Spline Race Axles
Axle out yet again.
Bracing, Diff Girdle and 4.30:1 Gears going in.
After
So far my best time has been 8.49 at 81 mph in the 1/8th. It's still mostly stock. The valve covers haven't even been removed since the factory.