PI Intake Swap *Help!*

OP
OP
garrittpwl

garrittpwl

Active Member
Joined
May 15, 2016
Messages
272
Reaction score
260
Location
Indiana
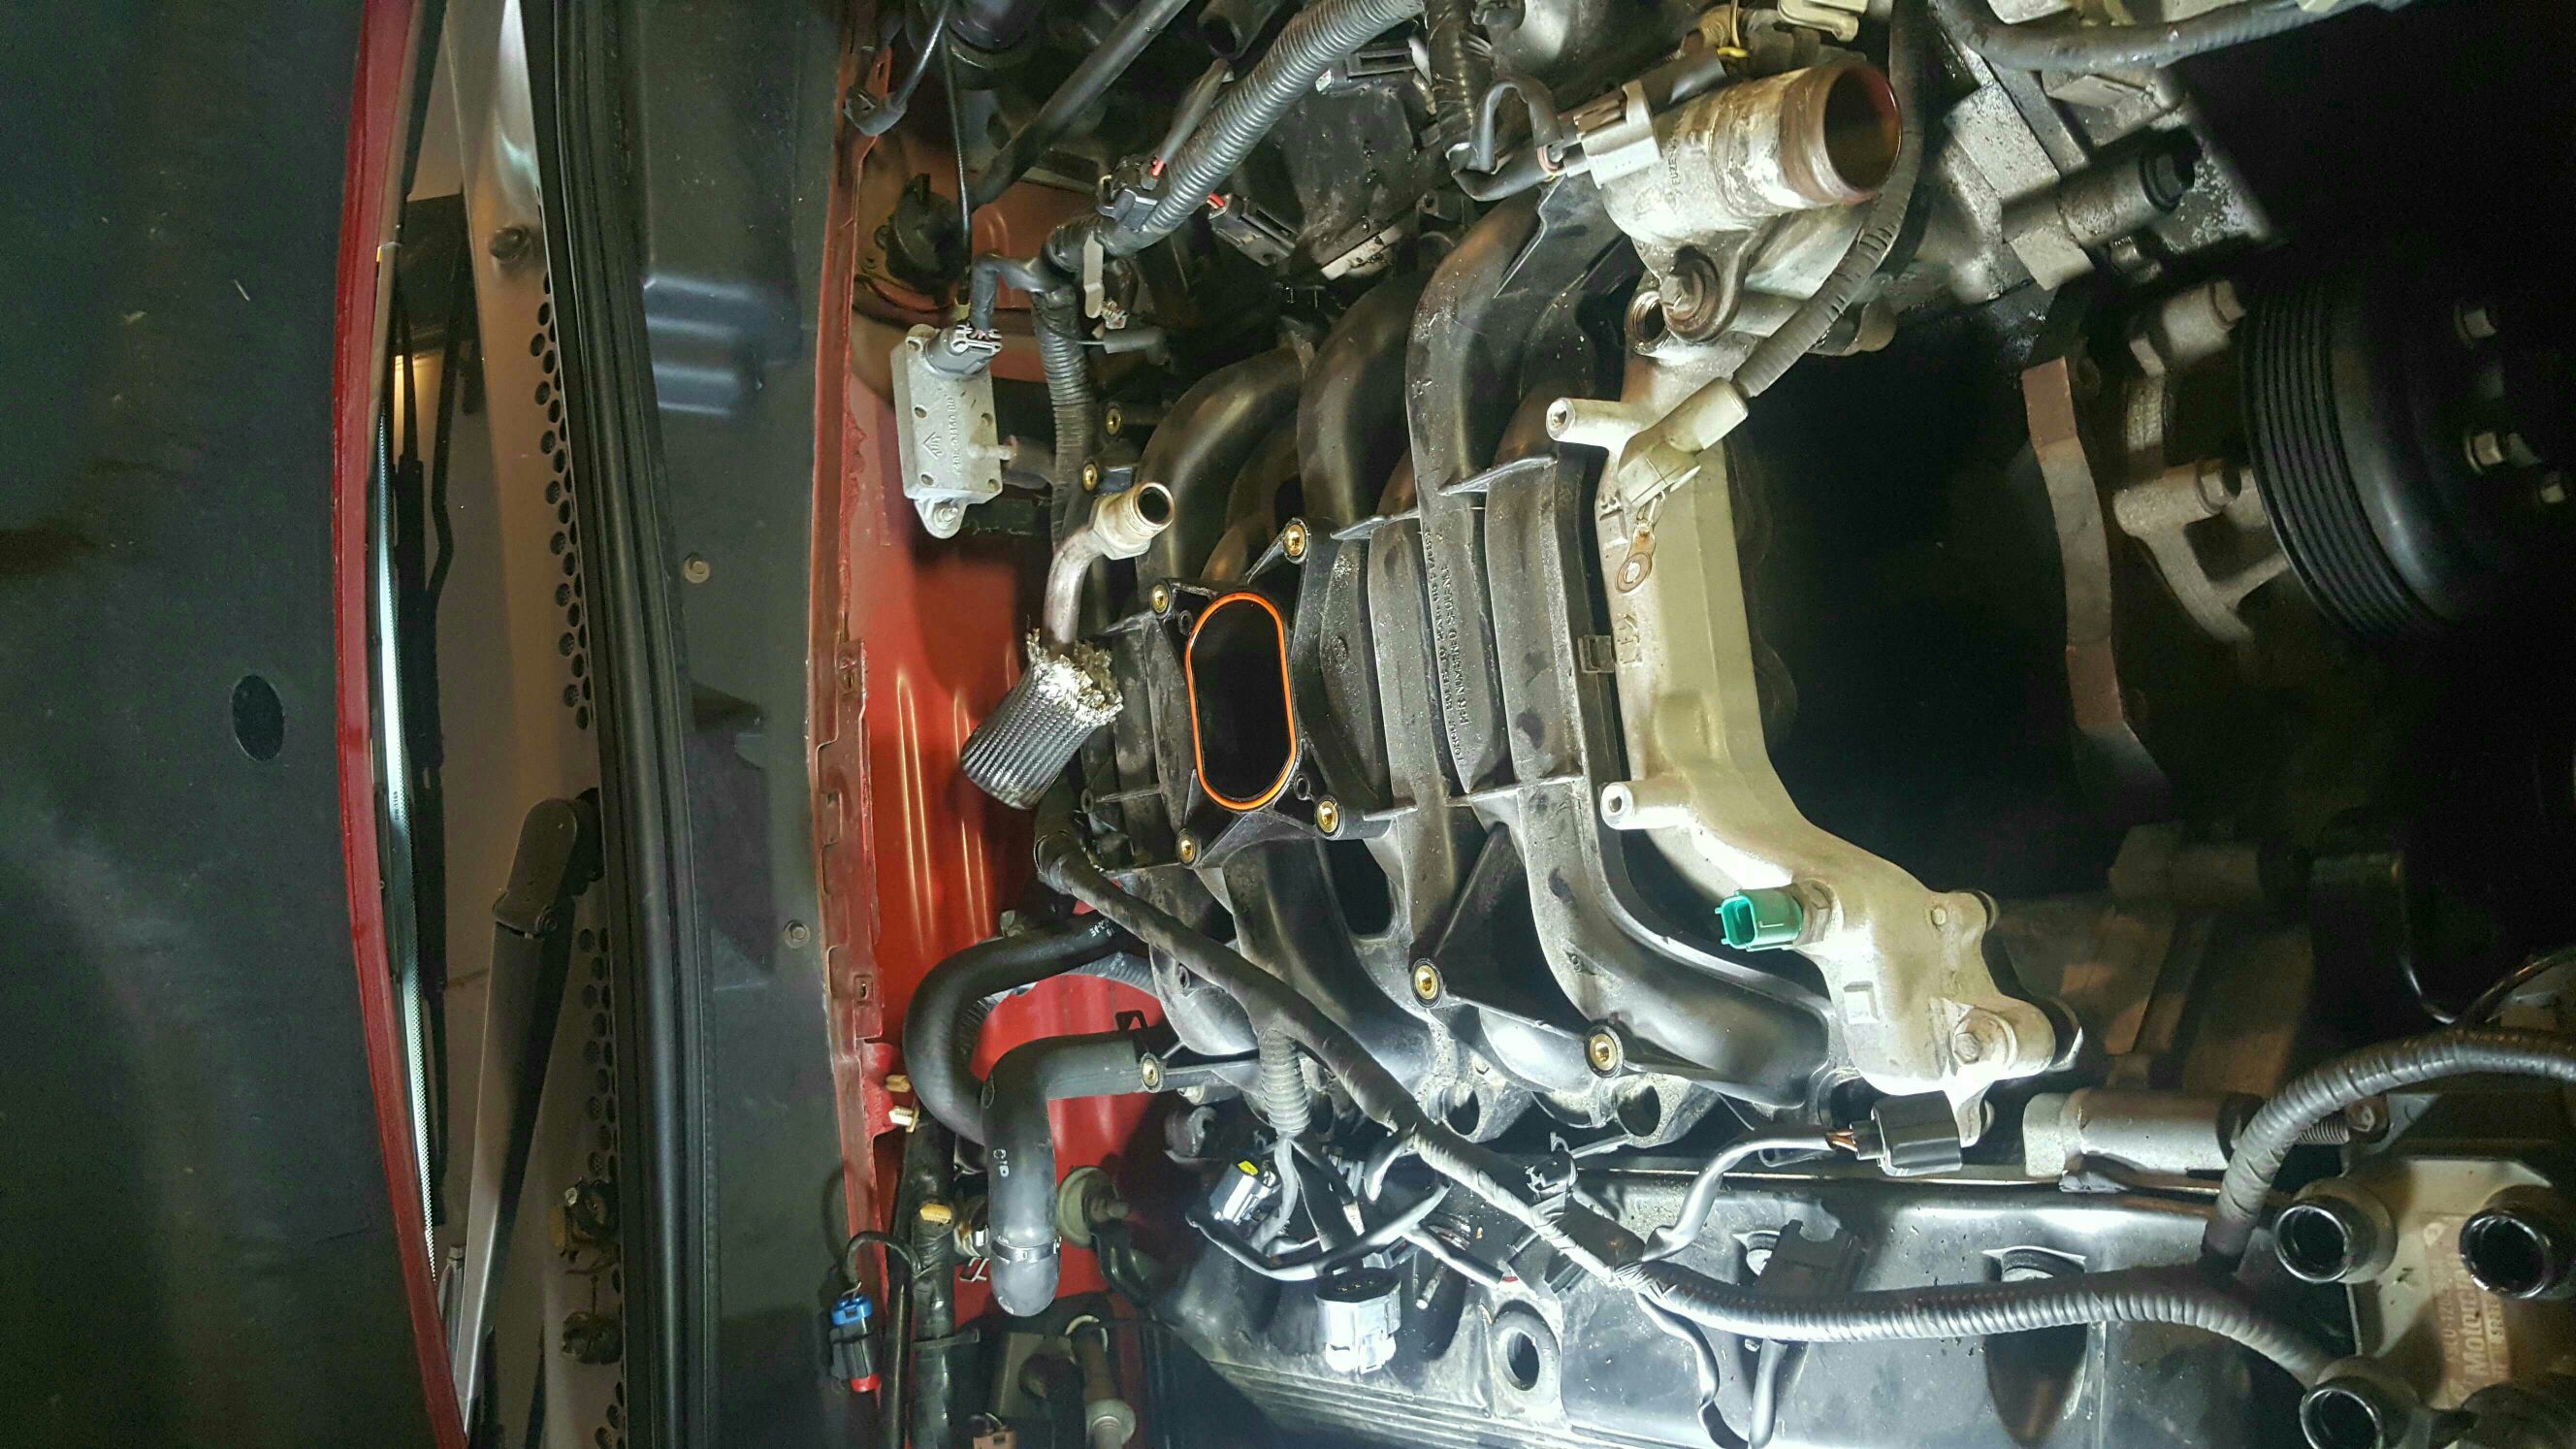
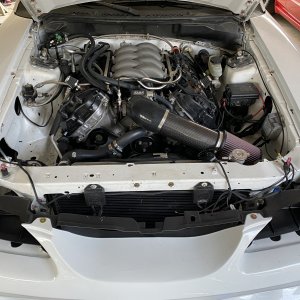
So it begins http://i.imgur.com/tTJ3JWS.jpg

I'm a little nervous as all the guys in this old thread talk about using the PI gaskets and getting terrible leaks, but the "how to" thread here that I plan on following says to use the PI gaskets and silicone the holes. Now I've also read that the generic red RTV leaks too, so I got the actual motorcraft grey RTV to do it with.
 

lwarrior1016

Mr. Secondary Timing Chain
Staff
Joined
Sep 22, 2014
Messages
8,538
Reaction score
4,340
Location
South Mississippi
http://www.sn95forums.com/showthread.php?8467-PI-Intake-PI-Cams-Install-How-To

Look at the pictures in this thread that droptop made up. The one you posted, the guy didnt use enough rtv and its not exactly in the right spot. You will want to put rtv on the flat surface of the head so it seals the gasket. Then as 96blak54 said, make sure to let it sit a full day and cure before you run or drive the car.

Ill close with this, most of us had to do this twice because the first time leaked....
 
OP
OP
garrittpwl

garrittpwl

Active Member
Joined
May 15, 2016
Messages
272
Reaction score
260
Location
Indiana
http://www.sn95forums.com/showthread.php?8467-PI-Intake-PI-Cams-Install-How-To

Look at the pictures in this thread that droptop made up. The one you posted, the guy didnt use enough rtv and its not exactly in the right spot. You will want to put rtv on the flat surface of the head so it seals the gasket. Then as 96blak54 said, make sure to let it sit a full day and cure before you run or drive the car.

Ill close with this, most of us had to do this twice because the first time leaked....

Thank you!
 

96blak54

Moderator
Staff
Joined
Feb 21, 2011
Messages
10,032
Reaction score
2,875
Location
In the shop
Try to clean the water port with a good blast of carb cleaner and then alcohol rub it with paper towel. Blob that rtv on there! Set intake gasket on it with all the holes lined up making sure that blob has good contact with the gasket. Do this, you should be fine to add water 2 days later!
 
OP
OP
garrittpwl

garrittpwl

Active Member
Joined
May 15, 2016
Messages
272
Reaction score
260
Location
Indiana
Try to clean the water port with a good blast of carb cleaner and then alcohol rub it with paper towel. Blob that rtv on there! Set intake gasket on it with all the holes lined up making sure that blob has good contact with the gasket. Do this, you should be fine to add water 2 days later!
Okay!! Thanks! Taking it apart now. Next question, should I abide by this or can I clean my throttle body?
47379c42af8fd8e4a9482adf37f38f18.jpg


Sent from my SM-G920P using Tapatalk
 

96blak54

Moderator
Staff
Joined
Feb 21, 2011
Messages
10,032
Reaction score
2,875
Location
In the shop
Clean the throttle off of intake. Dont want carb cleaner puddled in the intake
 
OP
OP
garrittpwl

garrittpwl

Active Member
Joined
May 15, 2016
Messages
272
Reaction score
260
Location
Indiana
Clean the throttle off of intake. Dont want carb cleaner puddled in the intake
Of course! Lol. Anyone wanna tell me what to do with this damn EGR tube before I murder it?
eecc857ec46df0371a736b77435c43f7.jpg


Sent from my SM-G920P using Tapatalk
 
OP
OP
garrittpwl

garrittpwl

Active Member
Joined
May 15, 2016
Messages
272
Reaction score
260
Location
Indiana
Just checking how everything lays out now. Would it be a bad idea to fill these old gasket alignment holes with silicone when I go to put it all back together?
8657462c07a53ecba53f599d81a4599c.jpg


Sent from my SM-G920P using Tapatalk
 
OP
OP
garrittpwl

garrittpwl

Active Member
Joined
May 15, 2016
Messages
272
Reaction score
260
Location
Indiana
Sry for repeated posts, but fuuuuu this water pump nipple, wasted almost 2 hours on the bastard. Finally out.
83fb33e17c924c4a1b8586051ad9601a.jpg


Sent from my SM-G920P using Tapatalk
 
OP
OP
garrittpwl

garrittpwl

Active Member
Joined
May 15, 2016
Messages
272
Reaction score
260
Location
Indiana
Well now we wait till the rtv is dry.
a0dafea14a42073bfc50c5f5409e62c0.jpg


Sent from my SM-G920P using Tapatalk
 

DKblue98GT

Well-Known Member
Joined
Dec 19, 2009
Messages
1,406
Reaction score
333
http://www.sn95forums.com/showthread.php?8467-PI-Intake-PI-Cams-Install-How-To

Look at the pictures in this thread that droptop made up. The one you posted, the guy didnt use enough rtv and its not exactly in the right spot. You will want to put rtv on the flat surface of the head so it seals the gasket. Then as 96blak54 said, make sure to let it sit a full day and cure before you run or drive the car.

Ill close with this, most of us had to do this twice because the first time leaked....

Definitely use the PI gaskets and do it like this. After the first time it leaks you will be a lot more thorough the next time...
 
OP
OP
garrittpwl

garrittpwl

Active Member
Joined
May 15, 2016
Messages
272
Reaction score
260
Location
Indiana
Definitely use the PI gaskets and do it like this. After the first time it leaks you will be a lot more thorough the next time...
I used PI gaskets and siliconed exactly like those photos. Fingers crossed, do it right do it once. Im waiting on the silicone to dry atm

Sent from my SM-G920P using Tapatalk
 
OP
OP
garrittpwl

garrittpwl

Active Member
Joined
May 15, 2016
Messages
272
Reaction score
260
Location
Indiana
Definitely use the PI gaskets and do it like this. After the first time it leaks you will be a lot more thorough the next time...
Filled it and fired up yesterday afternoon, no coolant leaks, idled fine and would rev/pull the car with 1/4 throttle but any more throttle resulted in a hesitation and some exhaust backfire out the right pipe. Checked everything a few times found no obvious causes, pulled the plugs, cylinders 2,3,4 looked stupid lean. So I pulled the intake again, bought new gaskets, new plugs, resealed it all last night. I left belt off(as to not pump any water in the block) and fired with no coolant for just a few seconds(<45 seconds) gave her a couple quick revs and NO hesitation or backfiring. So I'm fairly certain its good now, I'll fill with coolant in a few hours and update. You guys are all right lol. Seems no matter how thorough I tried to be, I was going to have to do it twice. I'm pretty good at it now though xD
 
OP
OP
garrittpwl

garrittpwl

Active Member
Joined
May 15, 2016
Messages
272
Reaction score
260
Location
Indiana
Filled with coolant today! No leaks yet, runs great! Guess you just have to do it twice!

Sent from my SM-G920P using Tapatalk
 

Silver95bird

Active Member
Joined
Sep 5, 2016
Messages
491
Reaction score
113
How do you guys have so much trouble with this? I did it back in 03-04ish when it was first discovered, and it was still working ten years later when I got rid of the car. Where's the hard part? 1. Install screws inside pi runners2. JB weld/ epoxy runners around screws3. Sand/ port match to NPI gasket4. Small dab of rtv on coolant port (wasn't even sure it was necessary, did it just on recommendation)5. Reassemble.Best hp/time investment in an NPI car, hands down. One afternoon worth of work for eliminating the wheezy intake? Wish I'd done it sooner. Ironically, my current gt is desperately in need of the same treatment. I'll get around to it eventually, unless that 5.4 makes it in first...
 

lwarrior1016

Mr. Secondary Timing Chain
Staff
Joined
Sep 22, 2014
Messages
8,538
Reaction score
4,340
Location
South Mississippi
How do you guys have so much trouble with this? I did it back in 03-04ish when it was first discovered, and it was still working ten years later when I got rid of the car. Where's the hard part? 1. Install screws inside pi runners2. JB weld/ epoxy runners around screws3. Sand/ port match to NPI gasket4. Small dab of rtv on coolant port (wasn't even sure it was necessary, did it just on recommendation)5. Reassemble.Best hp/time investment in an NPI car, hands down. One afternoon worth of work for eliminating the wheezy intake? Wish I'd done it sooner. Ironically, my current gt is desperately in need of the same treatment. I'll get around to it eventually, unless that 5.4 makes it in first...

We aren't using jb weld on anything. The only problem is discovering where the rtv actually needs to be.
 
OP
OP
garrittpwl

garrittpwl

Active Member
Joined
May 15, 2016
Messages
272
Reaction score
260
Location
Indiana
How do you guys have so much trouble with this? I did it back in 03-04ish when it was first discovered, and it was still working ten years later when I got rid of the car. Where's the hard part? 1. Install screws inside pi runners2. JB weld/ epoxy runners around screws3. Sand/ port match to NPI gasket4. Small dab of rtv on coolant port (wasn't even sure it was necessary, did it just on recommendation)5. Reassemble.Best hp/time investment in an NPI car, hands down. One afternoon worth of work for eliminating the wheezy intake? Wish I'd done it sooner. Ironically, my current gt is desperately in need of the same treatment. I'll get around to it eventually, unless that 5.4 makes it in first...
Well I was 13 when you did your first one xD and idk why but I had a massive air leak the first go round

Sent from my SM-G920P using Tapatalk
 

Forum statistics

Threads
77,497
Messages
1,503,771
Members
14,965
Latest member
wbarter

Members online

Top