Thomas_W
Well-Known Member
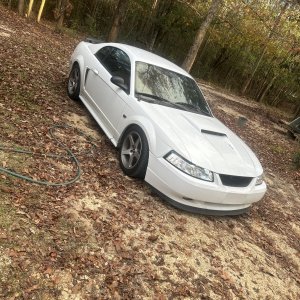
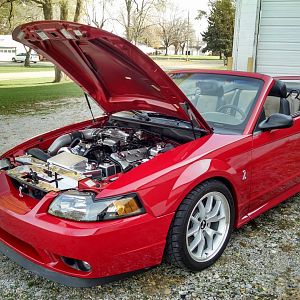
Basically i bought a project. A Laser Red 99GT. It has been abused and neglected so much of this build will be repairs/restoration so as to be able to drive the car:
Current mod list:
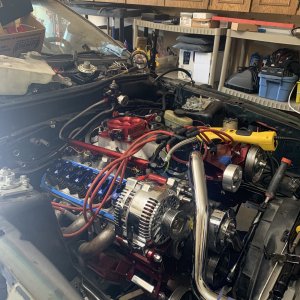
2008 4.6 3v swap
03/04 cobra TB
Lightning MAF
CLT inlet elbow
Steeda charge motion delete plates
MMR coolant crossover delete
MMR inline thermostat housing
160* thermostat
SVE aluminum radiator
Ford racing blue valve covers
Ford racing shorty headers
O/R X pipe
SLP loudmouth catback
aluminum clutch quadrant
spec stage 1 clutch
MSD 2 step launch control
Aluminum driveshaft
4:10 gears
Yukon locker
Summit Upper/Lower rear control arms
Strange 10way shocks/struts
strange rear coilovers
4bolt C/C plates
Eibach pro front springs
Trunk mount Battery relocation
Optima yellow top
03/04 cobra front bumper
4" Cowl hood
17x9 and 17x10.5 Fr500 rims
nitto drag radials
Aem wideband O2 sensor
hid headlight bulbs
diablosport predator
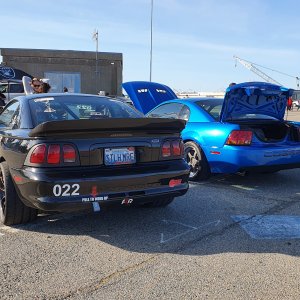
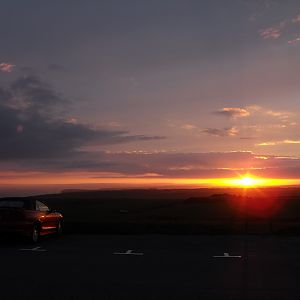
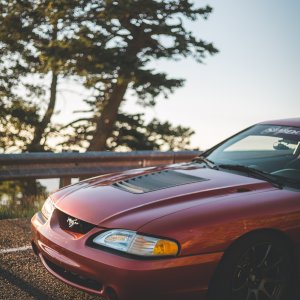
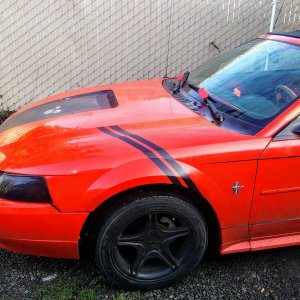
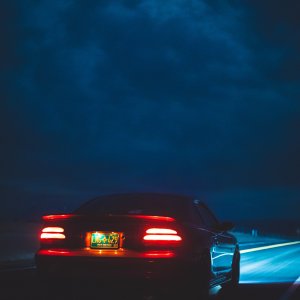
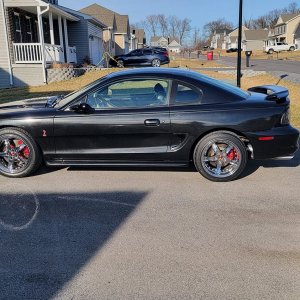
photos:


First stage projects:
1. Replace leaking radiator- the SVE unit looks great, but the mounting is crap. The mount pegs are positioned incorrectly so you have to force the radiator into position which causes the endtank to core joints to fail. I was going to replace it with a Mishimoto unit, but they apparently have the same problem as well. Going off the experience with my 96GT with a single 70mm turbo and stock cooling system, i elected to go with a stock replacement spectra radiator from Summit racing which arrives tomorrow:
2. Front bumper mounting- all of the factory tabs for the fender mounts were cut off by a previous owner. Since im not wanting to drop $200+ on a new bumper when this one is otherwise fine, i'll be using Dzus fasteners to attach the bumper. Parts for this arrive on friday
3. Power steering pump replacement-
4. Seat belt replacement- all four seatbelts dont work. Three have no receivers and the drive side belt doesnt lock. New belts arrive today
5. Code PO0340- this is said to be a cam position sensor, but with 3v motors a failing alternator is said to cause the code as well. Since i'm not sure if the 4 extra cam position tabs on the cam phaser was removed, i need to pull the passenger side valve cover to verify, then figure out what to do from there.
6. Clean up wiring inside the vehicle- the wiring for the cobra fog lights and msd launch control is horrible. Its just dangling across the pedal and shoved between the fuse and fuse blocks. I'll clean this all up and reposition the launch box to inside the vehicle
7. Hood pins- the current hood is probably a cincinatti composites or ho fibertrends (judging by the inner liner that is still there). It obviously ripped off the vehicle at some point so hood pins were put in place and the latch removed. I've got new ford racing pins to put in its place.
8. Dyno tune
9. Interior refurb- replace some broken interior pieces (interior door swith panels, shifter bezel/boot, center console, etc)
10. Clean up under hood wiring, relocate power steering reservoir and coolant overflow bottles
with all that done, i should be able to drive the car. Then Stage 2 will begin. As i begin work, i'll get photos and post then up.
Current mod list:
2008 4.6 3v swap
03/04 cobra TB
Lightning MAF
CLT inlet elbow
Steeda charge motion delete plates
MMR coolant crossover delete
MMR inline thermostat housing
160* thermostat
SVE aluminum radiator
Ford racing blue valve covers
Ford racing shorty headers
O/R X pipe
SLP loudmouth catback
aluminum clutch quadrant
spec stage 1 clutch
MSD 2 step launch control
Aluminum driveshaft
4:10 gears
Yukon locker
Summit Upper/Lower rear control arms
Strange 10way shocks/struts
strange rear coilovers
4bolt C/C plates
Eibach pro front springs
Trunk mount Battery relocation
Optima yellow top
03/04 cobra front bumper
4" Cowl hood
17x9 and 17x10.5 Fr500 rims
nitto drag radials
Aem wideband O2 sensor
hid headlight bulbs
diablosport predator
photos:


First stage projects:
1. Replace leaking radiator- the SVE unit looks great, but the mounting is crap. The mount pegs are positioned incorrectly so you have to force the radiator into position which causes the endtank to core joints to fail. I was going to replace it with a Mishimoto unit, but they apparently have the same problem as well. Going off the experience with my 96GT with a single 70mm turbo and stock cooling system, i elected to go with a stock replacement spectra radiator from Summit racing which arrives tomorrow:
2. Front bumper mounting- all of the factory tabs for the fender mounts were cut off by a previous owner. Since im not wanting to drop $200+ on a new bumper when this one is otherwise fine, i'll be using Dzus fasteners to attach the bumper. Parts for this arrive on friday
3. Power steering pump replacement-
4. Seat belt replacement- all four seatbelts dont work. Three have no receivers and the drive side belt doesnt lock. New belts arrive today
5. Code PO0340- this is said to be a cam position sensor, but with 3v motors a failing alternator is said to cause the code as well. Since i'm not sure if the 4 extra cam position tabs on the cam phaser was removed, i need to pull the passenger side valve cover to verify, then figure out what to do from there.
6. Clean up wiring inside the vehicle- the wiring for the cobra fog lights and msd launch control is horrible. Its just dangling across the pedal and shoved between the fuse and fuse blocks. I'll clean this all up and reposition the launch box to inside the vehicle
7. Hood pins- the current hood is probably a cincinatti composites or ho fibertrends (judging by the inner liner that is still there). It obviously ripped off the vehicle at some point so hood pins were put in place and the latch removed. I've got new ford racing pins to put in its place.
8. Dyno tune
9. Interior refurb- replace some broken interior pieces (interior door swith panels, shifter bezel/boot, center console, etc)
10. Clean up under hood wiring, relocate power steering reservoir and coolant overflow bottles
with all that done, i should be able to drive the car. Then Stage 2 will begin. As i begin work, i'll get photos and post then up.


")