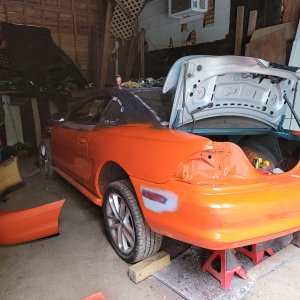
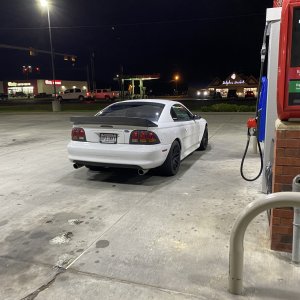
Project Red Headed 3v

RedTwilight

Active Member
Joined
Jun 12, 2011
Messages
635
Reaction score
56
Location
Roxboro, NC
Is there a link to your carbon fiber supplier?

Dang Thayercraft is only 1 1/2 hours down the road from me! Might have to stop by there next time I head out to the hobby shop.
 

1998cobrasvt

Well-Known Member
Joined
May 4, 2015
Messages
1,531
Reaction score
9
The inner reinforcement panel is only .030" thick of fiberglass, i would of expected it to be at minimum .080-.090". The glue joint between the inner and outer panels is also pretty horrible. Whatever homemade concoction they used is extremely brittle as the glue cracked and broke. Its extremely likely that just opening and closing the hood and having it rest in the prop rod would have caused a glue joint failure over time.

These are all the reasons why spending the extra $$$$ on a quality hood is worth it. I'll probably spend $125-150 worth of materials repairing this hood and another $500-800 worth of body work to repair the roof. With the front bumper, hood, roof, decklid, rear bumper and side skirts (im going to put 03/04 cobra's on)

Damn!


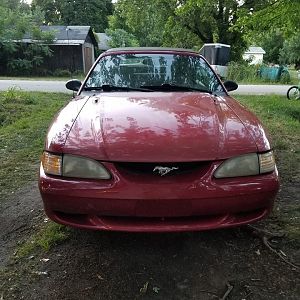
I am very seriously thinking about just color swapping the entire care. The cost of Laser red metallic paint is ridiculous (about $650 for a gallon of the base and mid coat).

What paint code did you have in mind?
 
OP
OP
T

Thomas_W

Well-Known Member
Joined
Jan 25, 2007
Messages
1,485
Reaction score
62
Location
Capon Bridge, WV
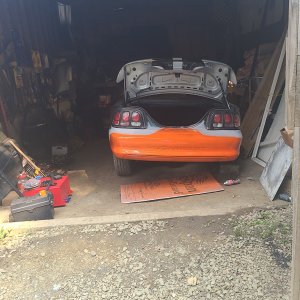
The nuclear sunset tangerine is at the top of the list... Its comparable price wise with the laser red metallic paint at around $500/gallon for the base coat.

Before i do anything, ive got to get the suspension and subframes done, then start collecting body parts and get the paintless dent removal guys out to fix the roof and right rear quarter.

Ive got to put a rear bumper cover on and have been debating on staying with the stock GT bumper or a smoothed 03/04 cobra
 

1998cobrasvt

Well-Known Member
Joined
May 4, 2015
Messages
1,531
Reaction score
9
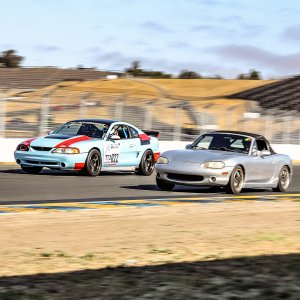
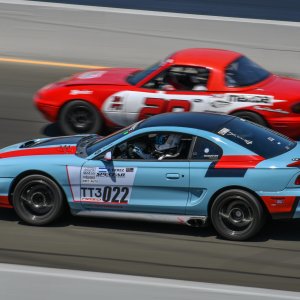
I love comp orange and Sonic Blue but that nuclear sunset tangerine is sick and i cant say ive seen an sn with that paint code ever.
 
OP
OP
T

Thomas_W

Well-Known Member
Joined
Jan 25, 2007
Messages
1,485
Reaction score
62
Location
Capon Bridge, WV
Moar Hood work.

Here are the side rails of the inner liner repairs:


and here is the new inner liner across the front of the hood after removing the peel ply and trimming. The paint can and roller inside of it is in prep for me priming the interior. A trick i picked up when doing painted fiberglass parts outside of a mold, is to Roll the first layer of primer in very thick and un-reduced. This helps fill in any pinholes that may be present and speeds up the process. For primer, i am using Evercoat Durabuild.


Them everything is sanded down. Then any low spots are filled with Evercoat Easy sand. Then more sanding, filling, sanding, etc. i use 80-120 grit the first round, then 120-220 the second, 220-300 the third, then go to wet sanding at 320-400 and stop. Here i have not done any wet sanding as i ran out of primer (i need to save some for the outer surfaces that need repairs) and stopped at 120 grit paper. There is still Alot of body work left to so on the inside surfaces before it is reasy for paint as i plan to paint the entire underside of the hood. I may make life easy for myself thought and make the areas inside of the inner liner frame flat black.


OP
OP
T

Thomas_W

Well-Known Member
Joined
Jan 25, 2007
Messages
1,485
Reaction score
62
Location
Capon Bridge, WV
Oh yea... Ive got a pretty substatial order of parts on its way, things will be getting fun here pretty soon :)
 
OP
OP
T

Thomas_W

Well-Known Member
Joined
Jan 25, 2007
Messages
1,485
Reaction score
62
Location
Capon Bridge, WV
I spent a bit of time today trying to find the location of the belt squeel and finaly got the piggy to squeel. Seems the Previous owner(s) thought it an Awesome idea to only put two of the three AC compressor bolts in. This allowed the compressor to tilt downwards throwing the pulley alignment off. So i removed the bottom aft bolt and put it in the top bolt location (the one with a locator dowel). Instantly the belt squeel was gone.... At idle. Its still present at upper rpms With no load, so im going to look tomorrow for a replacement bolt locally.


I then got bored and started looking at some of the body work that needs done. The roof above the drivers sun visor was dented, so i figured that was a good place to start


Before:



As my luck would have it, the cracked paint line with the little bit of surface rust is the edge of the roof panel reinforcement. So getting infront of that area to work the dent out would be difficult, so i started behind it. After about an hour with a Body hammer and some highly custom body dollies (ground brass bar and some flat headed screwdrivers, this is what i ended up with:


Due to its location with the reinforcement panel, i doubt it could get any better, even with a stud gun and puller, so im going to call it good for now. Its pretty shallow (less than 1/8") so when it comes time to paint (im likely going to color swap the entire car), i'll just throw some reinforced mud on it and call it good.
 
OP
OP
T

Thomas_W

Well-Known Member
Joined
Jan 25, 2007
Messages
1,485
Reaction score
62
Location
Capon Bridge, WV
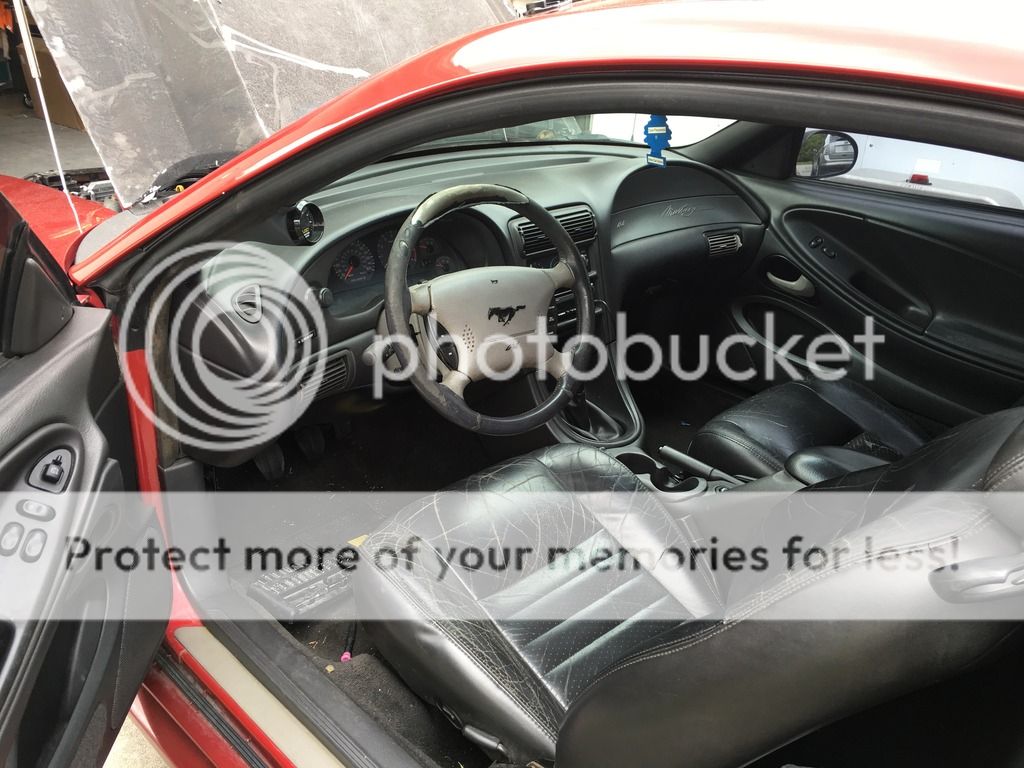
As i have mentioned in the past, the interior is a mish-mosh of parts. Some are grey. Some are grey painted black, some are dark charcoal, some are a lighter charcoal... Completely random really. Once i got the car, i started normalizing the interior. Its pretty dang close to being all dark charcoal, now still has a ways to go.

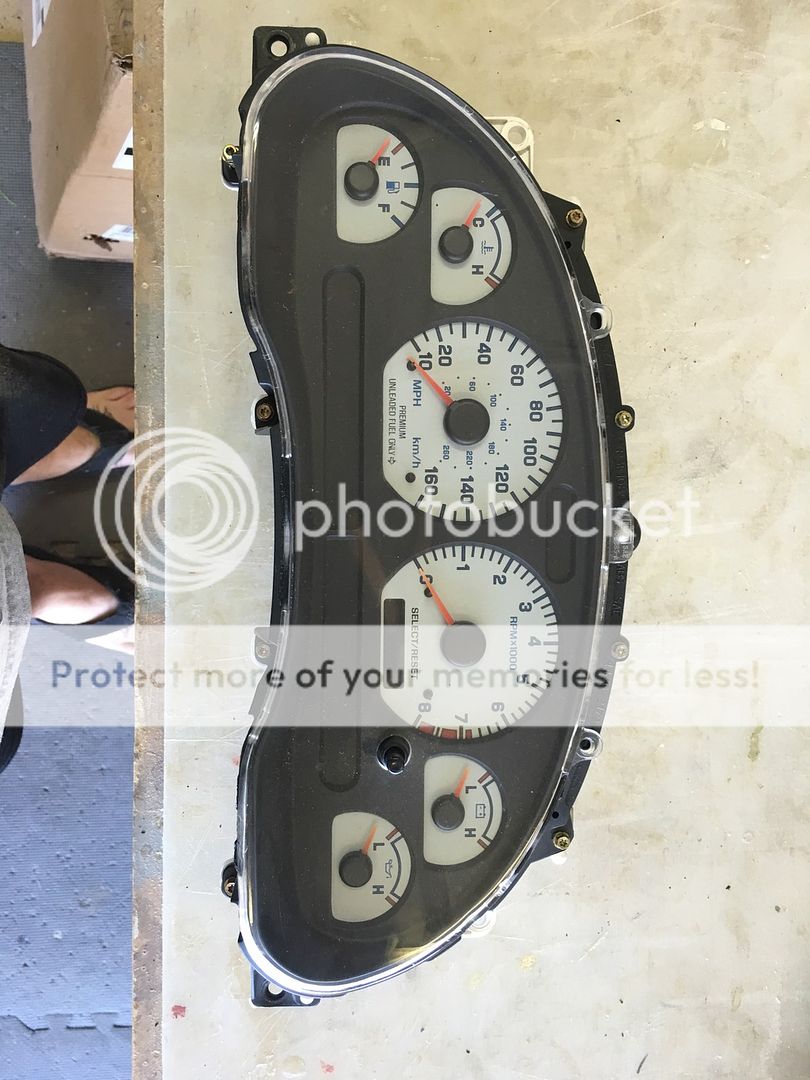
One of those items was the grey steering wheel, which was also destroyed along the top. So, searching around ebay i found a dark charcoal leather steering wheel, airbag and the steering column trim panels for the right price, so i pulled the trigger on all of it. Everything but the airbag arrived today:


with the arrival of these items, ill have some more stuff for sale. The Big box of parts i mentioned being ordered started to arrive today. Only one of them is here, so i'll wait for the rest of the parts to show up before i reveal the fun.
 

RedTwilight

Active Member
Joined
Jun 12, 2011
Messages
635
Reaction score
56
Location
Roxboro, NC
I spent a bit of time today trying to find the location of the belt squeel and finaly got the piggy to squeel. Seems the Previous owner(s) thought it an Awesome idea to only put two of the three AC compressor bolts in. This allowed the compressor to tilt downwards throwing the pulley alignment off. So i removed the bottom aft bolt and put it in the top bolt location (the one with a locator dowel). Instantly the belt squeel was gone.... At idle. Its still present at upper rpms With no load, so im going to look tomorrow for a replacement bolt locally.


I then got bored and started looking at some of the body work that needs done. The roof above the drivers sun visor was dented, so i figured that was a good place to start


Before:


As my luck would have it, the cracked paint line with the little bit of surface rust is the edge of the roof panel reinforcement. So getting infront of that area to work the dent out would be difficult, so i started behind it. After about an hour with a Body hammer and some highly custom body dollies (ground brass bar and some flat headed screwdrivers, this is what i ended up with:


Due to its location with the reinforcement panel, i doubt it could get any better, even with a stud gun and puller, so im going to call it good for now. Its pretty shallow (less than 1/8") so when it comes time to paint (im likely going to color swap the entire car), i'll just throw some reinforced mud on it and call it good.

Have you thought about trying the trick where you heat up the dented area and quickly cool it with ice? Sorta similar to getting some dents and dings out of foam.
 
OP
OP
T

Thomas_W

Well-Known Member
Joined
Jan 25, 2007
Messages
1,485
Reaction score
62
Location
Capon Bridge, WV
Have you thought about trying the trick where you heat up the dented area and quickly cool it with ice? Sorta similar to getting some dents and dings out of foam.

I have, i just havent decided to try it out yet as i need to collect some materials and parts for repainting the car.
 
OP
OP
T

Thomas_W

Well-Known Member
Joined
Jan 25, 2007
Messages
1,485
Reaction score
62
Location
Capon Bridge, WV
As is customary with everything i try to do to this car, it fights me hand an foot.


Here is a before shot of the steering column. Pretty nasty


So i went to remove the steering wheel and it was siezed on. Im 99% sure my 96's steeeing wheel was not pressed on, but oh well. I made up a steering wheel puller from a block of aluminum and went to pull it. Only to find out a previous owner/mechanic stripped out the puller bolt threads. So i drilled all the way through and had to put a machine nut on the backside of the steering wheel. All this took about 3 hours (2 1/2 hours to long). Im still waiting in the new airbag, so i'll have a finished photo on monday.
 

DKblue98GT

Well-Known Member
Joined
Dec 19, 2009
Messages
1,406
Reaction score
333
It's amazing how difficult simple jobs can be sometimes. That will be a very cool car when you are done.
 
OP
OP
T

Thomas_W

Well-Known Member
Joined
Jan 25, 2007
Messages
1,485
Reaction score
62
Location
Capon Bridge, WV
Gotta love the parts trucks.

All but three items to finish the interior refurb are here or in transit. The last things i need are the passenger interior door handle, passenger dash AC vent and a headliner..

and the stuff ive been really waiting on arrived as well.

UPR chromoly tubular K member, A arms and front coil overs:


UPR pro-series LCA, double Adj. uppers and spherical housing bearings:


upper and lower battle box kits:


steering rack bushings, upgraded tubular K hardware kit, UPR extreme bumpsteer kit, 8.8 housing bushing tool:


UPR oil pan savers:


ive go to get the materials for the through the floor subframes and a Maximum motorsport steering shaft and i'll have all i need to install this stuff all at once.
 

Latest posts

Forum statistics

Threads
77,497
Messages
1,503,772
Members
14,965
Latest member
wbarter

Members online

Top