ttocs
Post Whore
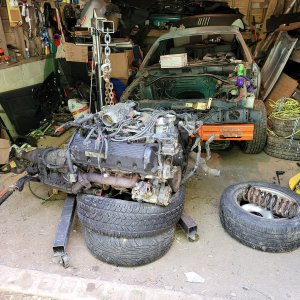
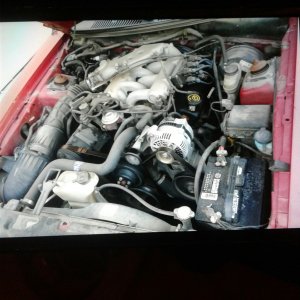
I was feeling too sick to get to the garage today but didn't want to sleep all day either after taking some medicine that tends to put me down. So I spent some time on another project that will eventually go into the car.
A little history, waaaaaaaaaaaaaaaaaaay back when I was 15-16 and getting into cars and car stereos there were more then a few really really nice brands that at that time I could only dream of affording. One brand that always caught my eye was Phoenix Gold and how could you not since they made some of the biggest and best sounding amps all with a gold circuit board to show off through plexi? Another thing they have been known for was taking a couple of their amps and putting them in one HUGE heat sink and making a limited production run that people like me drooled over and dreamed about. These were the days of the cheater amps where your amp would be rated at one power rating to compete with, but if you knew how to wire it some "cheater" amps could easily put out 3-4x their rated power as long as you could supply enough current to them. In the early 90s PG came out with a monster amp called the MS-2250 that was rated at 1000 watts at 4 ohm but at the time it was rumored that they were doing closer to 1500. We didn't have easy way to measure output then but now we do and this guy tests old amps and here is a 2250 testing.
[video=youtube;RO4naOAlskM]https://www.youtube.com/watch?v=RO4naOAlskM&t=535s[/video]
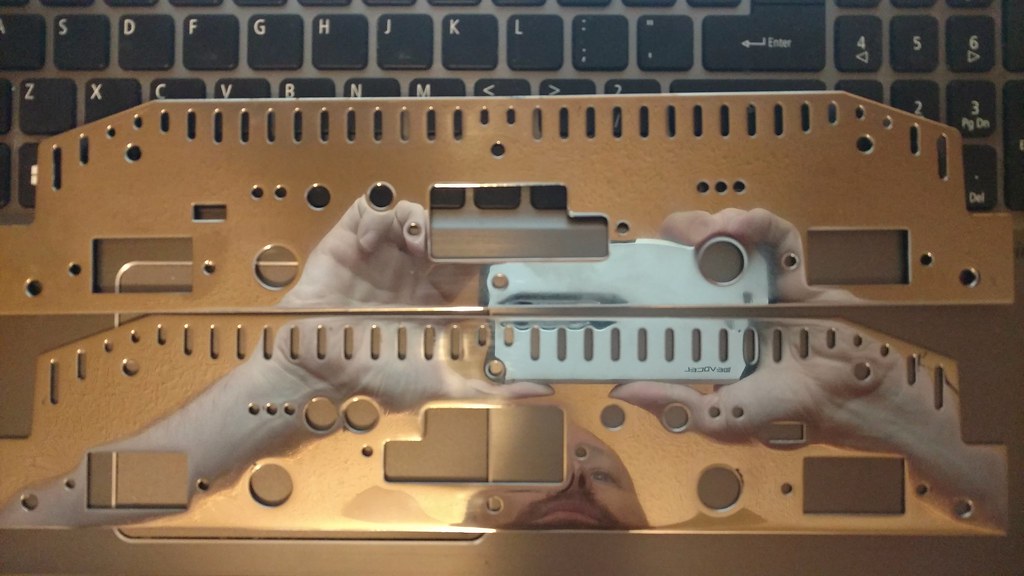
After they made the 2250 they came out with a limited edition version with two 2250's in one huge nickel plated(and nicely polished) heat sink and called it the MS1000. They were going to make no more then 100 but real numbers made were less, not sure exactly how many but for old school car audio guys its a legendary amp. About 2 years ago on another forum for PG gear an old member that was not active popped up and said he had the heat sink from a ms1000 that he was not using after a project he had planned got stalled and life got busy. He wanted to make sure it was put to good use and I was amazed when he said he only wanted $100 for it. I was honestly not sure if it was a scam at that price as did I mention its a big old heat sink that is polished nickel plated, and it was in nearly perfect condition?
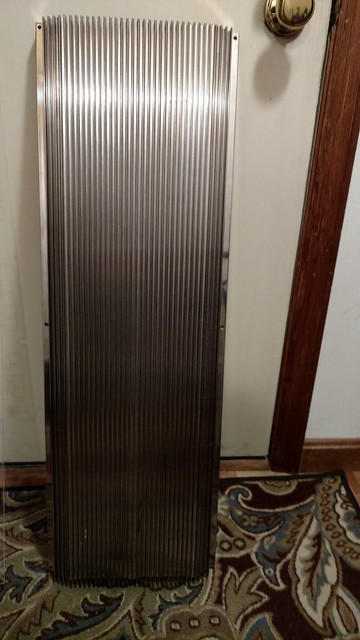
The plating alone would have been more then $100, and the potential for if it was put together complete is huge. On in worse shape then this one sold recently on ebay for $2500 and they do not come up all that often or remain for sale long. The heat sink was the hardest part to find but the rest of it has not been easy either. First I had to find two 2250's to take apart and mount inside and it took nearly 6 months before I found one for sale. I was happy that shortly after that I found the 2nd, serial #666 :evil:
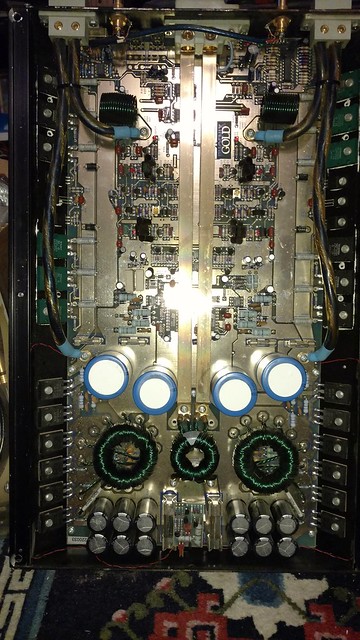
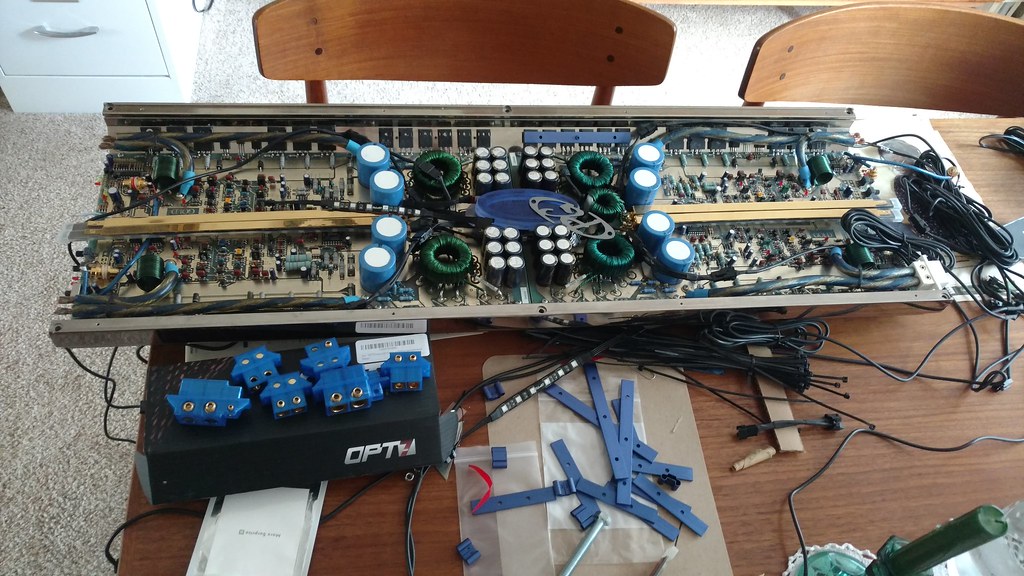
One bad point about these amps is the capacitors they used after 15-20 yrs will start to leak a fluid that is both corrosive to the gold boards as well as explosive/flamable in the right conditions. I have seen more then a few of these amps with a large hole burned through the board from where a cap exploded so first thing I did was replace all the caps. There was also a resistor I upgraded to a higher wattage as recomended. I also found the speaker wires and rca cables inside were showing corrosion, but being a PG hoarder I had a little extra for just such an occasion...
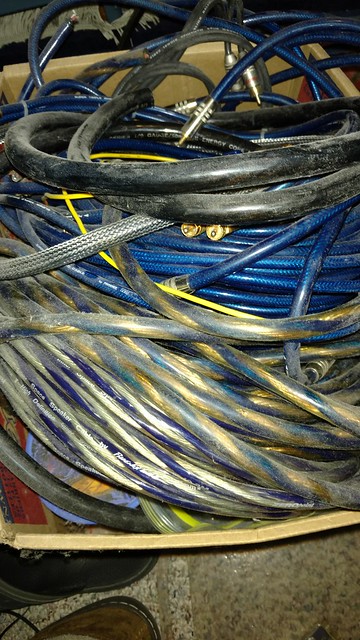
LOL I showed this same pic on a PG facebook page and was able to sell $75 worth in 2 sales and kept the bulk of it for my install") . But like I said I replace all the wires with the same speaker wires, the RCA cables is actually a big upgrade. Before
. But like I said I replace all the wires with the same speaker wires, the RCA cables is actually a big upgrade. Before
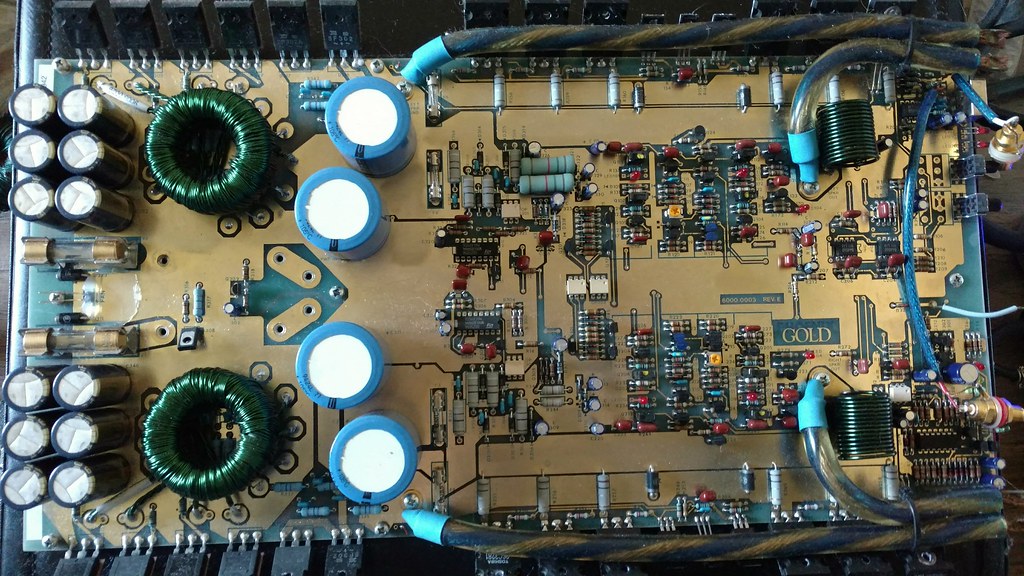
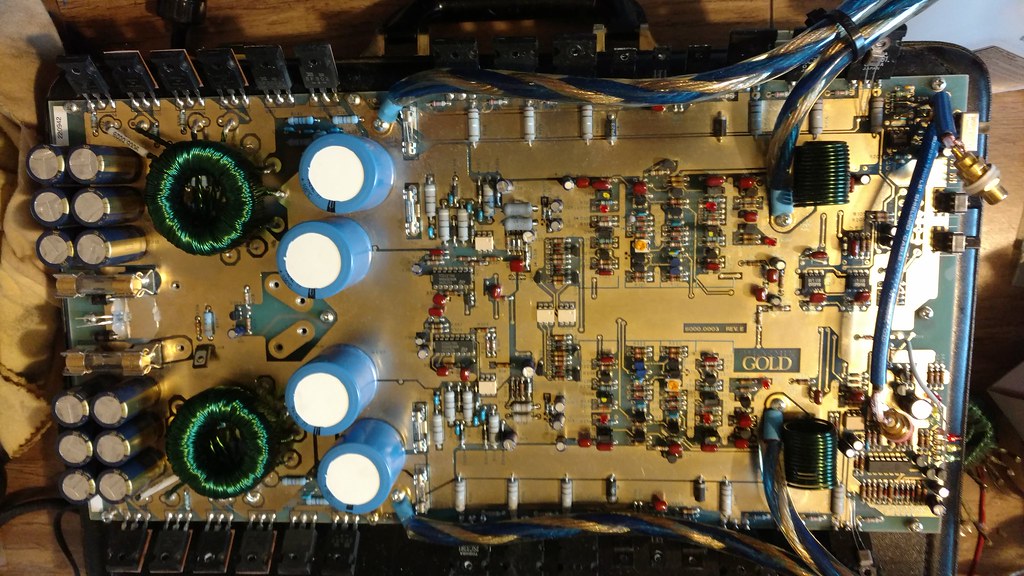
after
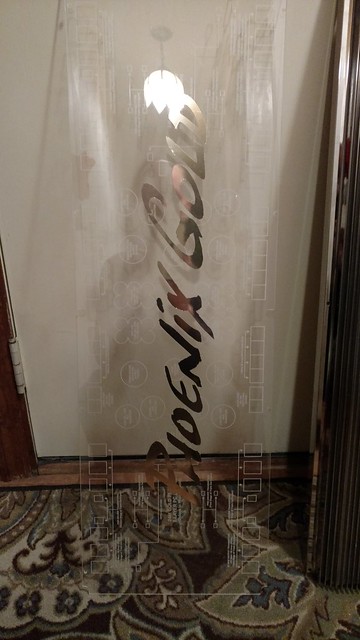
If you watched the video you can see how the amp is actually designed to be mounted upside down to show off the guts inside. The MS1000 is no different other then its a really big piece of plexi. I found a guy that was doing custom vinyl work on old pg amps and had him make this piece up. The big PG logo was the usual but I had him also laser etch the circuit board lay out which was something they did on their dealer show pieces. I will be adding some leds inside that will light up the board lay out and will make the big gold lettering look like a shadow when its on.
I was happy to find out that the plexi guy needed 2 ms2250 heat sinks and I had two extra to trade! After all this the only parts left were the smallest, the end caps that the wires go through. The end caps that go with the 2250's were not exactly the same and it took some time to find the correct ends. When I did I polished them up really nice and then took them to a local guy I have used for anodizing that said he does nickel plating as well. Three weeks later he said there was some kind of problem with the copper plating and he tried a few times but now they are not usable anymore... All my momentum stopped then as I started the search for 2 more end caps. This was june and the amp sat in this place like this since.
About 2 months ago I found one, and finally this week I found the other so I was reinvigorated to get back to work to finish this beast today. This time I will be polishing the end caps and then getting them cleared before going off for silk screening all the words on it. I will show more when more is done now I am just tracking those packages for the end caps. Now I need to swap out the cables on the 2nd amp.
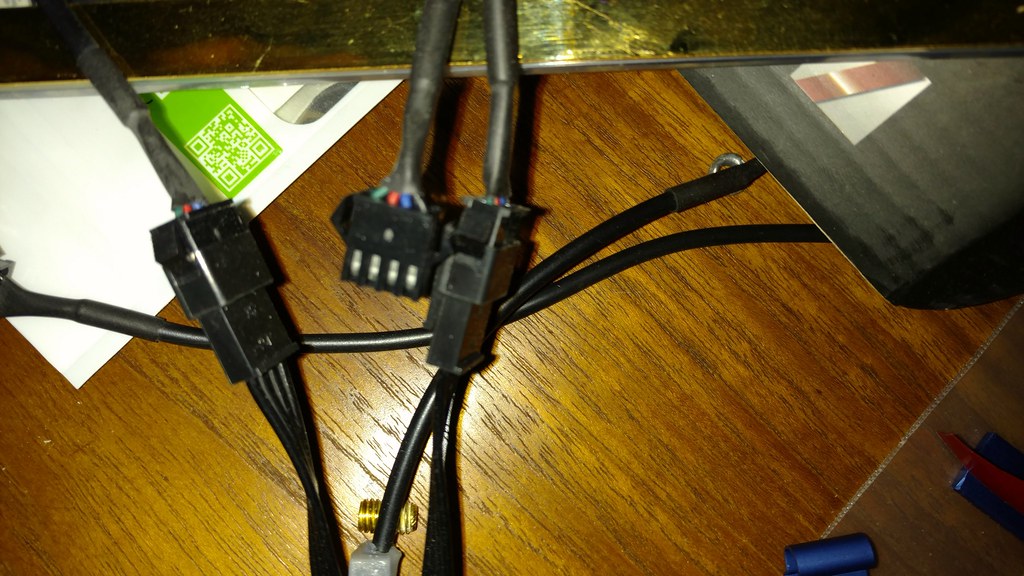
One thing you guys might be able to help with is to help me identify what kind of connectors these are, and more importantly what kind of crimper is needed to do it and where to get the parts? These go to the led lighting system I am adding. I do not want to ball up and tie up a foot and a half of wire inside the amp so I need to cut/crimp them to custom lengths. Anyone know what these connectors are?
A little history, waaaaaaaaaaaaaaaaaaay back when I was 15-16 and getting into cars and car stereos there were more then a few really really nice brands that at that time I could only dream of affording. One brand that always caught my eye was Phoenix Gold and how could you not since they made some of the biggest and best sounding amps all with a gold circuit board to show off through plexi? Another thing they have been known for was taking a couple of their amps and putting them in one HUGE heat sink and making a limited production run that people like me drooled over and dreamed about. These were the days of the cheater amps where your amp would be rated at one power rating to compete with, but if you knew how to wire it some "cheater" amps could easily put out 3-4x their rated power as long as you could supply enough current to them. In the early 90s PG came out with a monster amp called the MS-2250 that was rated at 1000 watts at 4 ohm but at the time it was rumored that they were doing closer to 1500. We didn't have easy way to measure output then but now we do and this guy tests old amps and here is a 2250 testing.
[video=youtube;RO4naOAlskM]https://www.youtube.com/watch?v=RO4naOAlskM&t=535s[/video]
After they made the 2250 they came out with a limited edition version with two 2250's in one huge nickel plated(and nicely polished) heat sink and called it the MS1000. They were going to make no more then 100 but real numbers made were less, not sure exactly how many but for old school car audio guys its a legendary amp. About 2 years ago on another forum for PG gear an old member that was not active popped up and said he had the heat sink from a ms1000 that he was not using after a project he had planned got stalled and life got busy. He wanted to make sure it was put to good use and I was amazed when he said he only wanted $100 for it. I was honestly not sure if it was a scam at that price as did I mention its a big old heat sink that is polished nickel plated, and it was in nearly perfect condition?
The plating alone would have been more then $100, and the potential for if it was put together complete is huge. On in worse shape then this one sold recently on ebay for $2500 and they do not come up all that often or remain for sale long. The heat sink was the hardest part to find but the rest of it has not been easy either. First I had to find two 2250's to take apart and mount inside and it took nearly 6 months before I found one for sale. I was happy that shortly after that I found the 2nd, serial #666 :evil:
One bad point about these amps is the capacitors they used after 15-20 yrs will start to leak a fluid that is both corrosive to the gold boards as well as explosive/flamable in the right conditions. I have seen more then a few of these amps with a large hole burned through the board from where a cap exploded so first thing I did was replace all the caps. There was also a resistor I upgraded to a higher wattage as recomended. I also found the speaker wires and rca cables inside were showing corrosion, but being a PG hoarder I had a little extra for just such an occasion...
LOL I showed this same pic on a PG facebook page and was able to sell $75 worth in 2 sales and kept the bulk of it for my install
. But like I said I replace all the wires with the same speaker wires, the RCA cables is actually a big upgrade. Before
after
If you watched the video you can see how the amp is actually designed to be mounted upside down to show off the guts inside. The MS1000 is no different other then its a really big piece of plexi. I found a guy that was doing custom vinyl work on old pg amps and had him make this piece up. The big PG logo was the usual but I had him also laser etch the circuit board lay out which was something they did on their dealer show pieces. I will be adding some leds inside that will light up the board lay out and will make the big gold lettering look like a shadow when its on.
I was happy to find out that the plexi guy needed 2 ms2250 heat sinks and I had two extra to trade! After all this the only parts left were the smallest, the end caps that the wires go through. The end caps that go with the 2250's were not exactly the same and it took some time to find the correct ends. When I did I polished them up really nice and then took them to a local guy I have used for anodizing that said he does nickel plating as well. Three weeks later he said there was some kind of problem with the copper plating and he tried a few times but now they are not usable anymore... All my momentum stopped then as I started the search for 2 more end caps. This was june and the amp sat in this place like this since.
About 2 months ago I found one, and finally this week I found the other so I was reinvigorated to get back to work to finish this beast today. This time I will be polishing the end caps and then getting them cleared before going off for silk screening all the words on it. I will show more when more is done now I am just tracking those packages for the end caps. Now I need to swap out the cables on the 2nd amp.
One thing you guys might be able to help with is to help me identify what kind of connectors these are, and more importantly what kind of crimper is needed to do it and where to get the parts? These go to the led lighting system I am adding. I do not want to ball up and tie up a foot and a half of wire inside the amp so I need to cut/crimp them to custom lengths. Anyone know what these connectors are?