You could have bought a cradle really cheap. Good find on the complete unit though. Take a lot of pictures and if you have any questions, feel free to ask.
You are using an out of date browser. It may not display this or other websites correctly.
You should upgrade or use an alternative browser.
You should upgrade or use an alternative browser.
The 1997 V6 to Terminator swap
- Thread starter cheebs127
- Start date
DKblue98GT
Well-Known Member
- Joined
- Dec 19, 2009
- Messages
- 1,406
- Reaction score
- 333
It's been a while since I looked in on your build. The motor looks great, I really like the pulleys. I also love that Ford pickup...
cheebs127
Member
You could have bought a cradle really cheap. Good find on the complete unit though. Take a lot of pictures and if you have any questions, feel free to ask.
Yes I could have and saved myself a lot of time for sure but I was too stuck on keeping the solid axle at the time because of all the parts I already bought. I may have some questions once I get to installing it
Thanks for checking back in! Hopefully soon there will be much more progress to seeIt's been a while since I looked in on your build. The motor looks great, I really like the pulleys. I also love that Ford pickup...
And a little update:
It turns out the IRS doesn't have any aftermarket bushings. The guy who I got it from was told by the cars previous owner that it did. Its hard to tell it didn't until I took it apart. Good news is the guy I traded with is making it right and were working something out so I can get the bushings then Ill be doing the FTBR bushing install soon hopefully.
cheebs127
Member
Did a little work today installing my new input shaft. Everything is still torn apart on my bench because I'm missing one bearing race. Ordered that at autozone today so hopefully tomorrow I'll have some pictures to post of that process.
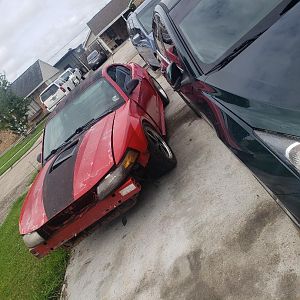
For now I'll leave you with these gems I found on the computer today while looking for part numbers.. From my first post on this thread I said this was an old dream so here is a couple pictures from 07/08 of my first SN95. The first picture is a day one picture my mom insisted on taking of me. Second picture is about 4 months later ( I hit a Dodge Dakota that was pulling out around a blind corner) Picture three is my senior prom (with my now wife). Its the only picture I can find that was post accident where the suspension had been done and wheels.

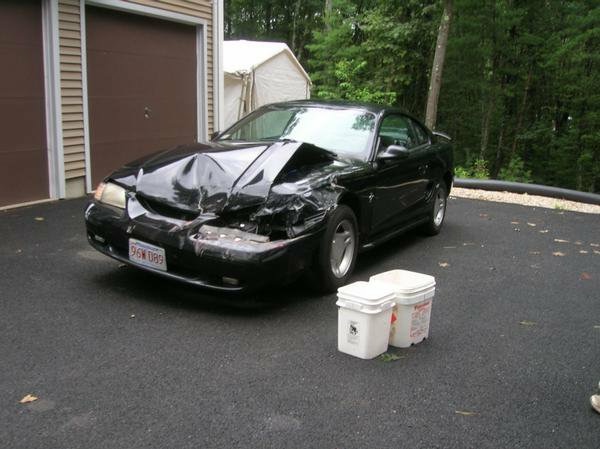
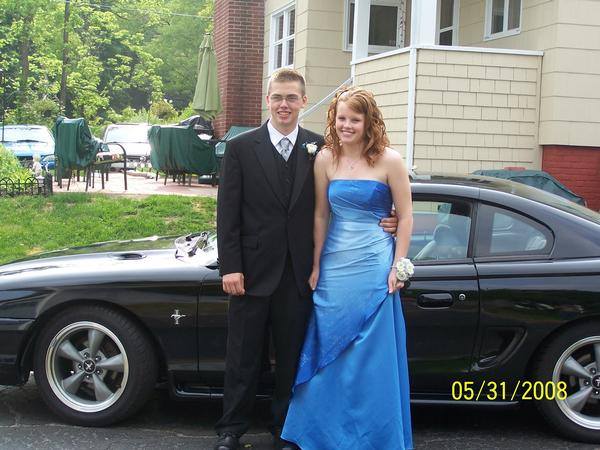
For now I'll leave you with these gems I found on the computer today while looking for part numbers.. From my first post on this thread I said this was an old dream so here is a couple pictures from 07/08 of my first SN95. The first picture is a day one picture my mom insisted on taking of me. Second picture is about 4 months later ( I hit a Dodge Dakota that was pulling out around a blind corner) Picture three is my senior prom (with my now wife). Its the only picture I can find that was post accident where the suspension had been done and wheels.
So Schnazzy!
Nighttrain
Well-Known Member
Big difference between the two pics lol
cheebs127
Member
Update on some progress:
I ordered two 10 inch radiator fans off amazon for my heat exchanger. Mounted those up and wired up a relay partially. Still have to run them to a switch inside the car.

Got my 26 spline input shaft installed as well. I followed a write up on SVTP which was very helpful and made this easier than anticipated. Got a couple pictures in case anyone is interested in the process.
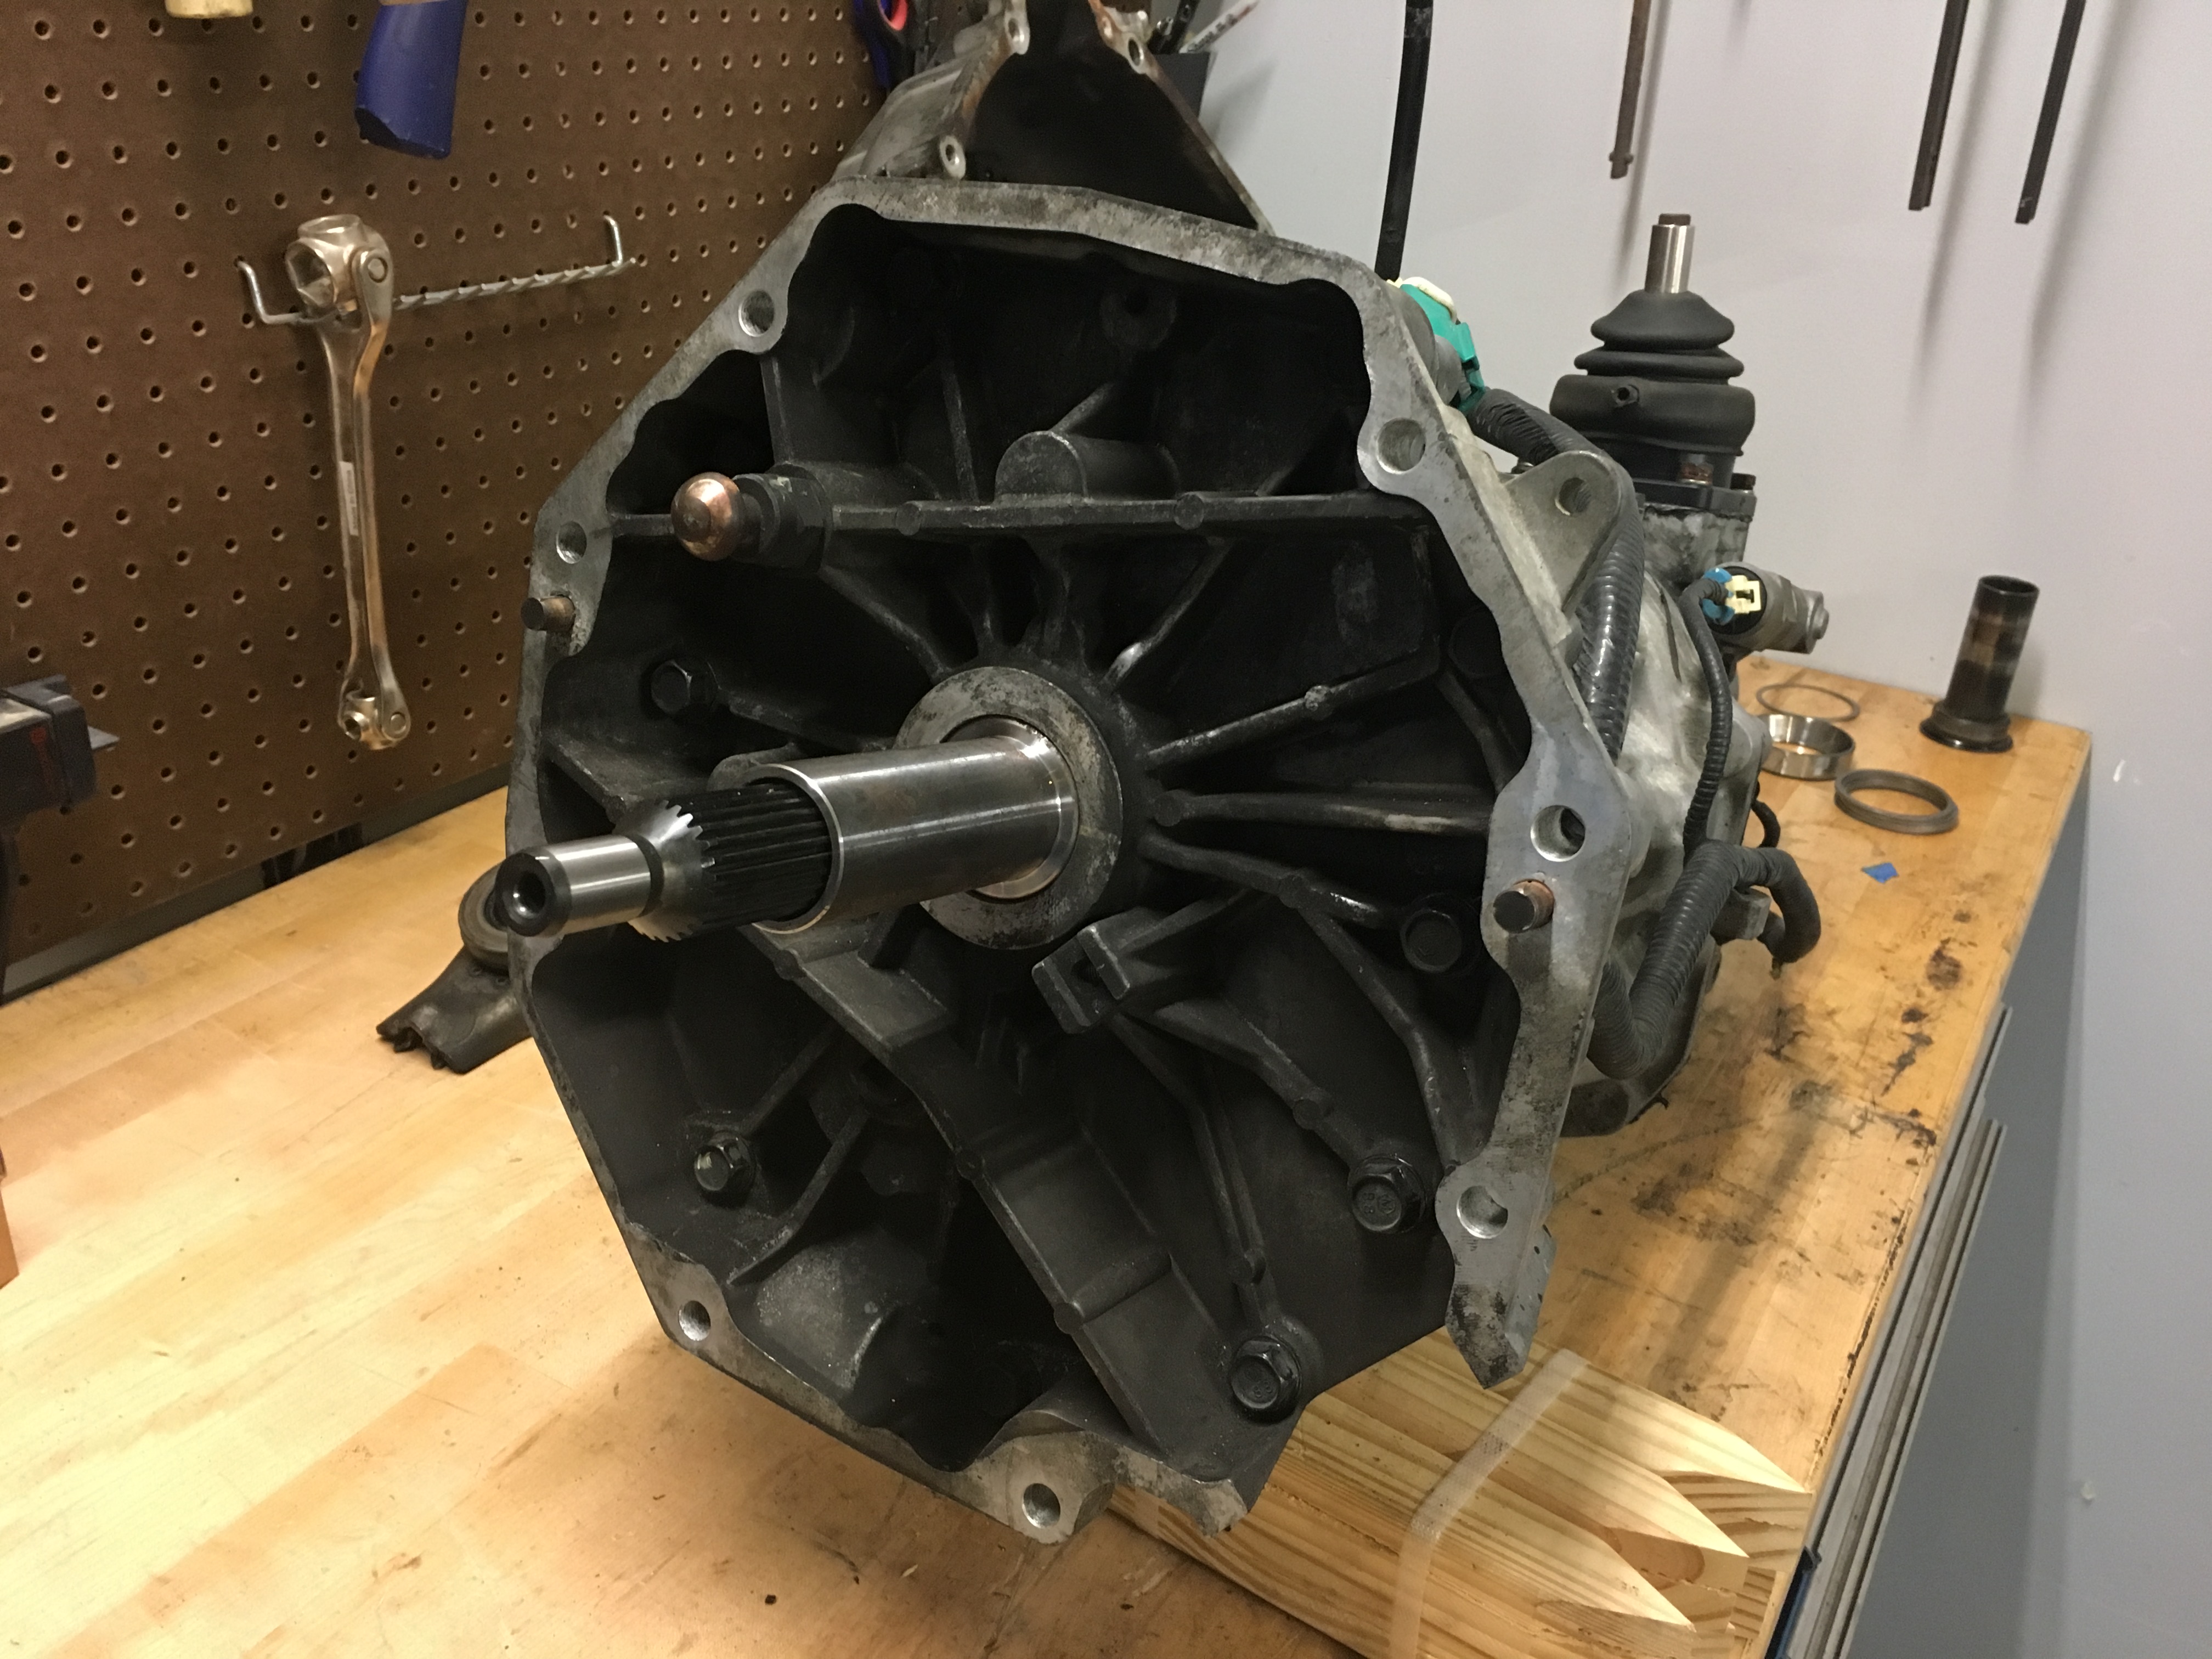
First removed the bell housing
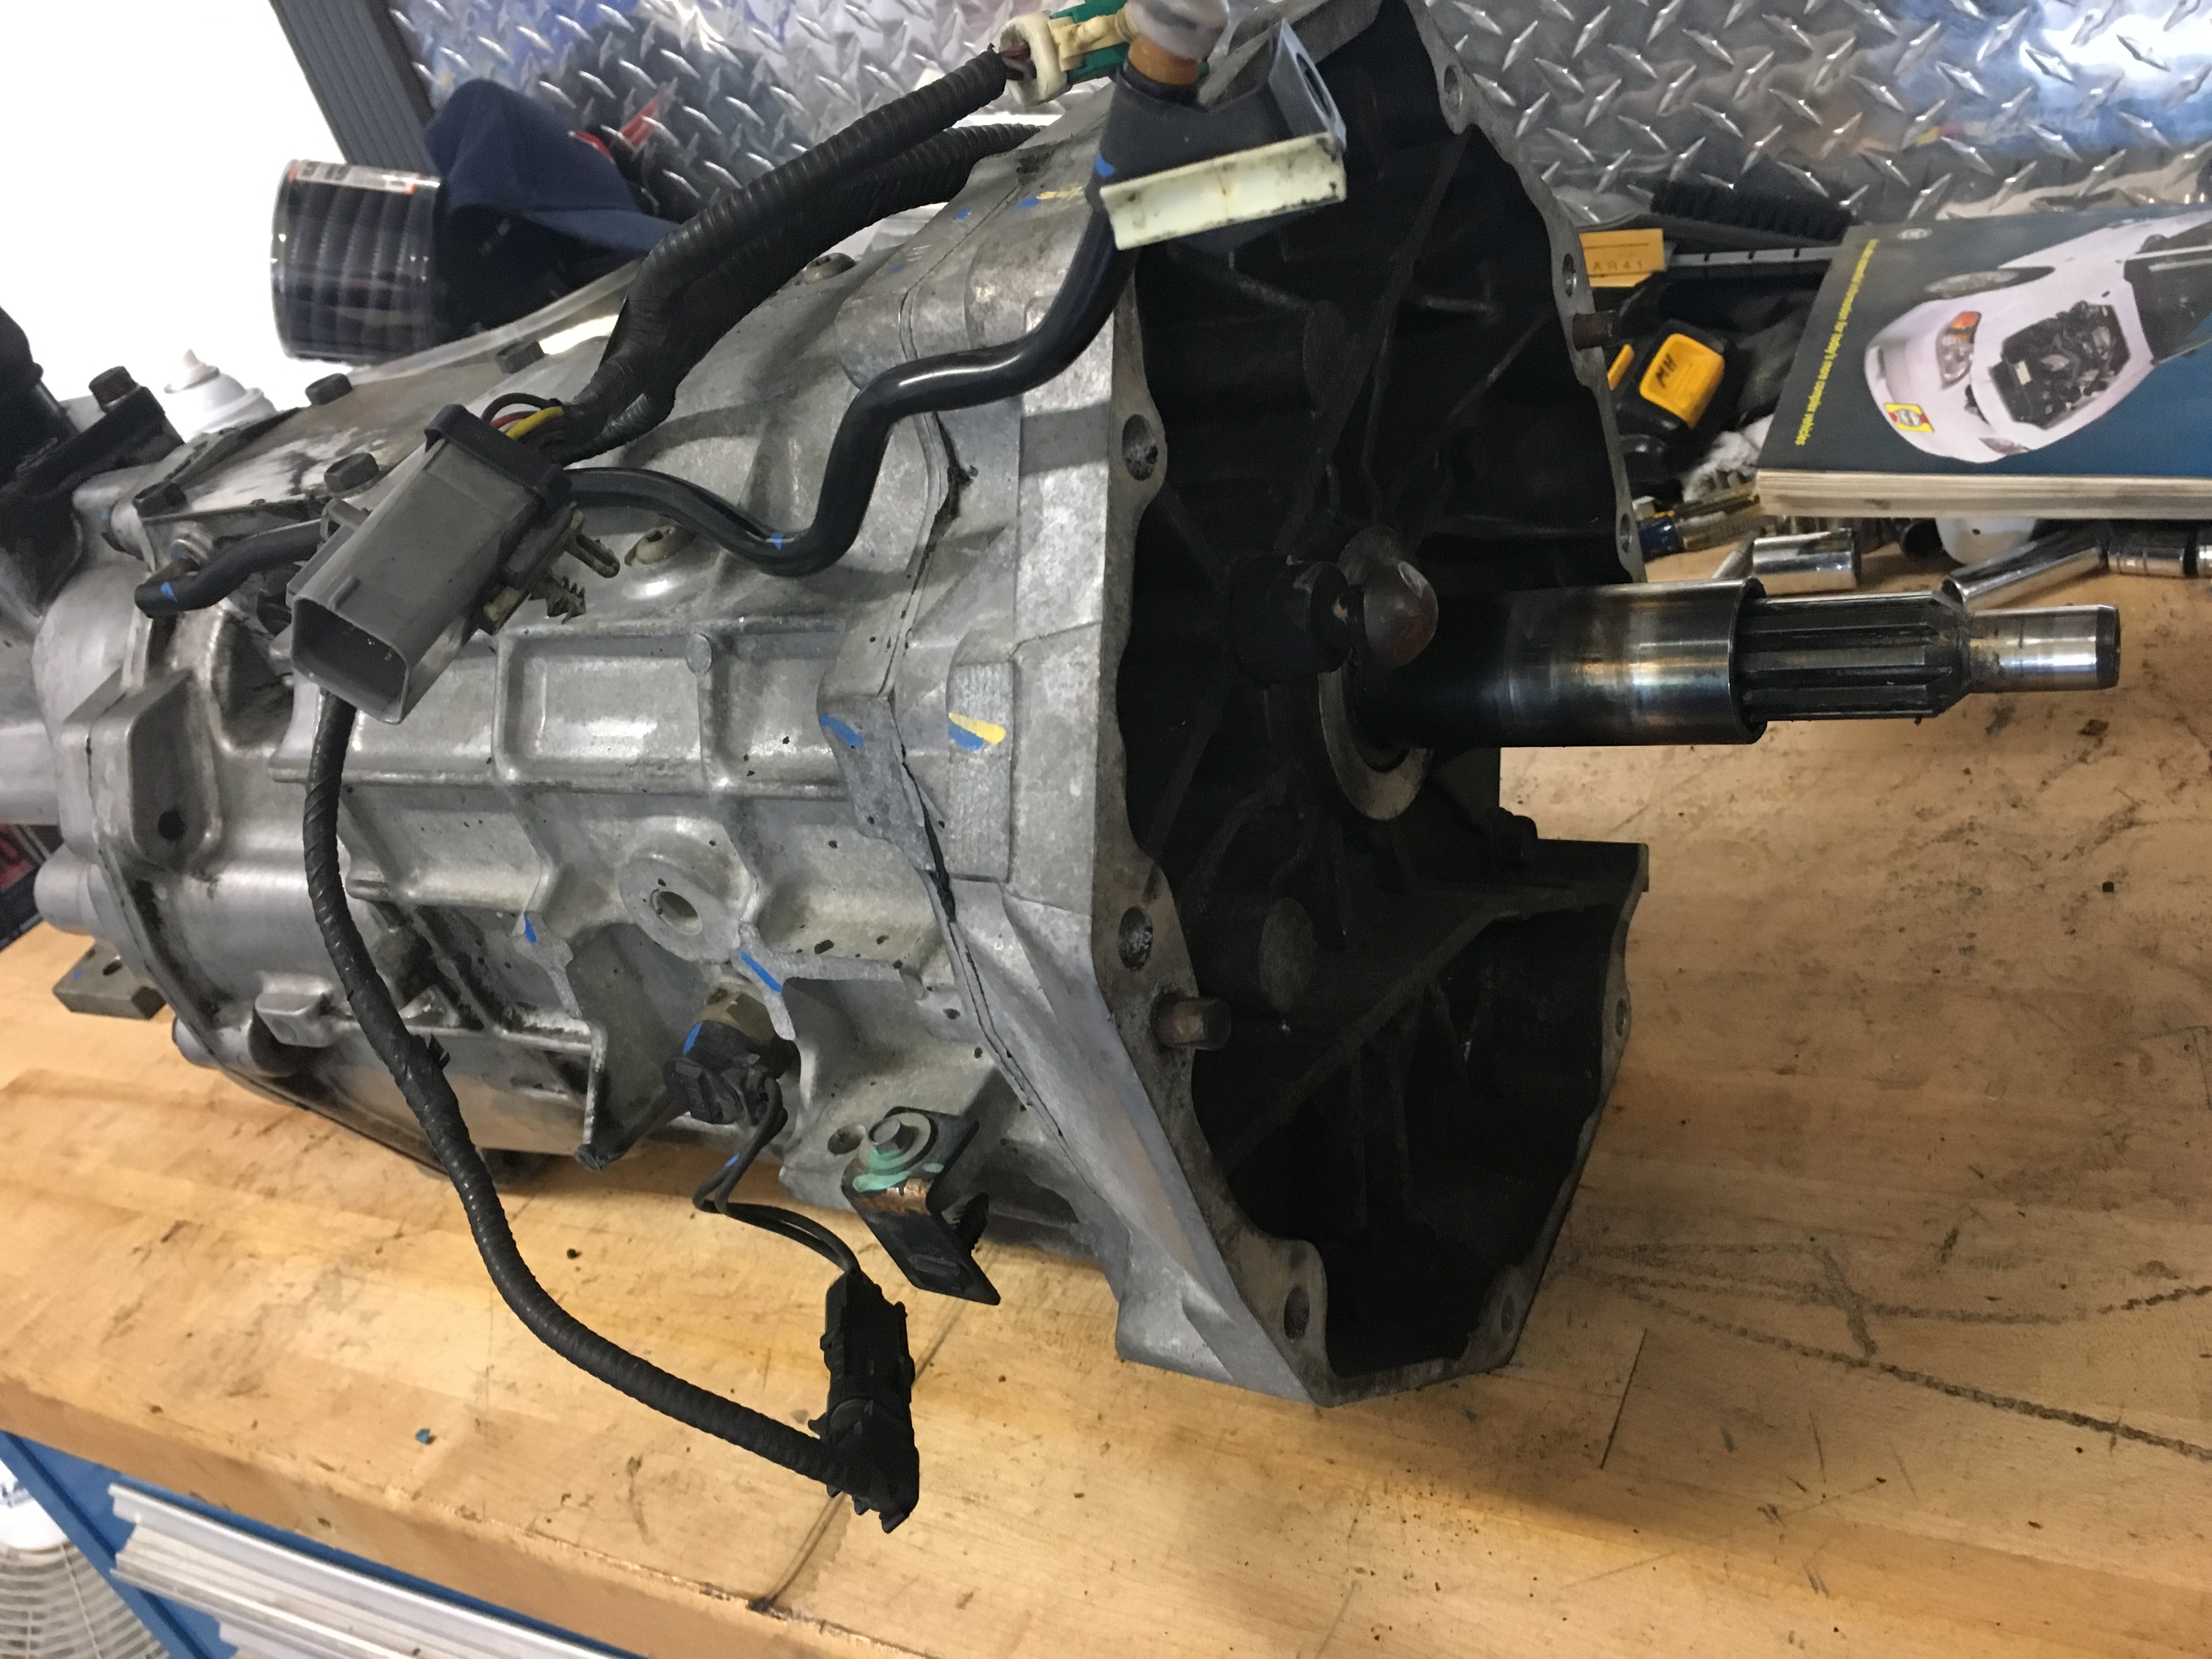
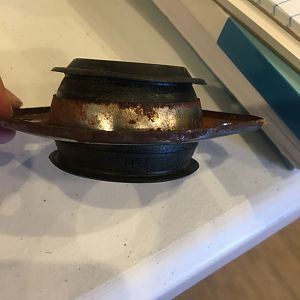
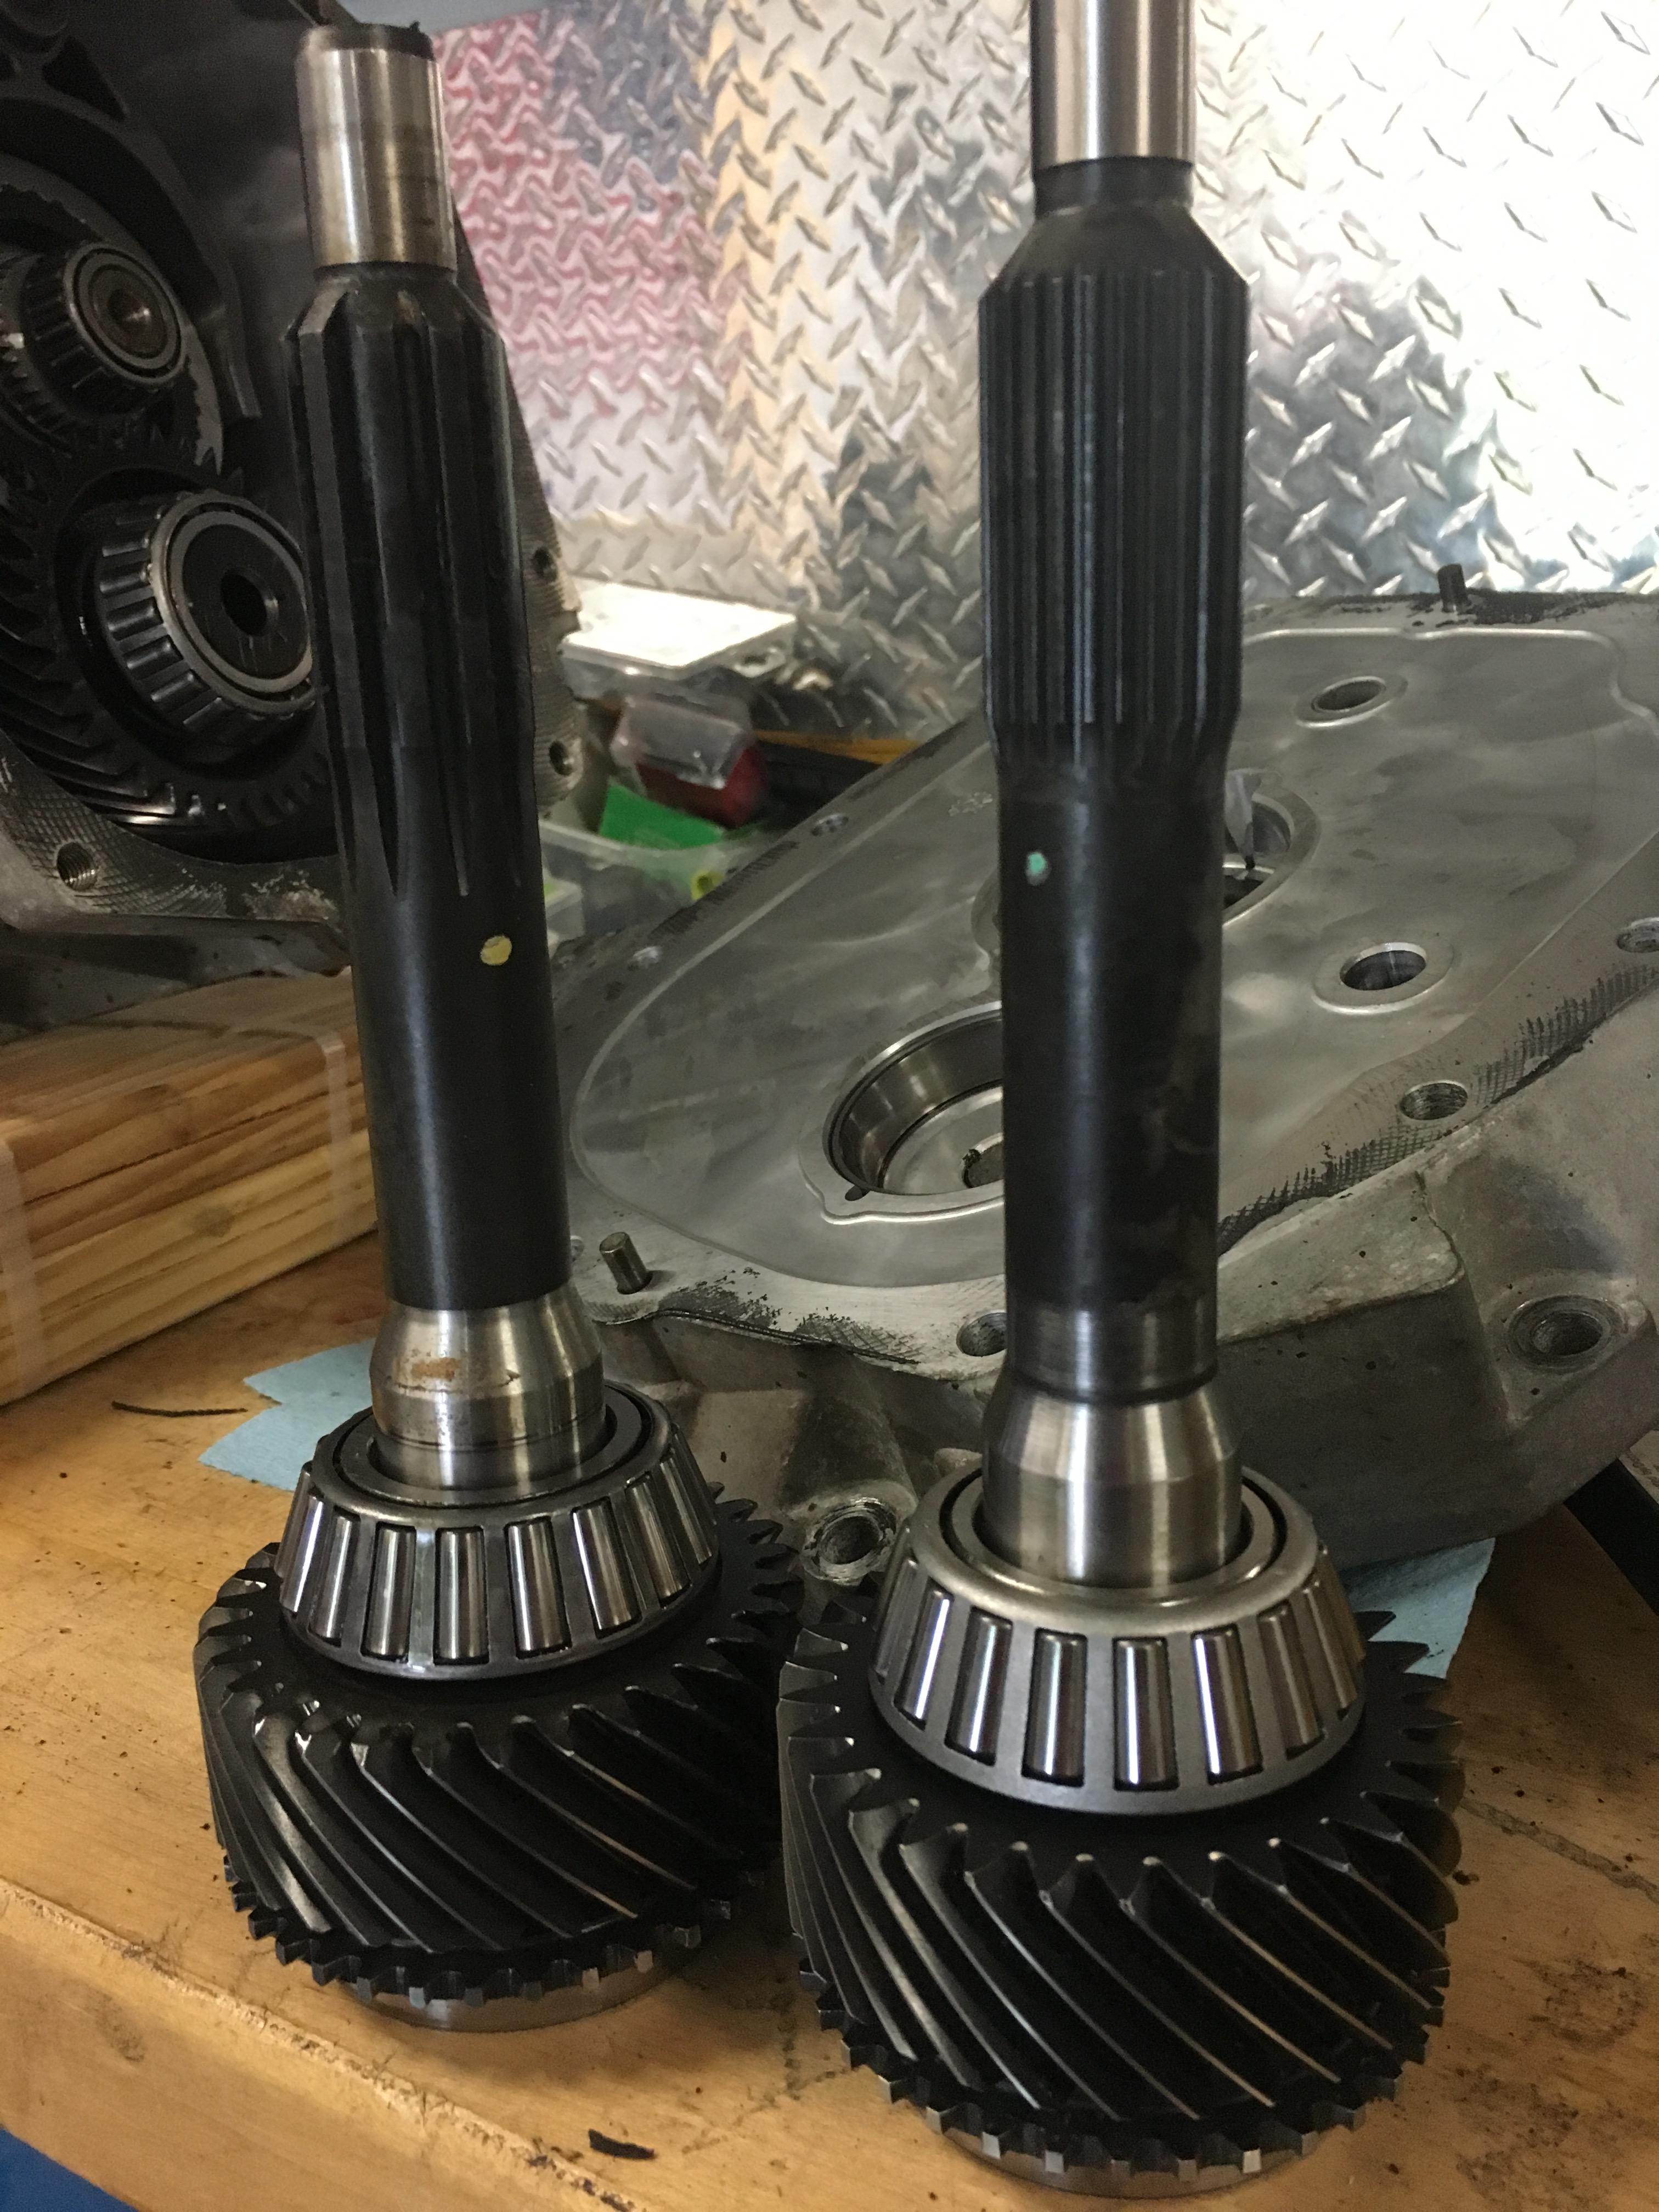
Next remove the cover and clean off the old sealant. From here the old input shaft comes right out. I took a comparison shot of the two as well as the stock TOB sleeve v.s. the stronger Lethal Performance piece. I didn't get any pictures of the process but I removed the old sleeve with a BFH and installed the new one with a 36mm socket and a slightly smaller hammer.
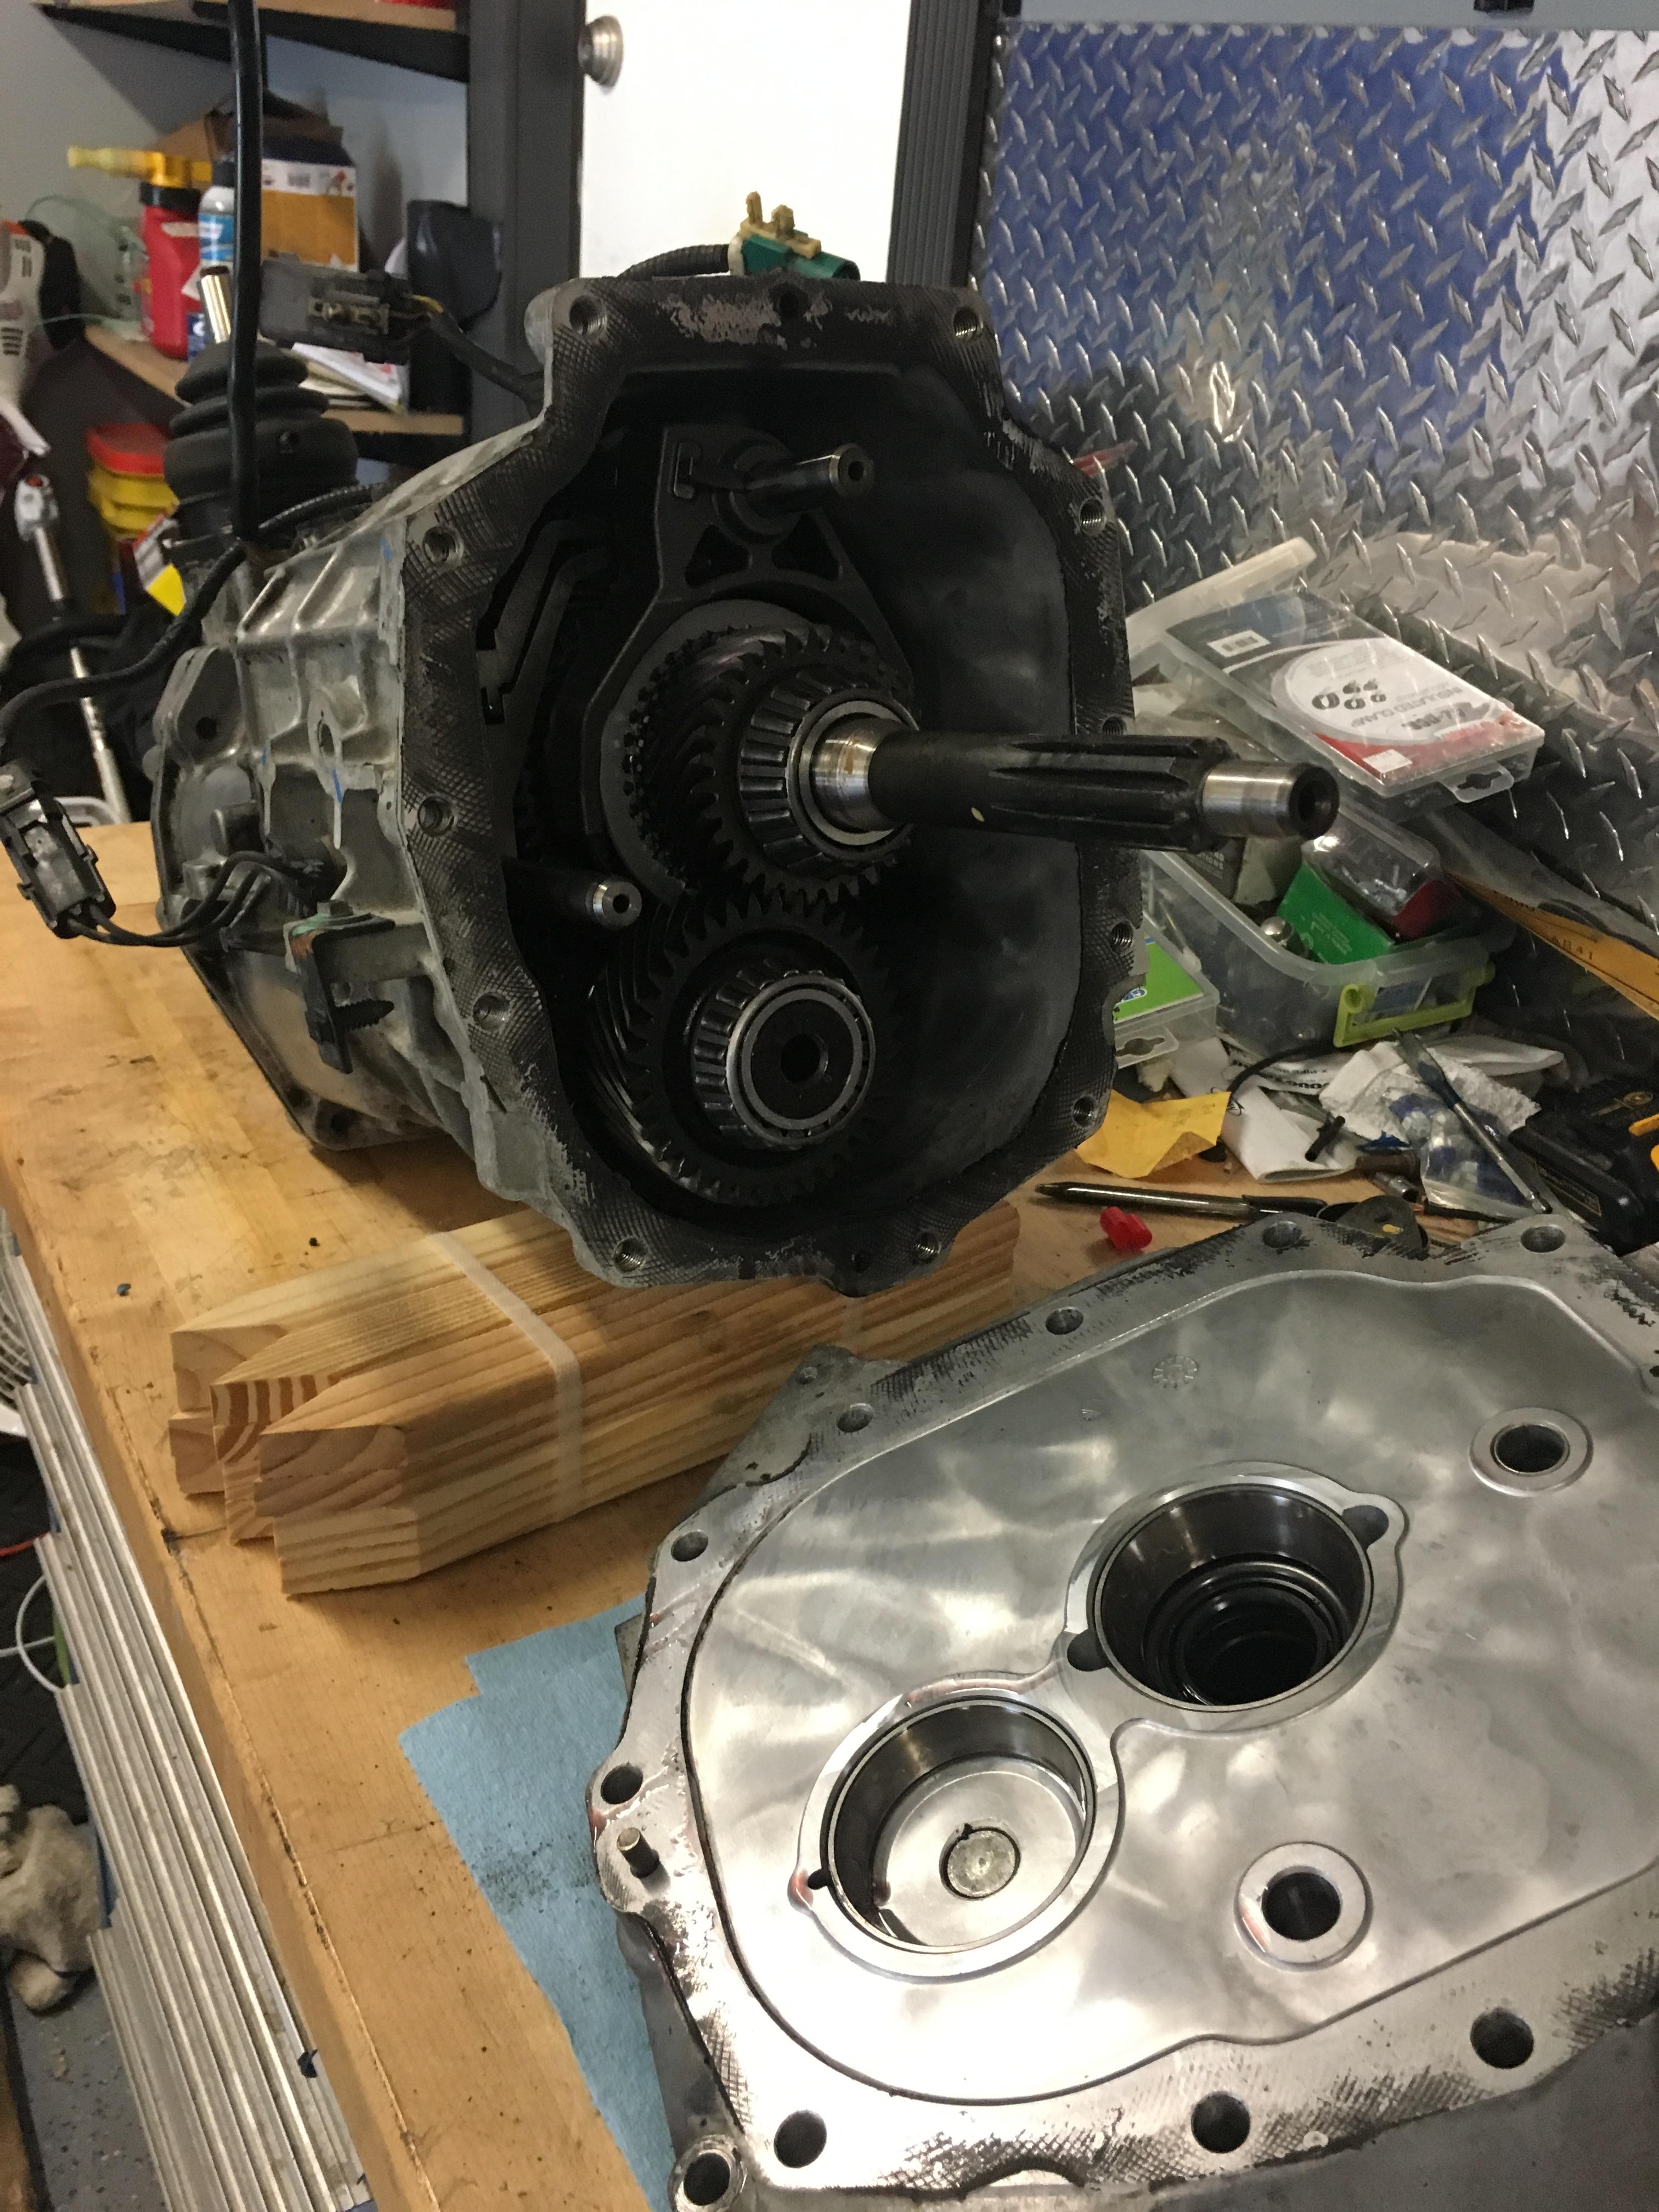
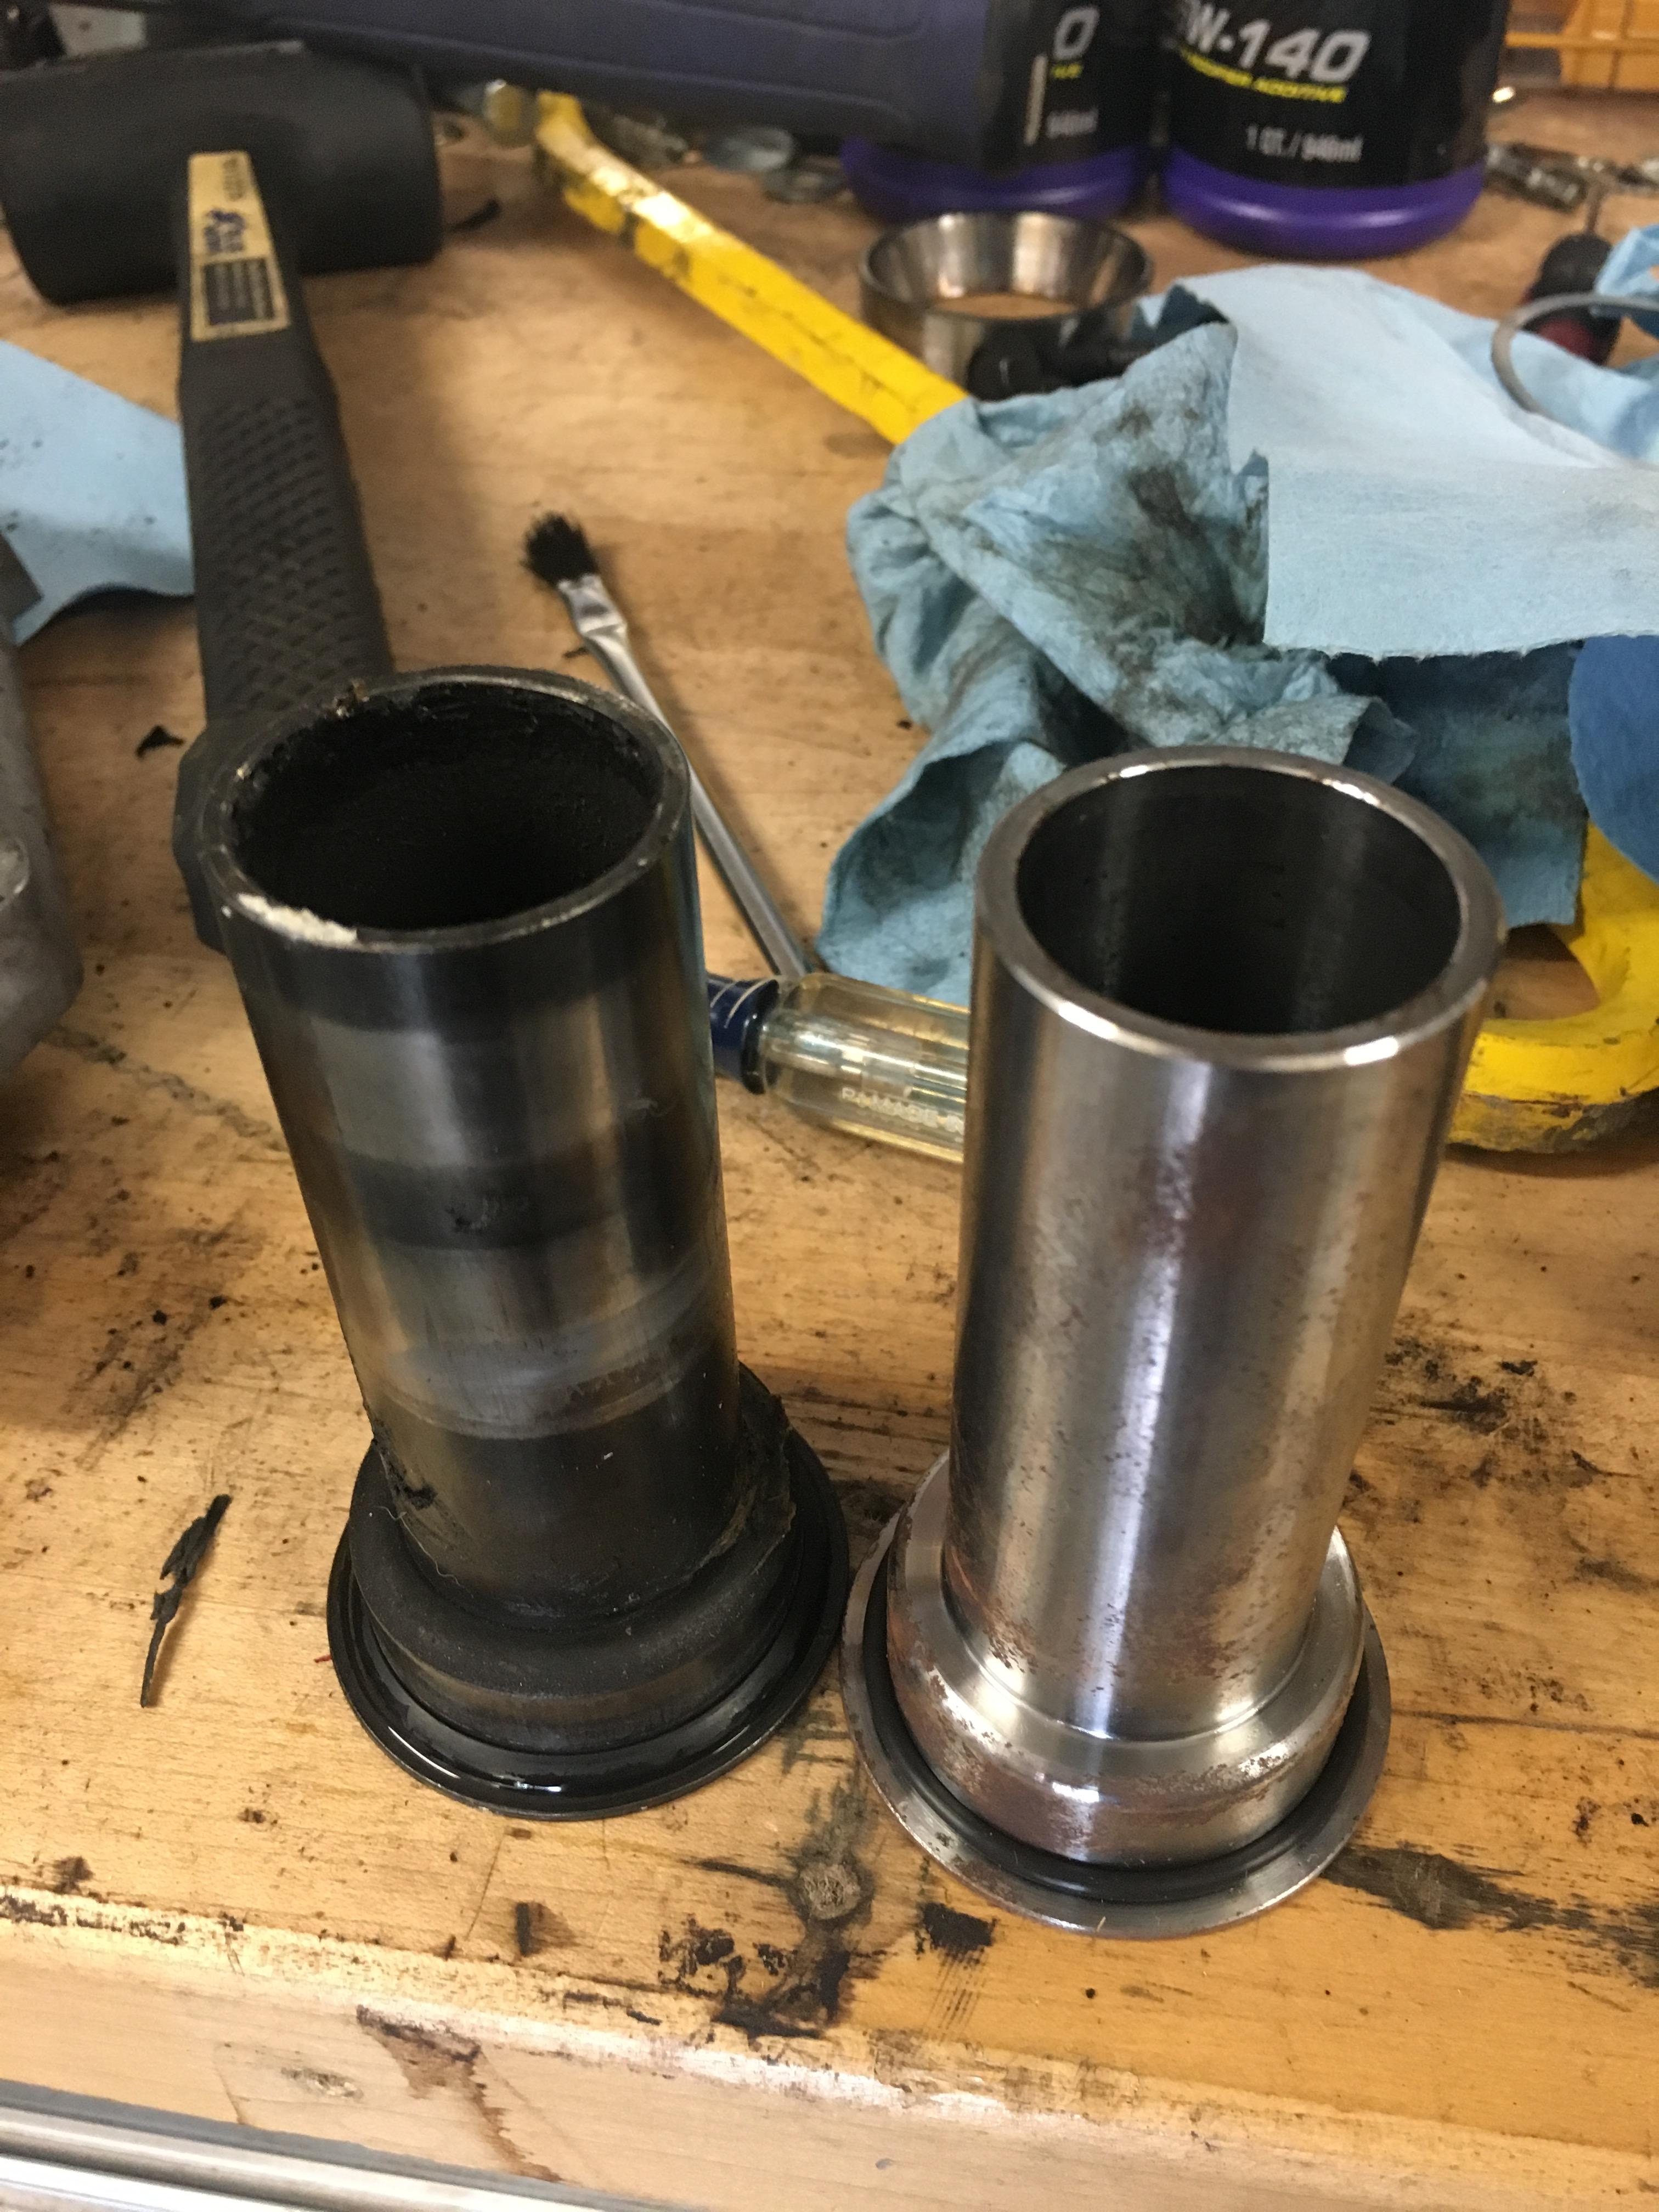
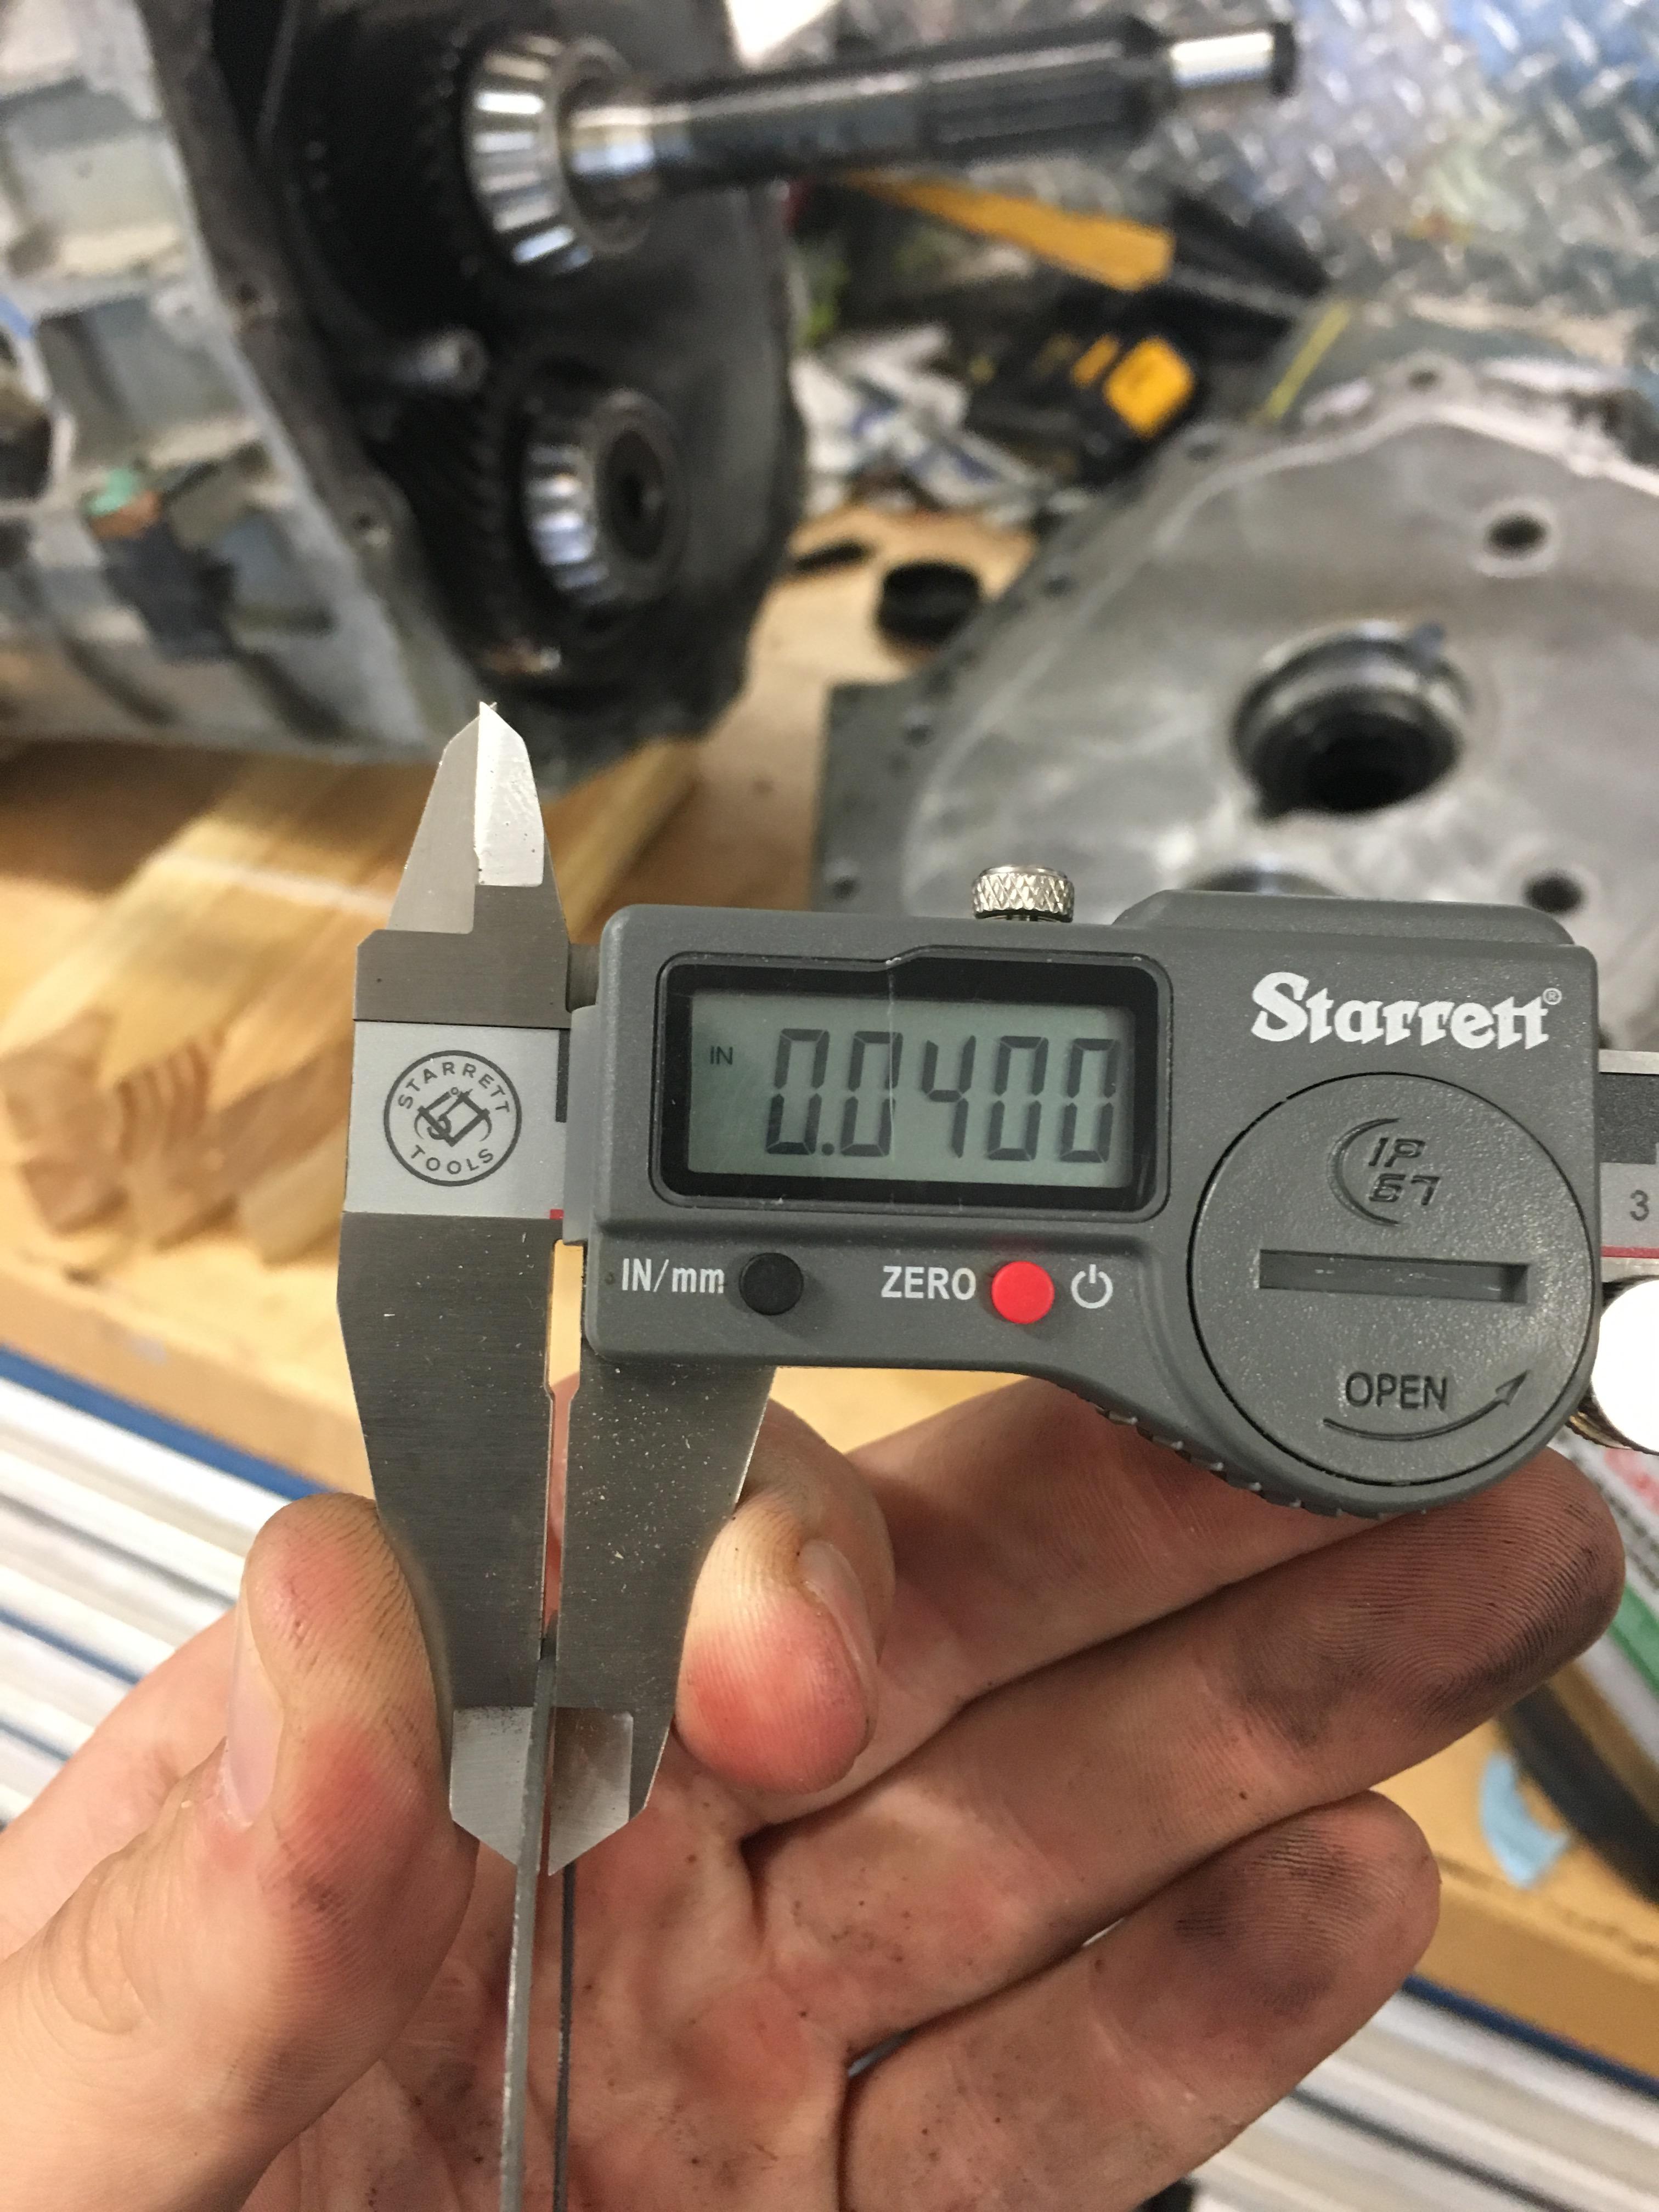
Next I popped the old race out of the front cover and removed and measured the shim. I installed the new input shaft with the original shim to get a reference point. I had a little end play when measured with a dial indicator so I took it back apart and added a slightly thicker shim to bring it within tolerance. I wish I got more pictures of the processes but you get the idea
I ordered two 10 inch radiator fans off amazon for my heat exchanger. Mounted those up and wired up a relay partially. Still have to run them to a switch inside the car.
Got my 26 spline input shaft installed as well. I followed a write up on SVTP which was very helpful and made this easier than anticipated. Got a couple pictures in case anyone is interested in the process.
First removed the bell housing
Next remove the cover and clean off the old sealant. From here the old input shaft comes right out. I took a comparison shot of the two as well as the stock TOB sleeve v.s. the stronger Lethal Performance piece. I didn't get any pictures of the process but I removed the old sleeve with a BFH and installed the new one with a 36mm socket and a slightly smaller hammer.
Next I popped the old race out of the front cover and removed and measured the shim. I installed the new input shaft with the original shim to get a reference point. I had a little end play when measured with a dial indicator so I took it back apart and added a slightly thicker shim to bring it within tolerance. I wish I got more pictures of the processes but you get the idea
cheebs127
Member
Progress has been slow but I've been getting things ready for the engine to come off the stand and be as complete as possible before installing it and the trans. This has meant tracking down some loose ends and ordering a few small things like plugs for the egr ports on the longtubes.
97_281gt
Active Member
- Joined
- Mar 6, 2011
- Messages
- 808
- Reaction score
- 0
What headers are these?
Sent From Your Moms Phone
Sent From Your Moms Phone
cheebs127
Member
.
Sent from my iPhone using Tapatalk
Sent from my iPhone using Tapatalk
97_281gt
Active Member
- Joined
- Mar 6, 2011
- Messages
- 808
- Reaction score
- 0
Jeez that's crazy I've never heard of headers having that bad of fitment issues beforeDoug's. They're still new. I got them in a trade so I'm kind of SOL as far as a return goes and I talked to their rep on their Facebook page. He referred me to the guy who knows their mustang parts but nothing he offered I hadn't already tried. I'm going to push the issue again tomorrow because I figure it can't hurt and they have two clear fitment issues for having never been used
Sent from my iPhone using Tapatalk
Sent From Your Moms Phone
Nighttrain
Well-Known Member
Ive seen this before but there are enough termi swaps out there they should have it down. Heres what id do, use the dougs headers, get a saw and a welder, and some stock tubing. Practice welding before you start cutting and refitting unless youre certain on your skills. Iirc the stock headers wont work. If you dont want to spend the extra cash on a new set.....make your own.
cheebs127
Member
The headers should fit since they're 96-04 4 valve headers and the chassis is the same between my 97 and the 03. I may take a stab at modifying them once I have some time. Theyre ceramic coated though so I'd ruin the coating doing them and have to them redone. Once I get another response from Dougs Ill have a better idea of what Ill want to do
Sent from my iPhone using Tapatalk
Sent from my iPhone using Tapatalk
cheebs127
Member
subscribed. want to see this completed.
You and me both!! Thanks for subscribing
cheebs127
Member
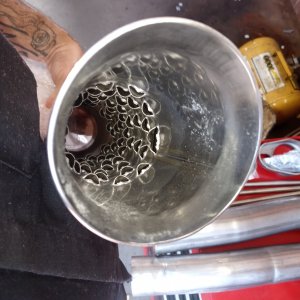
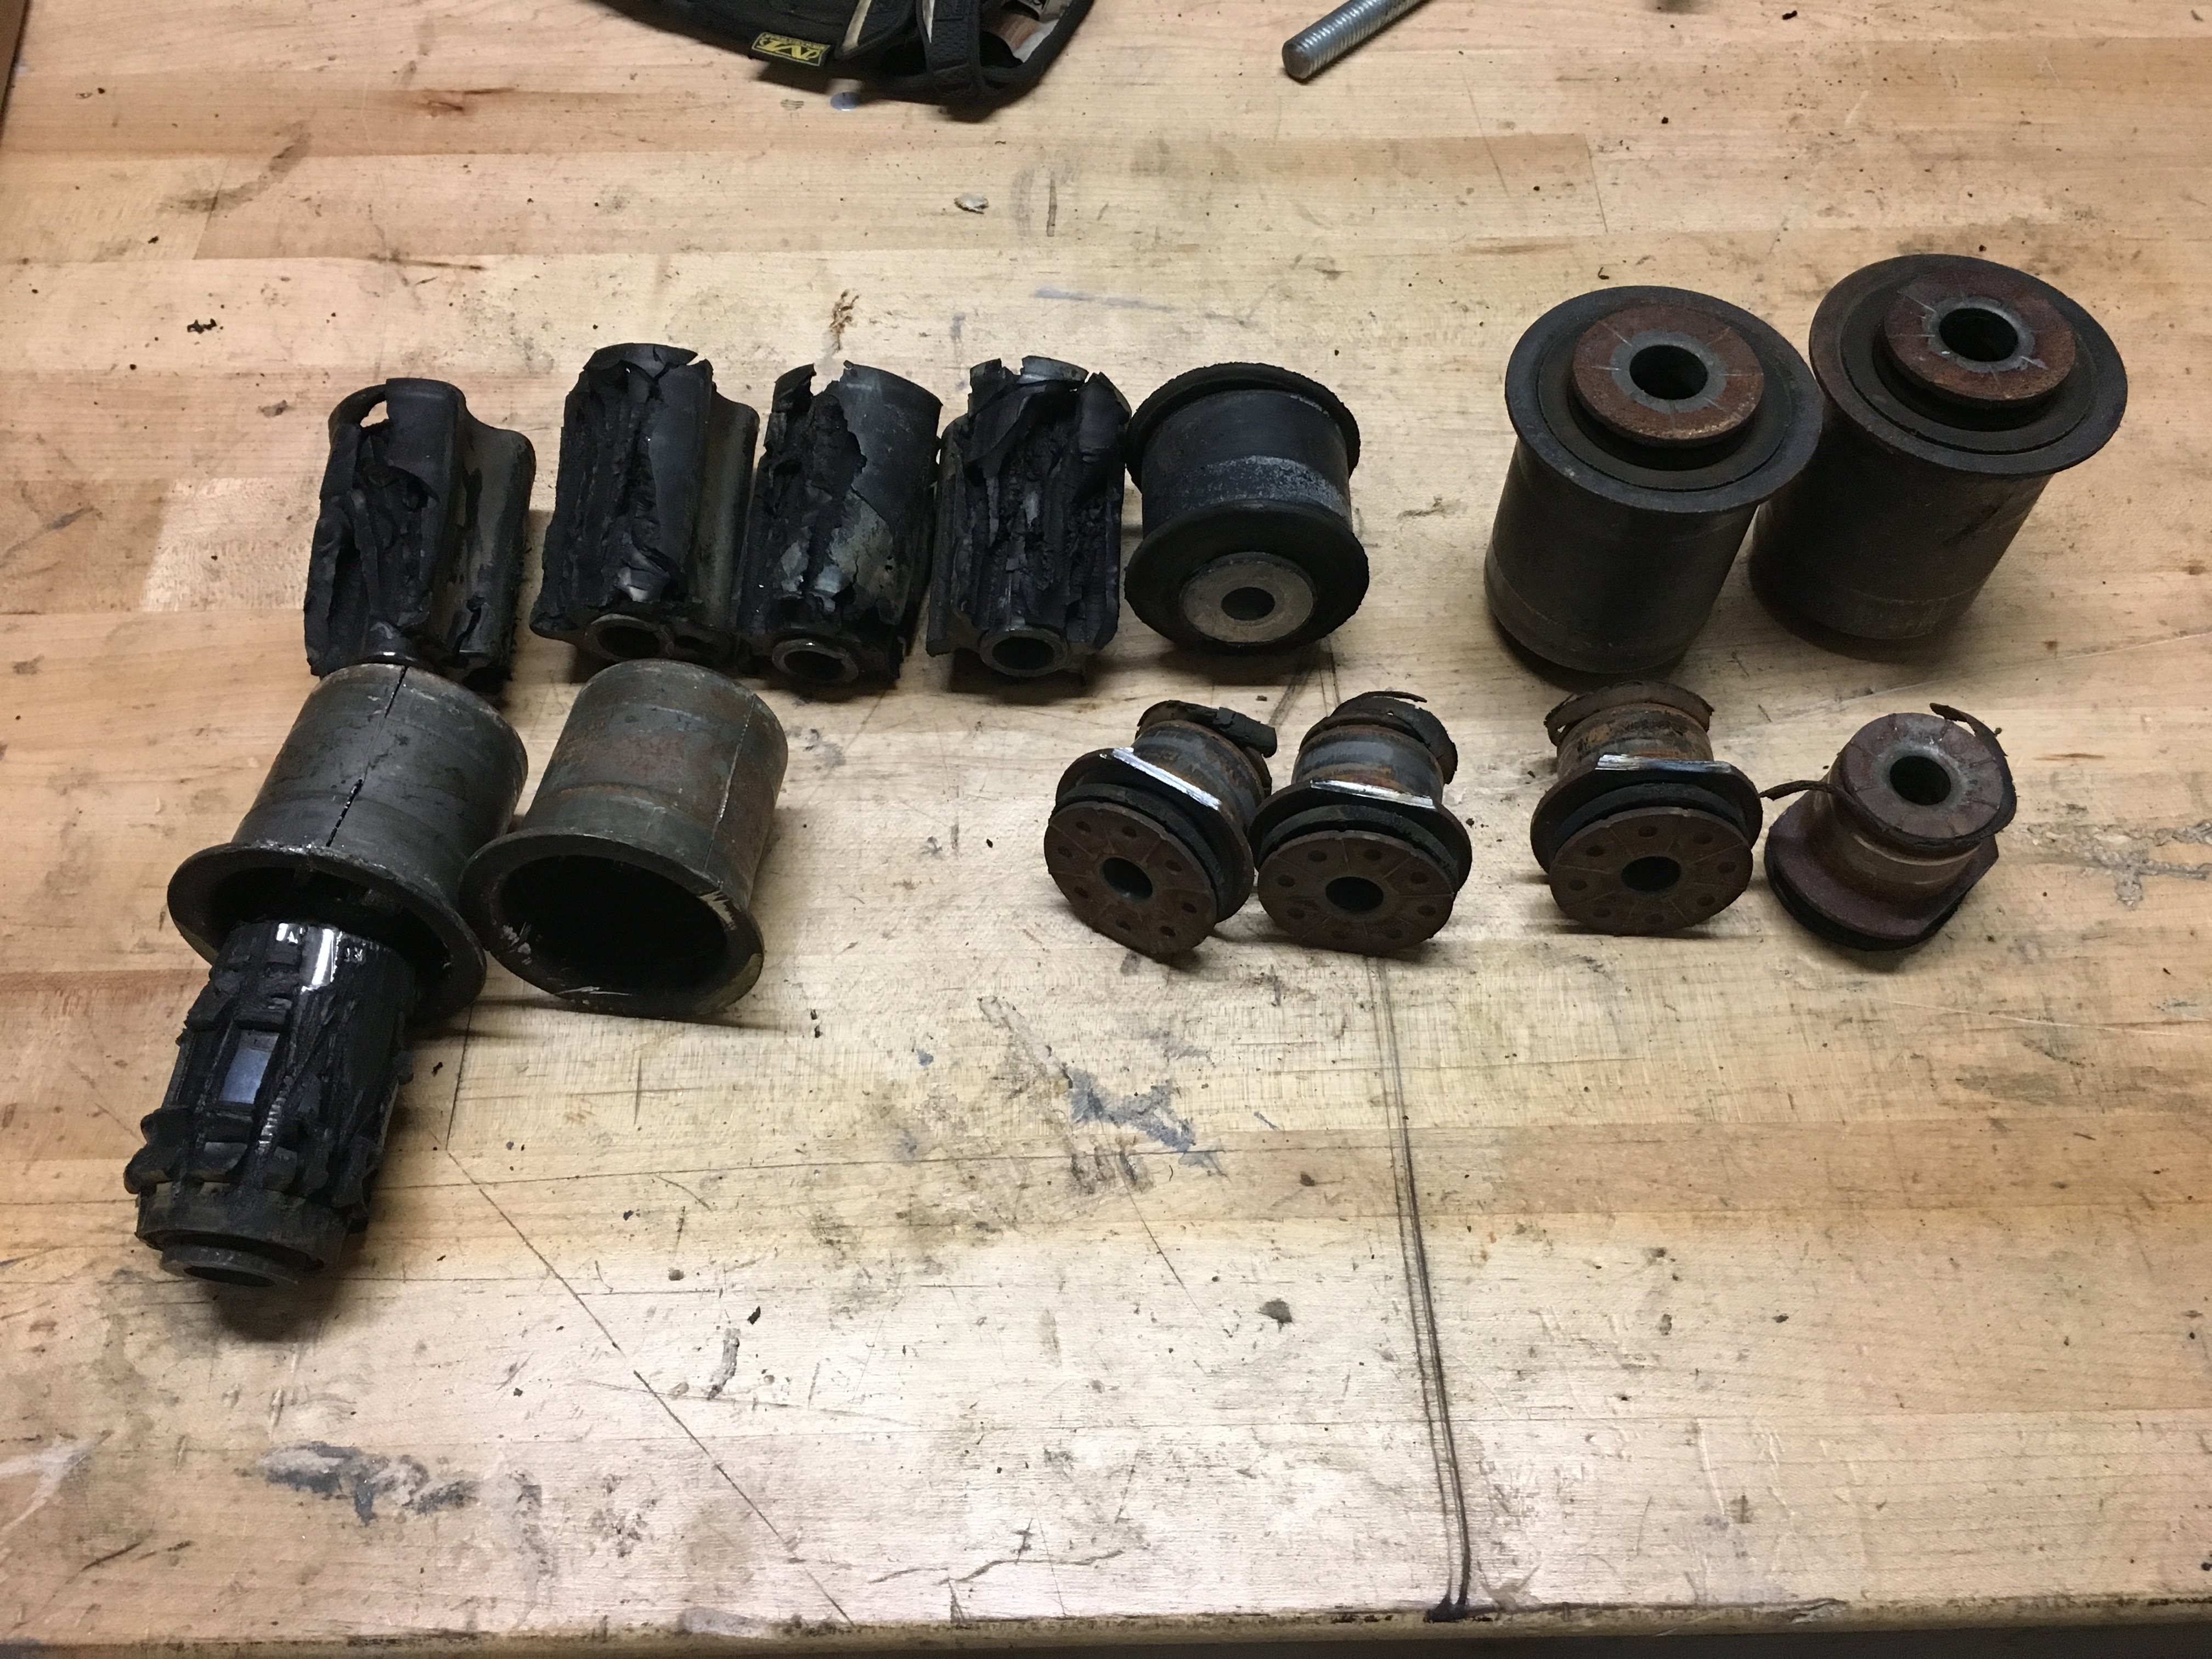
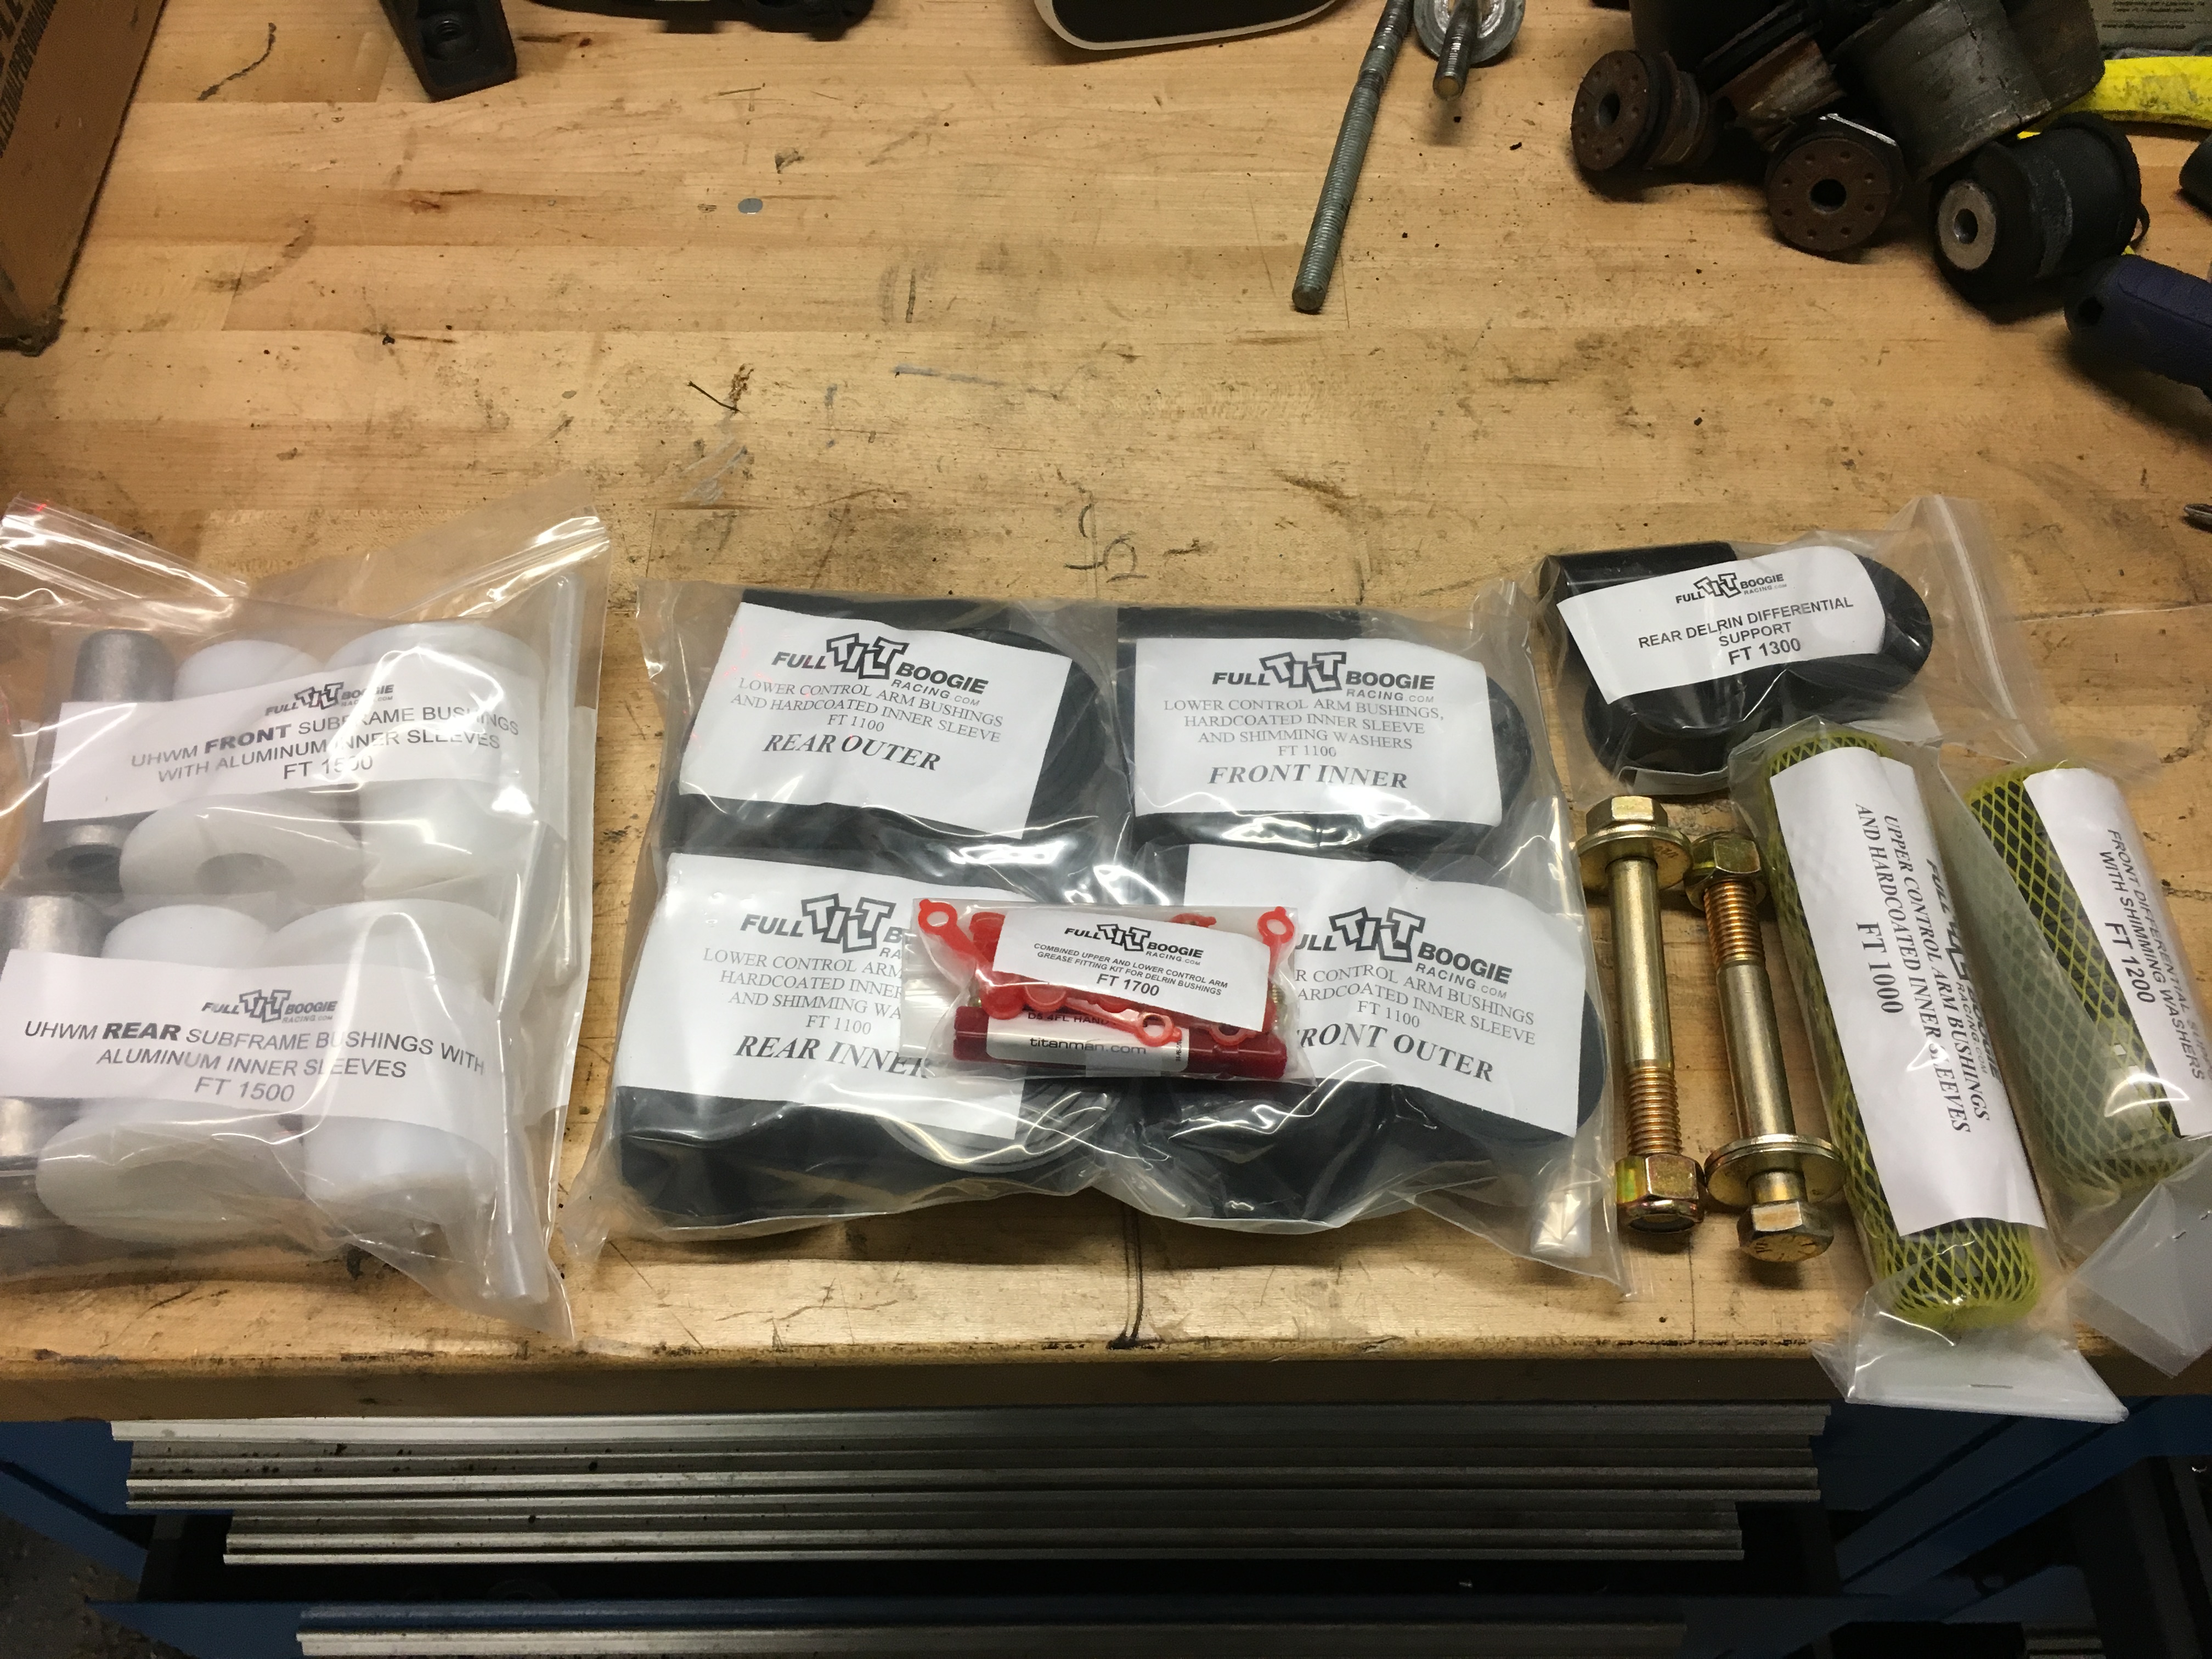
I had some time today to remove all the rubber bushings from the IRS. Four hours later and I have a new appreciation and understanding as to why it cost so much to have a shop perform this job. Everything went well but its a good amount of physical labor! I also picked up my Full Tilt Boogie Racing kit and new gauges today. I haven't installed the bushings yet but I must say I'm very impressed with their quality and the excellent product and product support FTBR has with the thorough instructions, videos and pictures on their site and quick access for questions on the forums. Despite all the labor that goes into this job I still think the most difficult part was trying to get my wife to understand why this small box of urethane bits costs $700 haha. Joking aside she is very supporting of my car addiction but I still get the look sometimes.
Pictures of the old rubber bushings:
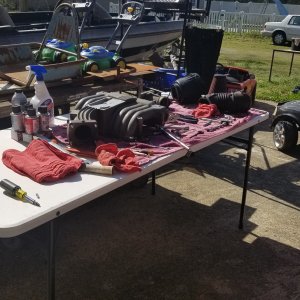
FTBR stuff fresh out of the box:
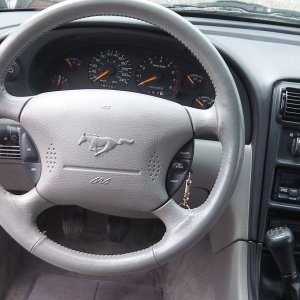
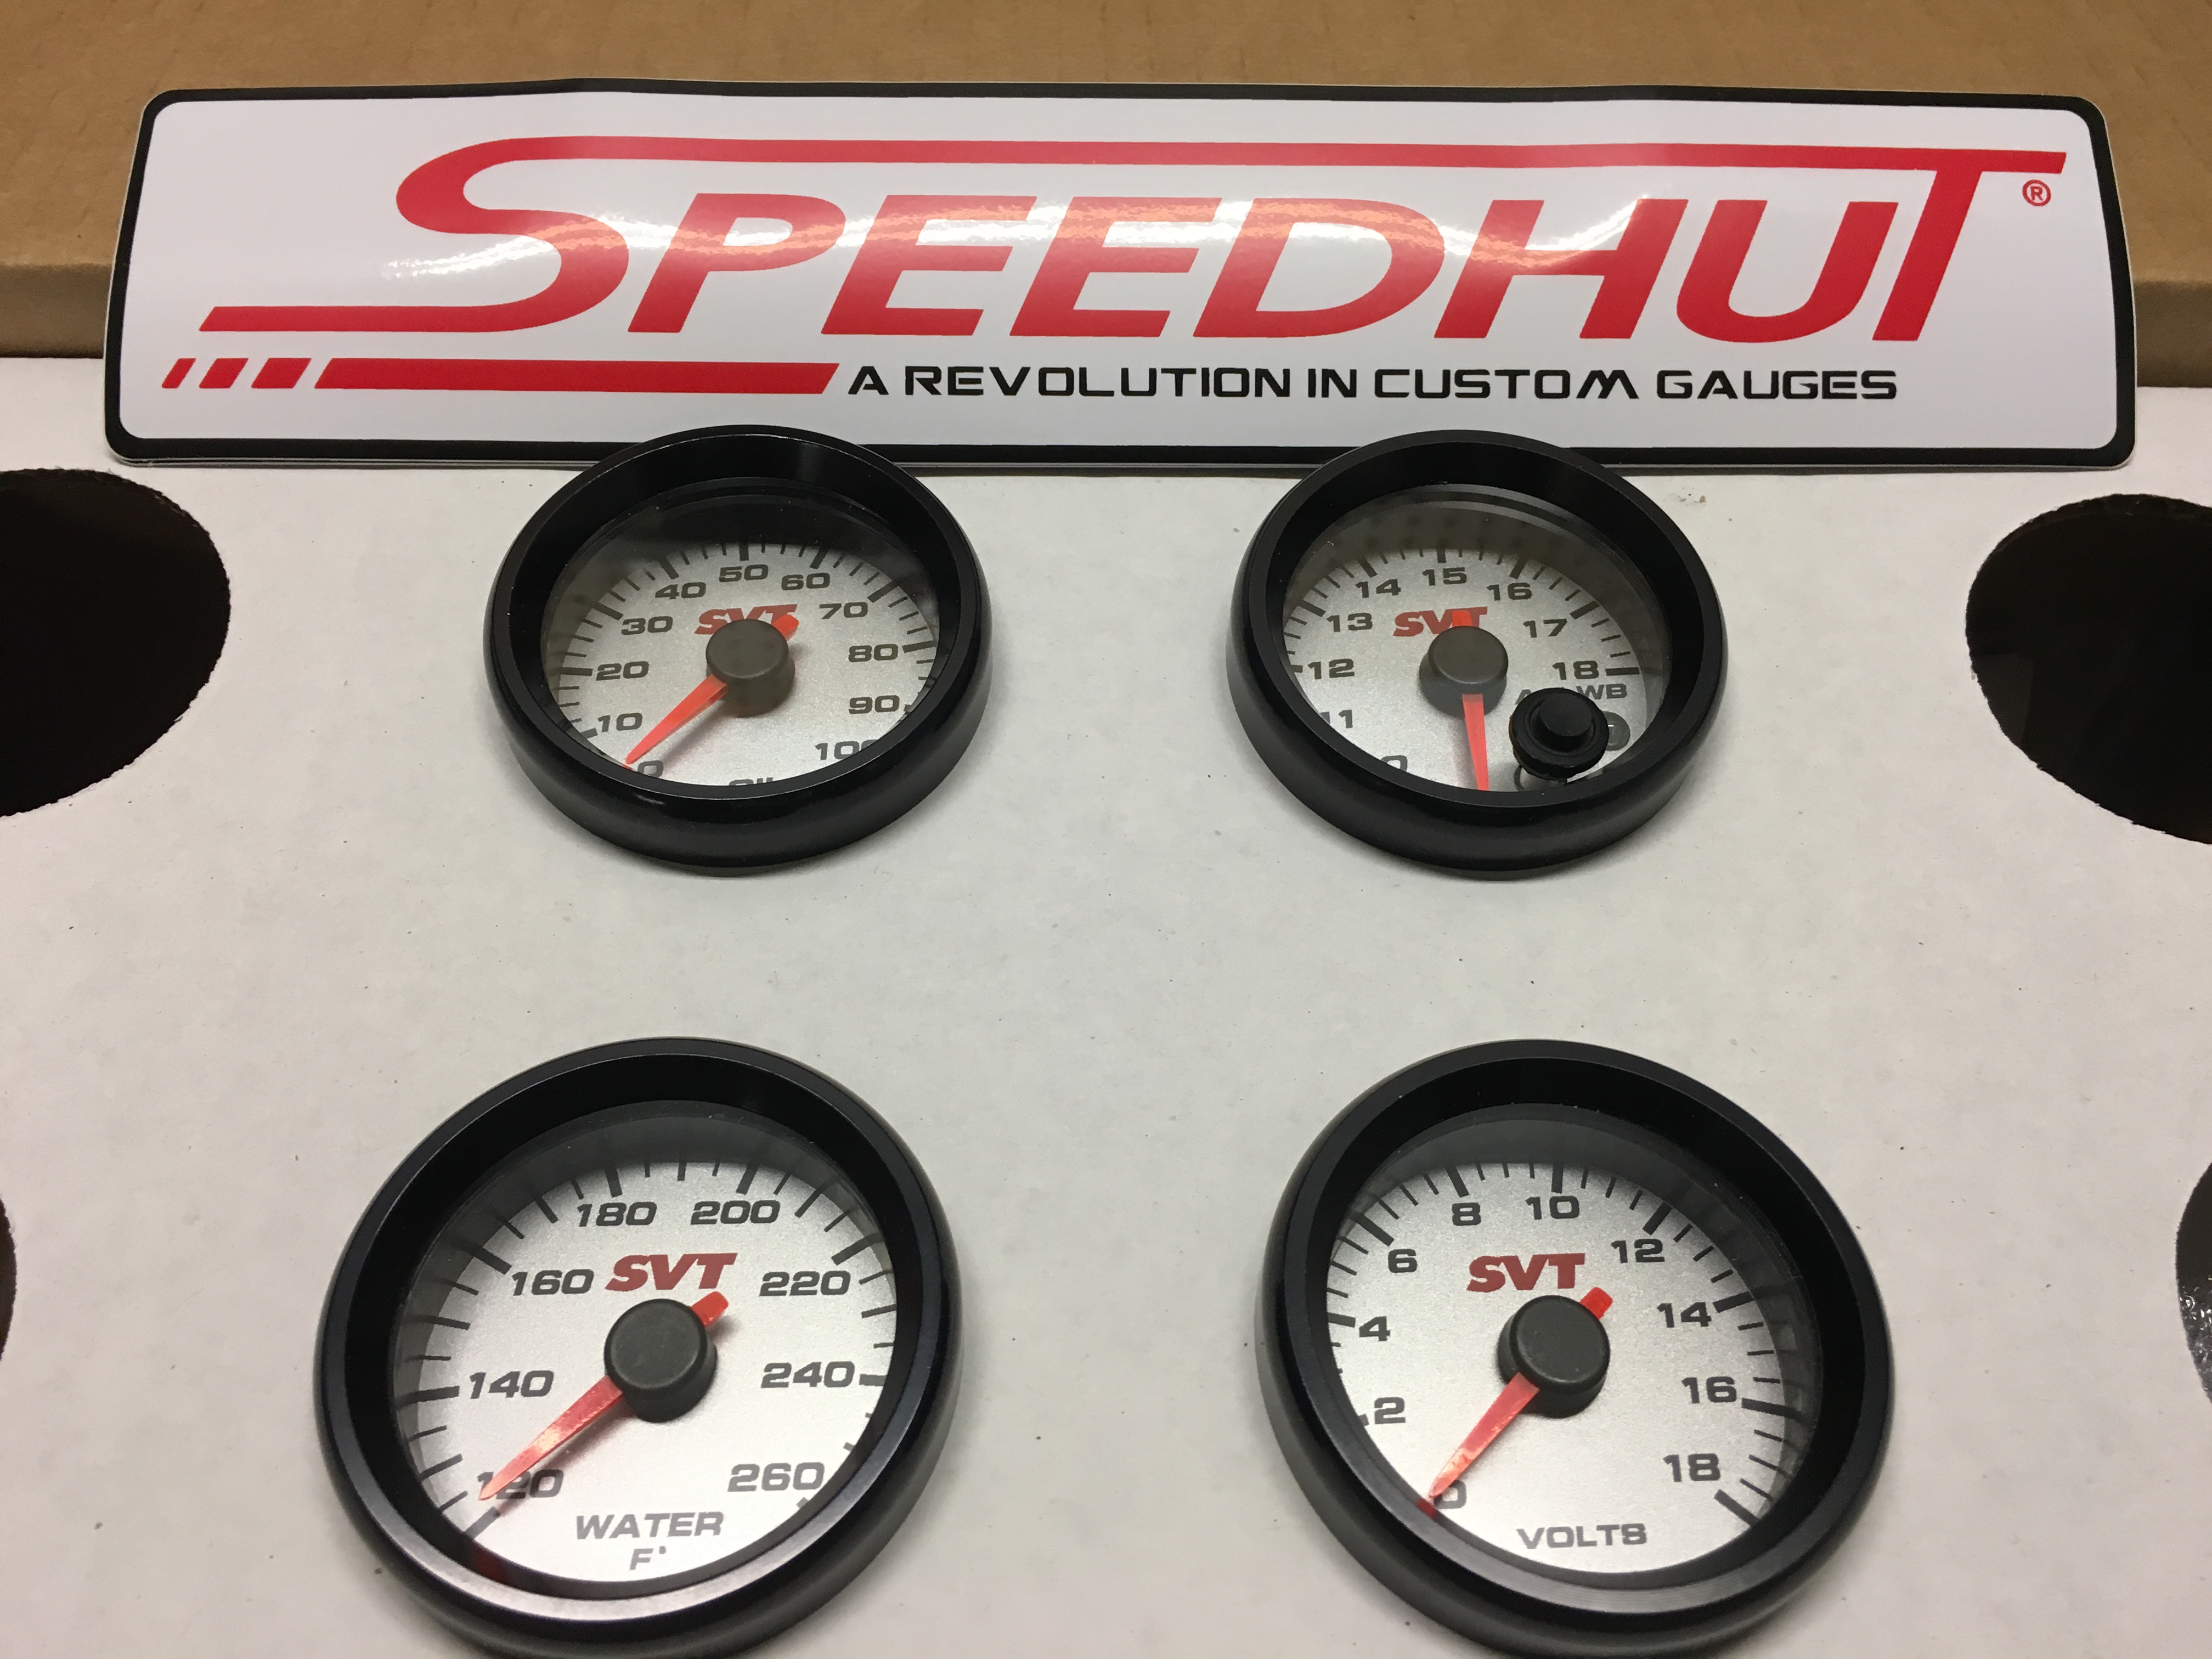
And finally the new Speedhut gauges to match the stock cluster. I went with water temp, oil pressure, volt and wide band afr. The 03/04 cluster doesn't have a volt gauge but instead boost gauge. These are known to crap out alternators so it will be nice to have and I prefer to have accurate readings for water and oil as well. The wideband works with an AEM wb controller which I also picked up. Just have to weld in another bung.
Pictures of the old rubber bushings:
FTBR stuff fresh out of the box:
And finally the new Speedhut gauges to match the stock cluster. I went with water temp, oil pressure, volt and wide band afr. The 03/04 cluster doesn't have a volt gauge but instead boost gauge. These are known to crap out alternators so it will be nice to have and I prefer to have accurate readings for water and oil as well. The wideband works with an AEM wb controller which I also picked up. Just have to weld in another bung.
DKblue98GT
Well-Known Member
- Joined
- Dec 19, 2009
- Messages
- 1,406
- Reaction score
- 333
It's amazing how much work it takes to remove rubber bushings. The IRS should be really nice with the poly ones. I love the gauges, I would totally put those in my car.
cheebs127
Member
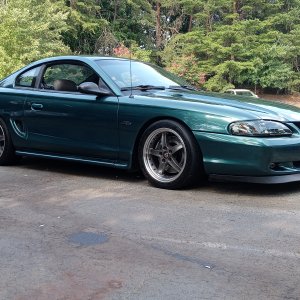
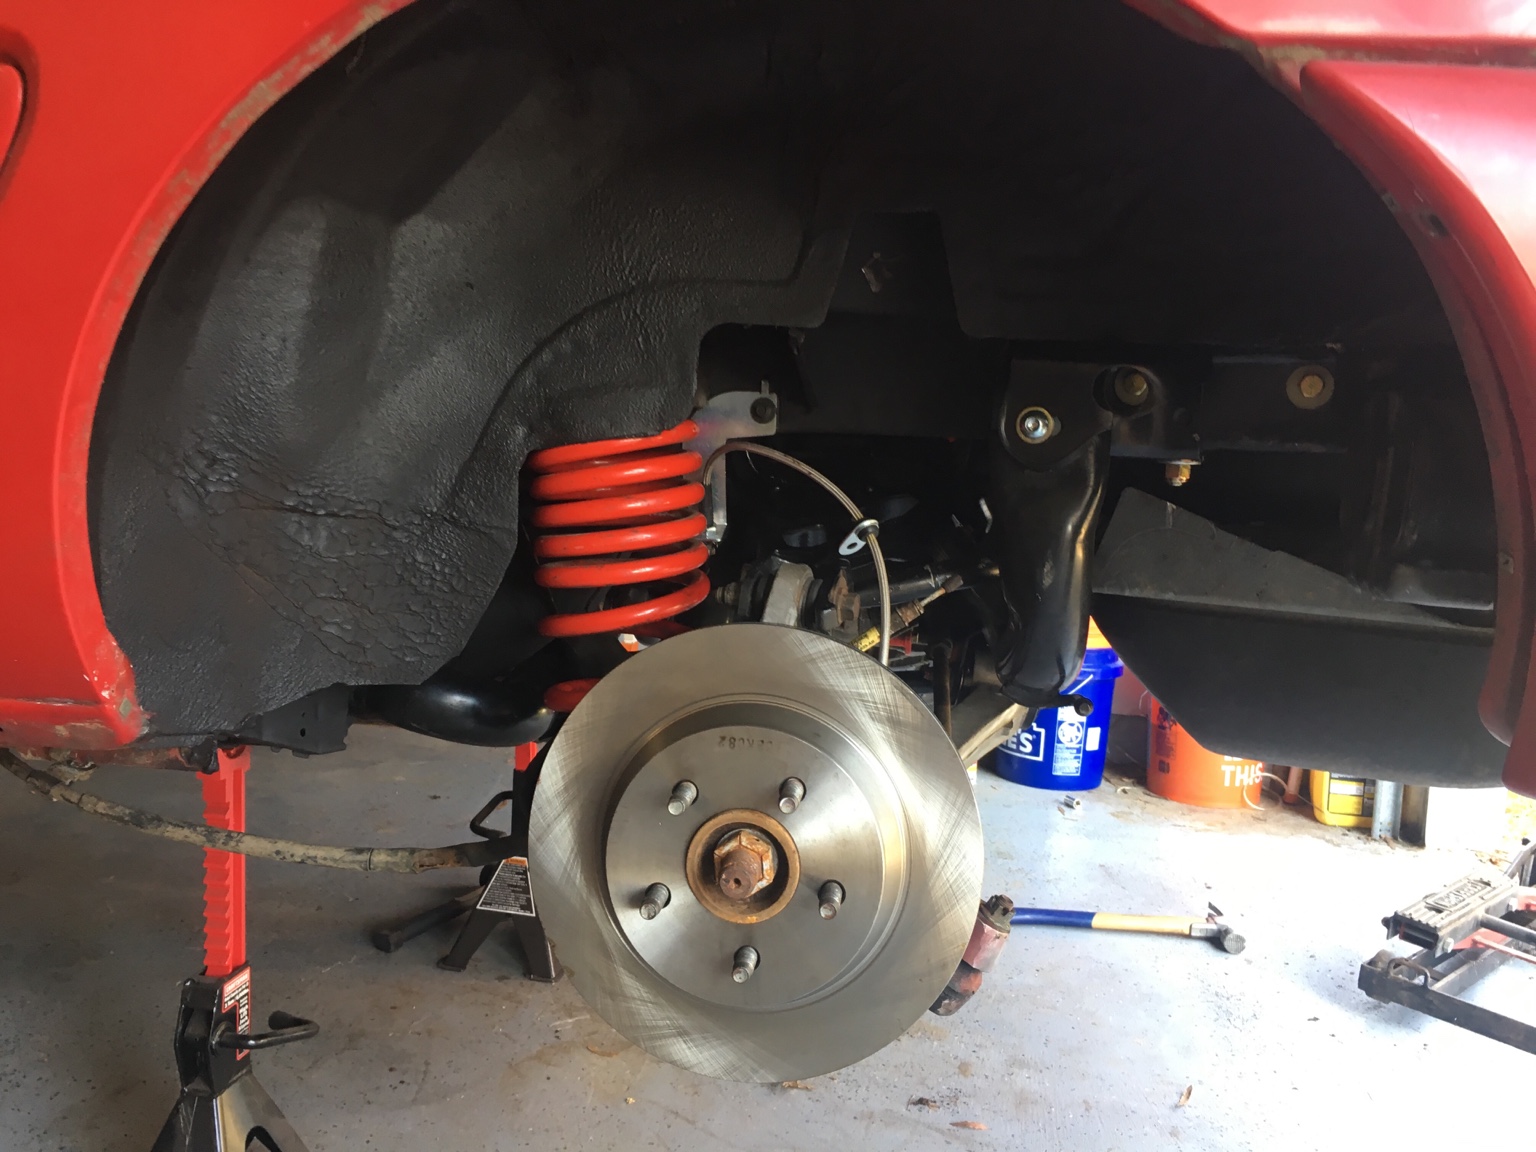
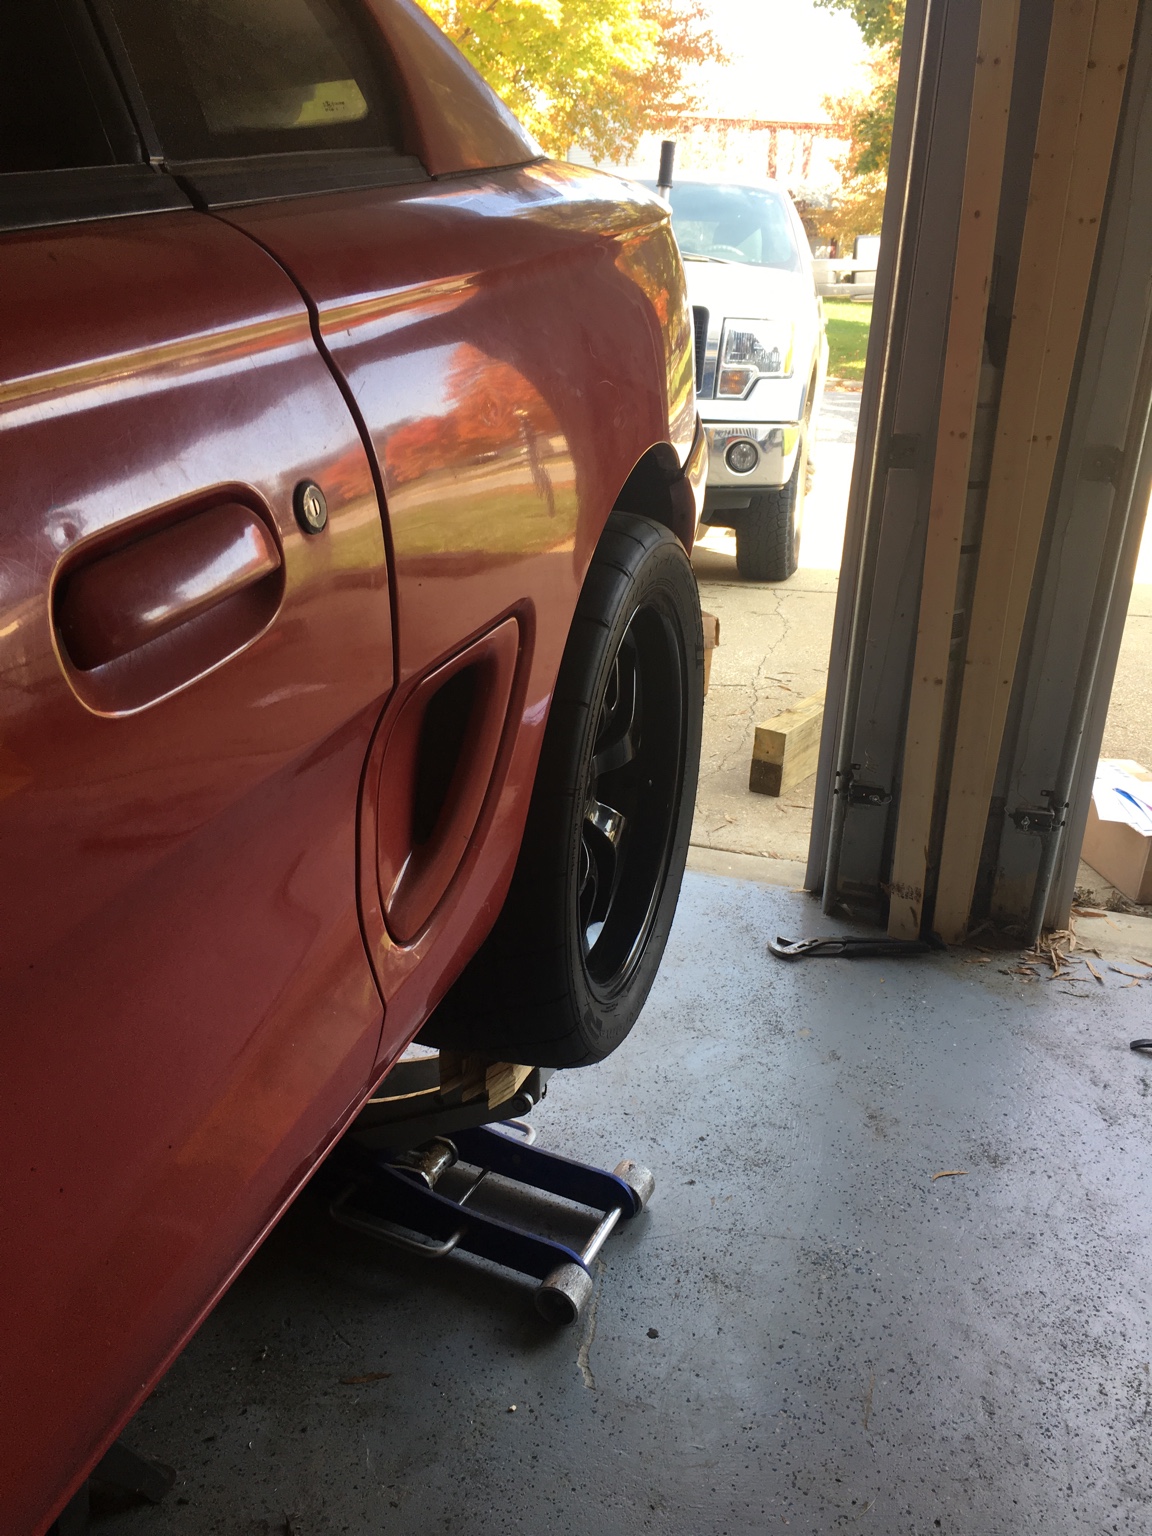
I've had two days in a row to do some work so I got all the bushings installed and the IRS put back together. I had to drill some holes for the additional bolts for the rear mounting brackets and I had to increase the diameter of the lower control arm mounts on the chassis to fit the bolts that came with the FTBR kit. I changed out the diff fluid with some royal purple and then in it went. I used a atv/motorcycle jack to raise it in to place. This thing was a life saver since I was doing it by myself. Between the jack and a large hammer/block of wood the IRS was persuaded into place. I took a couple pictures with my rear wheels on there with the 305/35-18 on them. I think I'm going to like the look and fitment!

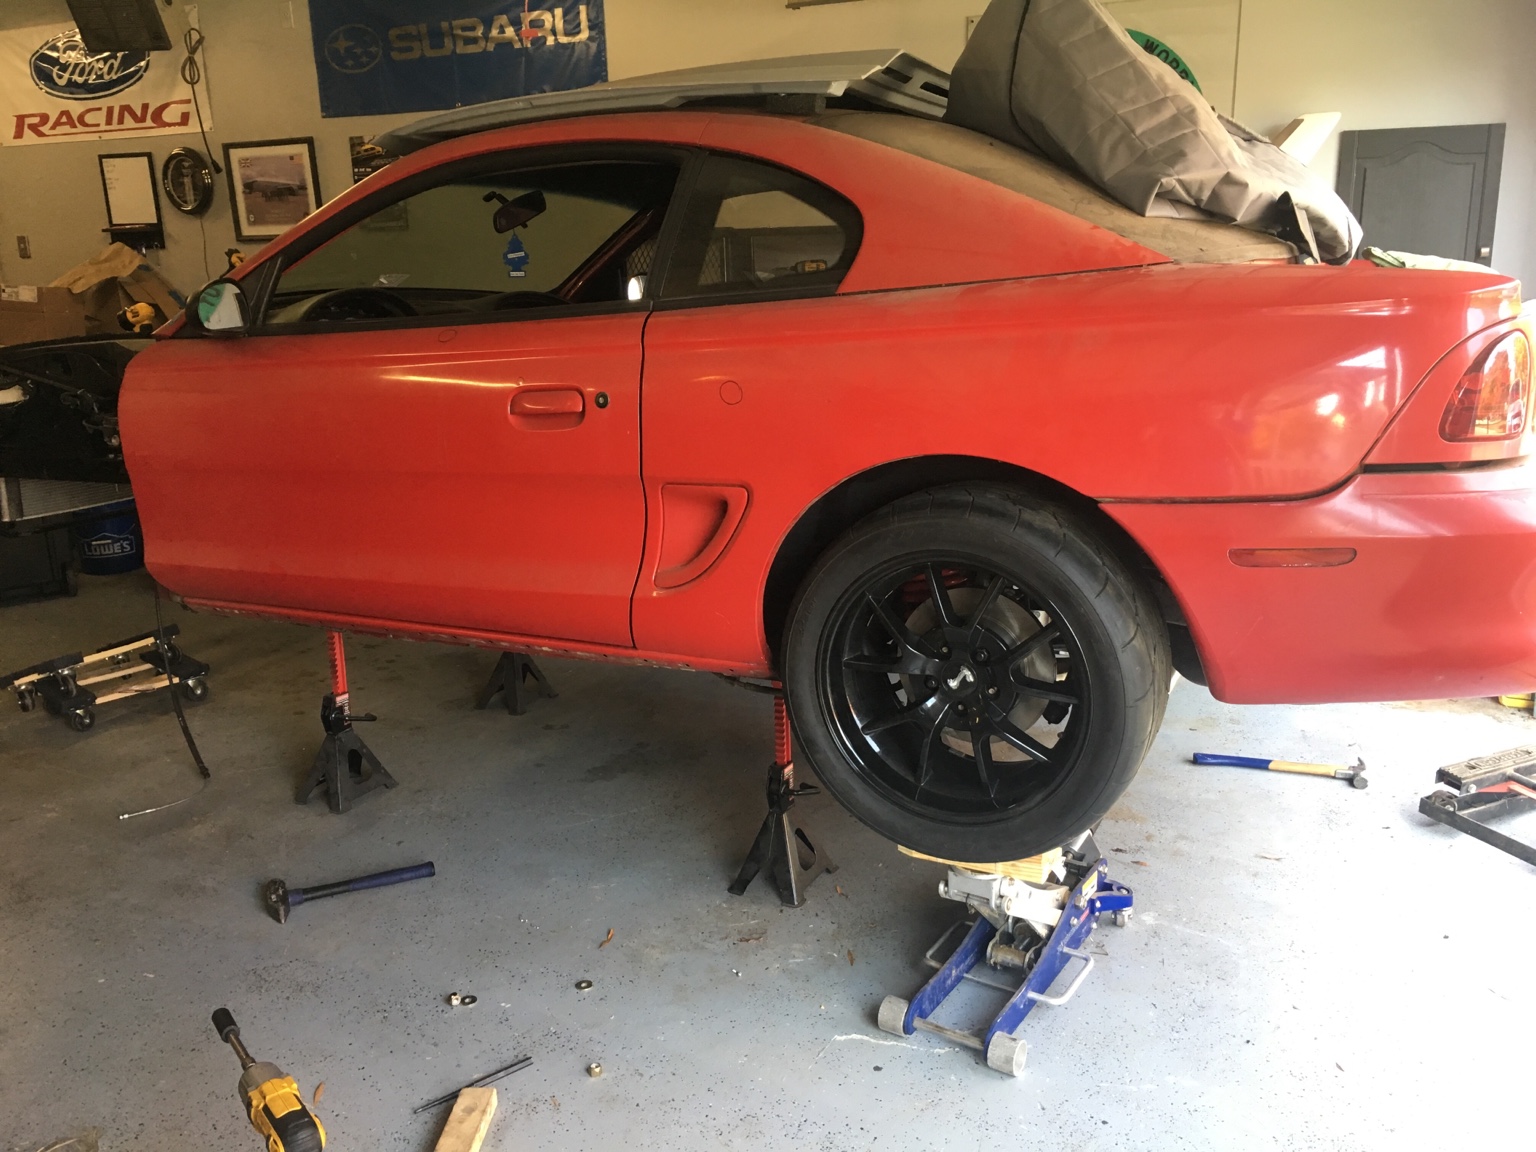
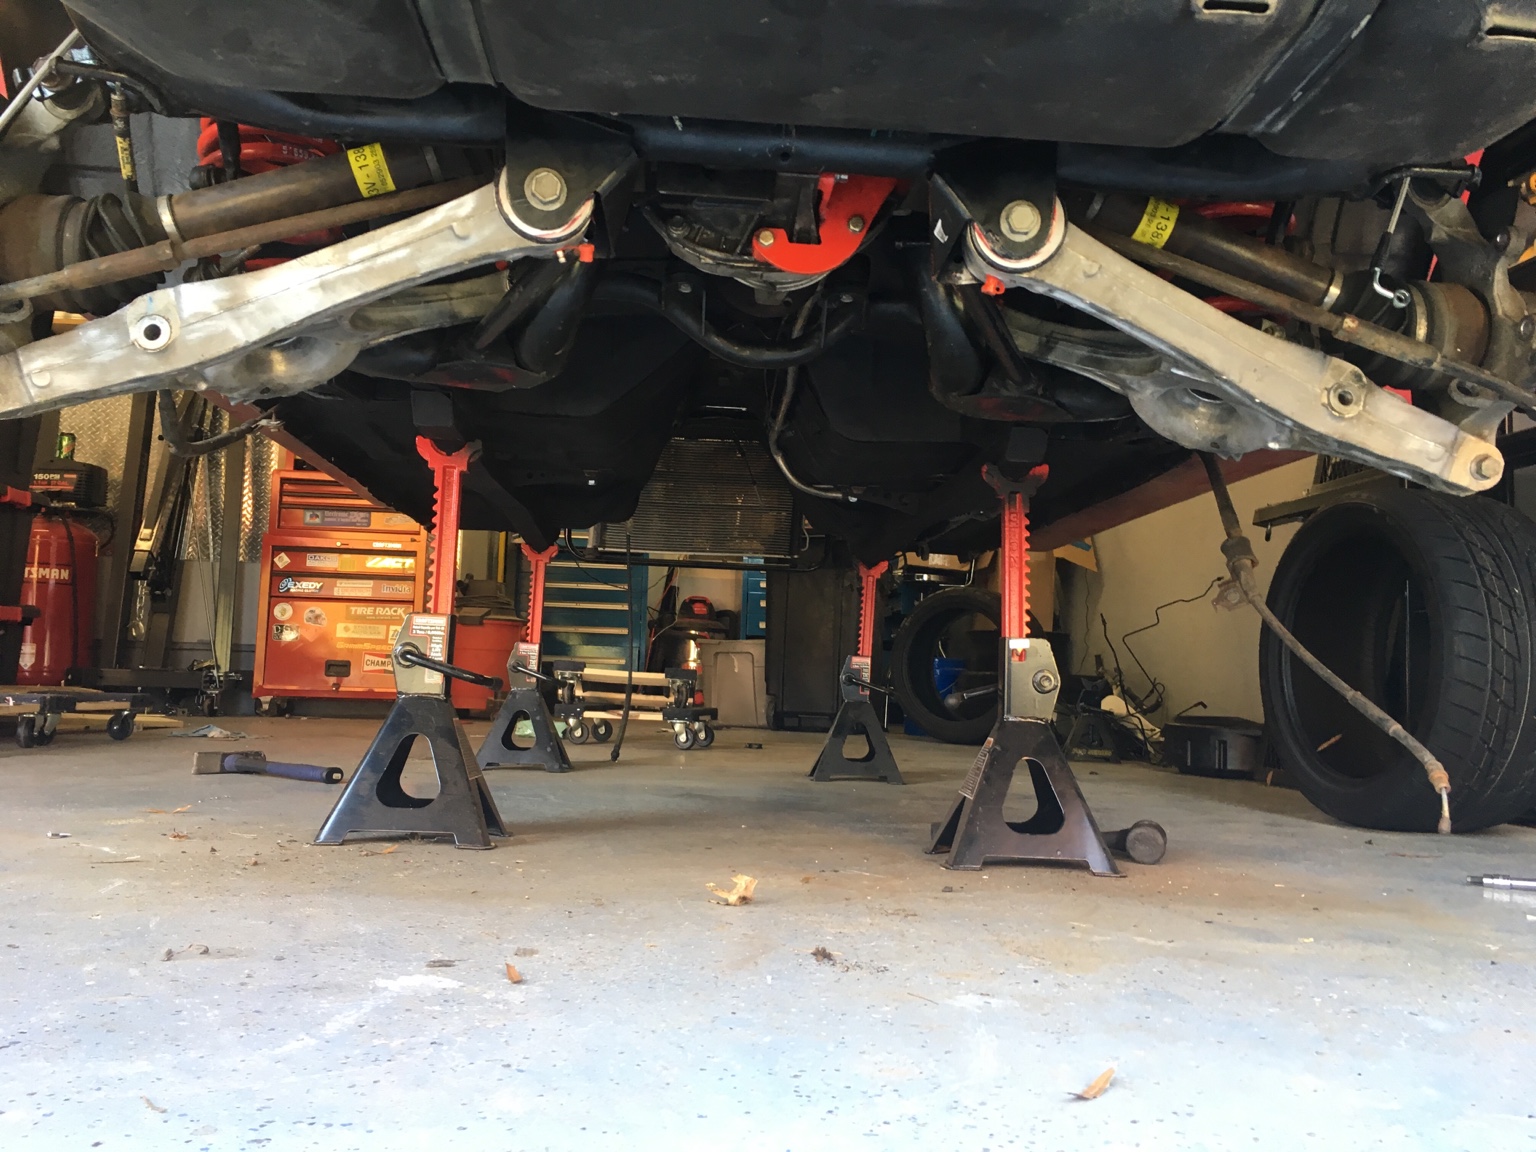
Sent from my iPhone using Tapatalk
Sent from my iPhone using Tapatalk
What did you do for brake lines? Also, how did you drill your holes for the down bolts on the rear brackets?
Good job so far man, this thing is really clean.
Good job so far man, this thing is really clean.
Similar threads
- Replies
- 12
- Views
- 602
- Replies
- 1
- Views
- 590