White95's S197 "GitWikd" build thread

DKblue98GT

Well-Known Member
Joined
Dec 19, 2009
Messages
1,406
Reaction score
333
It's a full time job keeping his SN95 running:


F6DCFC11-437A-4474-9B95-87E2FBA83804_zpshh4iwdlk.jpg


Funny.
 
OP
OP
white95

white95

Apex Junky
Admin
Joined
Dec 30, 2007
Messages
20,613
Reaction score
8,746
Location
Prairieville, LA
35860315512_6b7777531c_z.jpg 35221263673_841d22b8f5_z.jpg 35221261693_4cd2455fb1_z.jpg 35860360952_dfbc373376_z.jpg 35989869286_1cd0d22421_z.jpg 35191922344_5f3ebbbb83_z.jpg 35221456533_41341f7752_z.jpg 35860448632_e8c8a40c62_z.jpg 36031540545_7964b1dd25_z.jpg

day 3 will be spent doing some or all of the following:

1] building fuel lines
2] finishing the heat exchanger plumbing
3] connecting the vacuum lines
4] building the frankentensioner [yes, that is a thing]
5] installing the drive belt
6] connecting the new engine coolant lines
7] wiring gauges
8] installing the wide band
9] modifying the fuel pump assembly for the 405 lph
10] losing my ****ing mind

edit

The fuel fittings I need had to be ordered and won't be here until Thursday. Driving around Baton Rouge in the rain sucks ass but I was able to find suitable brake booster to supercharger vacuum hose that won't collapse. 2000 psi/28inhg capable oil system hose with spirally wound wire lol
 
Last edited:
OP
OP
white95

white95

Apex Junky
Admin
Joined
Dec 30, 2007
Messages
20,613
Reaction score
8,746
Location
Prairieville, LA
Road tuning!

35860474872_ca15e6688d_z.jpg

Shredded the belt!

35860474592_021fe4993a_z.jpg
35860474432_5ccf9271c6_z.jpg

Pulley misalignment due to a machining error by the vendor.

36031530755_c0e9bac440_z.jpg 35642046250_f868cf0610_z.jpg 35990043756_7f7540eea6_z.jpg 35990043456_a50839db58_z.jpg 36031582895_d52db16bd3_z.jpg 35897830151_b5bd1af05c_z.jpg
New pulley properly installed.
36031582555_b3b2ab0247_z.jpg
 
Last edited:
OP
OP
white95

white95

Apex Junky
Admin
Joined
Dec 30, 2007
Messages
20,613
Reaction score
8,746
Location
Prairieville, LA
It was a great view but she eventually opted to remove the triple gauge setup so she could see the road better.

35221456533_41341f7752_z.jpg 35860502792_c27708161d_z.jpg
 
Last edited:
Joined
Sep 8, 2013
Messages
3,620
Reaction score
957
Location
Pleasanton/Hayward, CA
day 3 will be spent doing some or all of the following:

1] building fuel lines
2] finishing the heat exchanger plumbing
3] connecting the vacuum lines
4] building the frankentensioner [yes, that is a thing]
5] installing the drive belt
6] connecting the new engine coolant lines
7] wiring gauges
8] installing the wide band
9] modifying the fuel pump assembly for the 405 lph
10] losing my ****ing mind

edit

The fuel fittings I need had to be ordered and won't be here until Thursday. Driving around Baton Rouge in the rain sucks ass but I was able to find suitable brake booster to supercharger vacuum hose that won't collapse. 2000 psi/28inhg capable oil system hose with spirally wound wire lol

Im especially fond of number 10
 
OP
OP
white95

white95

Apex Junky
Admin
Joined
Dec 30, 2007
Messages
20,613
Reaction score
8,746
Location
Prairieville, LA
**blows the dust off of this thread**

Looks like a new alternator is in order. Took the opportunity to upgrade a little and order a powder coated Denso alternator. It comes already modified to clear the hood and also has an updated rear bracket that works with aftermarket fuel rails. Yeah, like i needed an excuse to modify something else.

6A26DEAB-9AA7-4C16-849B-E8B9C8E17BB0.jpeg

How about a couple of quick videos for fun?

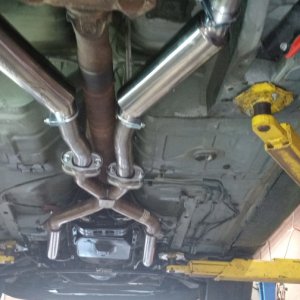
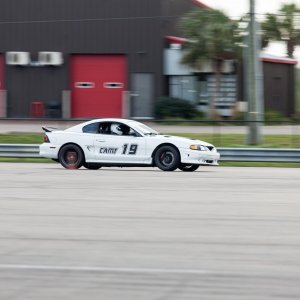
Gettin’ down! by oldawgnewtrikz, on Flickr

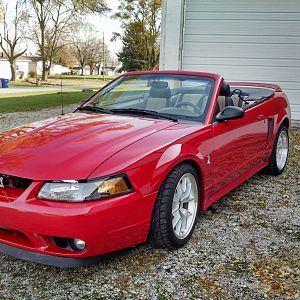
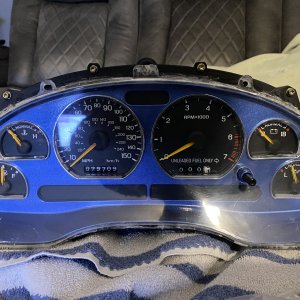
IMG_3375 by oldawgnewtrikz, on Flickr

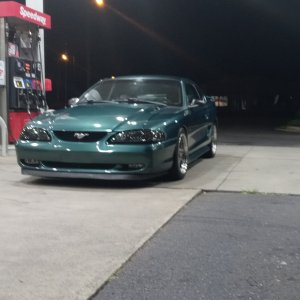
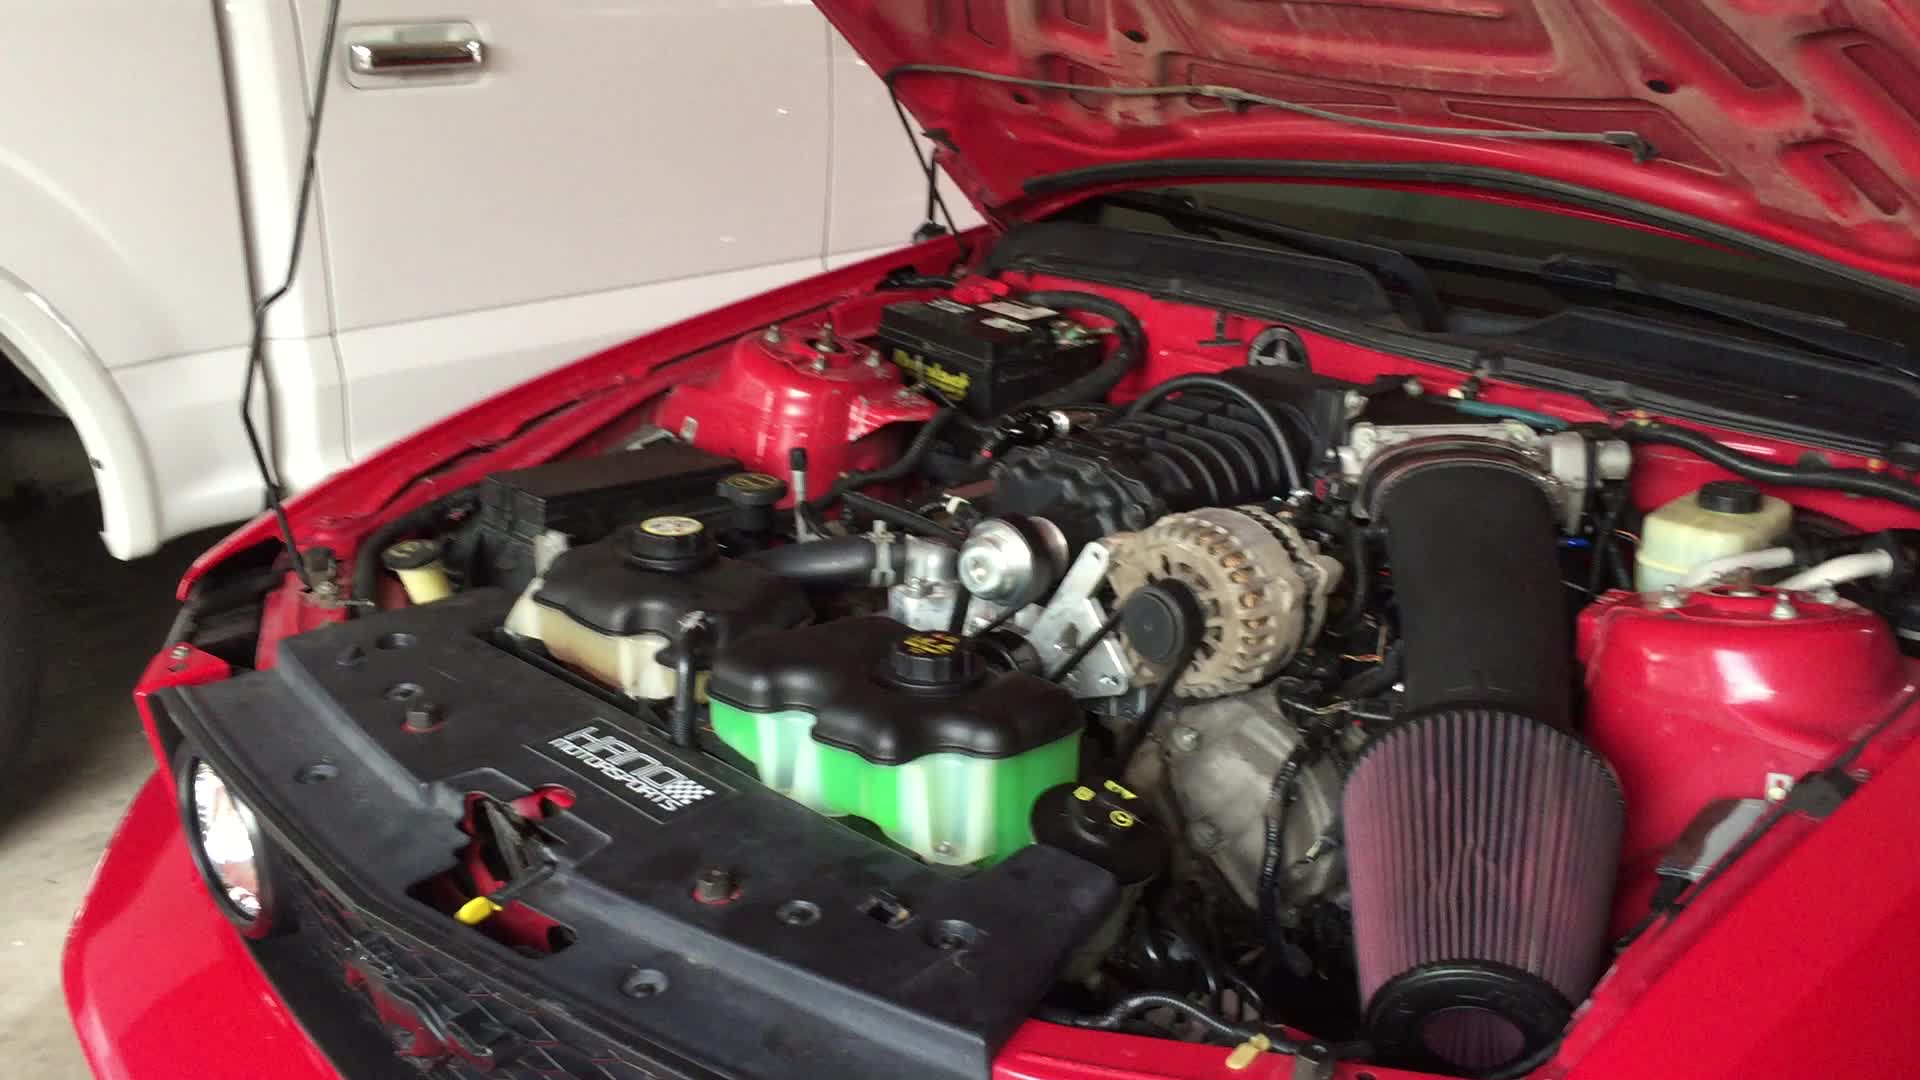
IMG_0090 by oldawgnewtrikz, on Flickr
 
OP
OP
white95

white95

Apex Junky
Admin
Joined
Dec 30, 2007
Messages
20,613
Reaction score
8,746
Location
Prairieville, LA
95598900-922E-43DB-94A5-097B86051F61.jpeg 71E05E2A-6973-44B8-9404-88DF628F887C.jpeg

I didn’t take any pictures of the R&R process but it went like this:

1) Remove belt

2) Remove center idler

3) Realize you don’t have a 5mm
Allen socket so you have to run to Vatozone

F88657AE-3081-4D29-9FD4-4B219B573288.jpeg

4) Remove alternator/idler bracket

5) Remove the old alternator and install the new one

6) Reverse process

9DA13C3C-4086-4C81-A4D0-0777E4519080.jpeg

7) Suspect a belt/pulley misalignment

8) Freak out

9) Put it together anyway

10) Realize the belt alignment is perfect

11) Realize the stud is larger and drill out the lug.

12) Finish, start it up and then realize it’s about to run the fuck out of gas

Fin

64F85583-3C0D-4979-B0FB-E68B7530BBDD.jpeg
 

Latest posts

Forum statistics

Threads
77,497
Messages
1,503,781
Members
14,966
Latest member
jdude138

Members online

Top