Just like the 2v's and 4v's
You dont hear about npi sparkplug blow out! But....yea you're right. Dang sparkplugs!
Just like the 2v's and 4v's


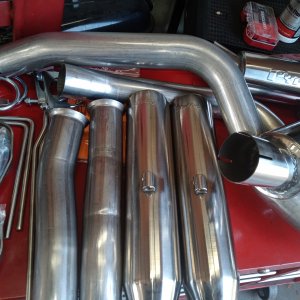
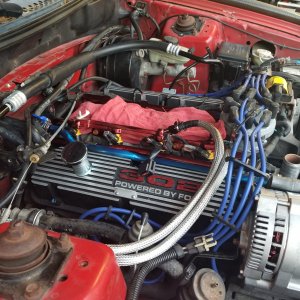
Thank you all for your advice, I think I am going to stop here on the heads. I start to obsess about doing more and polishing forever, I could go on and on but I'm not sure I would gain anything. Time to move on to taking apart the 3v. Today I put the valves in with a new set of stock springs I found cheap on MMR. The cam is only .525 lift so they will be fine, I reused the spring keepers and valve locks. The new style valve stem seals made out of Viton look much better than the original ones. Here are some pics of the polished valves and the intake ports that I left roughed out by 40 grit sanding roll.