ttocs
Post Whore
your neighbors only thought they hated you till you pull out the media blasting stuff. ")
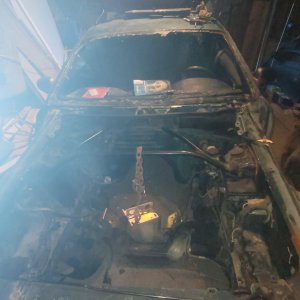
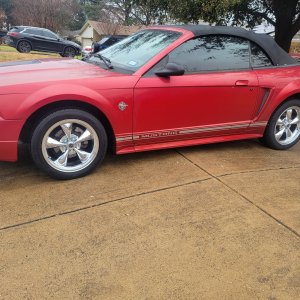
Full patina...
Sent from my SM-G955U using Tapatalk
your neighbors only thought they hated you till you pull out the media blasting stuff.
They call them ratrods hahahaFancy term for shitbox
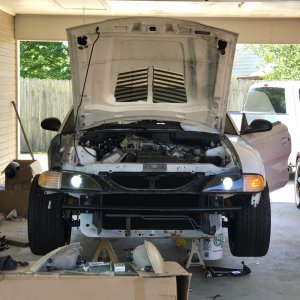
Dude, nice save! Could've been even worse.Instead of sulking and having a bad evening I just dug into it. At first, I didn’t see the issue because I was looking for signs of obvious wear.
Quickly found these loose cam phaser bolts and fixed it. Had to step out for a stupid shallow, 12 pt, 10mm socket so this repair cost me $4.75.
View attachment 6771
View attachment 6777
View attachment 6772
I think the next turn would’ve spelled disaster. Talk about a close shave with tragedy.
View attachment 6776
View attachment 6773
View attachment 6774
View attachment 6775
Did jacking up the front of the car work on helping remedy the air bubble?
Did you maintain the heater core?
Dude, nice save! Could've been even worse.
Did jacking up the front of the car work on helping remedy the air bubble?
This meant I needed to start over. The next round I made sure to keep a constant level in the funnel and repeated the steps listed above. Now when you open the air bleed only water escapes. My plan is to repeat this a few more times before I move onto bleeding the brakes, again. and I didn't feel like dragging the Nikon out.


I thought about connecting the dash to the signals and high beams but once I got the dash set up that I liked there was just not much space for much else. I also thought that the brake system would have a fault if there was no parking break light but I might be wrong there.
hey man not sure if this helps but check out this website for silicone parts and pieces.
http://www.siliconeintakes.com/
Revised list of tasks needing completion in order to drive the car around the block:
- Wire PWM to fan controller
- Finalize throttle cable
- Cold air intake
- Firewall adjuster/adjust clutch
- Belts/hoses/tensioners + bolt
- Coolant
- Install MM steering shaft
- Change rear end fluid
- Square K
- Front brakes
- Brake fluid + bleed
- Wheels/tires