How to make an Explorer intake presentable

Status
Not open for further replies.

white95

Apex Junky
Admin
Joined
Dec 30, 2007
Messages
20,631
Reaction score
8,817
Location
Prairieville, LA
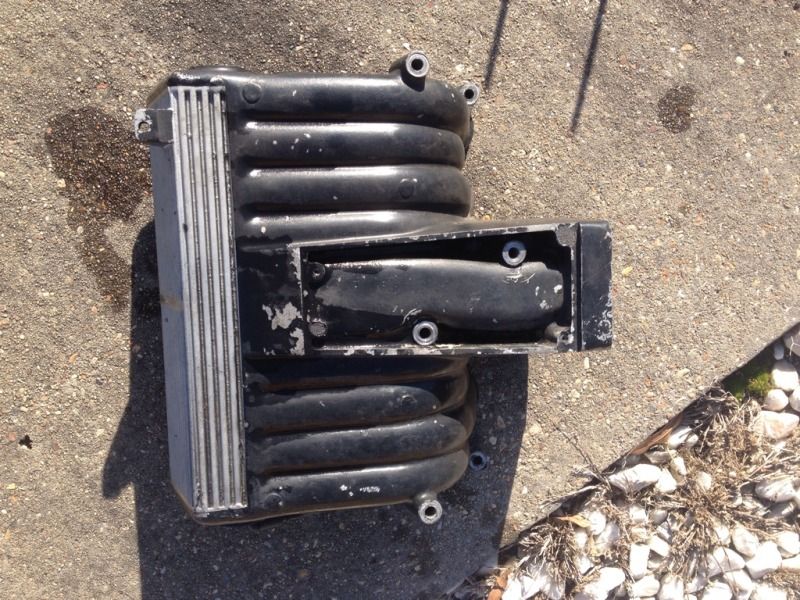
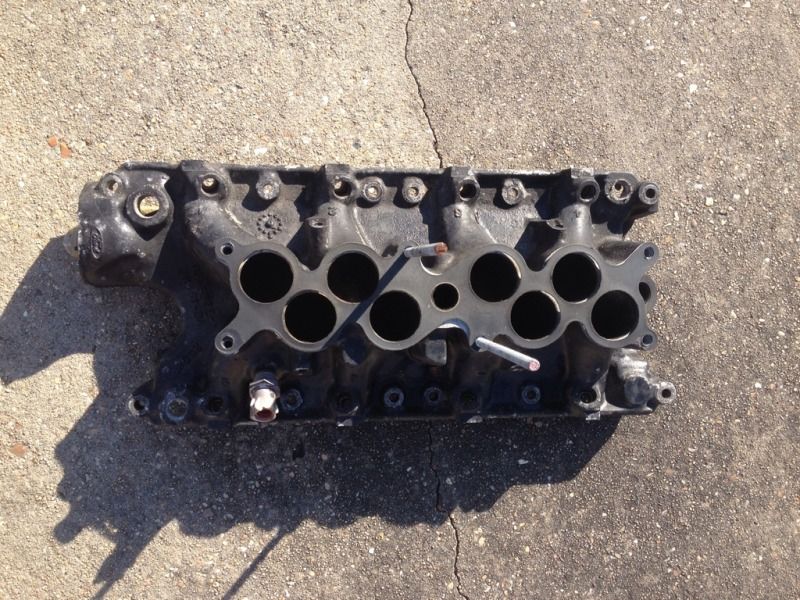
Well, I have this Explorer intake laying around and I've decided to make it look better. Ive noticed a few of our members are doing an Explorer swap and decided a nice write-up was in order.

The victim:

E1E99B59-66FB-423A-9B5F-6331D11CE954-595-0000008CF1B2AAFA_zps13a7e0df.jpg


D635B5EB-E757-44EE-9967-2F062A572513-595-0000008CFEC13EAD_zps2f4cb454.jpg


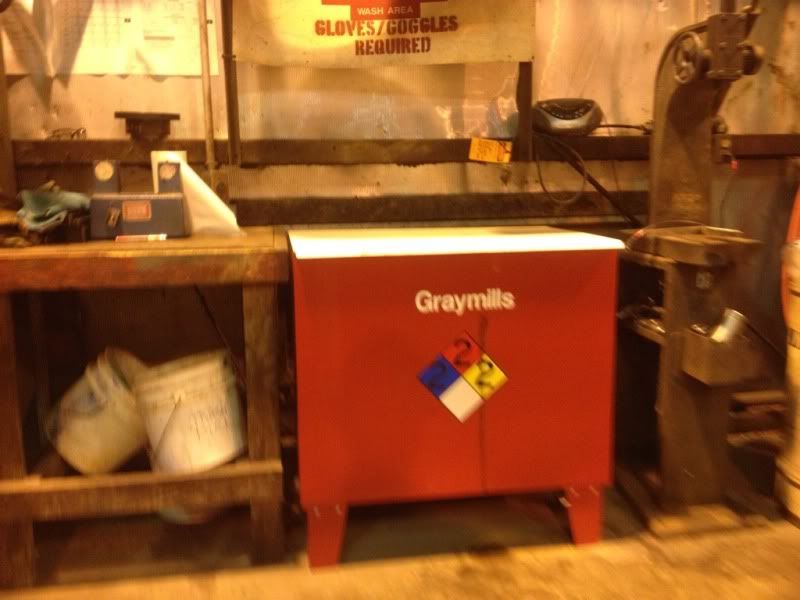
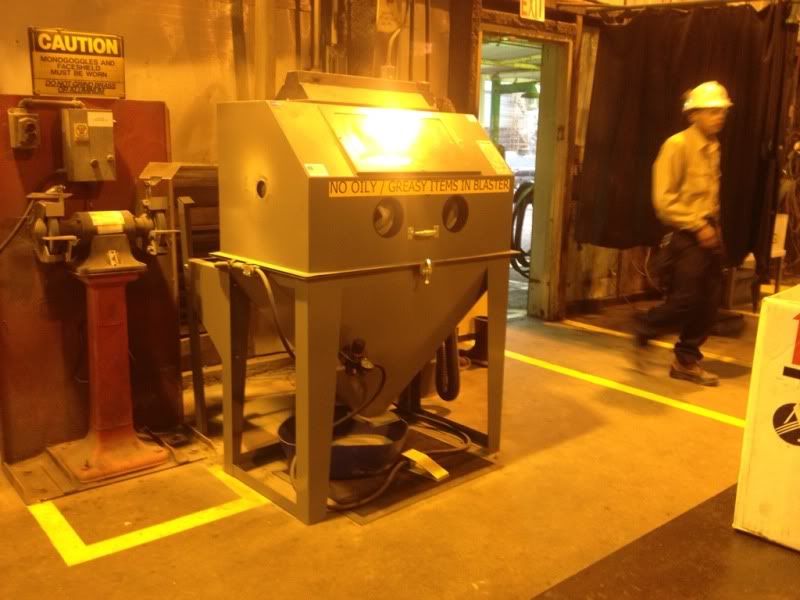
This process will take sometime, as I'll do most of this during my breaks at work. That way I have access to a parts washer, sandblast cabinet, air grinders, the central machine shop (complete with friends to make me stuff) and all kinds of sweet tools.

Phase 1 Scope:

To remove unnecessary vacuum ports, drill/tap/plug leftover holes, strip old powder coating and remove throttle cable boss

696DCE32-8389-42A0-B5B6-3F6BE0D06400-3248-000003167425511A_zpsd780bfb3.jpg


FDD2B4C6-B131-4490-9951-2289A17B7E27-3248-000003165DC55485_zpse2544ba0.jpg


ADE31EF0-9069-4397-A1EC-D4111756CC40-3248-0000031657E059C6_zpsba610908.jpg


942166C2-81B6-41B3-B03B-B64B481D3FA4-3248-0000031652B827F5_zps7c29ba3c.jpg
 
OP
OP
white95

white95

Apex Junky
Admin
Joined
Dec 30, 2007
Messages
20,631
Reaction score
8,817
Location
Prairieville, LA
First step will be a good soaking in the parts wash cabinet:

895007C5-51CB-4BA6-B932-C093CD0B4F65-2720-000002C8ADEB314A_zpsf96037ce.jpg


79CFB317-173E-4294-820E-6E40A940EC48-3248-0000031683947DC5_zps8934f774.jpg


5B3F3FF3-491F-4C12-A875-84E8262E2D55-3248-00000316792AB270_zps12d0ca11.jpg


The second step is removing the old powder coat in the media blasting cabinet:

82B807CD-AC1C-4CBE-85D2-25DD9BAB78E0-2720-000002C8A4EE6C18_zpsf48817ab.jpg

[FONT=.HelveticaNeueUI]
[/FONT]
2830952E-2929-4D34-9754-9DFB4069F4DD-4758-00000435E7ADD884_zps17edda90.jpg
[FONT=.HelveticaNeueUI]
[/FONT]
AA5C85F7-12A4-46B3-8607-A3AC196F7B33-4758-00000435E3321FBD_zpsa8c86467.jpg


F7EA6649-8FB0-47DA-A5F4-7FF14A196A32-5091-0000046D966FCA58_zpsf65b0ddd.jpg

63C1ED4F-BBBD-46D7-9116-21CD28EC3C11-7176-000005F24CE73EE5_zps7cc69bcb.jpg
 
OP
OP
white95

white95

Apex Junky
Admin
Joined
Dec 30, 2007
Messages
20,631
Reaction score
8,817
Location
Prairieville, LA
Today, I cut that useless bracket off and begun the smoothing process. I used a sawzall on the bracket and for the smoothing, im using this:

E7169992-9D5D-448C-844E-6DAA3DA0709A-11089-00000CF3ECAC3CA8_zps412faa9f.jpg
 
OP
OP
white95

white95

Apex Junky
Admin
Joined
Dec 30, 2007
Messages
20,631
Reaction score
8,817
Location
Prairieville, LA
Made short work of the "raised circular things":

DBA8F9D3-150E-4193-982D-68A4FF966AB4-11054-00000CF15DD94616_zps5cf63f13.jpg


I removed the casting seam from one end as well:

716110F5-2A52-48C4-B6D2-C482B478F315-11054-00000CF15A4650EB_zps96253858.jpg


I will revisit this later to completely smooth it out.

AE787BAF-B485-4108-B4DF-5F863EEAC236-11054-00000CF13BFAFE30_zps211fda3f.jpg


This will take a lot of time but eventually, you'll never know it was there:

85E9F078-3063-4ED1-9683-A9DBF7948DF3-11033-00000CF09EAA9B32_zps88372627.jpg
 
OP
OP
white95

white95

Apex Junky
Admin
Joined
Dec 30, 2007
Messages
20,631
Reaction score
8,817
Location
Prairieville, LA
I have been super busy at work with no spare time to finish this, I promise more progress very soon!
 
OP
OP
white95

white95

Apex Junky
Admin
Joined
Dec 30, 2007
Messages
20,631
Reaction score
8,817
Location
Prairieville, LA
If I can squeeze some time in at work, I'll finish the few things I started. I'm on day 55 straight at work and have been exhausted lately. You should see my yard, it's atrocious.
 
Status
Not open for further replies.
Top