wldtang
Member
I thought I would create this thread so people don't have to thumb through my other post. Maybe this will become a sticky. Enjoy reading.
I don't know of another conversion such as this. Many similar but not exactly like this.
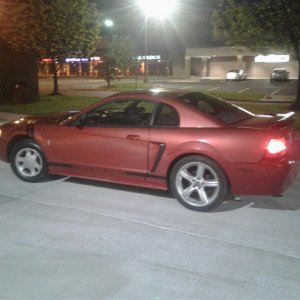
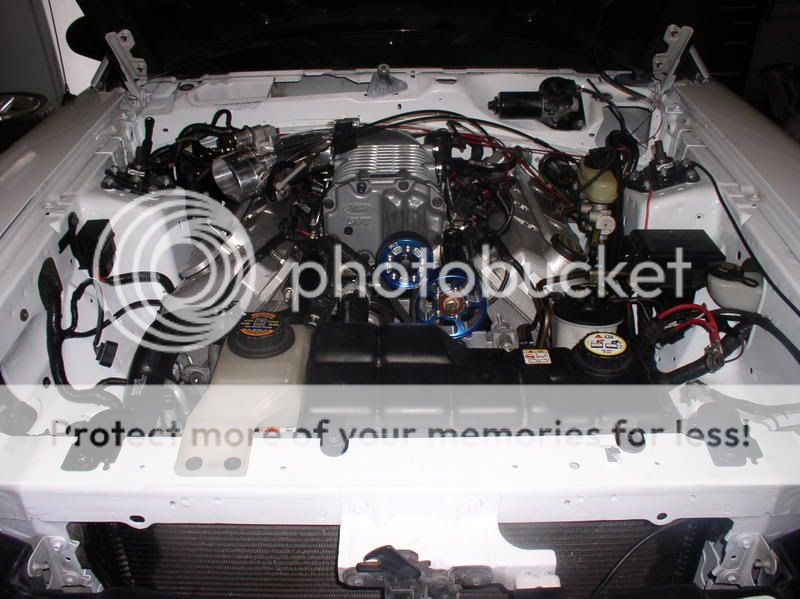
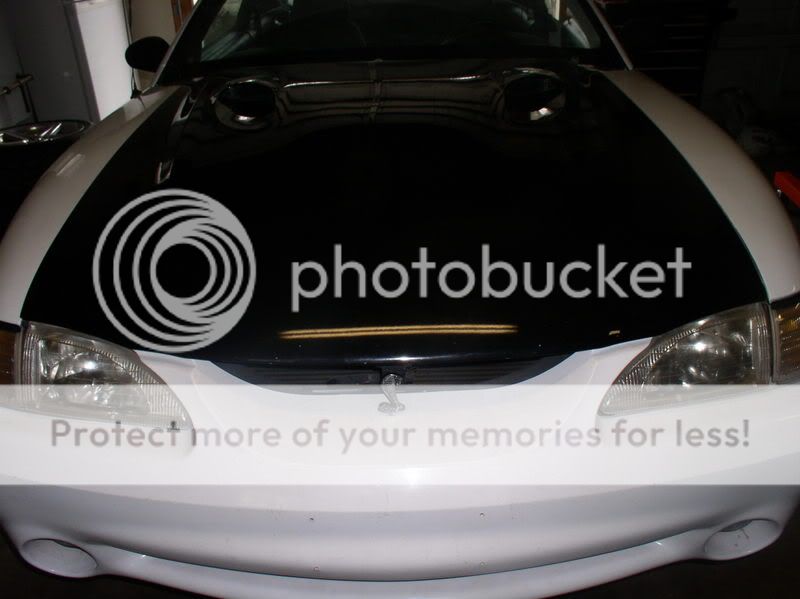
My 94 cobra has went through many changes over the past couple of years. I have finally settled on one setup. At least for now.
This is a major conversion.
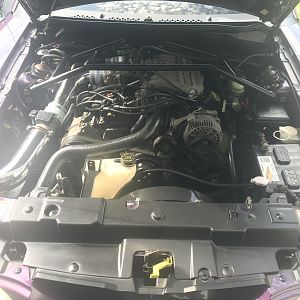
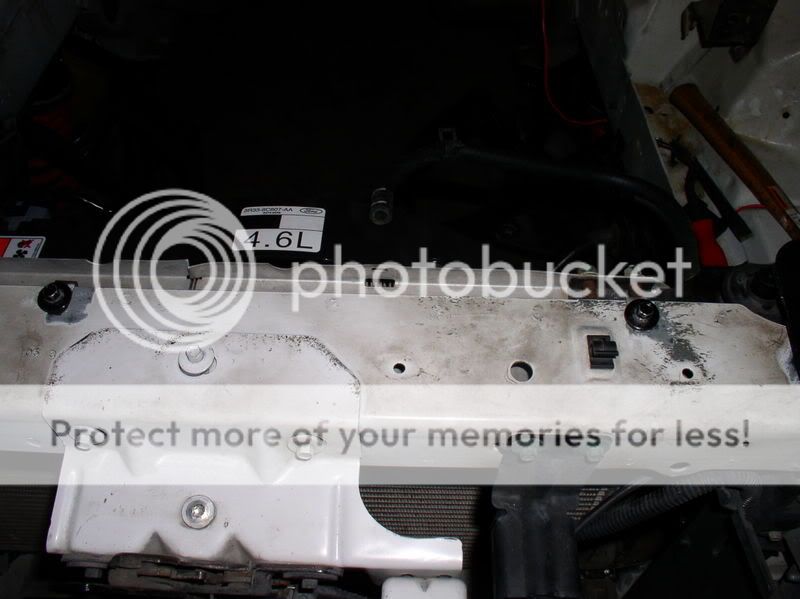
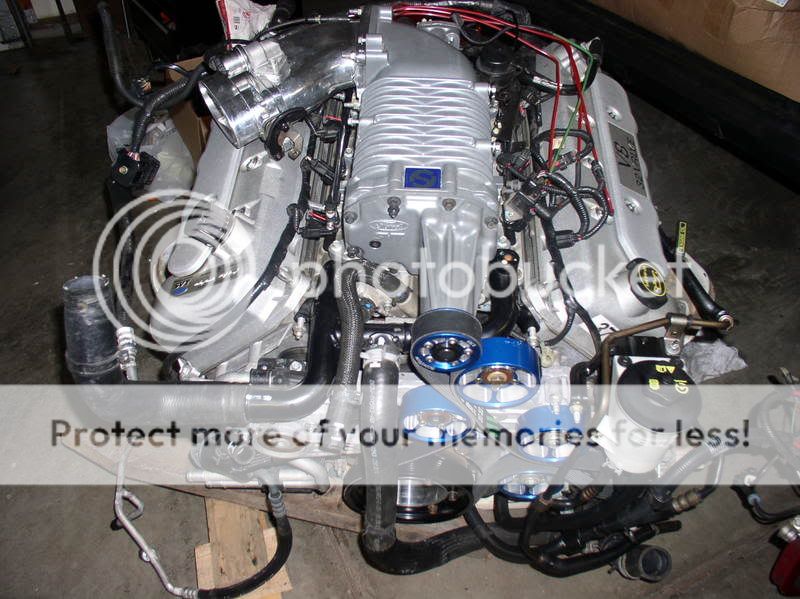
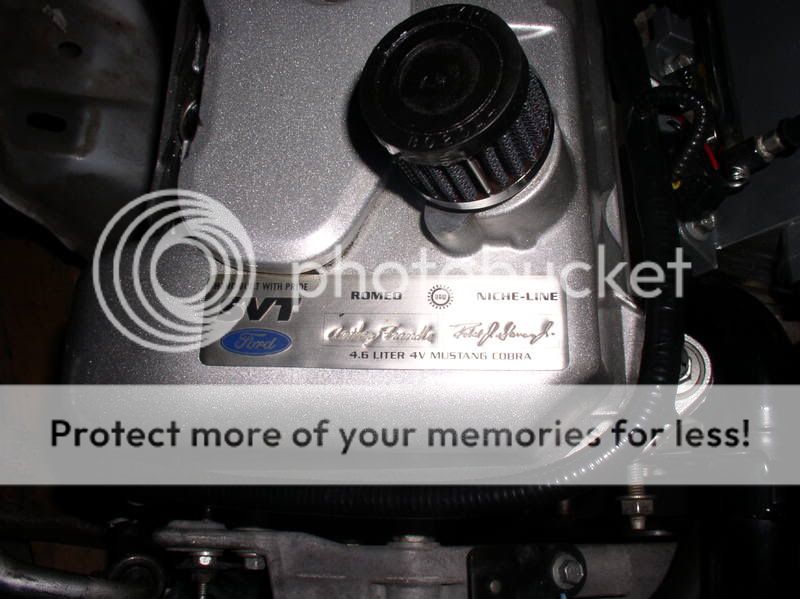
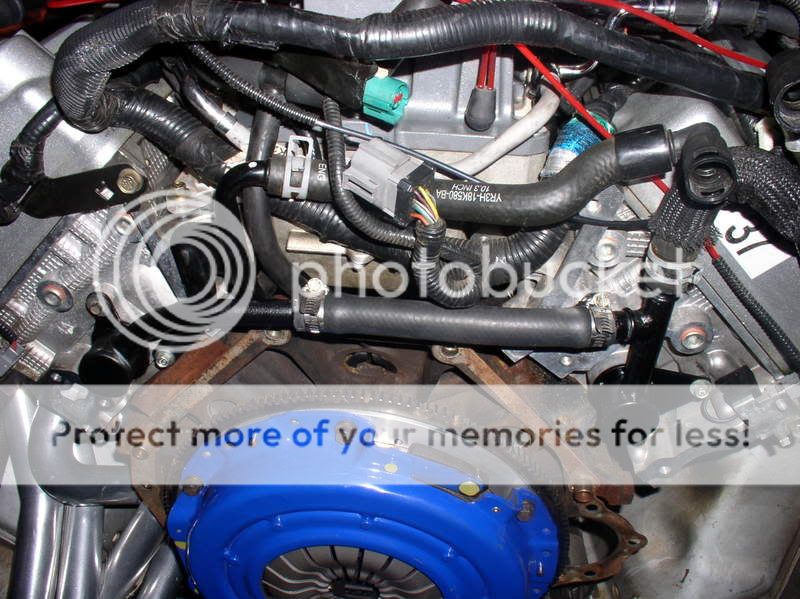
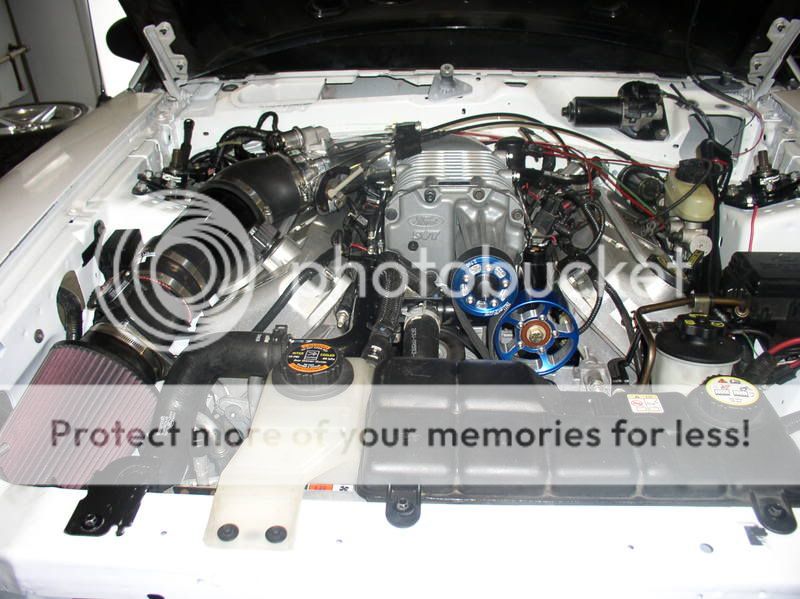
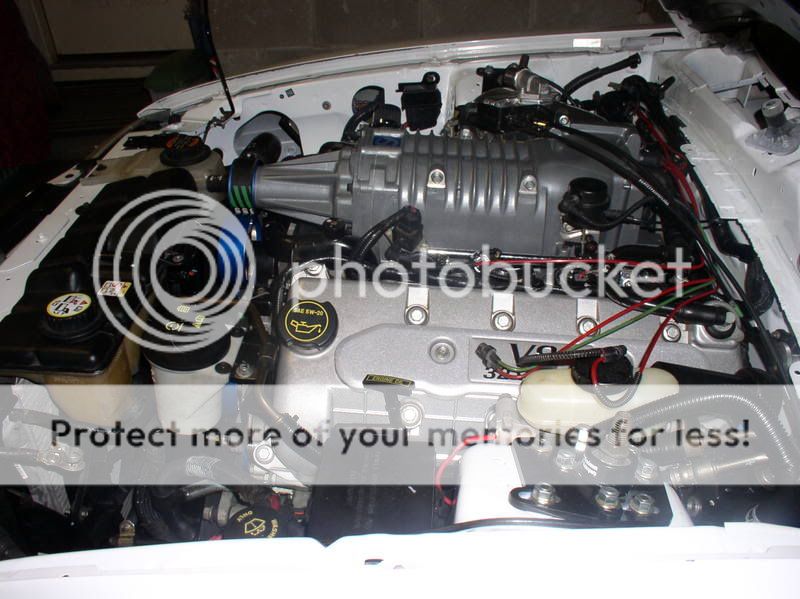
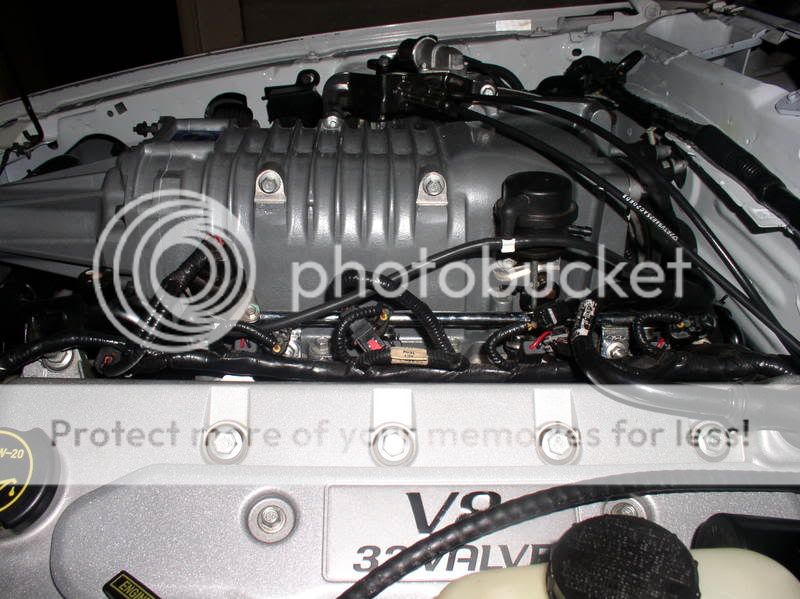
04 cobra Motor
T56 trans
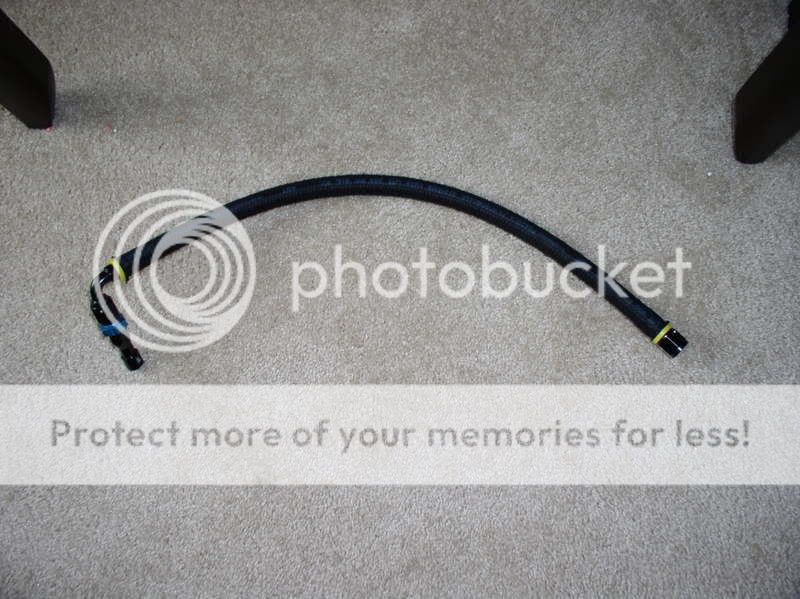
complete wiring harness
dash assy - reusing my black pad
brake system - reusing my calipers and spindles
pedals
steering column - reusing my steering wheel
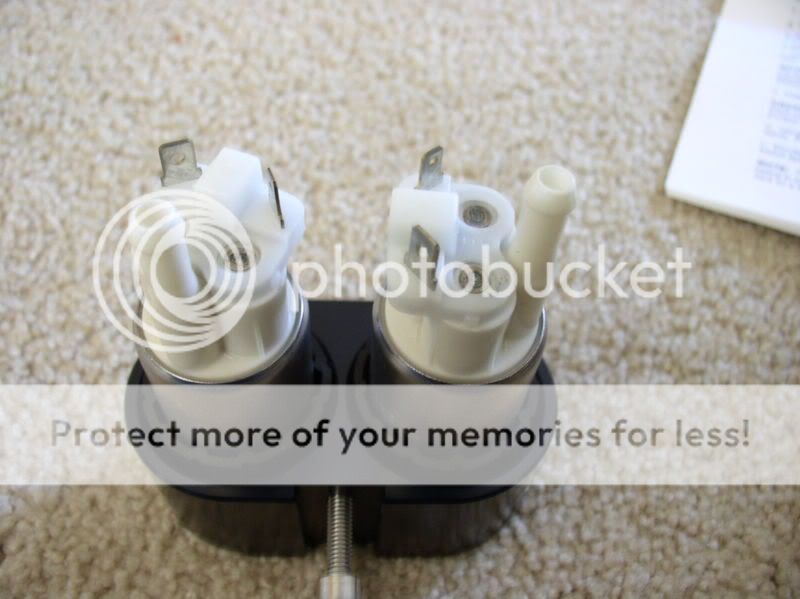
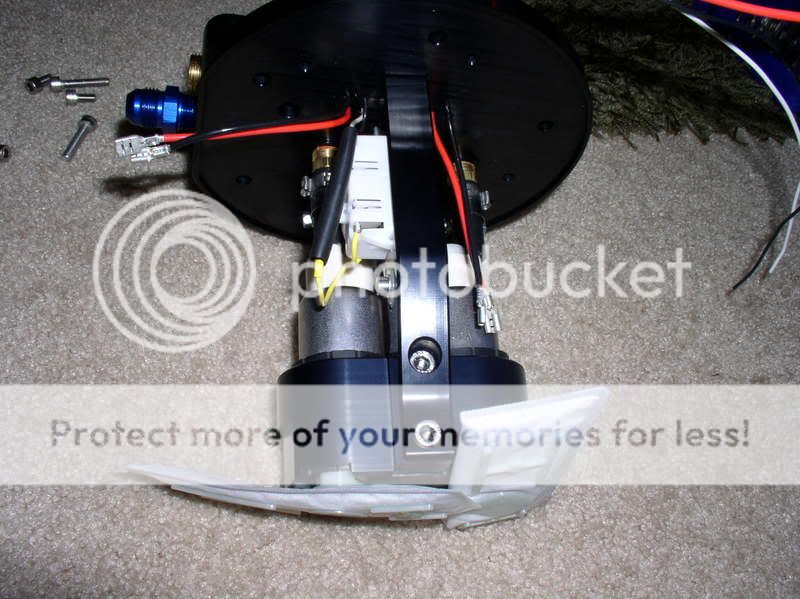
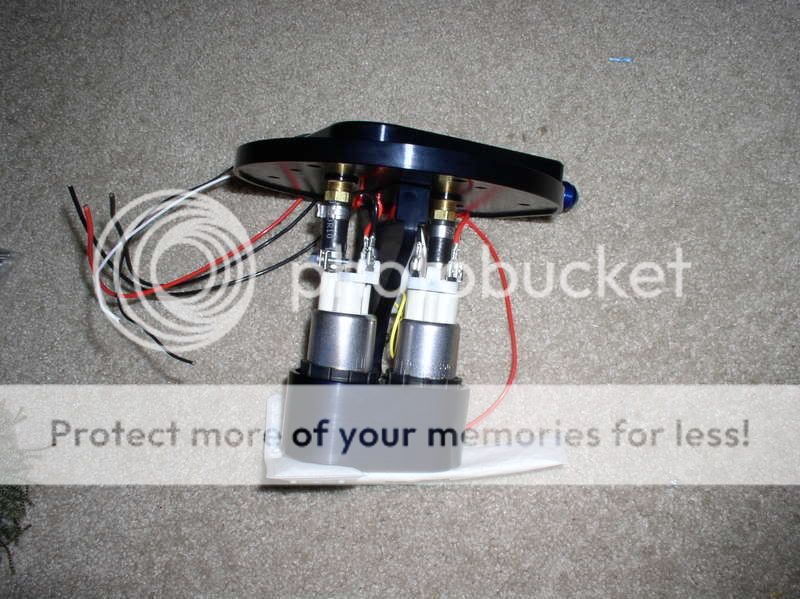
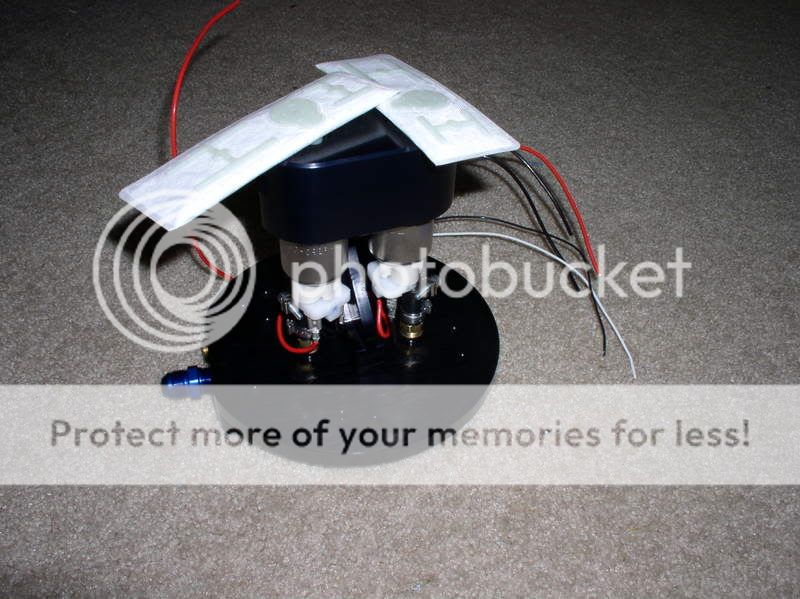
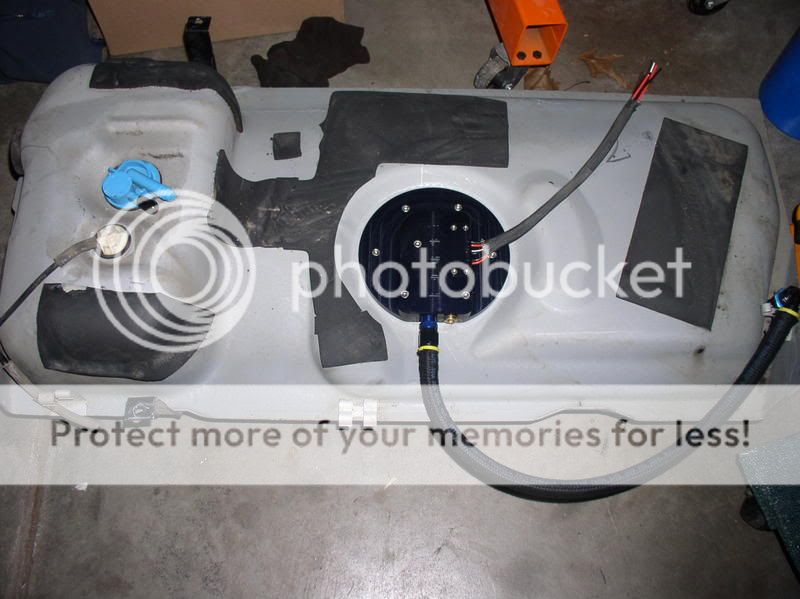
fuel system
a/c system
coolant system
Mods Are:
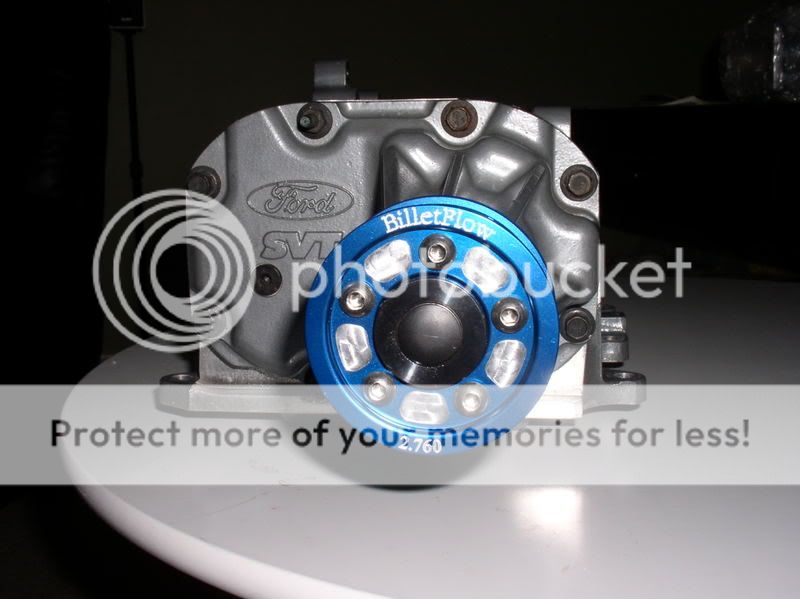
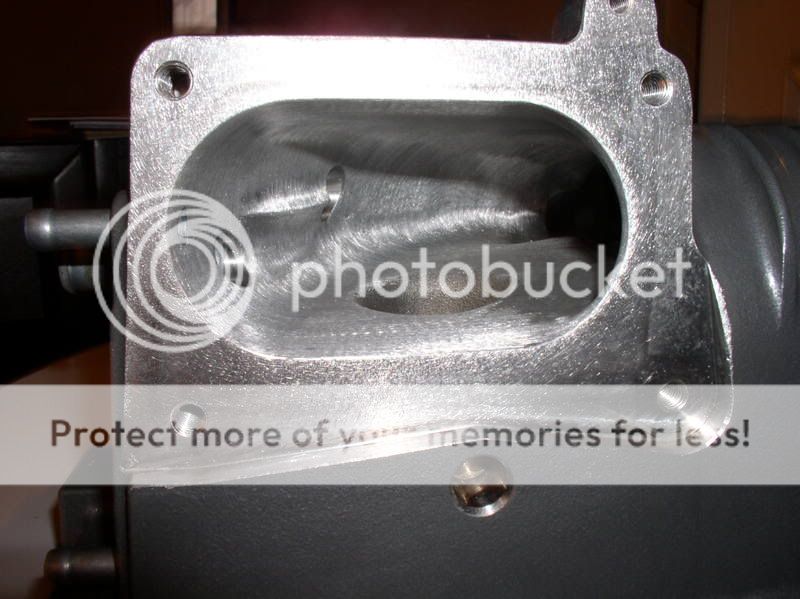
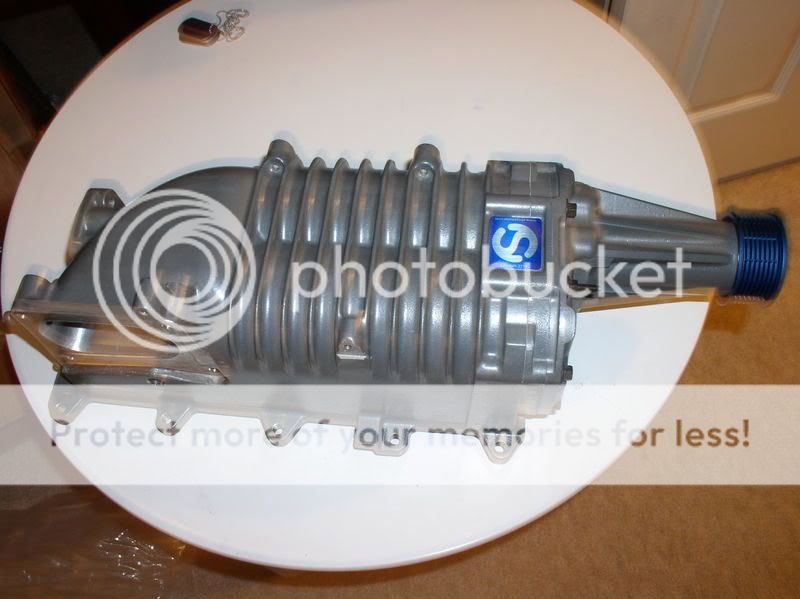
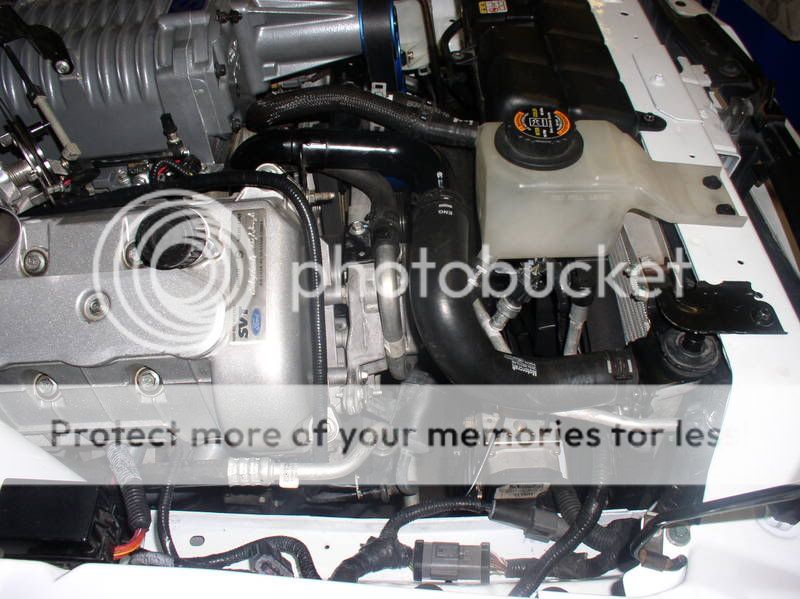
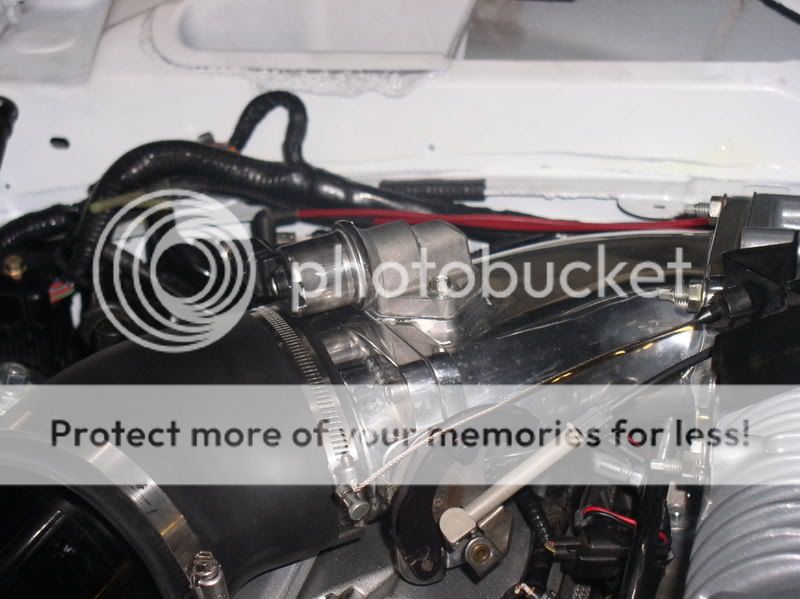
Stiegemeier stage 5+ Ported eaton
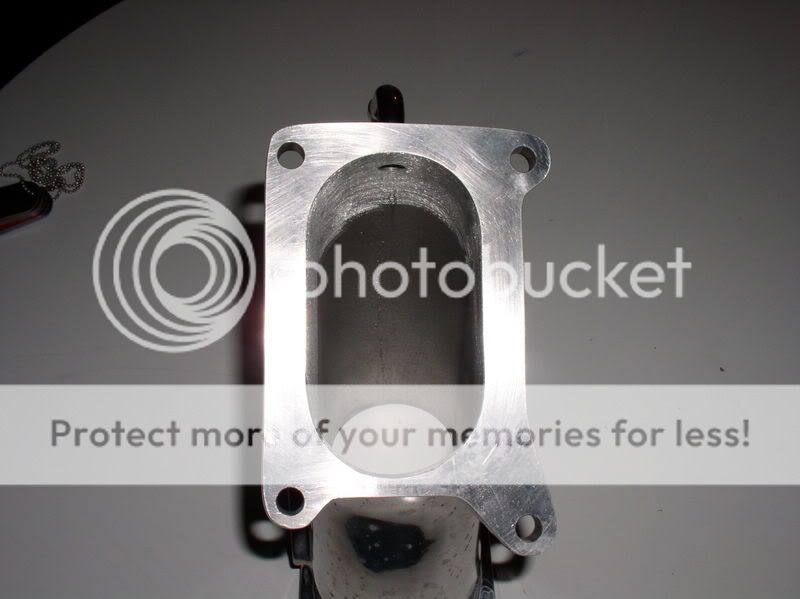
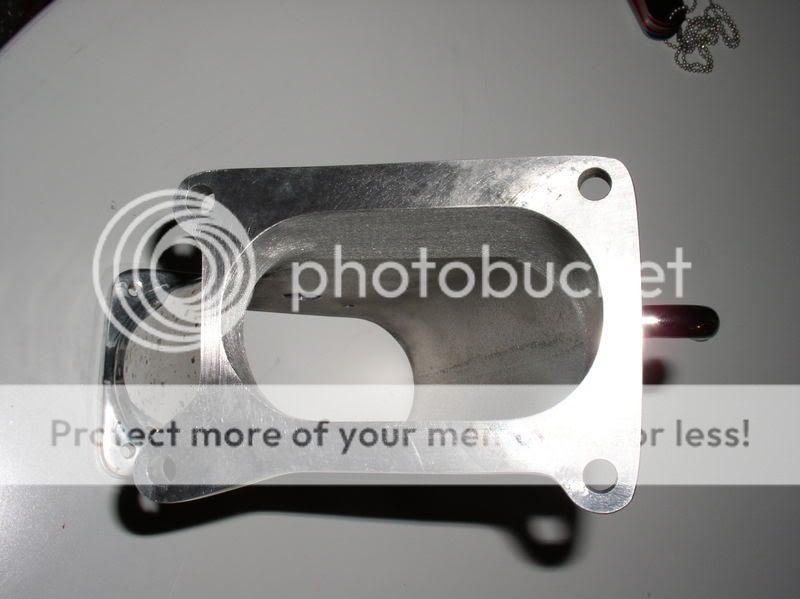
Accufab plenum ported to match Stiegemeier stage 5+ port
2.76 upper / 2lb lower pulley
60 lb inj
SCT 2800 maf
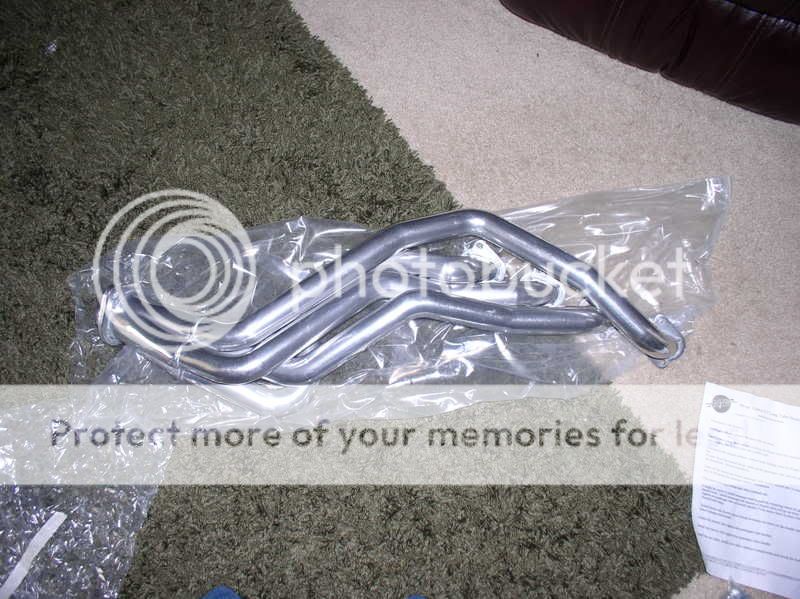
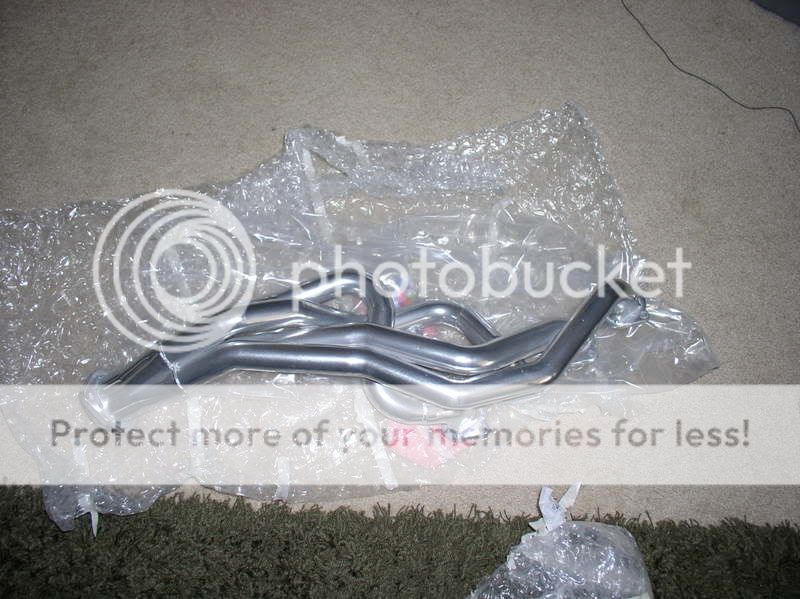
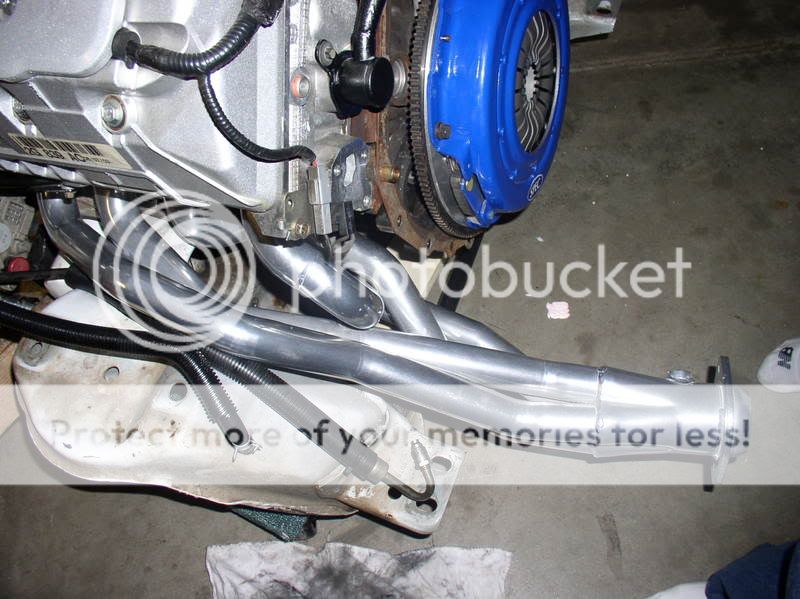
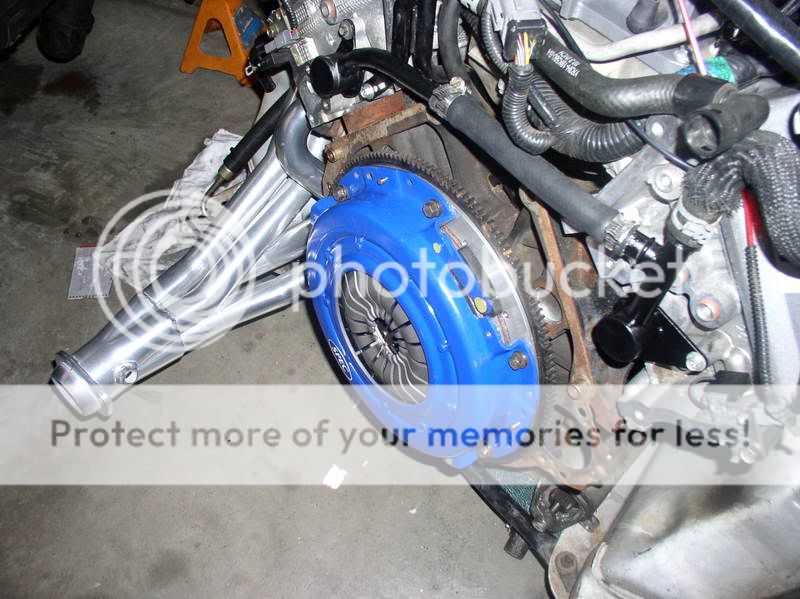
longtubes
x pipe
Mac Flowpath catback
JLT CAI
4 piece idlers
egr delete
SCT Xcal II tuner
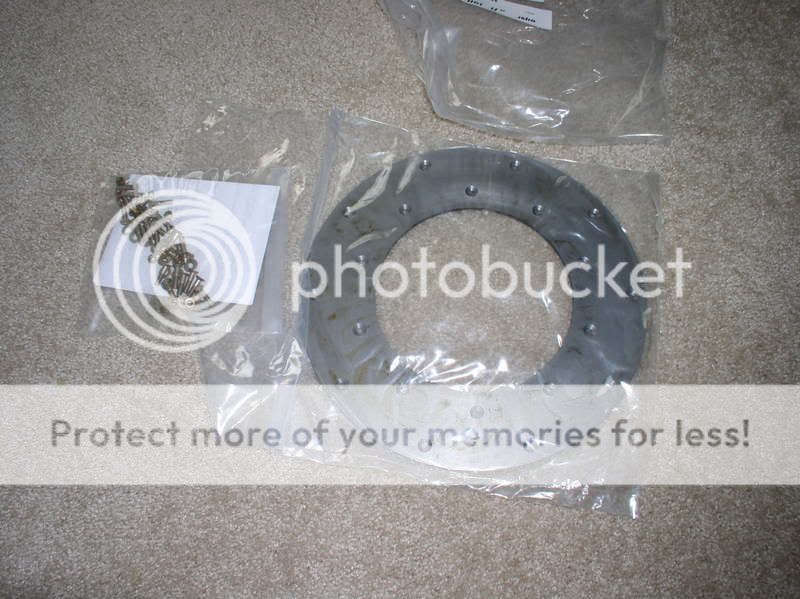
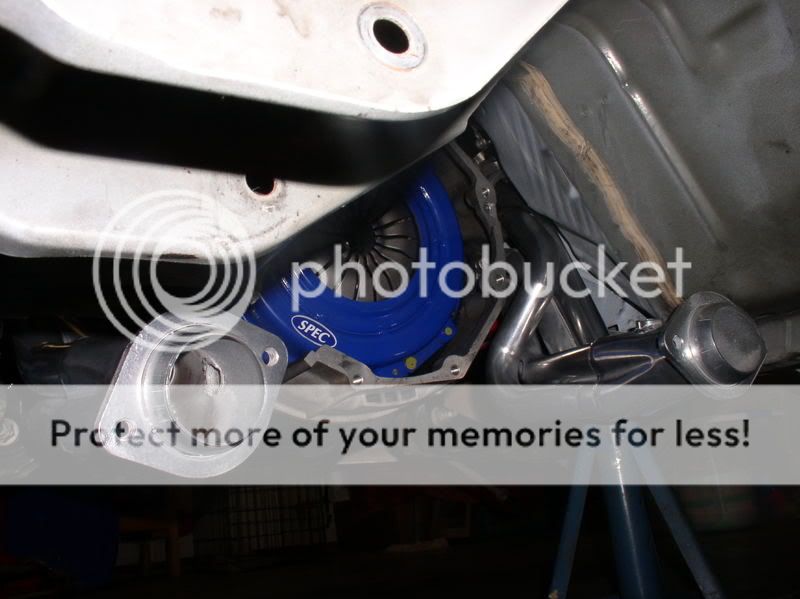
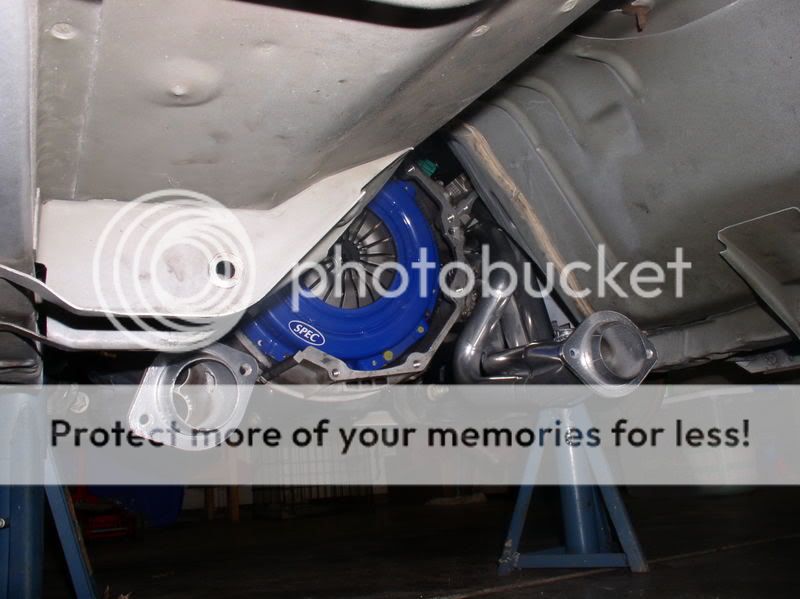
Spec stage 3+ clutch
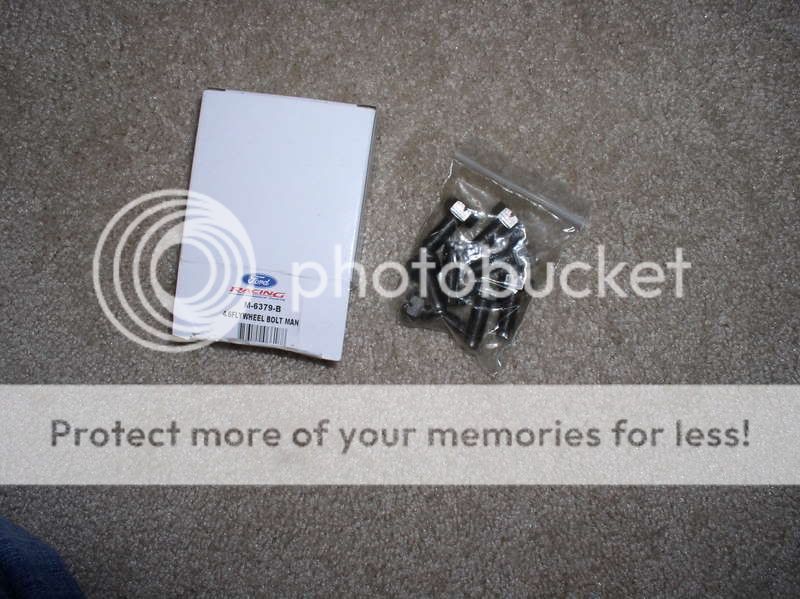
Fidanza Flywheel
Fore top hat
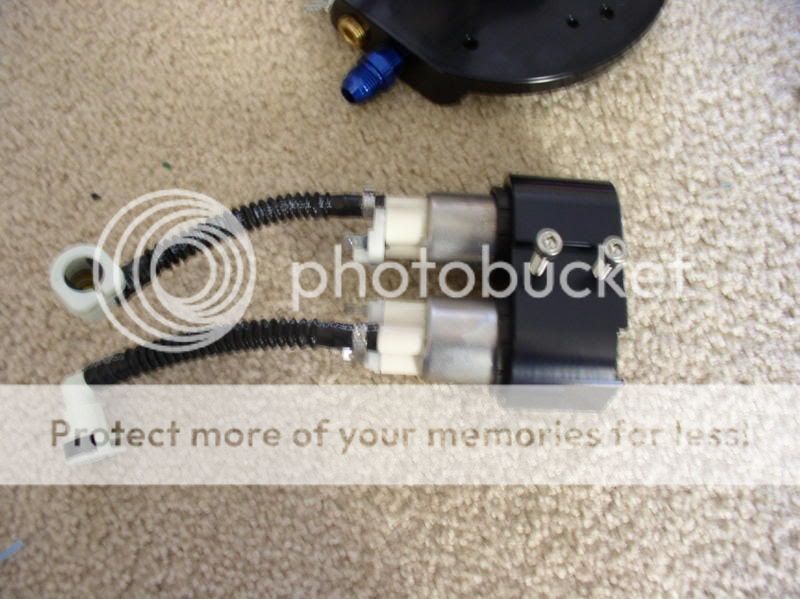
GT pumps
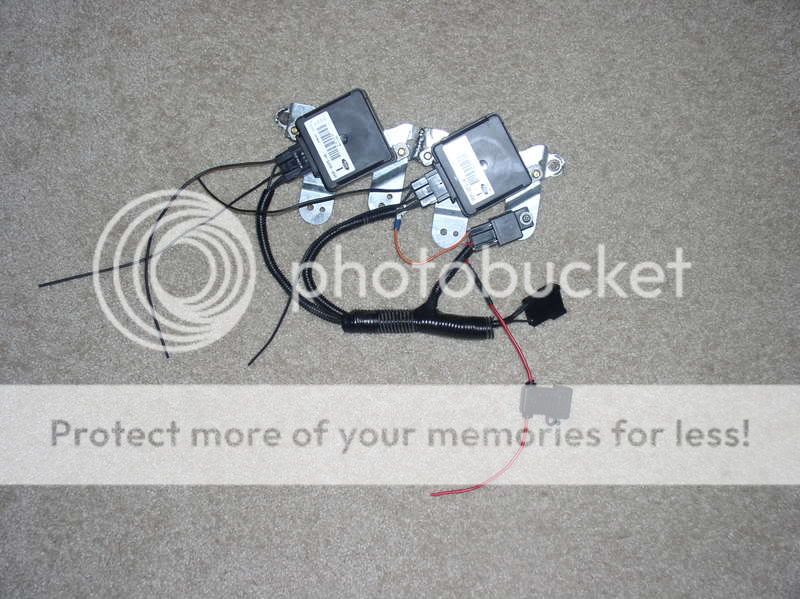
dual FPDM's
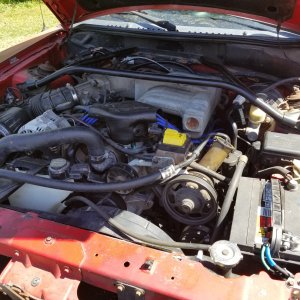
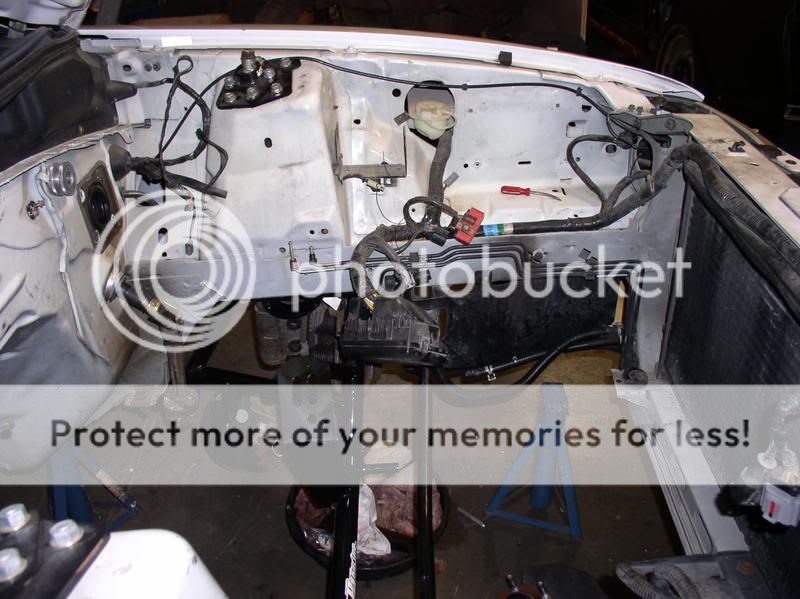
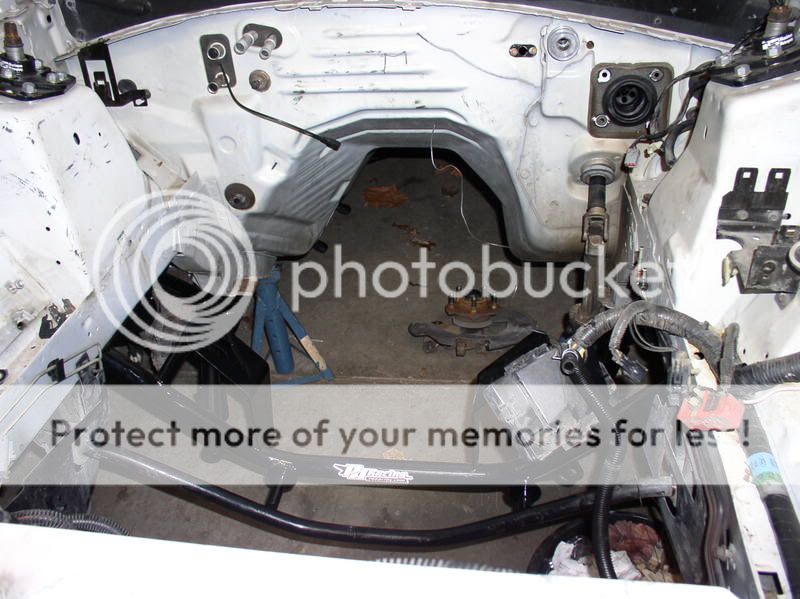
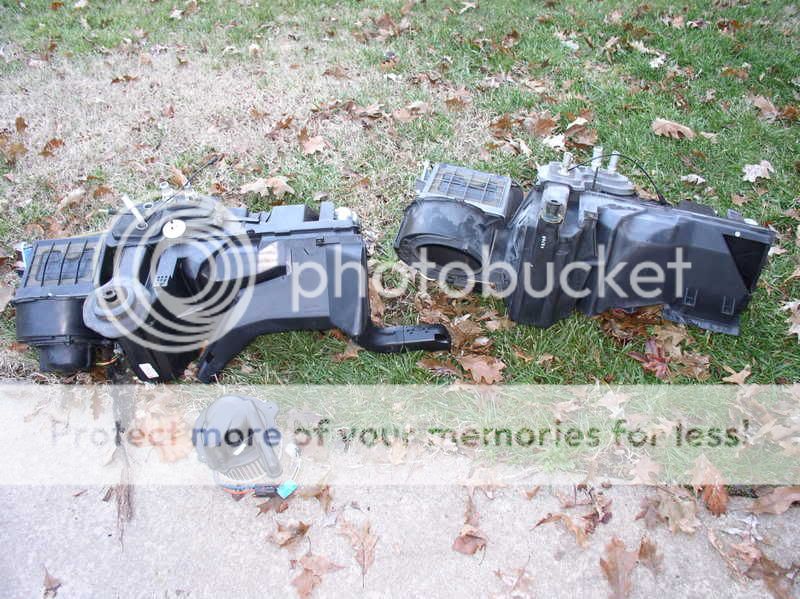
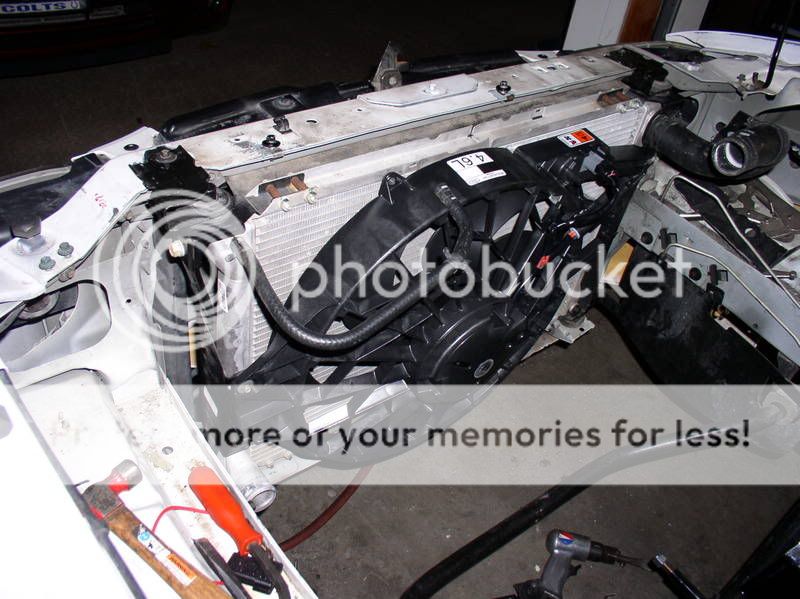
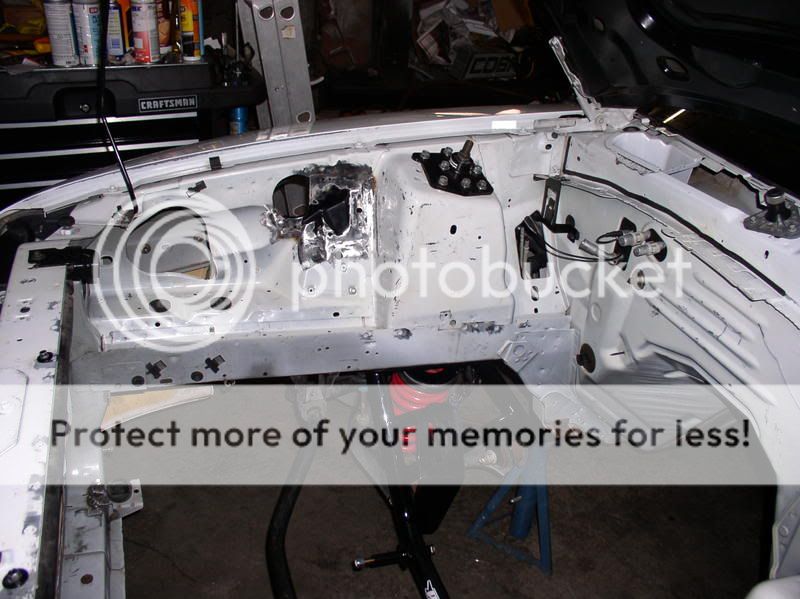
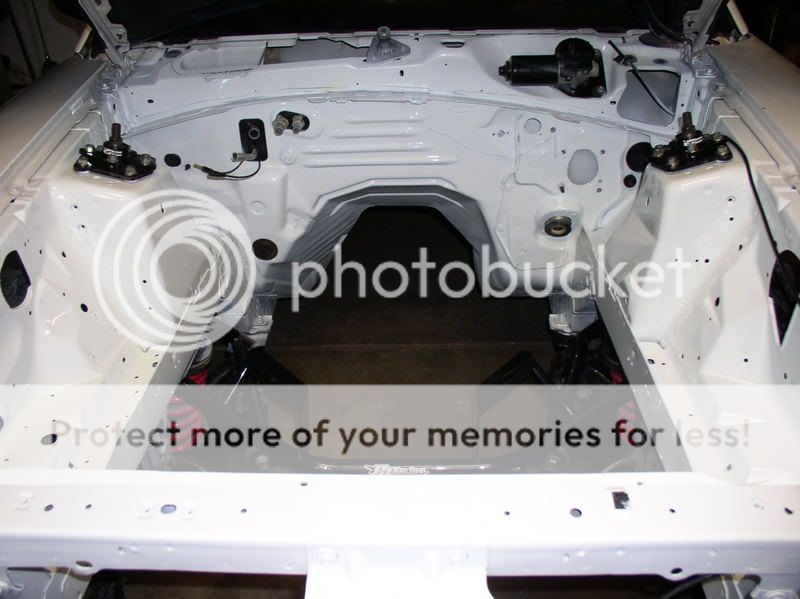
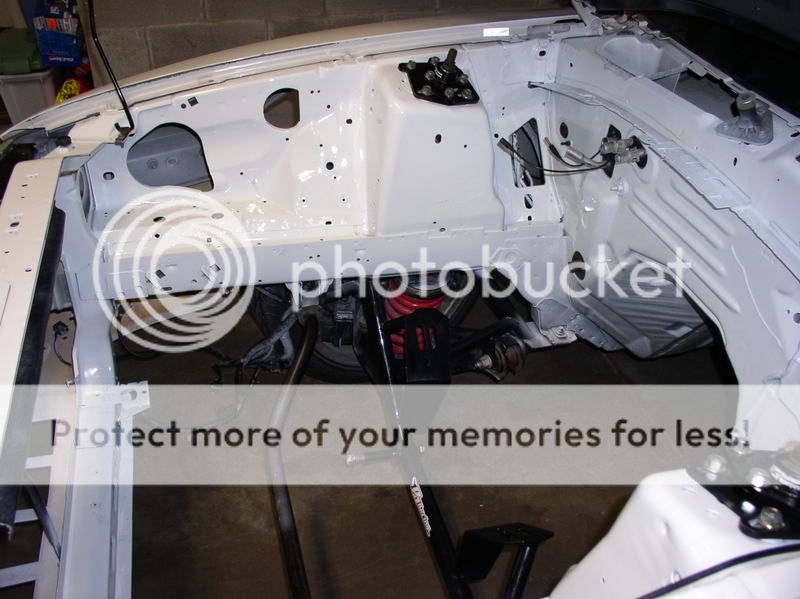
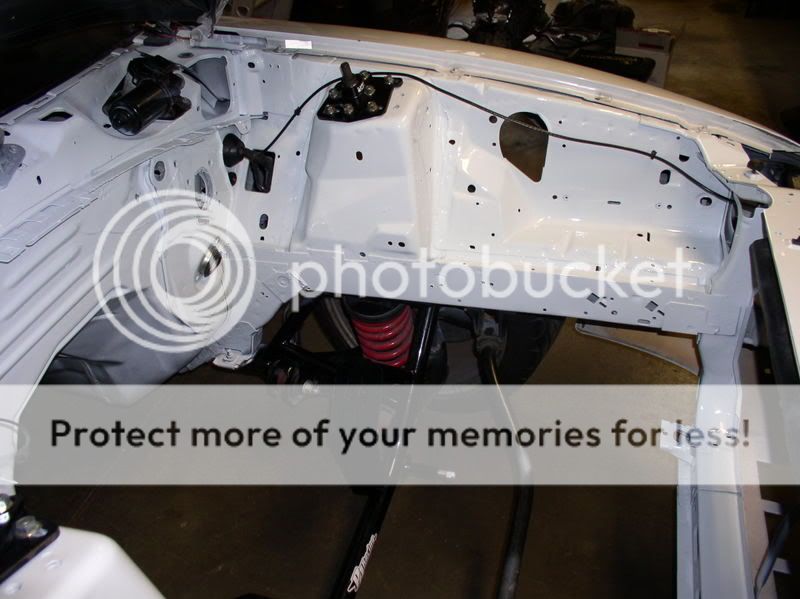
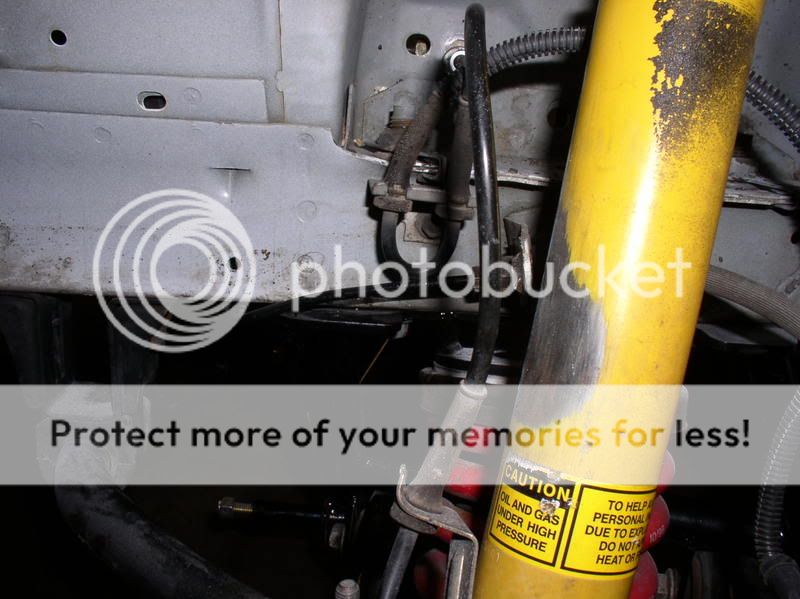
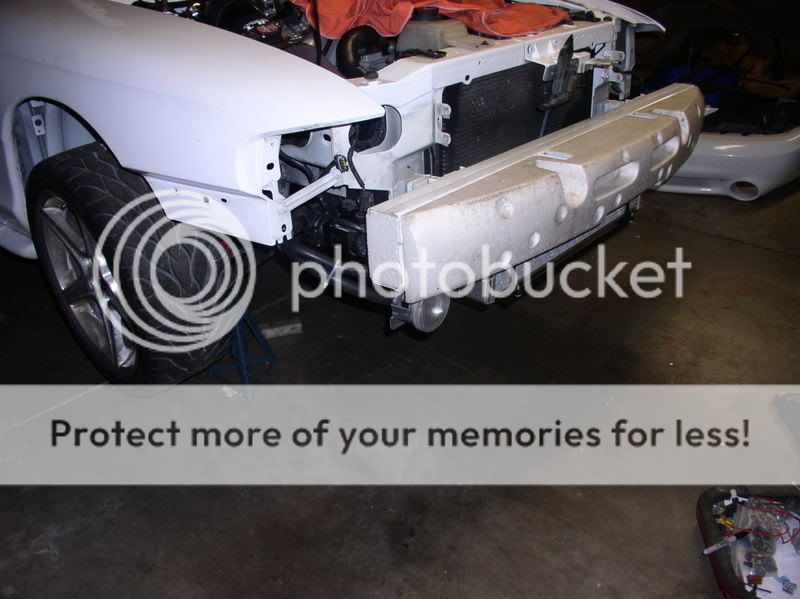
First I started stripping the car down. Everything needed to come out.
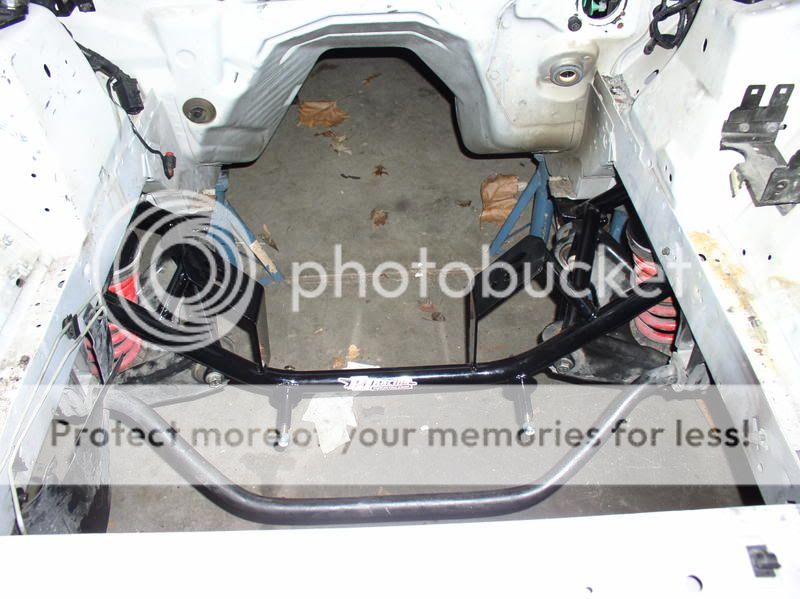
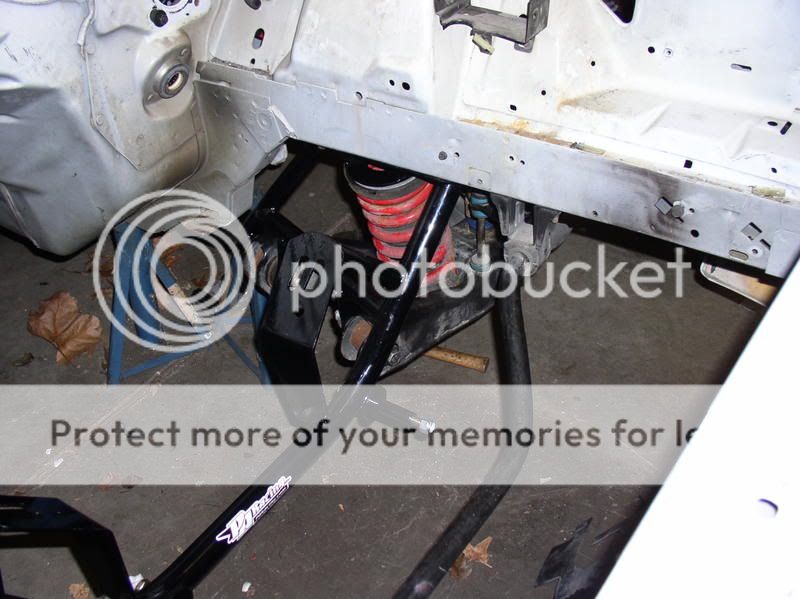
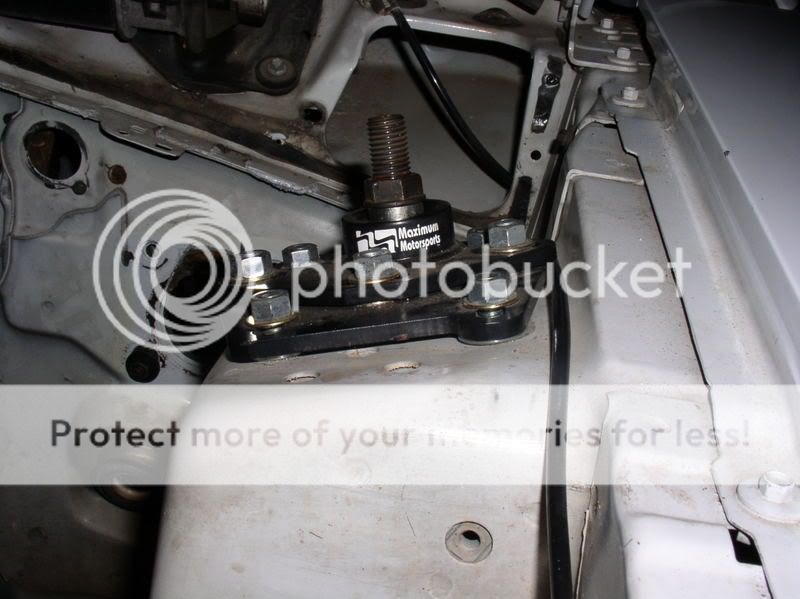
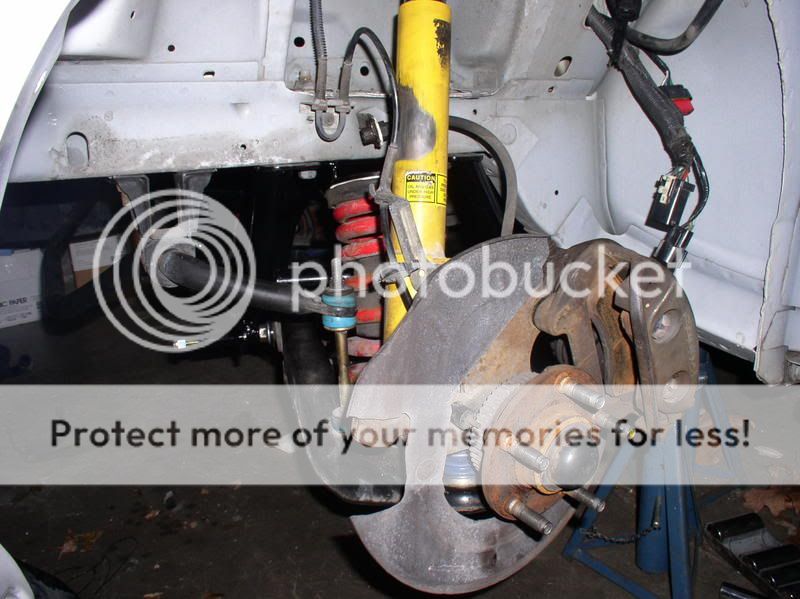
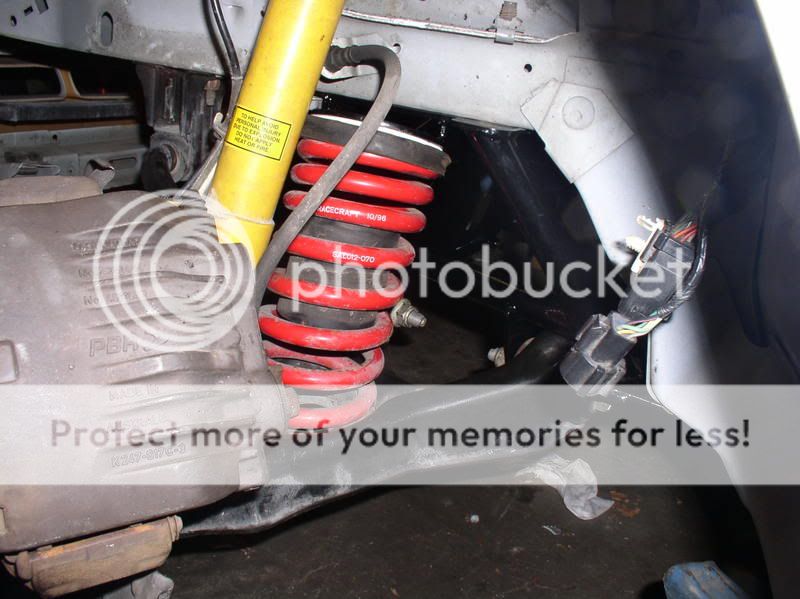
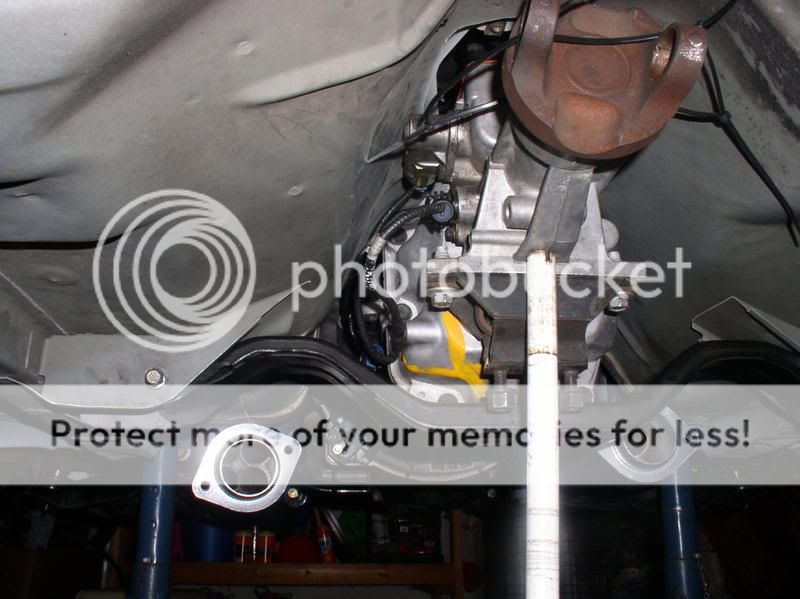
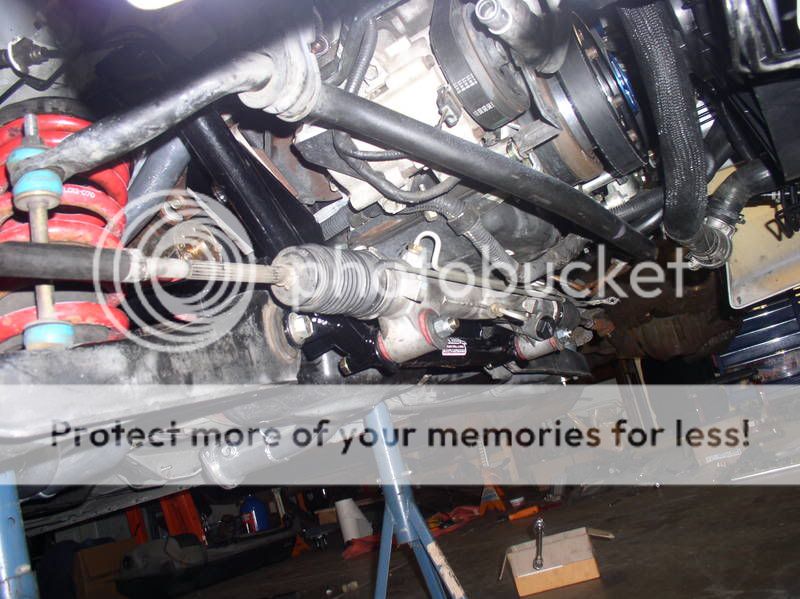
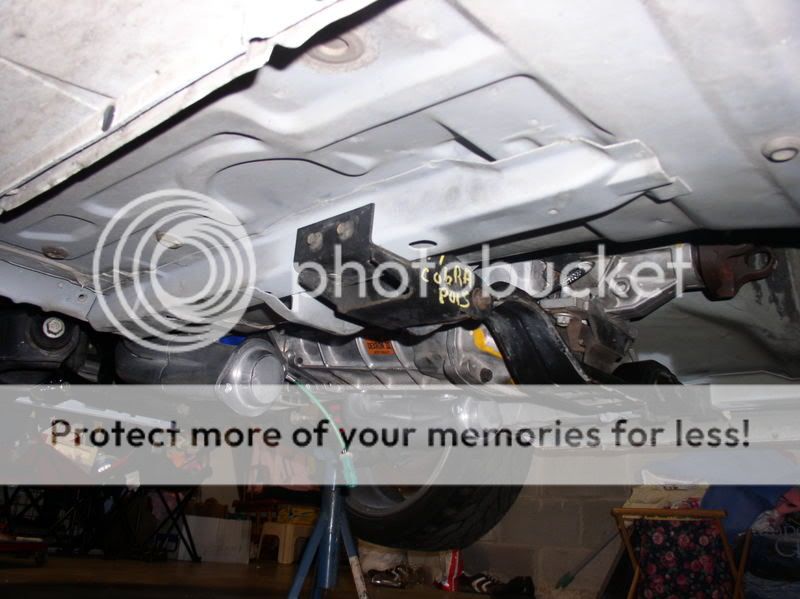
I installed a PA Racing tubular K. Next I will be installing 03 A arms, sway bar, steering rack. I will re-use my spindles and brakes.
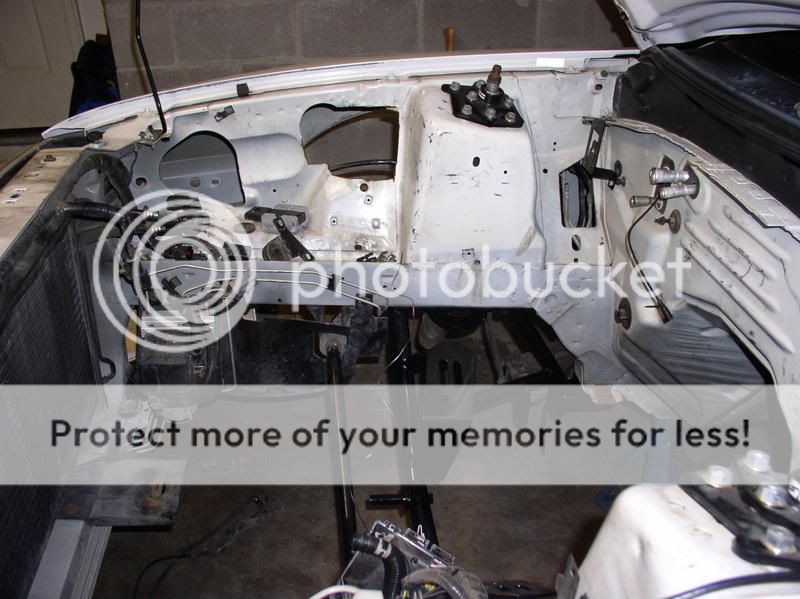
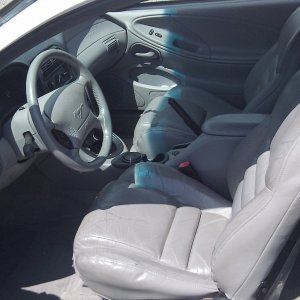
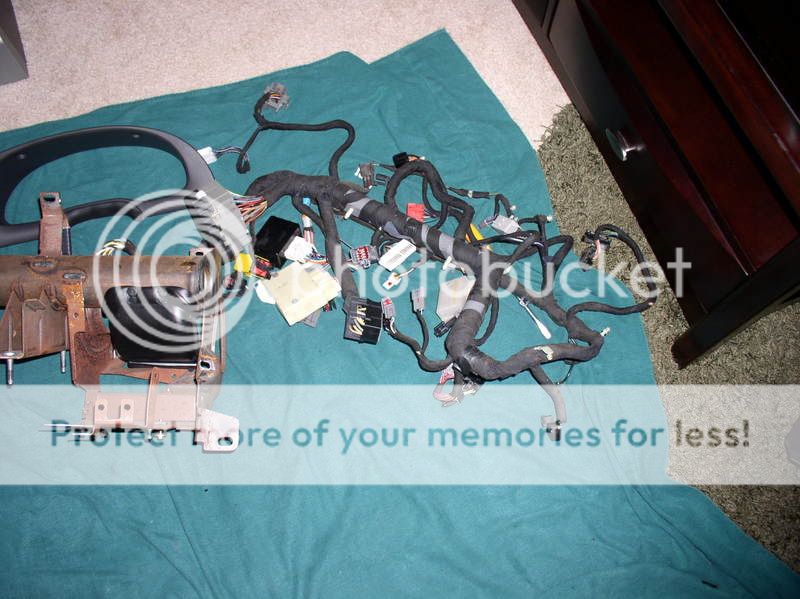
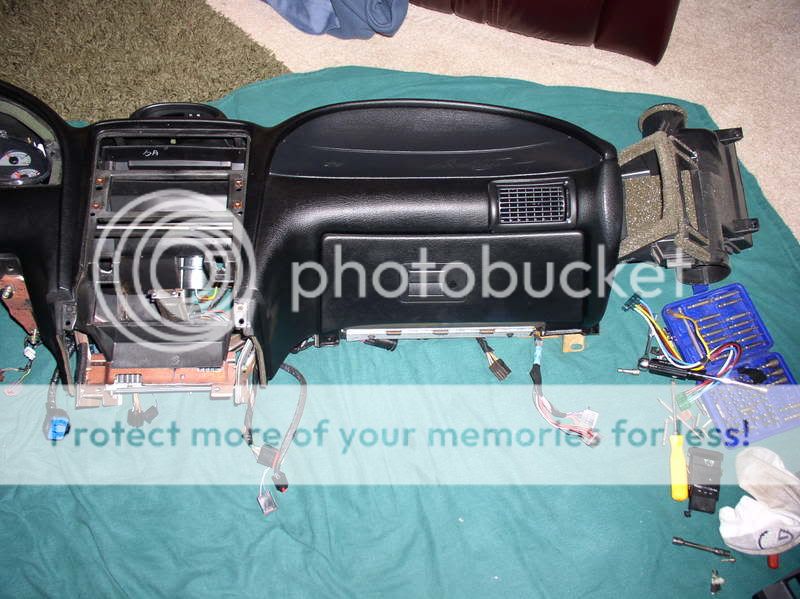
I then stripped the interior.

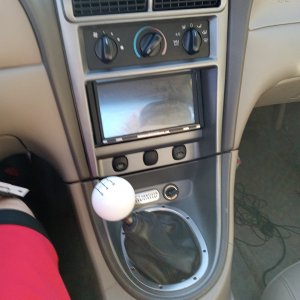
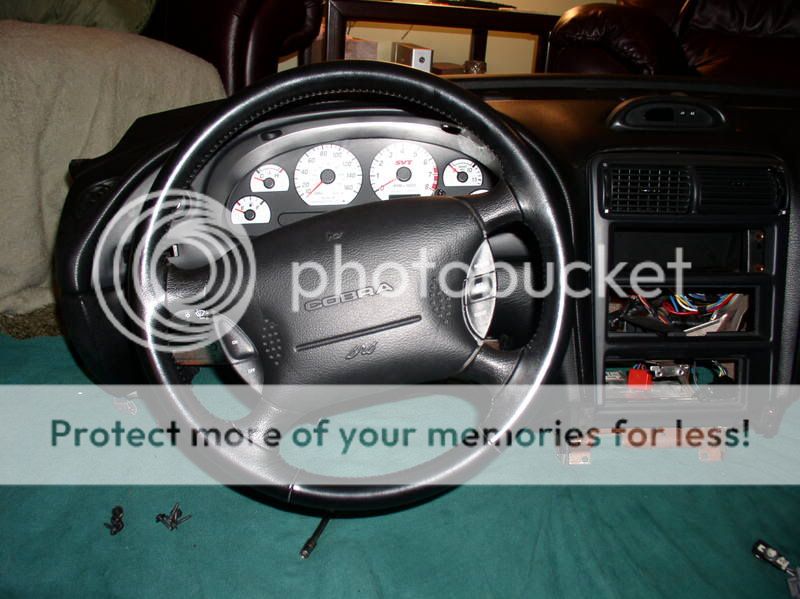
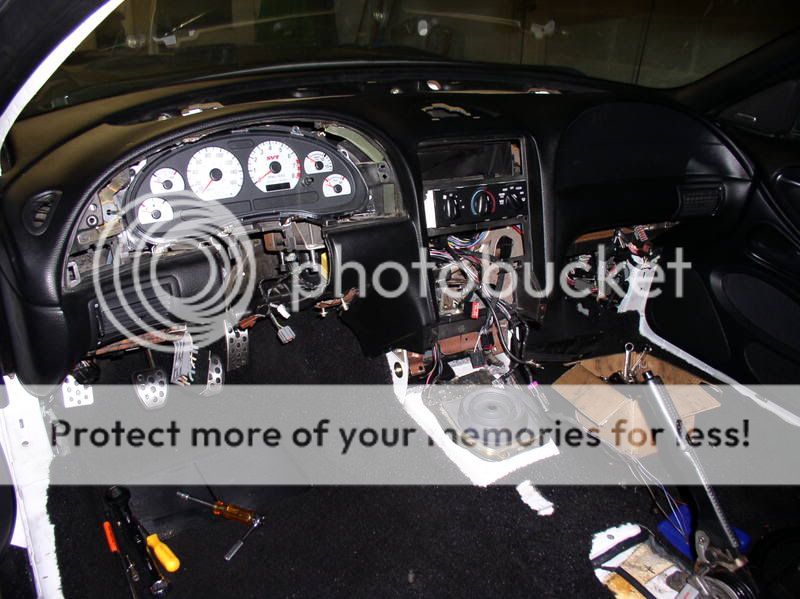
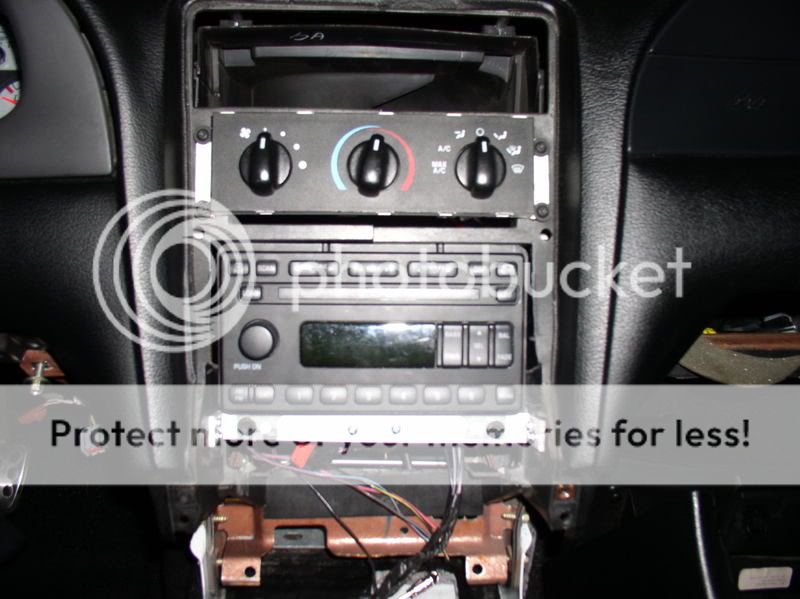
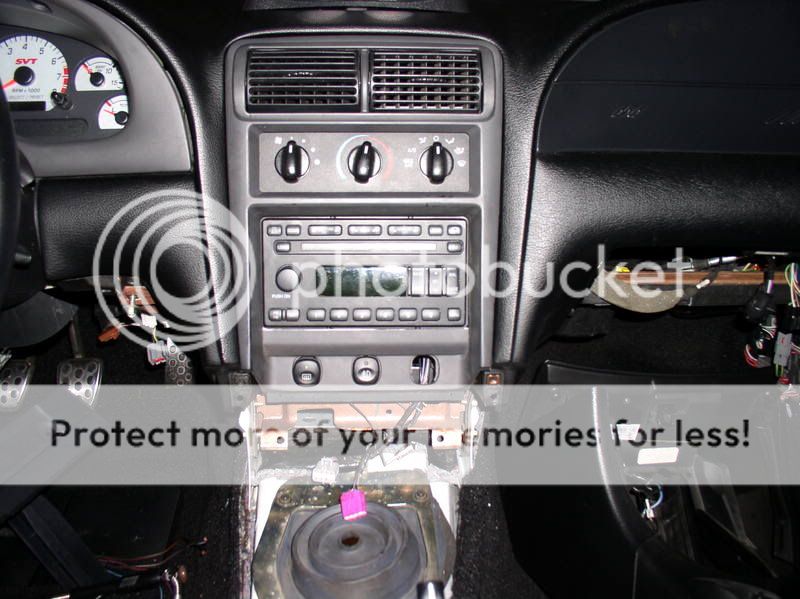
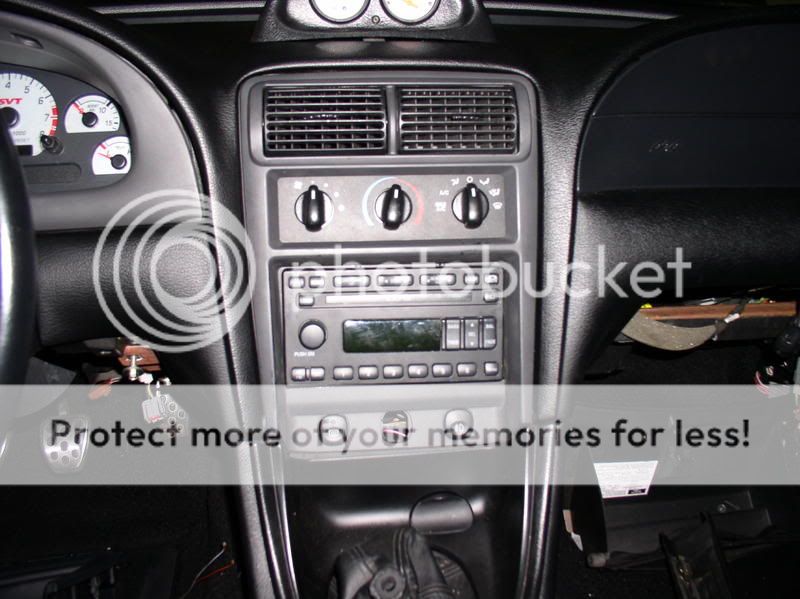
Pulled the dash and converted it. I wanted to keep most of the 94 look. Mostly because of the color. True black. Not charcoal like the 03-04's.
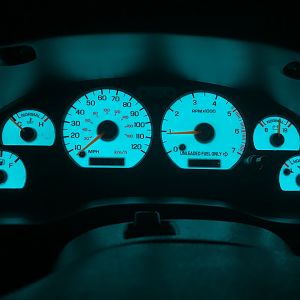
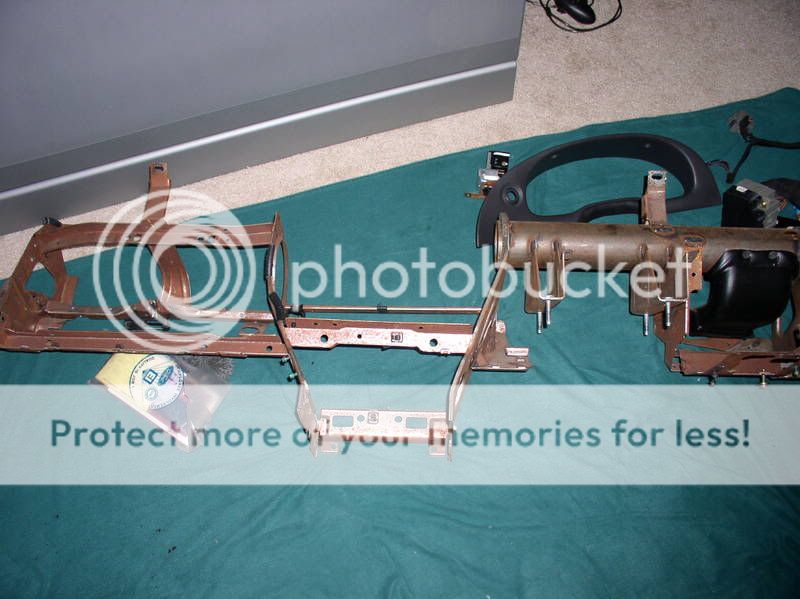
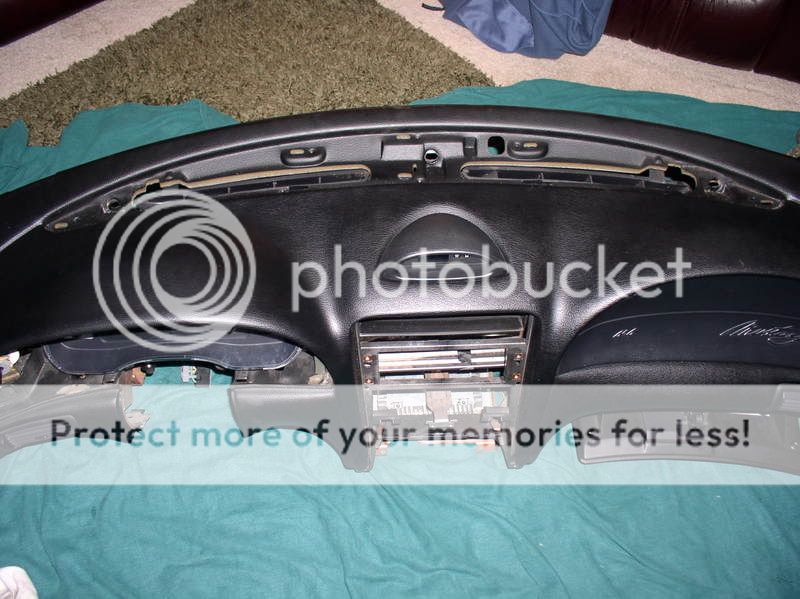
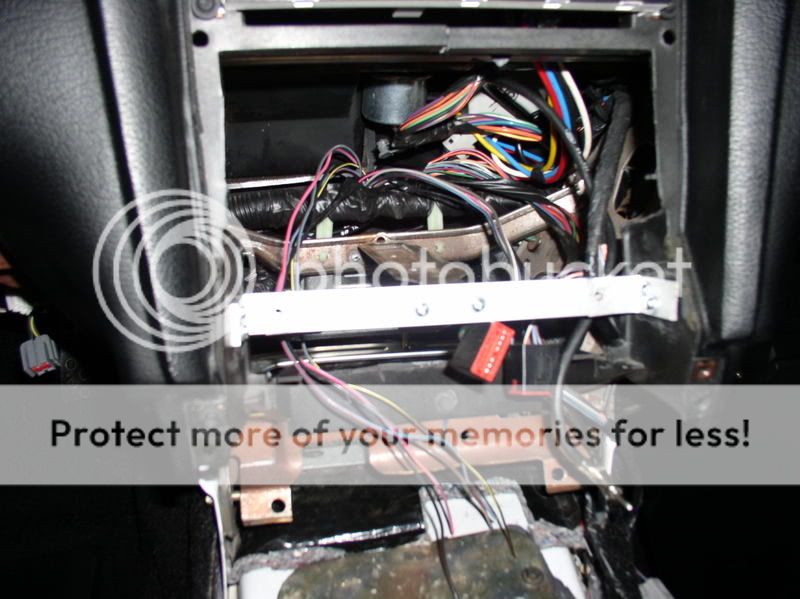
I swapped my dash pad and heating ducts over to the 03 metal frame and installed all of the 03 wiring.. Installed the 03 cluster.
03 pad after removed from the shell
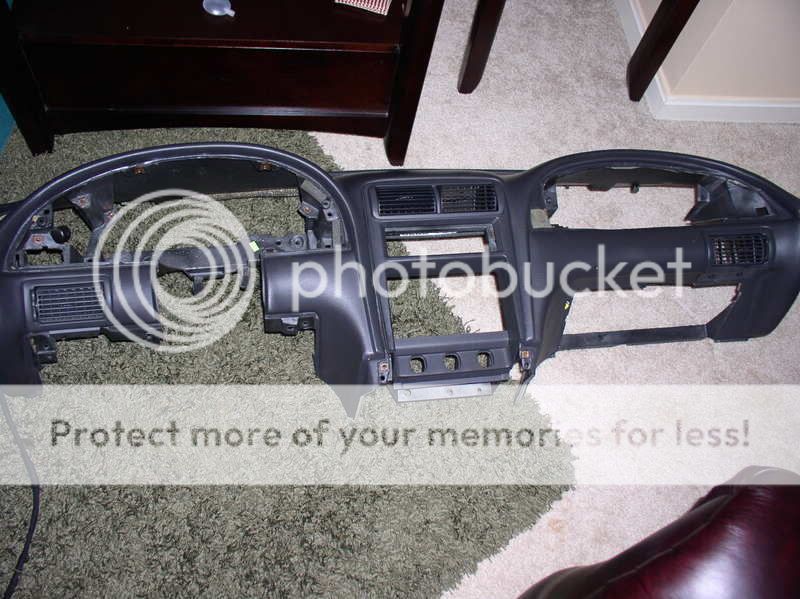
03 dash shell with pad removed
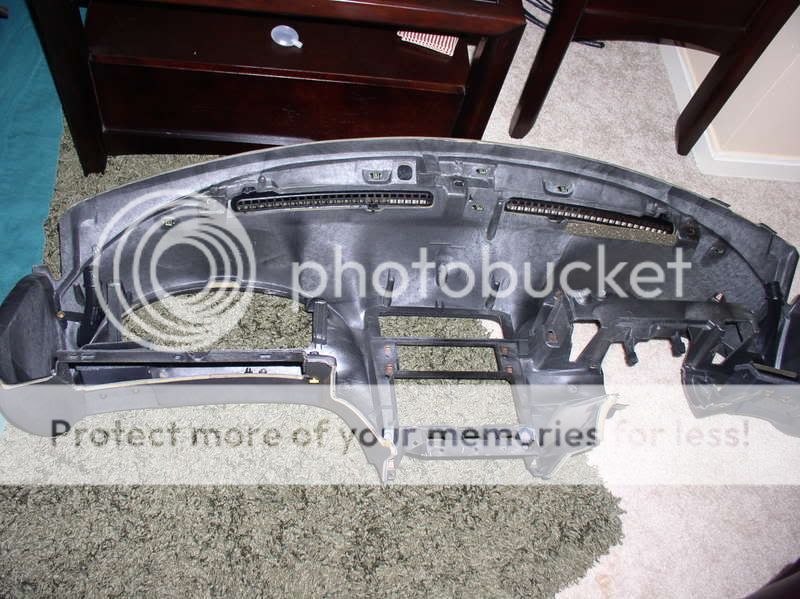
94 dash before it is stripped
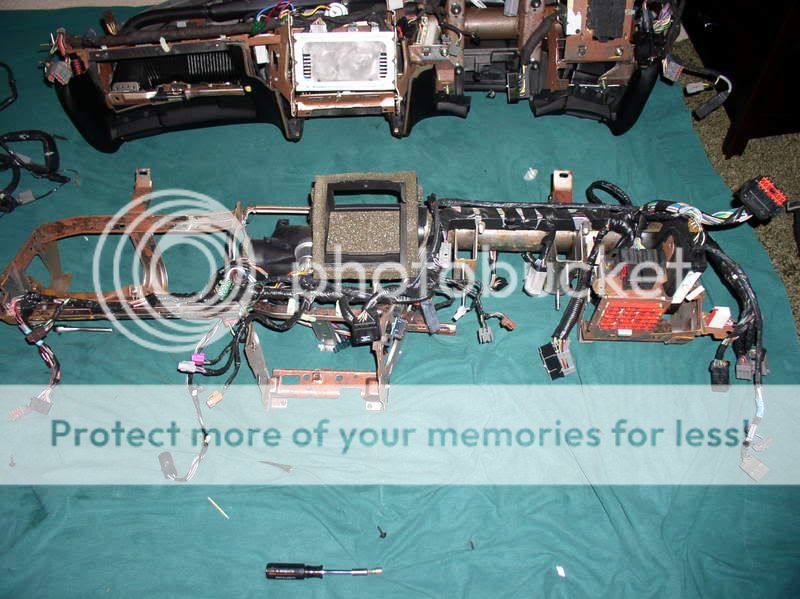
94 stripped shell and harness. Pad was relocated to new 03 dash frame
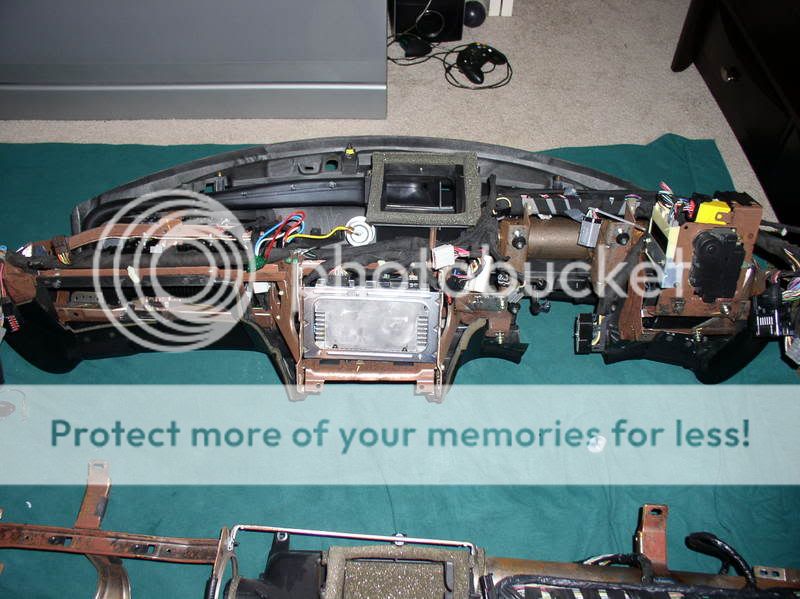
94 dash converted to 03 internals converted
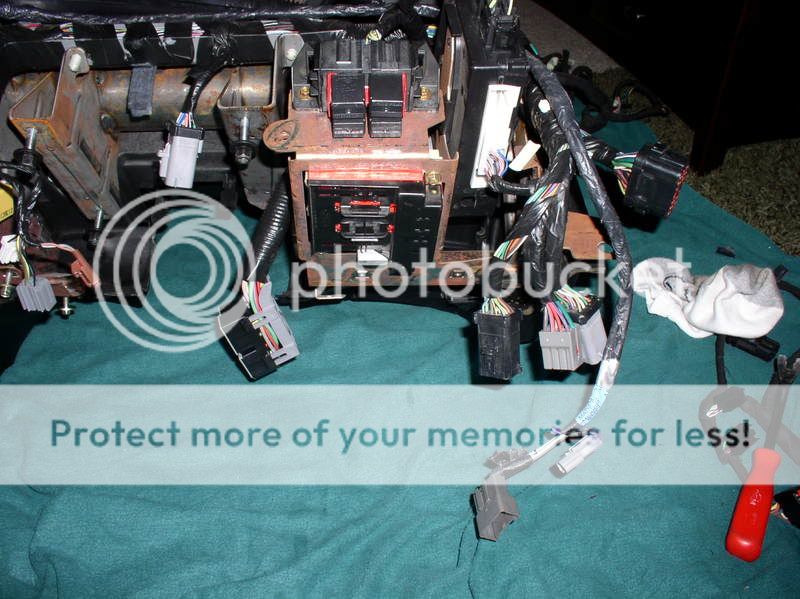


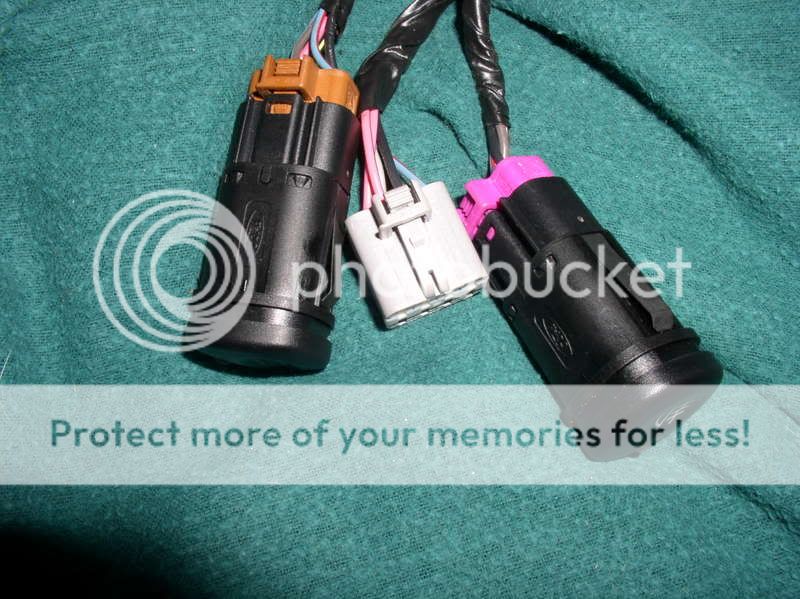
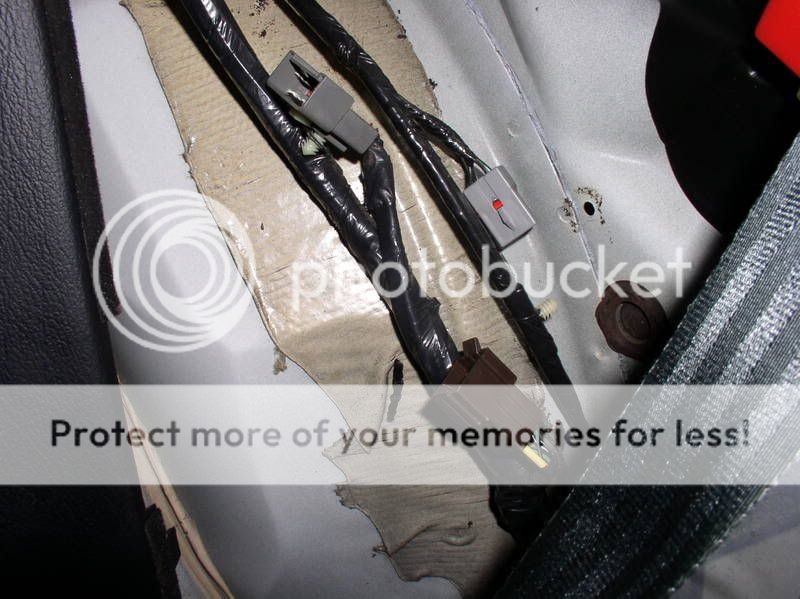
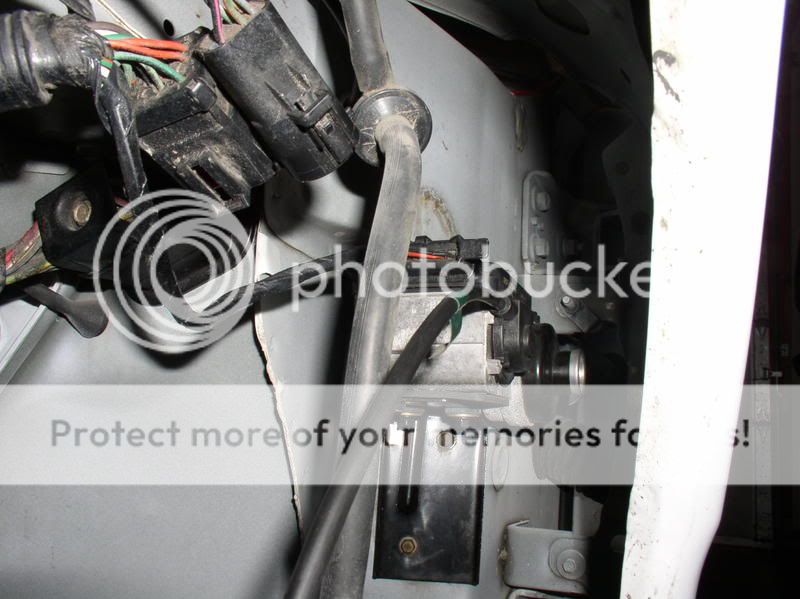
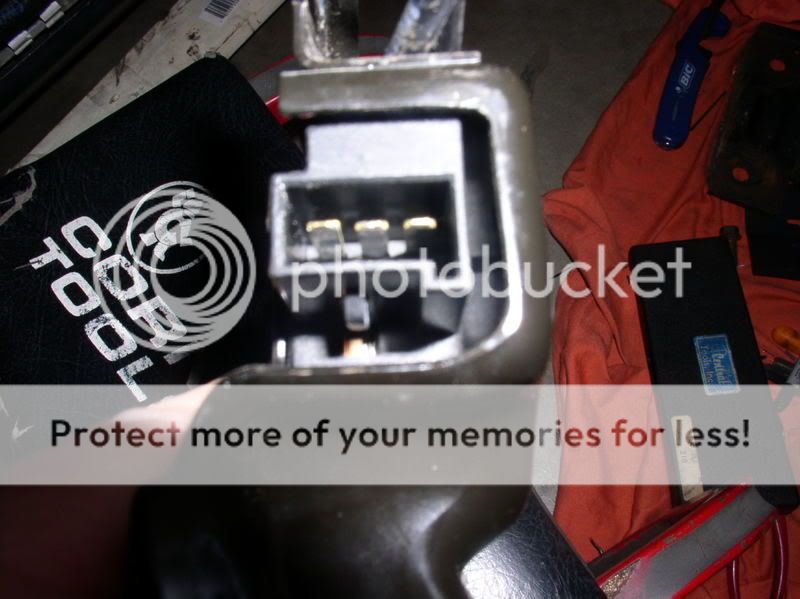
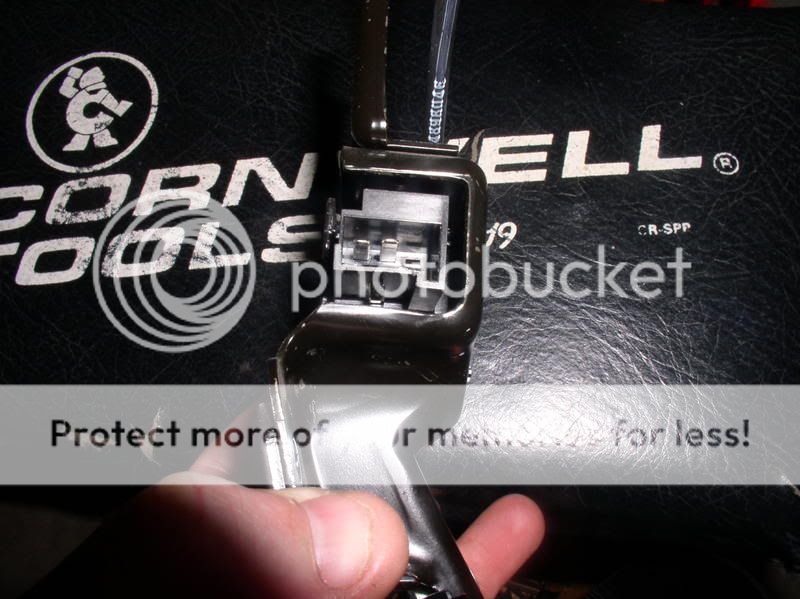
I had to change the pass side air bag connector.
From Brown
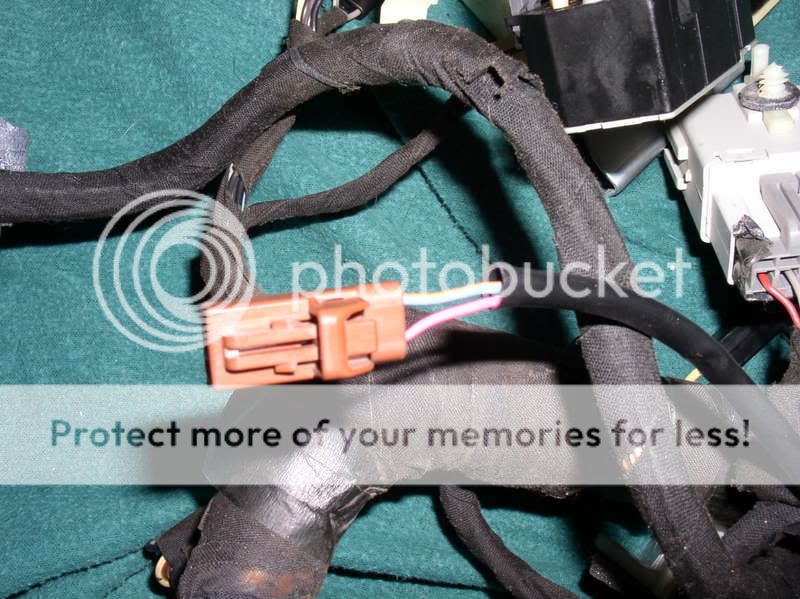
to Black
The 94 has the defroster on the instrument bezel whereas the 03 has it on the stereo bezel. I am having to cut and splice the harness and run to my stock defroster switch.
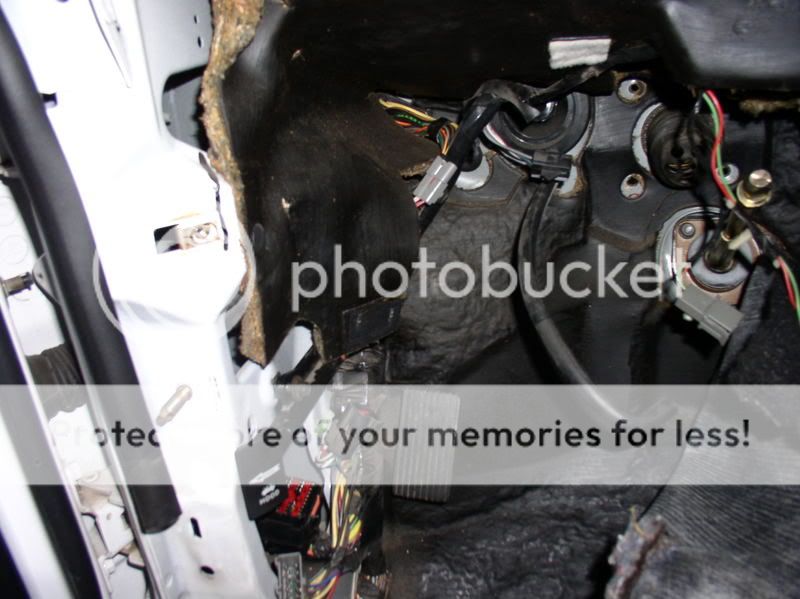
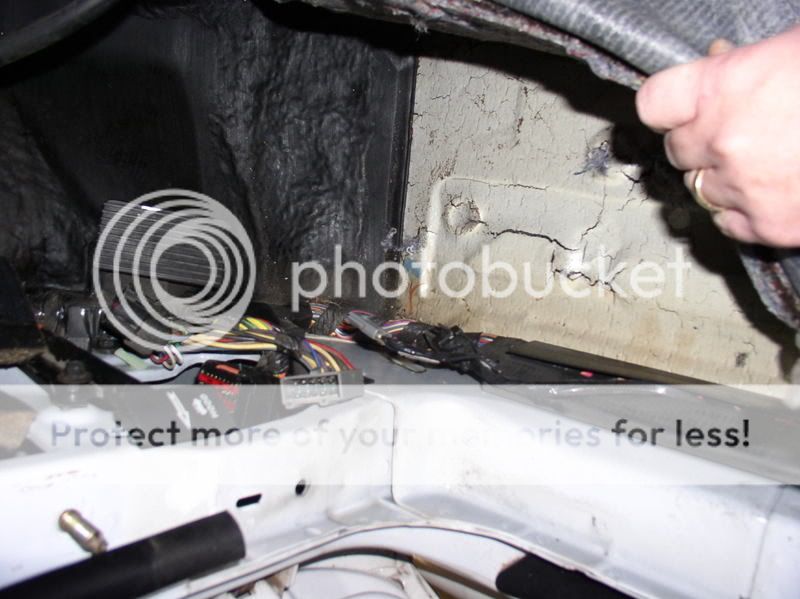
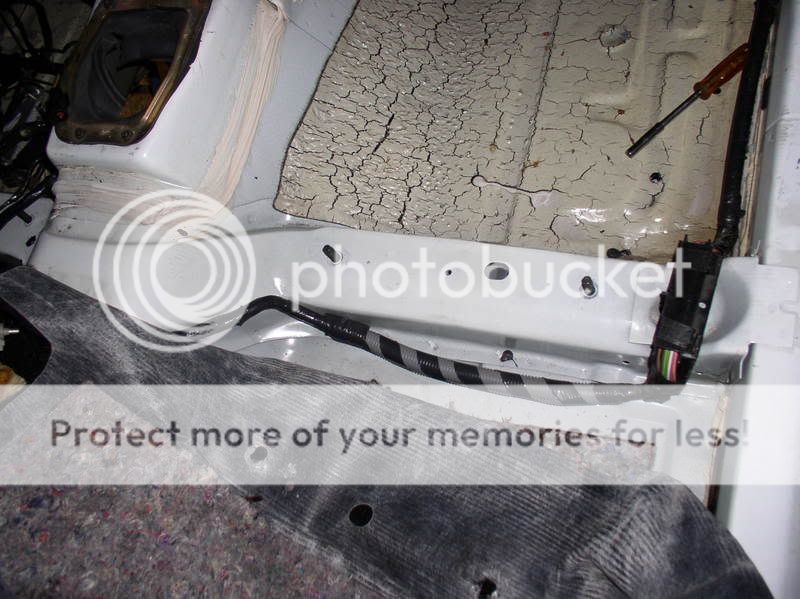
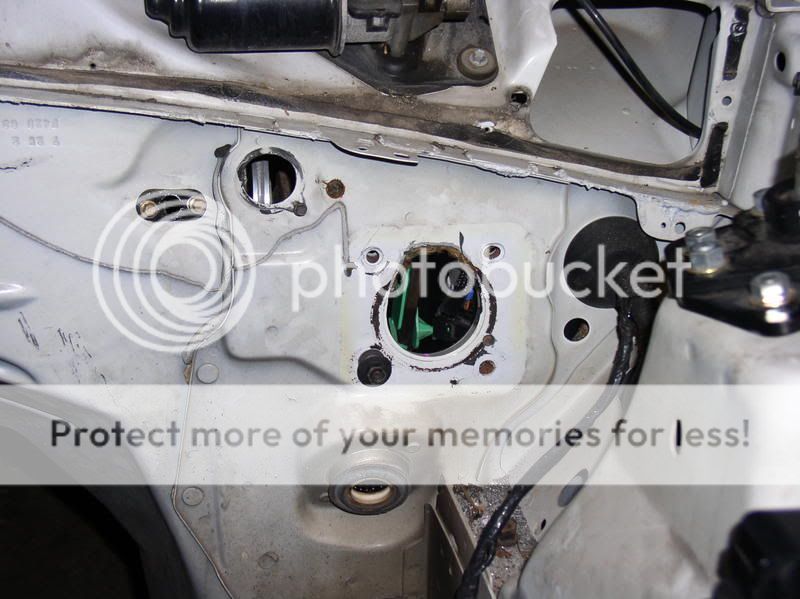
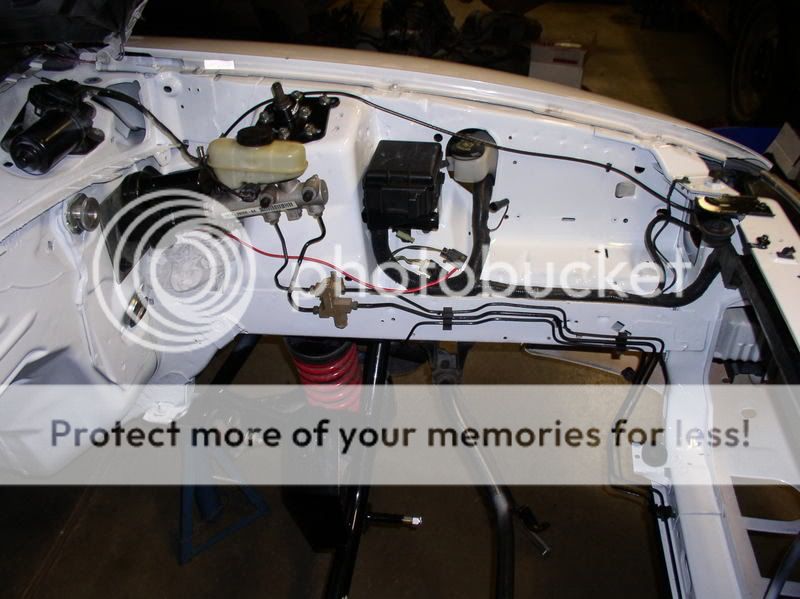
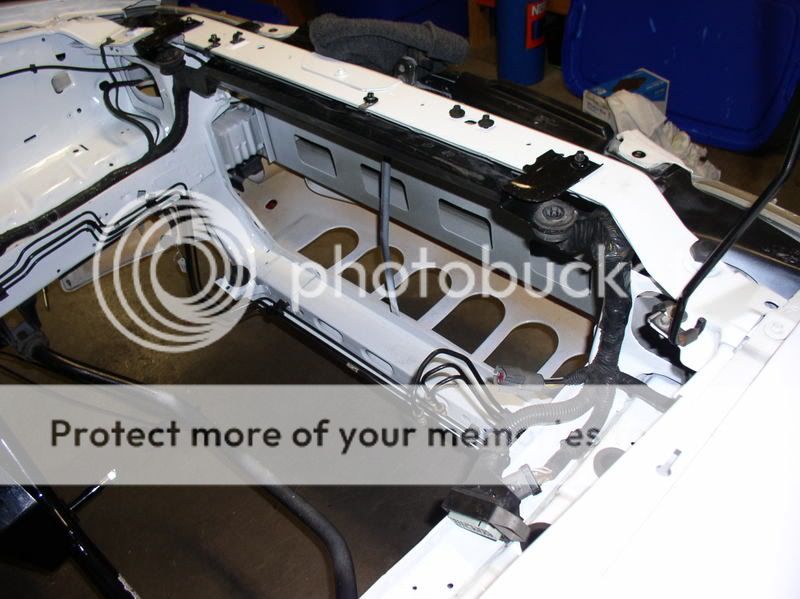
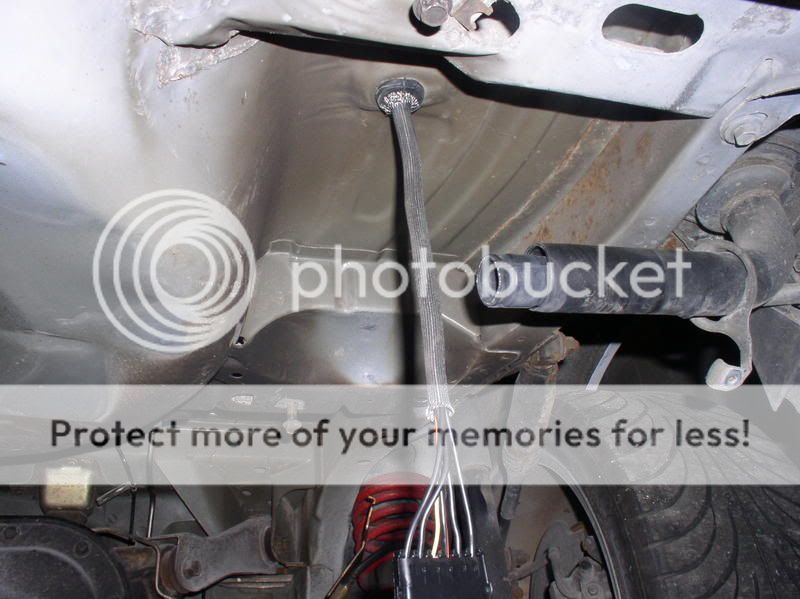
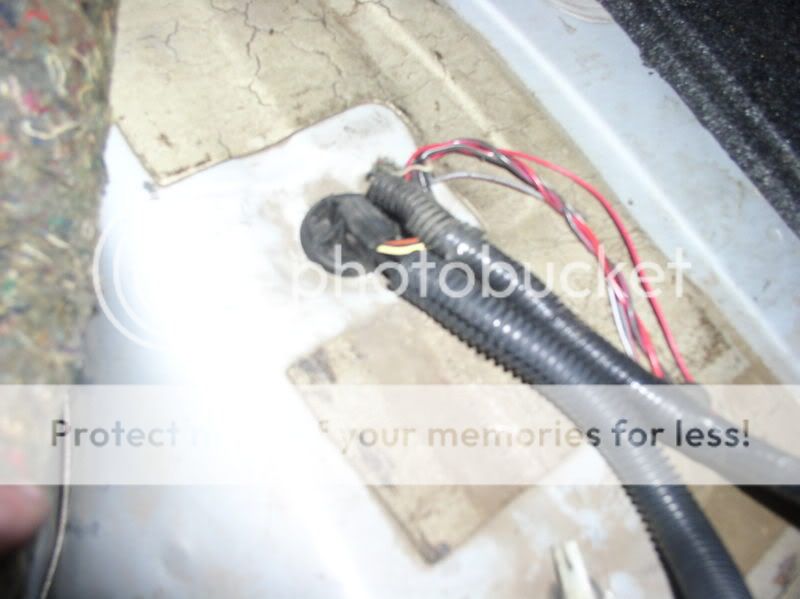
I also replaced my complete body harness. Man the 03 body harness was a pain. I had to take the car completly apart. What a pain in the ass.
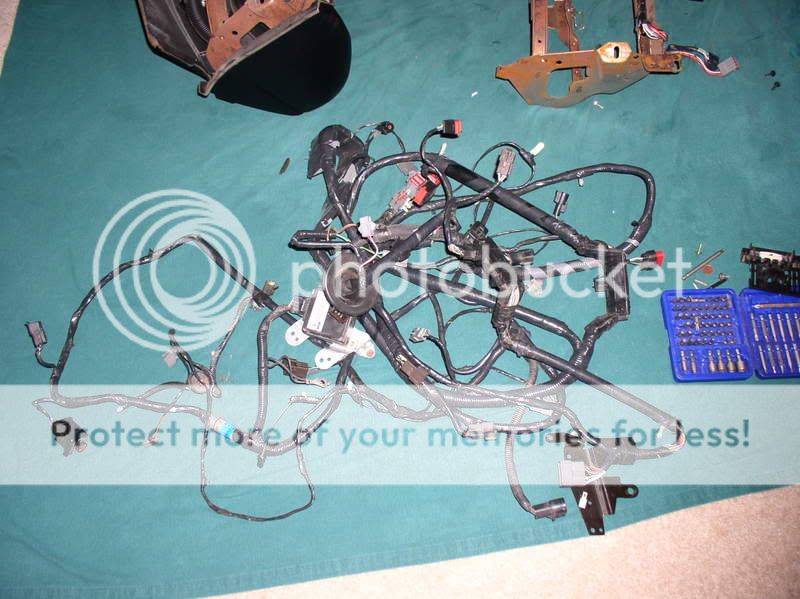
main body 03 harness
From this

To this
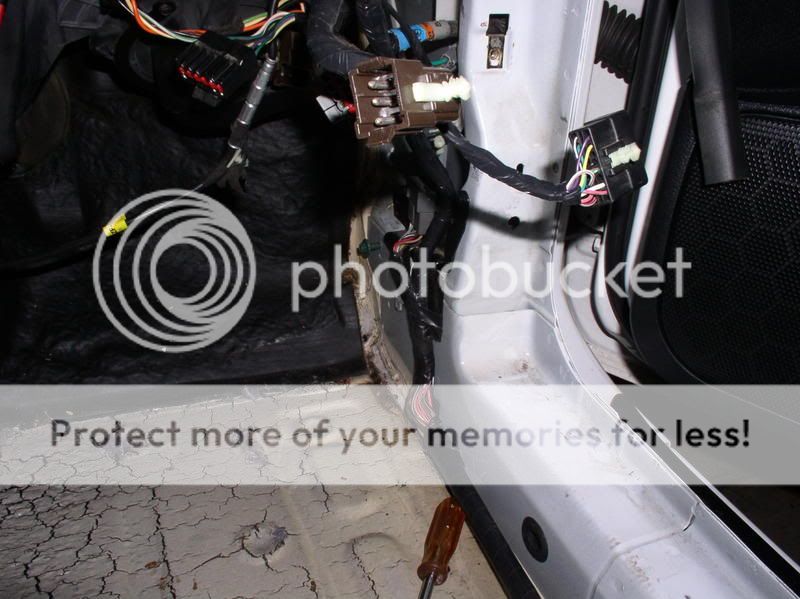
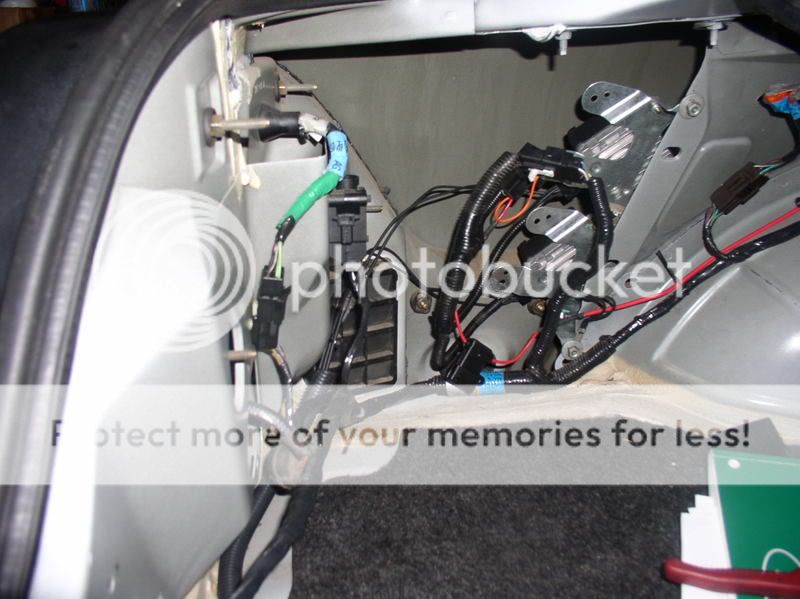
I have to figure out how to wire in my 94 Mach 460 rear amps, fog light switch (94 mounted in console, 03 mounted on stereo besel), and the seat belt switch.
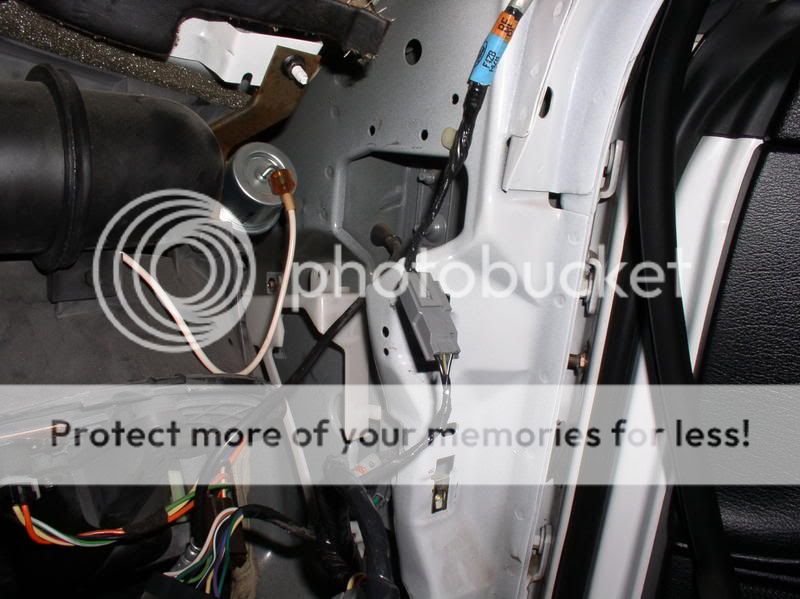
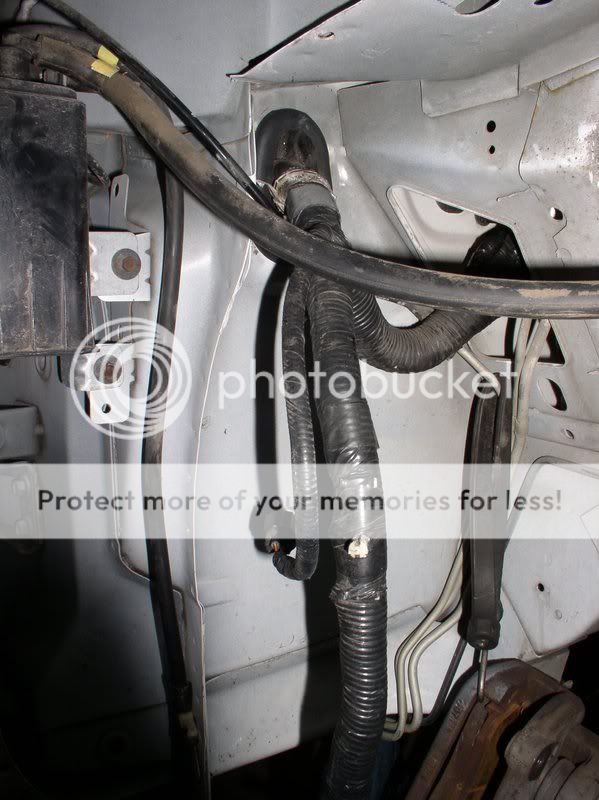
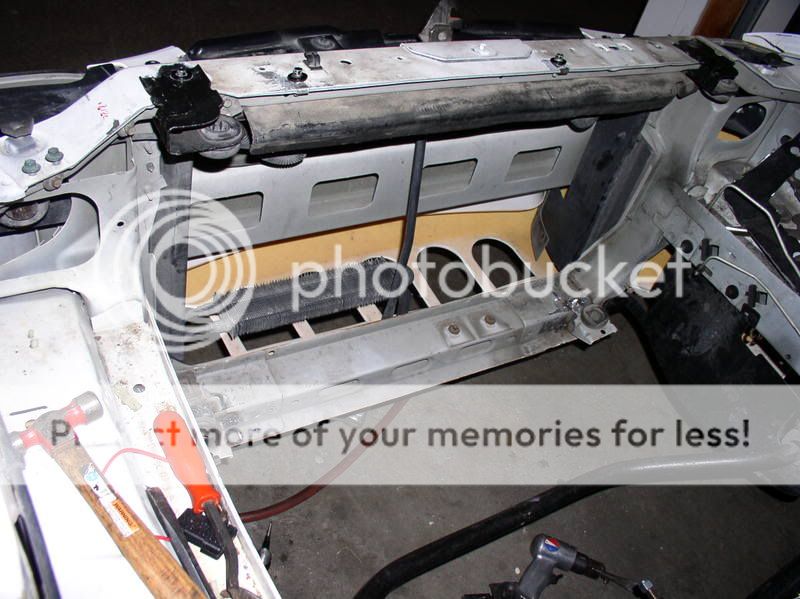
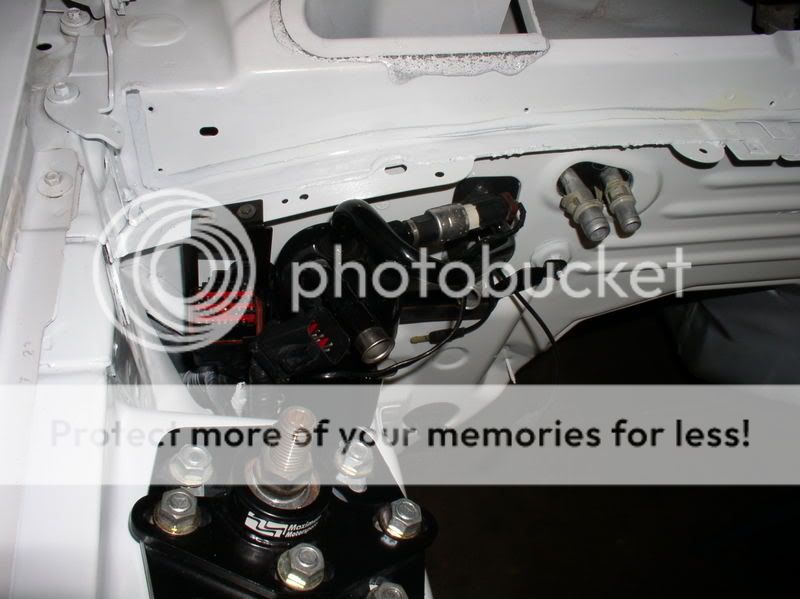
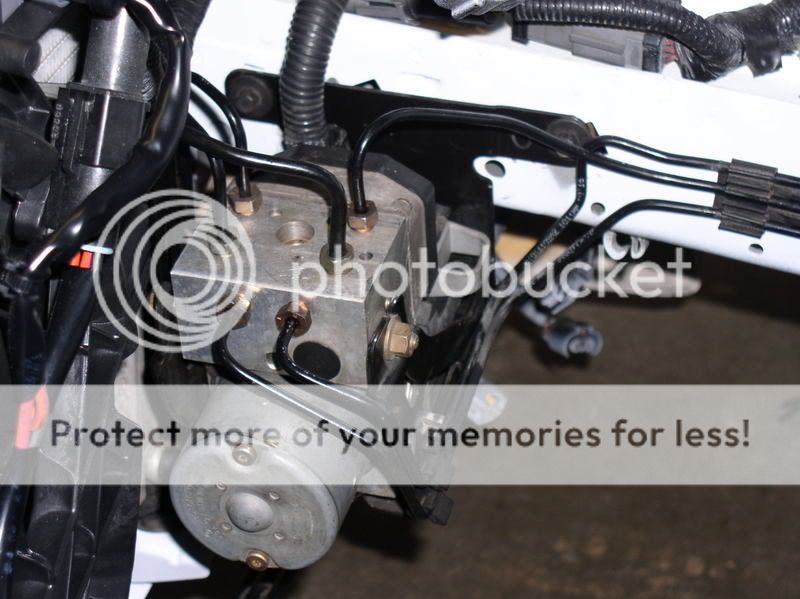
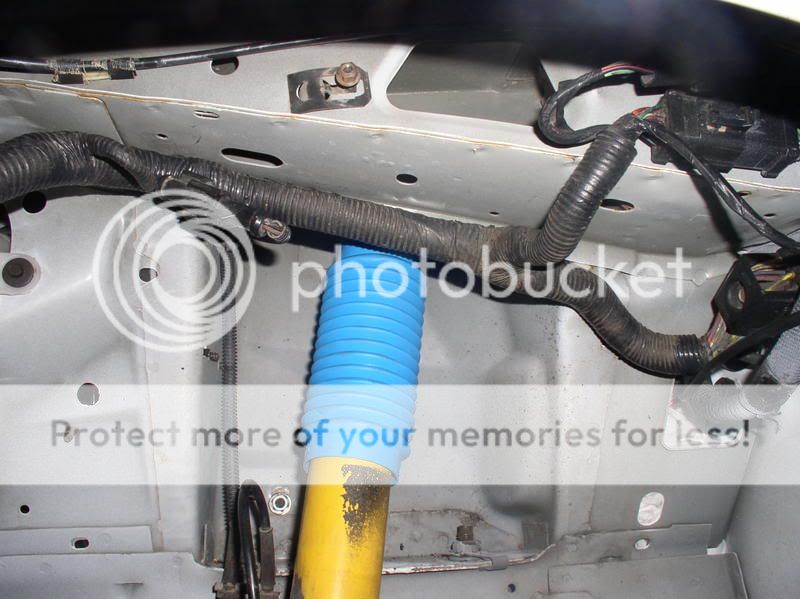
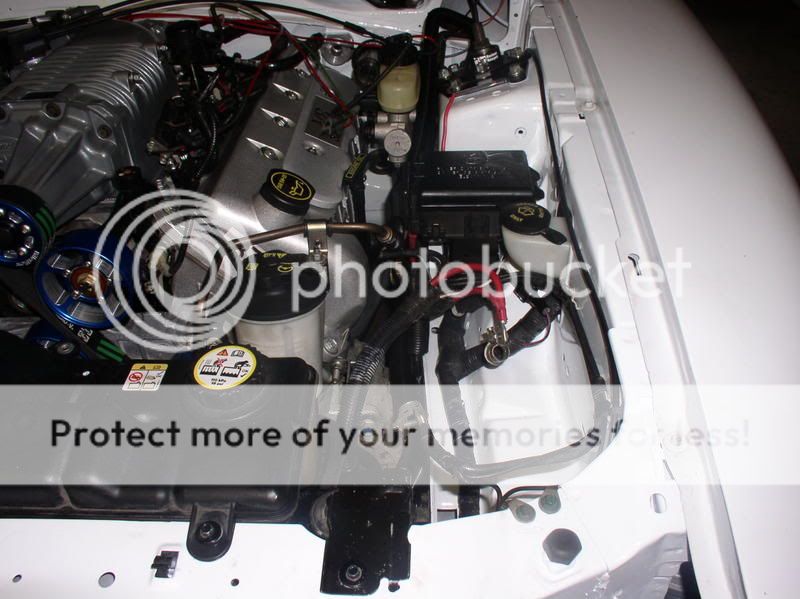
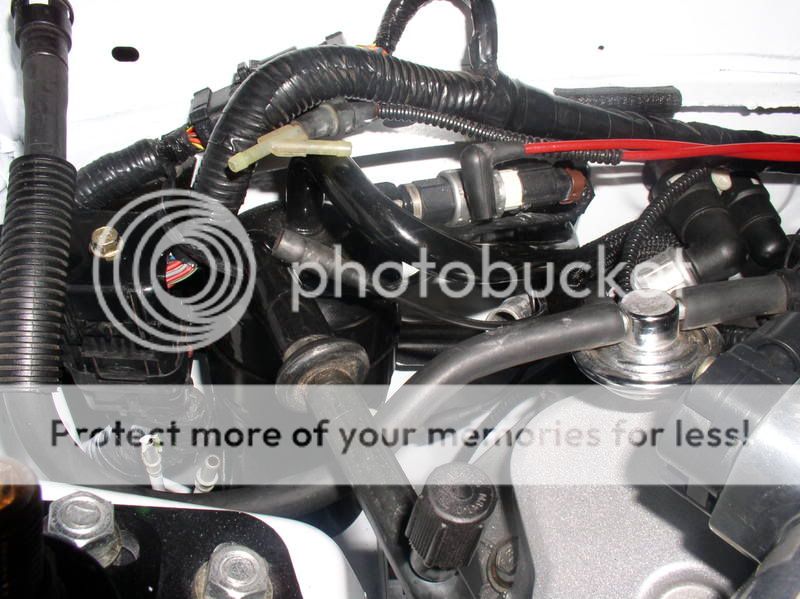
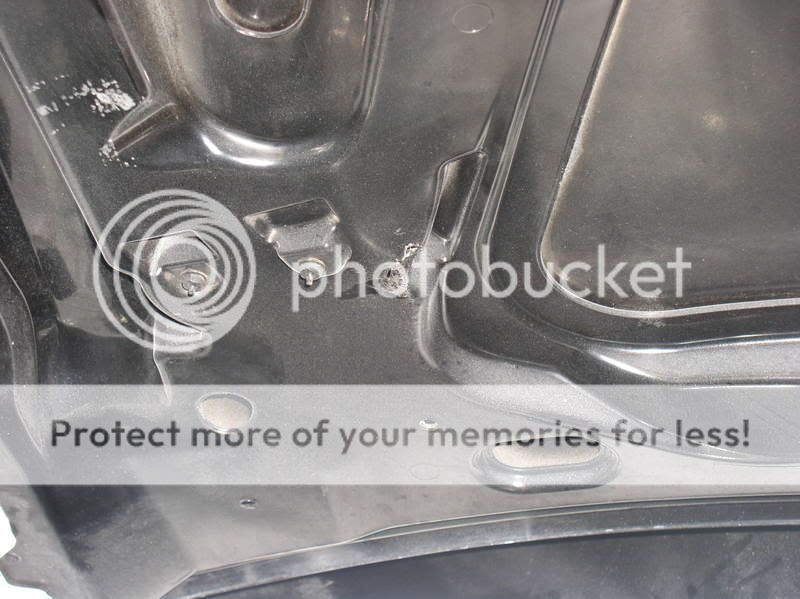
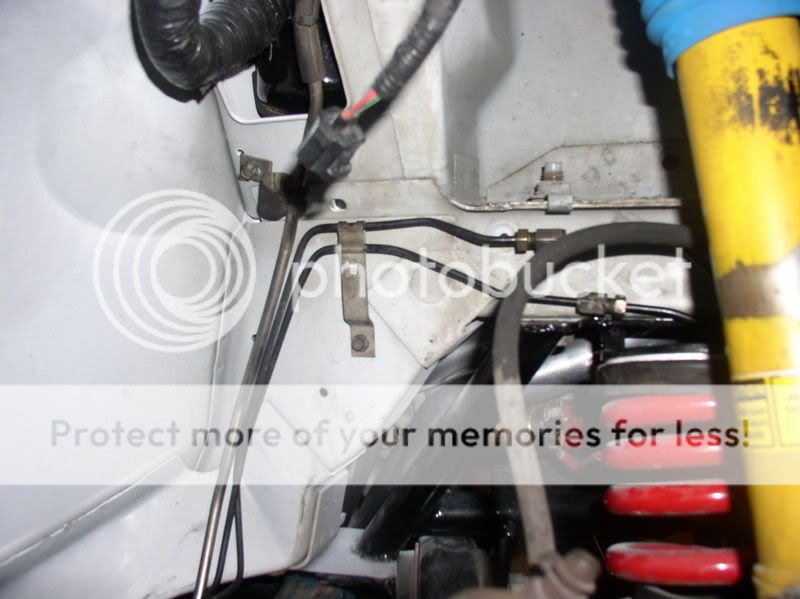
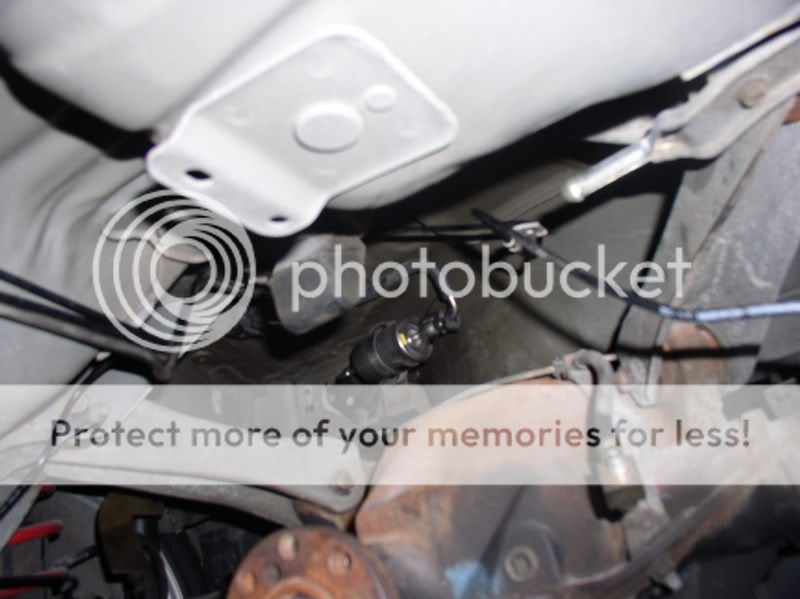
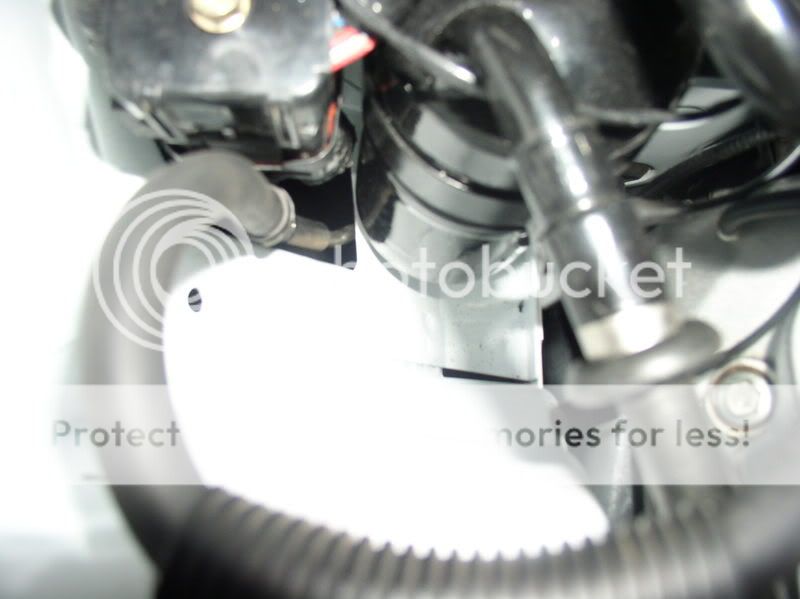
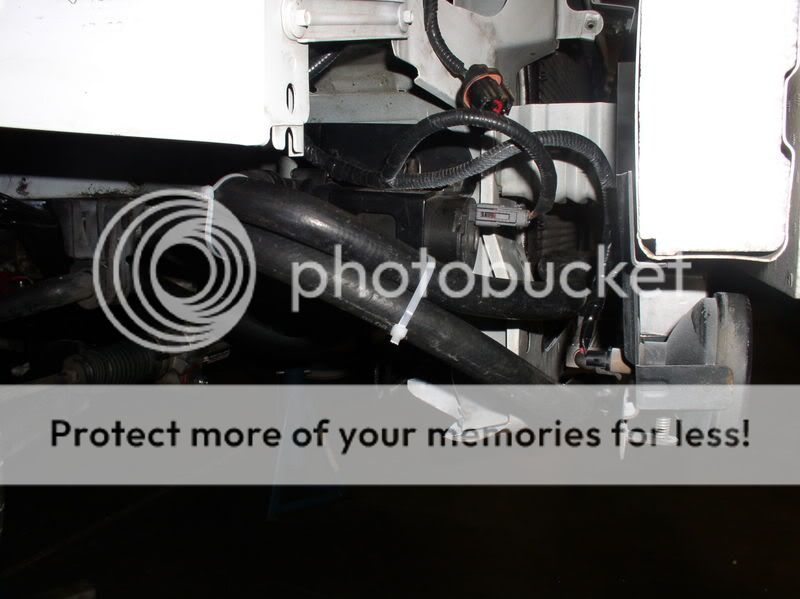
I finished installing the EEC and the EEC harness from the pass side wheel well.
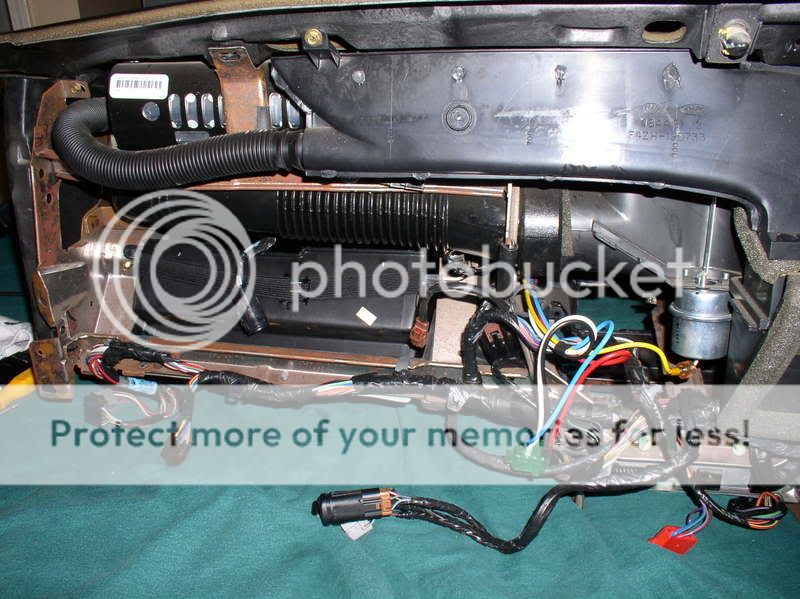
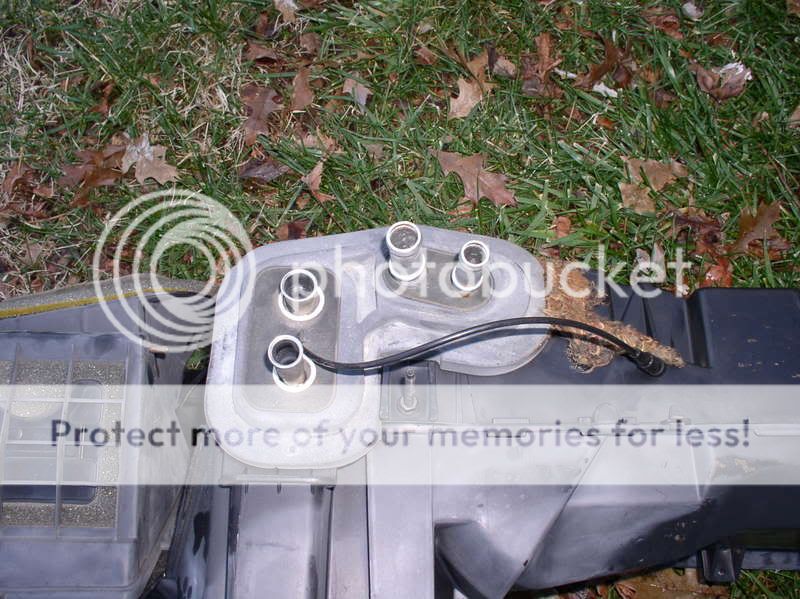
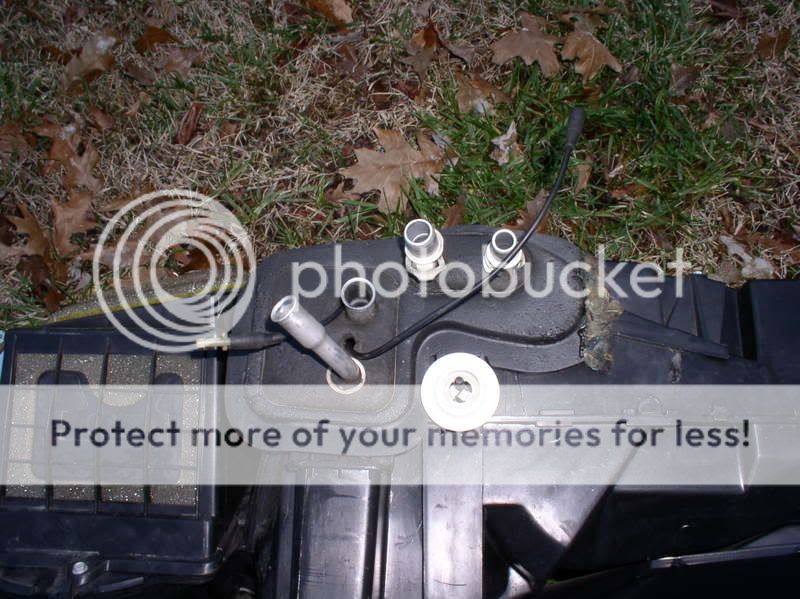
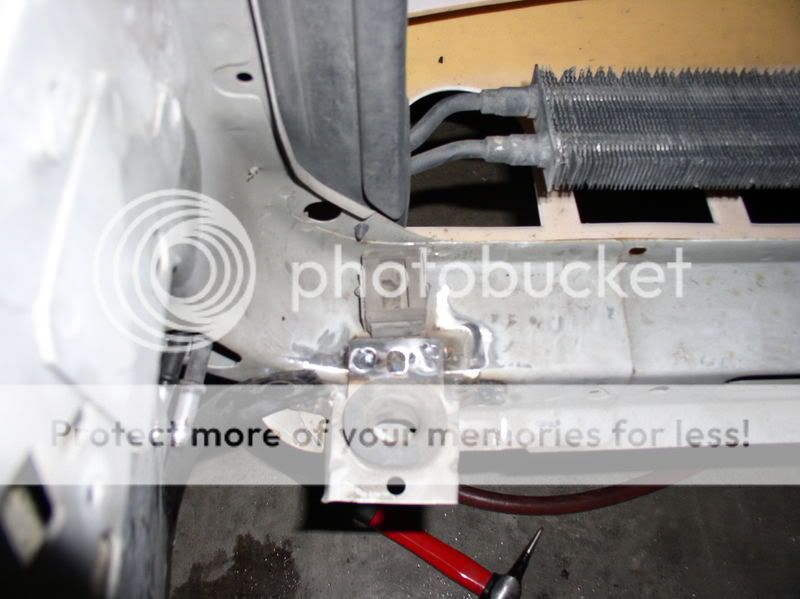
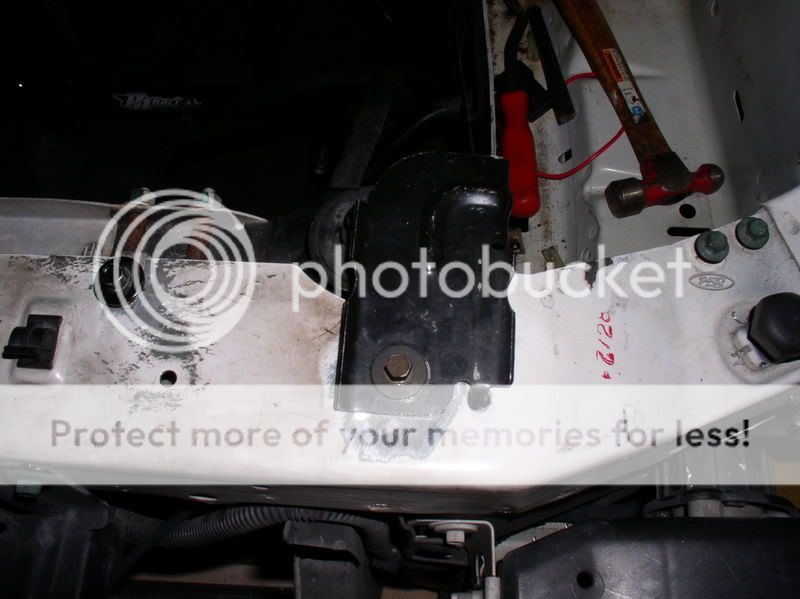
Next, I swapped my heater box assy. These three bolts need to be removed first.
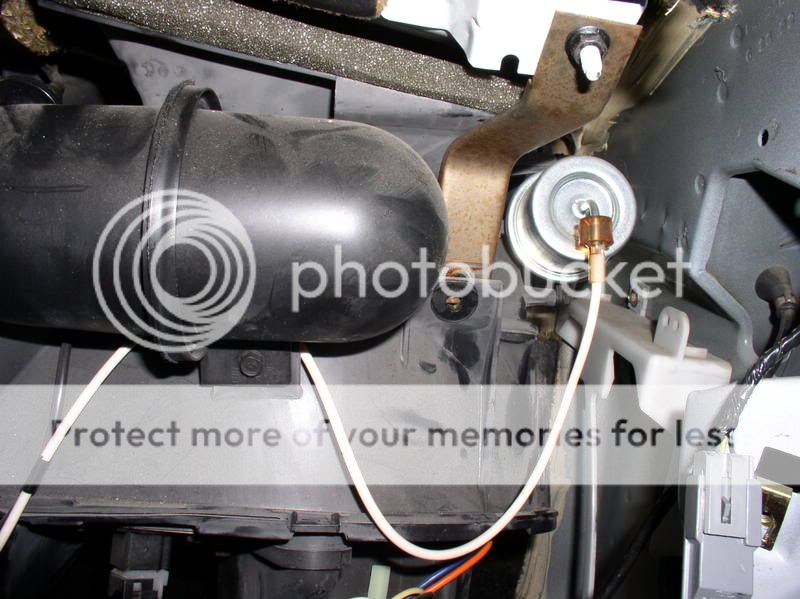
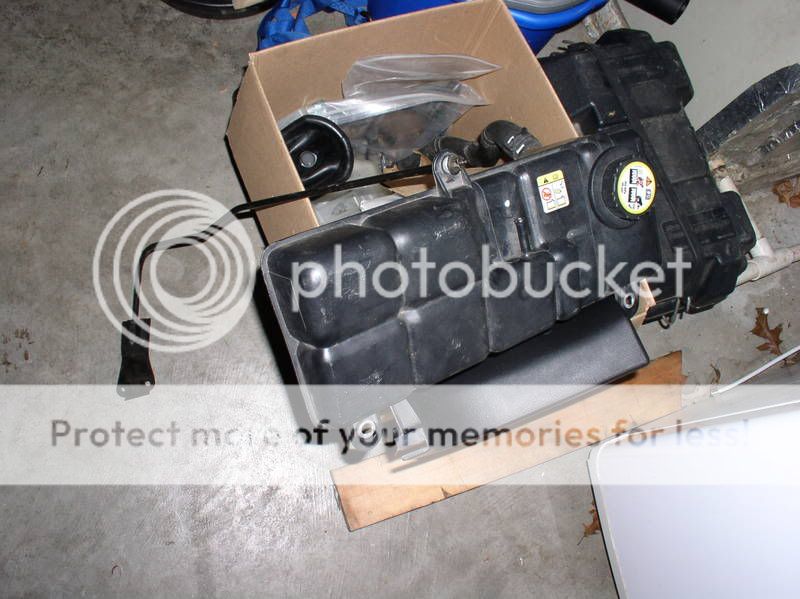
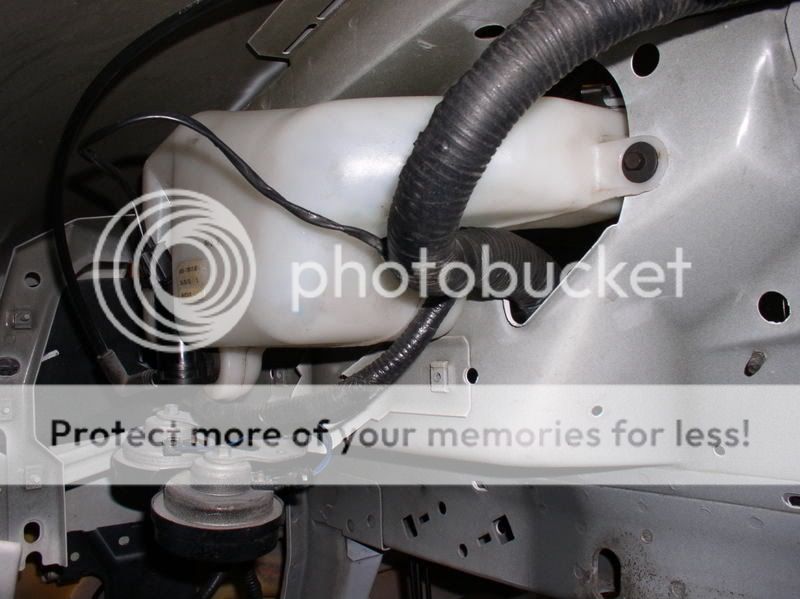
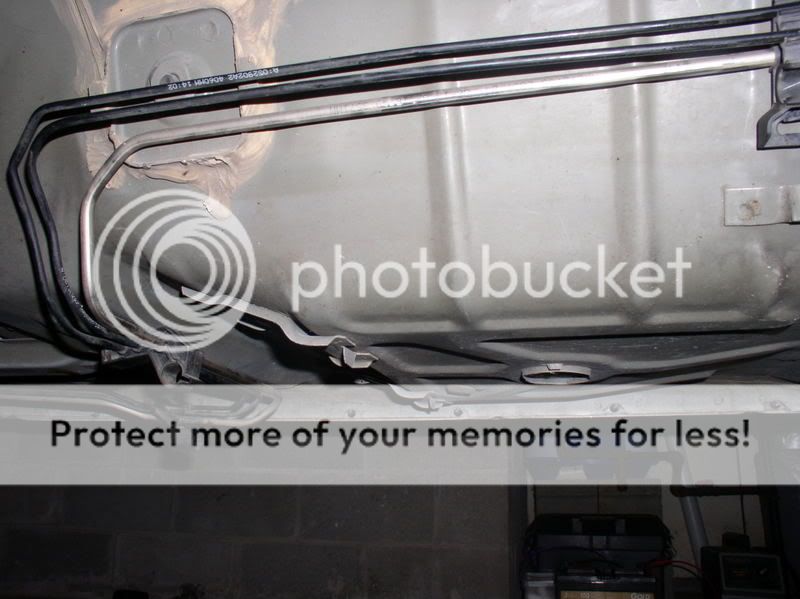
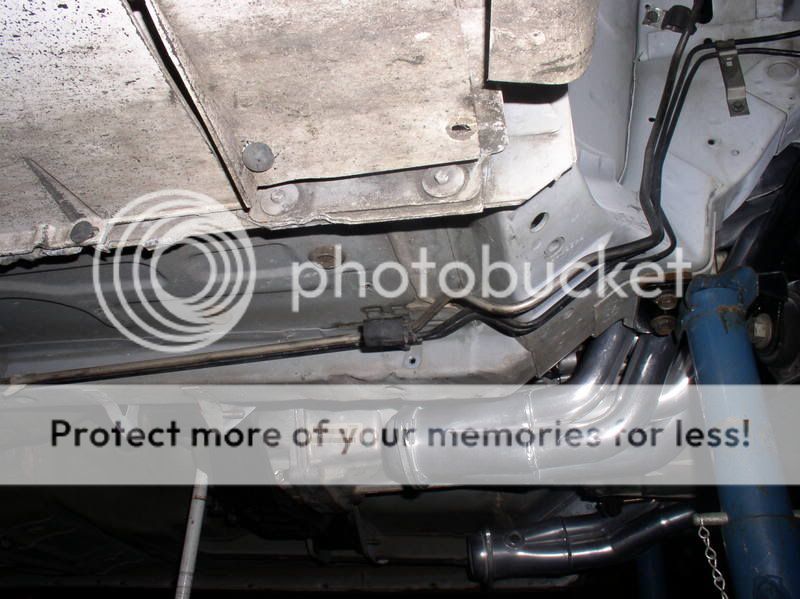
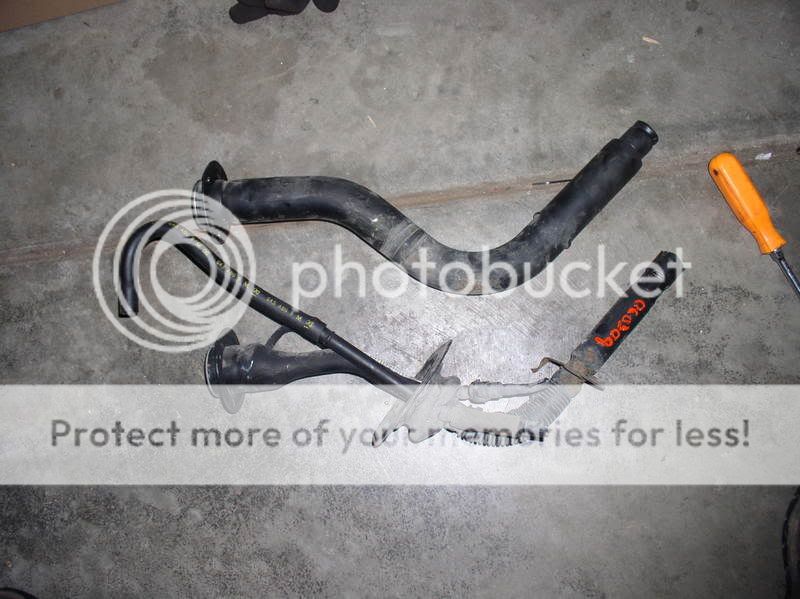
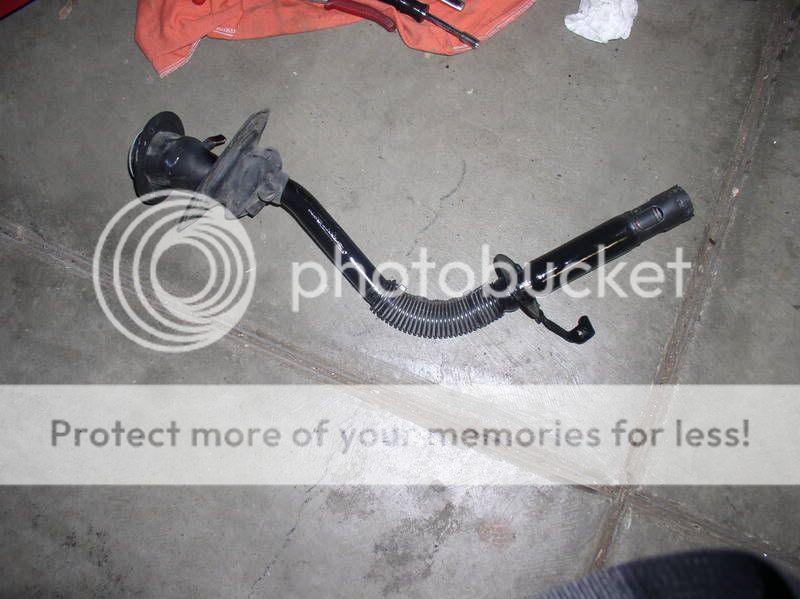
I had to move some of the parts from my 94 box to my 03 box. Mostly the fan assy and some duct work that was missing. Notice the difference in a/c lines.
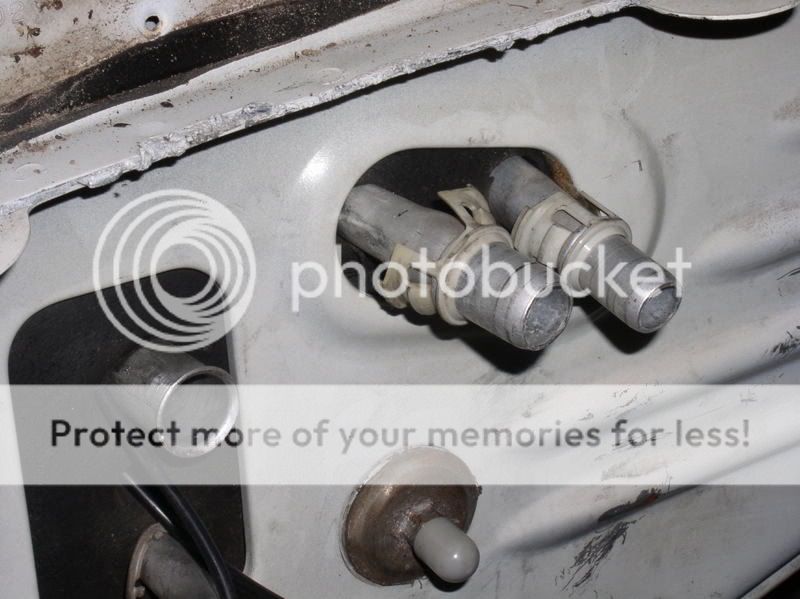
94 heater core lines
03 heater core lines
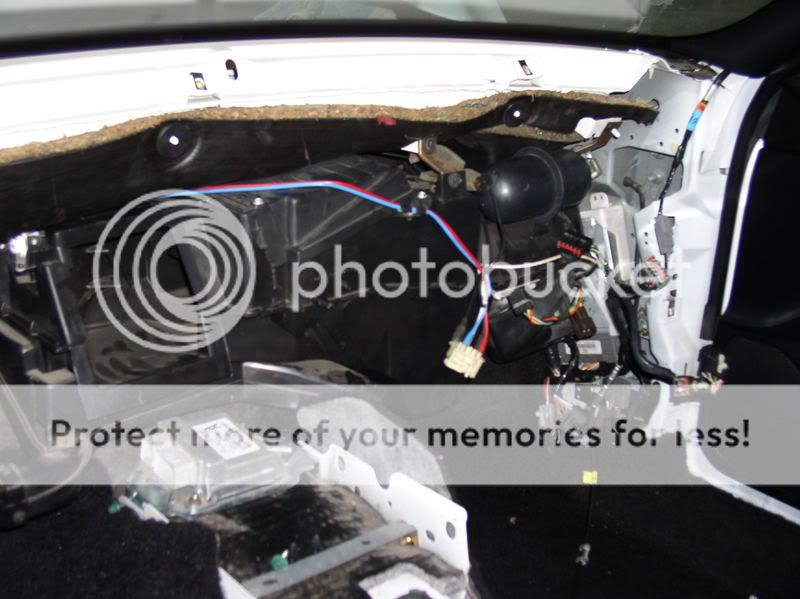
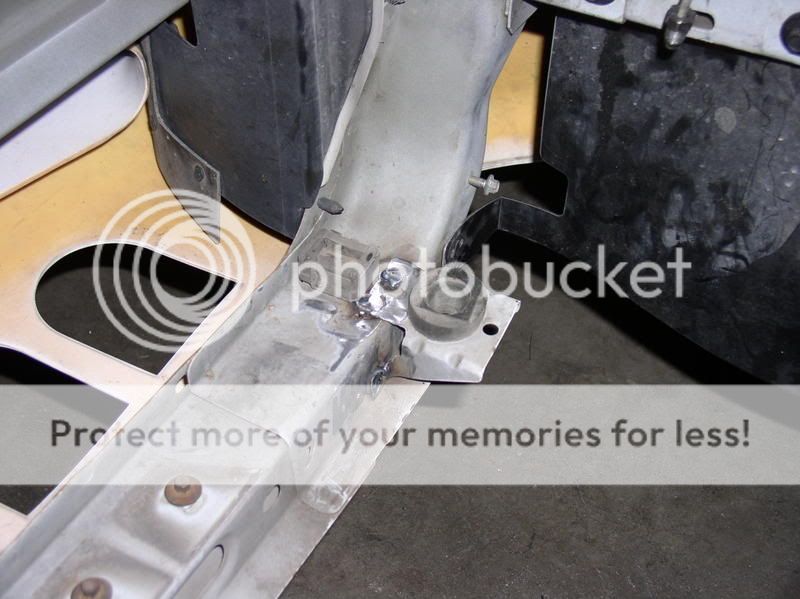
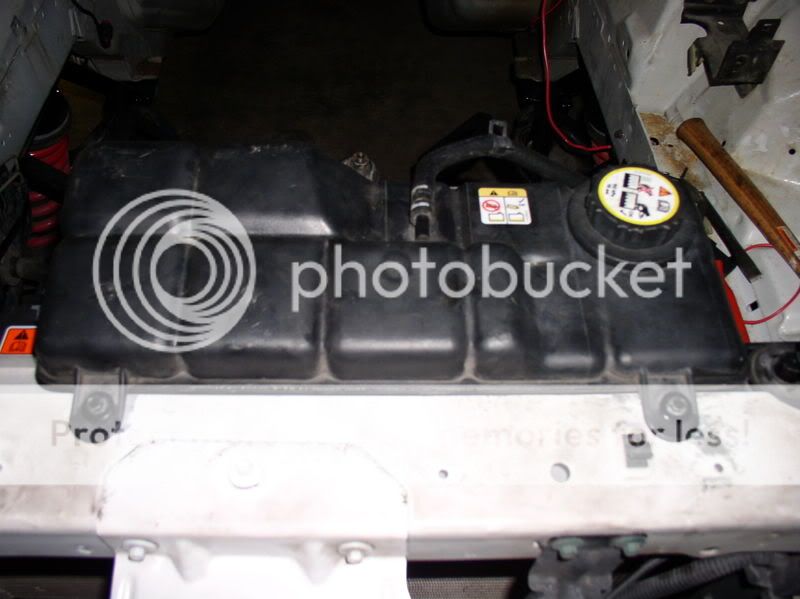
03 box installed. i will need to trim the hole opening.

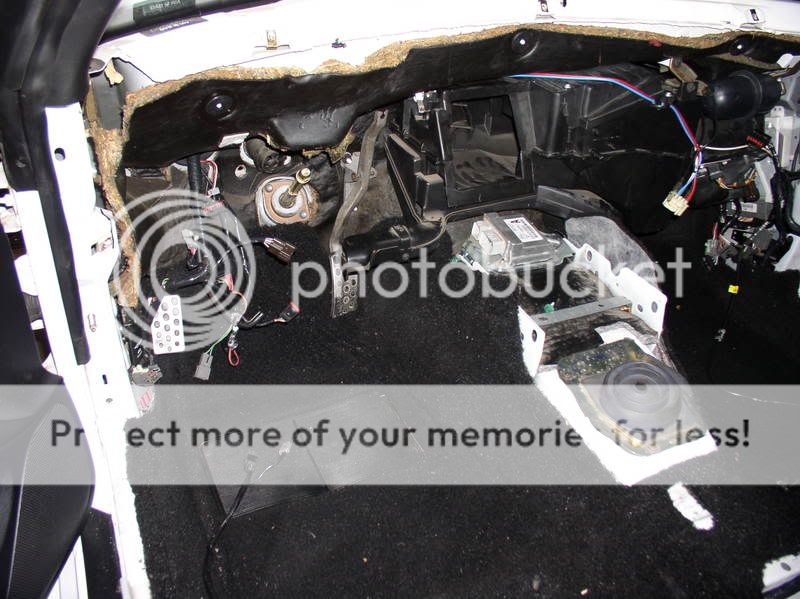
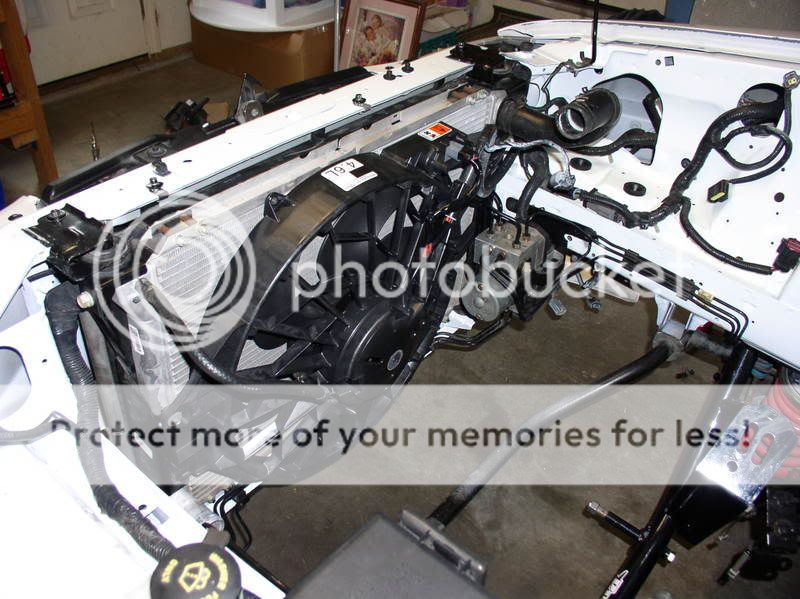
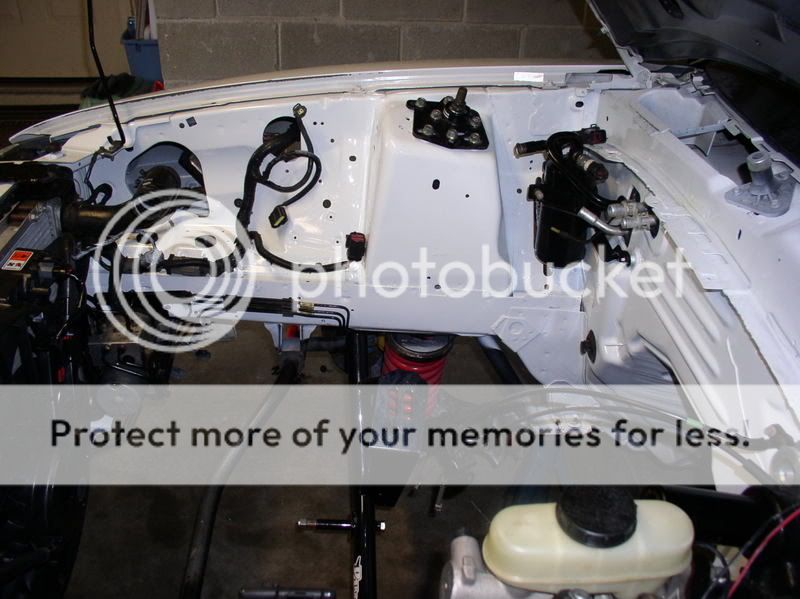
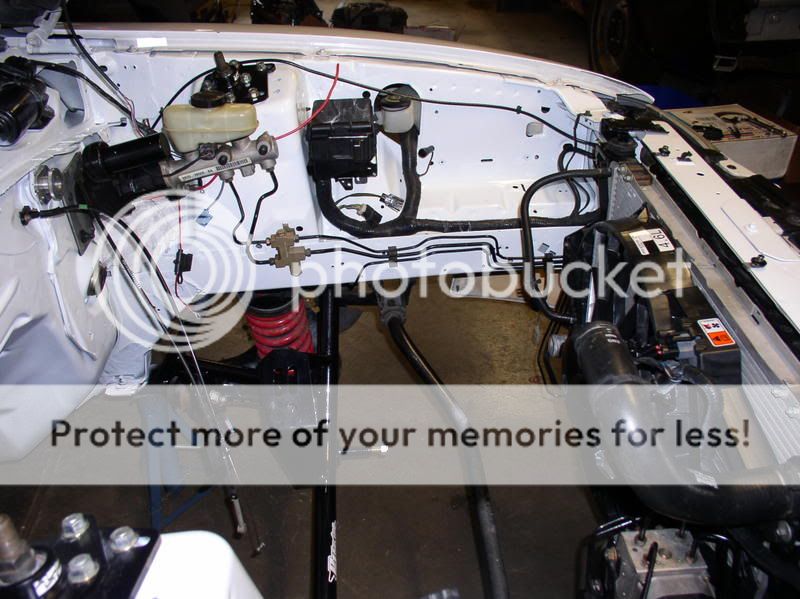
03 heater box installed along with eec and eec harness.

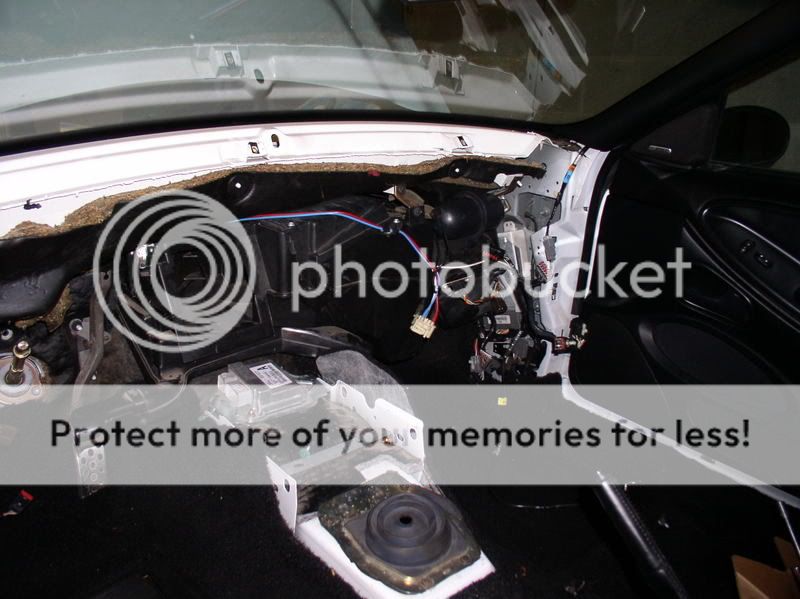
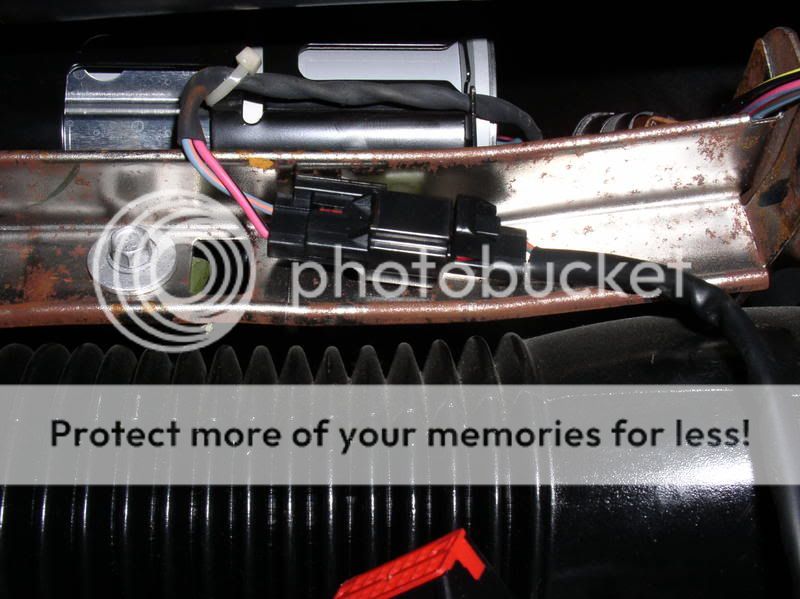
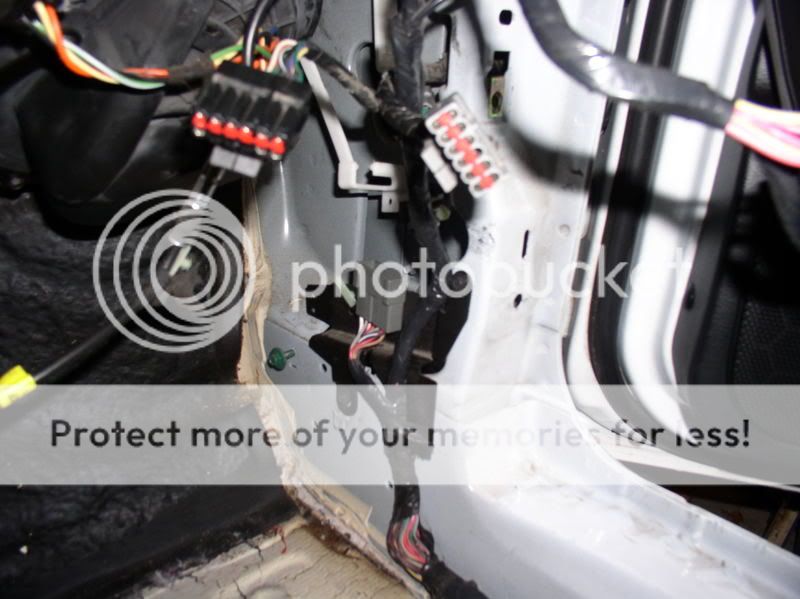
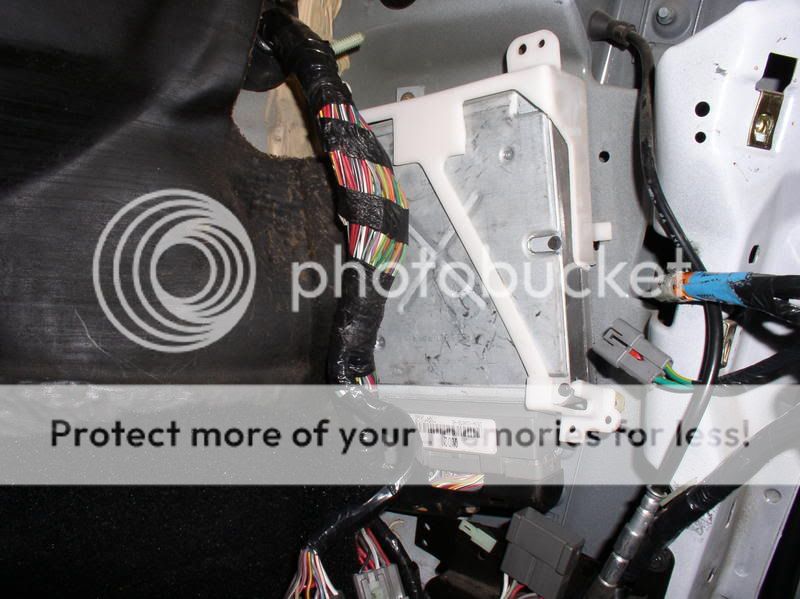
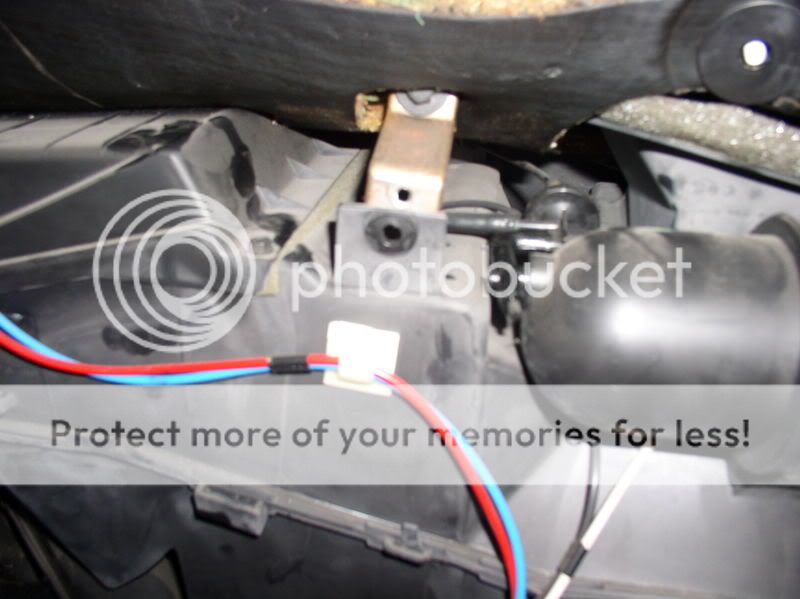
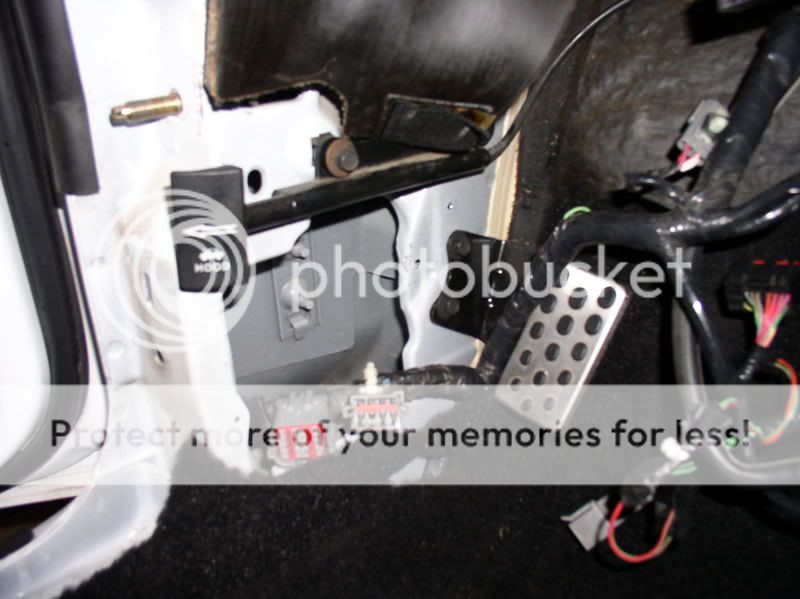
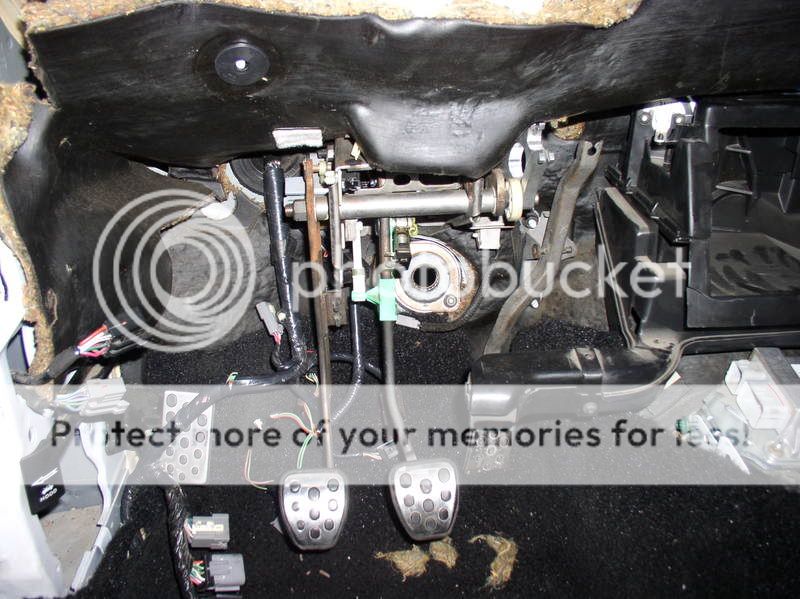
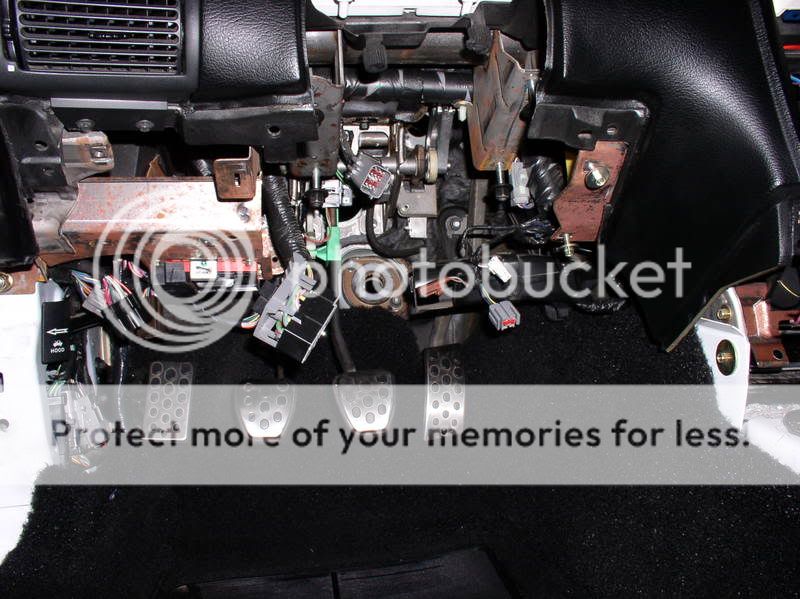
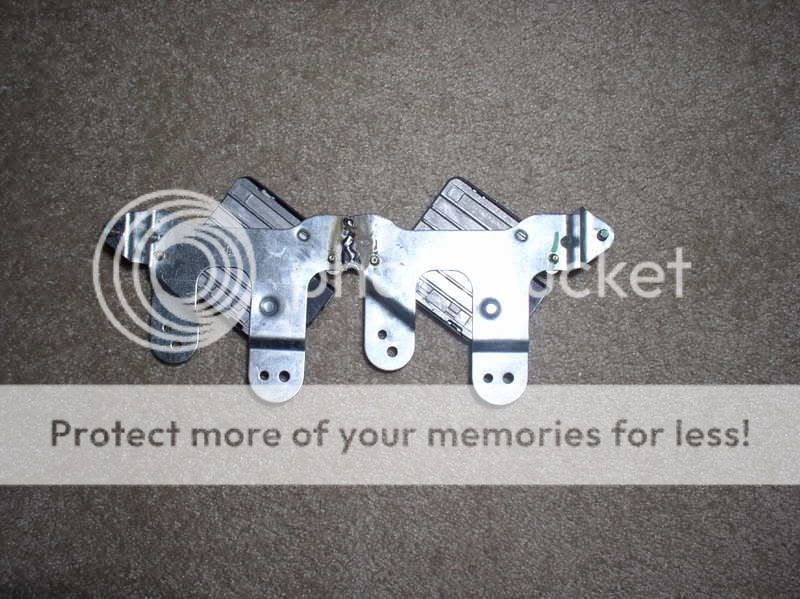
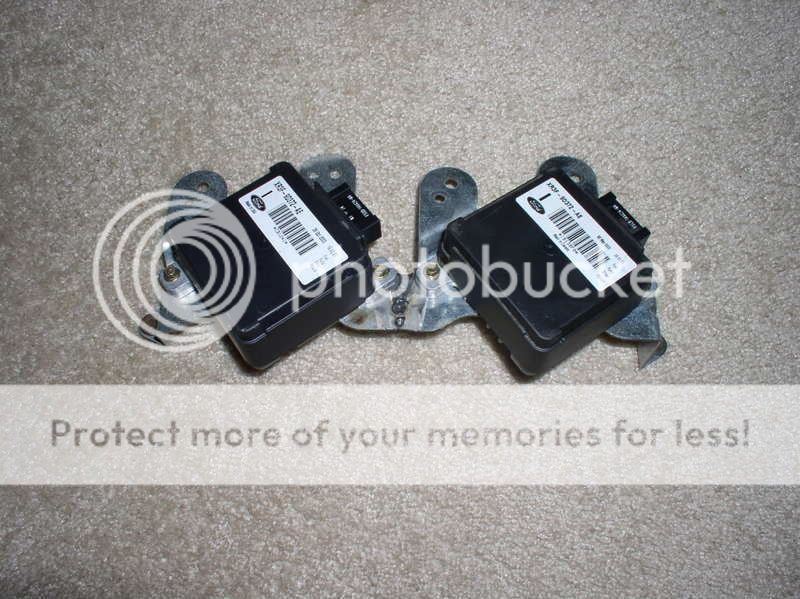
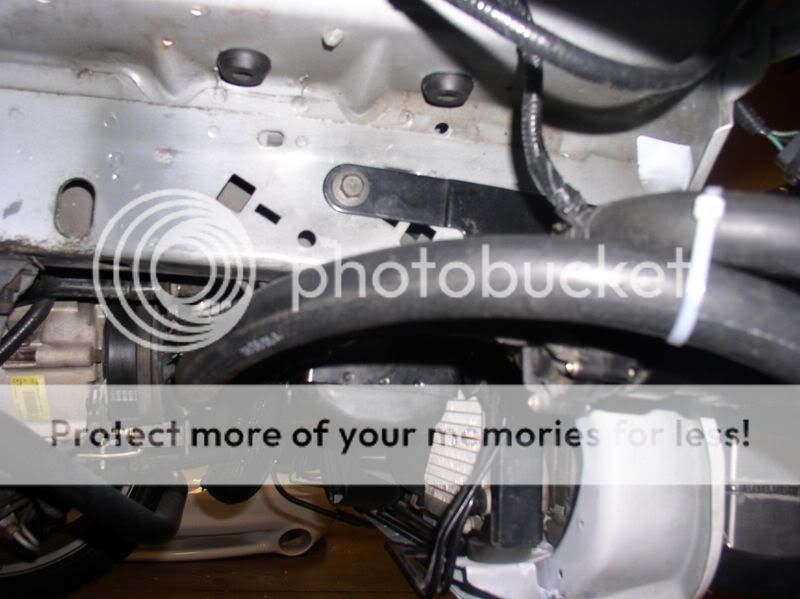
I need the bracket to mount this three connectors behind the drivers side kick panel. Notice I installed the 03 gas pedal and dead pedal.
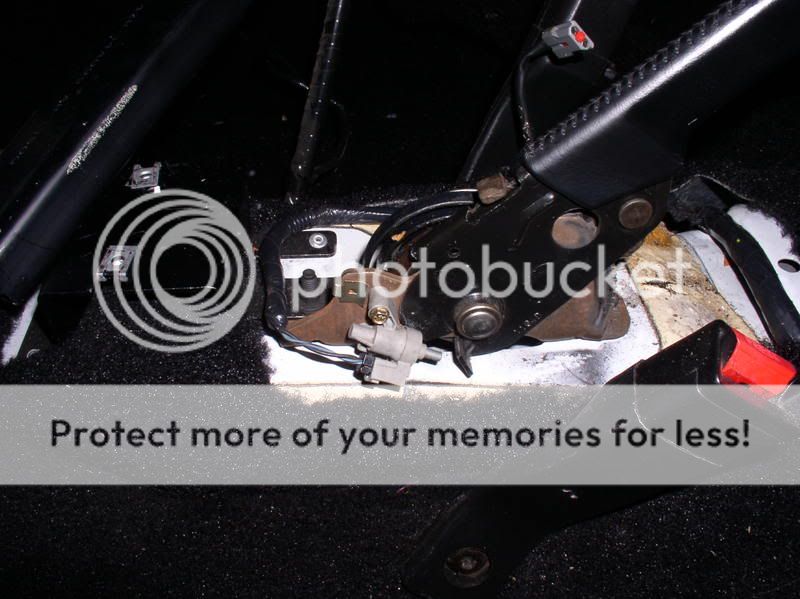
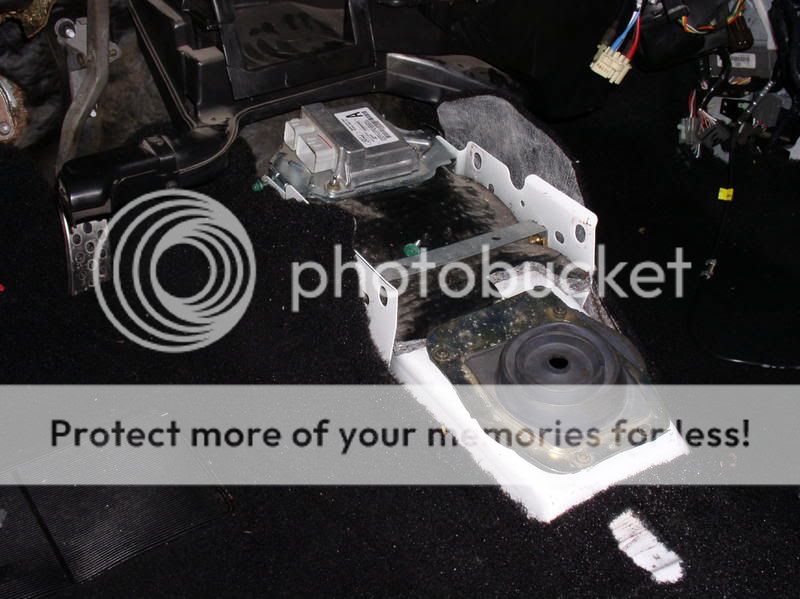
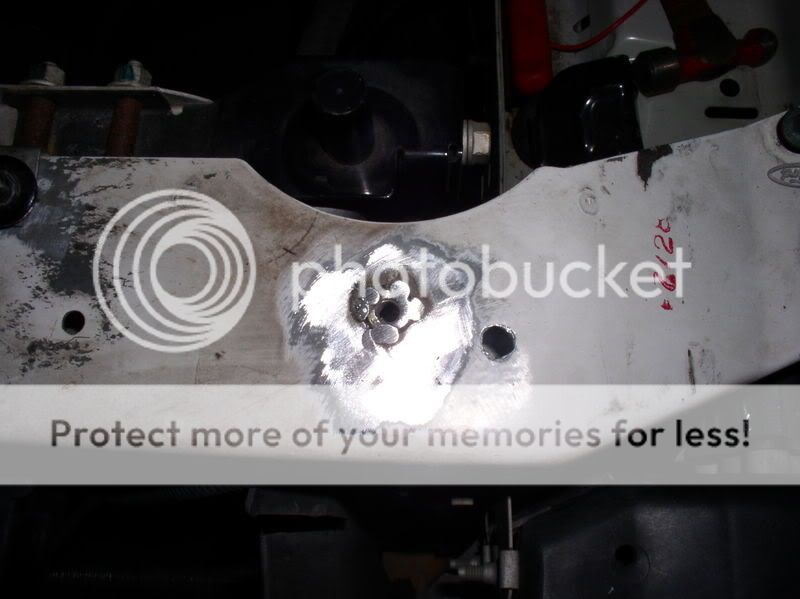
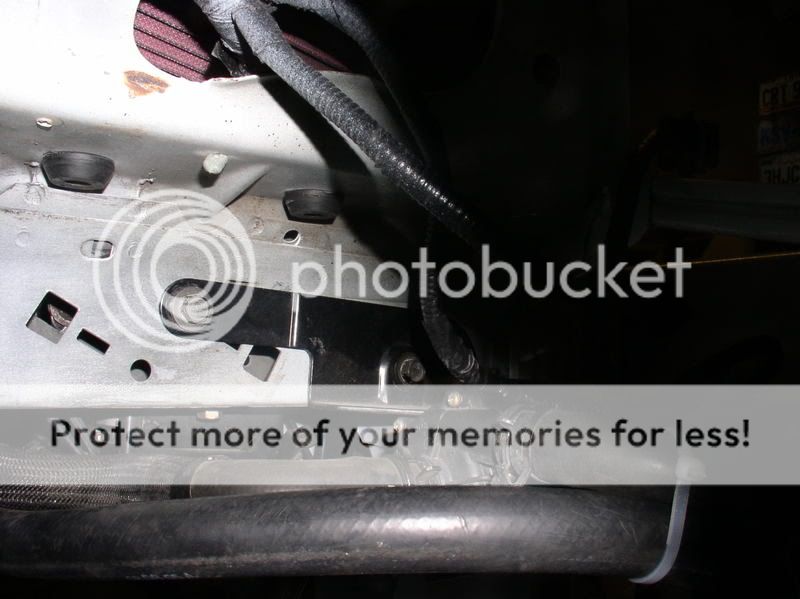
Air bag module installed. I need to trim the holes so the remaining bolt will fit
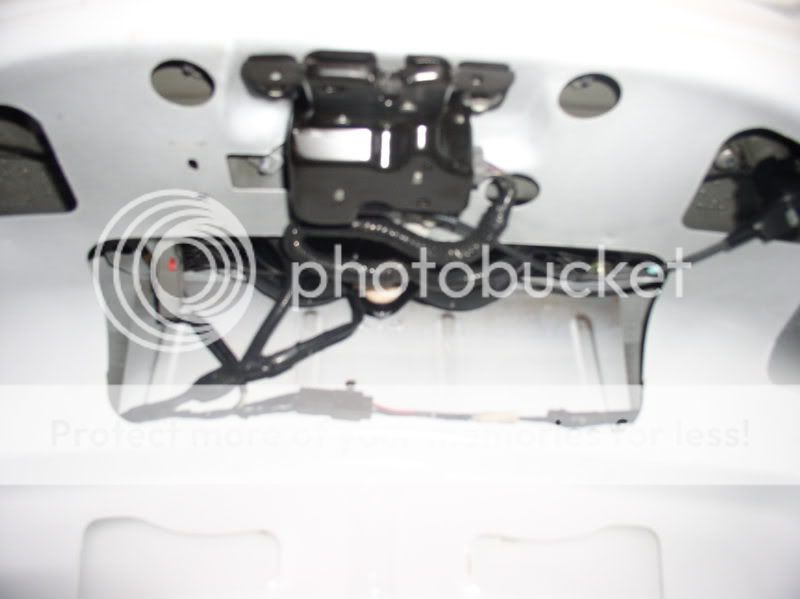
The 03 main body harness takes a different rear mach 460 amp harness than the 94 cobra does.
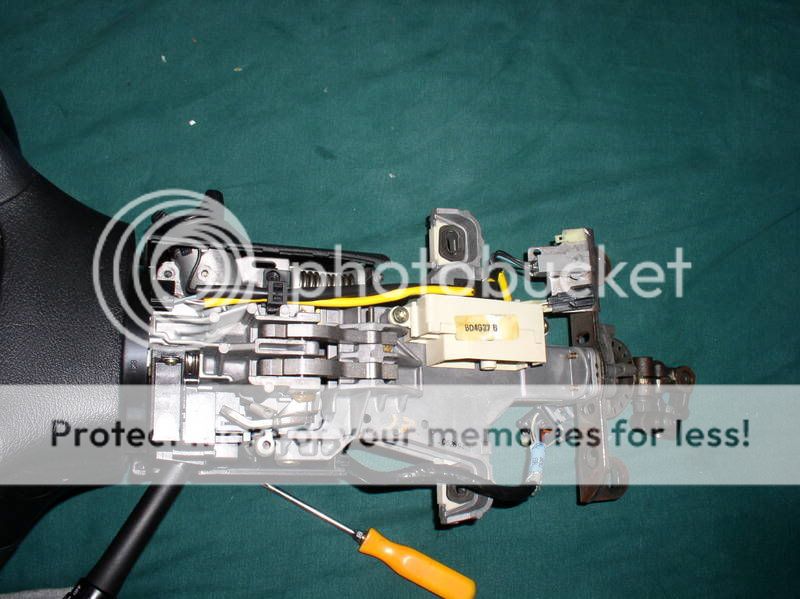
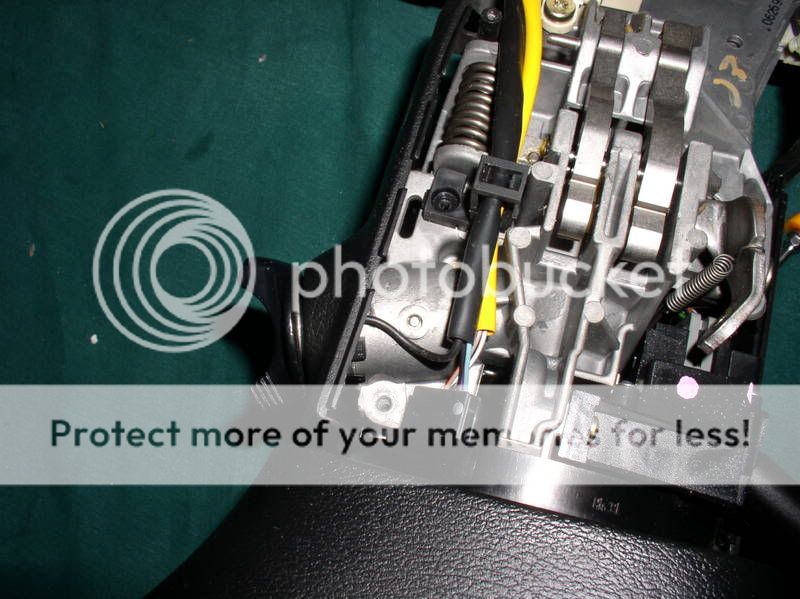
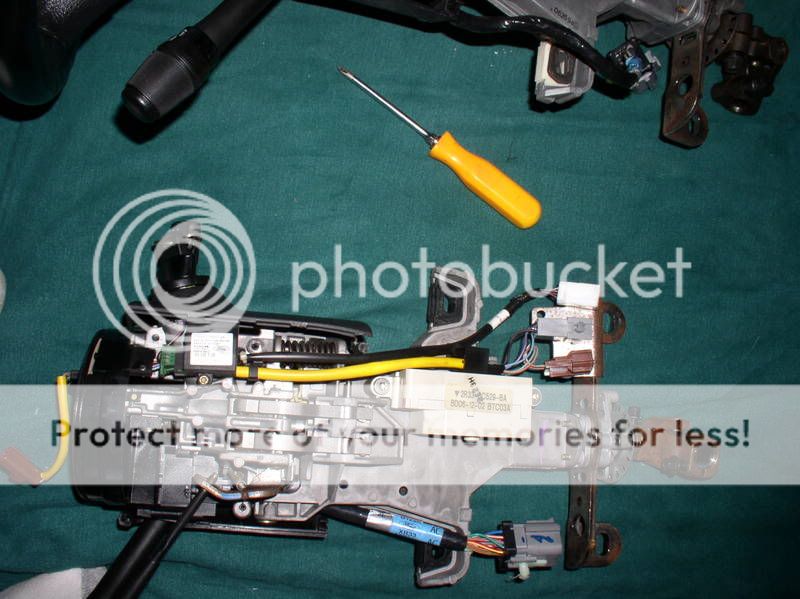
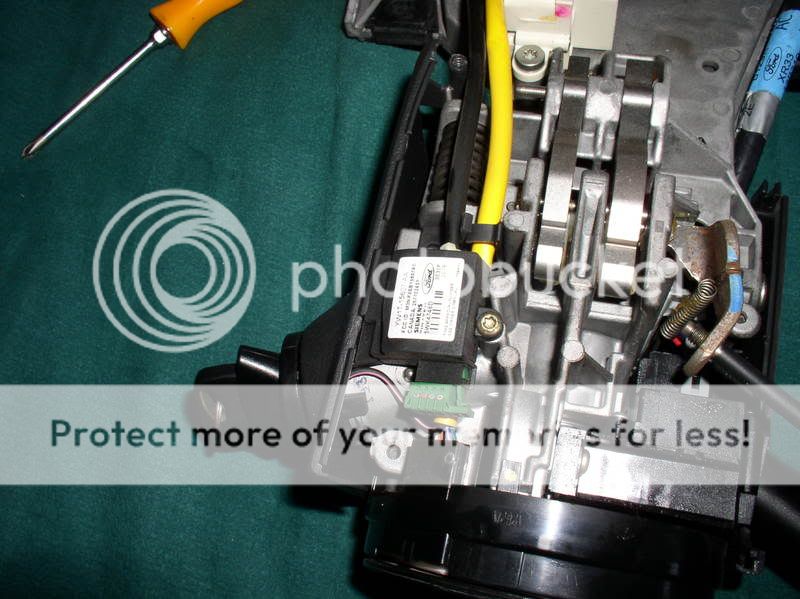
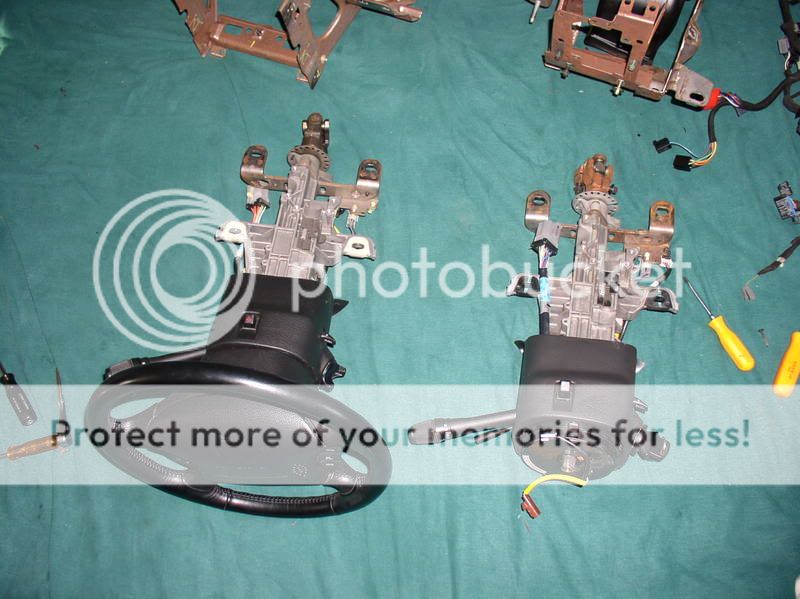
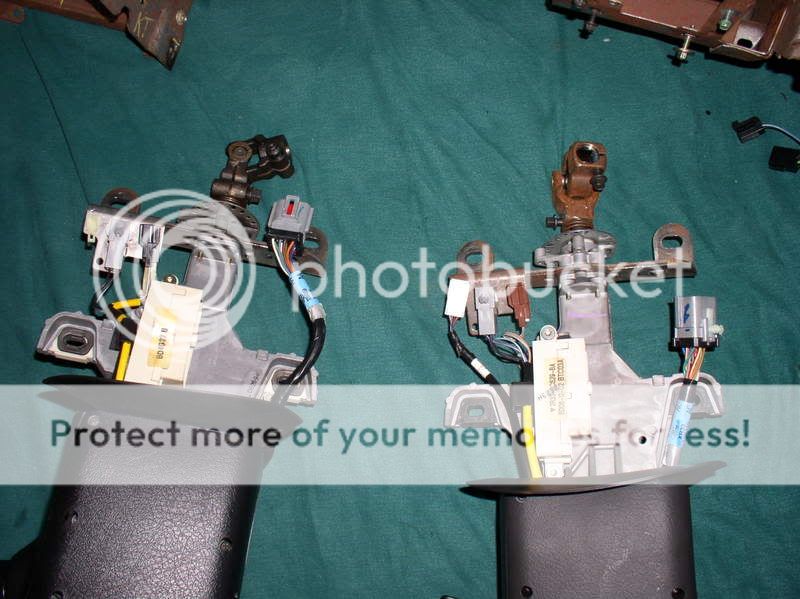
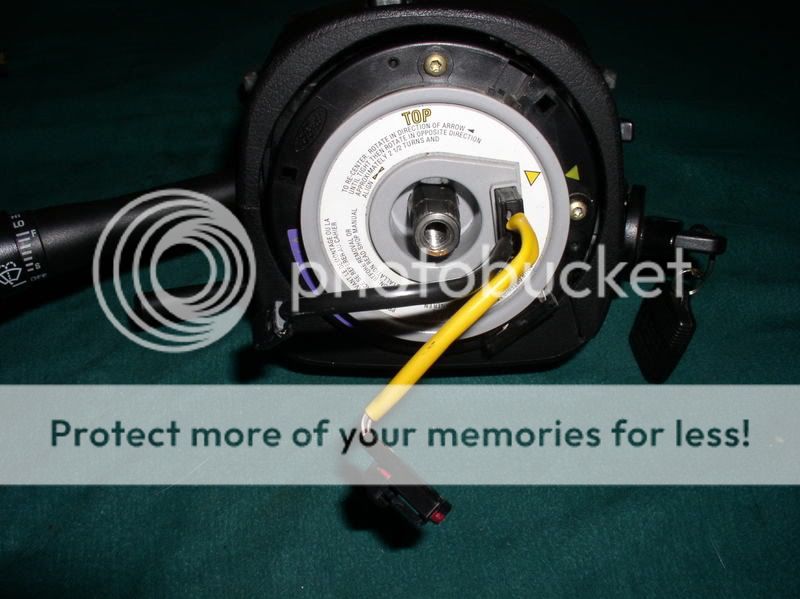
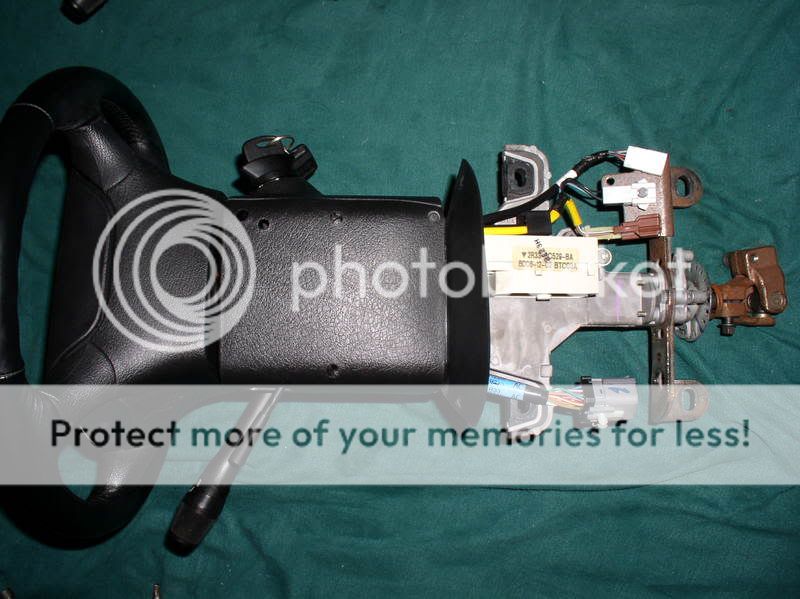
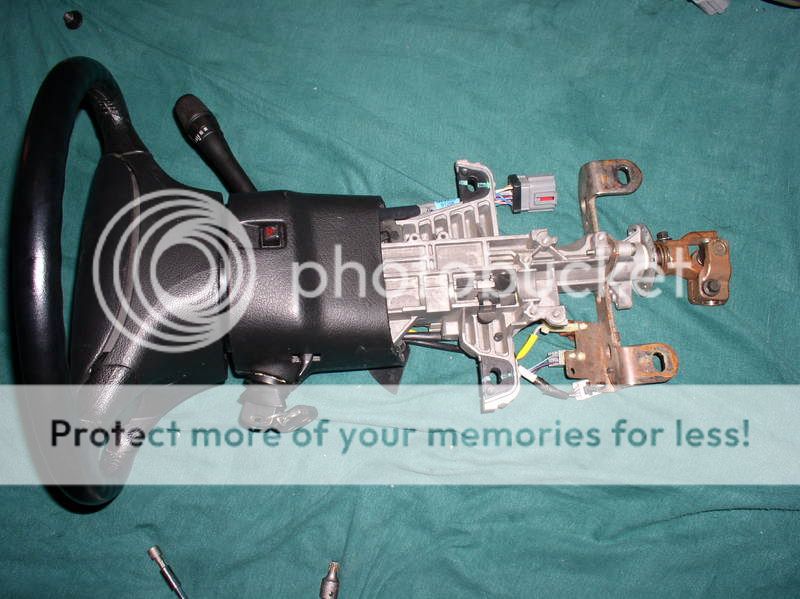
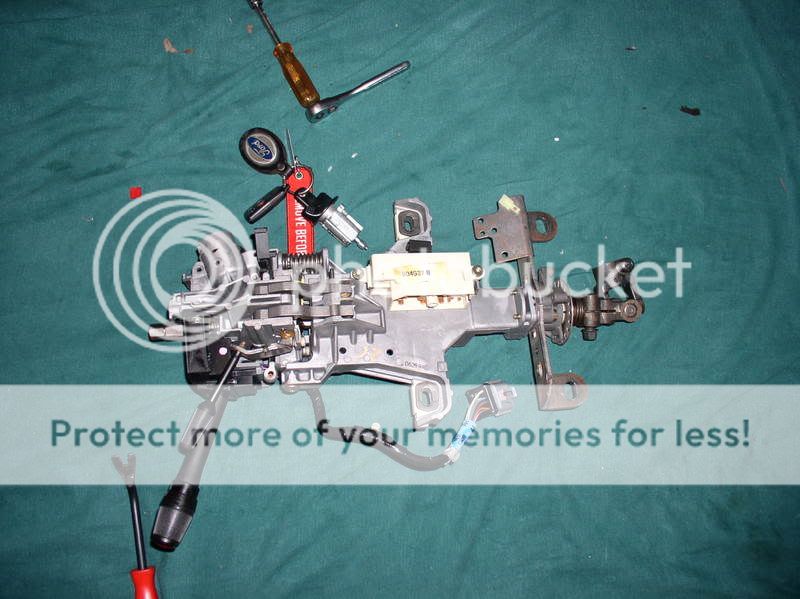
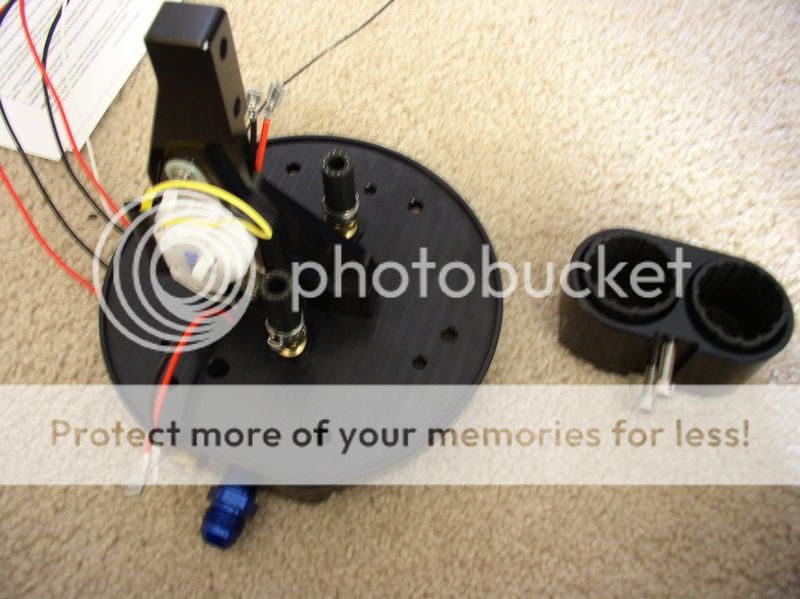
Column conversion
These are the two columns
94 column
94 key tumbler
03 column
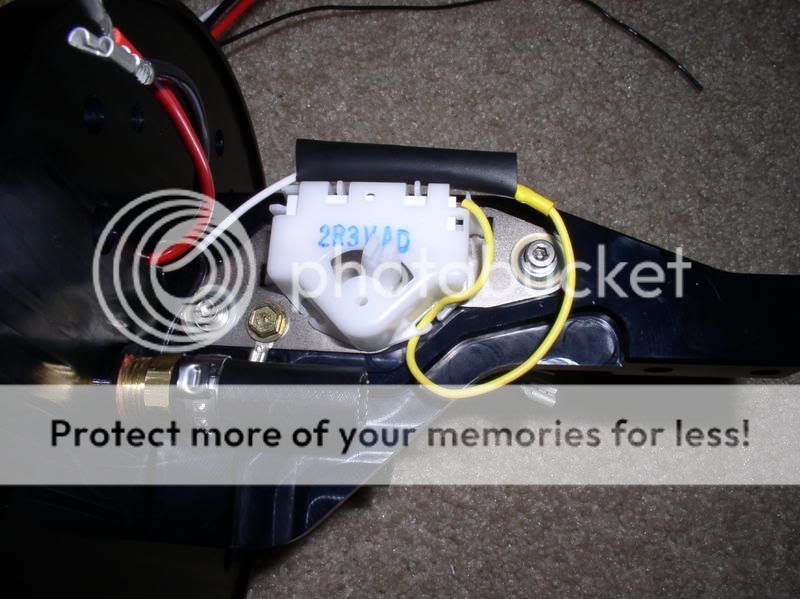
PATS
94 vs. 03 column
I don't know of another conversion such as this. Many similar but not exactly like this.
My 94 cobra has went through many changes over the past couple of years. I have finally settled on one setup. At least for now.
This is a major conversion.
04 cobra Motor
T56 trans
complete wiring harness
dash assy - reusing my black pad
brake system - reusing my calipers and spindles
pedals
steering column - reusing my steering wheel
fuel system
a/c system
coolant system
Mods Are:
Stiegemeier stage 5+ Ported eaton
Accufab plenum ported to match Stiegemeier stage 5+ port
2.76 upper / 2lb lower pulley
60 lb inj
SCT 2800 maf
longtubes
x pipe
Mac Flowpath catback
JLT CAI
4 piece idlers
egr delete
SCT Xcal II tuner
Spec stage 3+ clutch
Fidanza Flywheel
Fore top hat
GT pumps
dual FPDM's
First I started stripping the car down. Everything needed to come out.
I installed a PA Racing tubular K. Next I will be installing 03 A arms, sway bar, steering rack. I will re-use my spindles and brakes.
I then stripped the interior.
Pulled the dash and converted it. I wanted to keep most of the 94 look. Mostly because of the color. True black. Not charcoal like the 03-04's.
I swapped my dash pad and heating ducts over to the 03 metal frame and installed all of the 03 wiring.. Installed the 03 cluster.
03 pad after removed from the shell
03 dash shell with pad removed
94 dash before it is stripped
94 stripped shell and harness. Pad was relocated to new 03 dash frame
94 dash converted to 03 internals converted
I had to change the pass side air bag connector.
From Brown
to Black
The 94 has the defroster on the instrument bezel whereas the 03 has it on the stereo bezel. I am having to cut and splice the harness and run to my stock defroster switch.
I also replaced my complete body harness. Man the 03 body harness was a pain. I had to take the car completly apart. What a pain in the ass.
main body 03 harness
From this
To this
I have to figure out how to wire in my 94 Mach 460 rear amps, fog light switch (94 mounted in console, 03 mounted on stereo besel), and the seat belt switch.
I finished installing the EEC and the EEC harness from the pass side wheel well.
Next, I swapped my heater box assy. These three bolts need to be removed first.
I had to move some of the parts from my 94 box to my 03 box. Mostly the fan assy and some duct work that was missing. Notice the difference in a/c lines.
94 heater core lines
03 heater core lines
03 box installed. i will need to trim the hole opening.
03 heater box installed along with eec and eec harness.
I need the bracket to mount this three connectors behind the drivers side kick panel. Notice I installed the 03 gas pedal and dead pedal.
Air bag module installed. I need to trim the holes so the remaining bolt will fit
The 03 main body harness takes a different rear mach 460 amp harness than the 94 cobra does.
Column conversion
These are the two columns
94 column
94 key tumbler
03 column
PATS
94 vs. 03 column


")