G
GREG@SN95
Guest
Okay... This is very easy. I did this write-up to try and help out the regular guys that don't have a $200 buffer etc... I did this entirely by hand and it only took an hour or so. Take your time and you will have like new lights.
Here's what you need.
1. Various sandpapers ranging from wet/dry 800-2000grits
2. Rubbing compound
3. Polish
4. wax
5. Applicator pad & clean rag or microfiber,
6. Water
7. Backing pad
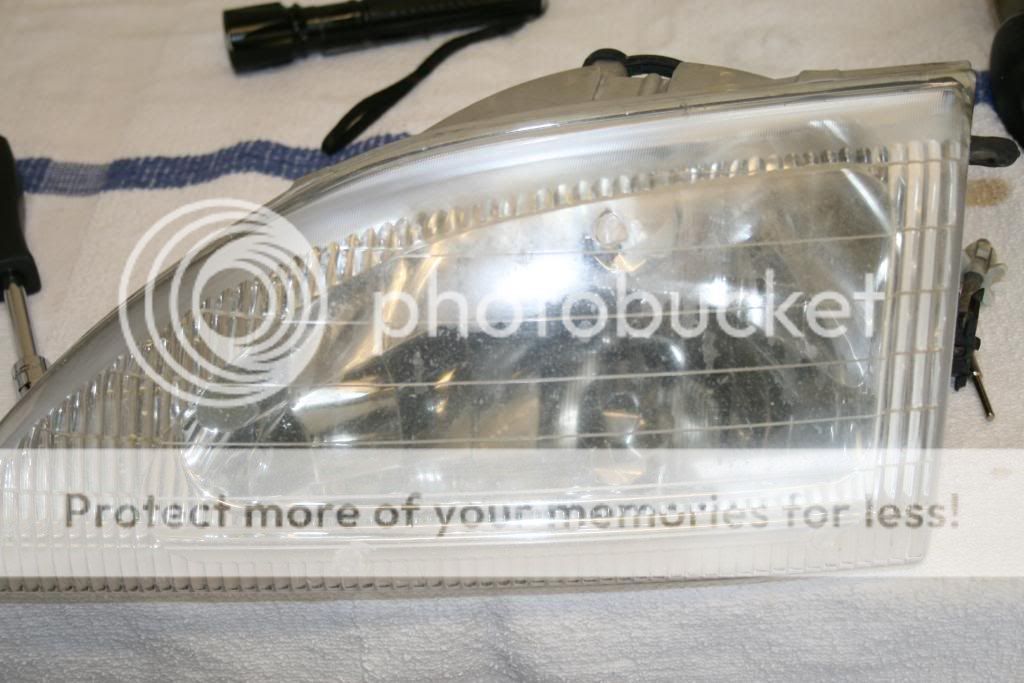
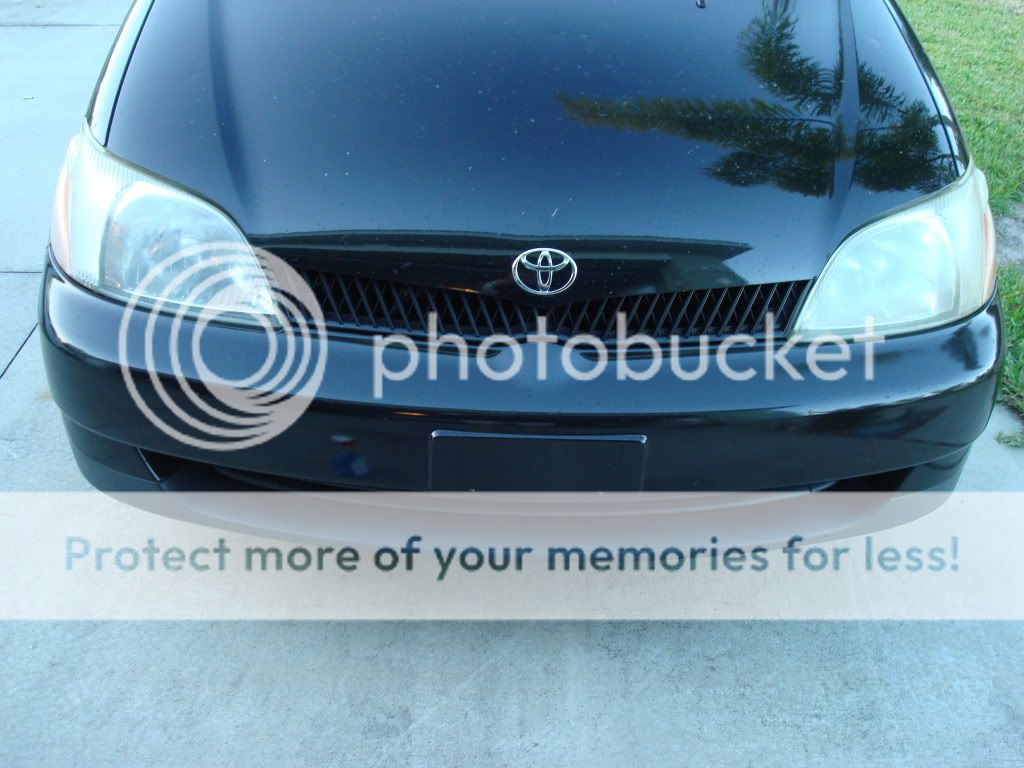
To help you understand exactly what we're doing here I'll explain the problem. Overtime, just about every substance undergoes a process called oxidation. Metals, paints, plastics, you name it. The yellow foggy look you have on your lights is an example of oxidation. The only way to get rid of it is to remove a fine layer of oxidized plastic until you reach clean non-oxidized plastic. Your average rubbing compound usually isn't aggressive enough to remove the amount of plastic needed, worst case scenario you will need to use an 800 grit sandpaper.
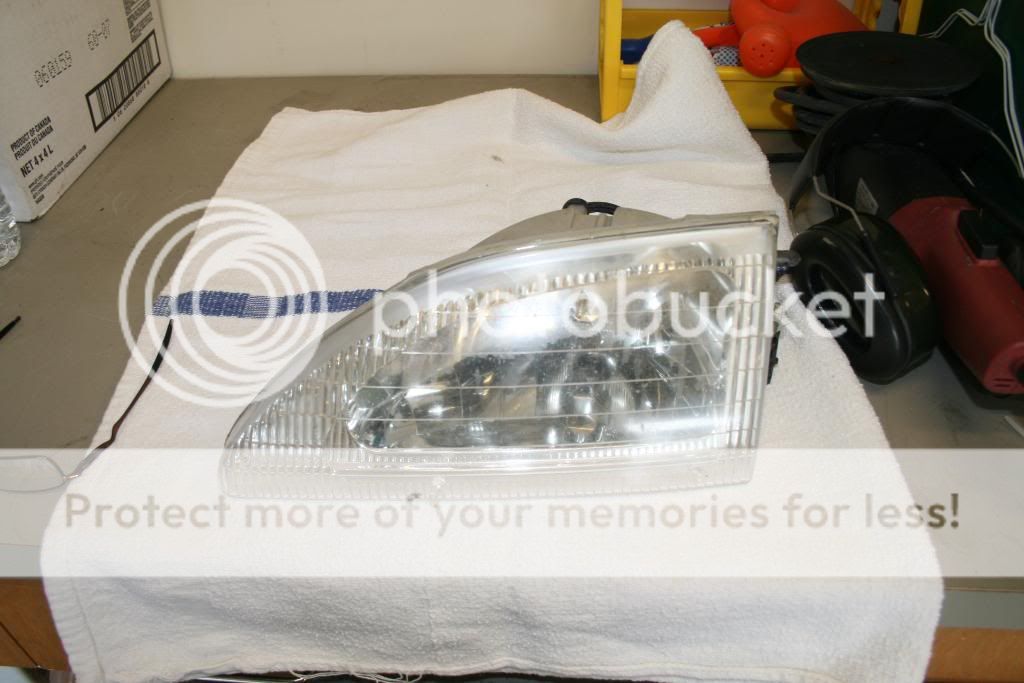
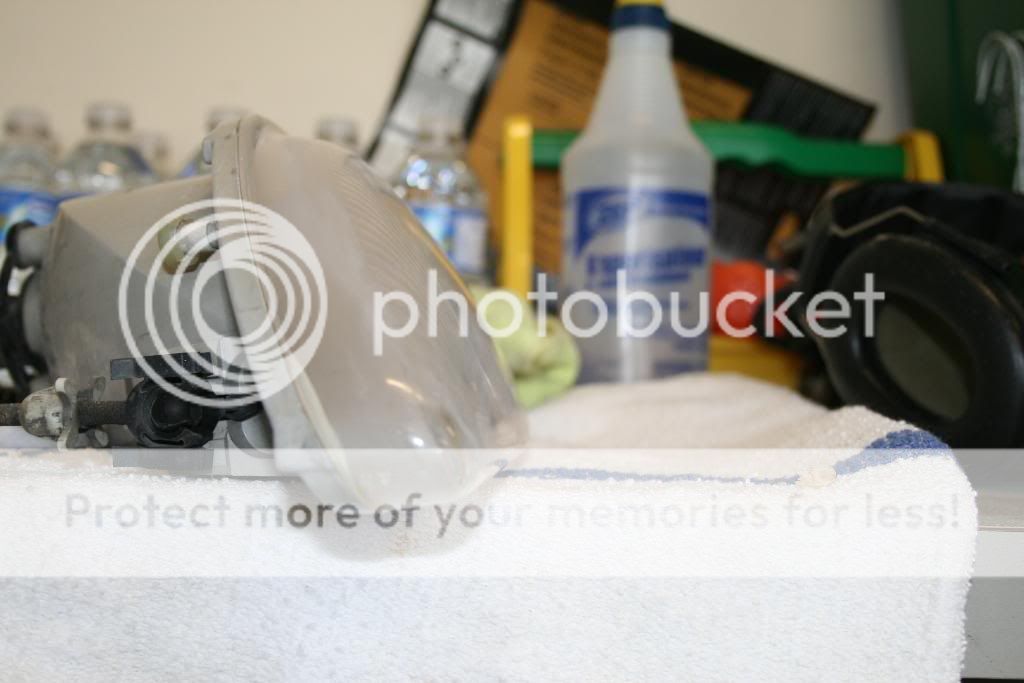
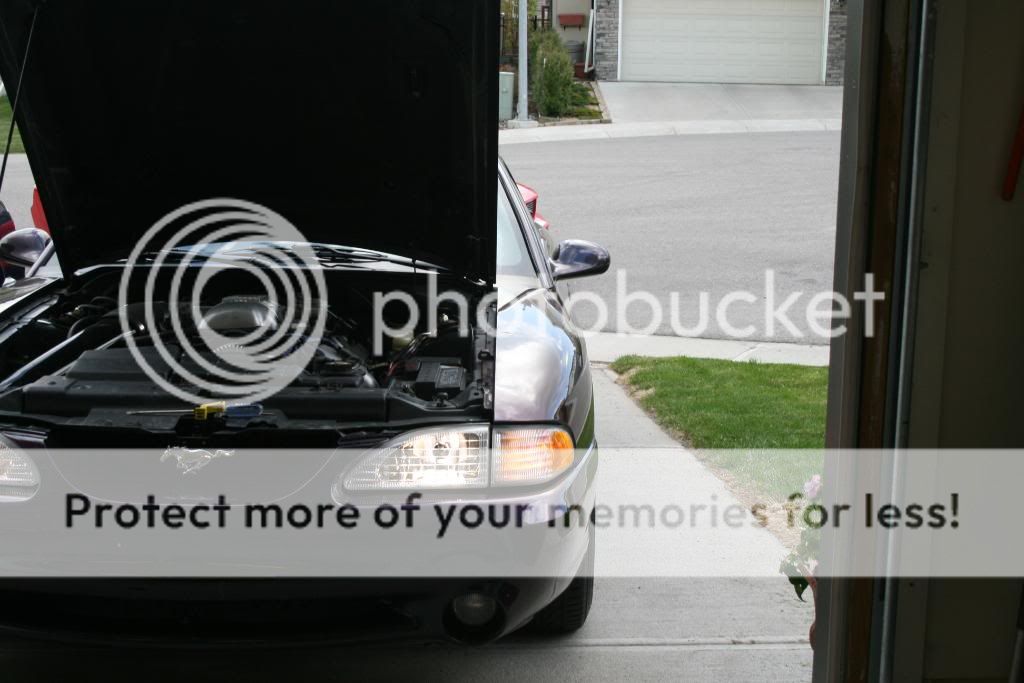
Here is where we start.

First make sure the headlight is clean and free from dirt and such. I chose to dry sand starting with 1200grit. It is very important that you don't sand with just your fingers and the paper or you will remove more material in some areas (where your fingers are) then others. You MUST use a soft backing pad. I used a scotch-brite pad. If 1200grit doesn't cut it, then try 1000grit, if that doesn't work try 800 grit. You should not need to exceed 800 grit.


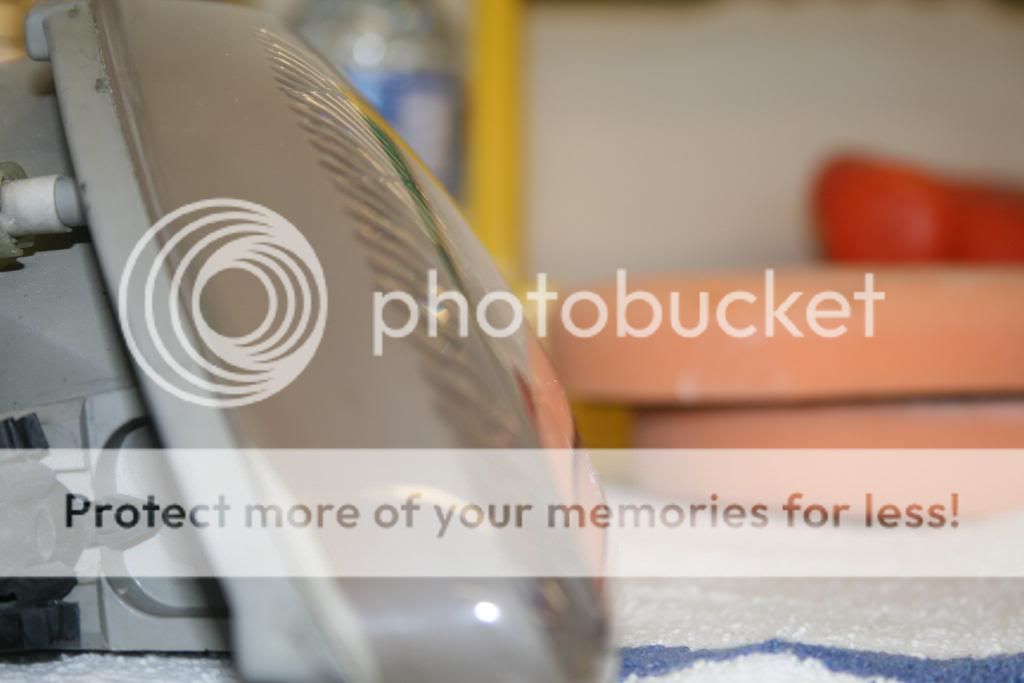
Now with light pressure begin sanding in one direction back and forth until you no longer see yellow hazy looking plastic. Once you are finished that the oxidation is gone, however you now have tons of scratches on the plastic. The next steps remove that.
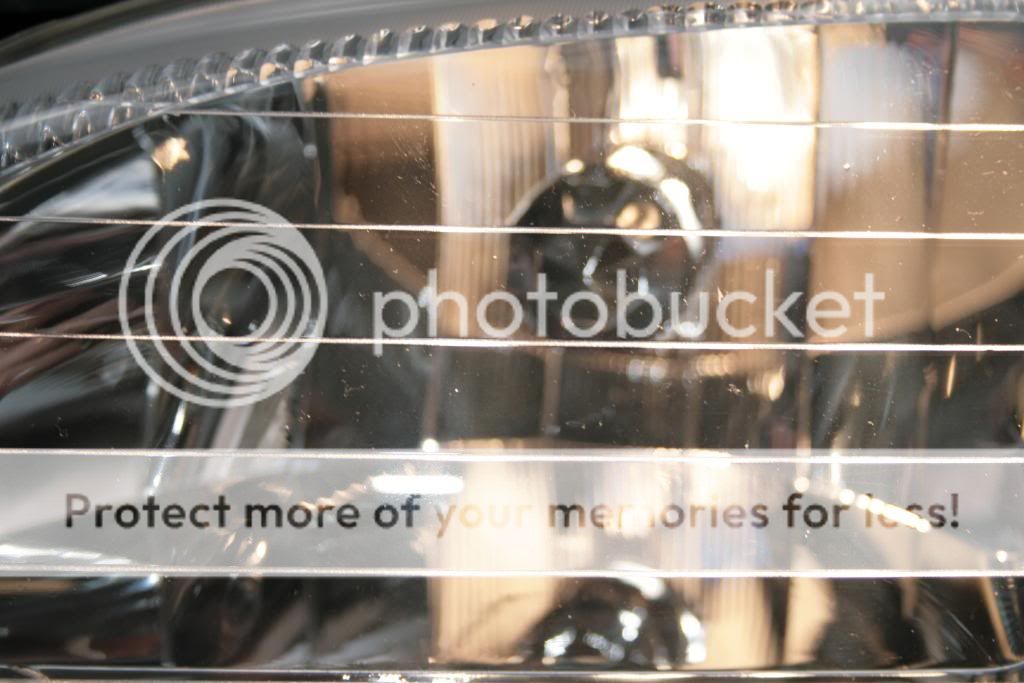
From this point you need to dry sand with 1500, then dry sand 2000. The last sanding step is to wet sand with 2000 grit. Take your time, make sure the backing pad or whatever you are using is between the paper and you fingers, and don't apply too much pressure, you almost barely just touch the surface. If you started off at 800 grit lets say, then you would follow by sanding with 1000 and so on and end with wet sanding 2000.
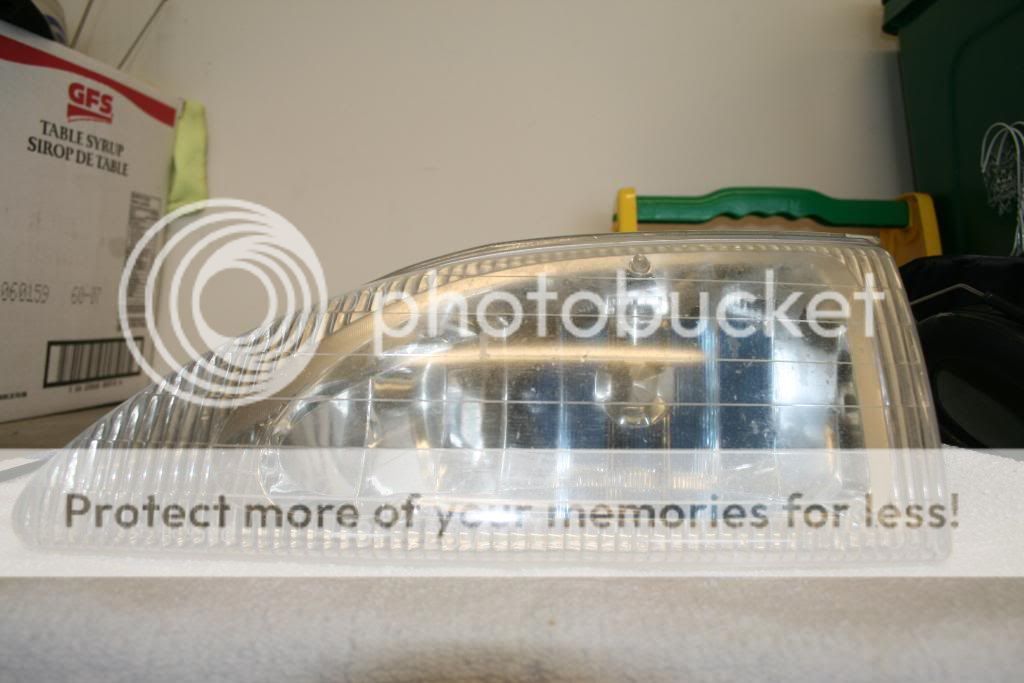
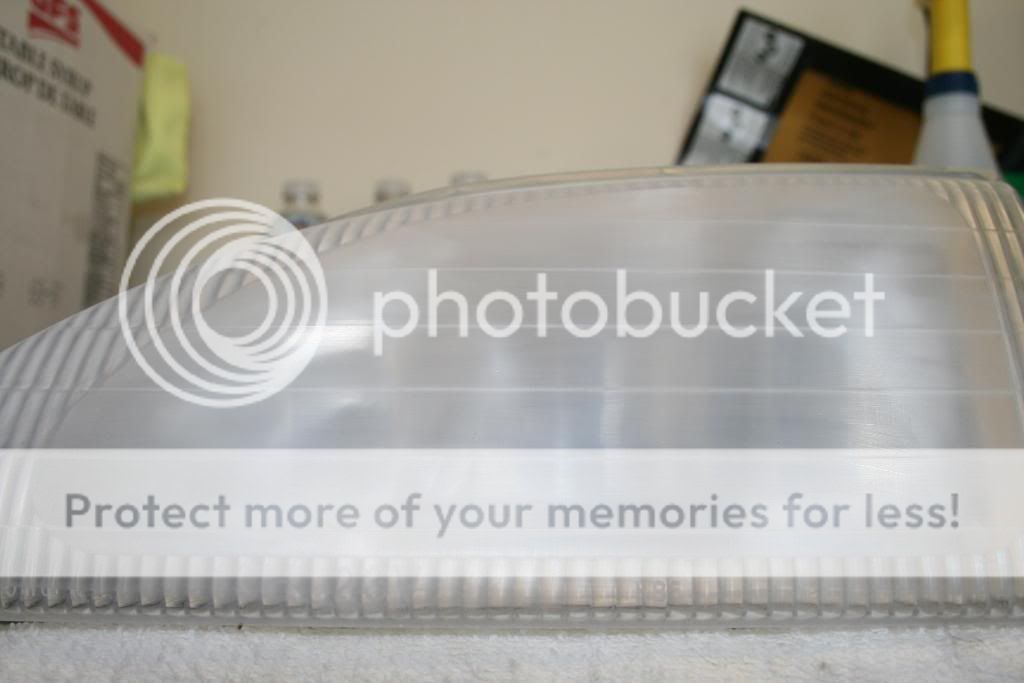
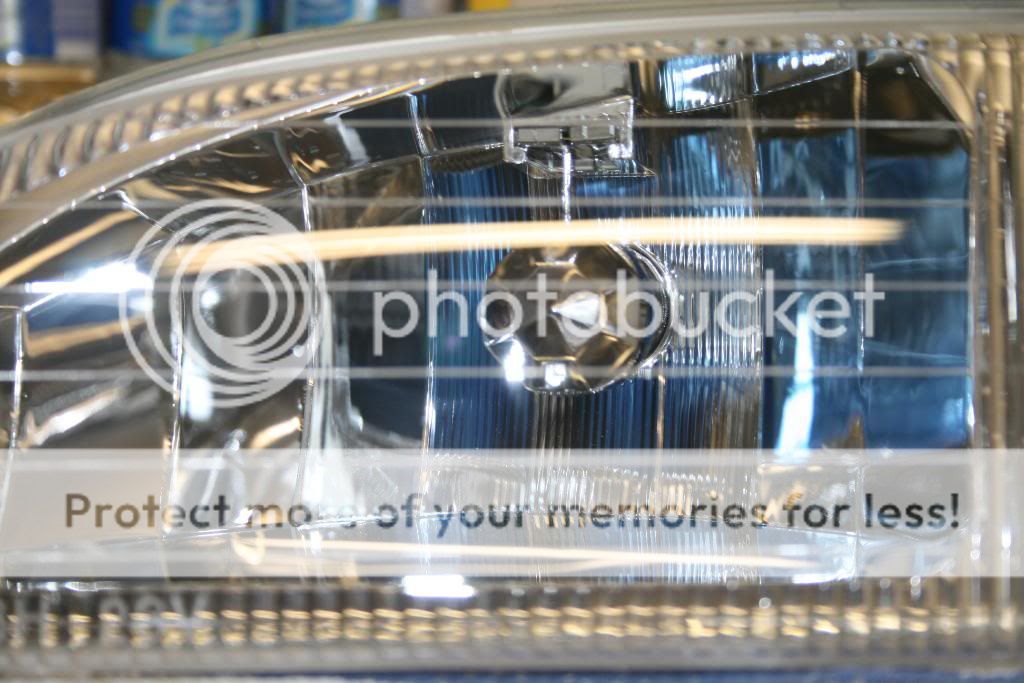
By the time you are done sanding, your headlight should look like this.

Now we need to finish removing those very fine scratches... I used Poorboy's SSR3 as my rubbing compound, SSR2 for the polish, and their polish/sealant to protect the headlight from oxidizing again in the near future. You can use any rubbing compound polish and wax that you have or prefer whether its turtle wax or 3M. It really doesn't matter...

Now apply some rubbing compound to your applicator and in a circular motion with medium pressure begin working the compound evenly into the plastic. Do not allow it to dry, continue working the compound until it is near gone and wipe the headlight clean with a rag. Most scratches should be gone, if not, repeat until they are and only very fine scratches are left.
Repeat the procedure with a polish of your choice exactly the same way until those fine scratches are gone. At this point, all scratches and oxidation is removed. It wouldn't be a bad idea to make sure thats how they say. Use the wax of your preference at directed on the bottle and be sure to regularly do this as you wax your car.
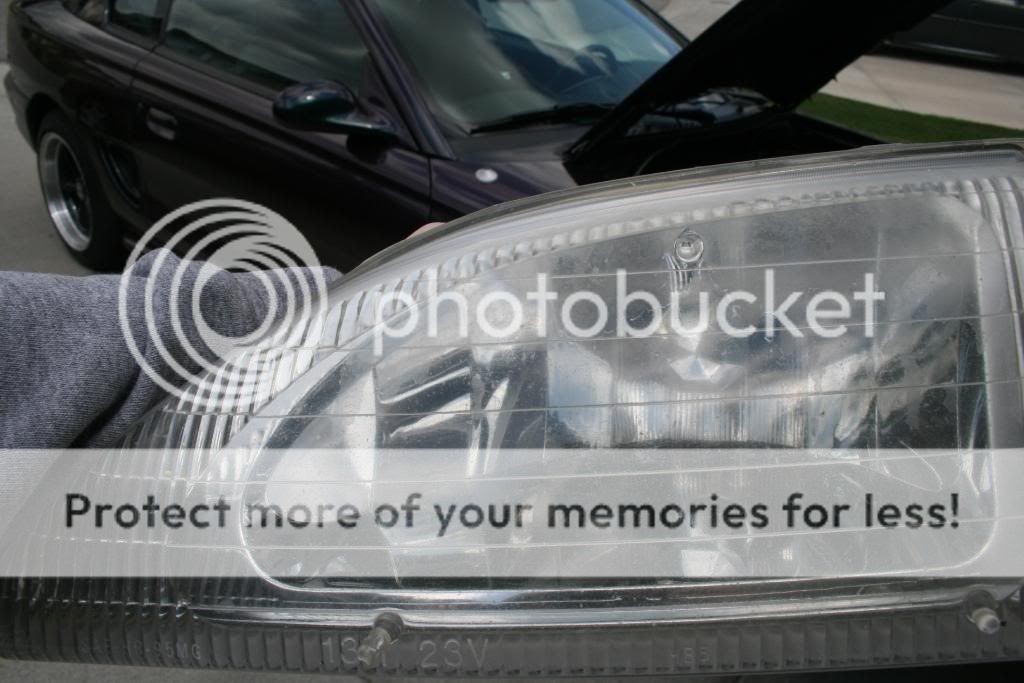
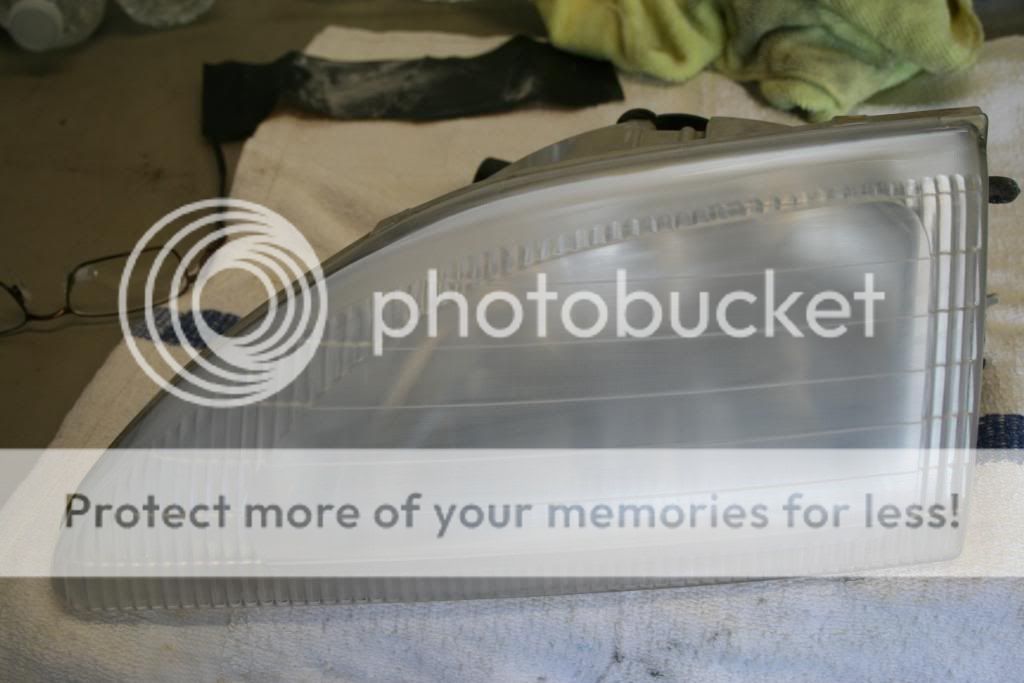
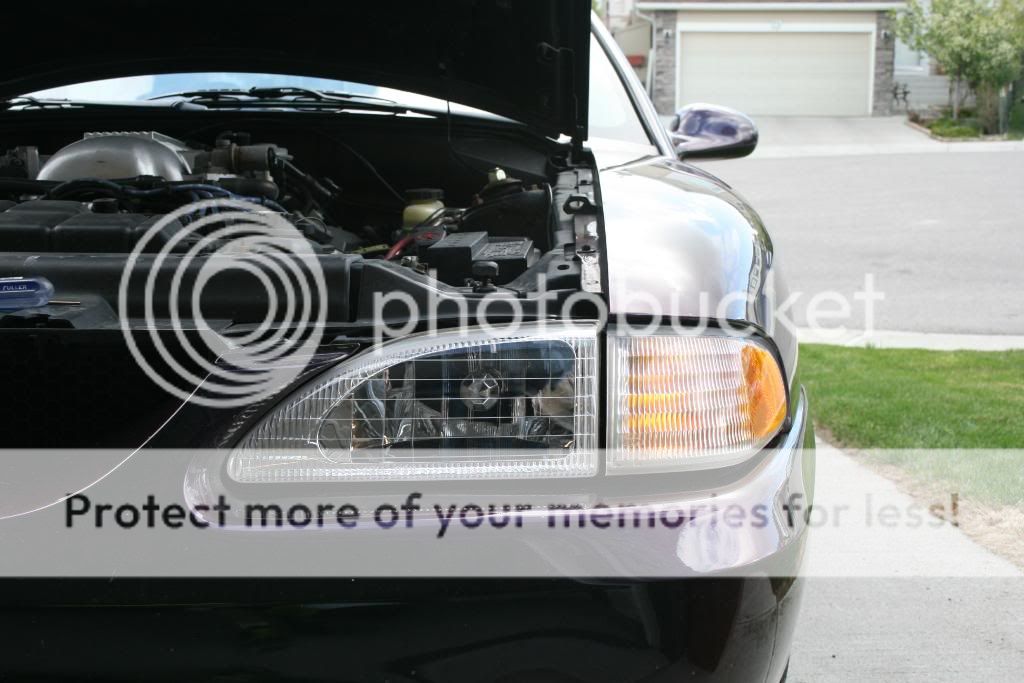
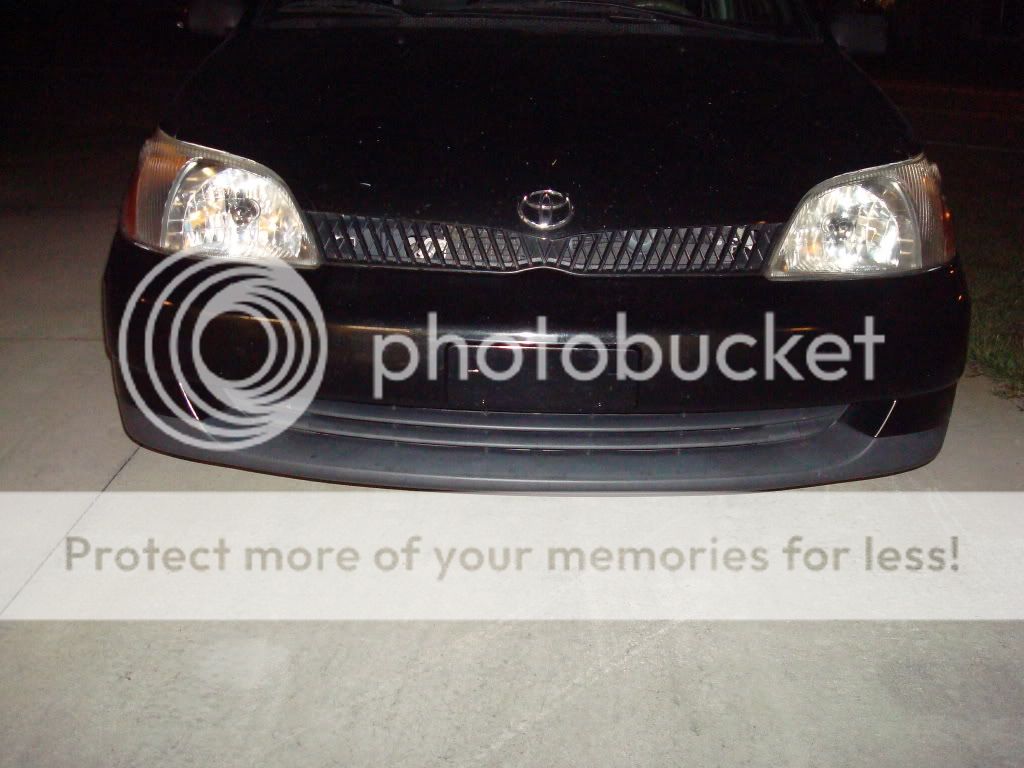
Here should your finished product.

I kinda half assed this just to get it done. I am pretty busy and didn't get paid to do this. The only reason I did this was to help out you guys. This wasn't the best headlight to choose to fix too since they were full of moisture, buts its all that was available at the time. If you follow this procedure, you will have headlights that look like handz detailed them.
Here's what you need.
1. Various sandpapers ranging from wet/dry 800-2000grits
2. Rubbing compound
3. Polish
4. wax
5. Applicator pad & clean rag or microfiber,
6. Water
7. Backing pad
To help you understand exactly what we're doing here I'll explain the problem. Overtime, just about every substance undergoes a process called oxidation. Metals, paints, plastics, you name it. The yellow foggy look you have on your lights is an example of oxidation. The only way to get rid of it is to remove a fine layer of oxidized plastic until you reach clean non-oxidized plastic. Your average rubbing compound usually isn't aggressive enough to remove the amount of plastic needed, worst case scenario you will need to use an 800 grit sandpaper.
Here is where we start.
First make sure the headlight is clean and free from dirt and such. I chose to dry sand starting with 1200grit. It is very important that you don't sand with just your fingers and the paper or you will remove more material in some areas (where your fingers are) then others. You MUST use a soft backing pad. I used a scotch-brite pad. If 1200grit doesn't cut it, then try 1000grit, if that doesn't work try 800 grit. You should not need to exceed 800 grit.
Now with light pressure begin sanding in one direction back and forth until you no longer see yellow hazy looking plastic. Once you are finished that the oxidation is gone, however you now have tons of scratches on the plastic. The next steps remove that.
From this point you need to dry sand with 1500, then dry sand 2000. The last sanding step is to wet sand with 2000 grit. Take your time, make sure the backing pad or whatever you are using is between the paper and you fingers, and don't apply too much pressure, you almost barely just touch the surface. If you started off at 800 grit lets say, then you would follow by sanding with 1000 and so on and end with wet sanding 2000.
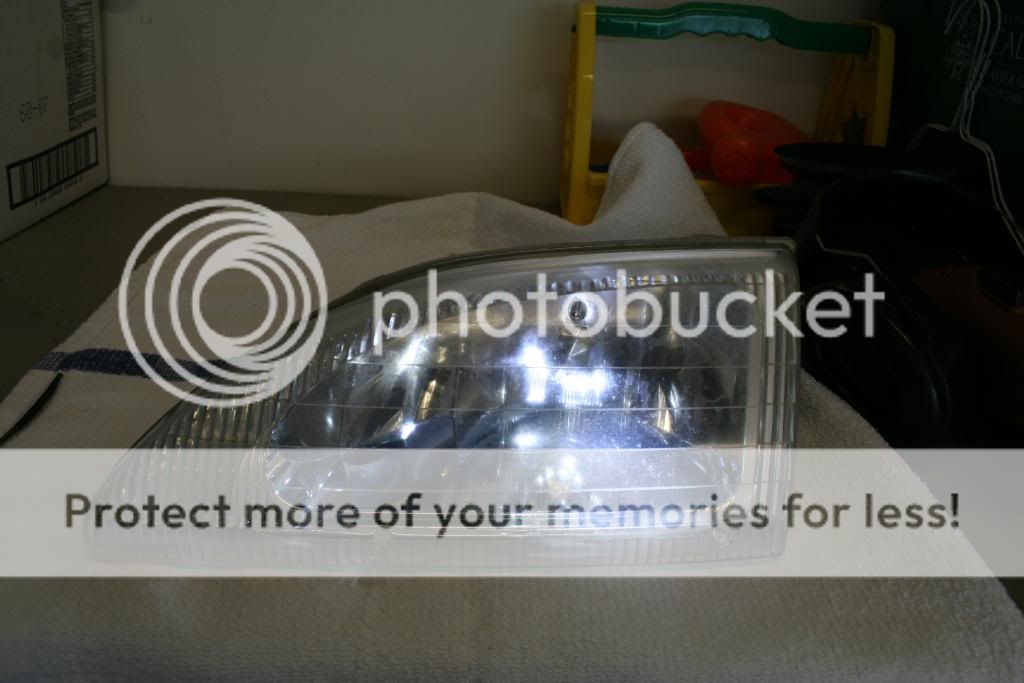
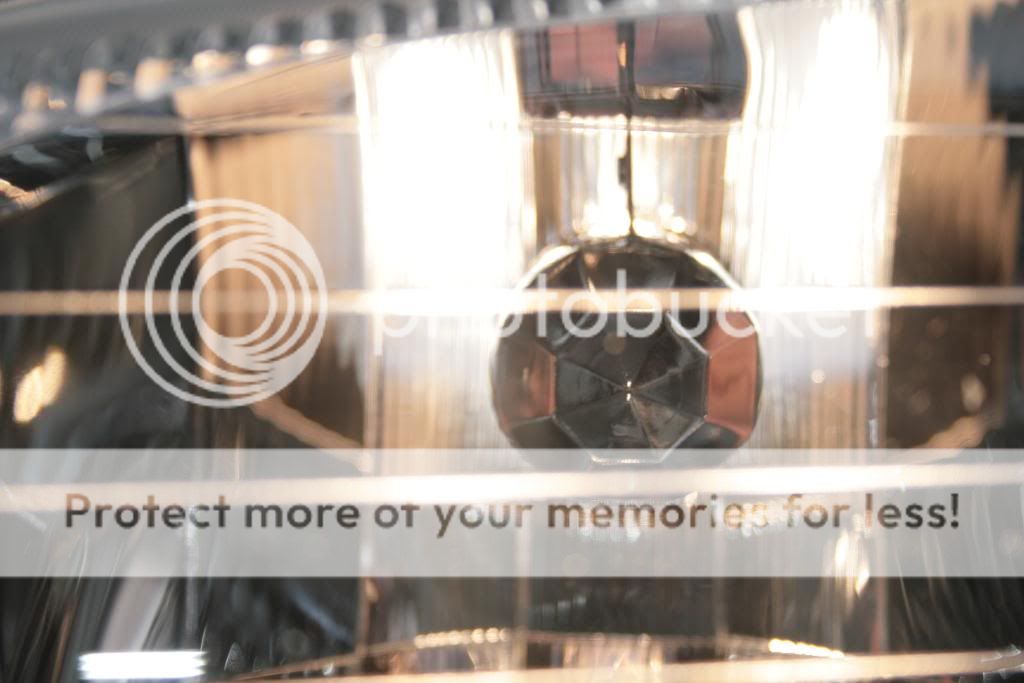
By the time you are done sanding, your headlight should look like this.
Now we need to finish removing those very fine scratches... I used Poorboy's SSR3 as my rubbing compound, SSR2 for the polish, and their polish/sealant to protect the headlight from oxidizing again in the near future. You can use any rubbing compound polish and wax that you have or prefer whether its turtle wax or 3M. It really doesn't matter...
Now apply some rubbing compound to your applicator and in a circular motion with medium pressure begin working the compound evenly into the plastic. Do not allow it to dry, continue working the compound until it is near gone and wipe the headlight clean with a rag. Most scratches should be gone, if not, repeat until they are and only very fine scratches are left.
Repeat the procedure with a polish of your choice exactly the same way until those fine scratches are gone. At this point, all scratches and oxidation is removed. It wouldn't be a bad idea to make sure thats how they say. Use the wax of your preference at directed on the bottle and be sure to regularly do this as you wax your car.
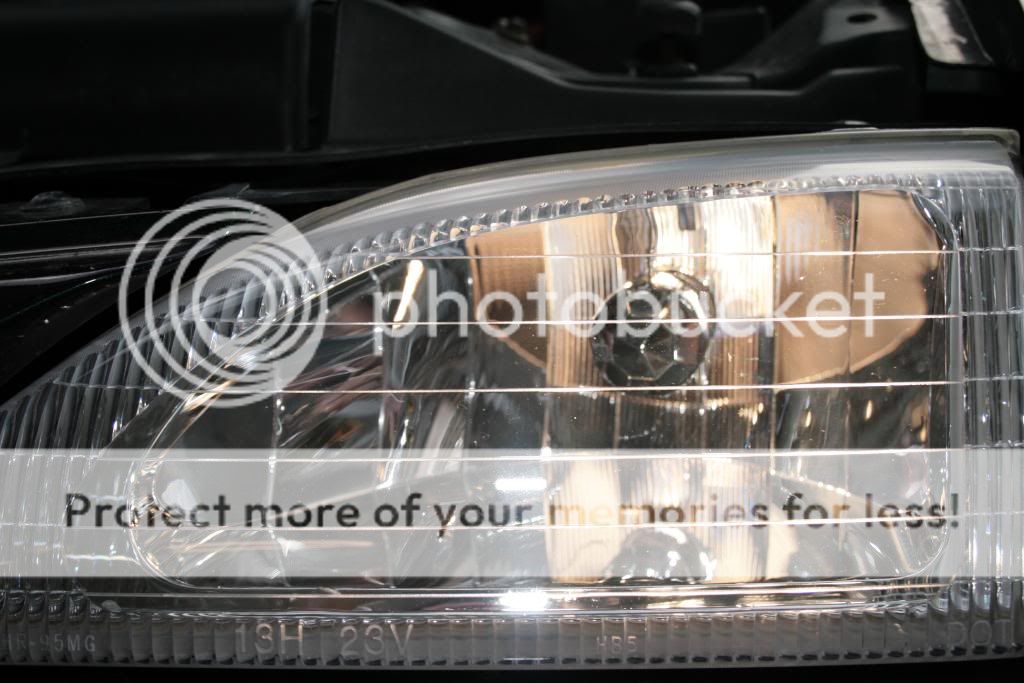
Here should your finished product.
I kinda half assed this just to get it done. I am pretty busy and didn't get paid to do this. The only reason I did this was to help out you guys. This wasn't the best headlight to choose to fix too since they were full of moisture, buts its all that was available at the time. If you follow this procedure, you will have headlights that look like handz detailed them.
")