Hey everyone,
Here I am back again with another project that I have put together. Some of you may recall a few years ago I attempted to do the
rear cobra shaved bumper, later I went to do the 01 Cobra front.....and finally I did the cobra side scoops. With each turn I
learned more and more and I think, became better and better at it. It's so difficult because PATIENCE in the key....prep time is the
most important, but the results make it all worth it. Ultimately this took me about 6 hrs from start to finish...give or take. So I
wanted to do a little writeup to maybe help any of those interested. Sure, I am not a paint master, so I don't expect paint shop
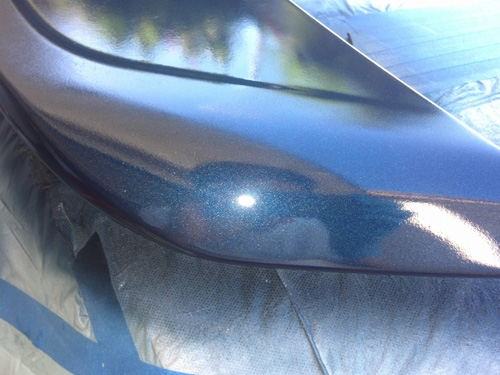
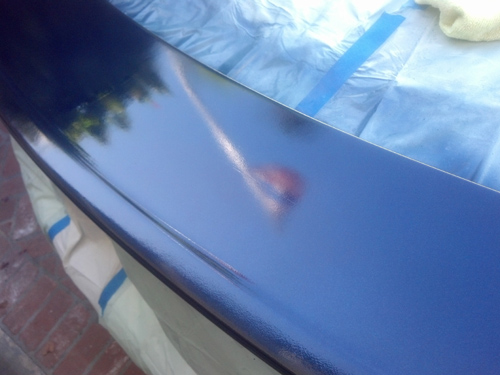
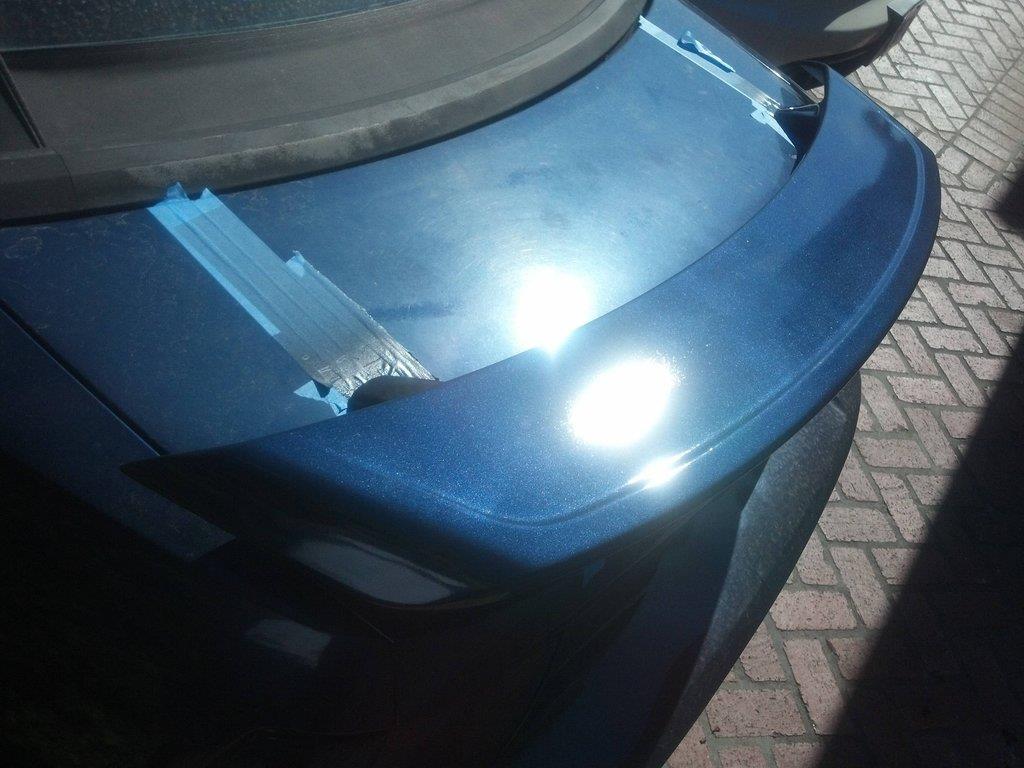
results either, but I think overall it came out great. NOTE: The final results are of the final clear coat, I have to let it sit for
24 hrs or so and then hit it with #84 rubbing compound and my meguiars buffer to get rid of the 'orange peel' but based on how my
spoiler/wing looked...this is 100000's better and I am very happy...even before buffing.
Items I used:
340 Grit
400 Grit
600 Grit
1500 Grit
2000 Grit (you can buy a pack for like $15 of all of these)
Water (free lol)
Microfiber Towels (inexpensive)
Painters Tape
Paper/Lining/Cover up for car (*I used dog pee pads cuz I had tons..hahaha)
Sanding block (very needed to sand over and over...hands don't do as well over large areas)
1 can of clear (aerosol)
1 can of L2 paint (aerosol)
1 can of primer
*Cans purchased from http://www.automotivetouchup.com/?utm_expid=46962982-10.mvu0xbPTQIKu4MxXEcvpMQ.0
I even purchased the sprayer that you attach to the can.....seriously makes it easier because you don't use your index finger over
and over. But when it came to gettting into the nitty gritty areas I pulled it off and used my finger to make sure I got in there
good.
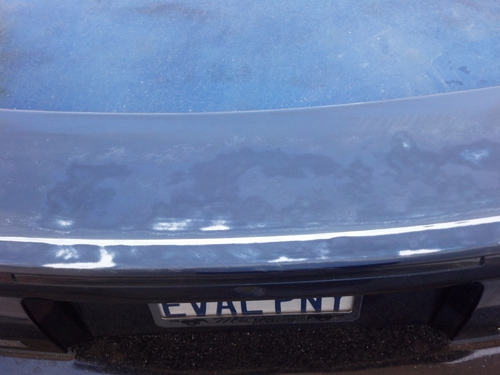
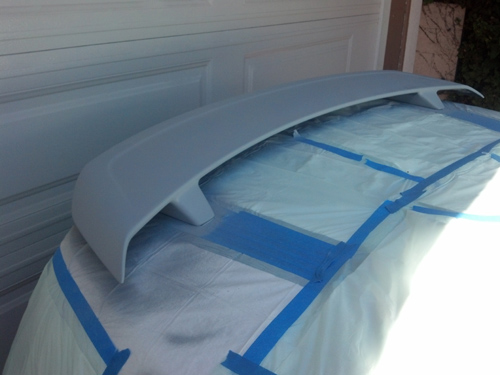
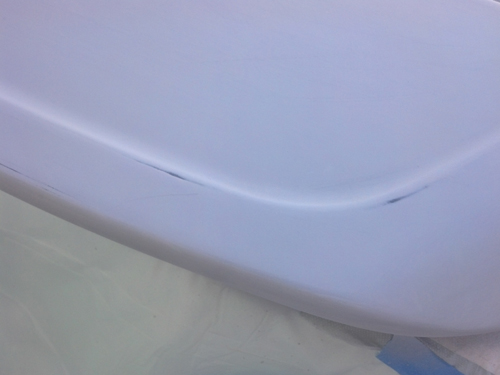
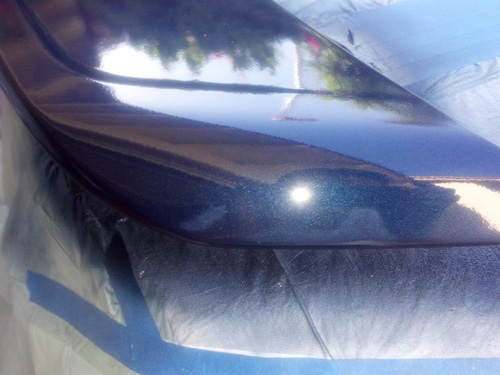
So here is the car:
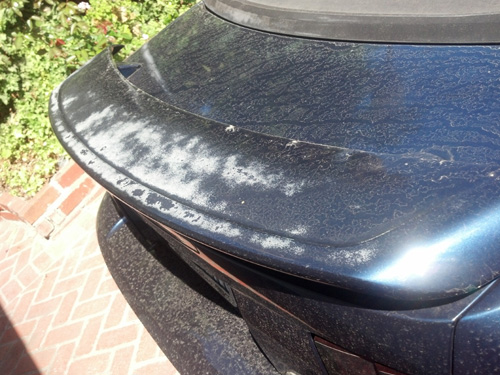
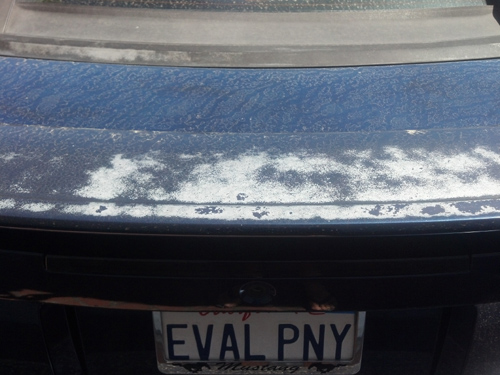
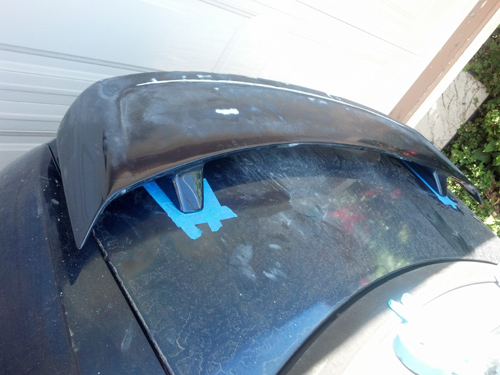
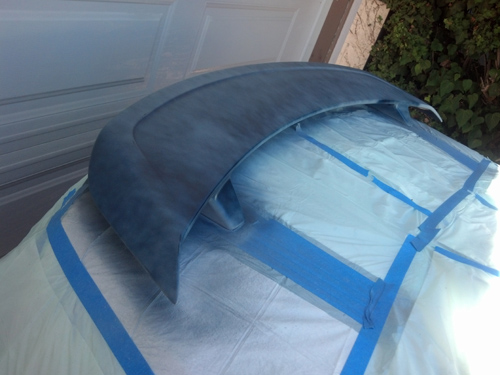
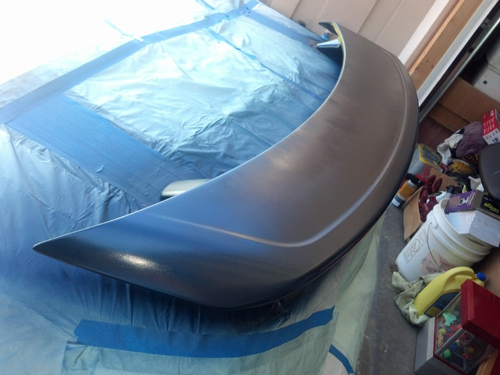
Here it is after I hit it with the 340 and 400 grit sand paper and the sanding block. It was so tough getting out that clear
coat....surprised me how hard I can to sand down....THUS why the sanding block was super helpful. I started by hand and the paper
got really hot with the motion and I had to keep pausing. Block came into play and BAM! Much easier.

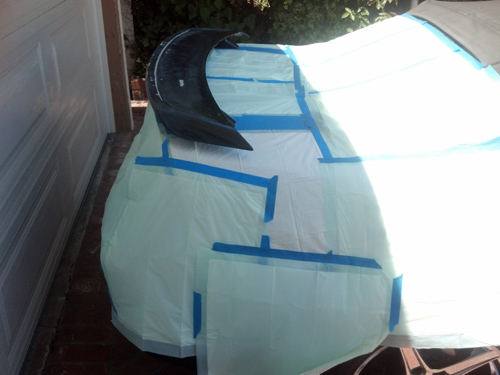
Finally I taped off the entire car for overspray especially. I didn't go buy crap...I have a dog....I had doggy pads...I used them,
end of story..LOL Hey, it was there, and worked perfectly.....LOL.
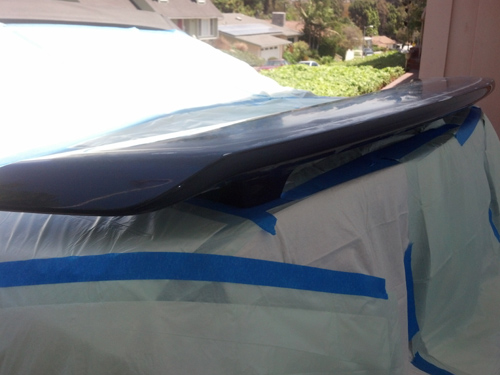
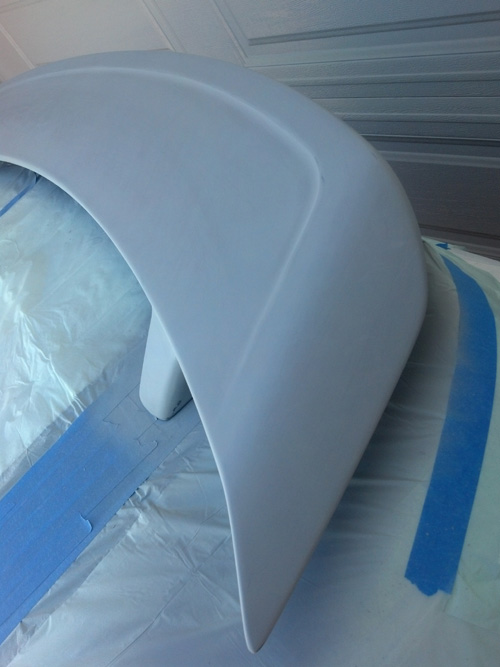
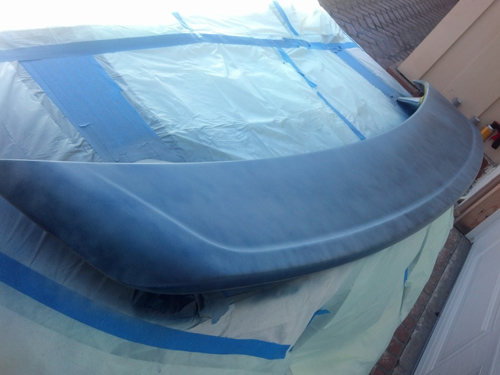
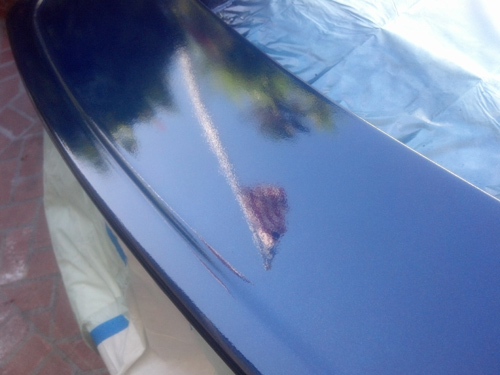
Here is it with the primer now on it. Make sure that you clean it off really well after sanding it of course.
Then I hit it with 600 grit sandpaper in a wetsand. Some people freak out when they try this step and they lose some primer...that's
quite okay....the primer is rough, you just want to smooth it out with the water assisting to a super smooth finish before starting
the paint.
Dry it off and wipe it well because now you can start the coats of paint:
Please note that you should wait 10-15 minutes between each coat.
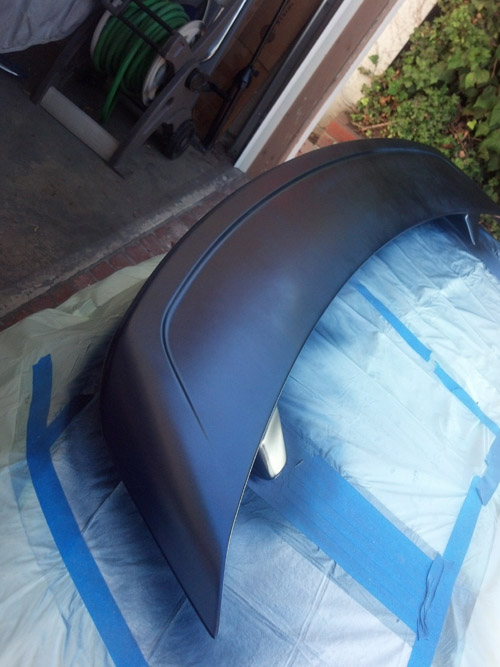
*ADDITIONALLY and EXTREMELY IMPORTANT: On your first coat of paint, do NOT try to cover every last inch. The goal here is to make
several thin coats that when combined will make for a beautiful finish. So you can see my first coat below. I just spread out the
paint, giving it some area for the 2nd coat to stick and grab. Again...just a simple very thin/light coat
Coat 1:
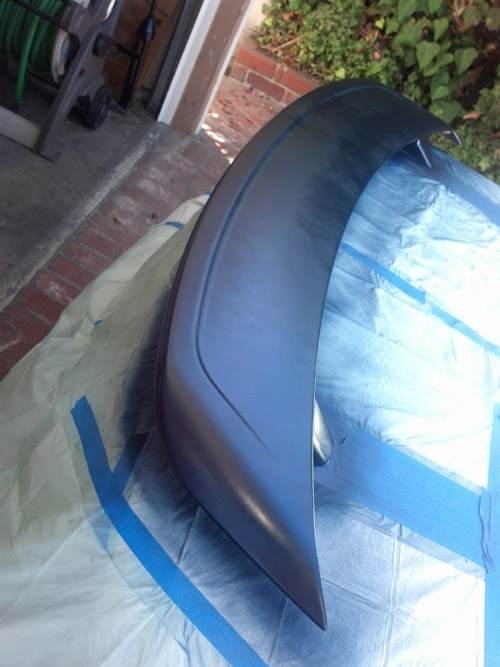
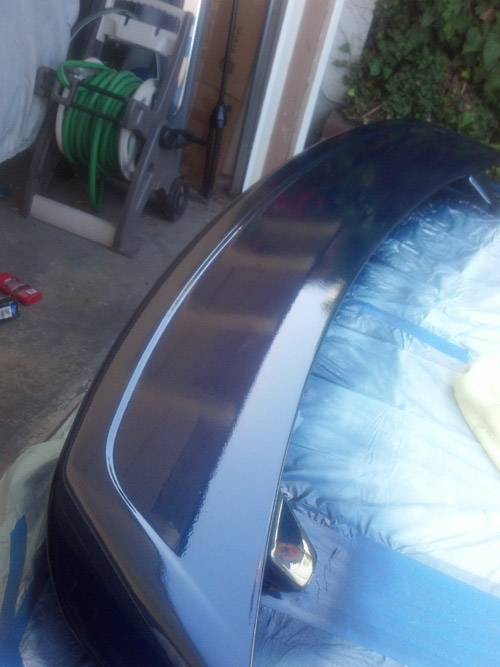
Then came the 2nd coat...a bit more on that one as the 1st coat allowed for the attachment
Coat 2:
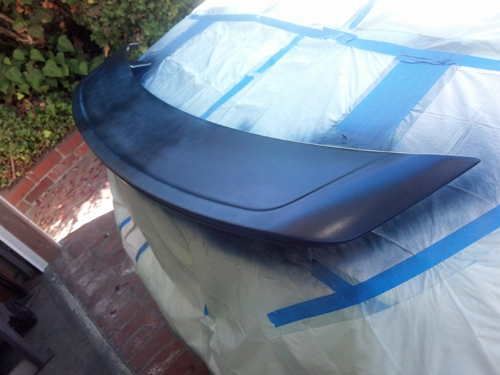
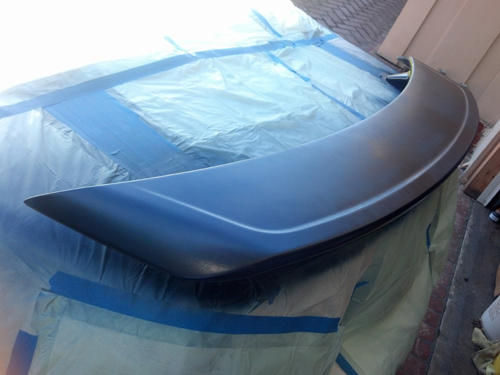
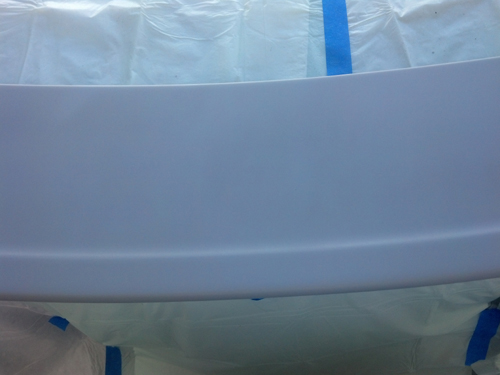
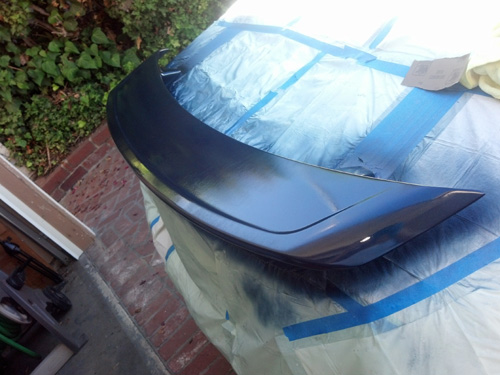
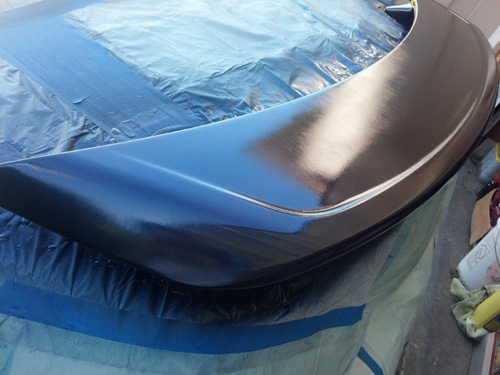
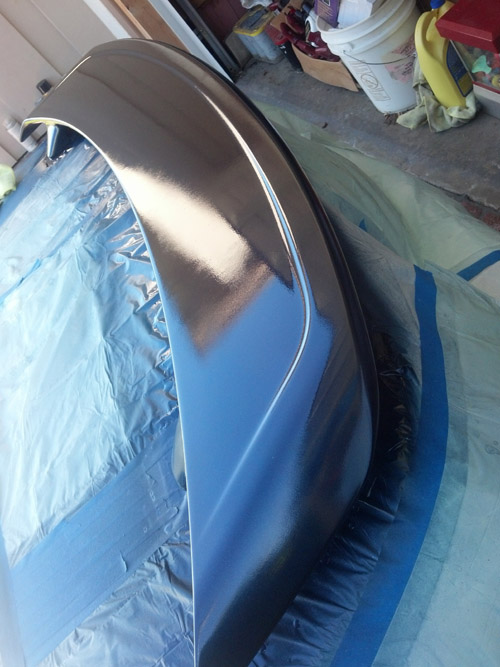
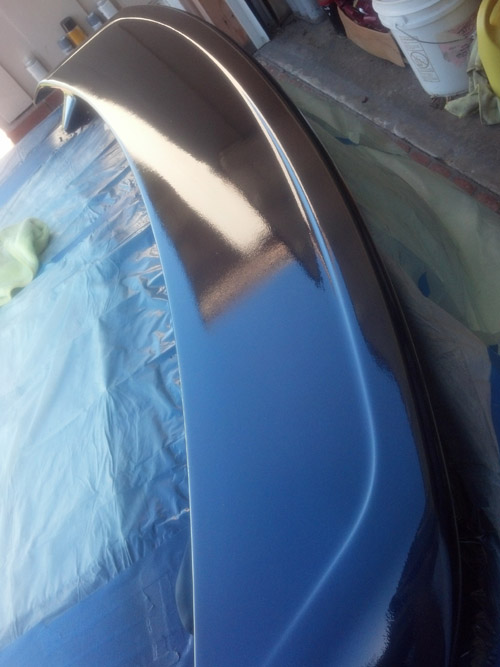
Then you can see by the 3rd coat it's starting to come together. In this coat I make certain to cover all the areas up well
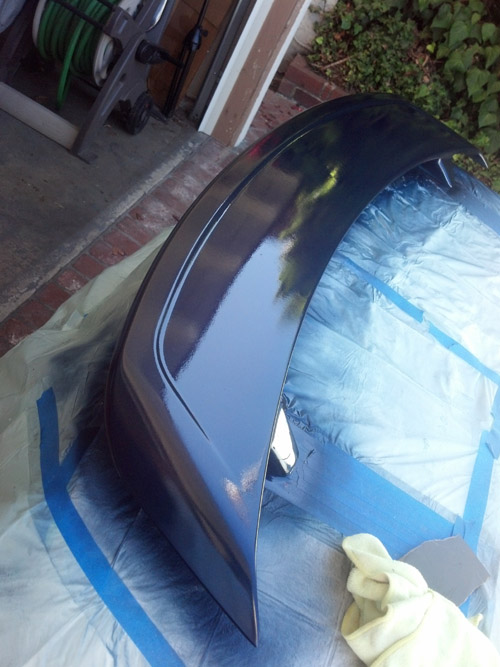
Coat 3:
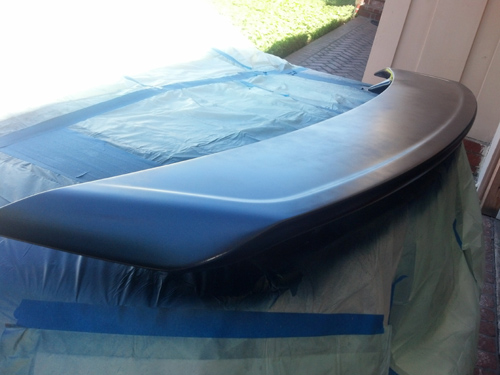
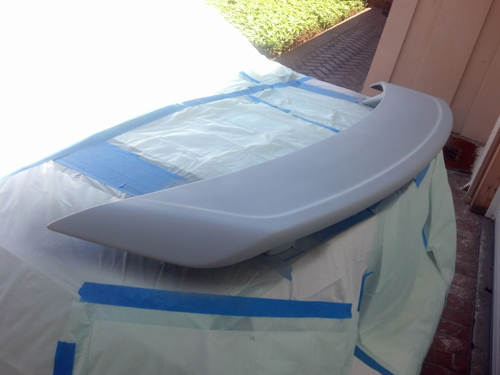
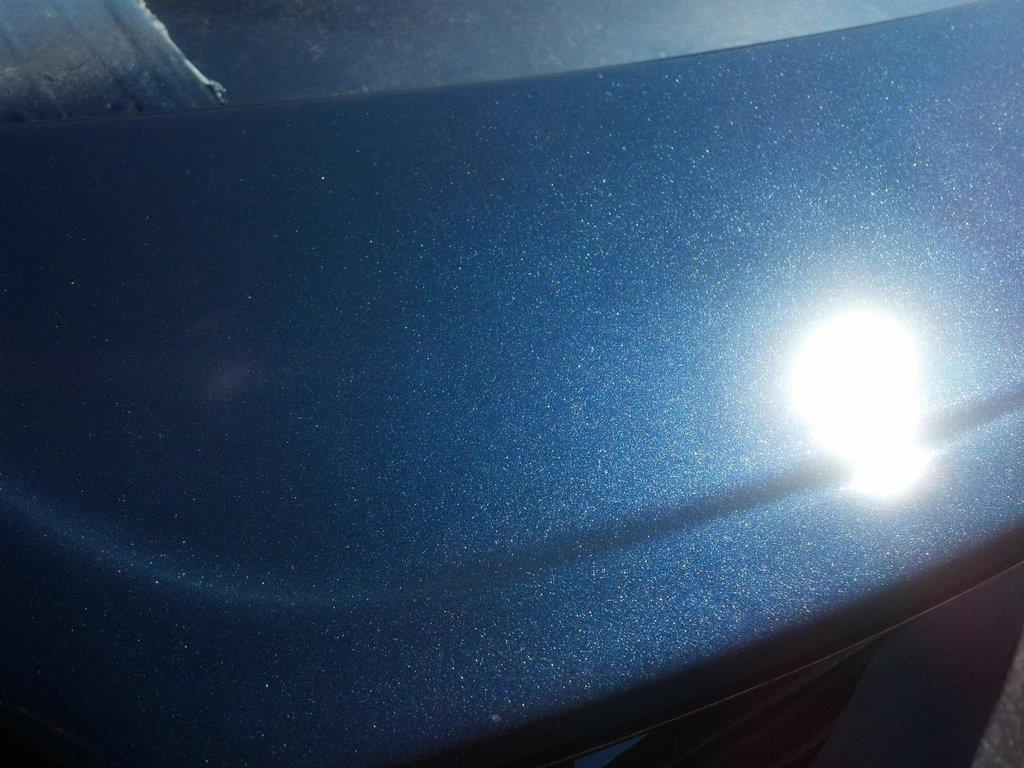
Final coat it a nice top layer across it all for that nice finish. You don't have to worry so much about getting a super reflection
as the clear coat does that for you...but you still get some which is nice
Coat 4:
Here I am back again with another project that I have put together. Some of you may recall a few years ago I attempted to do the
rear cobra shaved bumper, later I went to do the 01 Cobra front.....and finally I did the cobra side scoops. With each turn I
learned more and more and I think, became better and better at it. It's so difficult because PATIENCE in the key....prep time is the
most important, but the results make it all worth it. Ultimately this took me about 6 hrs from start to finish...give or take. So I
wanted to do a little writeup to maybe help any of those interested. Sure, I am not a paint master, so I don't expect paint shop
results either, but I think overall it came out great. NOTE: The final results are of the final clear coat, I have to let it sit for
24 hrs or so and then hit it with #84 rubbing compound and my meguiars buffer to get rid of the 'orange peel' but based on how my
spoiler/wing looked...this is 100000's better and I am very happy...even before buffing.
Items I used:
340 Grit
400 Grit
600 Grit
1500 Grit
2000 Grit (you can buy a pack for like $15 of all of these)
Water (free lol)
Microfiber Towels (inexpensive)
Painters Tape
Paper/Lining/Cover up for car (*I used dog pee pads cuz I had tons..hahaha)
Sanding block (very needed to sand over and over...hands don't do as well over large areas)
1 can of clear (aerosol)
1 can of L2 paint (aerosol)
1 can of primer
*Cans purchased from http://www.automotivetouchup.com/?utm_expid=46962982-10.mvu0xbPTQIKu4MxXEcvpMQ.0
I even purchased the sprayer that you attach to the can.....seriously makes it easier because you don't use your index finger over
and over. But when it came to gettting into the nitty gritty areas I pulled it off and used my finger to make sure I got in there
good.
So here is the car:
Here it is after I hit it with the 340 and 400 grit sand paper and the sanding block. It was so tough getting out that clear
coat....surprised me how hard I can to sand down....THUS why the sanding block was super helpful. I started by hand and the paper
got really hot with the motion and I had to keep pausing. Block came into play and BAM! Much easier.
Finally I taped off the entire car for overspray especially. I didn't go buy crap...I have a dog....I had doggy pads...I used them,
end of story..LOL Hey, it was there, and worked perfectly.....LOL.
Here is it with the primer now on it. Make sure that you clean it off really well after sanding it of course.
Then I hit it with 600 grit sandpaper in a wetsand. Some people freak out when they try this step and they lose some primer...that's
quite okay....the primer is rough, you just want to smooth it out with the water assisting to a super smooth finish before starting
the paint.
Dry it off and wipe it well because now you can start the coats of paint:
Please note that you should wait 10-15 minutes between each coat.
*ADDITIONALLY and EXTREMELY IMPORTANT: On your first coat of paint, do NOT try to cover every last inch. The goal here is to make
several thin coats that when combined will make for a beautiful finish. So you can see my first coat below. I just spread out the
paint, giving it some area for the 2nd coat to stick and grab. Again...just a simple very thin/light coat
Coat 1:
Then came the 2nd coat...a bit more on that one as the 1st coat allowed for the attachment
Coat 2:
Then you can see by the 3rd coat it's starting to come together. In this coat I make certain to cover all the areas up well
Coat 3:
Final coat it a nice top layer across it all for that nice finish. You don't have to worry so much about getting a super reflection
as the clear coat does that for you...but you still get some which is nice
Coat 4:
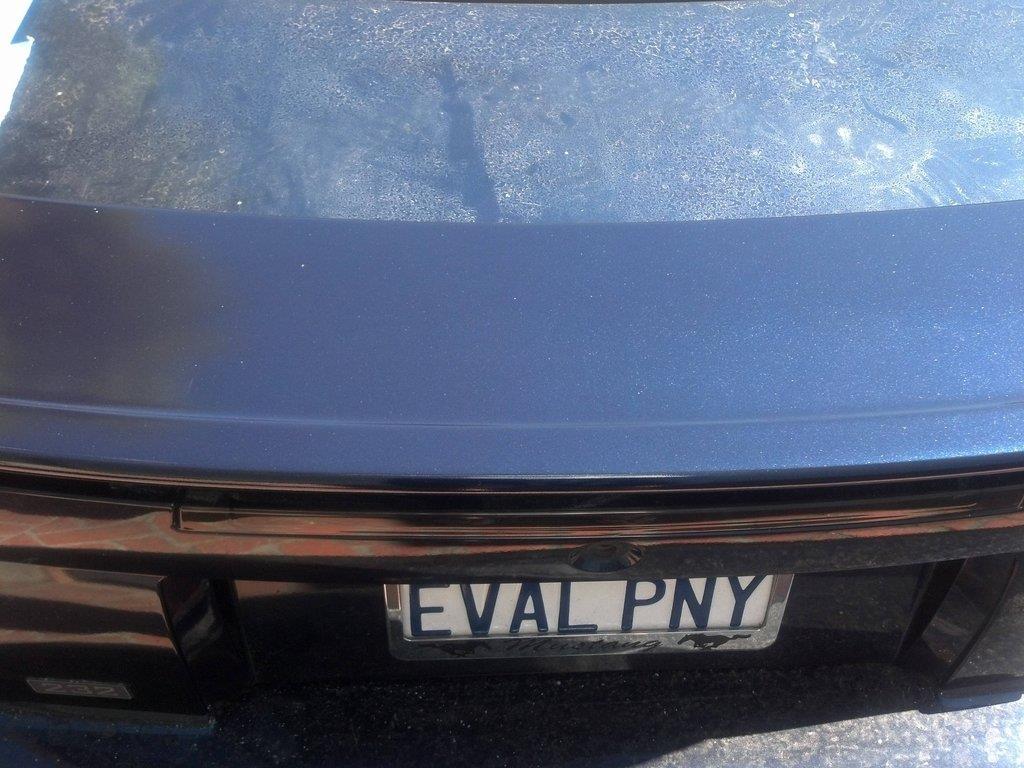

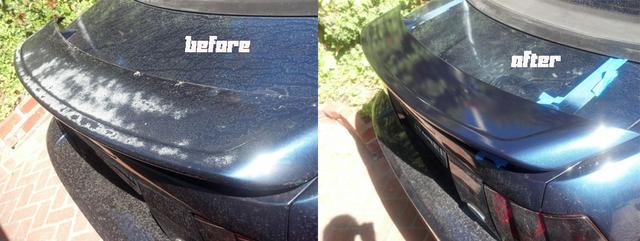
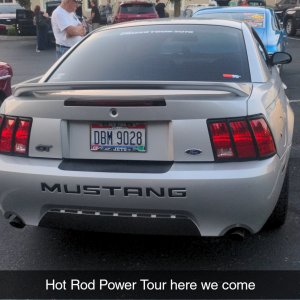
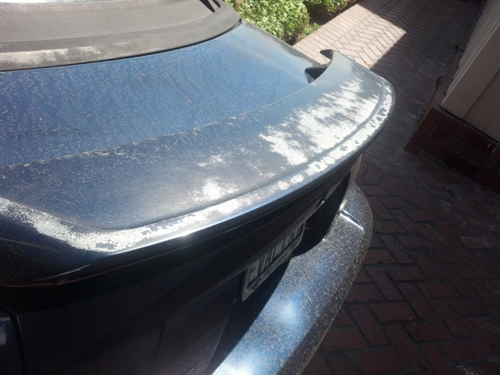
") My wing makes the trunklid look crappy now as it's more faded/oxidized LOL But my rear bumper was freshly painted so they should compliment each other lol
My wing makes the trunklid look crappy now as it's more faded/oxidized LOL But my rear bumper was freshly painted so they should compliment each other lol