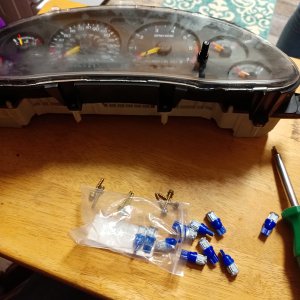
It does glow longer than 30 minutes, it's Noctilumina powder that comes by the gram. Rated to glow 12-18 hours i believe, it's better than rolex lume (it's made for watches) this is not the tritium paint found in old hamiltons that's radioactive, so no fear of being irradiated. (thought about using tritium tubes but test run showed that i sucked and my attempts of channeling slots out of the plastic for the tubes to lie in)
the way i did this to the knob was by cutting tiny little paper rectangles and dipping them into the lume mix. finding the right mixture of binder, lume powder and thinner is imperative and takes a little feeling it out and i found sort of tricky. I then layed the little paper glow strips over the grey lines and let the solution harden up a bit over the course of 10 minutes or so. After it started to thicken i filled in a few low spots with a tiny glass stir rod from the mix kit. the strips were handled with tweazers btw. as the strips and mix firm up i used a razor blade to sort of push the mix into the square edged rectangles as it just sort of oozes around at first. when i first applied the strips it looked really awful so you just have to sit with it and keep pushing the edges back into tight corners as it hardens and eventually it will stay in place. after it was thoroughly dried i clear coated it again with uv resistant plastic paint. i did this before i started as well and im sure i would have scraped off some of the logo in the process had i not
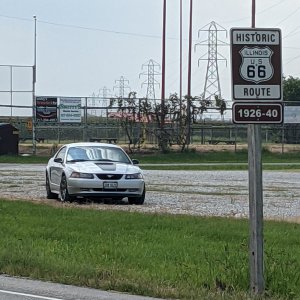
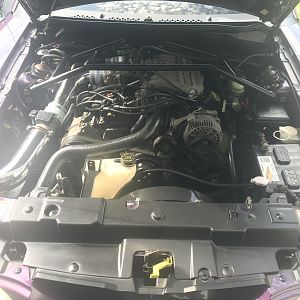
ill take pics of it in car as soon as i can, the cobra is currently on the lift at the shop.
thanks for the kind words