sn95jones
Well-Known Member
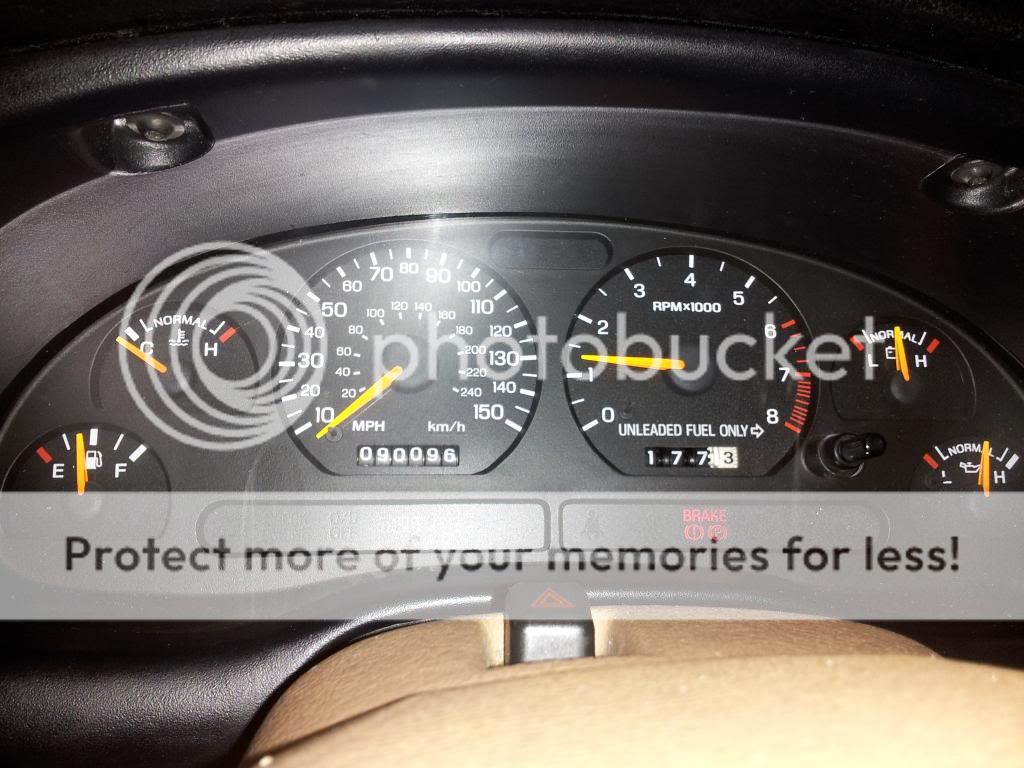
Ever notice that over the years that your gauge cluster starts to built up dust particles behind the lens?

Well First of you're going to need to following tools.
T20 Torx Bit
T15 Torx Bit
Magnetic Wand (To prevent from dropping any of your screws)
Small Flat Head Screwdriver
Now first things first is your want to take your T20 torx bit and remove the top two screws that are just above you gauges underneath your dash shown in the picture below.
After you have removed those two screws it's time to proceed to removing the headlight knob, below is a picture of what you need to be looking for.
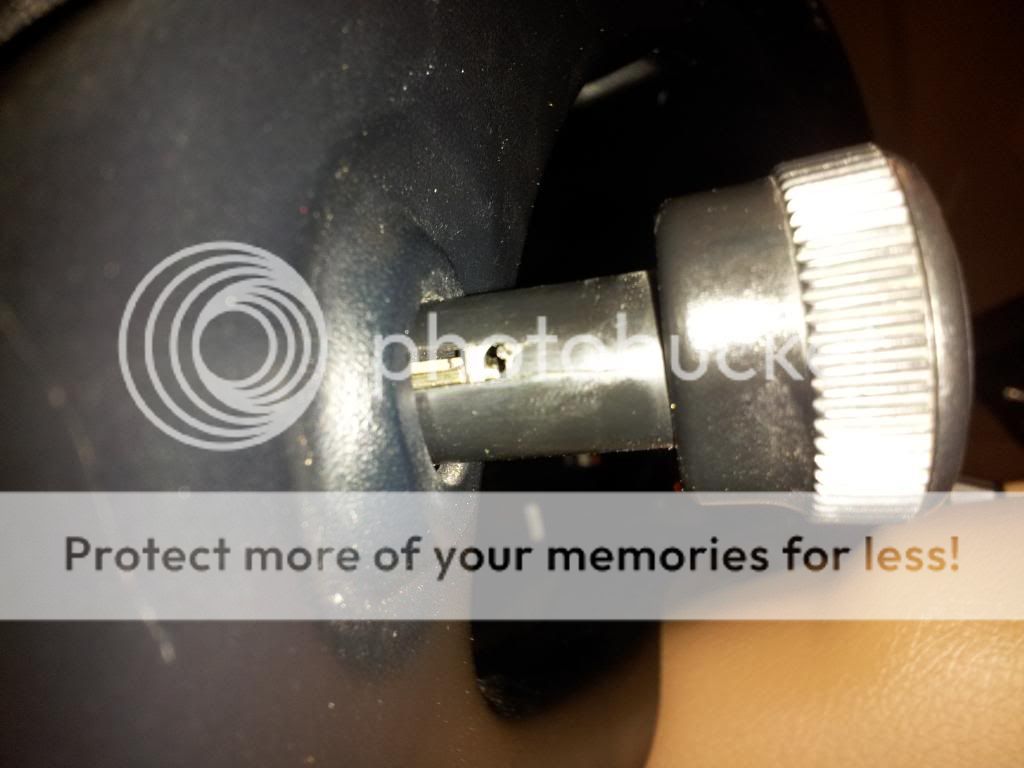
This is where you will need your flat head screwdriver. What you need to do is pull your headlight switch all the way out to the "Headlights on" position then look to the left of the knob and you will see a small hole where inside there is a tab that you will need to press against to pull the knob off.
Simple take your screw driver and insert it behind the tab and pull towards you while pulling the knob, the knob should come right off.
Once that is done it is time to remove the instrument panel trim piece. Be careful when pulling from the corners as you can crack the trim if not pulling from the correct spot. What I did was I started from pulling from the middle then worked my way out towards the corners.
Once that is done you will need your T20 torx bit again to remove 4 more screws that are holding in the gauge cluster shown below. (Note. these pictures below are NOT mine)

Once you've removed those screws simply start pulling your cluster from the dash. There will be two connectors behind the cluster that you will need to disconnect, one black connector on the left side show here.

and then a white connector on the right side also shown here.

Once you have both of them disconnected the cluster can now be removed. Now you will need your T15 torx bit to remove the 8 screws around the lens. Once you removed those the cluster can now be removed from the gauges.
Now one thing I did learn is that if you have a 94-95 your lens will most likely have screws holding it to the cluster unlike the 96-98 where the are have silicone holding it in place. So if you have a 94-95 you can proceed to remove the lens and clean out the cluster of any dust and not pay attention to the next paragraph.
If you have a 96-98 your the lucky one like myself that had to work around the silicone. When you remove the cluster and lens from the gauges you'll have access to behind the lens, however keep in mind you won't have as much room to work with. What you can do is take a microfiber rag and run it through the cluster so it will pick up the dust of you can pick up a can of air from Office Depot or Walmart and can remove it that was as well.
Once you have it cleaned out of dust I recommend getting all those light scratches and scuff marks from wiping off the lens over the past few years. I simply use a polish like you'd use on your paint and worked fine or you can go the extra mile and buff the scratches out.
Once you're done just install it the same way you removed it in reverse order and should look like so once done
This process took me about 40min as I took my time polishing the lens and wanted it to look like new again. Enjoy your clean cluster!
Well First of you're going to need to following tools.
T20 Torx Bit
T15 Torx Bit
Magnetic Wand (To prevent from dropping any of your screws)
Small Flat Head Screwdriver
Now first things first is your want to take your T20 torx bit and remove the top two screws that are just above you gauges underneath your dash shown in the picture below.
After you have removed those two screws it's time to proceed to removing the headlight knob, below is a picture of what you need to be looking for.
This is where you will need your flat head screwdriver. What you need to do is pull your headlight switch all the way out to the "Headlights on" position then look to the left of the knob and you will see a small hole where inside there is a tab that you will need to press against to pull the knob off.
Simple take your screw driver and insert it behind the tab and pull towards you while pulling the knob, the knob should come right off.
Once that is done it is time to remove the instrument panel trim piece. Be careful when pulling from the corners as you can crack the trim if not pulling from the correct spot. What I did was I started from pulling from the middle then worked my way out towards the corners.
Once that is done you will need your T20 torx bit again to remove 4 more screws that are holding in the gauge cluster shown below. (Note. these pictures below are NOT mine)
Once you've removed those screws simply start pulling your cluster from the dash. There will be two connectors behind the cluster that you will need to disconnect, one black connector on the left side show here.
and then a white connector on the right side also shown here.
Once you have both of them disconnected the cluster can now be removed. Now you will need your T15 torx bit to remove the 8 screws around the lens. Once you removed those the cluster can now be removed from the gauges.
Now one thing I did learn is that if you have a 94-95 your lens will most likely have screws holding it to the cluster unlike the 96-98 where the are have silicone holding it in place. So if you have a 94-95 you can proceed to remove the lens and clean out the cluster of any dust and not pay attention to the next paragraph.
If you have a 96-98 your the lucky one like myself that had to work around the silicone. When you remove the cluster and lens from the gauges you'll have access to behind the lens, however keep in mind you won't have as much room to work with. What you can do is take a microfiber rag and run it through the cluster so it will pick up the dust of you can pick up a can of air from Office Depot or Walmart and can remove it that was as well.
Once you have it cleaned out of dust I recommend getting all those light scratches and scuff marks from wiping off the lens over the past few years. I simply use a polish like you'd use on your paint and worked fine or you can go the extra mile and buff the scratches out.
Once you're done just install it the same way you removed it in reverse order and should look like so once done
This process took me about 40min as I took my time polishing the lens and wanted it to look like new again. Enjoy your clean cluster!
")