Swords Evolution

OP
OP
hotmustang95

hotmustang95

Active Member
Joined
Apr 6, 2011
Messages
604
Reaction score
15
Location
Boynton Beach FL
Track Wheels Color Change

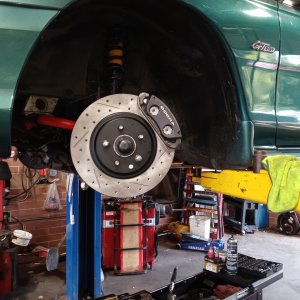
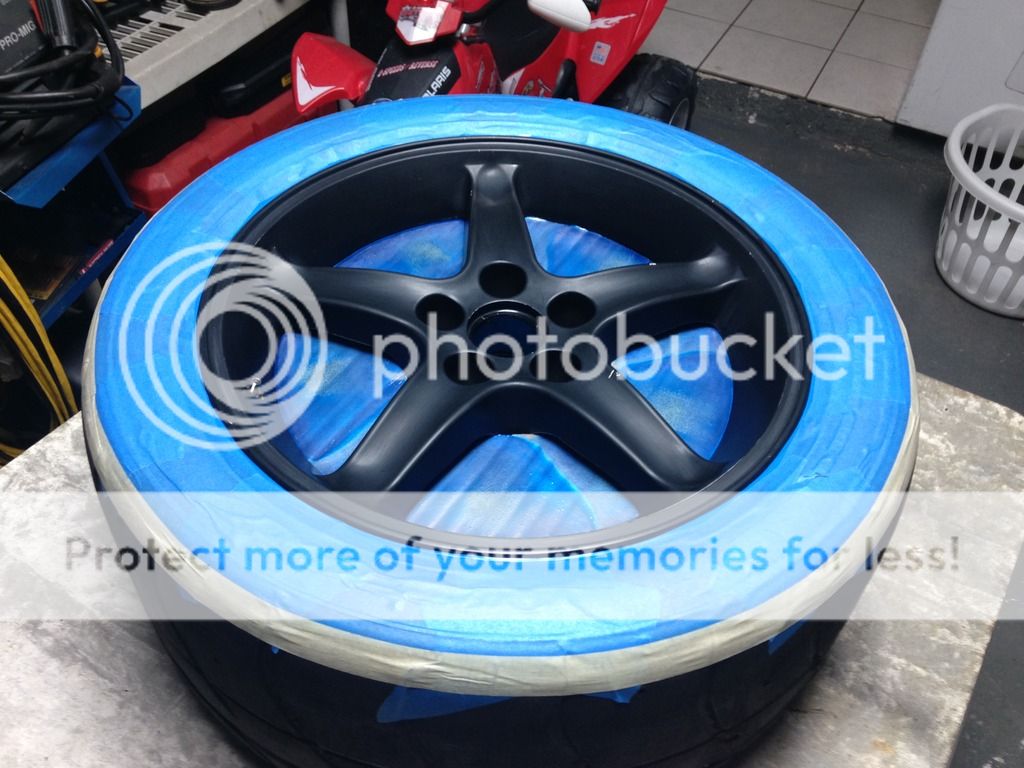
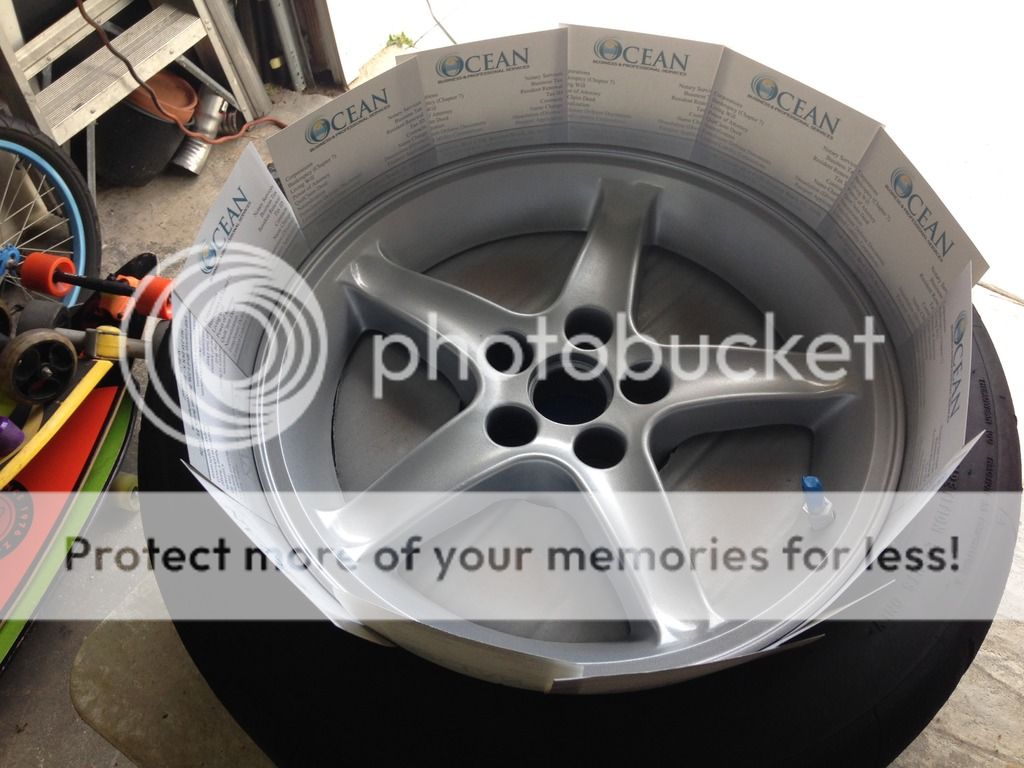
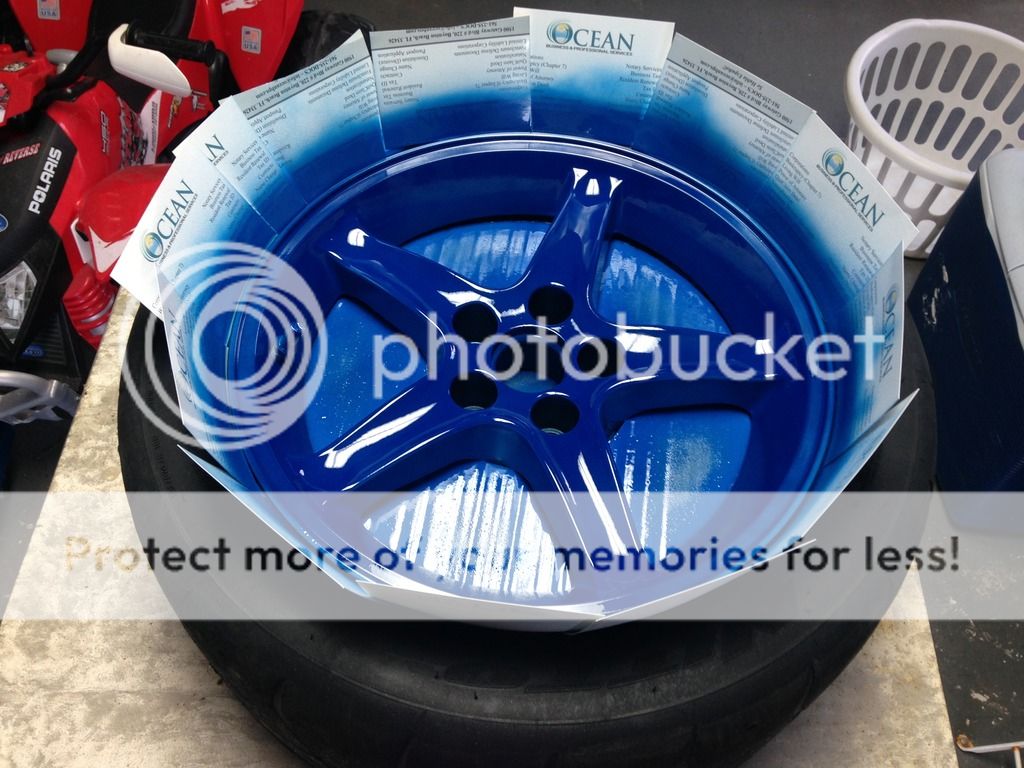
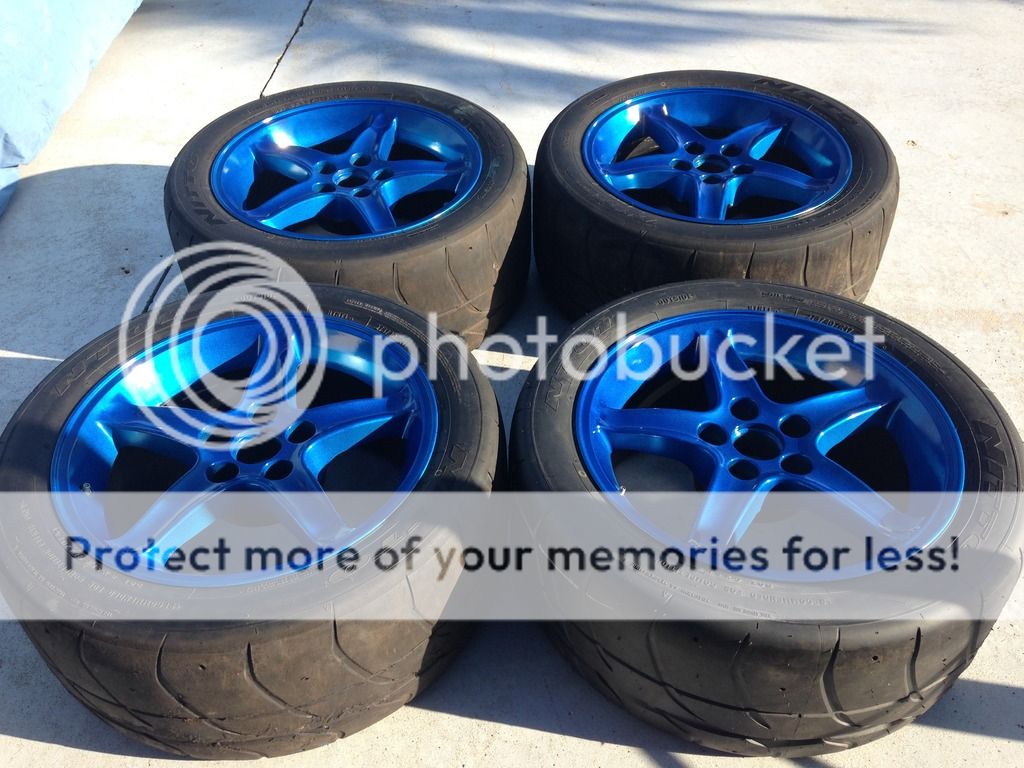
​Wanted to change up the color on my track wheels. I choose Dupli-colors Metalcast candy teal. Being my wheels were originally gloss black I needed a base coat. For that Dupli-color Metalcast ground coat was needed. I used a scuff pad to rough up the wheels. I used cardboard and cut out a round piece to use on the inside of the wheels to keep the color of the face from bleeding onto the inside being I also repainted that gloss black. For the first wheel I used business cards to prevent overspray but that was a pain in the ass because they kept wanting to fall off and made it difficult to spray. I ended up just using tape on the rubber and that worked great and made it real easy. BTW's if anyone wanted to paint their wheels in a silver color that Metalcast ground coat is badass.


ReplicaR

Well-Known Member
Joined
Mar 2, 2007
Messages
3,455
Reaction score
440
I bet track wheels and going bold and stuff, but I just don't see it as a good color combo. Hopefully it will look better on the car itself.
 
OP
OP
hotmustang95

hotmustang95

Active Member
Joined
Apr 6, 2011
Messages
604
Reaction score
15
Location
Boynton Beach FL
New LED headlight bulbs came in. I shopped around and looked for something that resembled the OEM bulbs in hopes that it would more closely create the same effect and not have that crazy HID scattered light all over that blinds people. I found something really close. Each light has a total of 4 LEDs, 2 on each side inside a round glass tube that's almost the same size as the halogen bulb. When I get a chance I'll drive it around the hood and adjust the beams as to not blind oncoming traffic.


OP
OP
hotmustang95

hotmustang95

Active Member
Joined
Apr 6, 2011
Messages
604
Reaction score
15
Location
Boynton Beach FL
So the LEDs suck ass. Just like the HIDs they have a scattered light pattern. I aimed the headlights downward and drove around tonight and didn't get any flashers back so at least they will not blind oncoming traffic. The color is really nice though. I'll have to deal with these for a while and eventually do the projector deal in the future. I rarely drive at night being the stang hasn't been a daily in 5 years.
 
Joined
Sep 8, 2013
Messages
3,631
Reaction score
982
Location
Pleasanton/Hayward, CA
Custom Front Splitter

I decided it was time to add an areo package to the car. I couldn't find any made for my car so I had to make one myself. You can really save some money by fabrication your own and build it to your exact needs.

First thing was deciding on what material to use. Probably the cheapest would've been plywood but I ended up buying a 6'X3' sheet of 3/8" marine grade starboard. It cost me $150. I've seen other guys use this. What I like about this stuff is it's already black in color and has that textured look. What sucks about it is being it was 6' long it was hard to work with to get it into position to outline where the cuts were going. After using a few jacks and lots of wood to hold it in place I could lay down the thin rubber blue tape as my cut line.


Here's the first design I was going to go with. The front of the splitter will stick out 3" past my spoiler. On the back side I had it cut in a way that the center section of splitter came right to the swaybar.


I later ditched the idea of having the splitter go back that far. I still wanted as much of the splitter to cover the underside of the front of the car but still leave me room to work on things like brake ducts and the radiator so I redesigned it. Also to make thing easier I added some bracing to the underside to stiffen the thing up some.


Because this is a full underside type splitter it needs to have a really good support system to hold it in place. The idea I came up with was very simple, cheap and I didn't even have to take the bumper off. I decided on using two lengths of 3/8" all thread bolted into the bottom side of the metal bumper support.


After many times of mocking up the placement of the splitter and repeatedly checking to have it centered I mounted the splitter in place. The two pieces of all thread held the entire thing in place very well. I used a thick piece of aluminum angle to tie both ends of the all thread together on the underside.

On most splitters you'll see guys use these adjustable rods called splitter rods to support the front section of the splitter. I've always loved the way they looked so I purchased a couple from Wine Country Motorsports. These are from a company called Longacre.


What you don't see in any pics is how the rear and the entire length of the front side of the splitter is screwed to the bumper. My fiberglass chin spoiler is screwed and bolted to the bumper. I made sure the screws I used to secure the splitter to the spoiler went thru both the spoiler and bumper. Because I felt the splitter is so secure I didn't go with my original plan of fabricating some type of bracket to connect the splitter rods from the splitter itself, to the metal bumper support like most racers do so I just bolted the rods from the splitter to the bumper cover. I might just go ahead and add some supports from the metal bumper to the rods just to be safe. Here is how it looks now.


I'm thinking I might also remove those two braces from the underside and use big washers for the all thread rather then that aluminum angle for a cleaner look? But then again no one can see what's going on under there.

Whatcha guys think?????

__________________


Hmmmmm...I seee
 

B.mad

Well-Known Member
Preferred Vendor
Joined
Mar 9, 2014
Messages
2,041
Reaction score
21
Location
SoCal
any late on this. but did you feel any difference with the 13" baer rotors with stock rear caliper?
 
OP
OP
hotmustang95

hotmustang95

Active Member
Joined
Apr 6, 2011
Messages
604
Reaction score
15
Location
Boynton Beach FL
any late on this. but did you feel any difference with the 13" baer rotors with stock rear caliper?

Didn't feel any difference. The reason I removed them was because if I were to ever warp one of those rotors you can't just run to the parts store and get a replacement. So I went with the cobra setup.
 

B.mad

Well-Known Member
Preferred Vendor
Joined
Mar 9, 2014
Messages
2,041
Reaction score
21
Location
SoCal
Didn't feel any difference. The reason I removed them was because if I were to ever warp one of those rotors you can't just run to the parts store and get a replacement. So I went with the cobra setup.
Dammm.. ok gotcha.

sent from the toilet or from my cubicle
 
Joined
Sep 8, 2013
Messages
3,631
Reaction score
982
Location
Pleasanton/Hayward, CA
When sword is used for eBay pictures for a hood

http://www.ebay.com/itm/121716266520

s-l64.jpg
 
OP
OP
hotmustang95

hotmustang95

Active Member
Joined
Apr 6, 2011
Messages
604
Reaction score
15
Location
Boynton Beach FL
Finally got to reworking my tower brace, again. This is probably the 4th time I've had to customize it to work with my setup. After the installation of the taller Ford Racing valve covers I needed to add a spacer to the intake to clear it. Well this screwed up my last work on the tower brace and caused it to once again come into contact with the intake. This time I had to add an extra notch to the brace over the TB area and widen the other 2 notches some. I also repainted the brace with the same yellow as my RLCA's and pan hard bar. In the future I plan to paint a new K member with the same color. Doing all the chassis stiffing in yellow deal.

Here it is after getting reworked.


And here it is done.


Latest posts

Forum statistics

Threads
77,552
Messages
1,504,807
Members
15,019
Latest member
Srchop16

Members online

Top