Less talk, mo action.
Motor's pulled apart, timing was checked and started scuffing everything. I'M DOING THE BEST I CAN, OK?
Less talk, mo action.
Motor's pulled apart, timing was checked and started scuffing everything. I'M DOING THE BEST I CAN, OK?
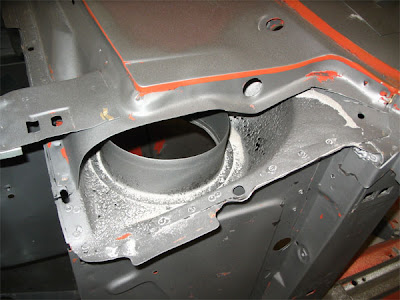
ugh, cowel work on these things sucks.
GL bro!


")
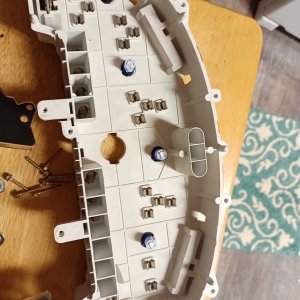
Yay old spaghetti and new spaghetti
But man rot sucks
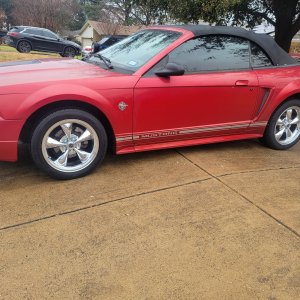
Do you have stock suspension? How did you get the wheels under it? Spacers?

OK, Duh,
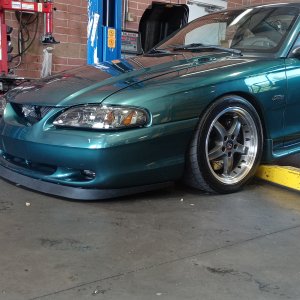
nice looking car - and you still have space man,
i'm not sure what you mean by pulling the cowel off - it's part of the body, doesn't come off.
in mine, we had to cut it off and rework the bottom to fit the new dash, then weld the whole thing back into place.
you have to work on it through the holes and bottom.
I think you're going to want to grind/remove as much surface rust and flakey rusty nuggets as possible,
then, instead of just covering it up, treat it with a neutralizer/encapsulator.
Check here:
http://www.corrosionx.com/rust-reconverter-lt.html
http://www.eastwood.com/paints/rust...m={keyword}&utm_campaign=NonBr-Rust+Solutions


![IMG_20140524_152057360_HDR[1]](/data/xfmg/thumbnail/0/66-1b90088565df25d76ff5bd73b7f47142.jpg?1623783787)