MPN: 49143
Tools:
Medium Philips Screw Driver
Trim Removal Tool
Deep Socket 11mm with your choice of ratchet
Flashlight
Links will take you to a picture of what I am talking about in the step above the link.
1) Pop your trunk
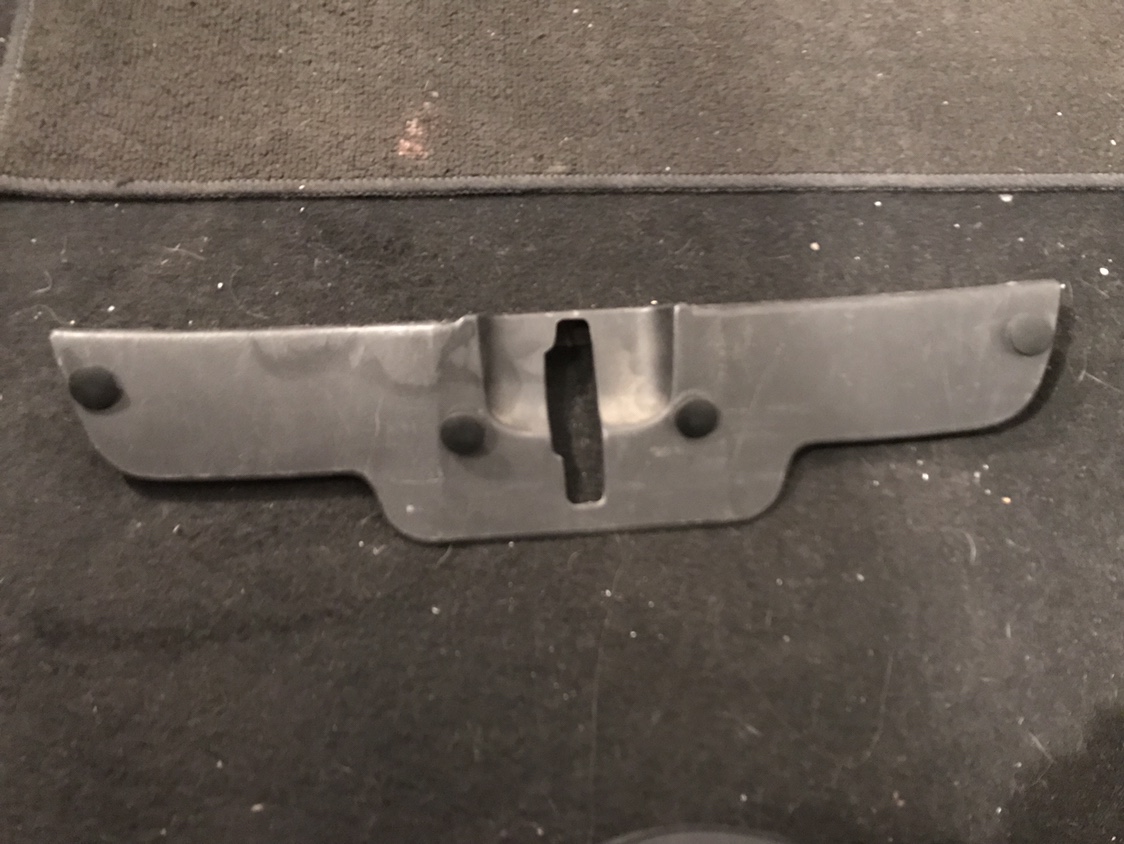
2) Remove the trim around the decklid striker (there should be 4 plastic push pin fasteners), once the fasteners are removed the hard black plastic trim should come right off
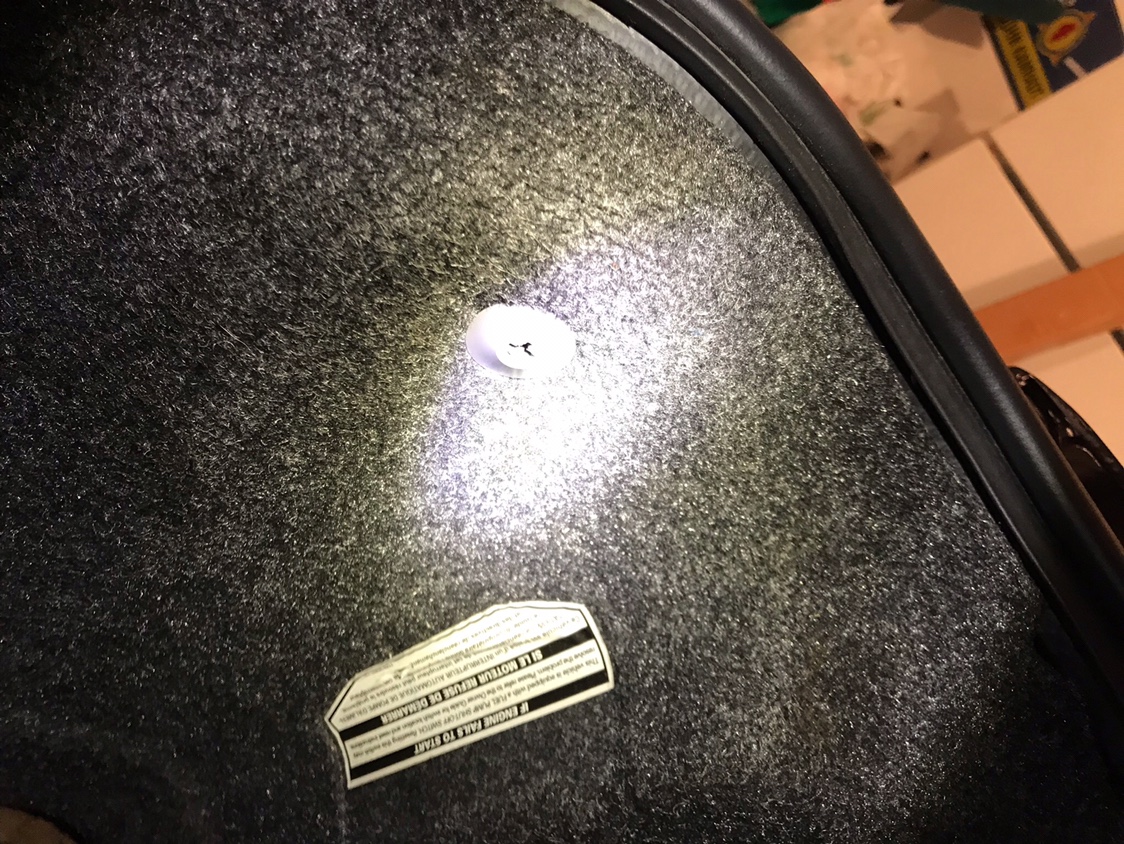
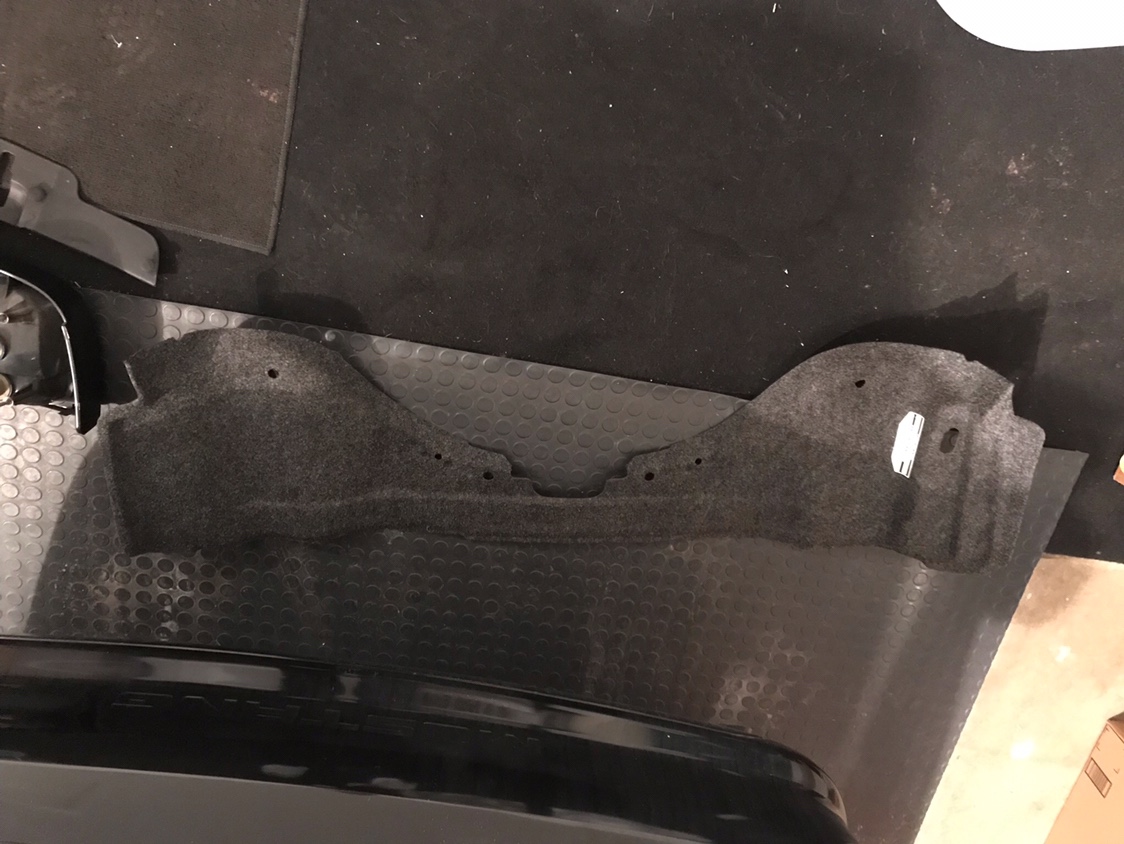
3) Using your Philips screw driver remove the nut type plastic trim fasteners holding on the most rearward carpet trunk trim, this will give you the easiest access to removing the nuts holding on your tail lights
4) Removed the four 11mm nuts holding on your tail lights and be careful not to drop or lose them ( the driver side will be a little trickier as there is a plastic trim piece in the way of the most outward positioned tail light retaining nut)
5) Unclip the main taillight harness connector for each side

6) Pull out your headlights by giving them a slight horizontal wiggle and guiding them out
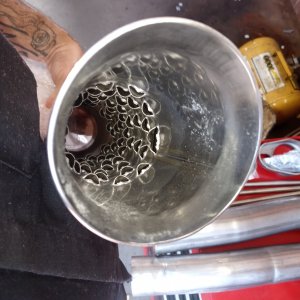
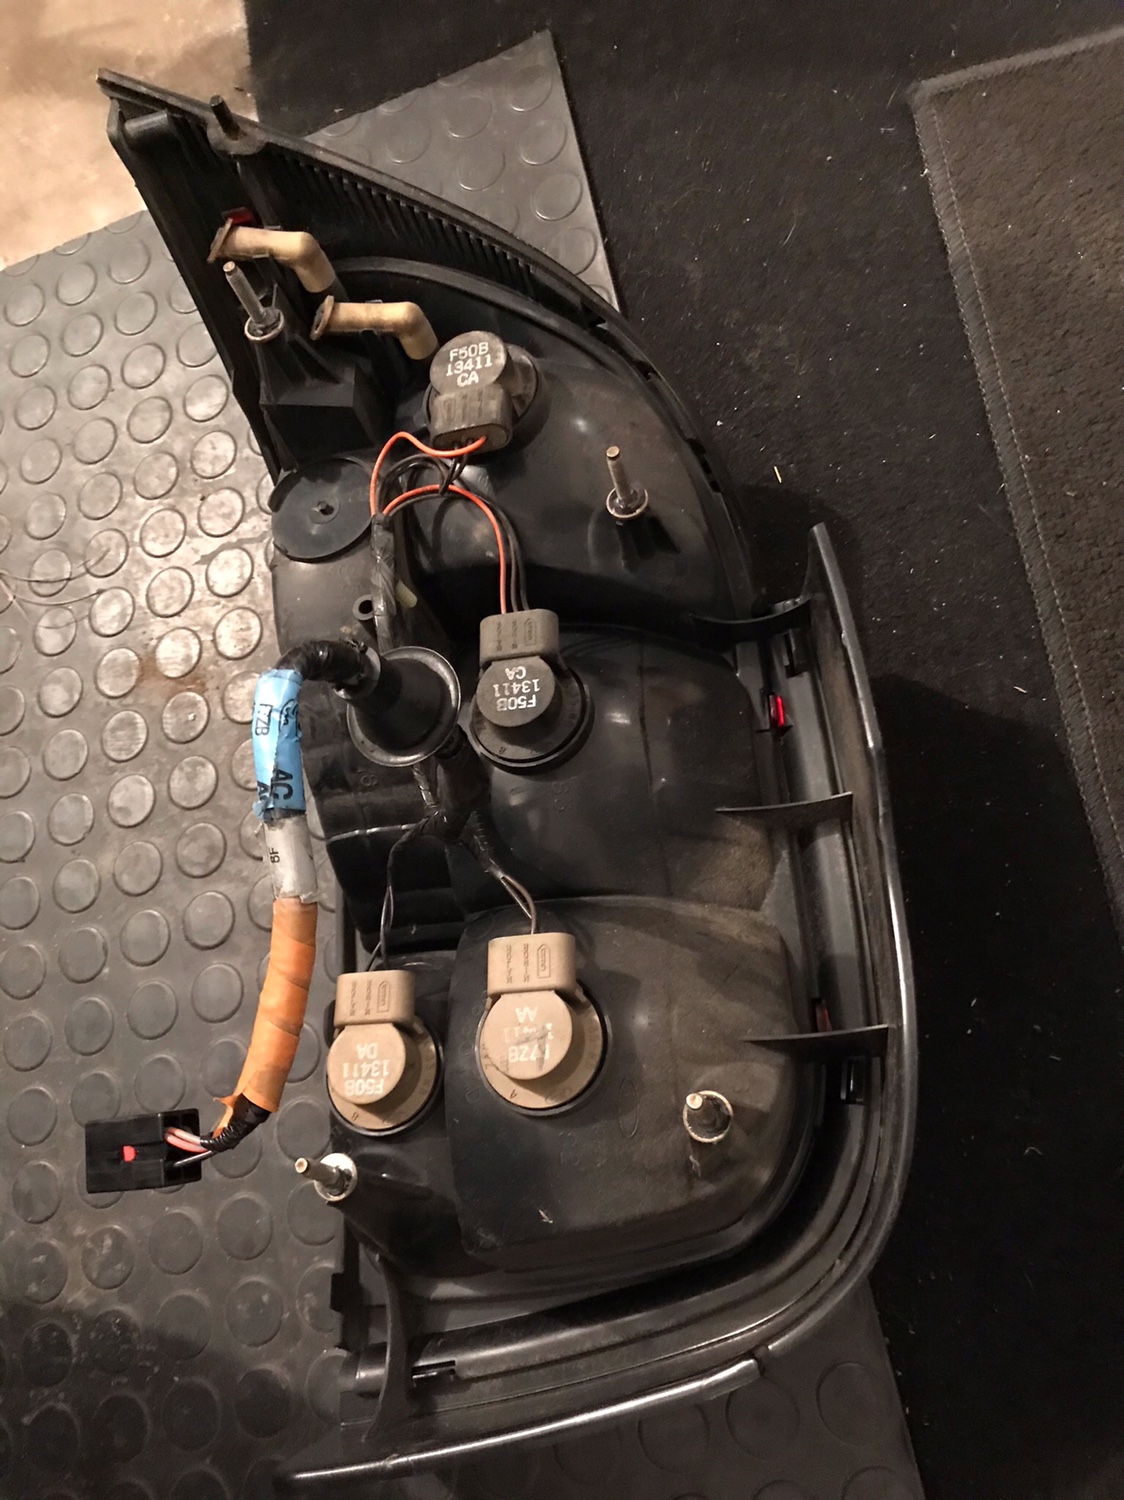
7) By turning the light sockets to the left a quarter turn or so the lights will come out and you can lay the housing on the ground
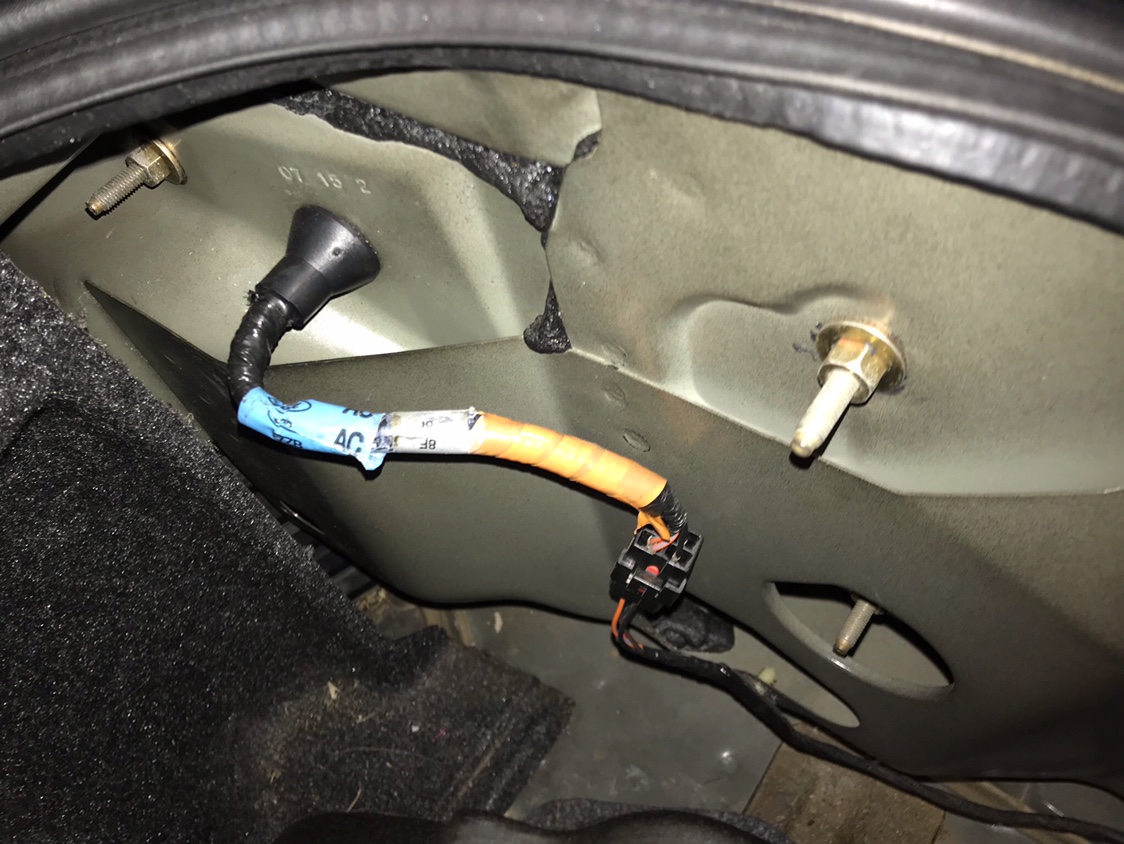
8) Gently push the tail light harness out by starting in one place and pushing from the inside of the trunk out and then guiding the connector out of the grommet hole
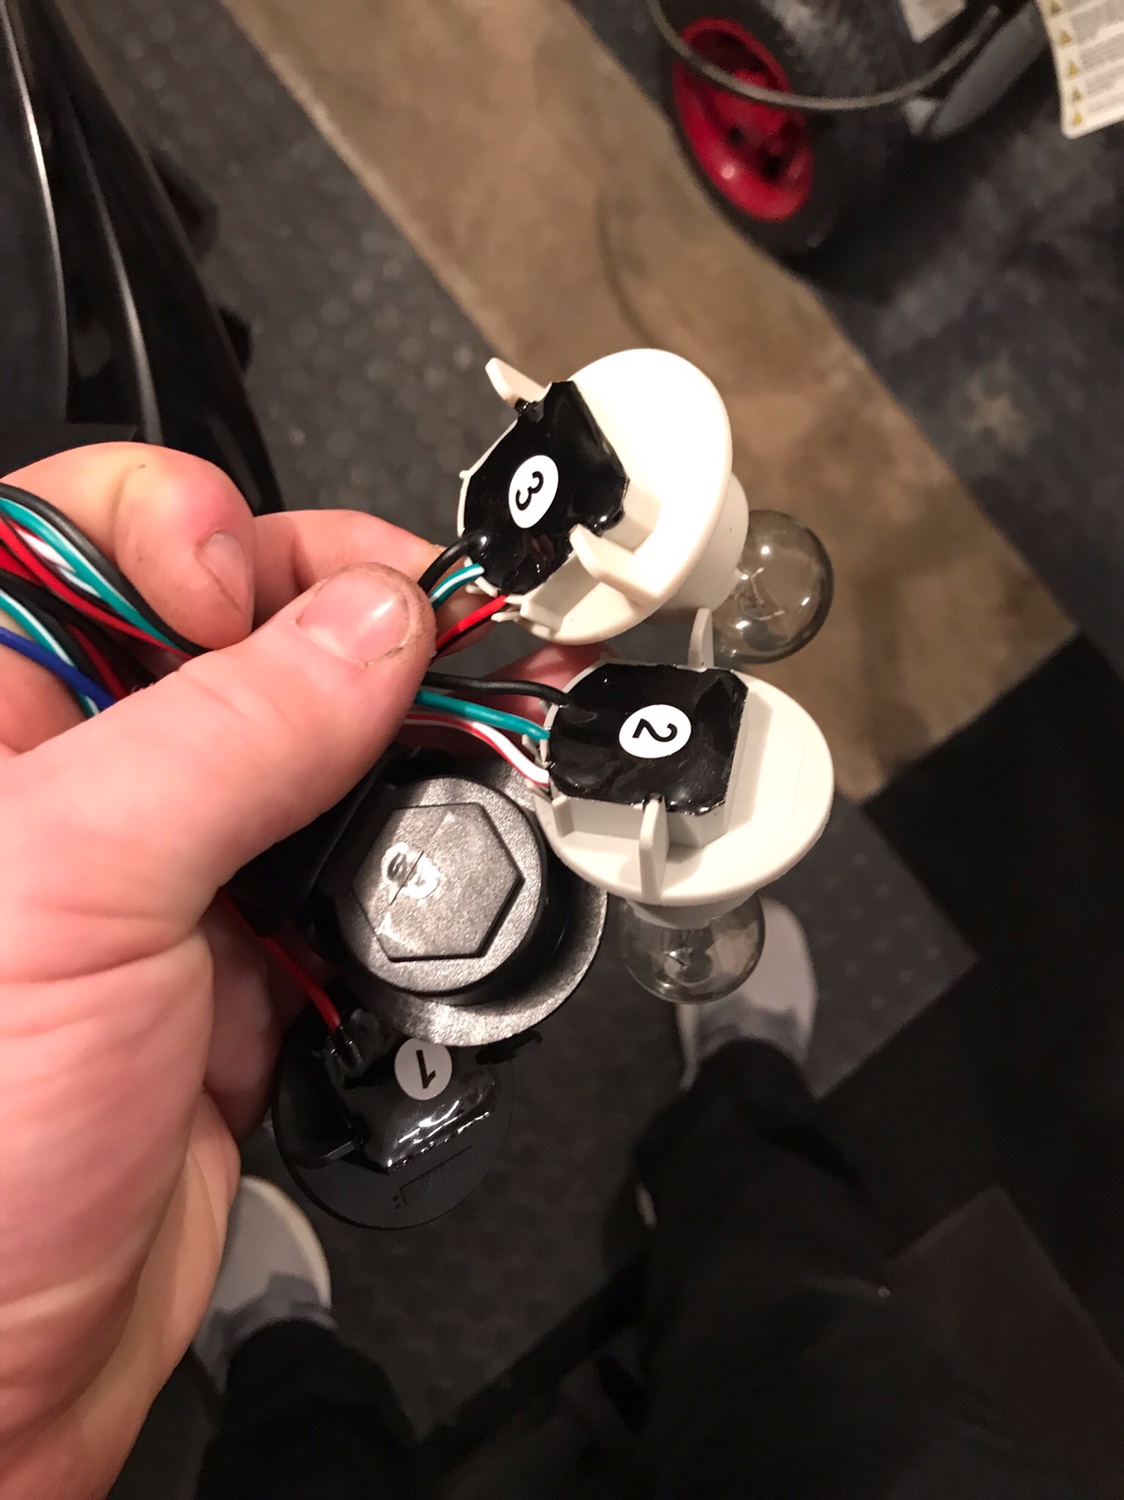
9) remove all of the light bulb from the tail light sockets and install them into the Raxiom sockets (the tail light bulbs are all dual element and go into the sockets labeled 1,2, and 3 with the reverse light bulb being a single element and going in the unmarked socket)
10) With all the bulbs in guide the main connector through the grommet whole and connect it to the factory connector (mine required a little more push to get them to click into the retainer clip, just make sure to line up the connector first so that you don't break a pin in the connector)
11) Test out your lights by putting the hazards on and putting the car in reverse with the e-brake on and the engine off
12) Once you have verified the lights work correctly put the bulbs and their sockets in their correct tail light position with the socket labeled 1 on the inner most position and the socket labeled 3 on the outer most position, the unmarked reverse light bulb socket will going on the lower position
13) Tuck the solid state electronic device (the little black box on the harness) into the middle of the housing so that the housing can sit flush against the body
14) Run down the four 11mm nuts on each housing with you hands and snug them up with your deep 11mm socket and ratchet being sure to not drop or lose any or overtighten the nuts
15) Reinstall your carpet trim panel into place and put the plastic trim nut retainers back into place on the remaining thread on the tail light housing stud and tighten it down with your philips screwdriver
16) Reinstall the hard black plastic decklid striker trim with the four plastic fasteners
17) Enjoy your sequential tail lights!
Notes: If you would like to slow down the sequential effect Raxiom sells two relays to achieve this. One for use with LED bulbs and the other for use with standard incandescent bulbs.
Incandescent relay: MPN# 99032
LED relay: MPN# 388878
Tools:
Medium Philips Screw Driver
Trim Removal Tool
Deep Socket 11mm with your choice of ratchet
Flashlight
Links will take you to a picture of what I am talking about in the step above the link.
1) Pop your trunk
2) Remove the trim around the decklid striker (there should be 4 plastic push pin fasteners), once the fasteners are removed the hard black plastic trim should come right off
3) Using your Philips screw driver remove the nut type plastic trim fasteners holding on the most rearward carpet trunk trim, this will give you the easiest access to removing the nuts holding on your tail lights
4) Removed the four 11mm nuts holding on your tail lights and be careful not to drop or lose them ( the driver side will be a little trickier as there is a plastic trim piece in the way of the most outward positioned tail light retaining nut)
5) Unclip the main taillight harness connector for each side
6) Pull out your headlights by giving them a slight horizontal wiggle and guiding them out
7) By turning the light sockets to the left a quarter turn or so the lights will come out and you can lay the housing on the ground
8) Gently push the tail light harness out by starting in one place and pushing from the inside of the trunk out and then guiding the connector out of the grommet hole
9) remove all of the light bulb from the tail light sockets and install them into the Raxiom sockets (the tail light bulbs are all dual element and go into the sockets labeled 1,2, and 3 with the reverse light bulb being a single element and going in the unmarked socket)
10) With all the bulbs in guide the main connector through the grommet whole and connect it to the factory connector (mine required a little more push to get them to click into the retainer clip, just make sure to line up the connector first so that you don't break a pin in the connector)
11) Test out your lights by putting the hazards on and putting the car in reverse with the e-brake on and the engine off
12) Once you have verified the lights work correctly put the bulbs and their sockets in their correct tail light position with the socket labeled 1 on the inner most position and the socket labeled 3 on the outer most position, the unmarked reverse light bulb socket will going on the lower position
13) Tuck the solid state electronic device (the little black box on the harness) into the middle of the housing so that the housing can sit flush against the body
14) Run down the four 11mm nuts on each housing with you hands and snug them up with your deep 11mm socket and ratchet being sure to not drop or lose any or overtighten the nuts
15) Reinstall your carpet trim panel into place and put the plastic trim nut retainers back into place on the remaining thread on the tail light housing stud and tighten it down with your philips screwdriver
16) Reinstall the hard black plastic decklid striker trim with the four plastic fasteners
17) Enjoy your sequential tail lights!
Notes: If you would like to slow down the sequential effect Raxiom sells two relays to achieve this. One for use with LED bulbs and the other for use with standard incandescent bulbs.
Incandescent relay: MPN# 99032
LED relay: MPN# 388878
Last edited:
")