Air Lift Performance 3H install and review

ttocs

Post Whore
Joined
Oct 9, 2009
Messages
32,650
Reaction score
5,664
Location
Evansville Indiana
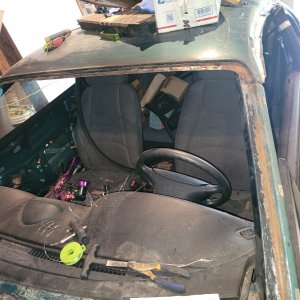
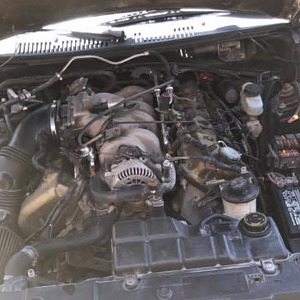
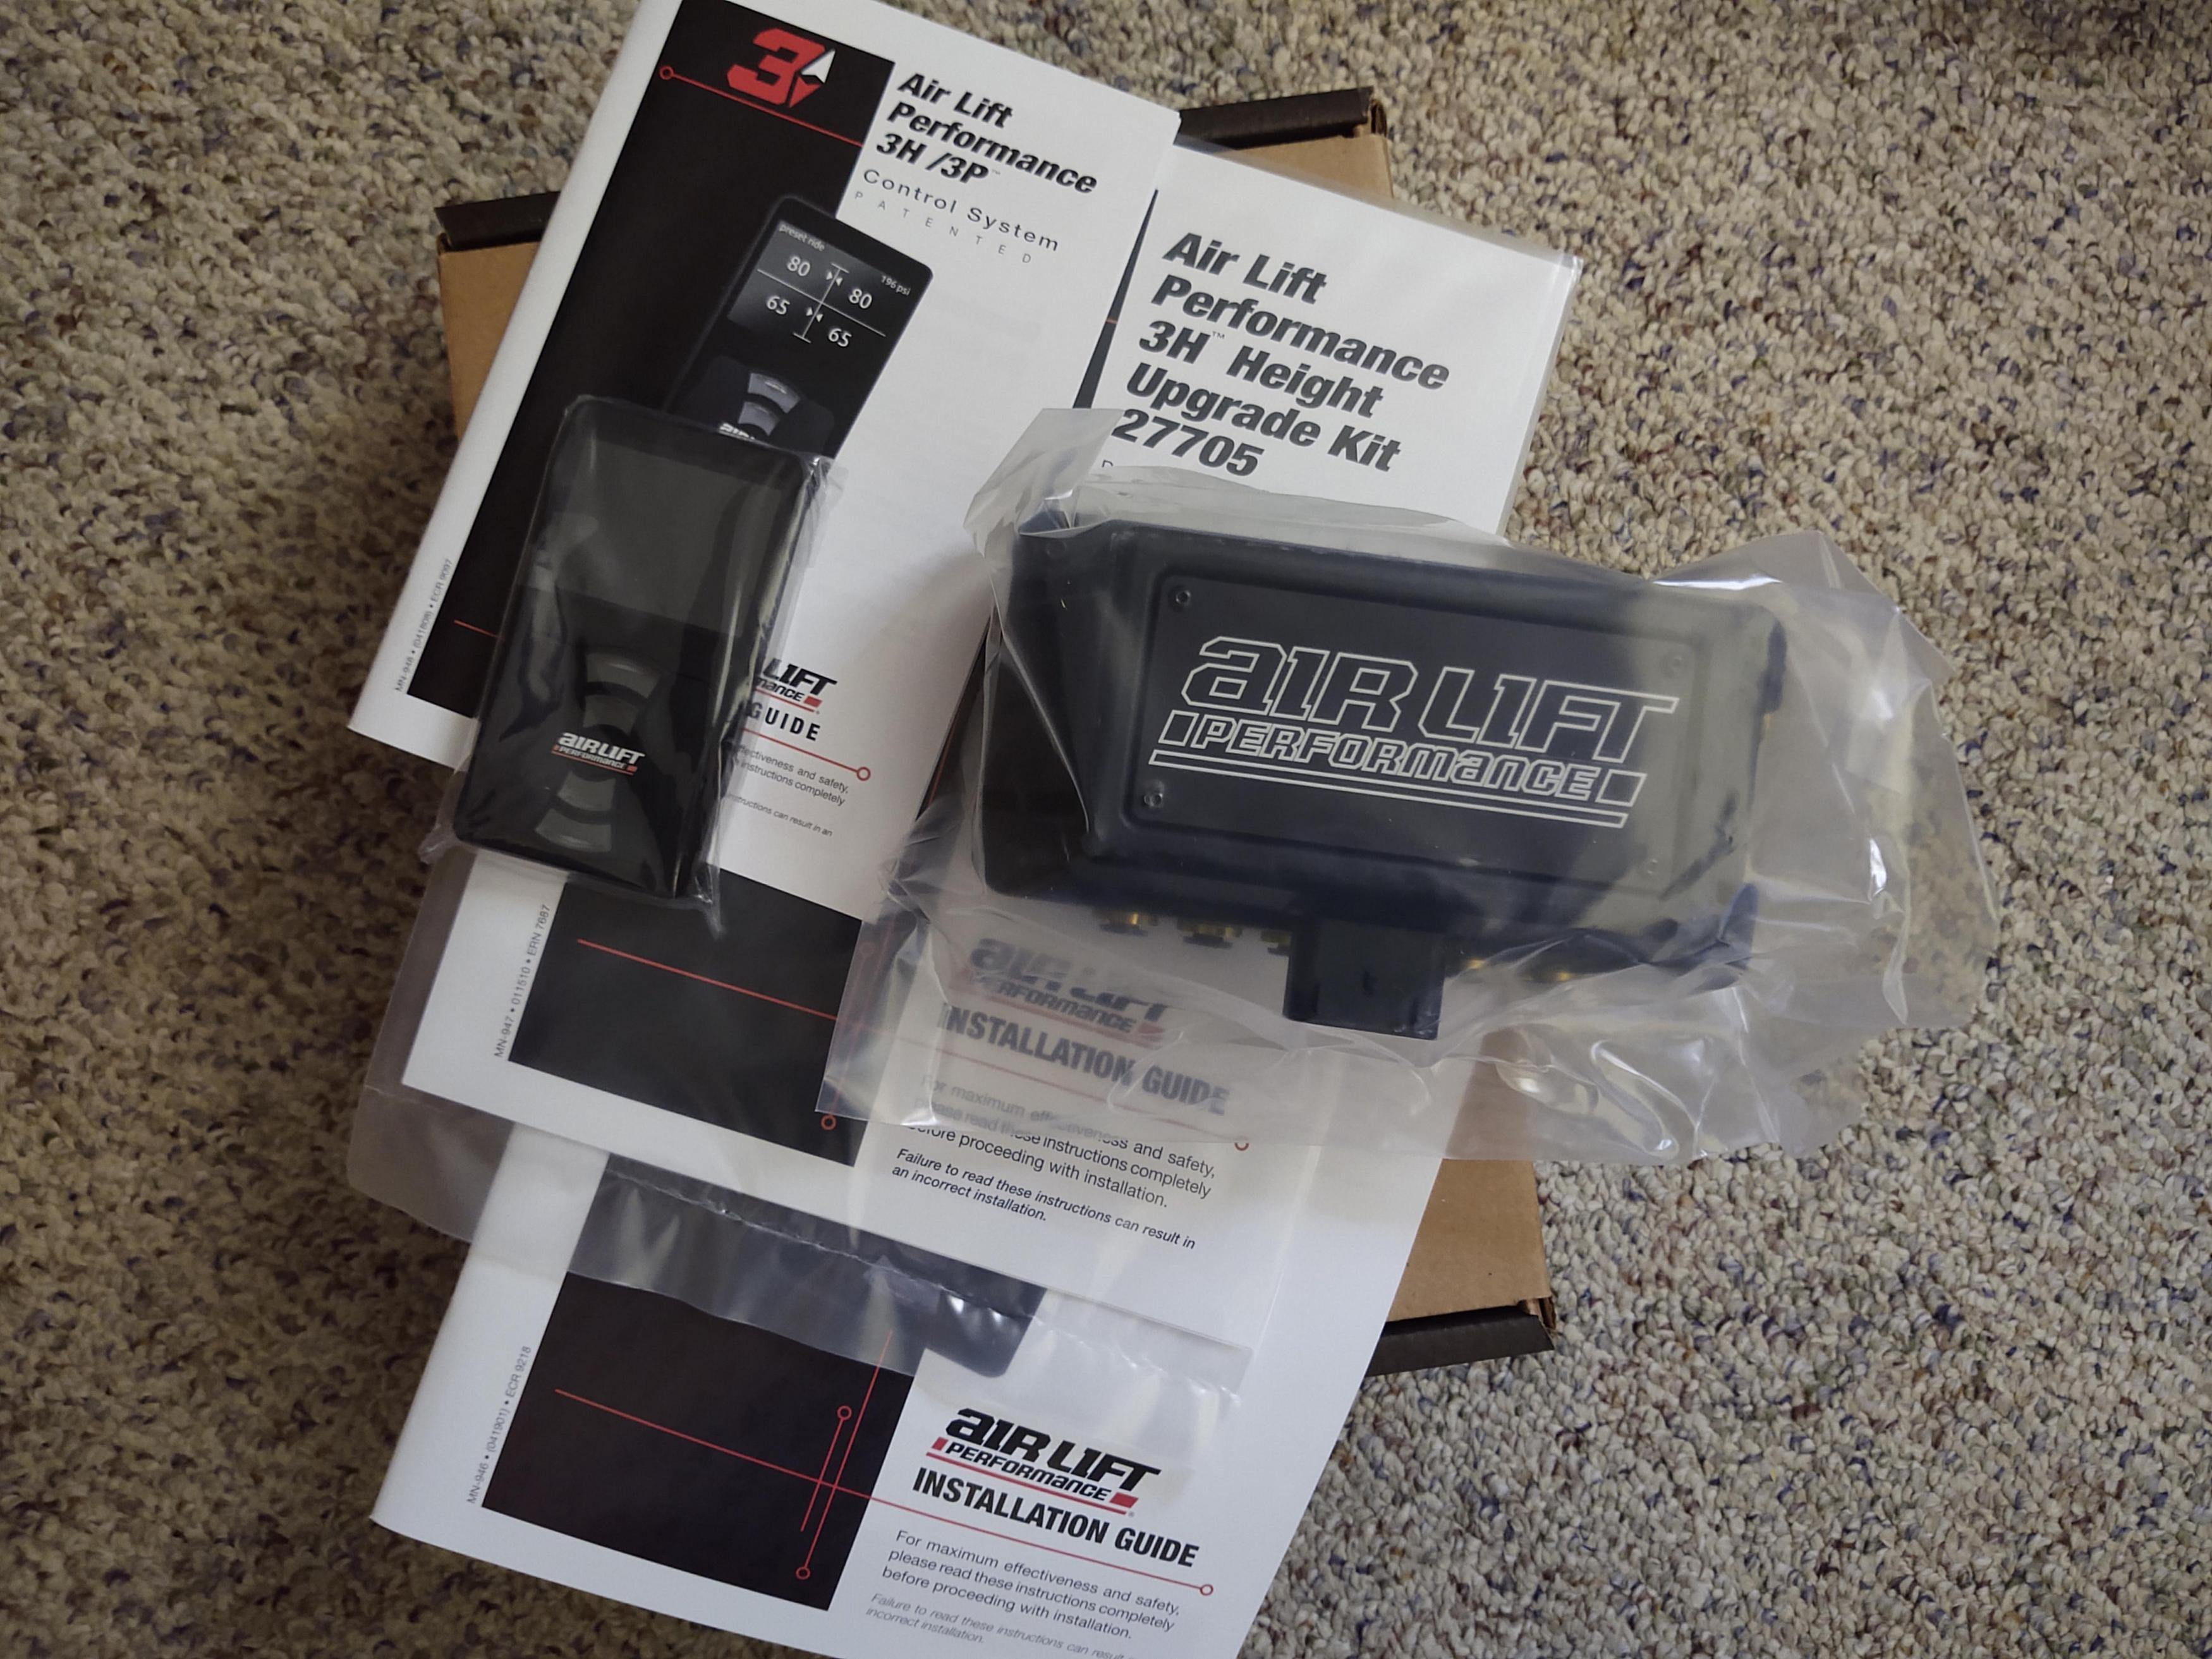
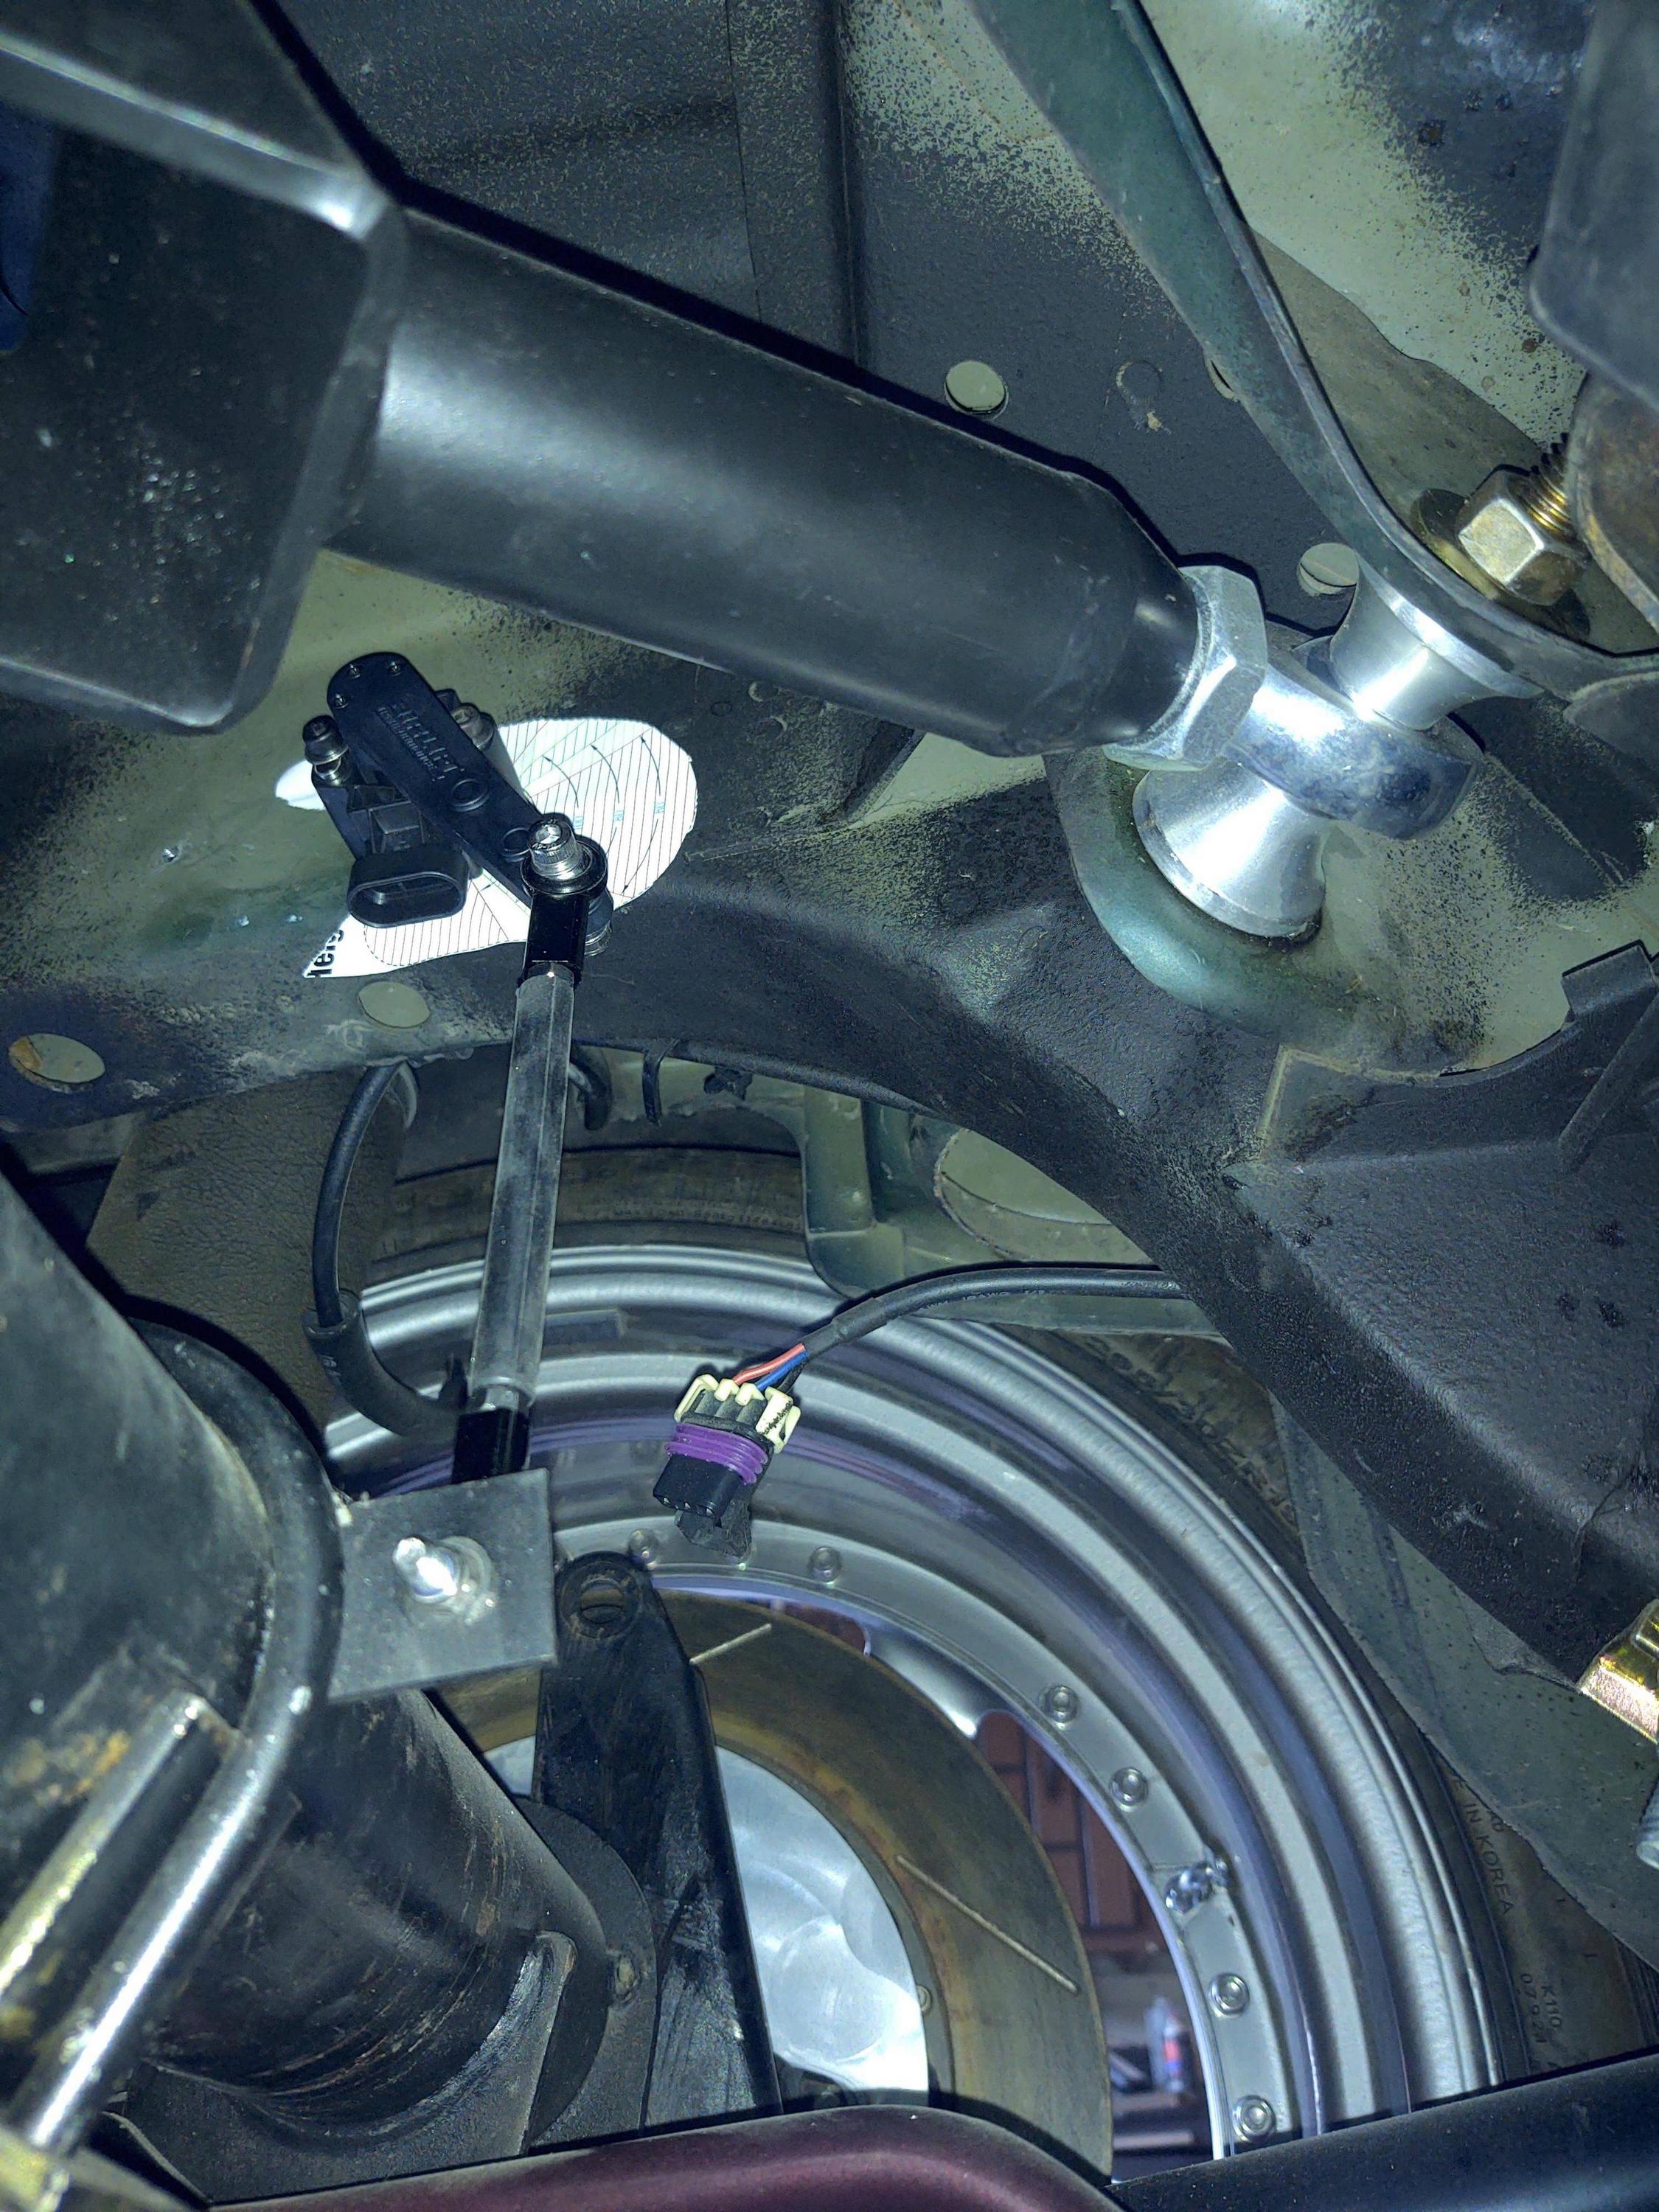
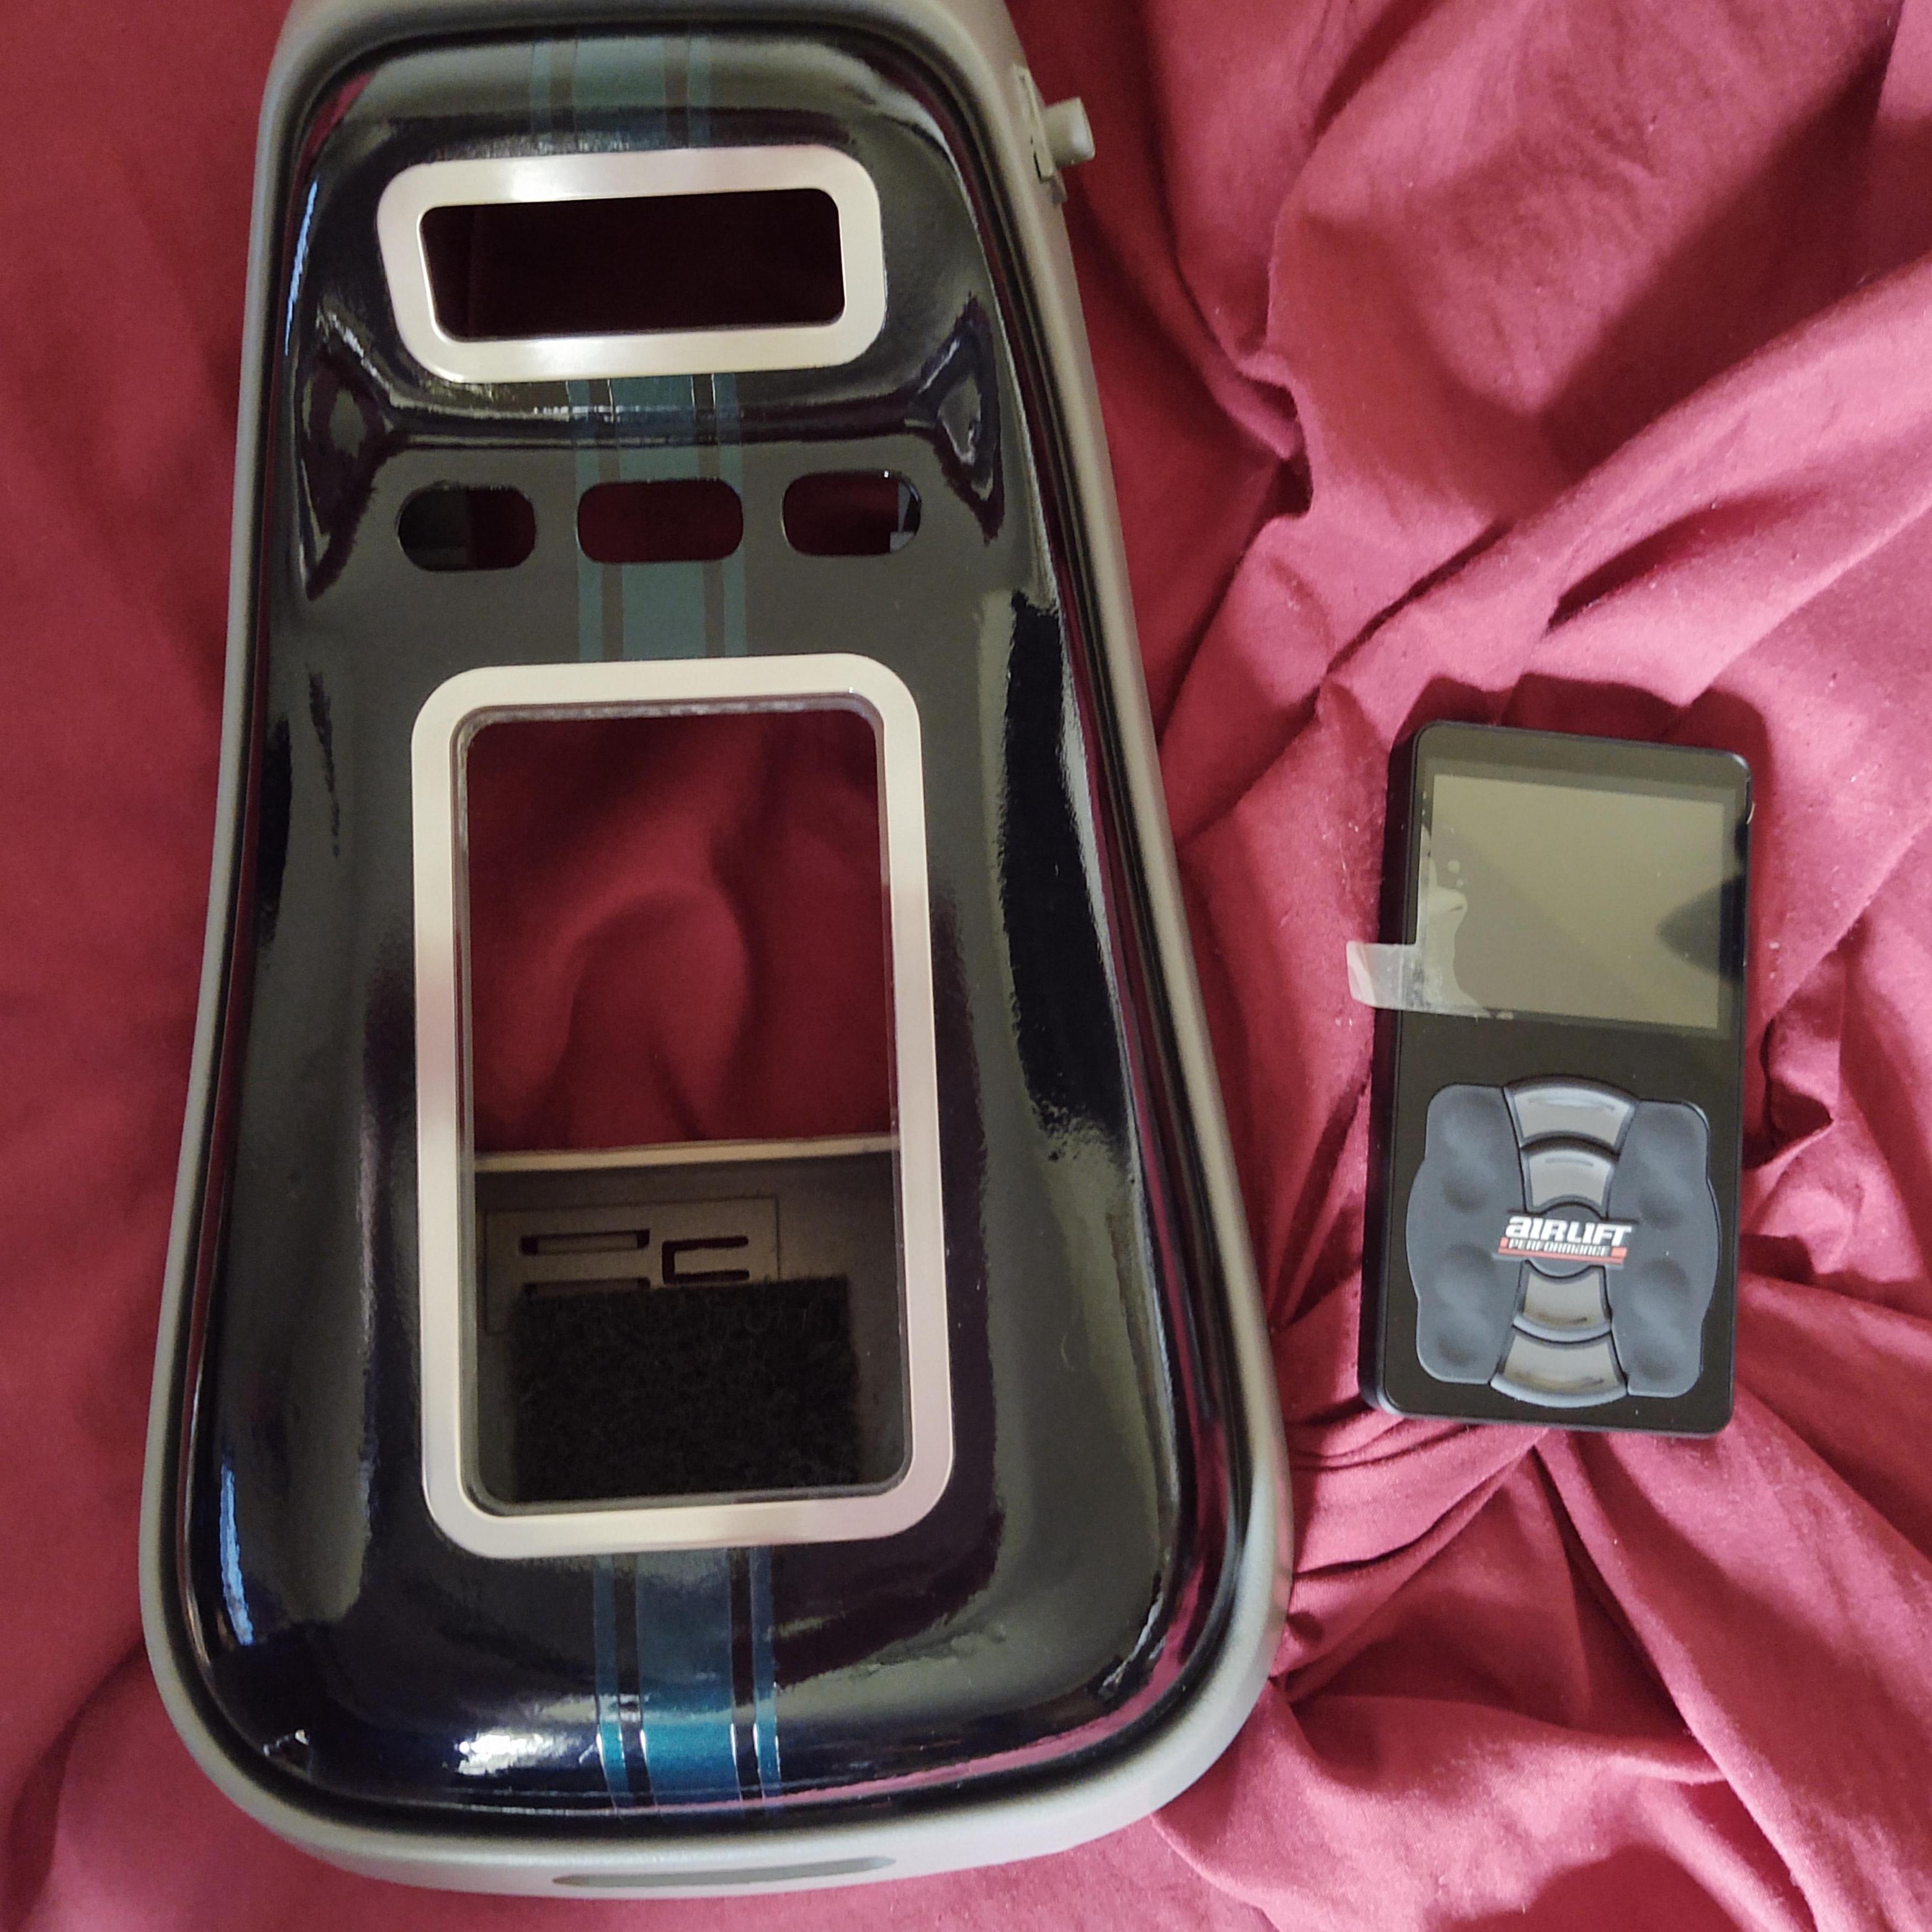
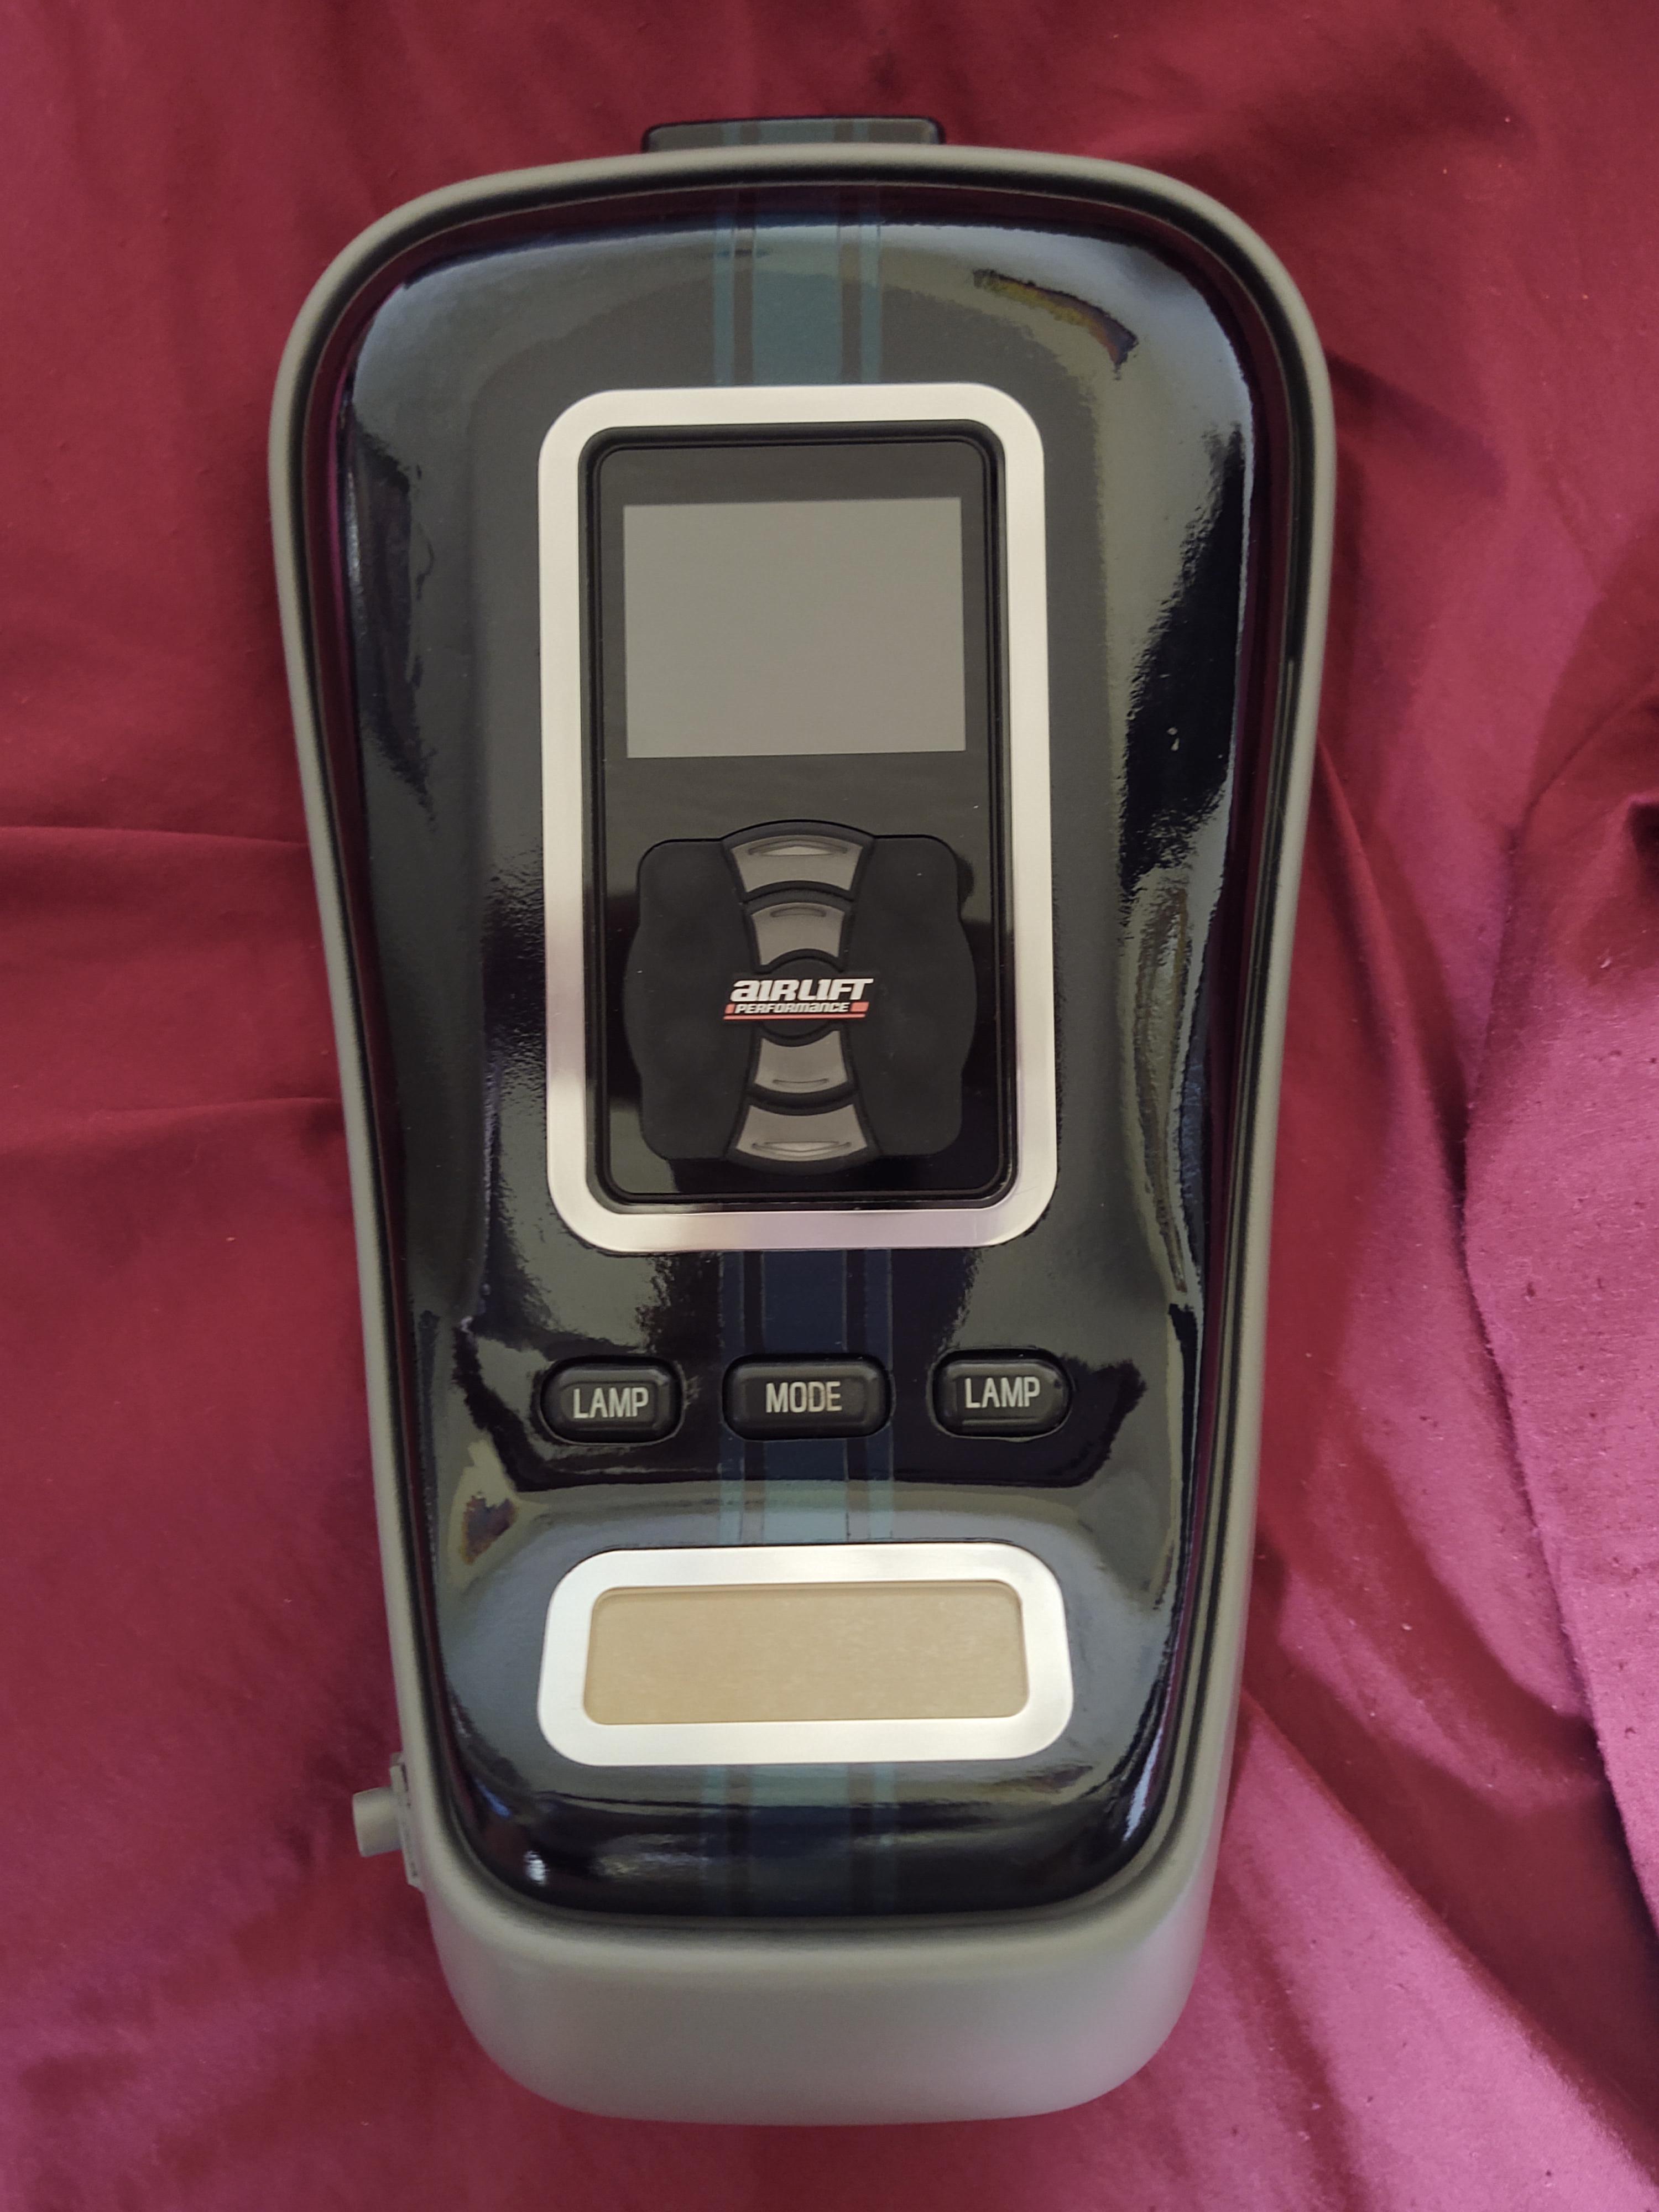
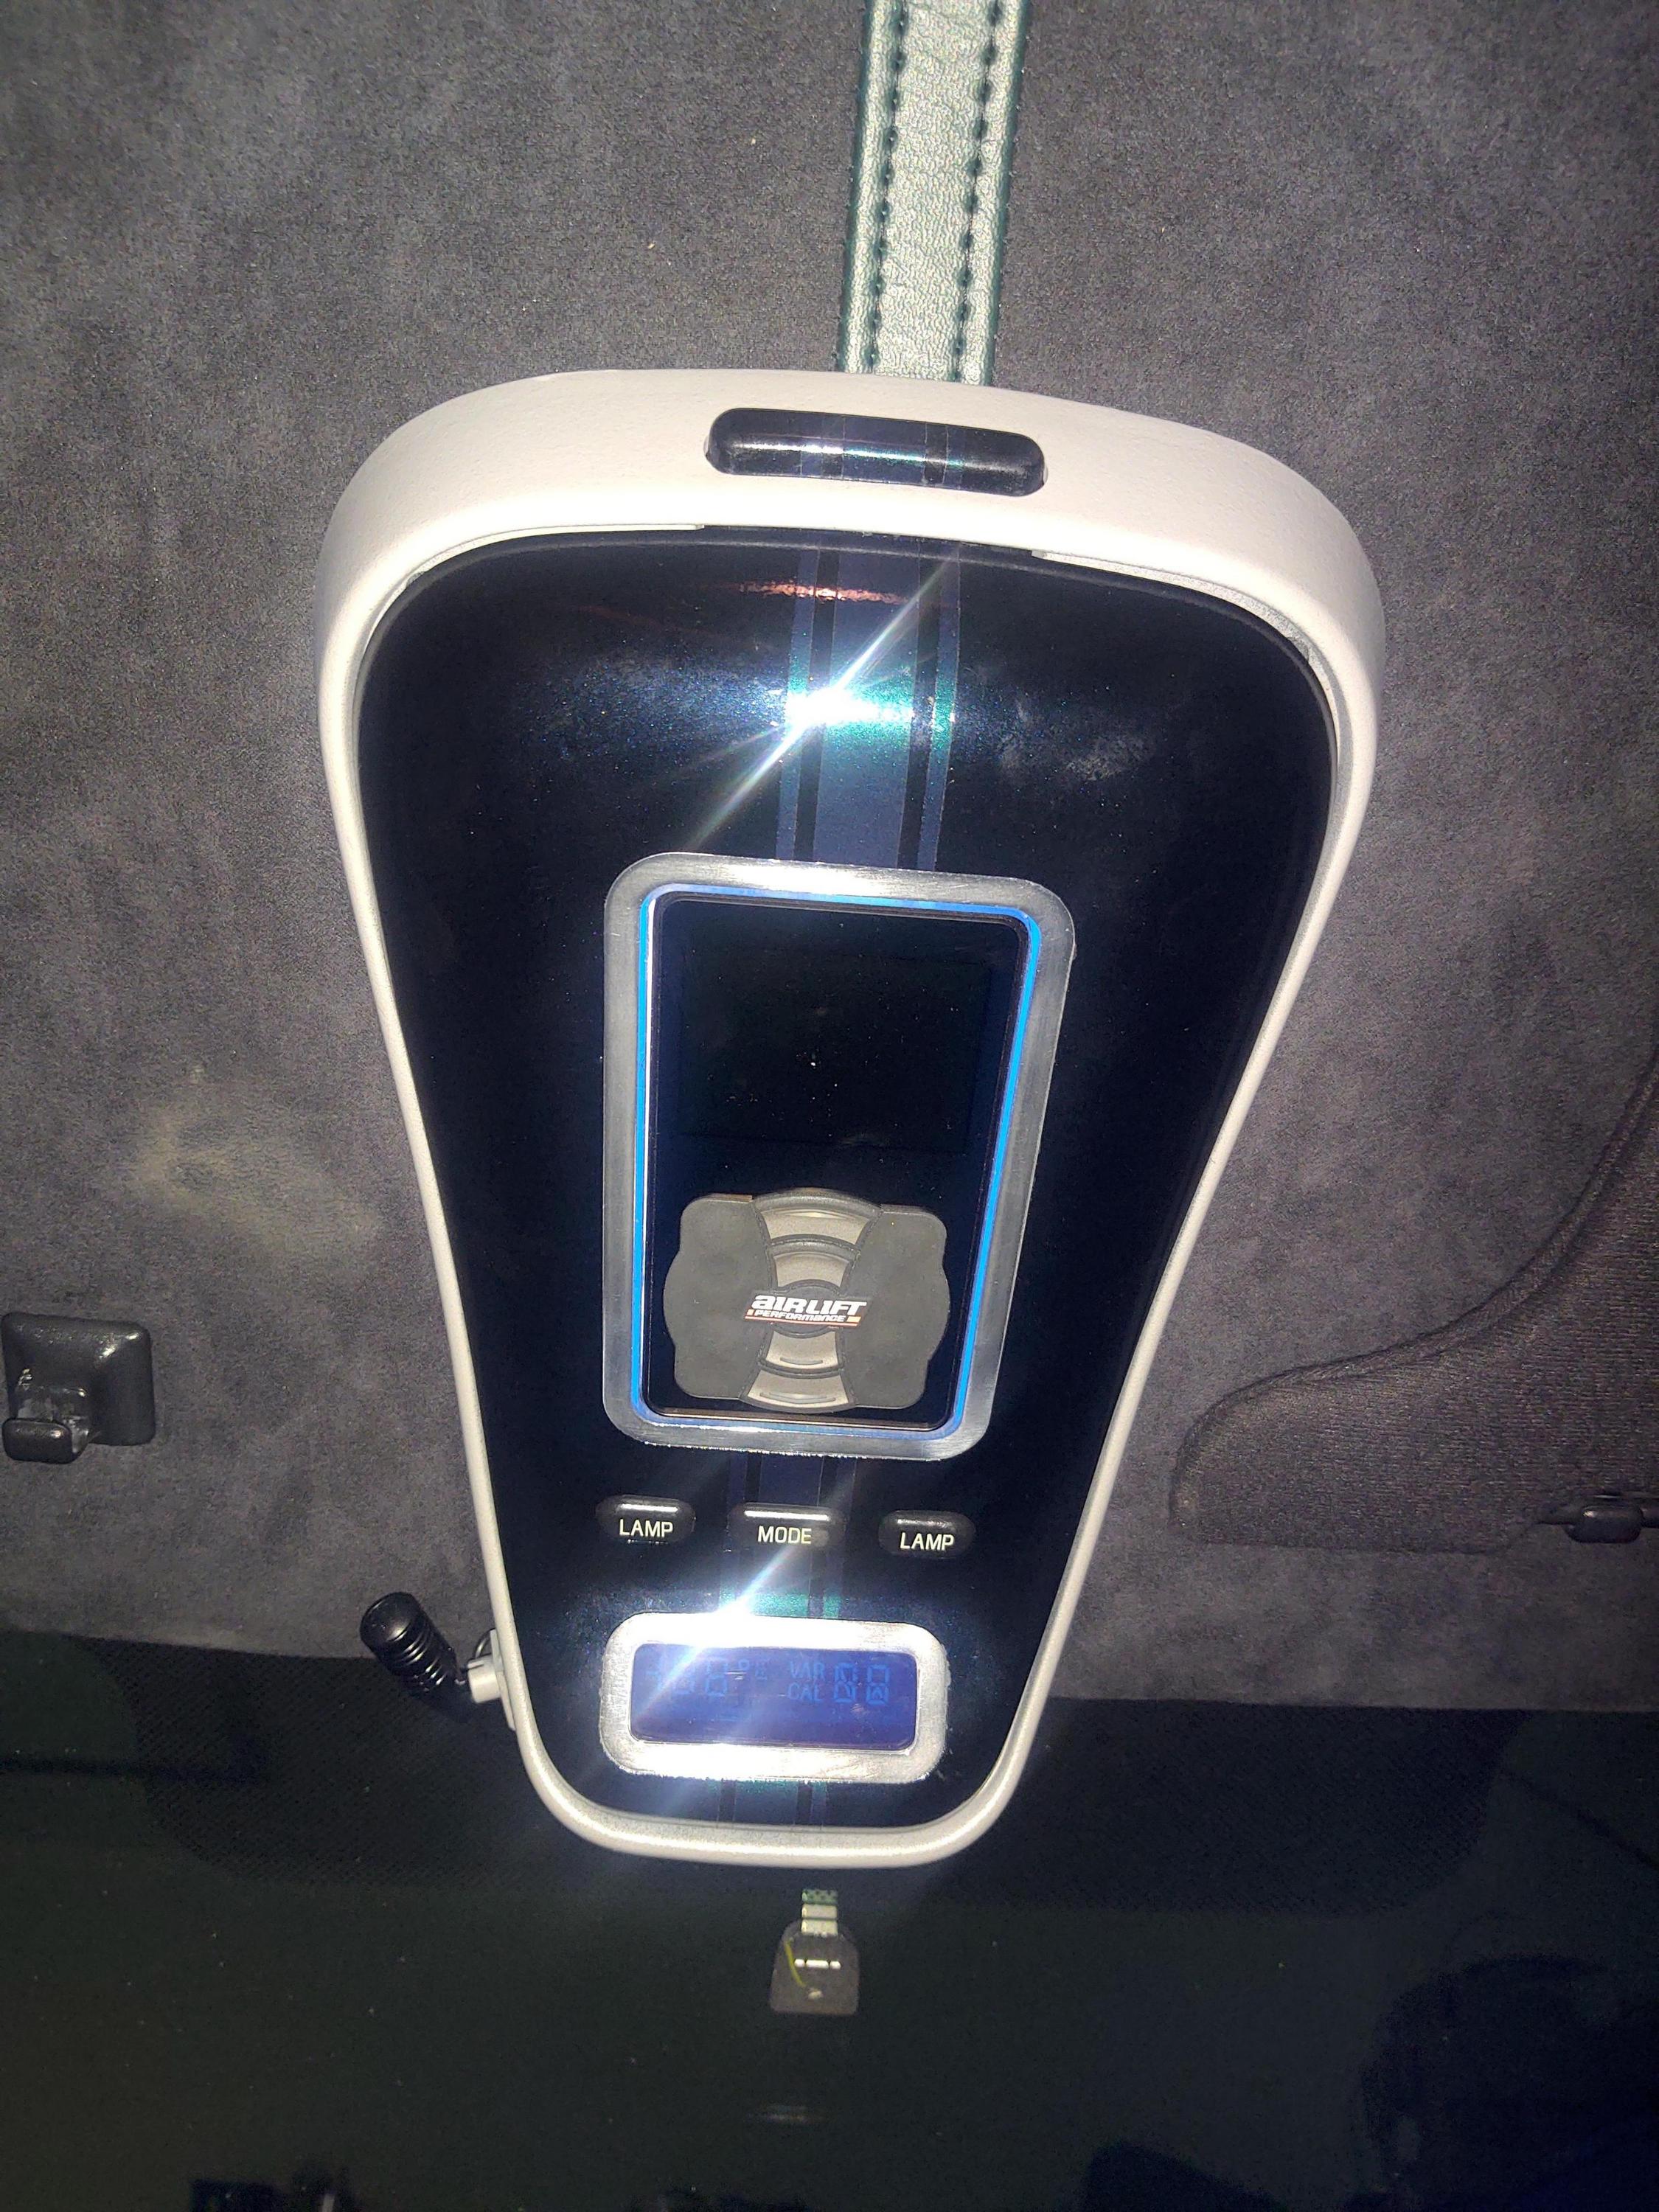
Due to a firmware glitch I had to replace my air ride controller. I thought I would break it out in a separate page and link that to my build page since its got a little long. My stomach has kept me out of the garage since I got it yesterday but I can do some work on the computer in between vomit sessions to get work on the display done. While I was disappointed to think of the work I needed to do it was going to allow me to finish the overhead console where the old display was mounted as I had other plans for it and never did finish it in the end. I also have a cnc now which makes it much easier to make really cool shit. The dispay is a really solid piece that is machined from aluminum and it could be simply stuck to the dash.

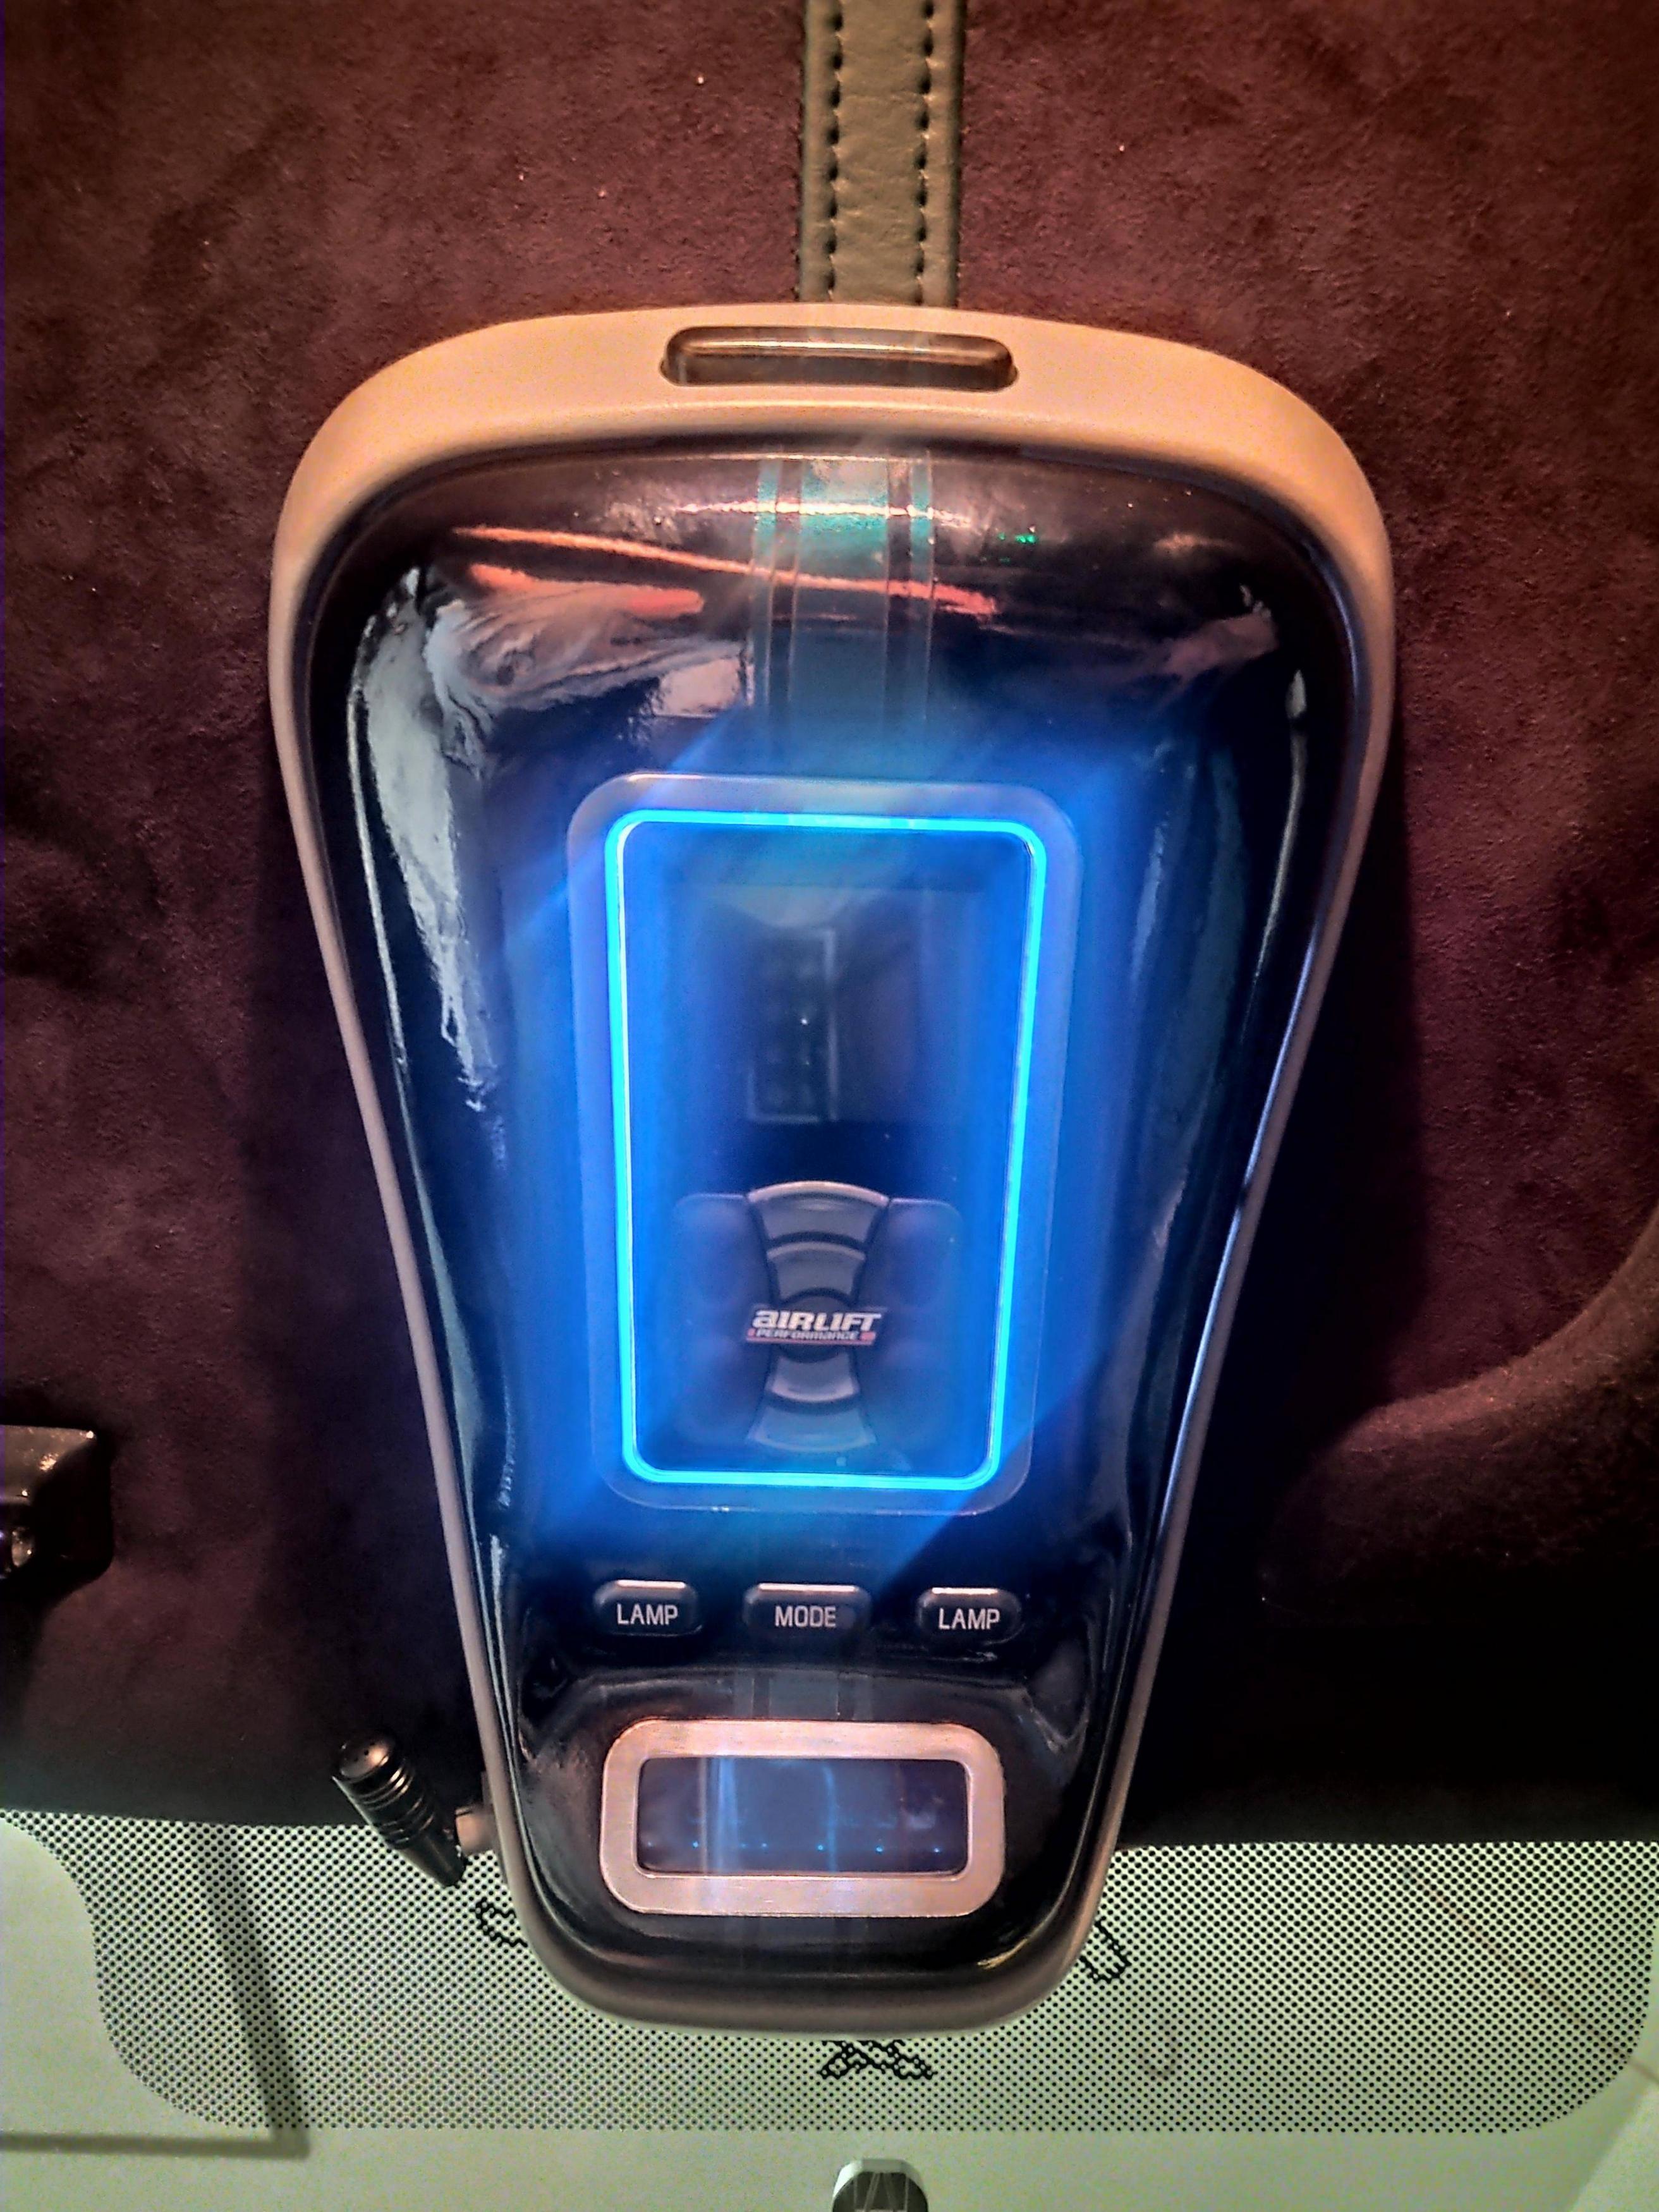
First I cut the piece of acrylic to go around the display. The only part of this that will be seen is a .05" line that will end up lit up similar to the way my switch panel looks.
8kzbgKF.jpg

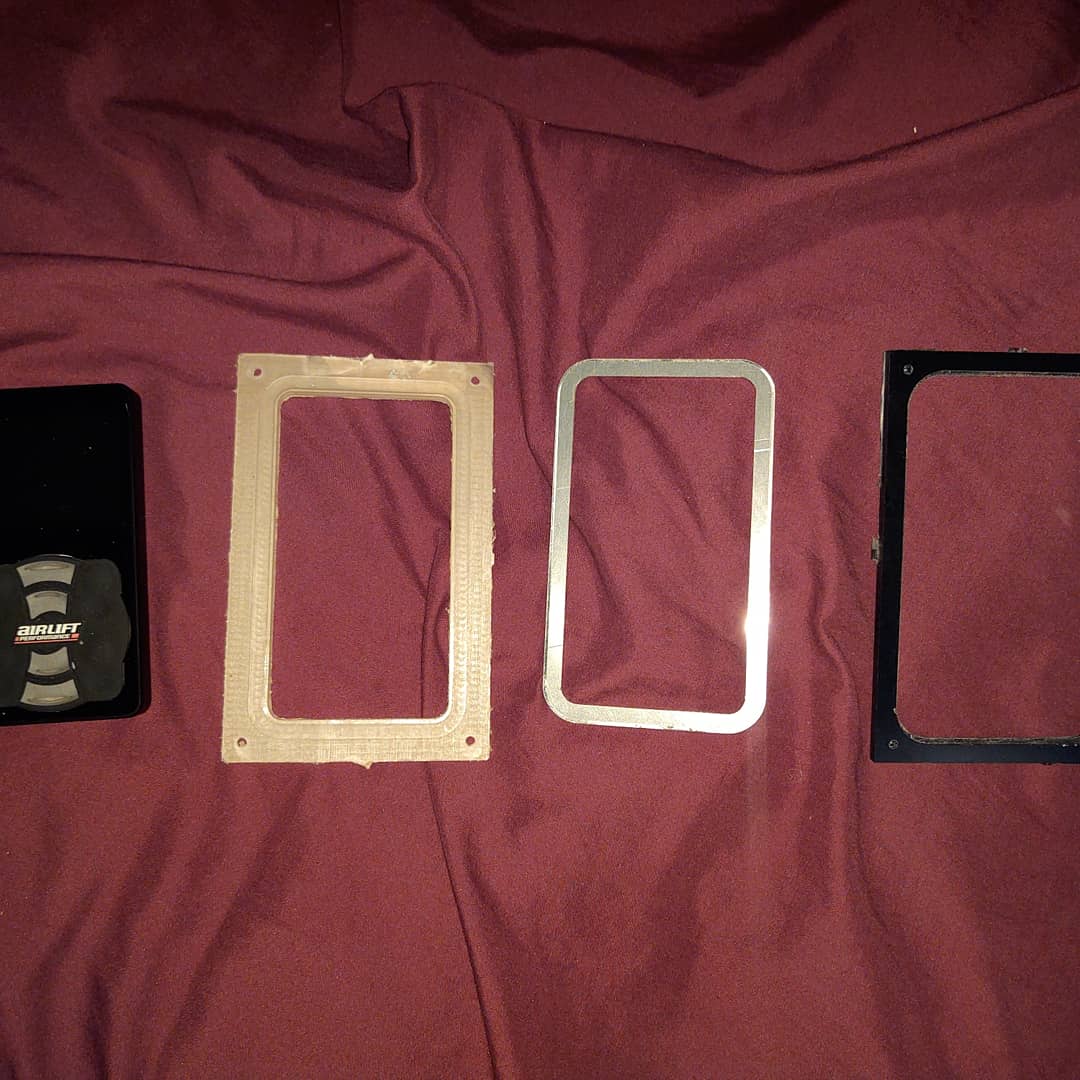
The aluminum will be polished and you can see some of the paper on the back of the acrylic between the aluminum and the display. That part will light up blue.
jv22aG0.jpg

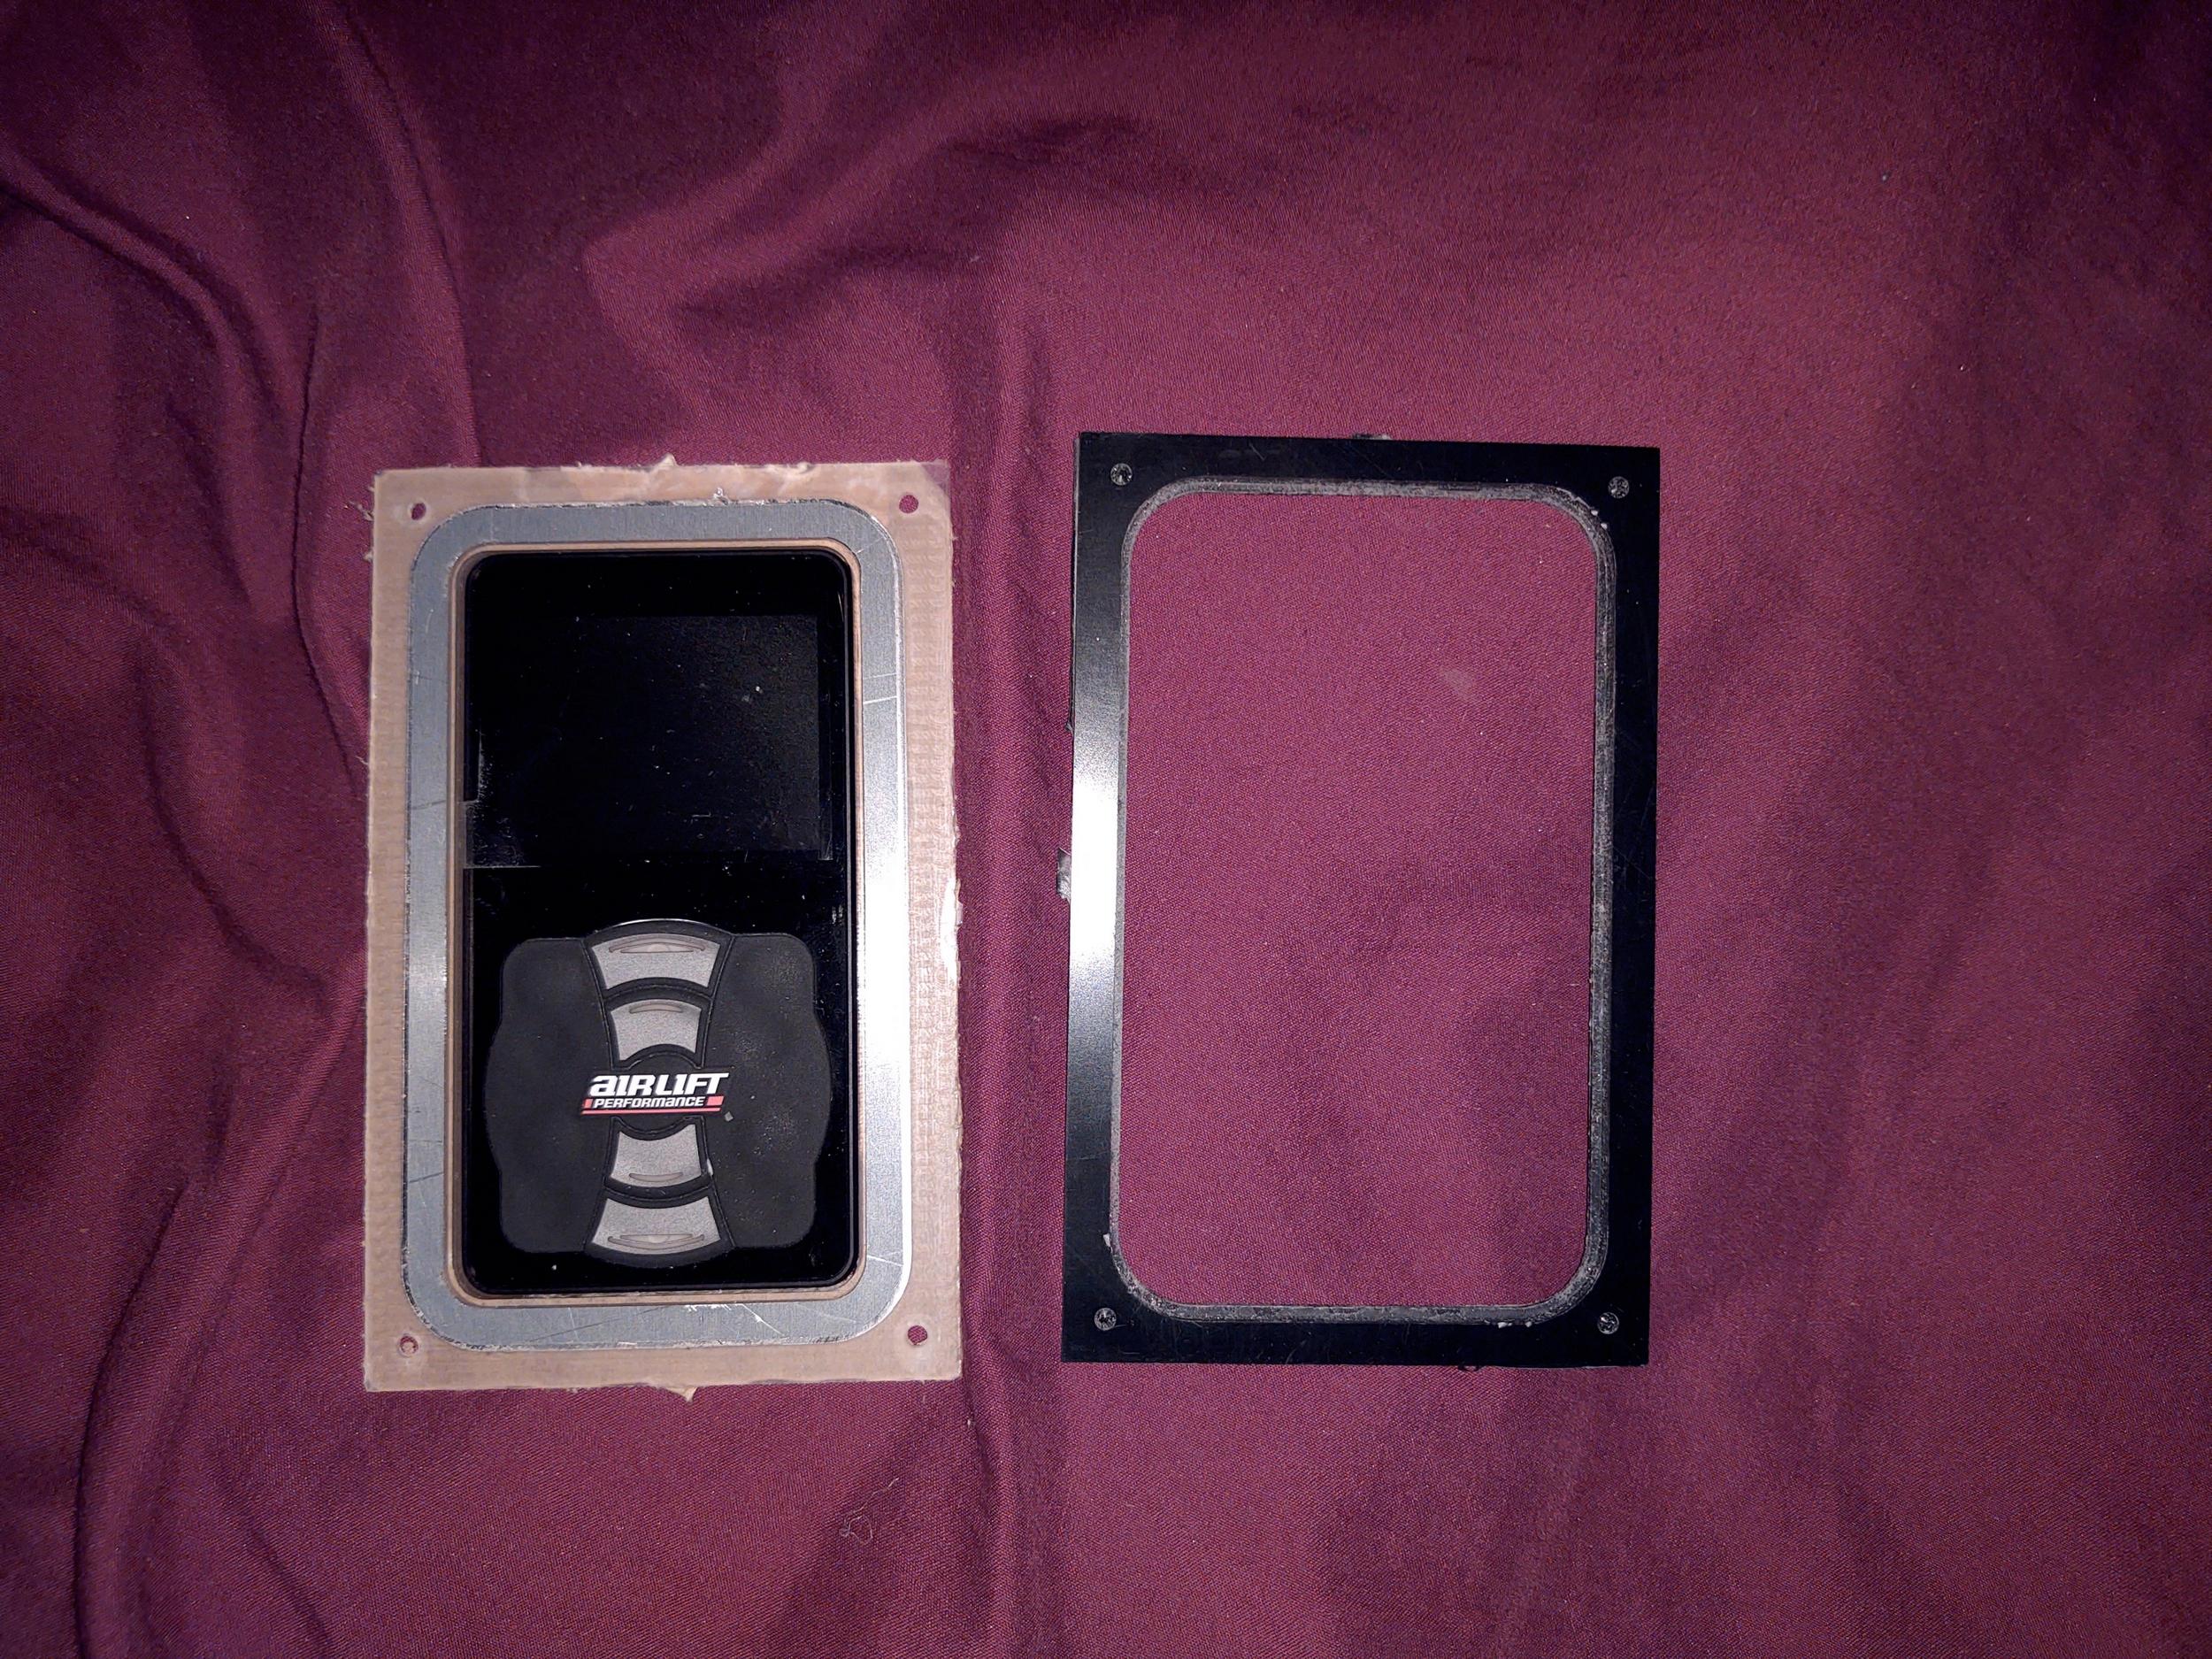
The black abs piece above is shown backwards. I machined ridges in between the abs and the aluminum so that the aluminum will be held in place since this will be upside down as well as blocking any light from bleeding through.
Cz2w6ua.jpg

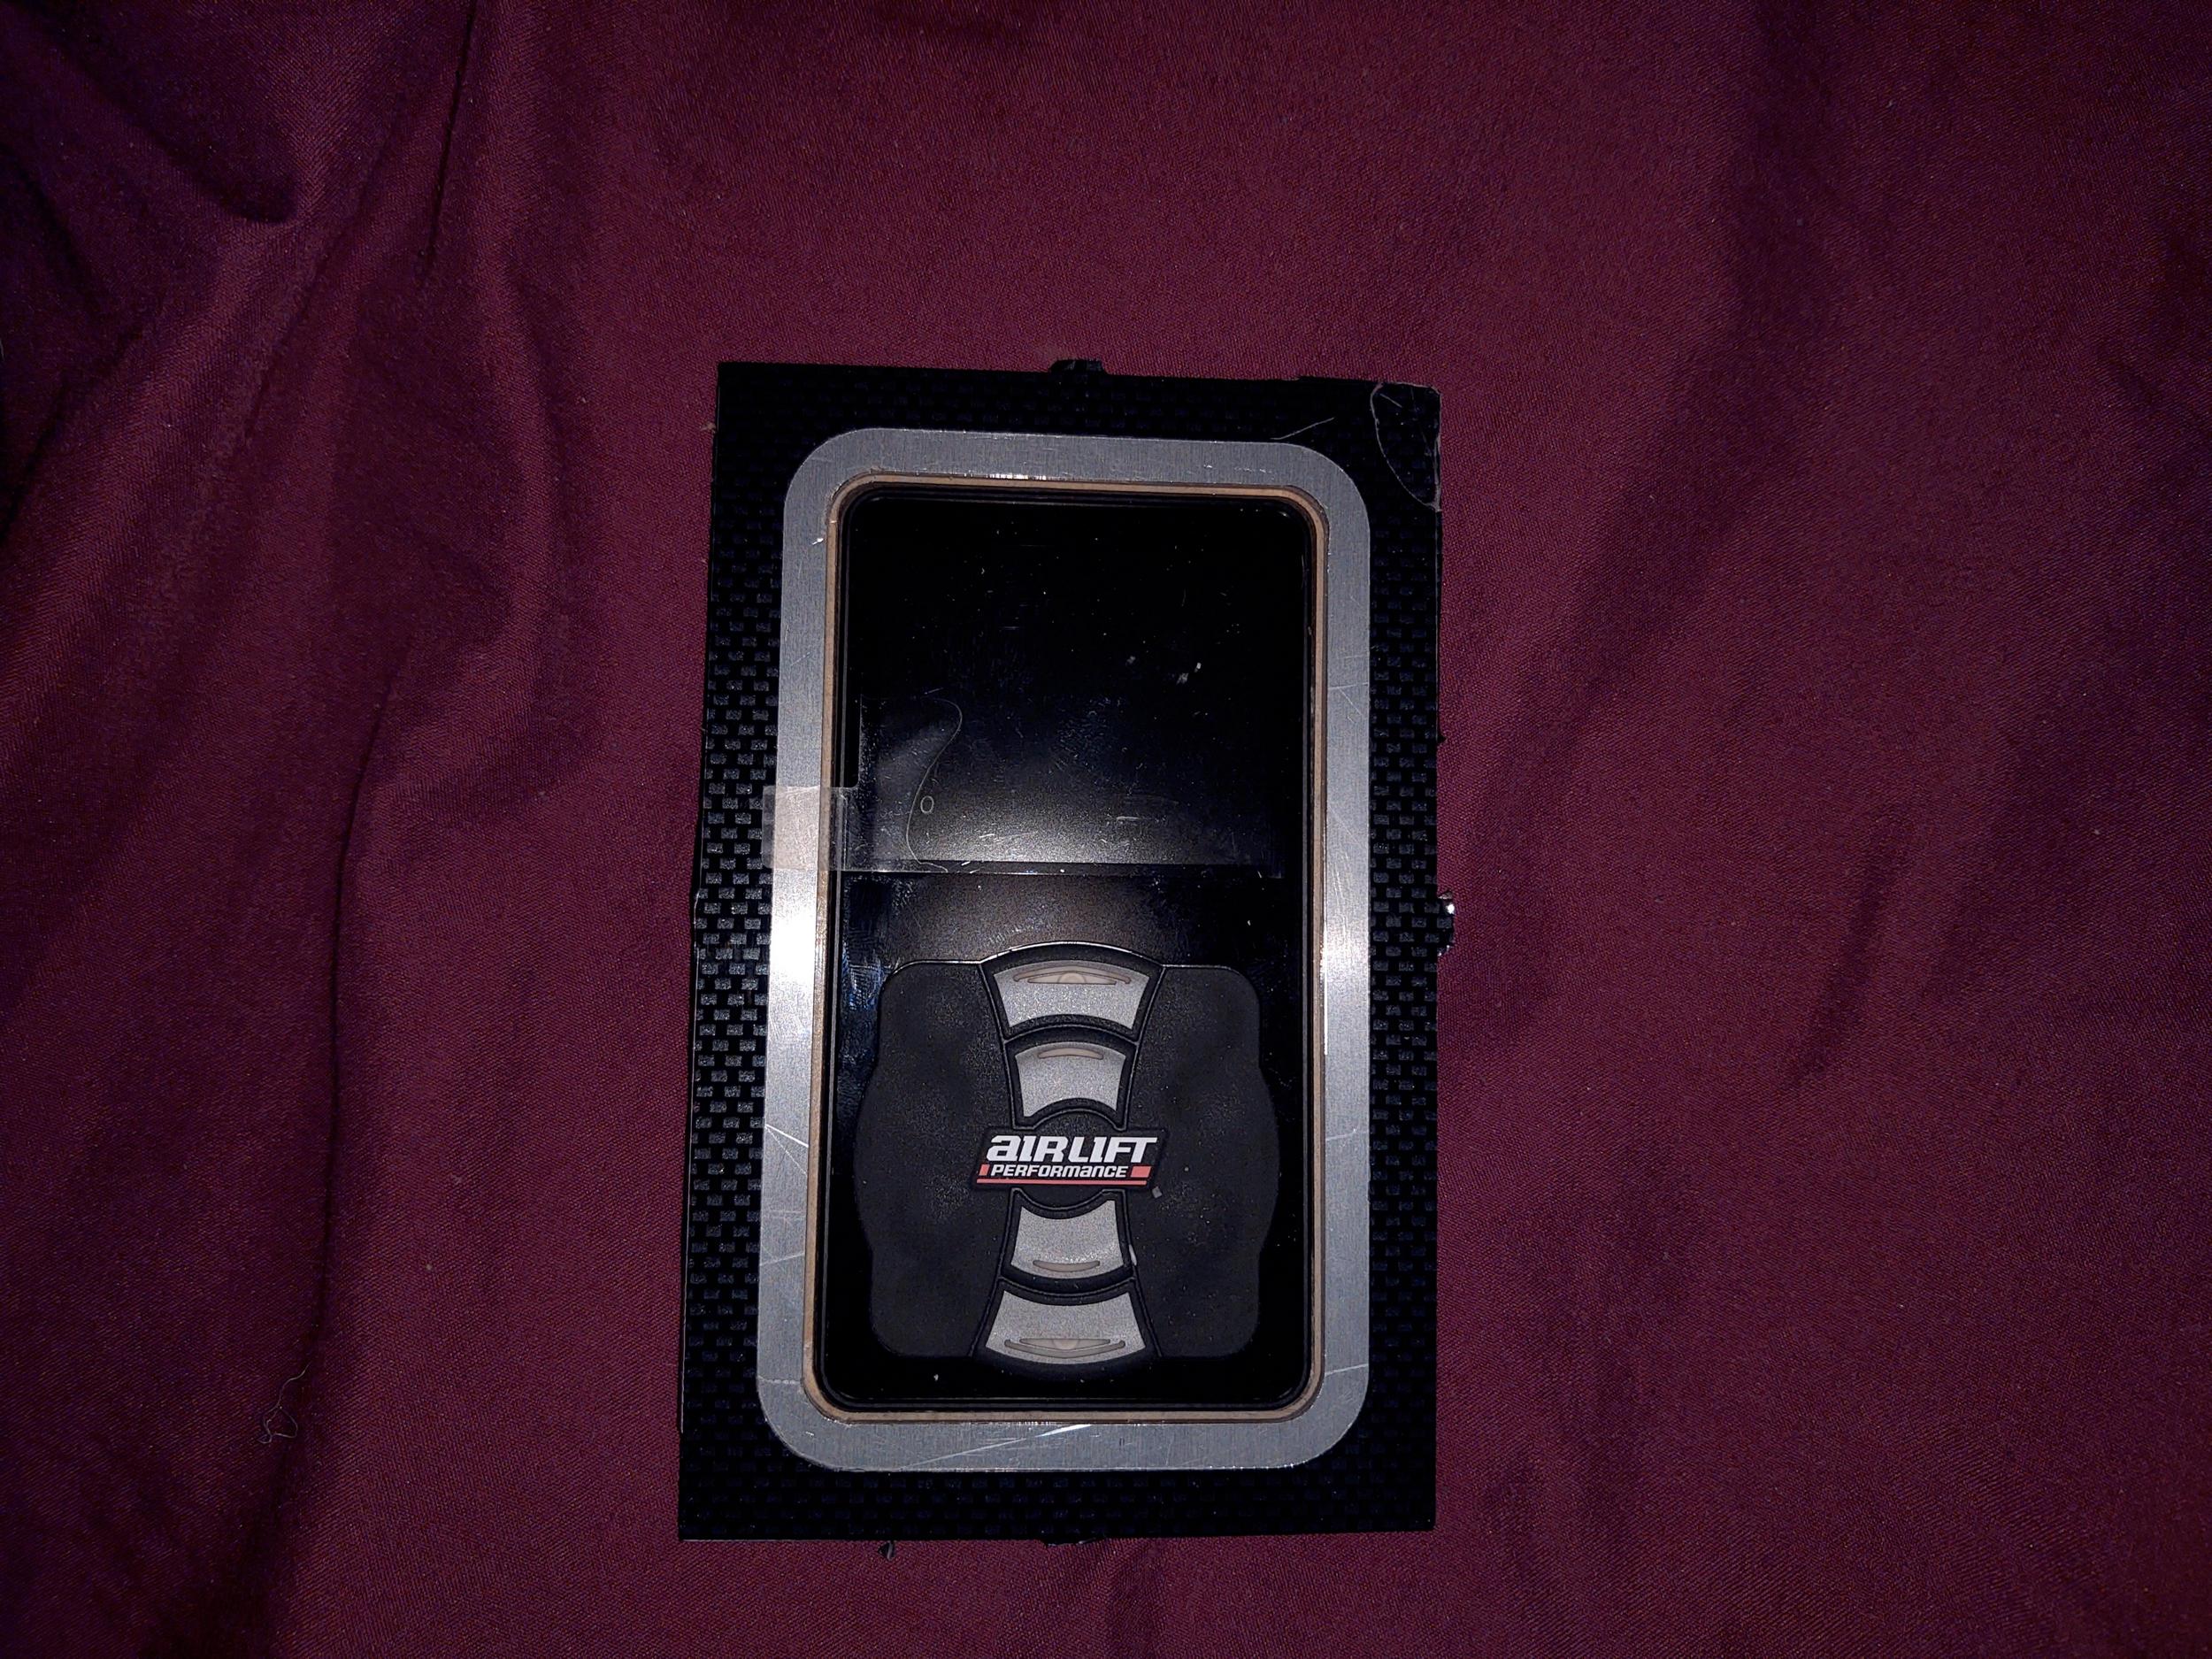
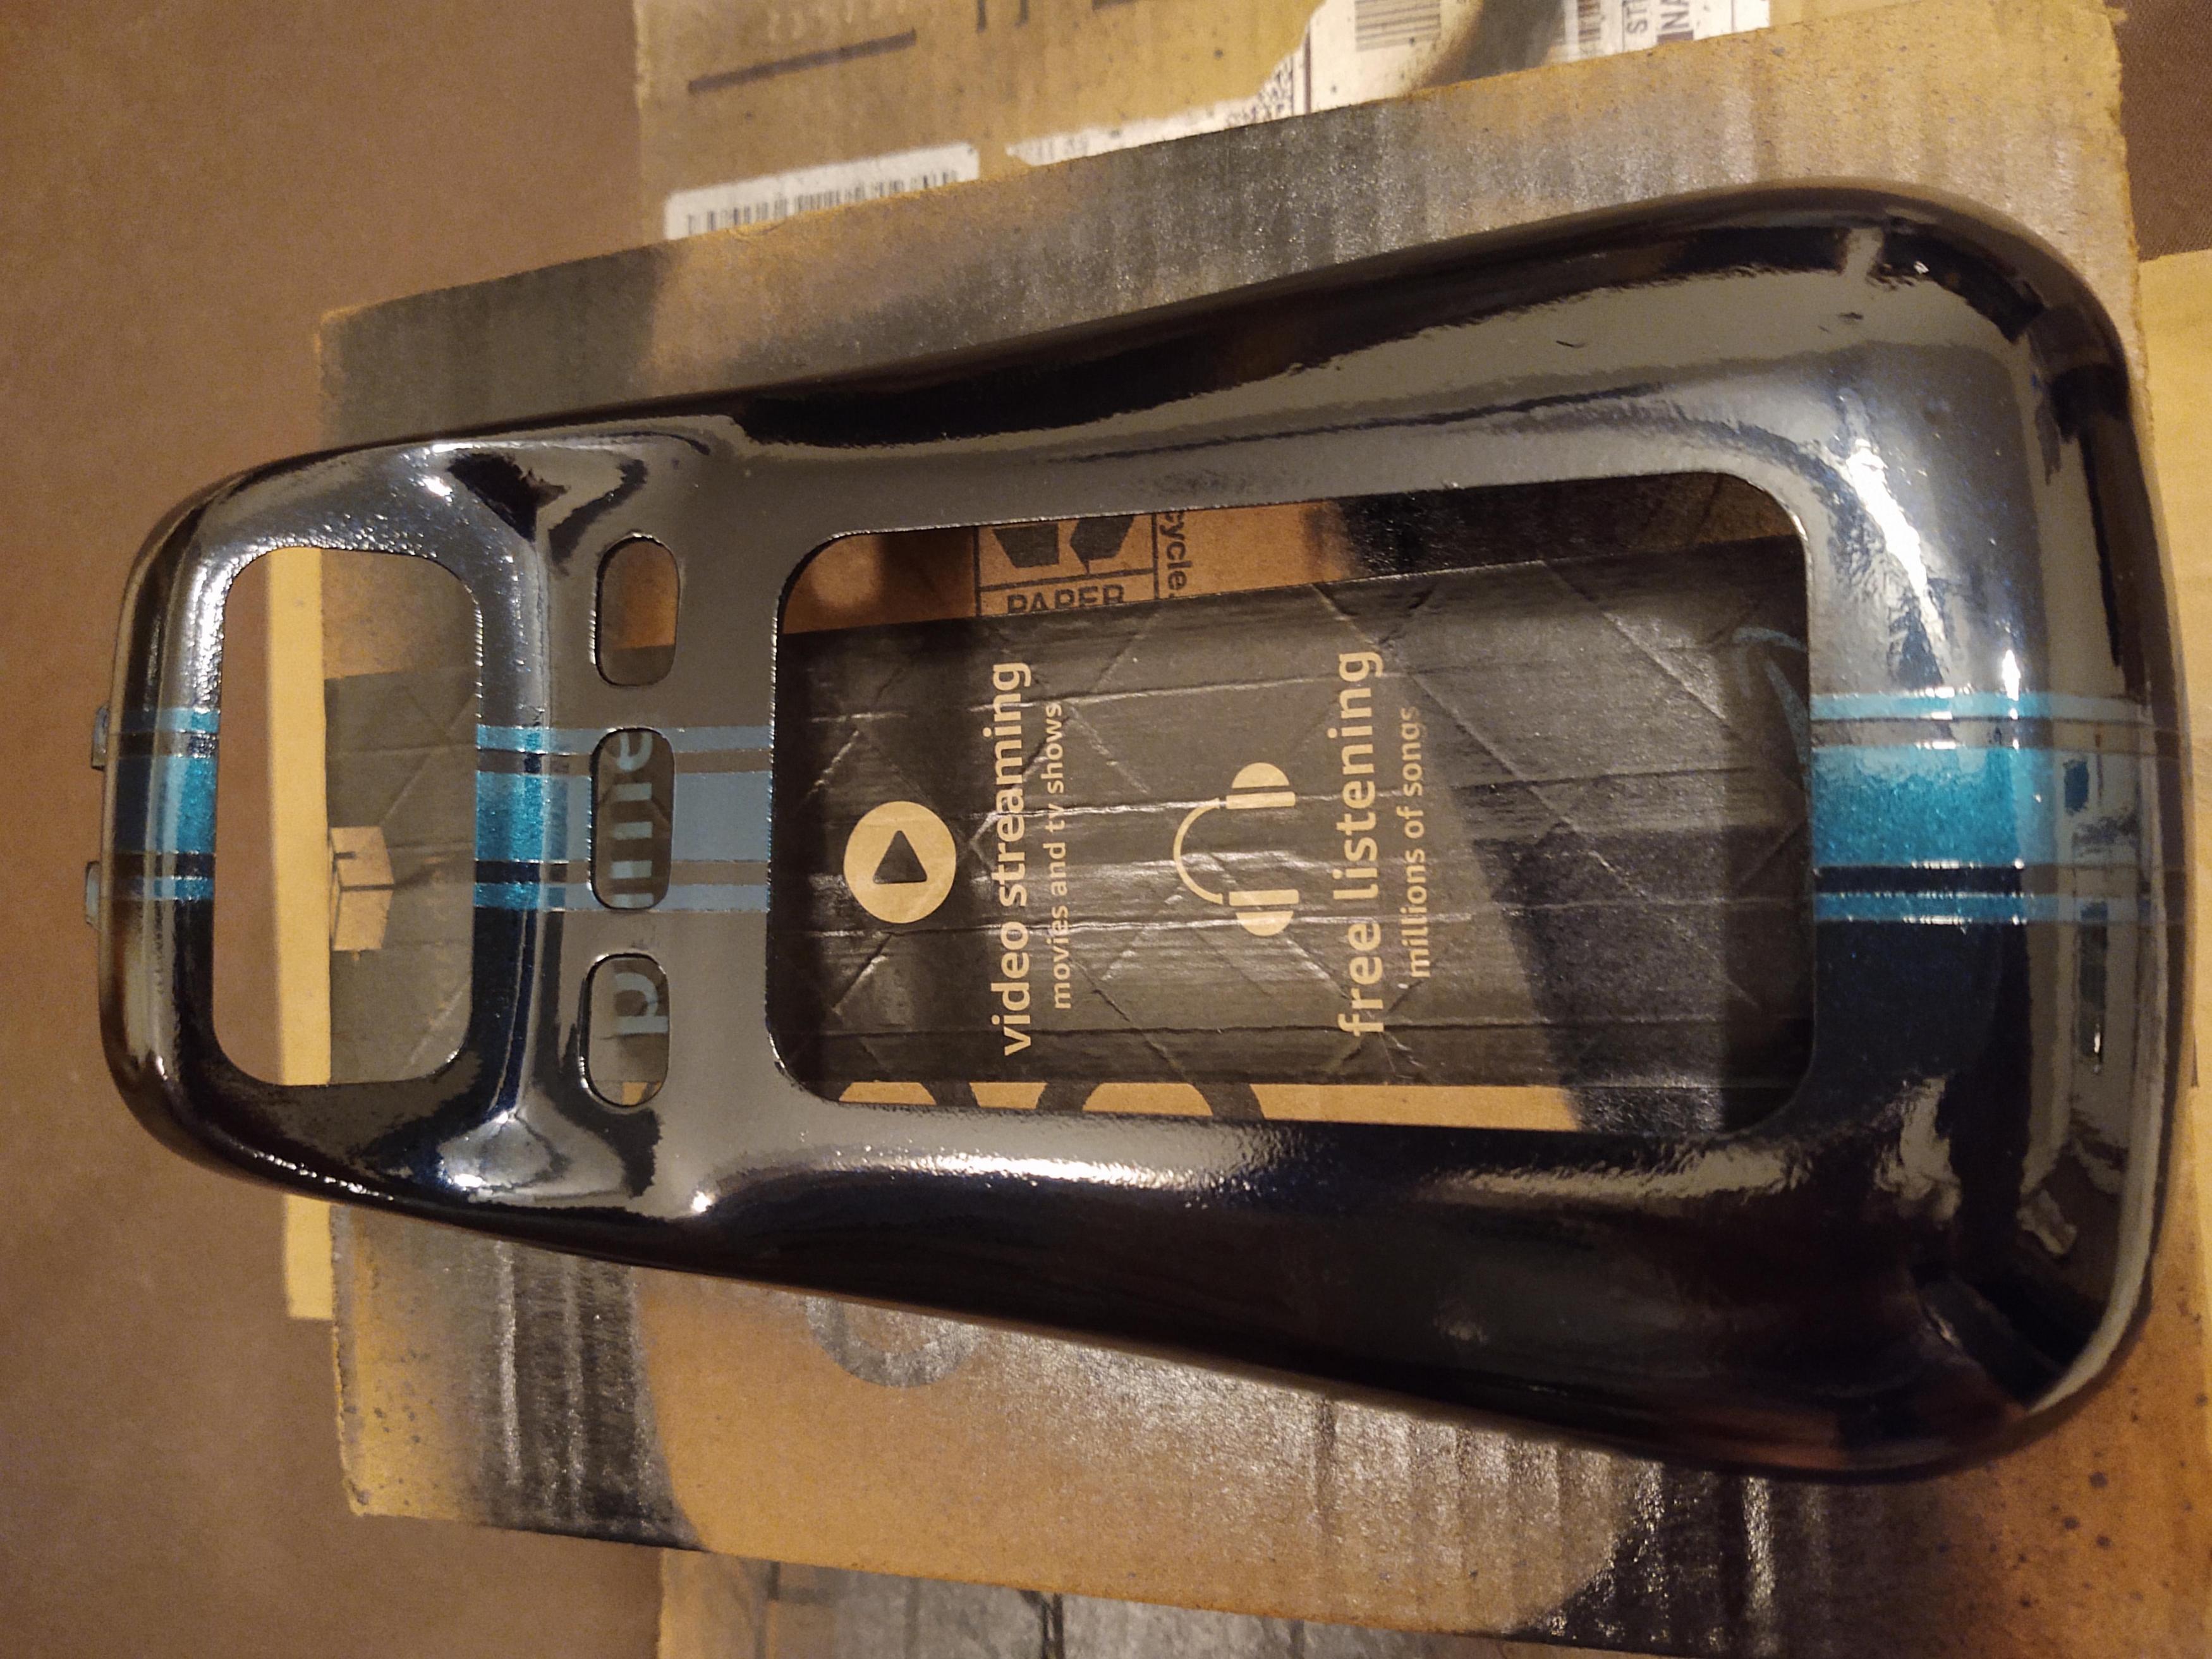
The fake carbon fiber will not be staying. here you can see the line around the display that will light up shows as that orange/brown paper color. more to follow
 
OP
OP
ttocs

ttocs

Post Whore
Joined
Oct 9, 2009
Messages
32,650
Reaction score
5,664
Location
Evansville Indiana
the display is being painted tonight and hopefully going to come out pretty slick. I am also painting the tank just because I could not have the airlift performance right next to the ridetech logo I painted on the tank. I went with a black pearl midnight moon color that looks black until direct light hits it and then it has blue pearl that lights up really nice.
I have kinda been avoiding working in the garage with the heat and humidity this week but I still managed to get the ride height sensors mounted. The kit comes with really well laid out instructions with plenty of pics and tools to make it easy for people like me as well as nice parts like nylon locking nuts and stainless mounting hardware. It includes the airline that I will have to rerun for the fronts because they are now 3" too short as well as a nice airline cutter to make clean cuts with.
gtkrcig.jpg

there is the 3h and the 3p. 3p uses only the bag pressure to know how high or low the car is where the 3h has the height sensors that need to be mounted on each corner. With the sensors it makes it much more accurate to know how high it is.
fYFAMMS.jpg

I know its hard to see, follow coil of wire up and you will see the sensor. I mounted the height sensor behind the strut as its directly above the control arm and protected from rubbing the tire if it was flipped the other direction.
L4lMmnu.jpg

Once the sensor is mounted you need to cycle the suspension up/down and measure how far it travels and then there is a chart in the manual that tells you which hole in the sensor arm to use.
QCClOSP.jpg

In the back it mounts to the axle with a tab that was welded on and above on the frame rails. Here you can see the paper tool they include to make sure you have the arm moving in the correct area. Again you need to measure the travel to select which hole it goes into and then cut the push rod to length. The first one took 4 hours and a trip to the hardware store to finish because of getting all the individual tools out and also just getting familiar with the hardware and where it was going. The 2nd one took 2 hours, the 3rd about 75 mins and the 4th 45 mins.
 

Werecow

Well-Known Member
Joined
Feb 3, 2020
Messages
1,043
Reaction score
785
Location
Virginia
Sweet!!! Looks like you've got plenty of time invested in it, that's gnna be really awesome when you get all the t's crossed and the i's dotted on it!! I know it's been a pain a few times but it'll all be well worth it!!!
 
OP
OP
ttocs

ttocs

Post Whore
Joined
Oct 9, 2009
Messages
32,650
Reaction score
5,664
Location
Evansville Indiana
I love the smell of fresh paint/clear in the night. Its the only time I can be sure that someone or something will not walk out and kick/paint/lick/get fur on my crap when its drying... I think the display will look cool. I can't find another light to catch the pearl in a pic so it will have to wait.
fbwg4ng.jpg

Tomorrow I just need to let this paint bake a little in my custom paint oven. It looks a lot like a prius in my driveway in full sun but it makes a nice hot/dry place to bake it nicely. I need to run wiring, remove the old control unit, run front air lines. Mount the tank and display that I still need to cut a piece on the cnc for.
 
OP
OP
ttocs

ttocs

Post Whore
Joined
Oct 9, 2009
Messages
32,650
Reaction score
5,664
Location
Evansville Indiana
I triple dog dare you to tell me you do not like this crap. I was hoping the lighting would arrive today since the local PO received it at 4am but they didn't deliver it and I could not be happier with this, and cannot wait to show it off. I need to cut the front display acrylic that shows the direction your traveling and the temp as well as the piece that the display mounts do on the back but that will be done tonight.
HXNaiic.jpg
 
OP
OP
ttocs

ttocs

Post Whore
Joined
Oct 9, 2009
Messages
32,650
Reaction score
5,664
Location
Evansville Indiana
Of course the different design on the valve block means I will have to rerun the front air lines because they are now 3" short but thankfully since I was running the sensor wires already it isn't that big of deal to do at the same time. I don't like they way the place I had them installed at did it so I am making a couple of changes and its HOT as hell out there so slow as usual.

I did manage to cut the last two pieces of acrylic last night and get the display fit together. I am not sure why I am still amazed at the precision it gives when you slide two pieces together with out any space between them. Both the aluminum and the aluminum and acrylic slide in from the back tight enough that I do not need any adhesive but still need to pry them gently to separate them. This is nice because I can take them out later to polish or replace if needed. I left the paper on the back of the front display acrylic for now till I can tint it.
q4Q1Kcm.jpg
 
OP
OP
ttocs

ttocs

Post Whore
Joined
Oct 9, 2009
Messages
32,650
Reaction score
5,664
Location
Evansville Indiana
Ran the air lines for the height sensors for the rear and all that is really left is the passenger side front now. I got the lighting for the display and got it installed.
Here you can kinda of see the blue in the black pearl and of course after the pic I notice I need to align it to the stripe in the headliner just a tad better.
MCHLak0.jpg

The lighting isn't nearly this bright but I thought it looked kind of cool the way the camera caught it.
TCyOdKk.jpg
 

Werecow

Well-Known Member
Joined
Feb 3, 2020
Messages
1,043
Reaction score
785
Location
Virginia
Oh danm!! I always did love a pearl when it was done right and that hint of blue in it just sets it off right!!
 
OP
OP
ttocs

ttocs

Post Whore
Joined
Oct 9, 2009
Messages
32,650
Reaction score
5,664
Location
Evansville Indiana
I got everything connected and powered it up for the first time. I could not be happier with the display now that it has been straightened out. IF you look closely the green stripe is in the blue light surround :) subtle enough no one will ever notice

r61L6bP.jpg

it does a cool little dance when it is powered up, and then tells me there is an ERR. I also finally connected the thermistor needed for the temp gauge in the display.
So it looks like I do not have the height sensors mounted correctly so I know what I am doing tomorrow. I hope I don't have to take the tank out to get the the wiring behind it now that its all in place.
a1aRMRB.jpg

I also do not like how tight of a twist/curve it puts on the hoses exiting the manifold so I ordered some hard line and ends so I can us those. It will look a little better as well as fix that tight turn they have to take to mount there.
 
Last edited:
OP
OP
ttocs

ttocs

Post Whore
Joined
Oct 9, 2009
Messages
32,650
Reaction score
5,664
Location
Evansville Indiana
so after jacking the car up/down 4-5 times to get the front wheels off and under the rear end to adjust the height sensors and I was ready to say I give up and call tech support. Somehow I knew that would not be an easy deal and when I worked my way up to #24 in line after 10 mins I was starting to consider a messy form of suicide might be faster. I was paging through the instructions while I waited when I noticed something I never read before. Turns out the height sensors were mounted fine but there is a little bitty nipple you can't see and have to feel that has to be be pointing at the harness while its in its swing motion and you remove the arm on the sensor and clock it 90/180 and then put the arm back on. After clocking them all 90 degrees one way or another they were reading in range and I was able to let it calibrate itself. I might have to activate that at a show sometime because with the windows up you would swear someone was screwing inside of it as it went up/down a little at a time to figure everything out.

I have a leak on the drivers front that I am pretty sure I know where I kinked the line a little bit and will have to run it again but that is no big deal. I will check that out tomorrow and see where that leads me...
 
OP
OP
ttocs

ttocs

Post Whore
Joined
Oct 9, 2009
Messages
32,650
Reaction score
5,664
Location
Evansville Indiana
I am finally able to say that the air ride portion of the project is done. I have absolutely no complaints to make at all about the product or its instructions other than I didn't read everything completely before starting. The kit came with everything from hose to a hose cutter to make it easy and the main controller being built into the valve body makes it easy to keep everything in one place and simple. The main display is made from a good sized hunk of aluminum so it is durable enough that if it is not mounted it will survive if its bouncing around an interior. Tomorrow I hope to finally get the alignment done and take a drive in it to get some pics finally out of my garage or driveway.
 

Forum statistics

Threads
77,513
Messages
1,504,088
Members
14,981
Latest member
Cwacaser

Members online

Top