ttocs
Post Whore
If you have considered doing a wire tuck or smoothing out your engine bay you will need to sooner or later extend a wire or two, maybe an entire harness. It can be a bit overwhelming to look at the harness of 32 wires to extend and worry about screwing it up but if you follow a simple rule its not all that hard. The rule to know is to take one wire at a time.
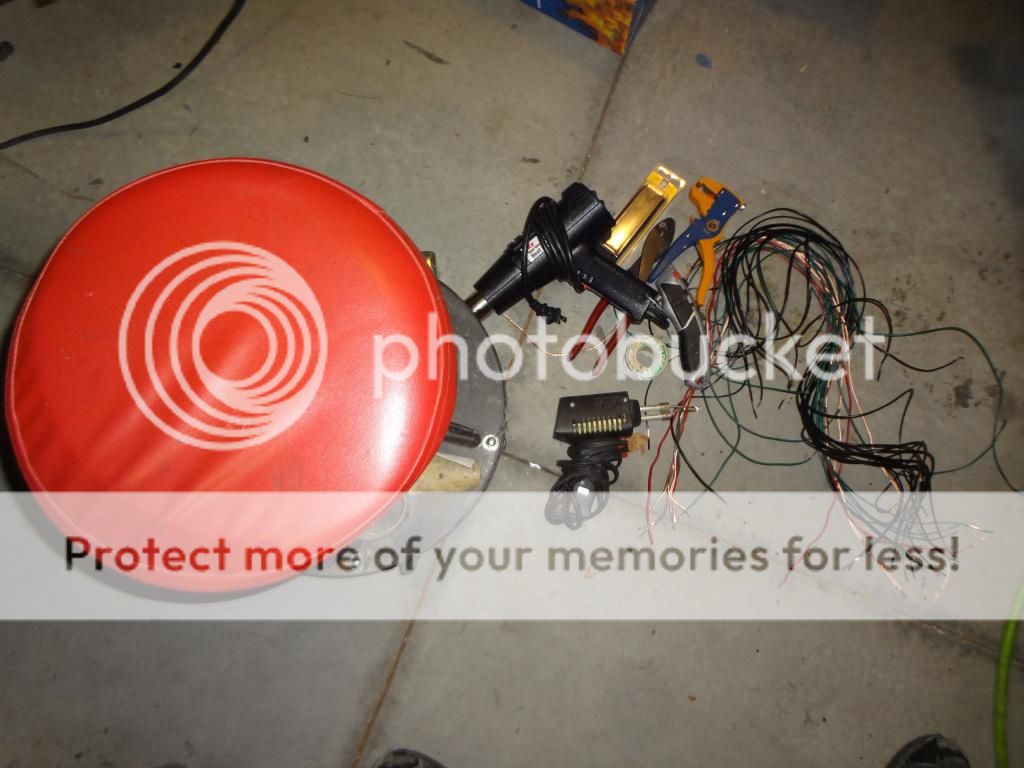
Before you can start on that you need the right parts and tools for the job. There are a few different ways to make wire connections but I prefer to solder and heat shrink each connection so I know they will be good in the future. Crimp connectors can develop resistance after a few years and cause problems but soldering is better solution. I have a wire cutter, a wire cutter/stripper, a box knife and a soldering gun and a heat gun. I also have wire, solder, and heat shrink as the materials used.
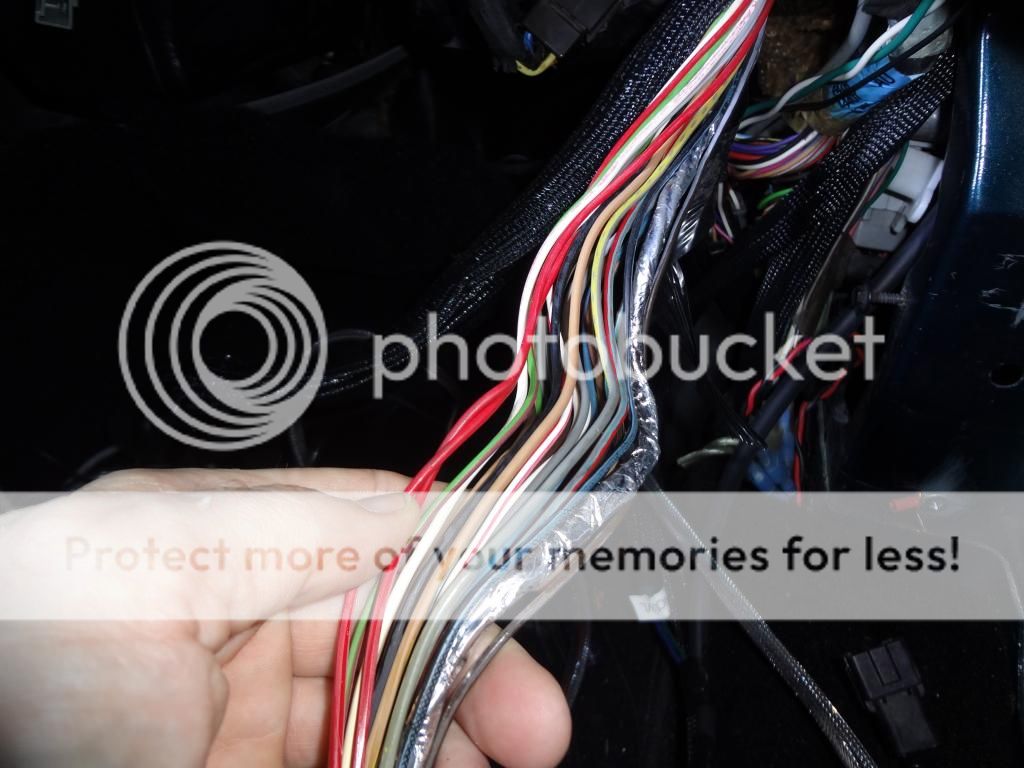
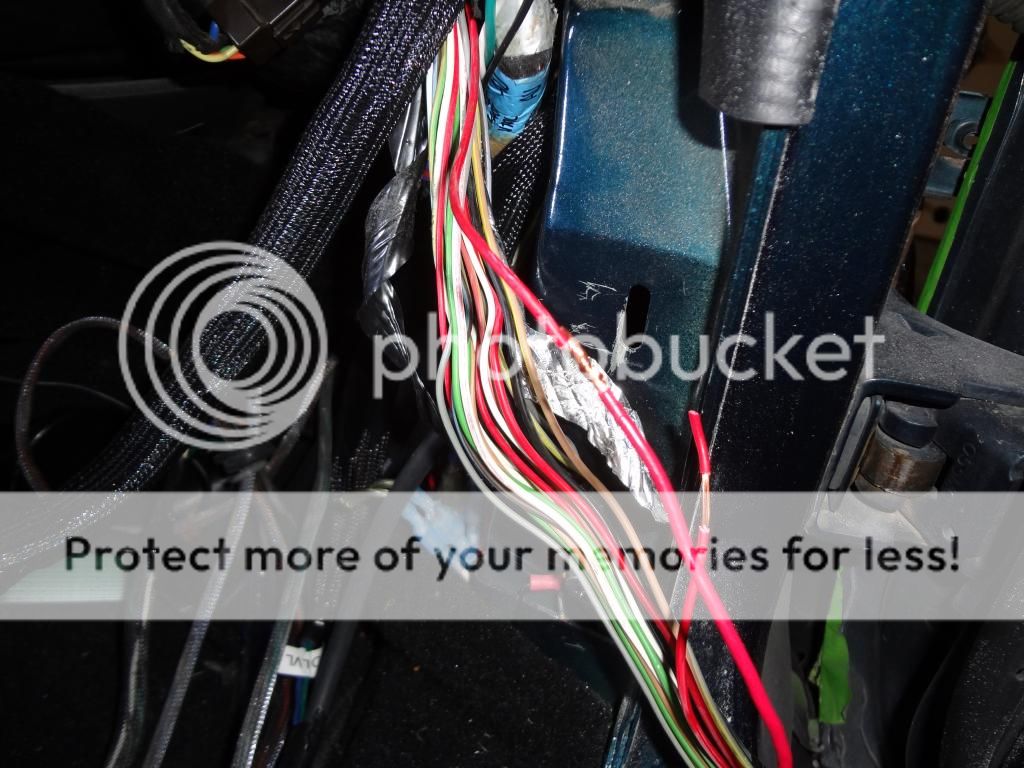
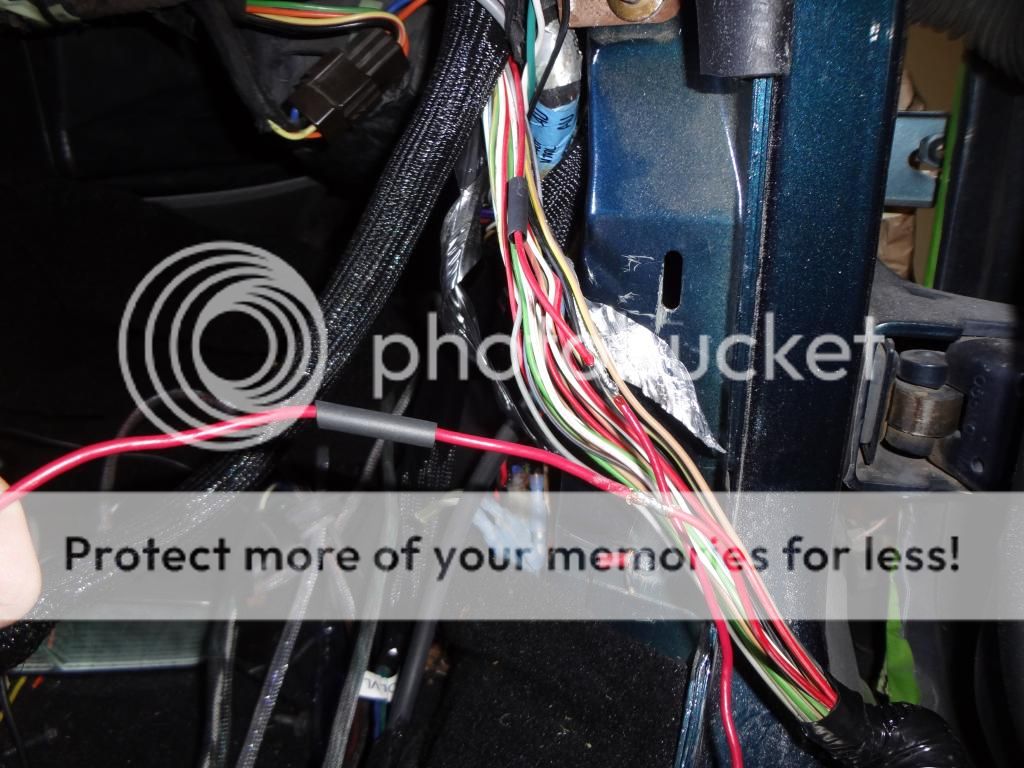
If you look at the pic below you will notice that the wires are various colors and even a couple of different gauges/thicknesses but they are not a smaller gauge wire then what I am replacing. If you look closely you will also see that they are cut to length and the ends are both stripped. Having this done already will save you time and also make it easier to ensure that all the wires in the harness are the same length. I measured how long I needed to extend it and added a few inches just to be sure its long enough. Its easy enough to make some bends in the harness to take up extra wire but not many people have a wire stretcher if it comes up 2 inches short.
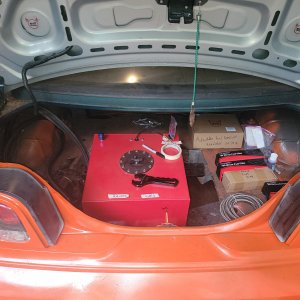
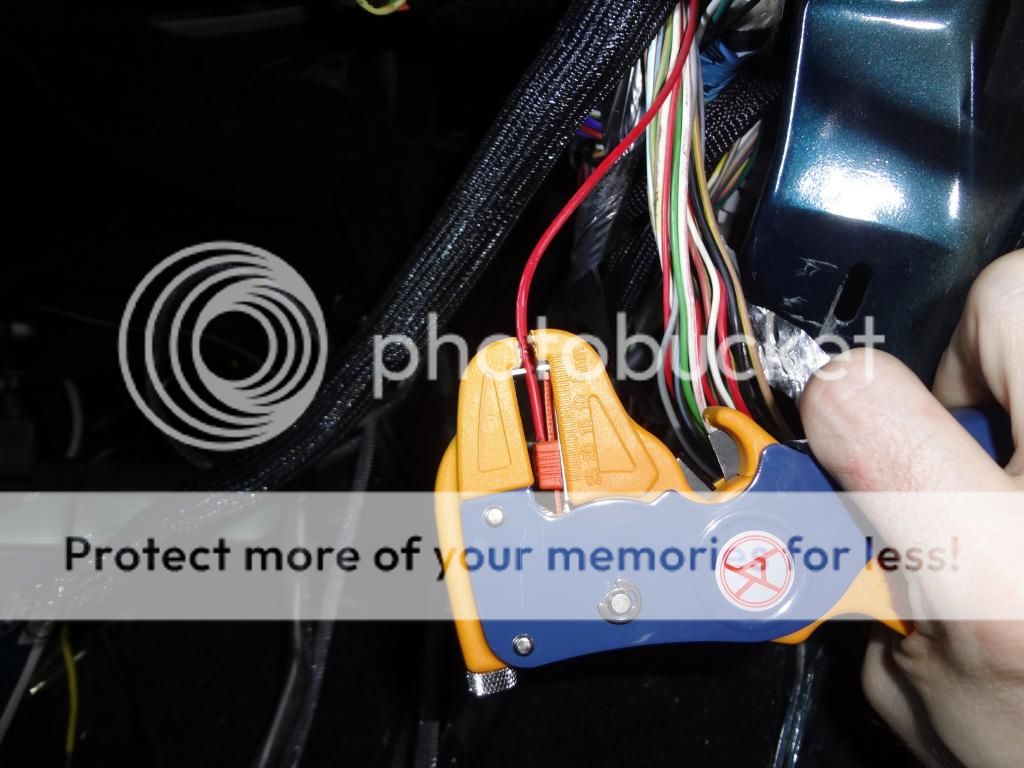
Now it should go unsaid that you need to disconnect your battery or even better yet the harness you are working on. This one was a PIA to run to measure the correct length so now I am working on it at the door jam. Once its safe to work on pic a wire, any wire and cut it so you have access to both ends.
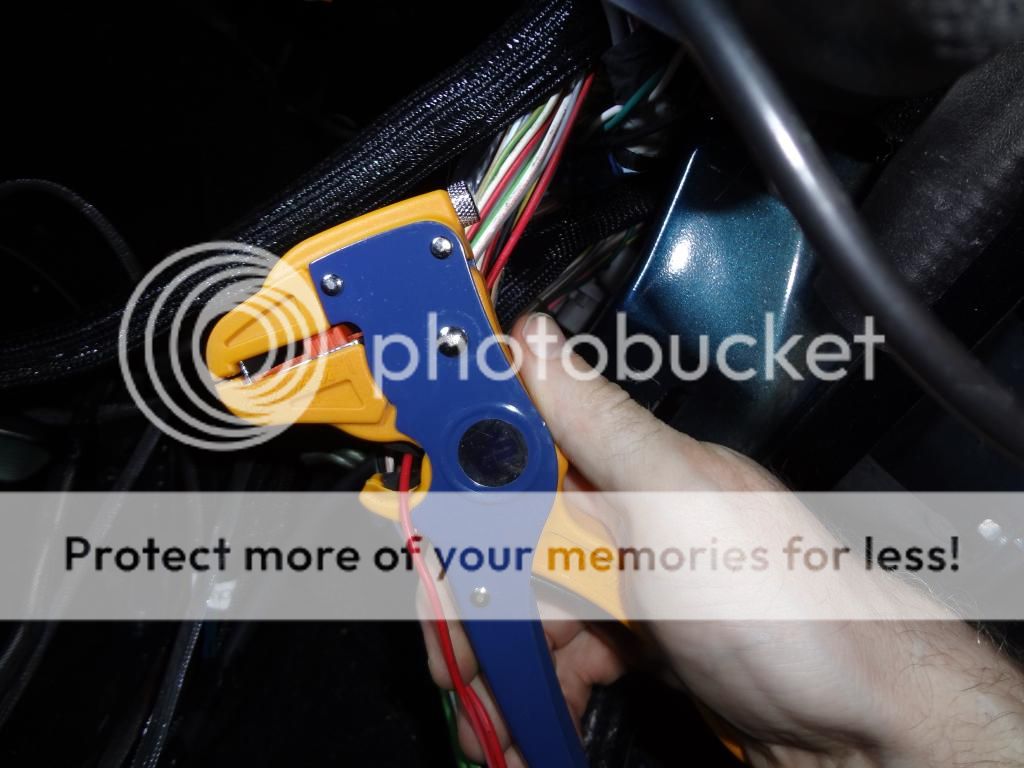
if you are doing a bunch of wires like me I would recommend picking one of these strippers up as they make life easy. You first adjust the slider inside that will allow you to set the length to be stripped and after that you just put the wire in till it hits the slider and then squeeze
To connect the wires start off with the wires touching in the middle of the area stripped.

Take your thumbs and wrap the ends around one another so that you end up with a flat connection that looks like this.(I will get a better pic shortly didn't realize how bad it was)
A lot of people will start with the wires crossing at the base of the stripped insulation and twist them to make a "T" out of the wires and the ends and then fold it down after soldering. The problem there is that if/when the wire is pulled it puts all the strain on the unsoldered ends right at the base of the connection and makes them easy to break. This method if the wire is pulled on the strain in spread across the entire solder connection. I am not going to cover how to properly solder in this write up. It is also important if you are using heat shrink to put it on prior to making your 2nd connection but sooner or later you will forget. Not a big deal to cut them and reconnect with the shrink on it.
Now you just have to switch on machine mode and repeat that sequence 32 more times. I personally cut/shrink/twist all my wires and then go back and solder/heat them all later to save time.
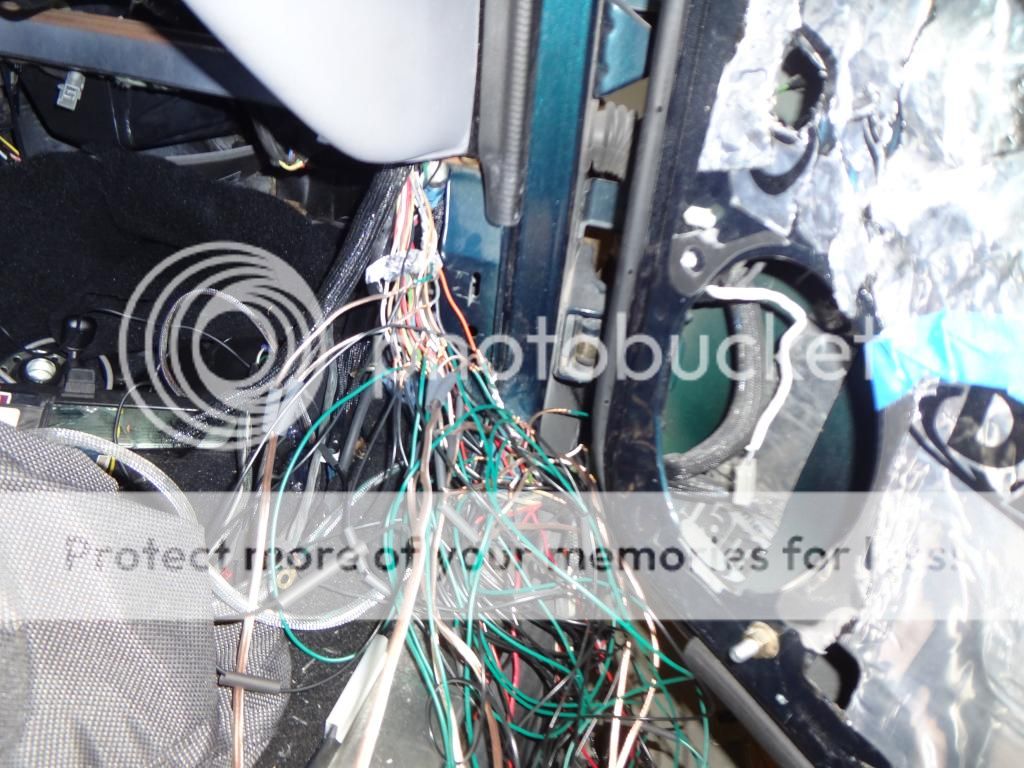
And when your down to your last wire it will look like this if your doing it right. Again don't let the spaghetti monster scare you. AT this point when the orange wire is cut the two halves will fall apart and your harness is almost done. I am about 75 mins into it now for just the connection part. Measuring and precutting and stripping the wires was maybe another 20 mins. Taking a break now I will come back and show how to finish it up to make it all look pretty again. Its really not that hard eve with as bad as it looks.
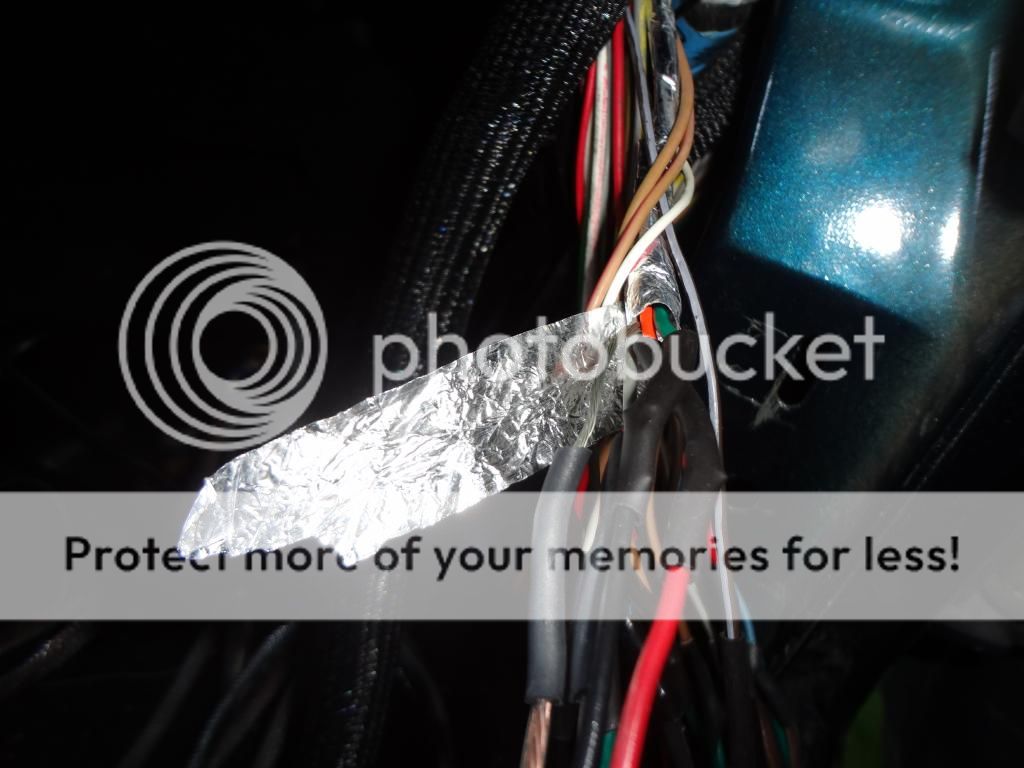
This was my only concern with this harness and it was not a big deal. There were 2 pairs that were shielded with an aluminum tape. I am pretty sure it was just for heat shielding but I am still going to replace it with some more foil tape.
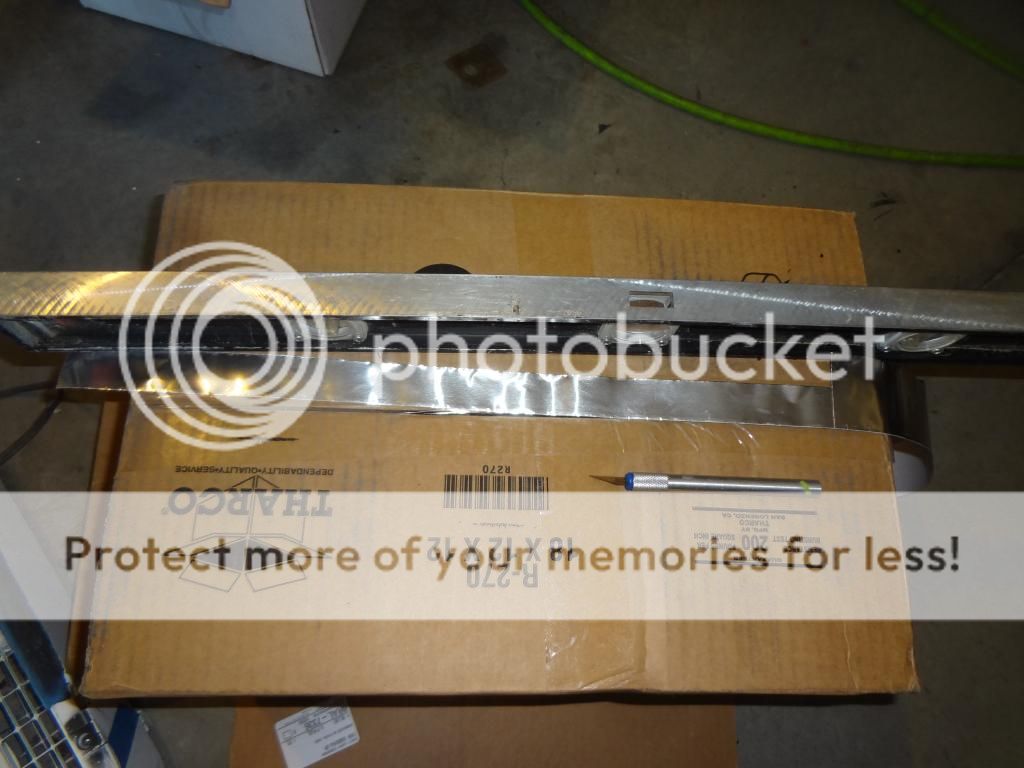
I cut it into thinner strips as it makes it easier to wrap, and then simply wrapped those 4 wires, and then the hrns was ready to be finished.
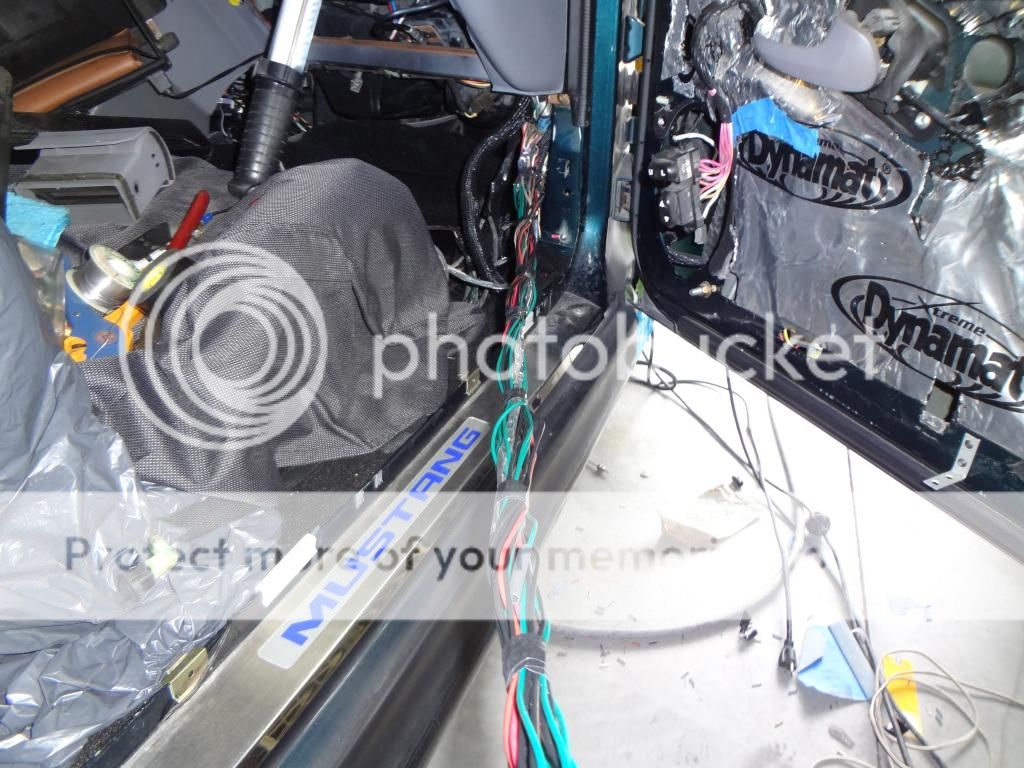
I first put a wrap of tape every 12" apart and then I take and twist the whole harness 2-3 times to take up any extra slack and then go back and put tape between the first tape I put on it to hold the twist.
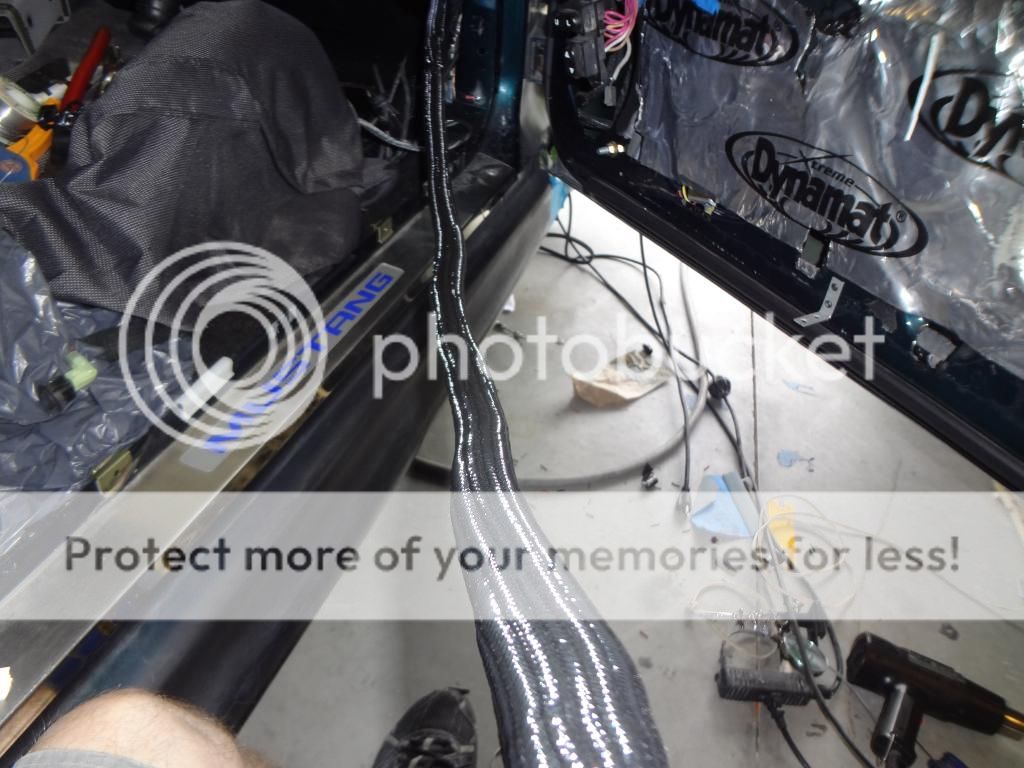
I prefer to finish my harnesses with techflex or some kind of similar braided wrap rather then the stock split loom. This stuff is tougher and lasts longer, is easier to bend and also makes it really easy to pull it through crowded dash/motor areas.
Before you can start on that you need the right parts and tools for the job. There are a few different ways to make wire connections but I prefer to solder and heat shrink each connection so I know they will be good in the future. Crimp connectors can develop resistance after a few years and cause problems but soldering is better solution. I have a wire cutter, a wire cutter/stripper, a box knife and a soldering gun and a heat gun. I also have wire, solder, and heat shrink as the materials used.
If you look at the pic below you will notice that the wires are various colors and even a couple of different gauges/thicknesses but they are not a smaller gauge wire then what I am replacing. If you look closely you will also see that they are cut to length and the ends are both stripped. Having this done already will save you time and also make it easier to ensure that all the wires in the harness are the same length. I measured how long I needed to extend it and added a few inches just to be sure its long enough. Its easy enough to make some bends in the harness to take up extra wire but not many people have a wire stretcher if it comes up 2 inches short.
Now it should go unsaid that you need to disconnect your battery or even better yet the harness you are working on. This one was a PIA to run to measure the correct length so now I am working on it at the door jam. Once its safe to work on pic a wire, any wire and cut it so you have access to both ends.
if you are doing a bunch of wires like me I would recommend picking one of these strippers up as they make life easy. You first adjust the slider inside that will allow you to set the length to be stripped and after that you just put the wire in till it hits the slider and then squeeze
To connect the wires start off with the wires touching in the middle of the area stripped.
Take your thumbs and wrap the ends around one another so that you end up with a flat connection that looks like this.(I will get a better pic shortly didn't realize how bad it was)
A lot of people will start with the wires crossing at the base of the stripped insulation and twist them to make a "T" out of the wires and the ends and then fold it down after soldering. The problem there is that if/when the wire is pulled it puts all the strain on the unsoldered ends right at the base of the connection and makes them easy to break. This method if the wire is pulled on the strain in spread across the entire solder connection. I am not going to cover how to properly solder in this write up. It is also important if you are using heat shrink to put it on prior to making your 2nd connection but sooner or later you will forget. Not a big deal to cut them and reconnect with the shrink on it.
Now you just have to switch on machine mode and repeat that sequence 32 more times. I personally cut/shrink/twist all my wires and then go back and solder/heat them all later to save time.
And when your down to your last wire it will look like this if your doing it right. Again don't let the spaghetti monster scare you. AT this point when the orange wire is cut the two halves will fall apart and your harness is almost done. I am about 75 mins into it now for just the connection part. Measuring and precutting and stripping the wires was maybe another 20 mins. Taking a break now I will come back and show how to finish it up to make it all look pretty again. Its really not that hard eve with as bad as it looks.
This was my only concern with this harness and it was not a big deal. There were 2 pairs that were shielded with an aluminum tape. I am pretty sure it was just for heat shielding but I am still going to replace it with some more foil tape.
I cut it into thinner strips as it makes it easier to wrap, and then simply wrapped those 4 wires, and then the hrns was ready to be finished.
I first put a wrap of tape every 12" apart and then I take and twist the whole harness 2-3 times to take up any extra slack and then go back and put tape between the first tape I put on it to hold the twist.
I prefer to finish my harnesses with techflex or some kind of similar braided wrap rather then the stock split loom. This stuff is tougher and lasts longer, is easier to bend and also makes it really easy to pull it through crowded dash/motor areas.