Thomas_W
Well-Known Member
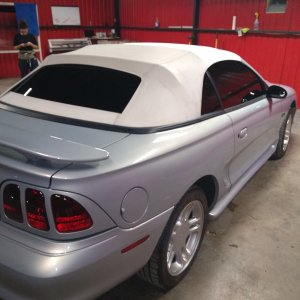
Since some parts for another project didnt show up today, i decided to start the repair on the Terminator rear bumper i bought a few weeks ago.
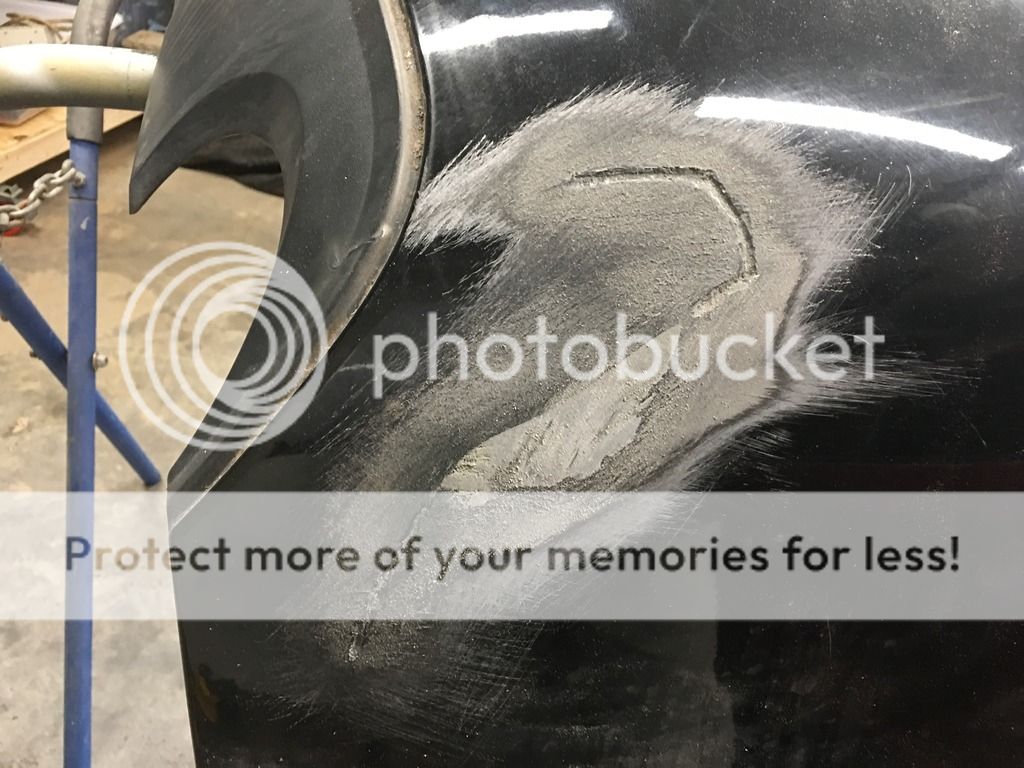
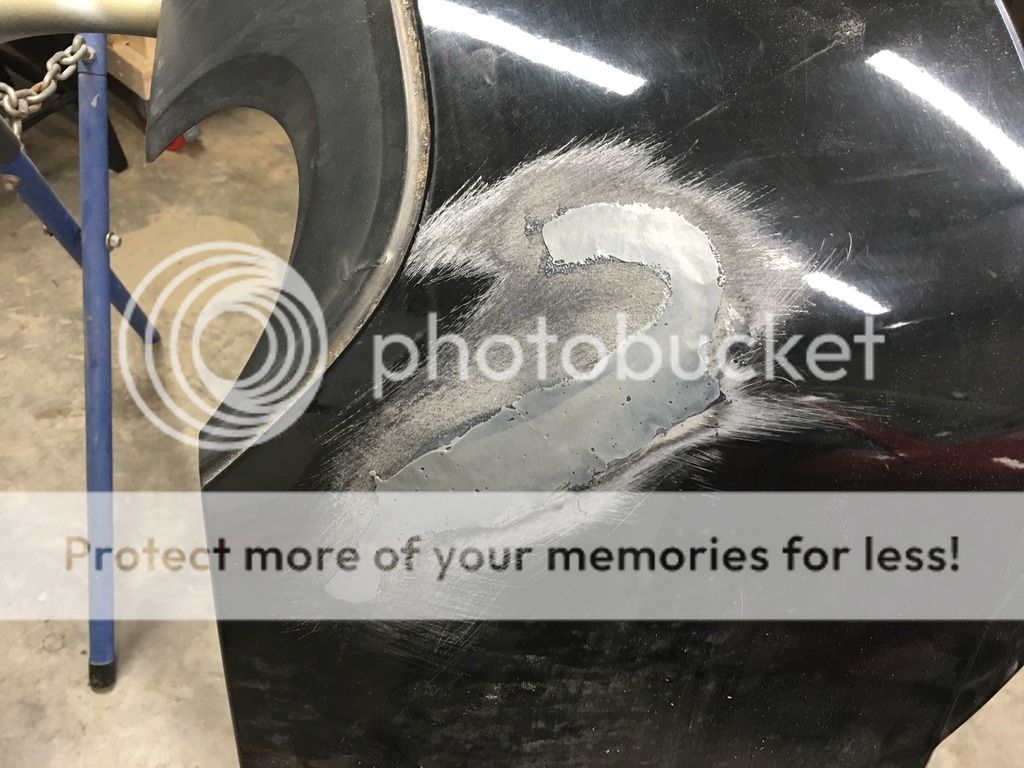
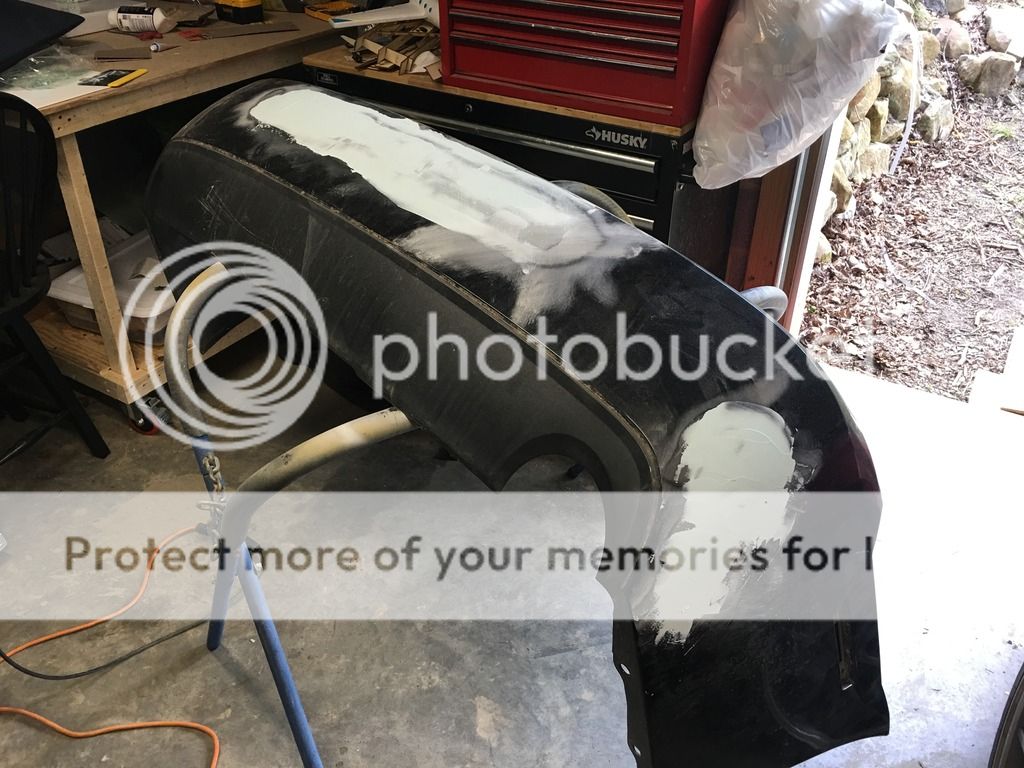
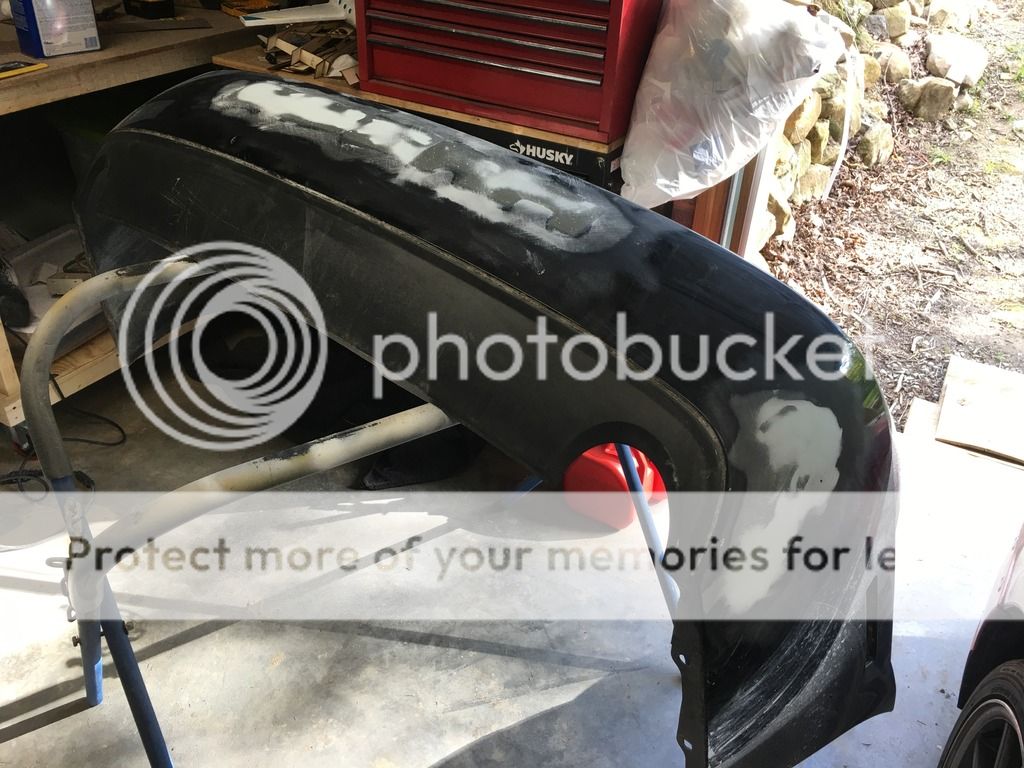
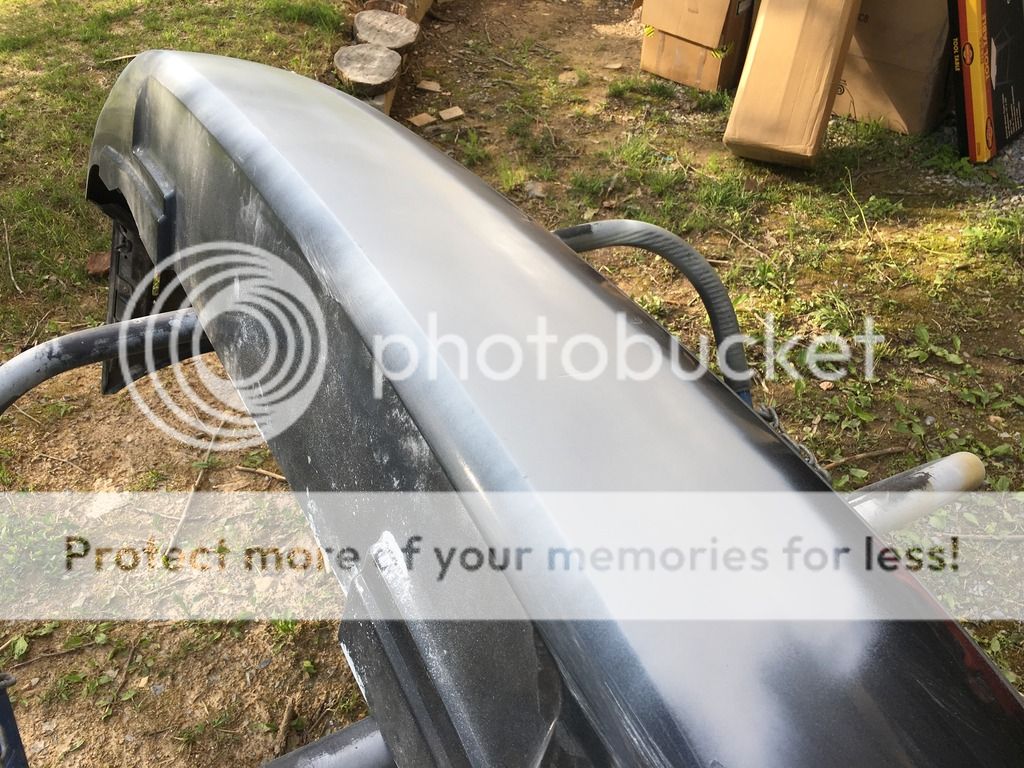
First up was to sand all the paint off from around the cracks and the hole in the bumper. This was done on both sides of the bumper with 36 grit sandpaper.
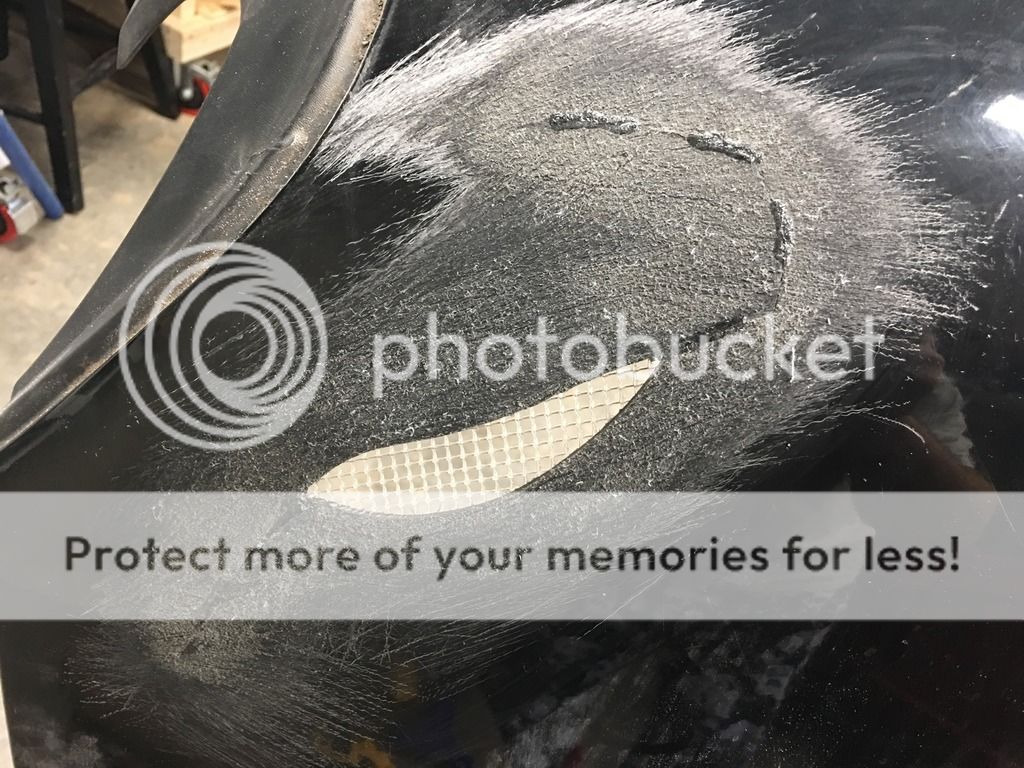
Everything was then cleaned with acetone. Then the cracks were glued into alignment with CA. You can see the blobs of glue in the above photo.
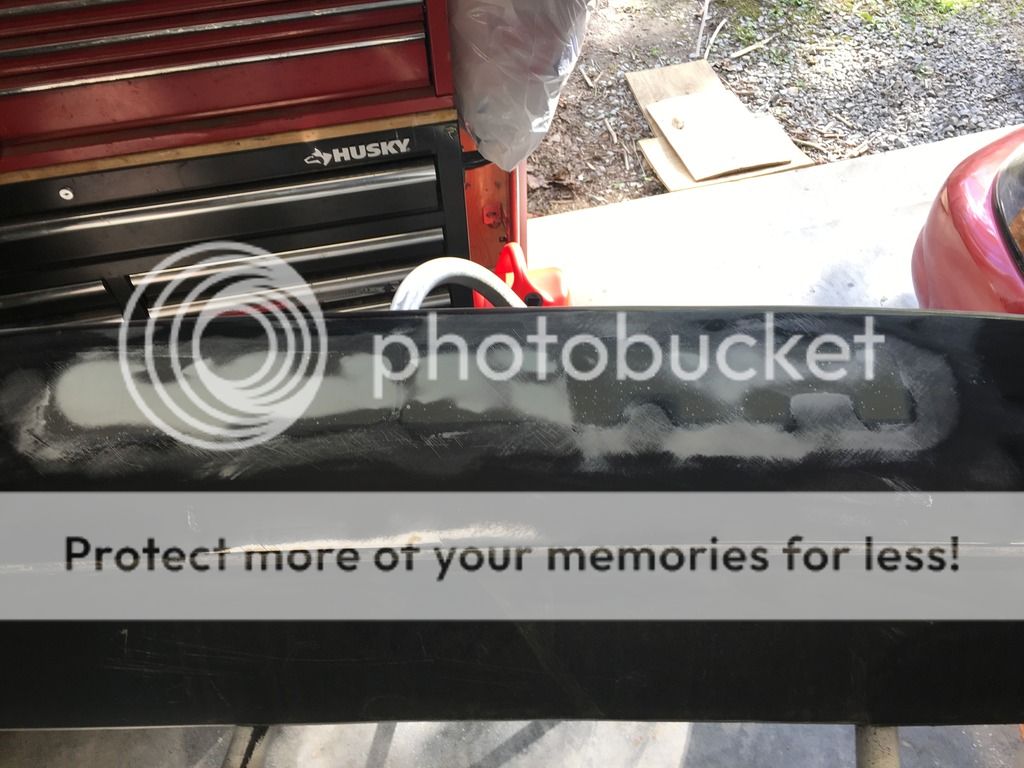
The inner surface of the cracks then were routed out with a rotary file running the length of the cracks and centered on the crack. This provides extra glue surface to hole the pieces together. The hole and cracks were then covered over on the painted side with clear packing tape leaving a bubble for extra material for shaping.
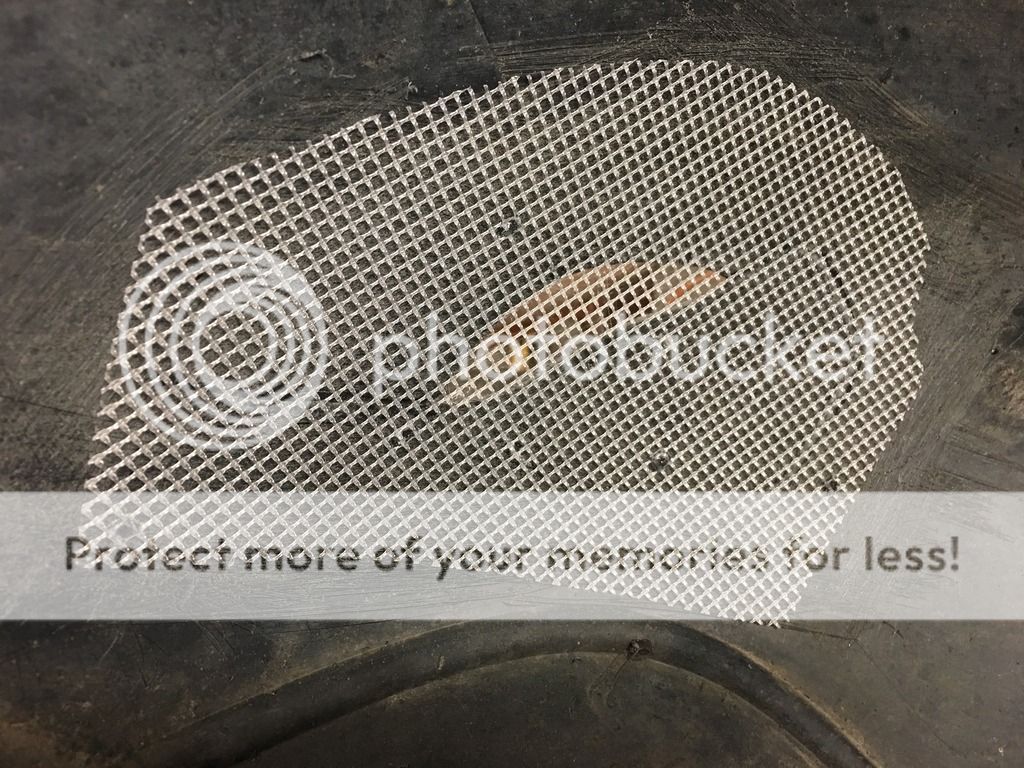
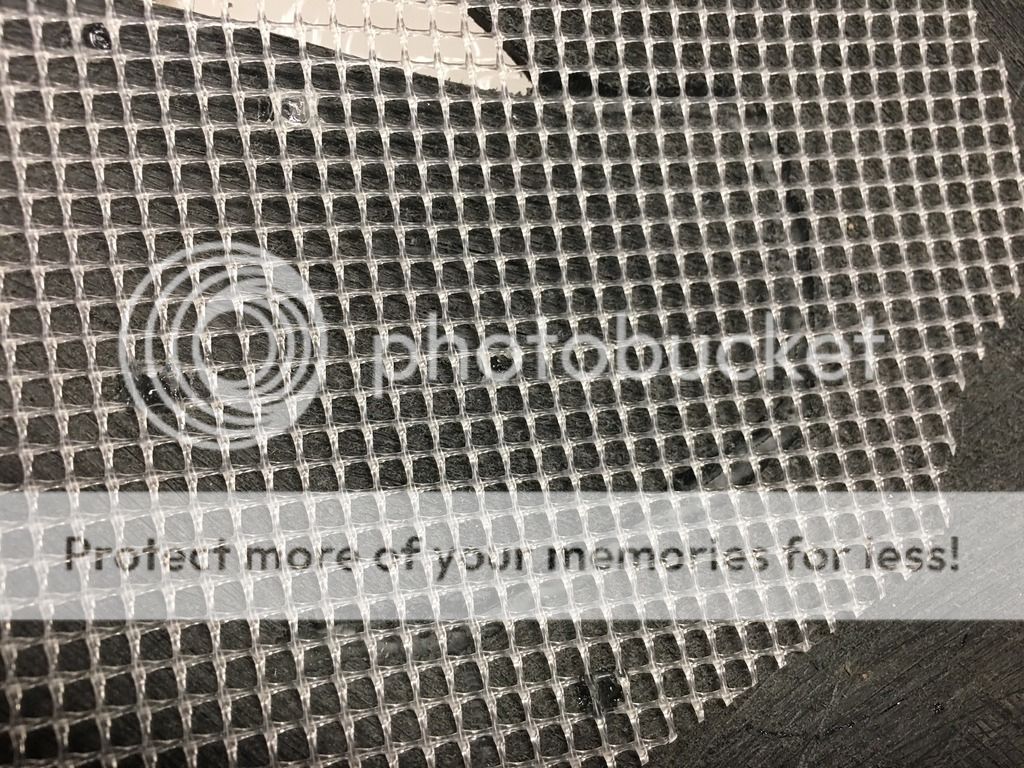
The inner surface of the bumper then had a flexible plastic mesh cut and tack glued into place covering the entire area of the hole and cracks along with some extra area outside of it all.
Here you can see the routed channel over the crack:
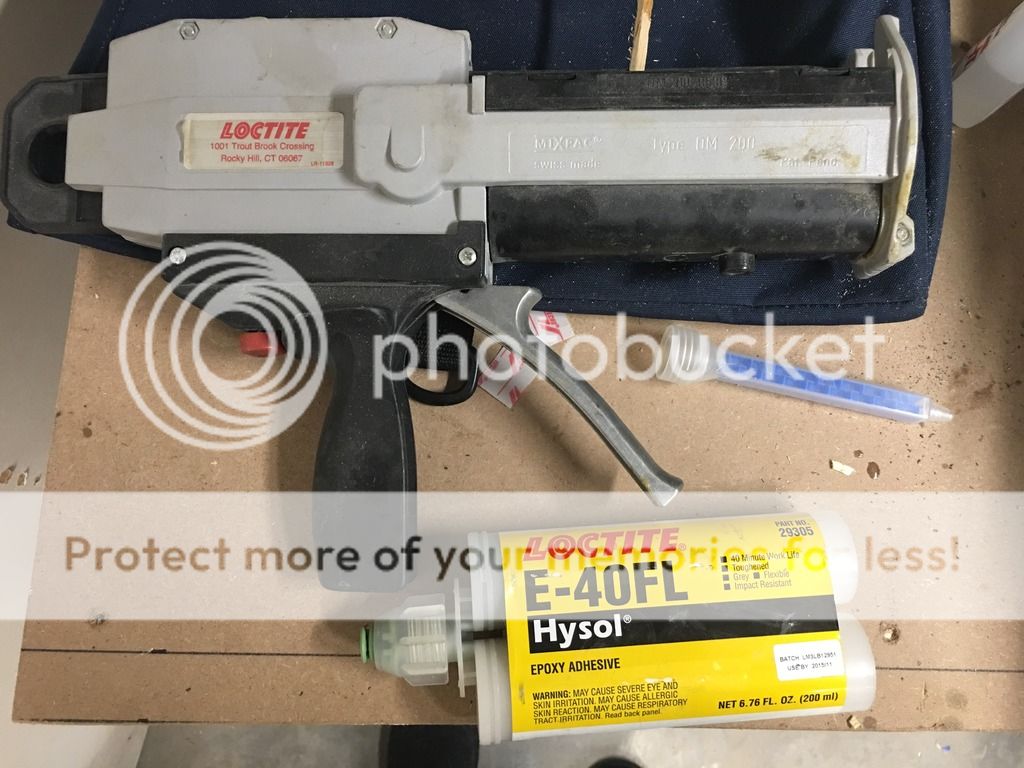
Here is a photo of the epoxy adhesive i used:
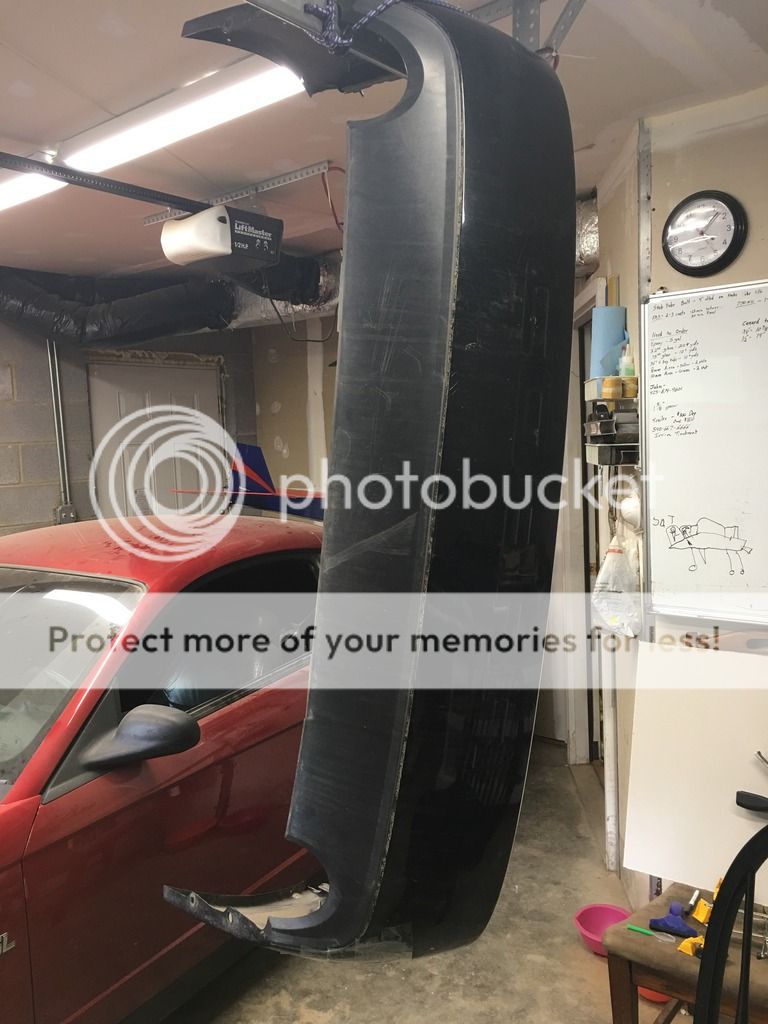
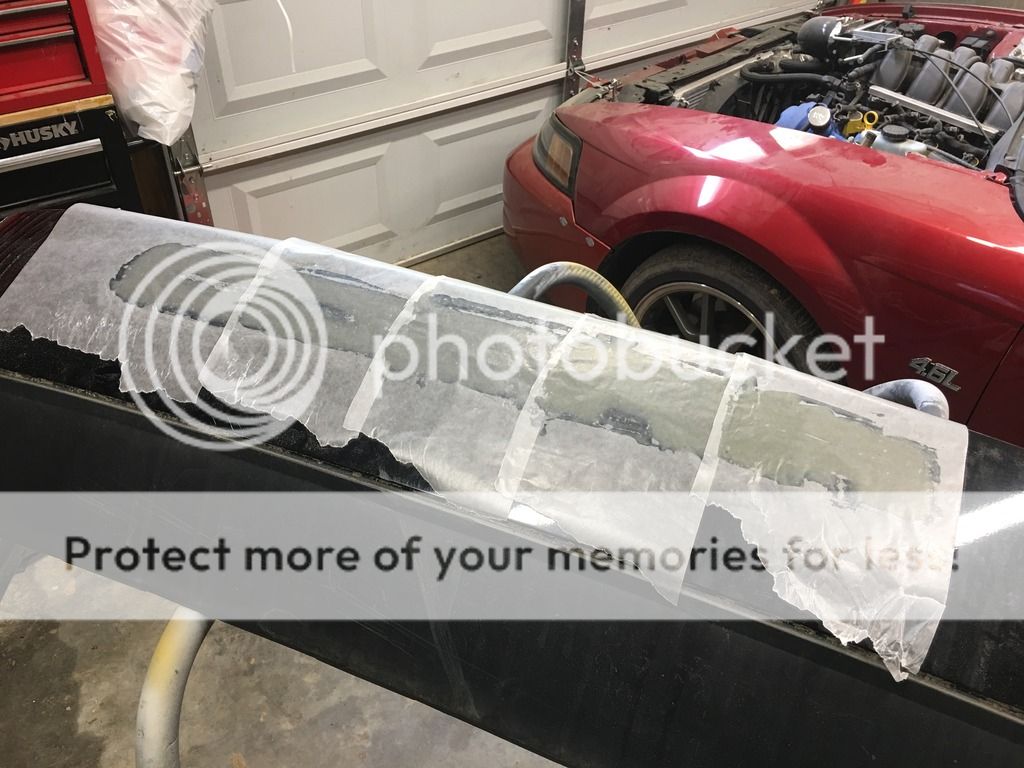
I then hung the bumper from my garage door track. This was so the epoxy wouldnt sag as badly as if it was laying flat.
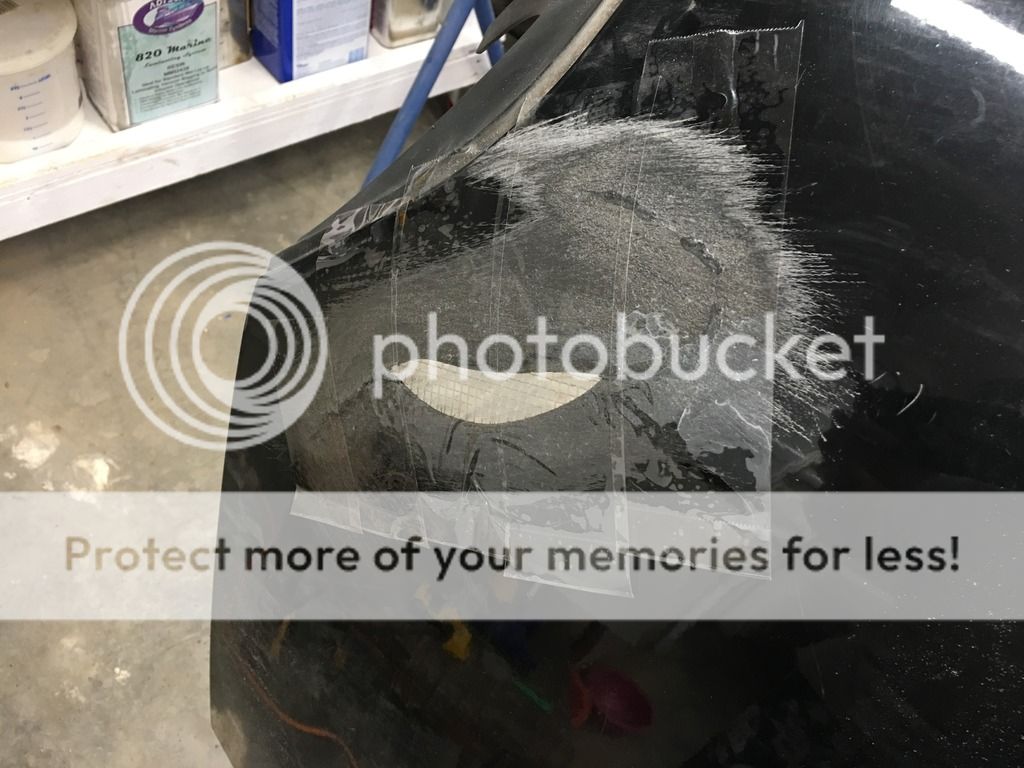
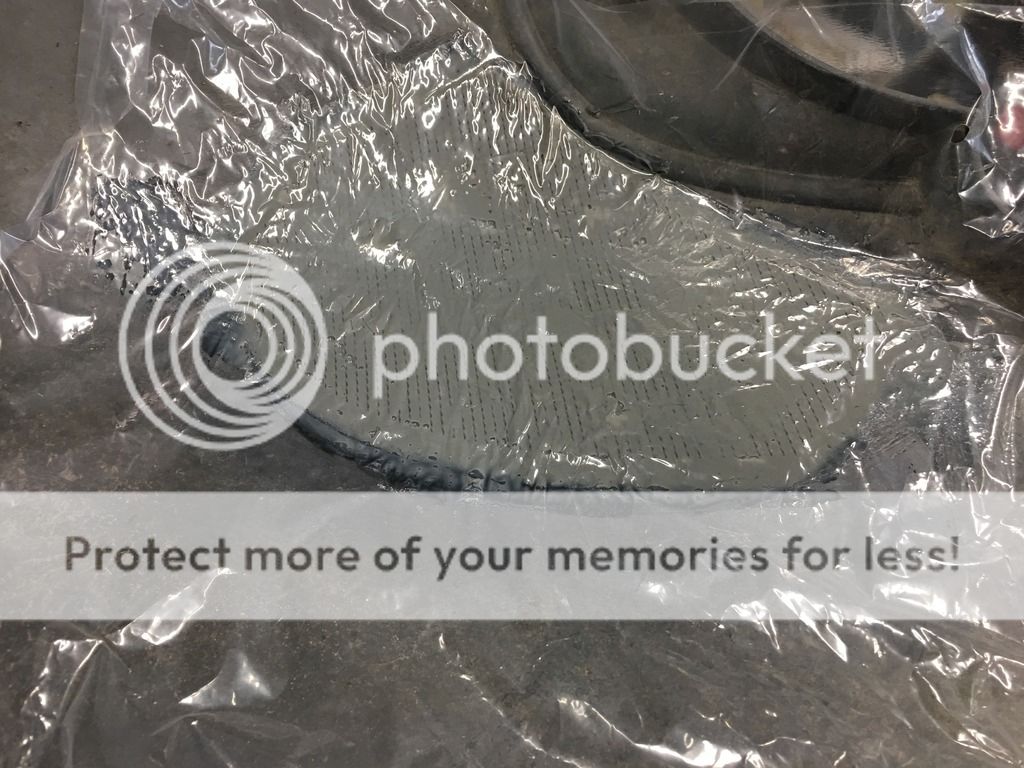
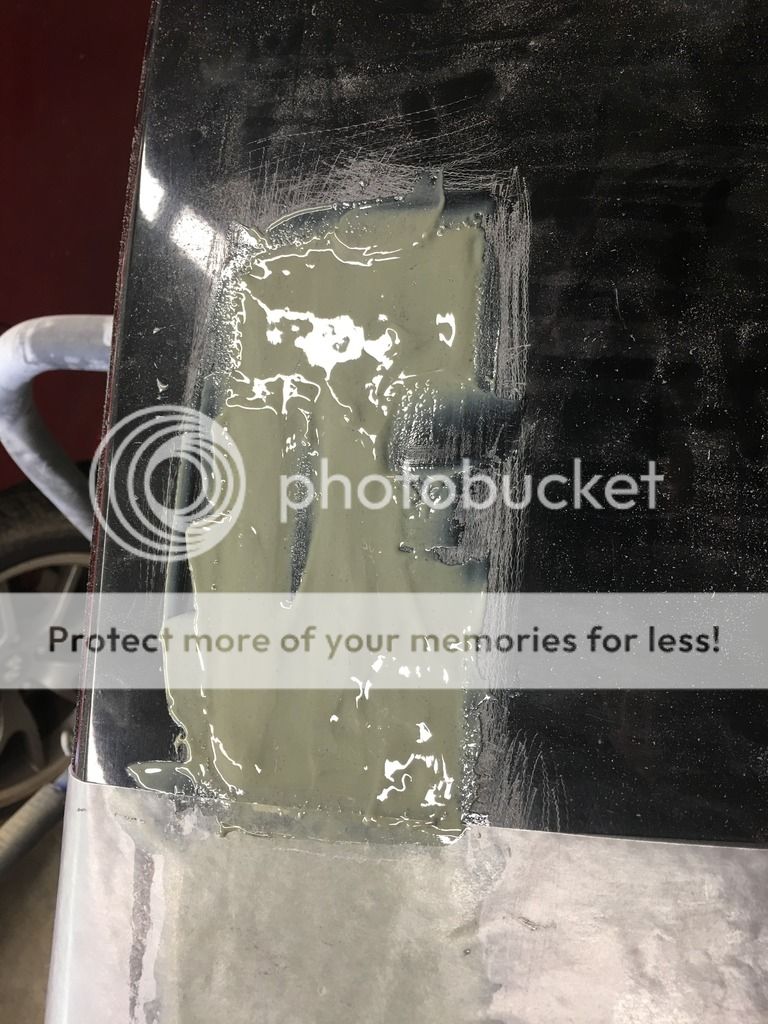
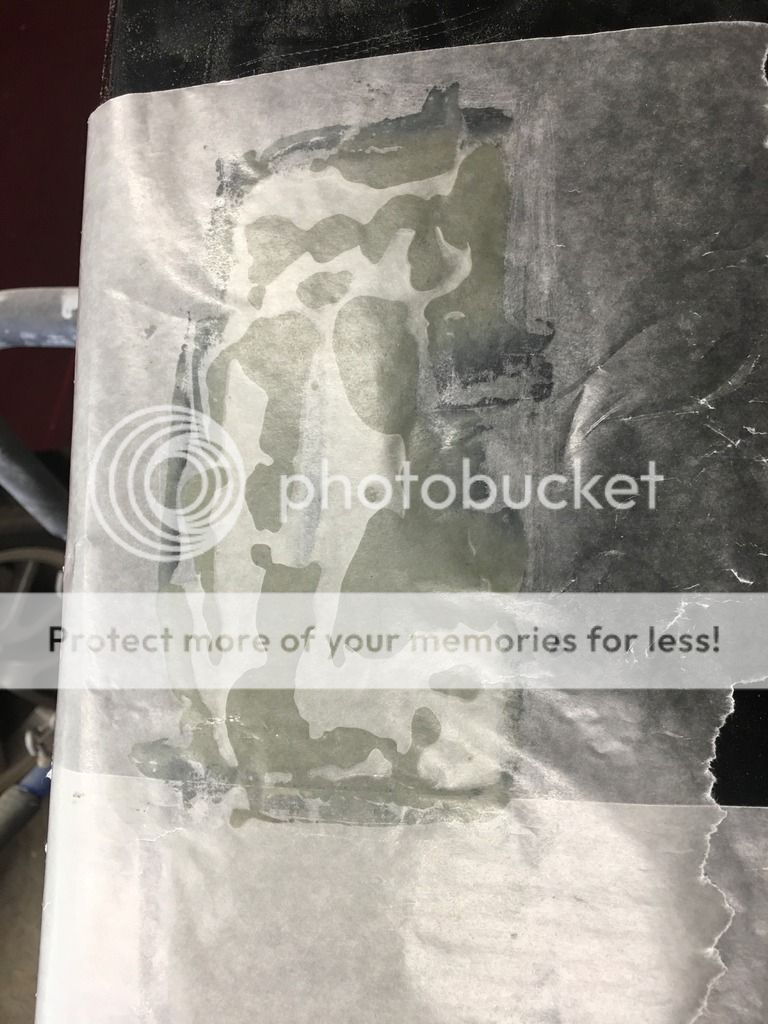
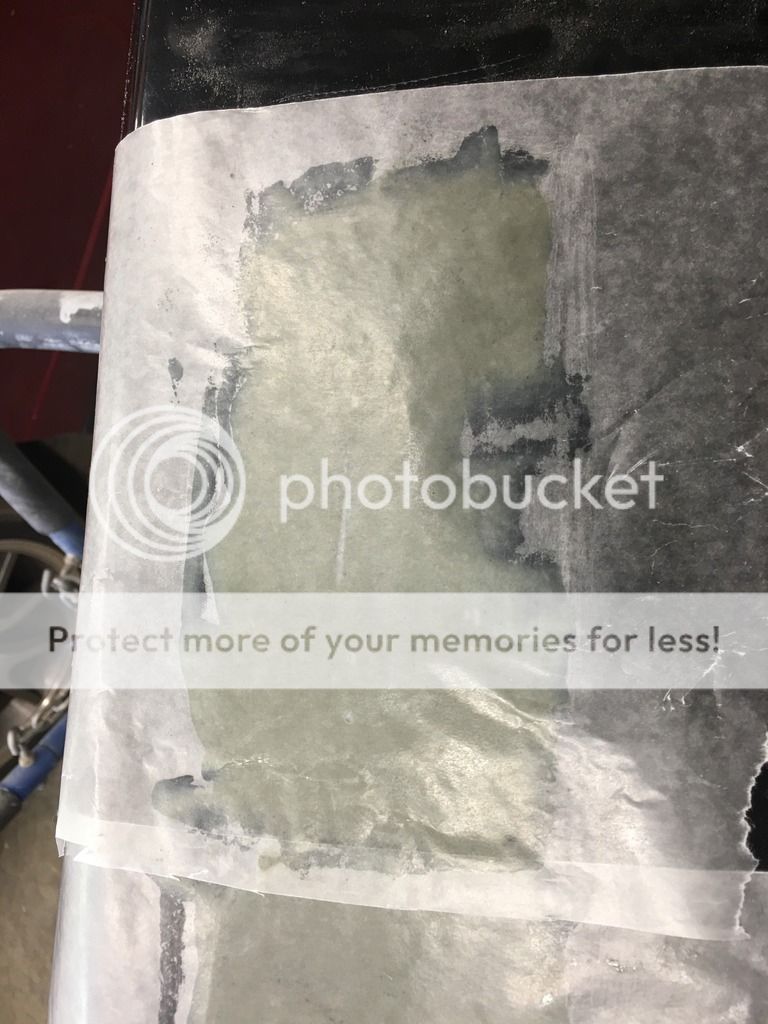
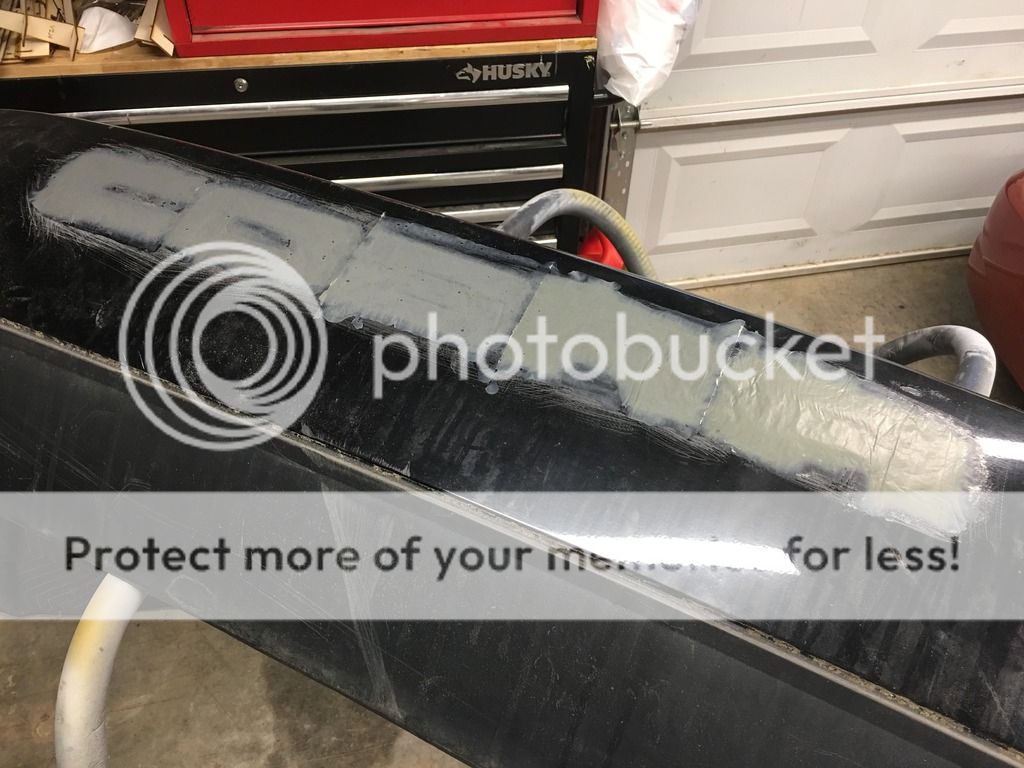
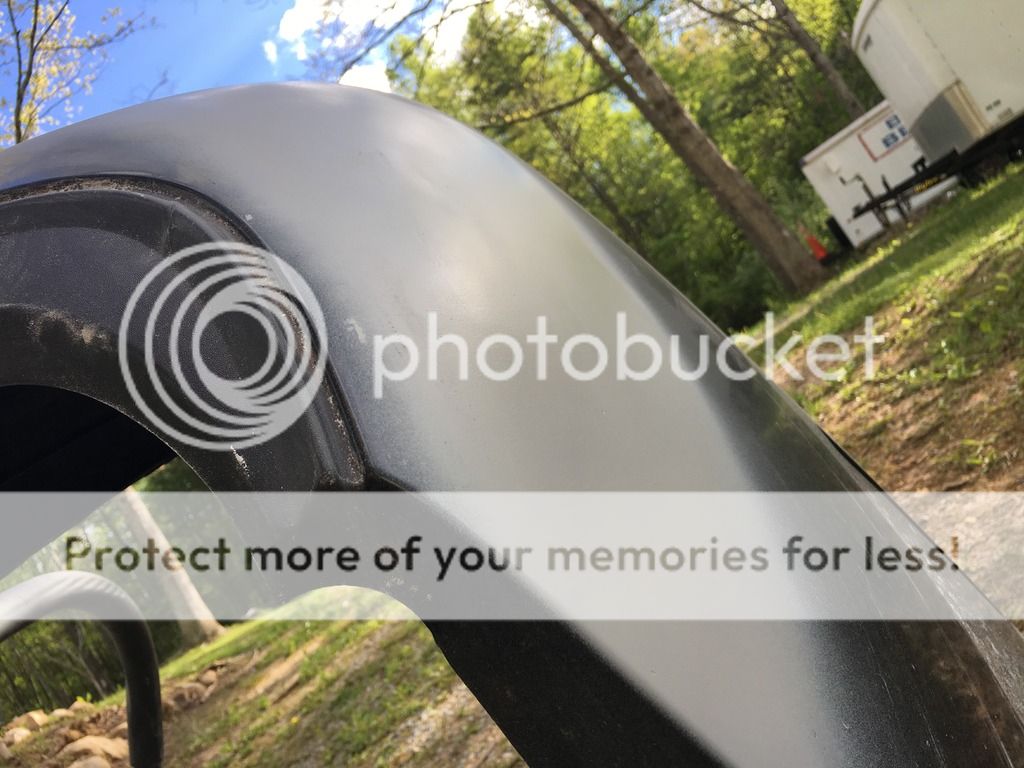
Then all the epoxy was put in place, smoothed over and then some clear plastic was placed all over it. This was smoothed over and also to help contol any sag that may happen.
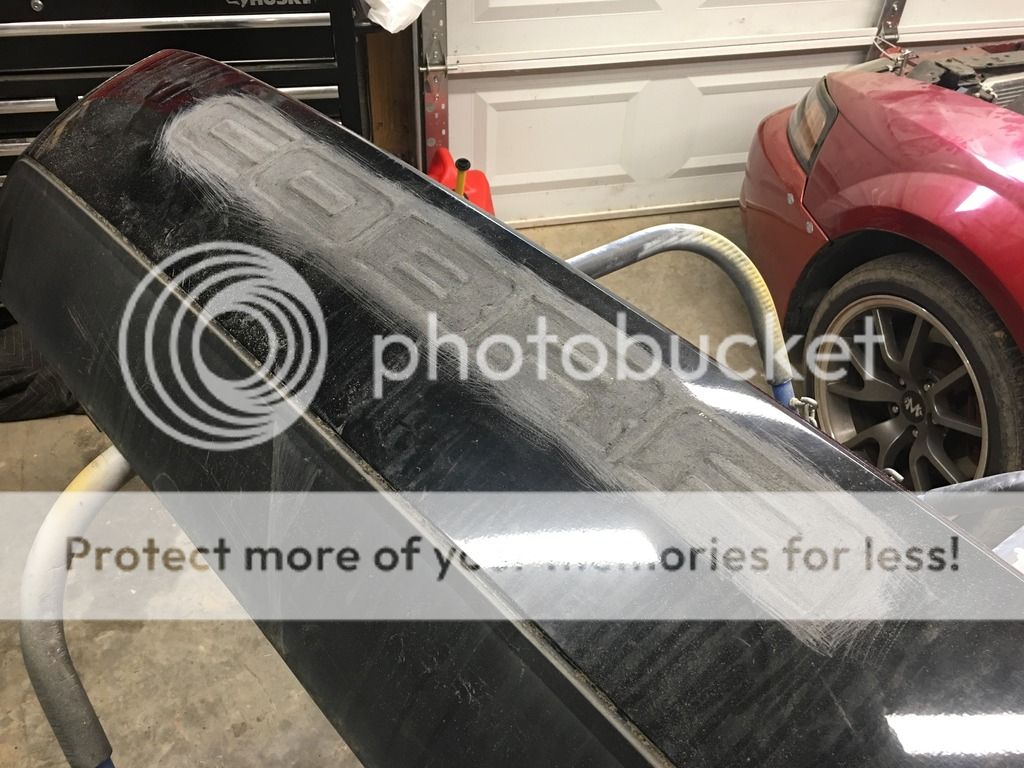
Once this side cure, ill basically repeat it for the other side minus the mesh and using some different product for getting the final shape just right. I'll also be shaving the cobra lettering, so that'll be included in the next posts as wl.
First up was to sand all the paint off from around the cracks and the hole in the bumper. This was done on both sides of the bumper with 36 grit sandpaper.
Everything was then cleaned with acetone. Then the cracks were glued into alignment with CA. You can see the blobs of glue in the above photo.
The inner surface of the cracks then were routed out with a rotary file running the length of the cracks and centered on the crack. This provides extra glue surface to hole the pieces together. The hole and cracks were then covered over on the painted side with clear packing tape leaving a bubble for extra material for shaping.
The inner surface of the bumper then had a flexible plastic mesh cut and tack glued into place covering the entire area of the hole and cracks along with some extra area outside of it all.
Here you can see the routed channel over the crack:
Here is a photo of the epoxy adhesive i used:
I then hung the bumper from my garage door track. This was so the epoxy wouldnt sag as badly as if it was laying flat.
Then all the epoxy was put in place, smoothed over and then some clear plastic was placed all over it. This was smoothed over and also to help contol any sag that may happen.
Once this side cure, ill basically repeat it for the other side minus the mesh and using some different product for getting the final shape just right. I'll also be shaving the cobra lettering, so that'll be included in the next posts as wl.
")