slow90coupe
Well-Known Member
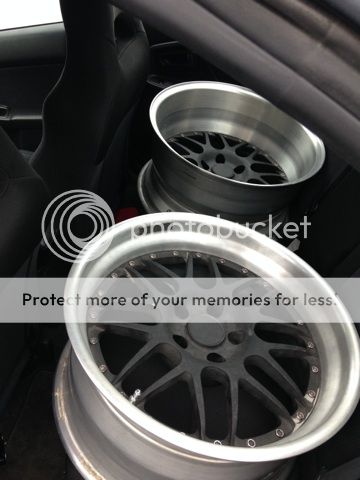
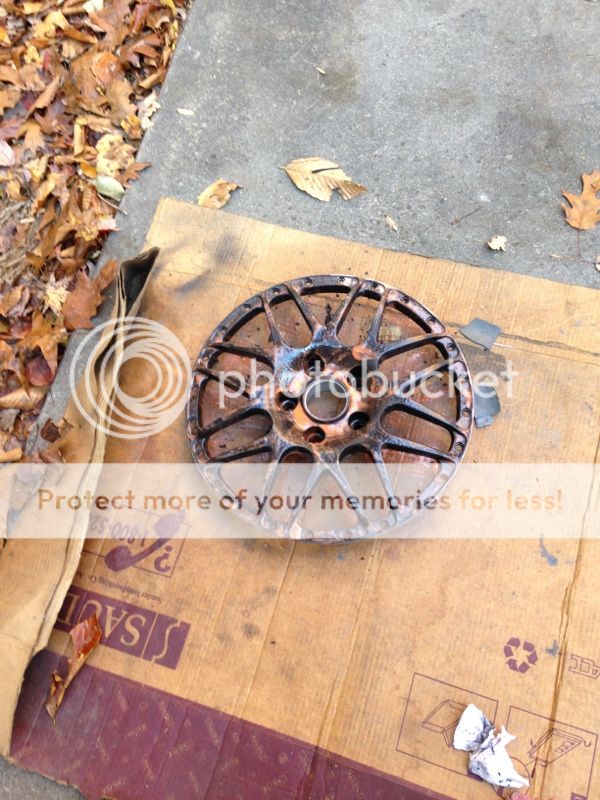
I recently picked up a pair of HRE C20's. They were in terrible shape, so I decided to refinish them and take some pics in the process. This how-to is just a way to drastically improve the appearance of a set of wheels, but will not get them perfect. If you want to make them perfect, it's best to send them to a company like HRE and have them refinished. It will cost you a TON more though.
Materials needed-
-Assorted sandpaper (I used 220, 400, 600, 800, 1000, 1500, and 2000 grit)
-Paint stripper
-Cleaning supplies
-Paper Towels
-Microfiber towels
-Drill with polishing attachment (optional)
-Chrome and metal polish
-Paint of your choice, clear, and primer.
-Tools to remove wheel hardware
-a very comfortable chair or workspace
THIS WILL TAKE A LONG TIME TO COMPLETE, so allow about 7 hours per wheel.
Ok, first of all, you need to get the tires removed from the wheels.
Then, you need to clean the wheels.
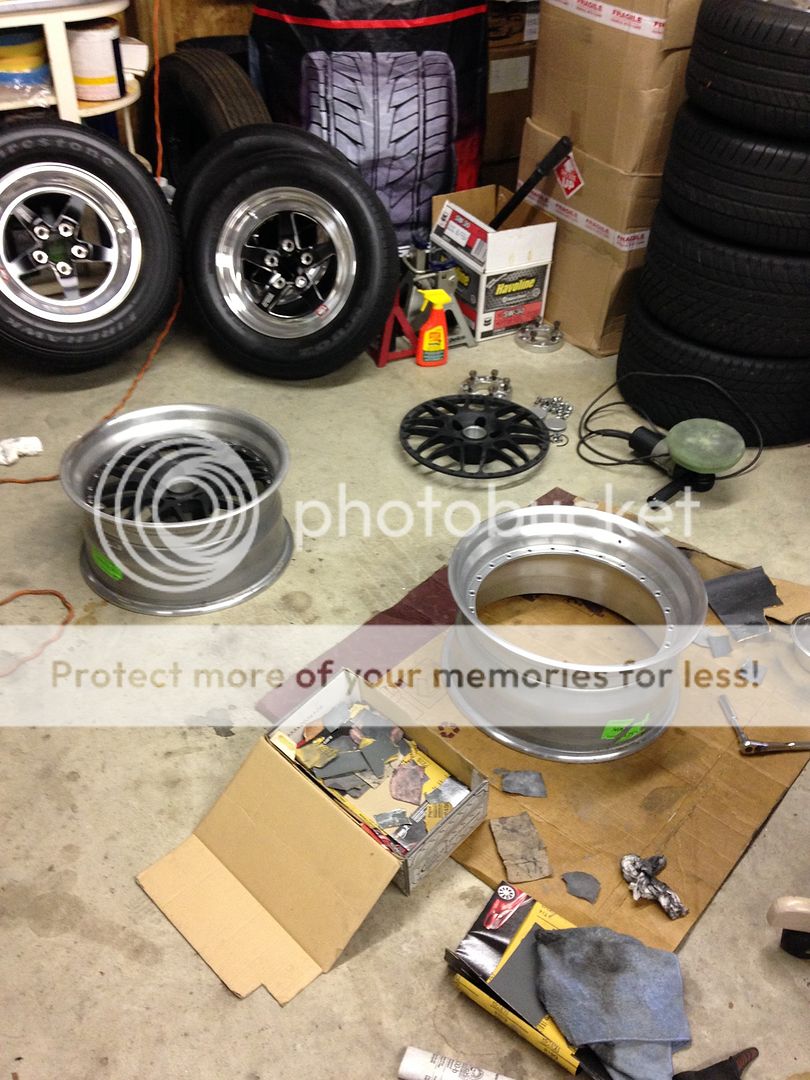
After that, it's time to disassemble the wheels. Make sure not to lose any of the hardware, as it is very expensive to replace.
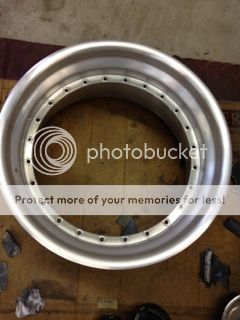
As you can see, my lips weren't in the best condition, but were very straight.
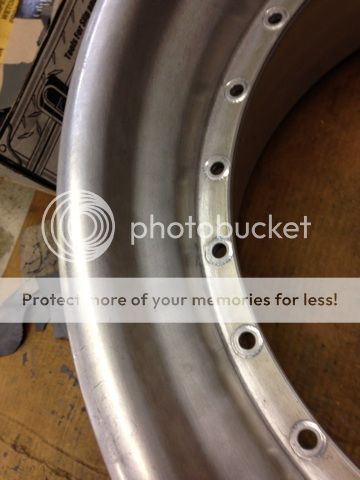

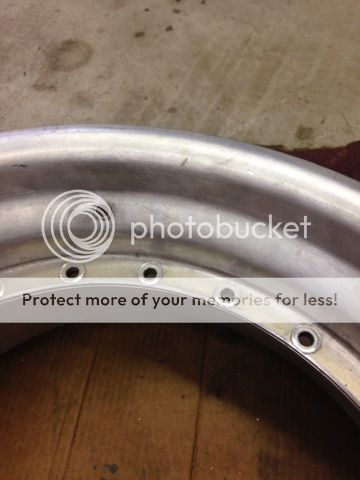
Now it's time to grab your sandpaper. You also need to have a bowl full of water to dip the sandpaper in. Dip the sandpaper often. Start with 220 grit, or 100 or 400 depending on the condition of your wheels. This step will take the longest, as you have to make sure to get rid of all imperfections. You need to get a uniform finish over the entire lip. Be sure to move around the lip, not up and down.
You should be left with this.

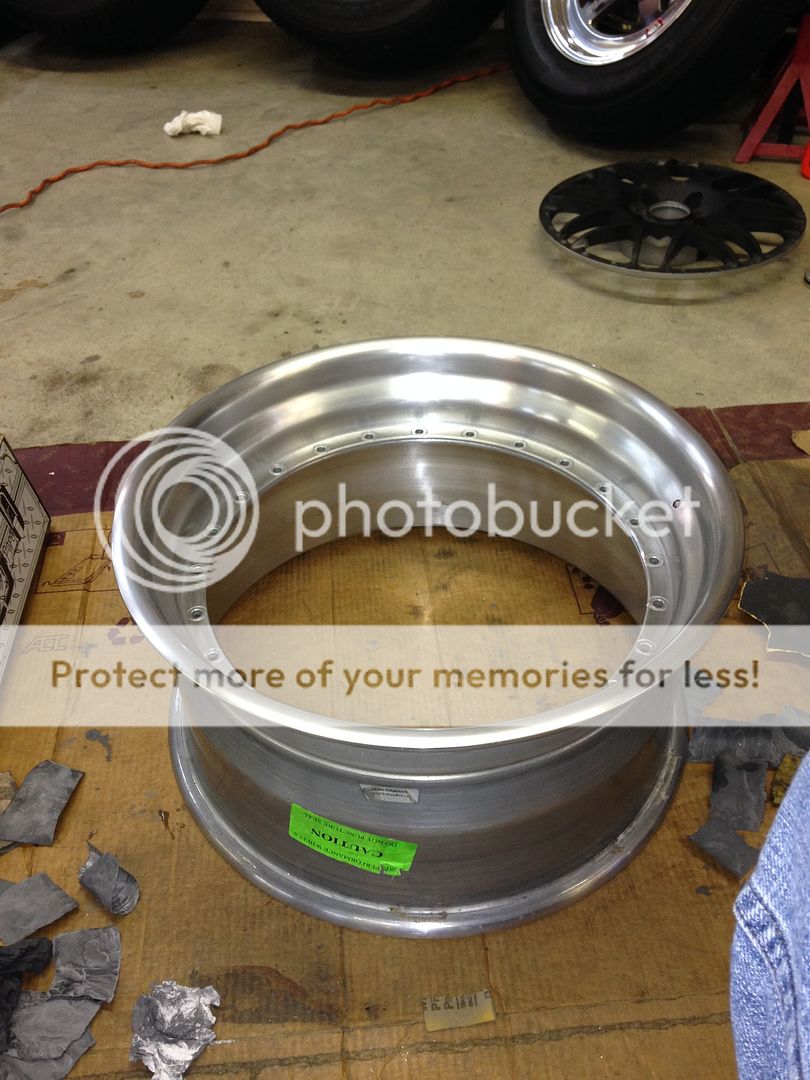
Now, start moving up in grits. I jumped from 220 to 400. Then continue moving up in grits and making the wheel look uniform at every step. You won't see much change until 1000, when the wheel should look like this

And at 1500

And at 2000.
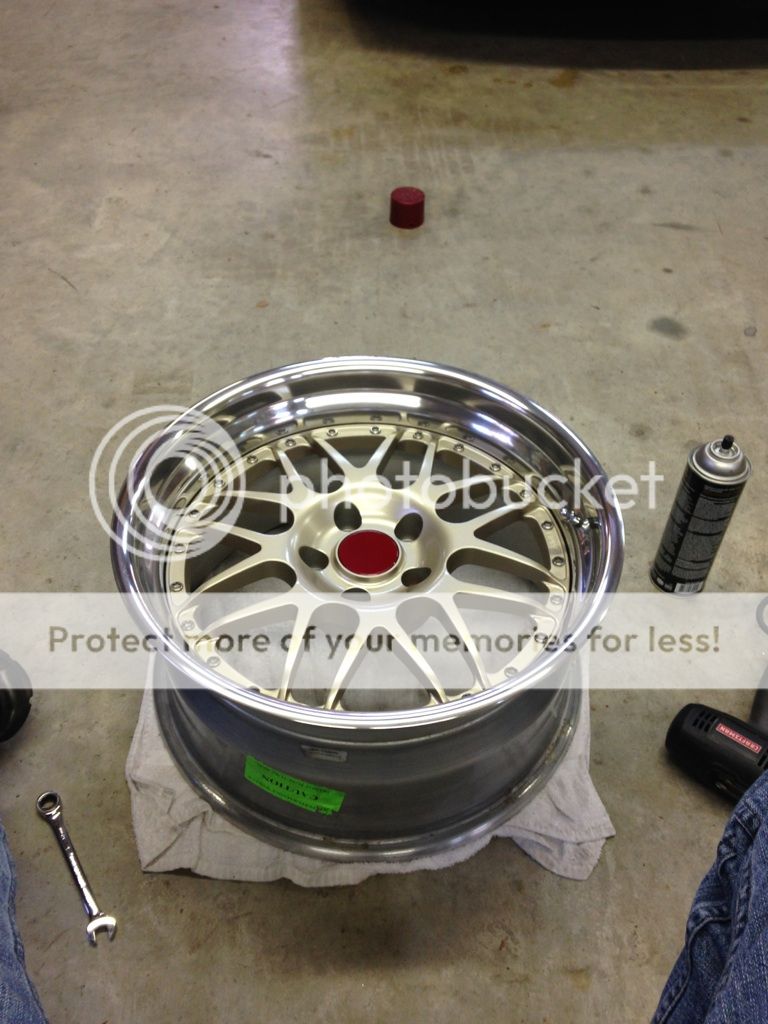
Now grab your metal polish. I used Blue Magic.
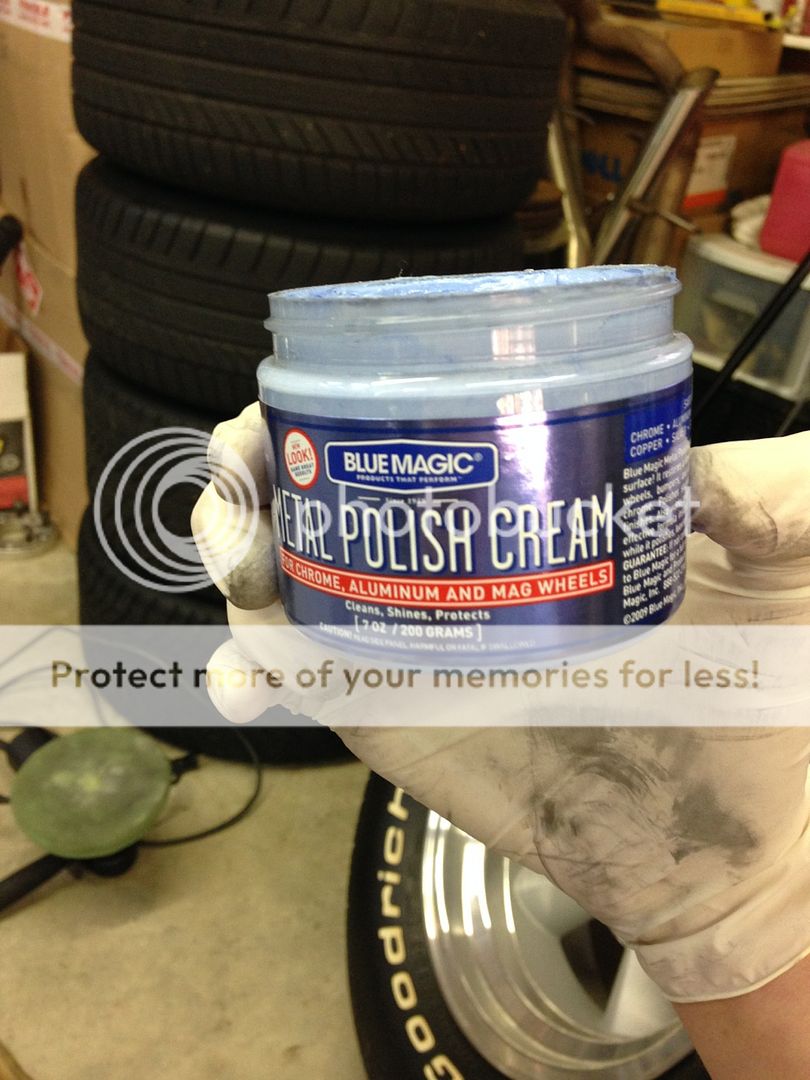
Now make a very quick pass over the wheel with the polish and a microfiber.

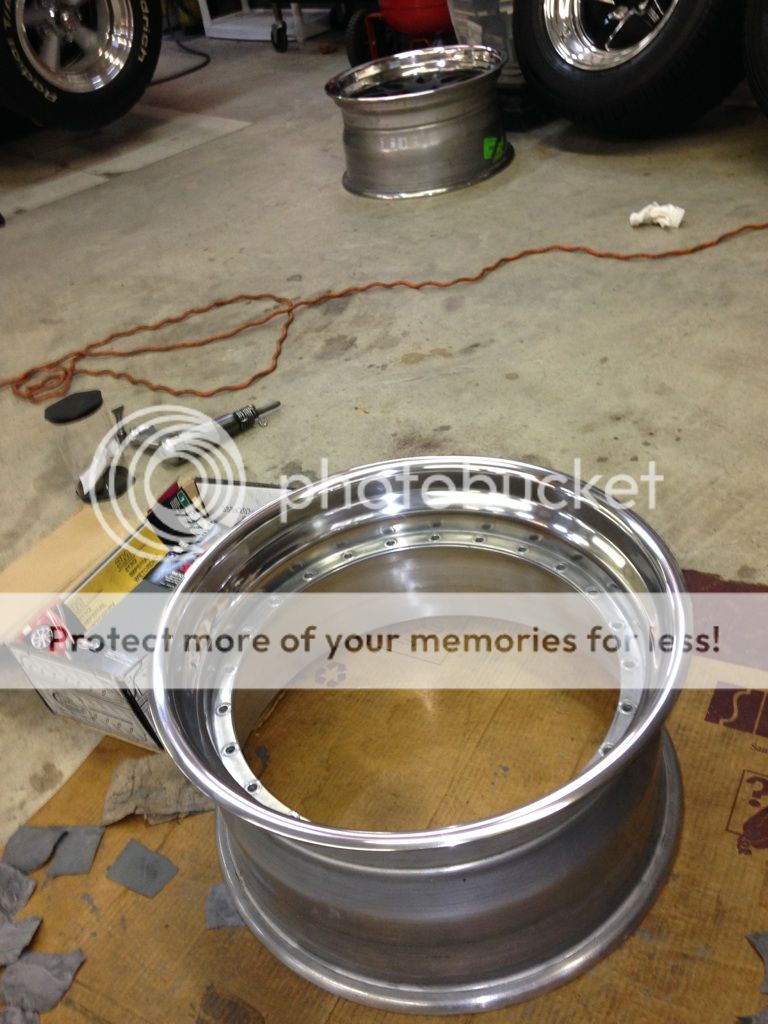
And now it's time to make it shine. Grab your drill and polishing attachment and start polishing the wheel a little bit at a time.

Then you can make a few more passes by hand to really add to the shine. It will look like this.
Now it's time for the wheel face. Get your paint stripper and apply it to the face a few times.
Then let it sit for a few hours. The old finish should be bubbled up.
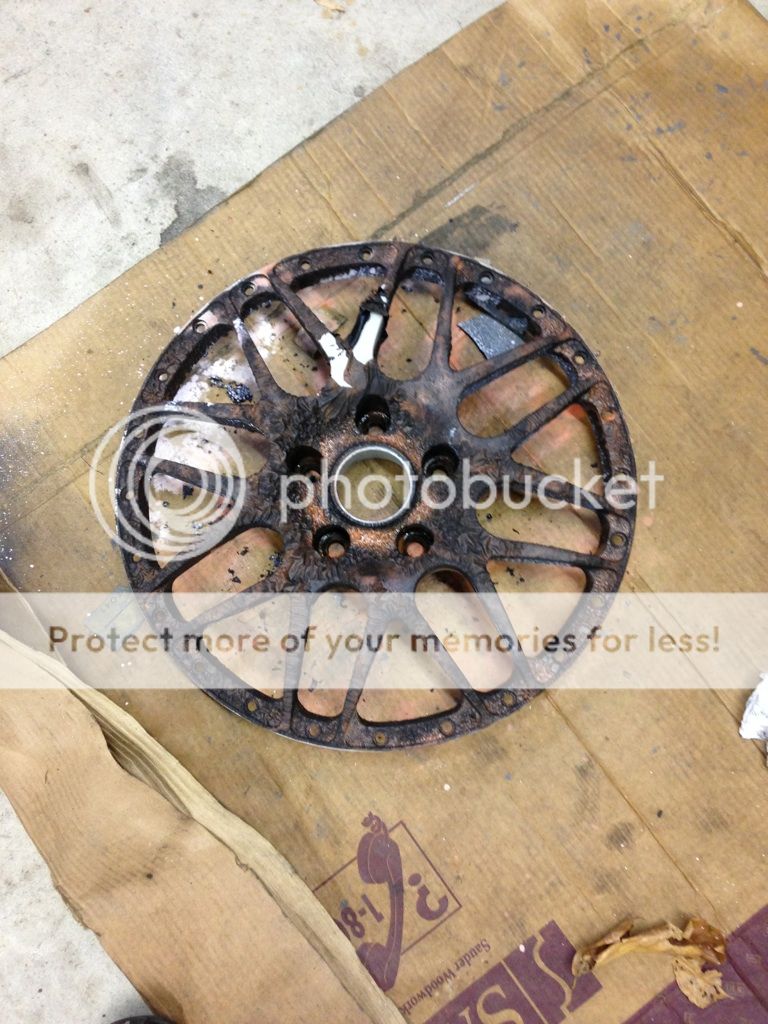
Now start scraping/rubbing the finish off. It should come off easily.

You may need more passes with the stripper, as I did. You must get all of the paint off.
Then scuff the face with some 400 grit sandpaper.

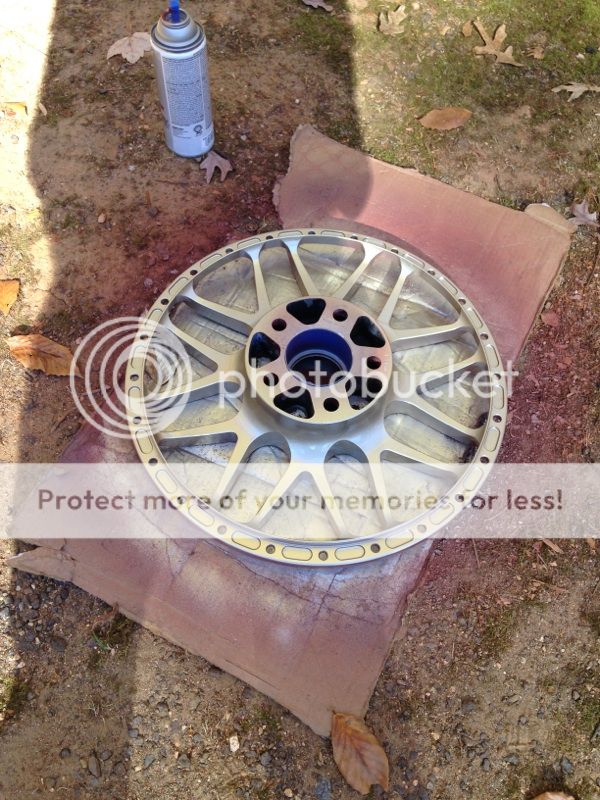
Now tape off anywhere that you don't want paint on, set the face on some cardboard and spray some primer. This is what it should look like when you're done.

Now make sure you don't have any rough areas. If you do, fix them and prime the area again. Now get your paint and apply a few light coats.
Make more and more light passes, and eventually it will look like this. I used a small can per wheel.

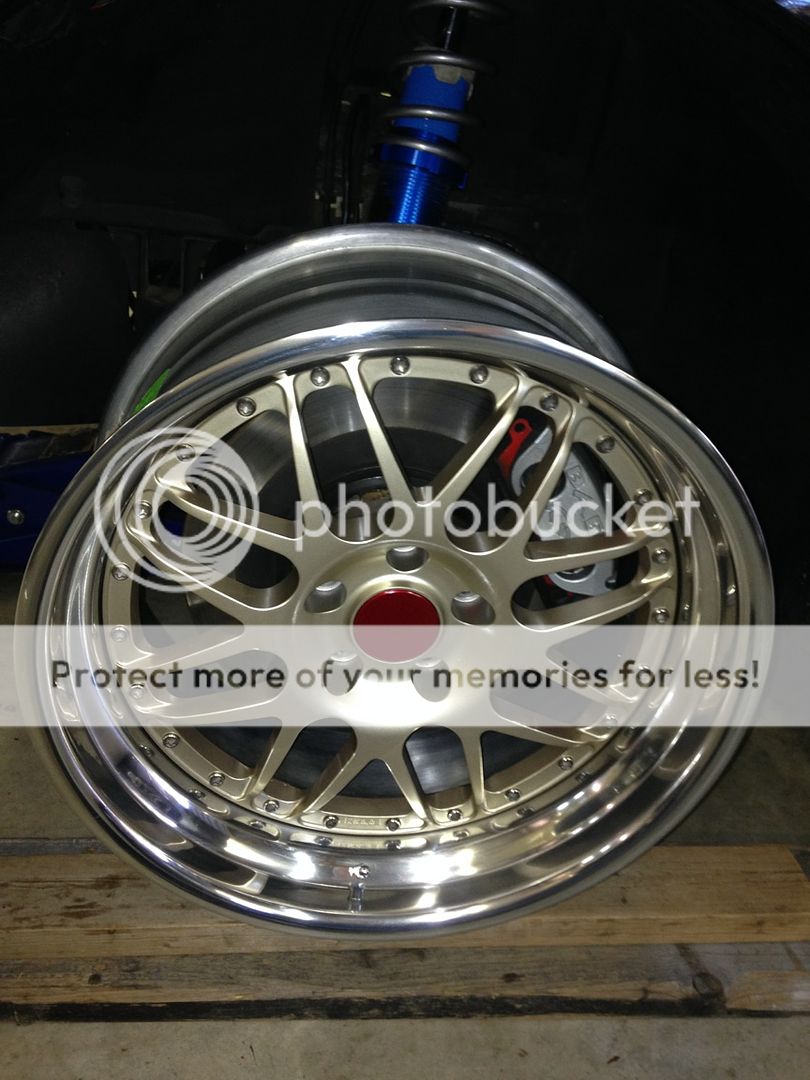
Now apply your clear (if you have it), let it dry, and place the face in the barrel.
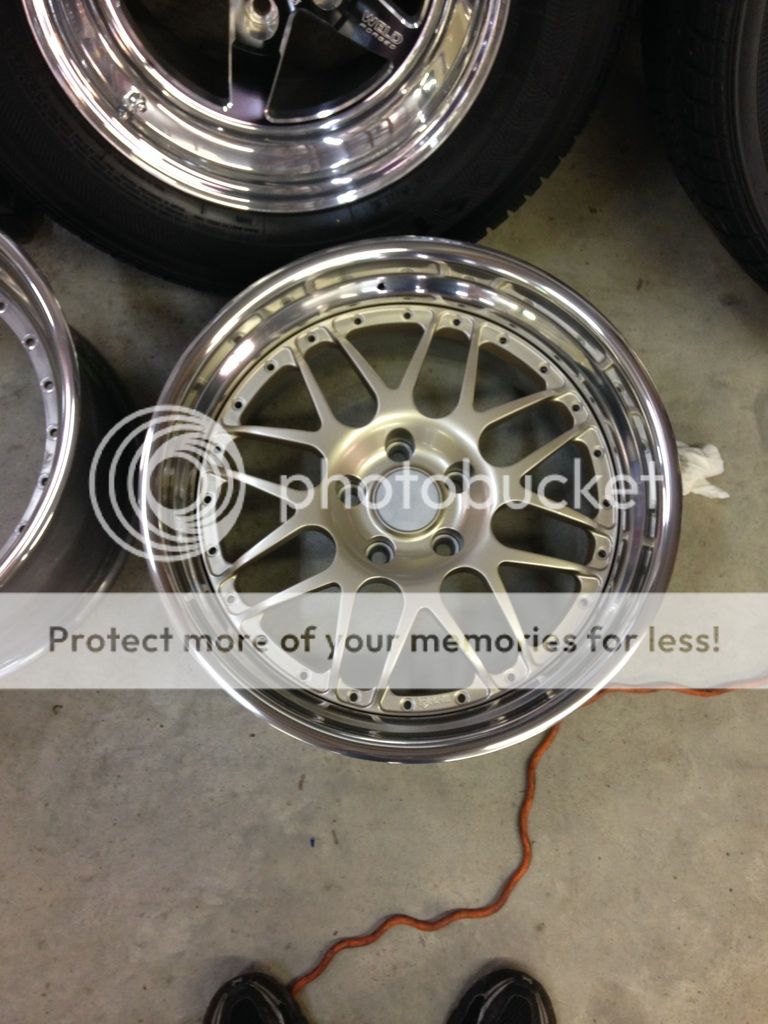
Install all hardware, torque it to specs, and step back and admire your wheel. It should look a TON better than before!

Materials needed-
-Assorted sandpaper (I used 220, 400, 600, 800, 1000, 1500, and 2000 grit)
-Paint stripper
-Cleaning supplies
-Paper Towels
-Microfiber towels
-Drill with polishing attachment (optional)
-Chrome and metal polish
-Paint of your choice, clear, and primer.
-Tools to remove wheel hardware
-a very comfortable chair or workspace
THIS WILL TAKE A LONG TIME TO COMPLETE, so allow about 7 hours per wheel.
Ok, first of all, you need to get the tires removed from the wheels.

Then, you need to clean the wheels.
After that, it's time to disassemble the wheels. Make sure not to lose any of the hardware, as it is very expensive to replace.

As you can see, my lips weren't in the best condition, but were very straight.


Now it's time to grab your sandpaper. You also need to have a bowl full of water to dip the sandpaper in. Dip the sandpaper often. Start with 220 grit, or 100 or 400 depending on the condition of your wheels. This step will take the longest, as you have to make sure to get rid of all imperfections. You need to get a uniform finish over the entire lip. Be sure to move around the lip, not up and down.
You should be left with this.


Now, start moving up in grits. I jumped from 220 to 400. Then continue moving up in grits and making the wheel look uniform at every step. You won't see much change until 1000, when the wheel should look like this

And at 1500

And at 2000.

Now grab your metal polish. I used Blue Magic.

Now make a very quick pass over the wheel with the polish and a microfiber.

And now it's time to make it shine. Grab your drill and polishing attachment and start polishing the wheel a little bit at a time.

Then you can make a few more passes by hand to really add to the shine. It will look like this.

Now it's time for the wheel face. Get your paint stripper and apply it to the face a few times.

Then let it sit for a few hours. The old finish should be bubbled up.

Now start scraping/rubbing the finish off. It should come off easily.

You may need more passes with the stripper, as I did. You must get all of the paint off.
Then scuff the face with some 400 grit sandpaper.

Now tape off anywhere that you don't want paint on, set the face on some cardboard and spray some primer. This is what it should look like when you're done.

Now make sure you don't have any rough areas. If you do, fix them and prime the area again. Now get your paint and apply a few light coats.

Make more and more light passes, and eventually it will look like this. I used a small can per wheel.

Now apply your clear (if you have it), let it dry, and place the face in the barrel.

Install all hardware, torque it to specs, and step back and admire your wheel. It should look a TON better than before!