FivepointSlow
Well-Known Member
The S197's have them, so why not us?
Well I got the idea when I wanted to use a USB extension cord for my head unit and run it to my center console bin. Both my parents cars have a cigarette lighter located in their console bin, and my dad also has an AUX cord. It is a very convenient spot for it. I figured I could move the cigarette lighter there too seeing in how I will never use the one that is in front of the shifter and it is a super stupid idea to have it there if you ask me.
[MENTION=17616]the5.ohh[/MENTION] suggested I do a write up on it. So here goes.
NOTE
You will have to delete the cup holder if your car has a cup holder that slide up from the bin. It was useless anyways. No lose.
Total time was about an hour. This includes walking back and forth from my car to in my house, finding a 3 prong wall adapter for my dremel, and waiting 10 minutes for my dad to get off the phone before I started making some noise.
1. Remove the shifter bezel. For automatics, pry the bezel up with some generous force, there are 4 clips holding it down. For manuals, you will need to remove the shifter knob before doing this. There are wires connected to the lighter, these can both be pulled straight off.
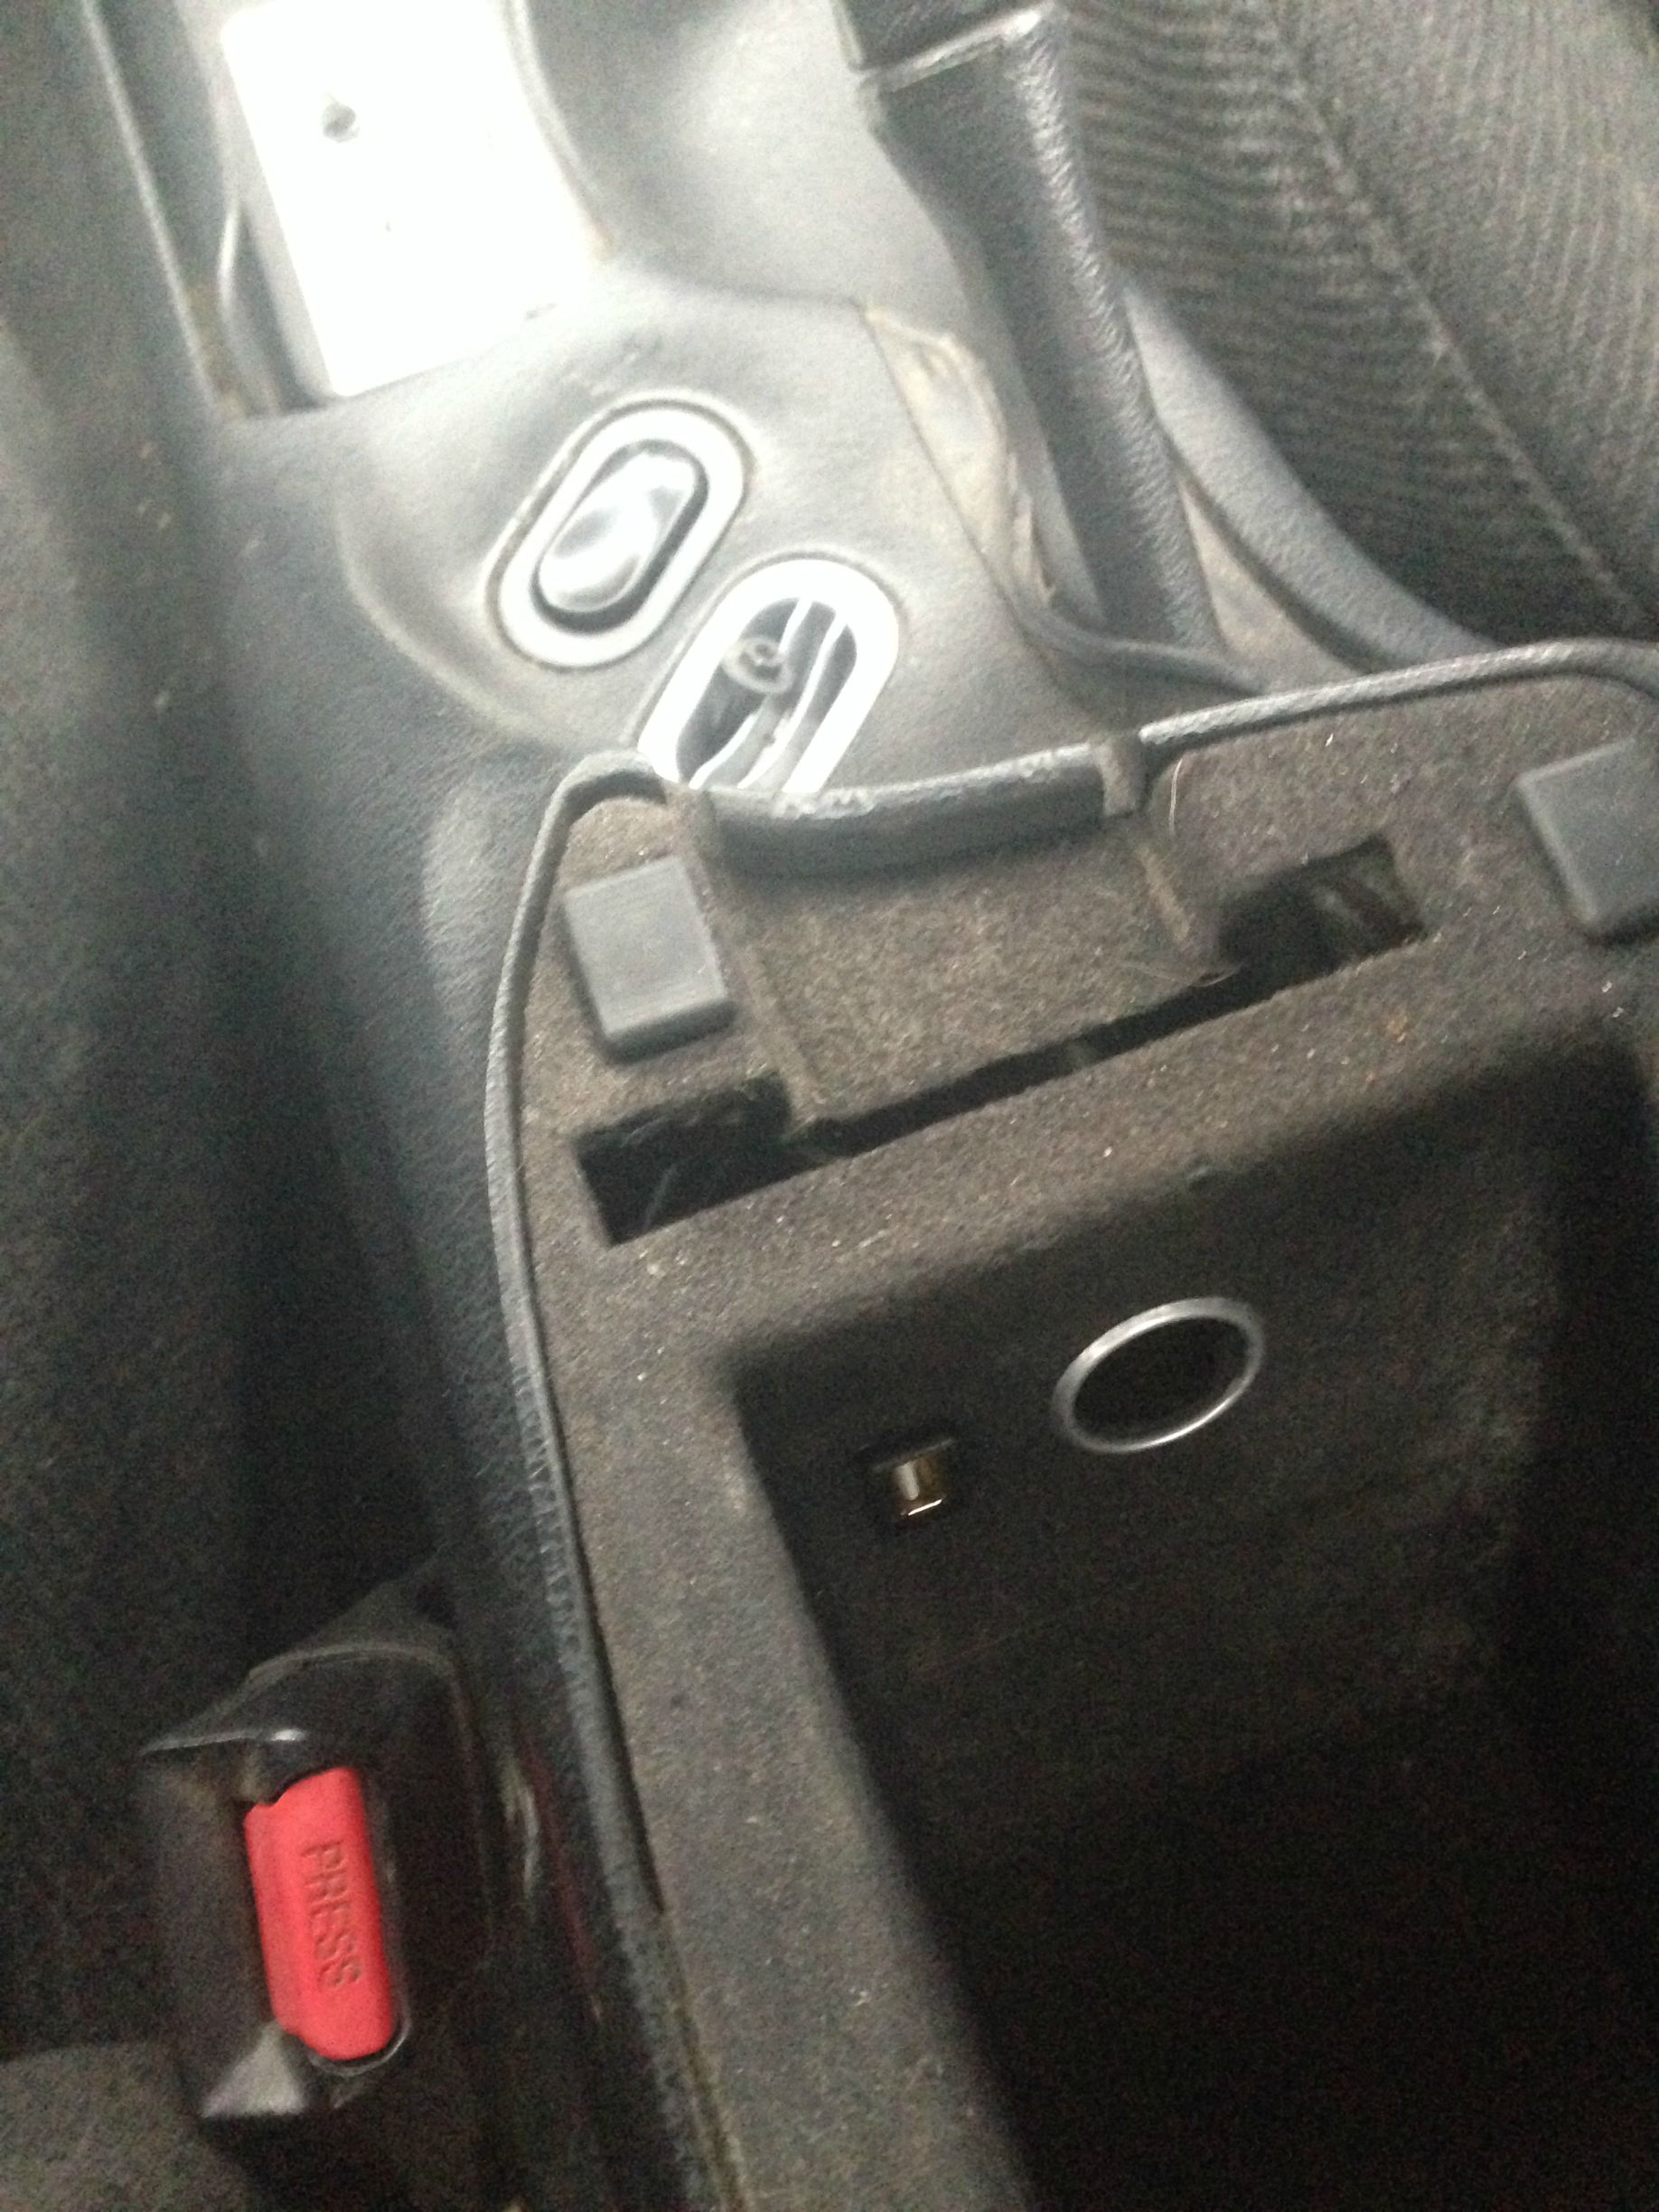
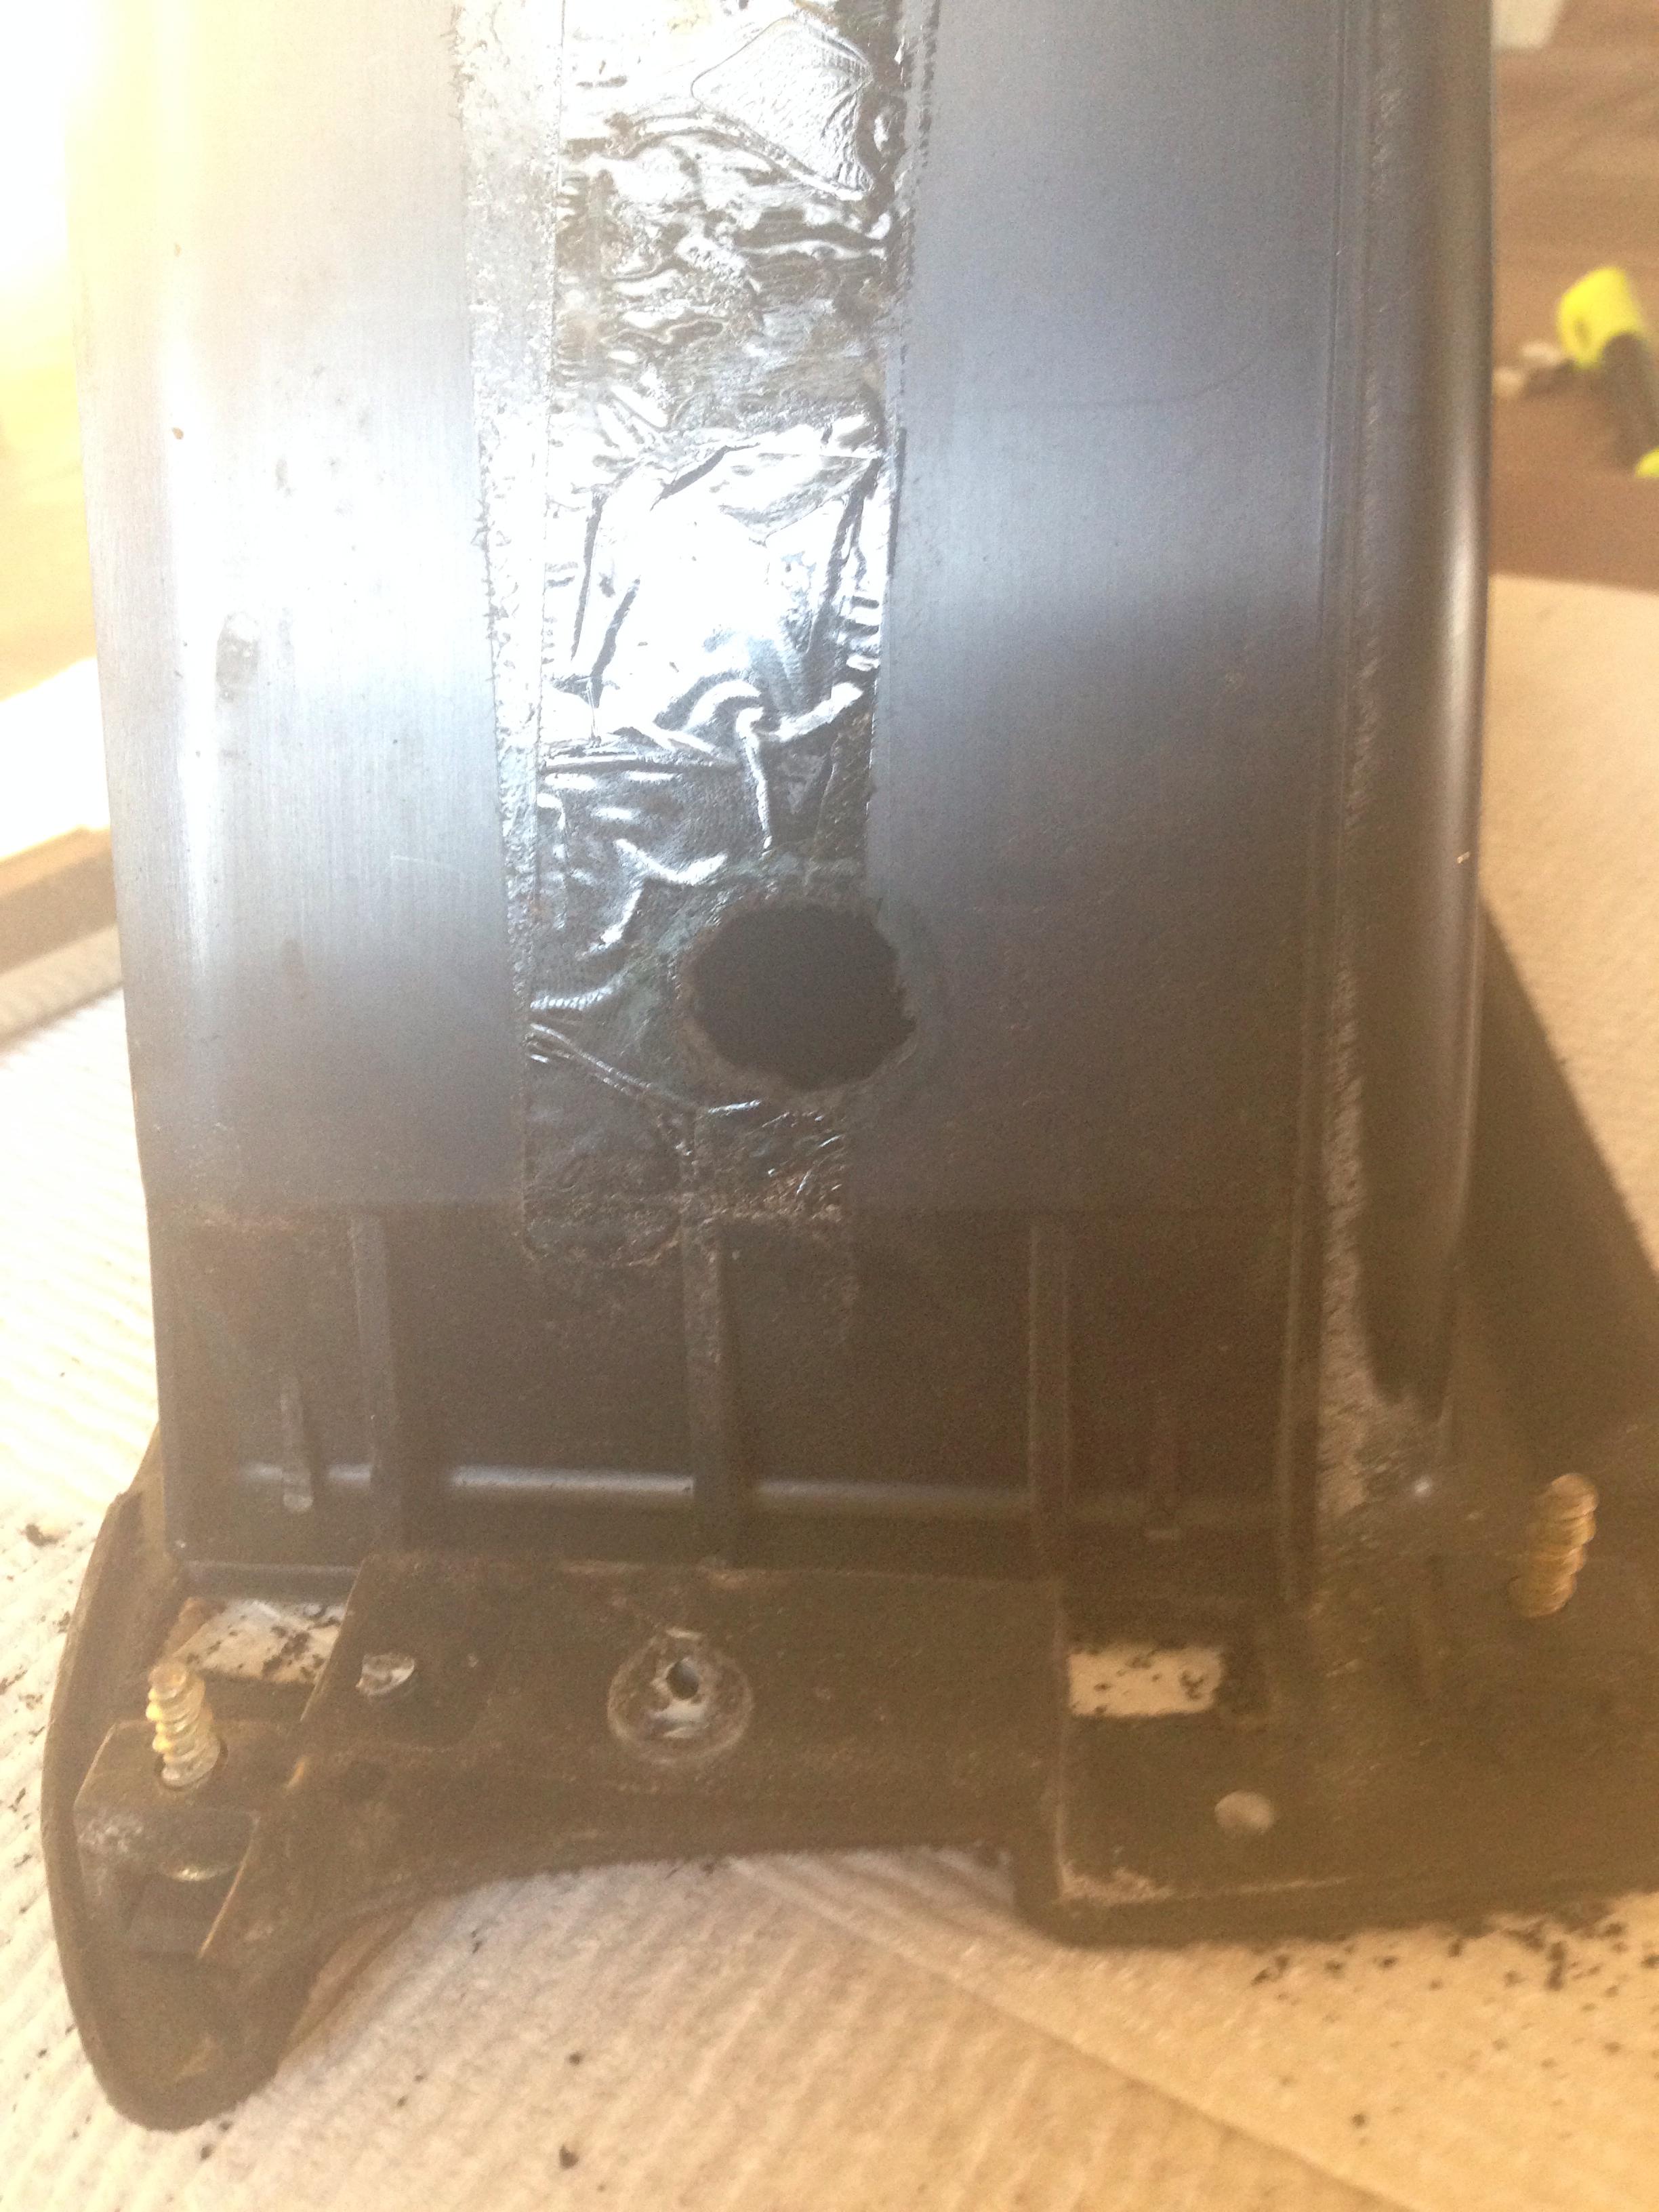
2. Remove the center console bin. This is held in by 2 Phillips head screws and 2 clips. The 2 screws are located underneath the 2 front rubber stoppers. Pop those off and remove the screws. The bin should pop out of place easily once those are removed. Under the bin there are 2 screws. Remove those.

3. Now you will need to remove the 2 screws in the front of the console under the radio bezel. Mine was weird, I had a torx bit screw and a bolt/torx head screw. But either way remove those.
4. Now the console is ready to be slid back. You will not have to fully remove it but if you feel like making more work for yourself by all means pop that sucker out. You will need to pull the ebrake up fully to allow the console to slide back 3-4 inches. This will give you enough room to work with the lighter wire.
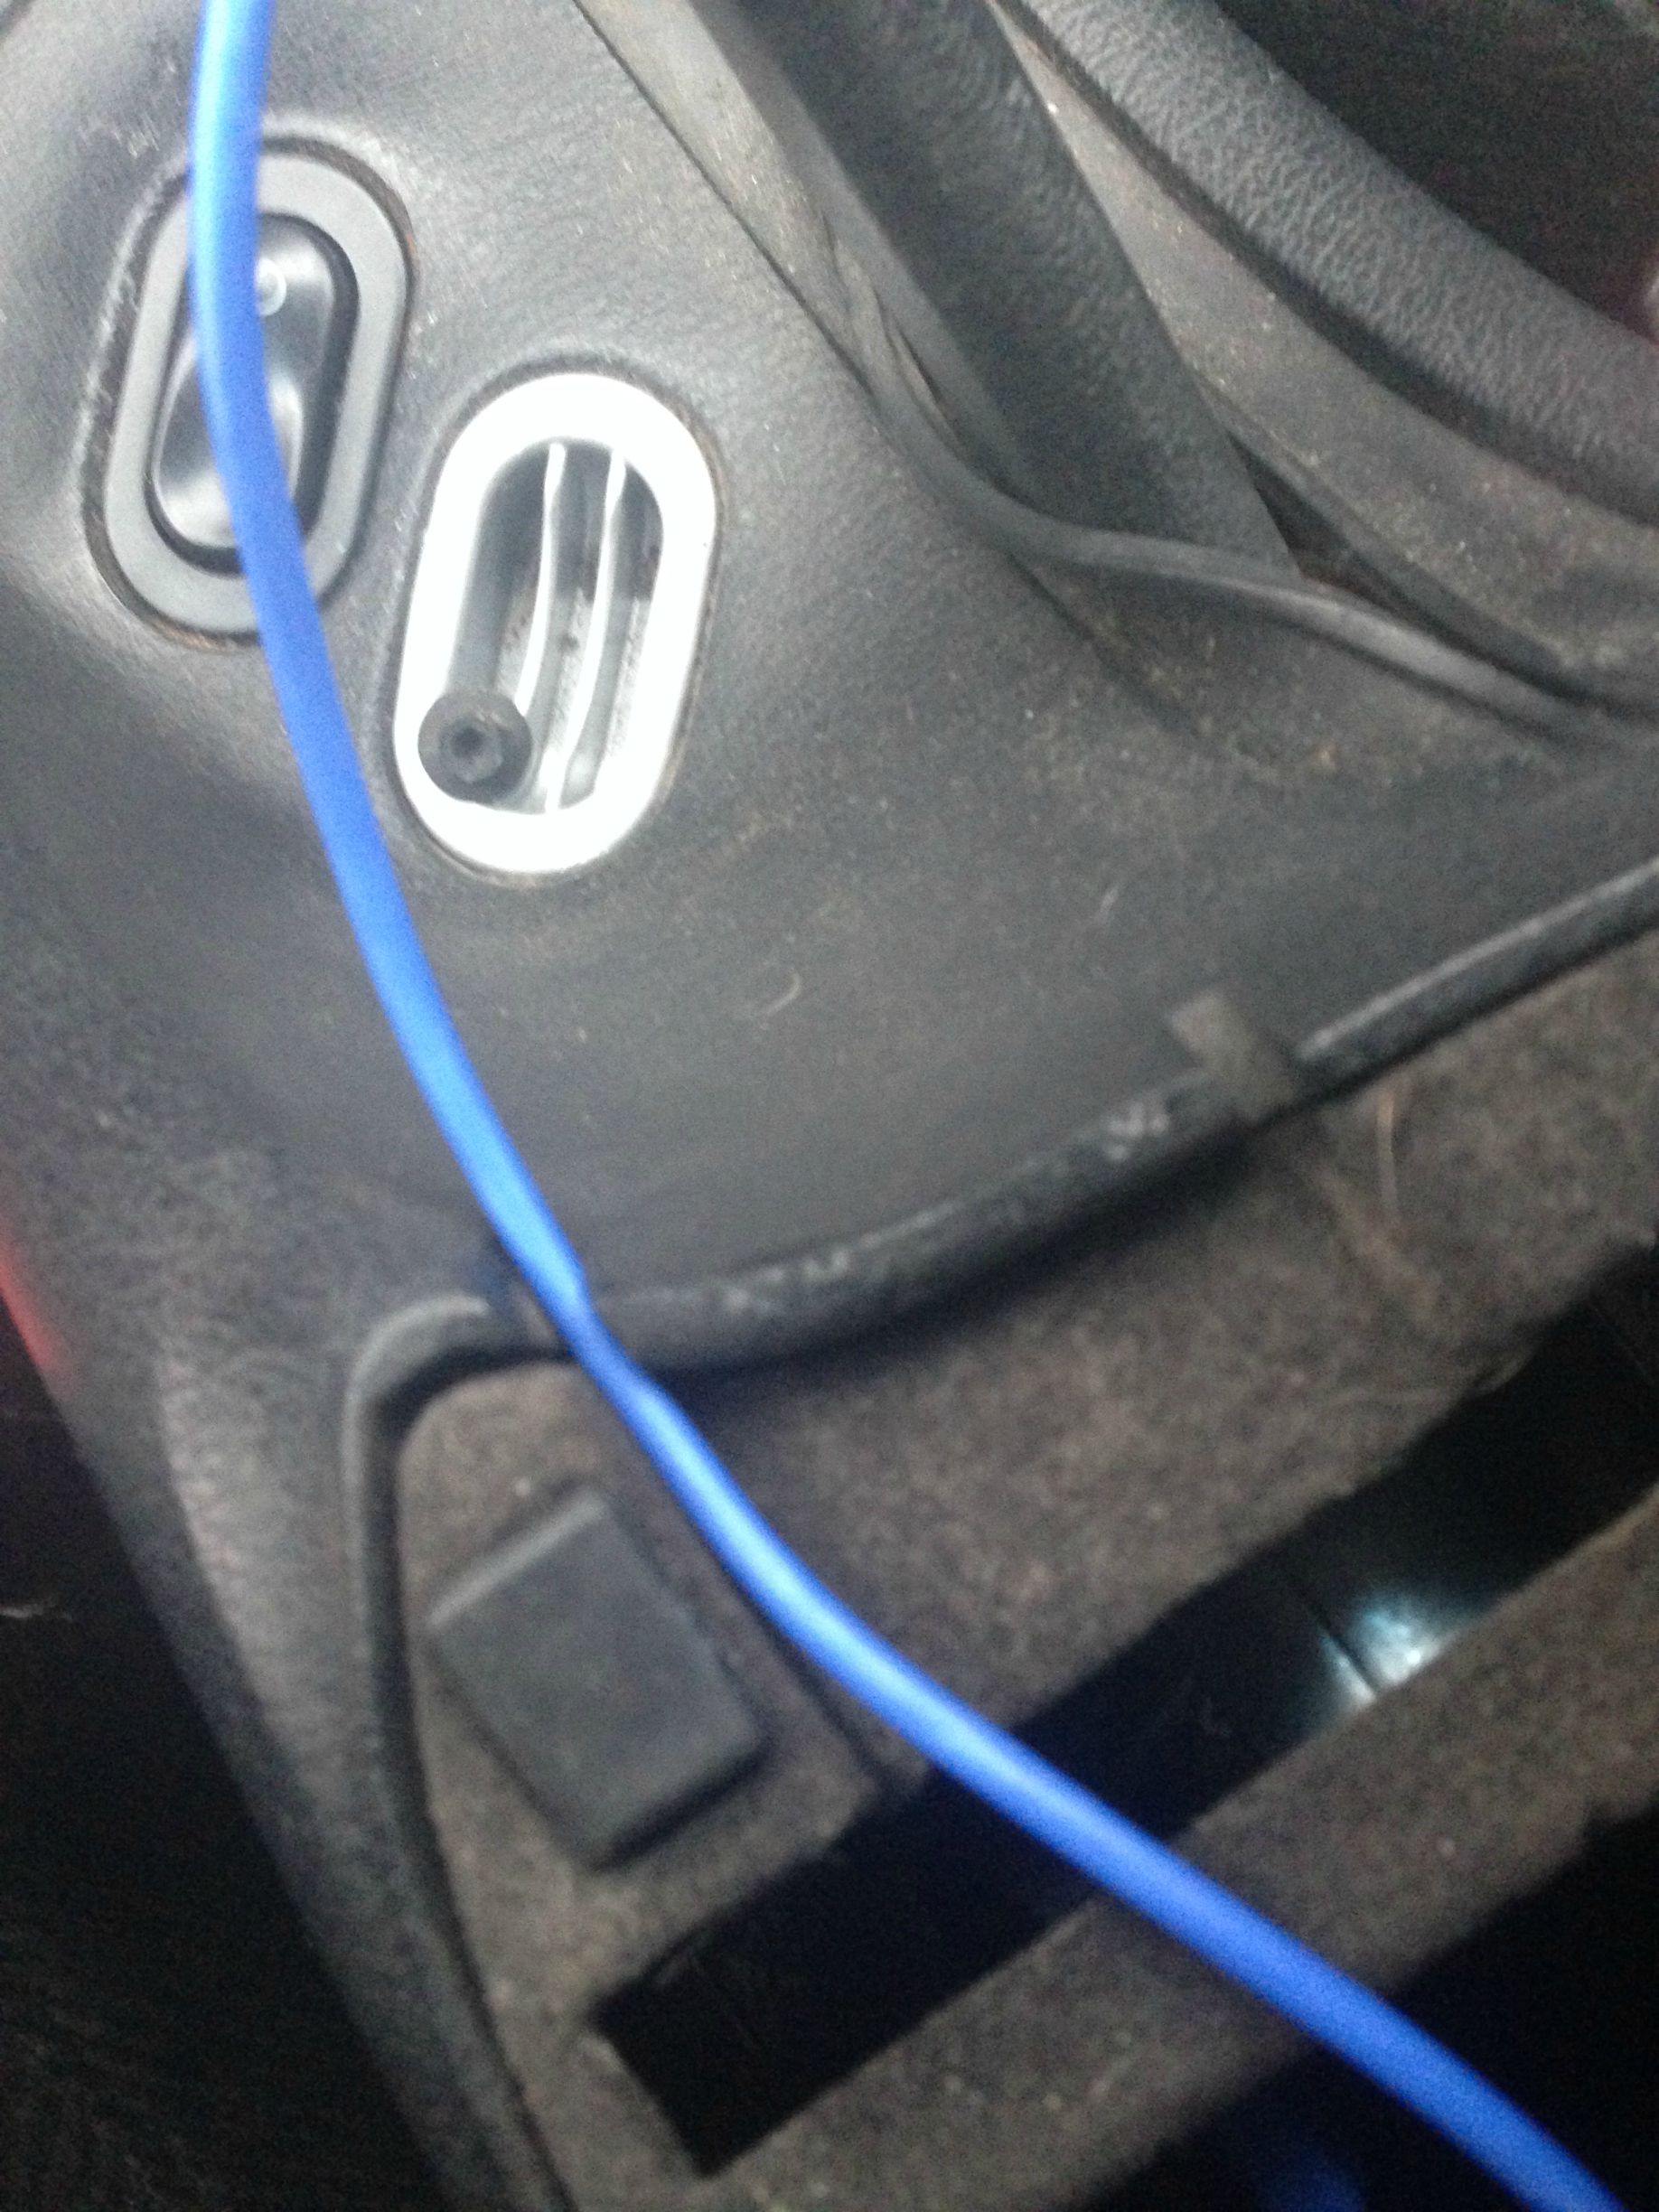
5. Remove the clip and pushpins holding the wires down. The lighter wire runs from the older lighter position back towards the bin, which is convenient as we won't need to extend the wires, just simple move it back. There is 1 clip holding the wires at the front, pull the wire down and it will slide off. Now trace the wire back and cut the top of the little plastic push pins holding the wires in place. Lift the center console up slightly and pull down on the wire.
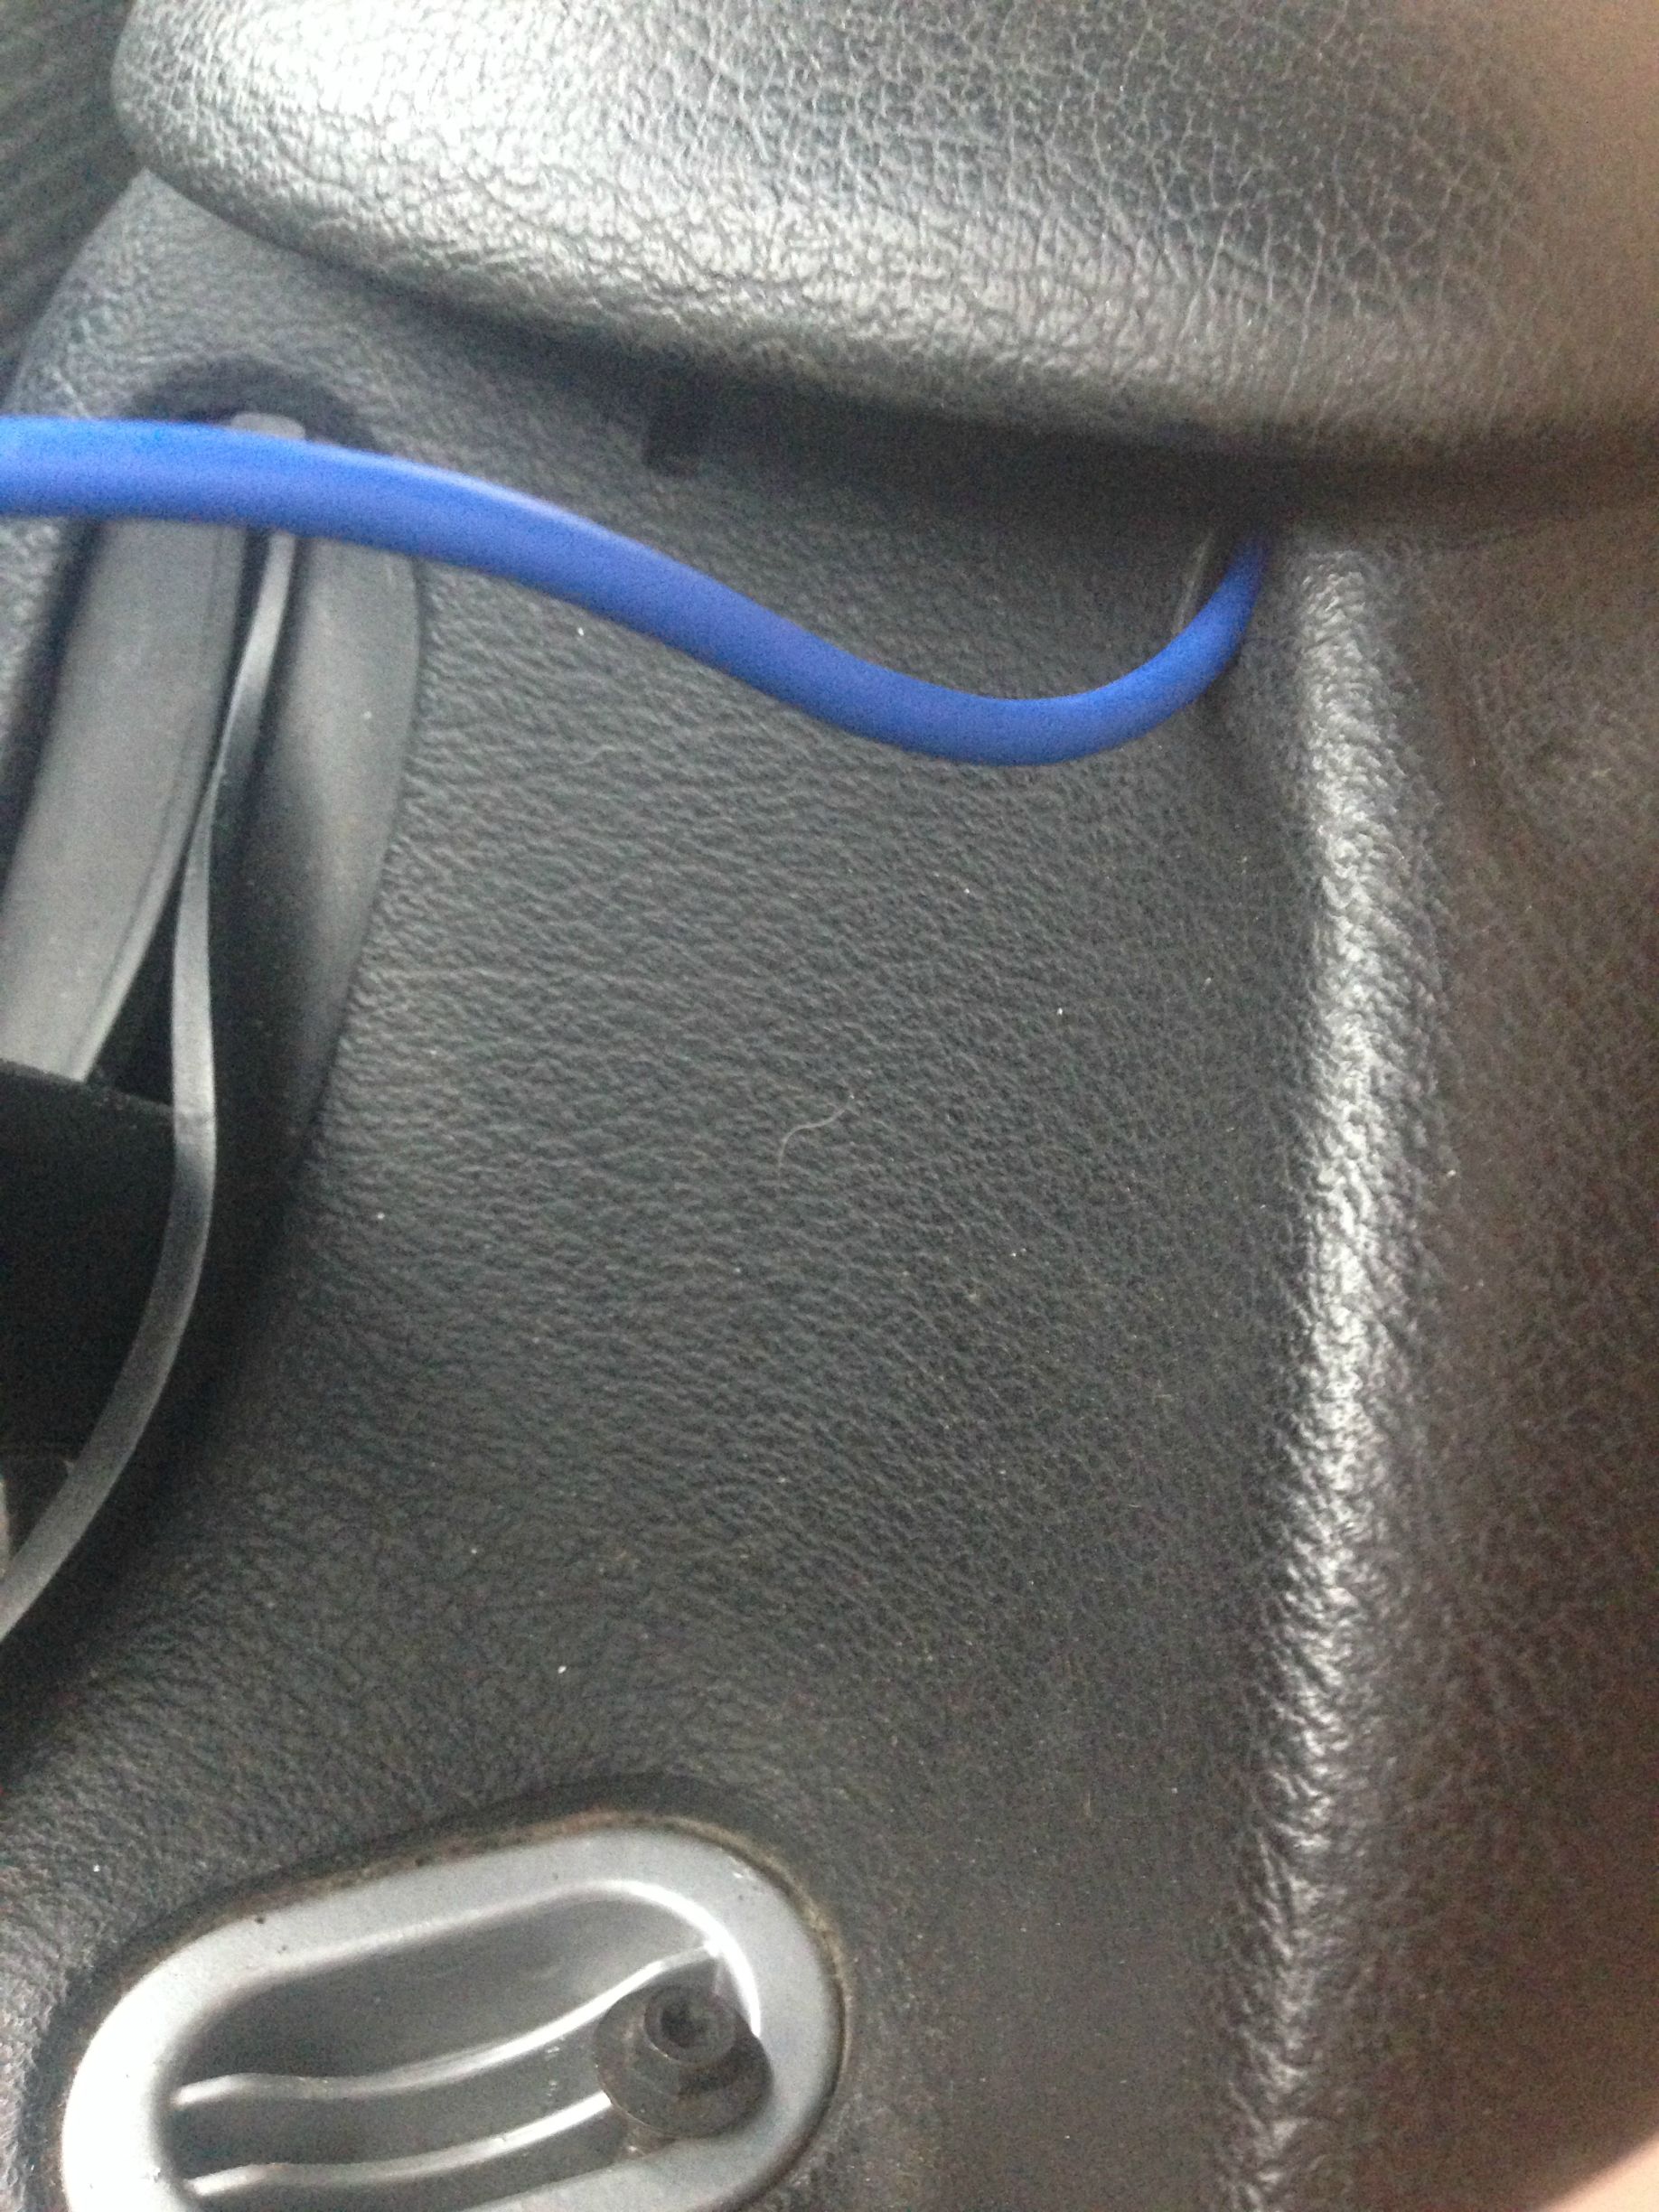
6. Feed the wire back to the bin area. I have large hands and was able to squeeze one hand from the bin forward and one hand from the shifter back and grabbed the wires and pulled them back.
7. Find some coinage. Now with the wire sorted out, before reinstalling the screws for the center console it's a good opportunity to make some money. I found a good amount in mine")
8. Slide the console back into position, and secure it with the 4 screws you removed earlier. Tighten down the two front screws first, followed by the rear.
9. Now you need to remove the lighter from the shifter bezel. Place your thumb in the lighter and grab the back of it, twist it as if you're loosening a screw and continue turning it until the back separates from the front.
10. Reinstall the shifter bezel.
11. Remove the cup holder assembly from the bin. This is held in by 3 screws.
12. Mark where you'd like the lighter to be, trace the lighters outside ring to guide you, but DO NOT make the hole this big. You need some material to secure the lighter.
13. Take a drill and punch a hole in the middle. The bit will need to be big enough to get a Dremmel bit in there to begin enlarging the hole.
14. Keep removing a little bit of material at a time until the lighter will slide into the hole. I used a grinding bit and switched to a large sanding barrel to keep the hole as round as possible.

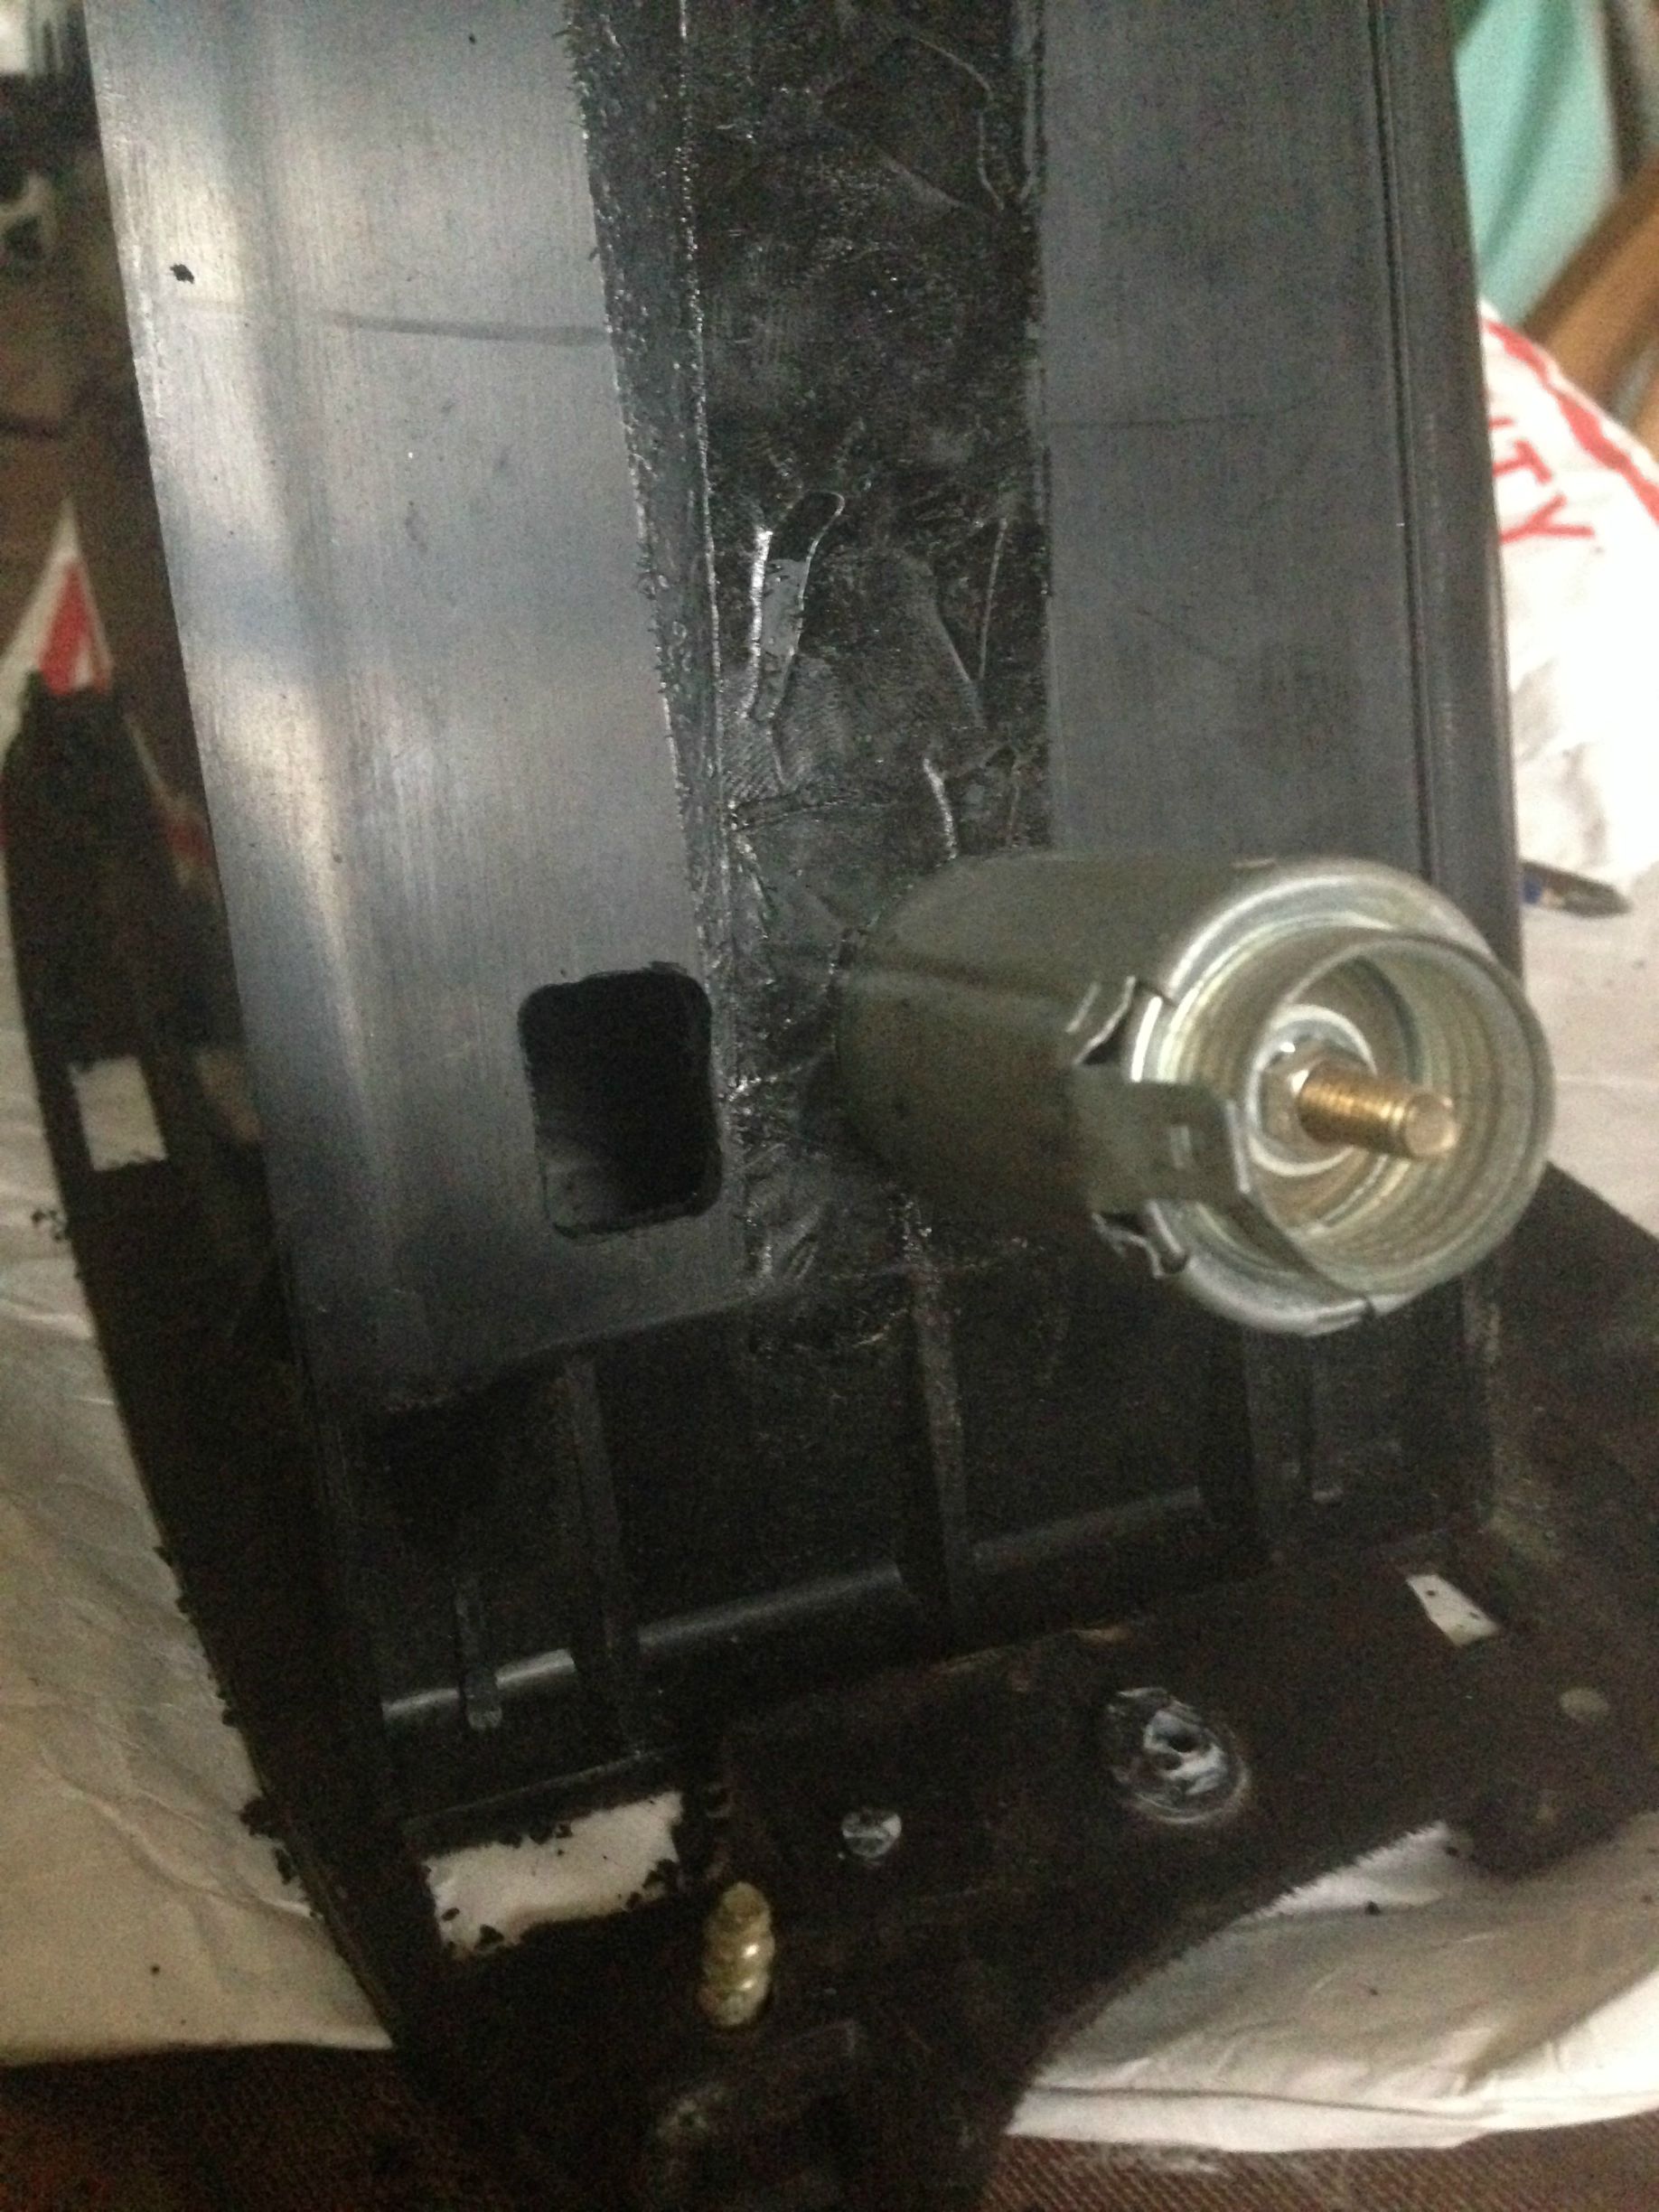
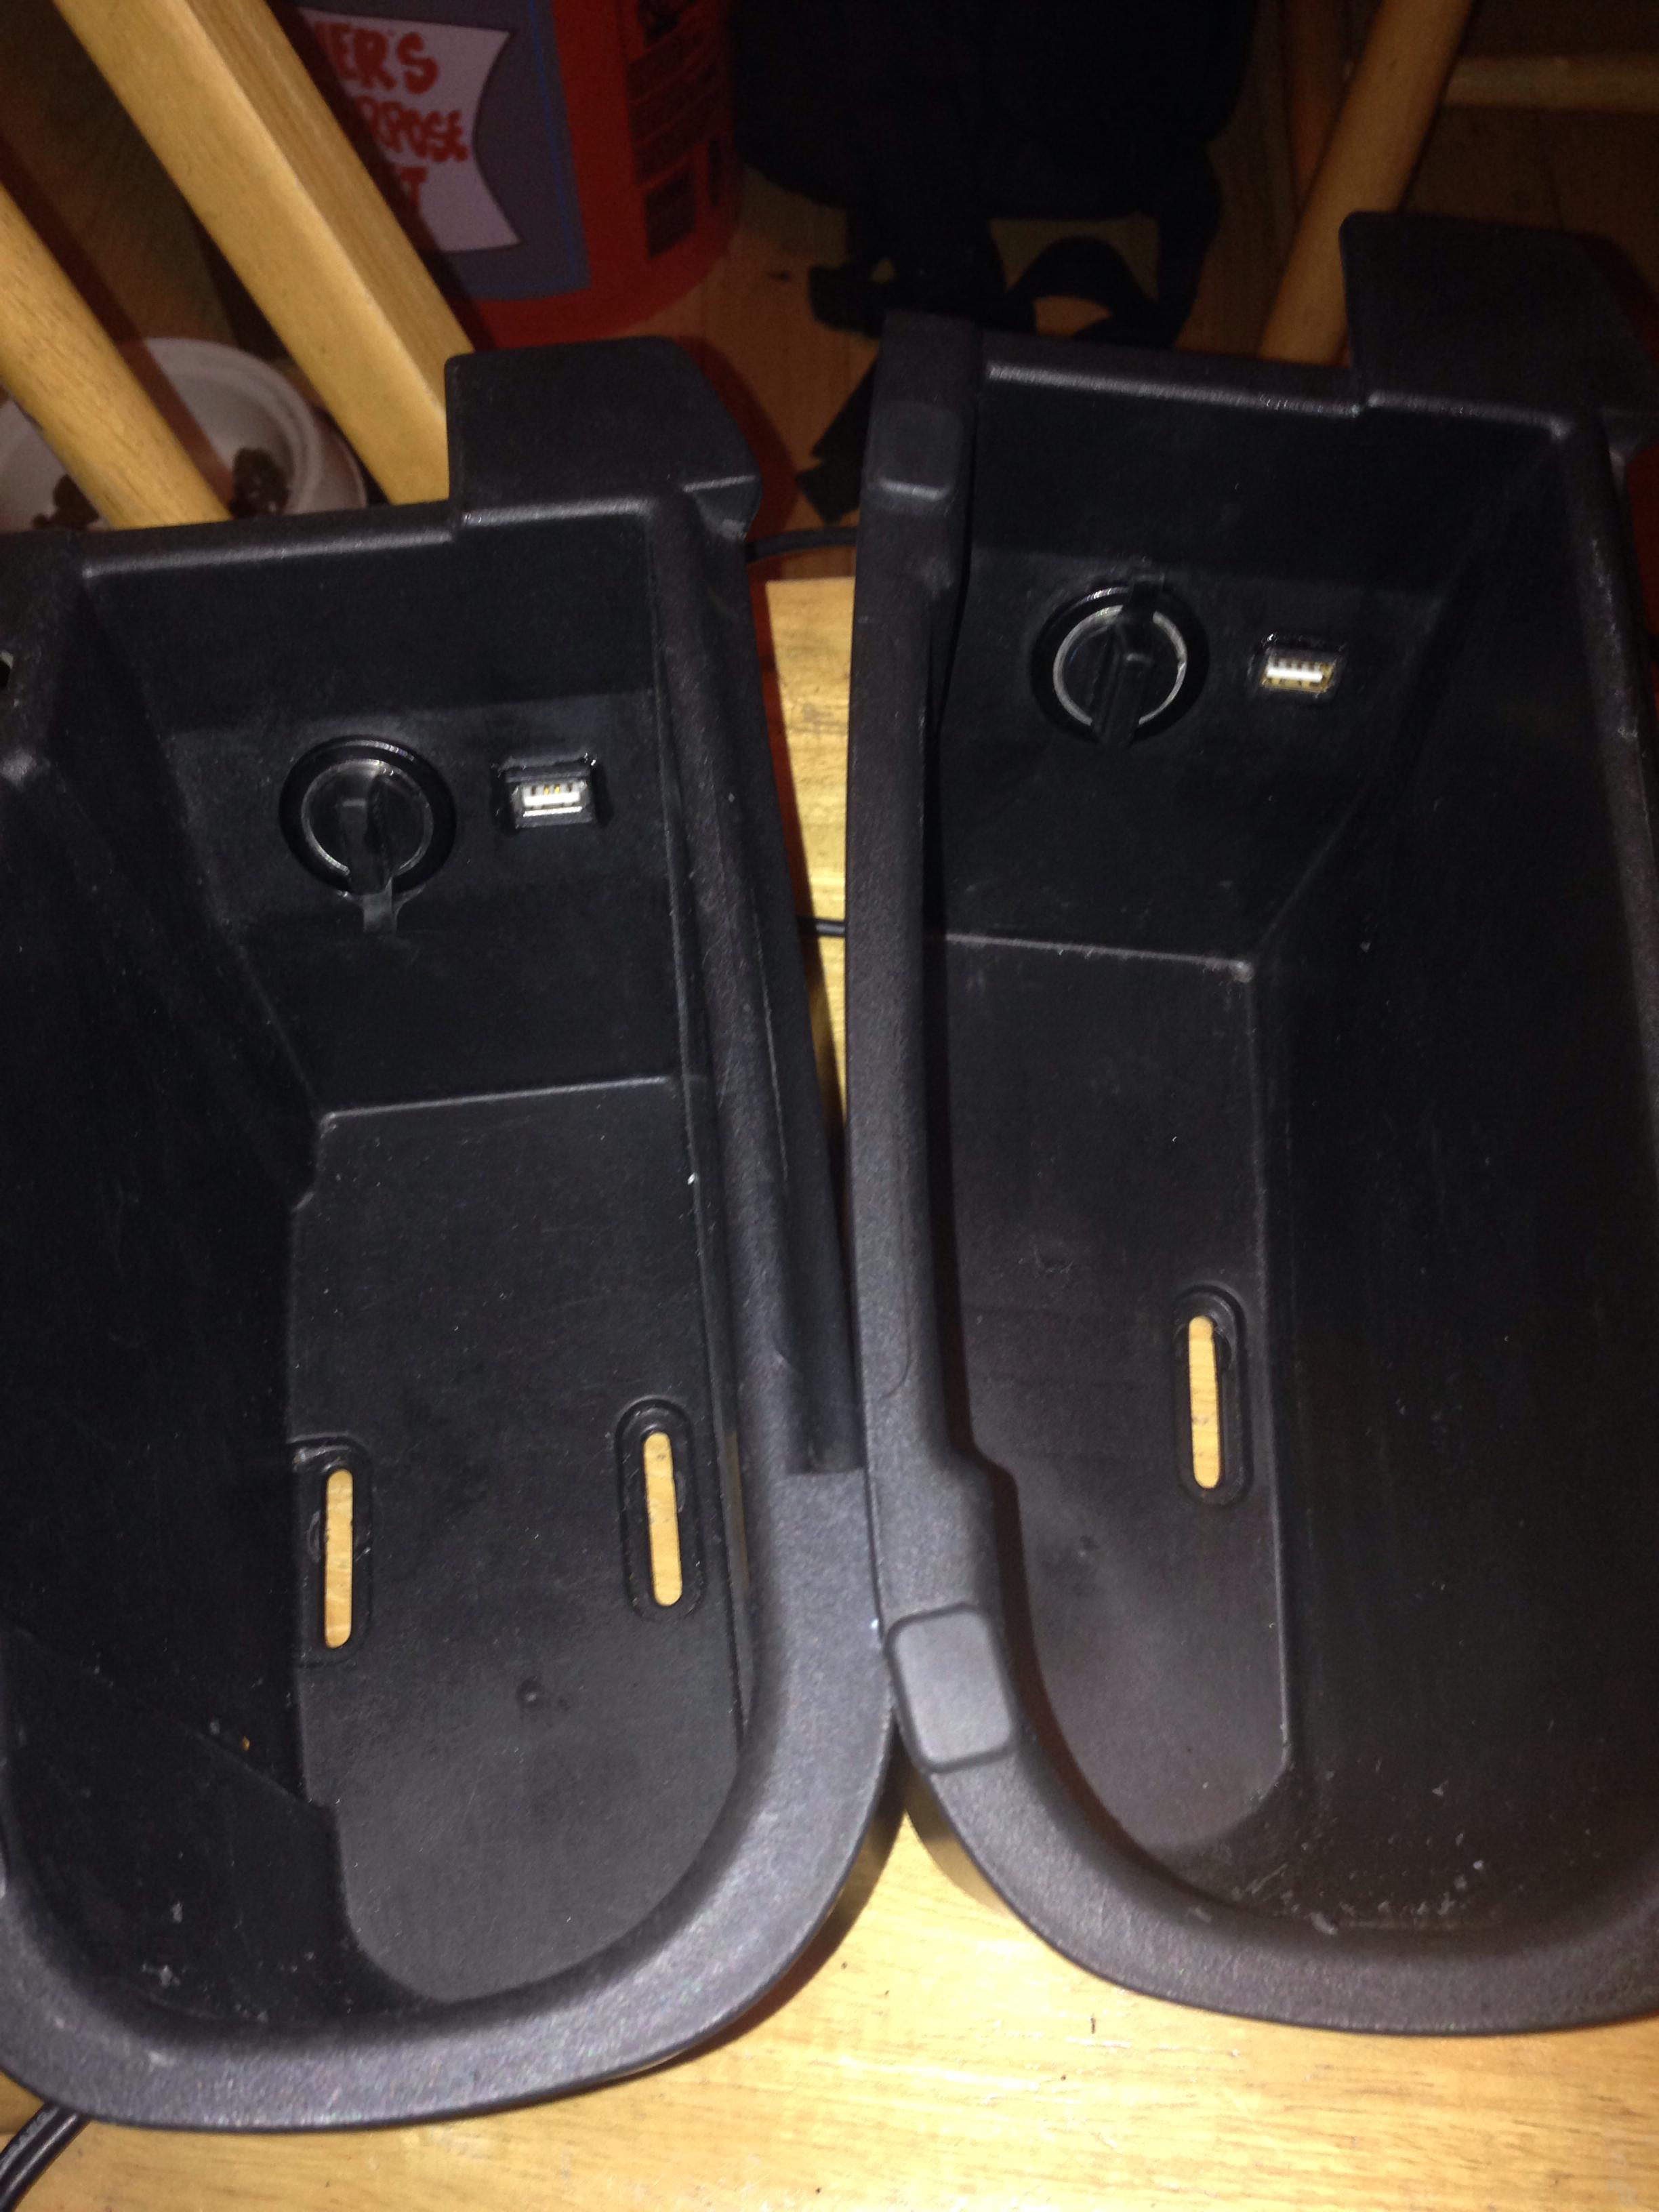
15. Insert the lighter and secure the back by screwing it on.
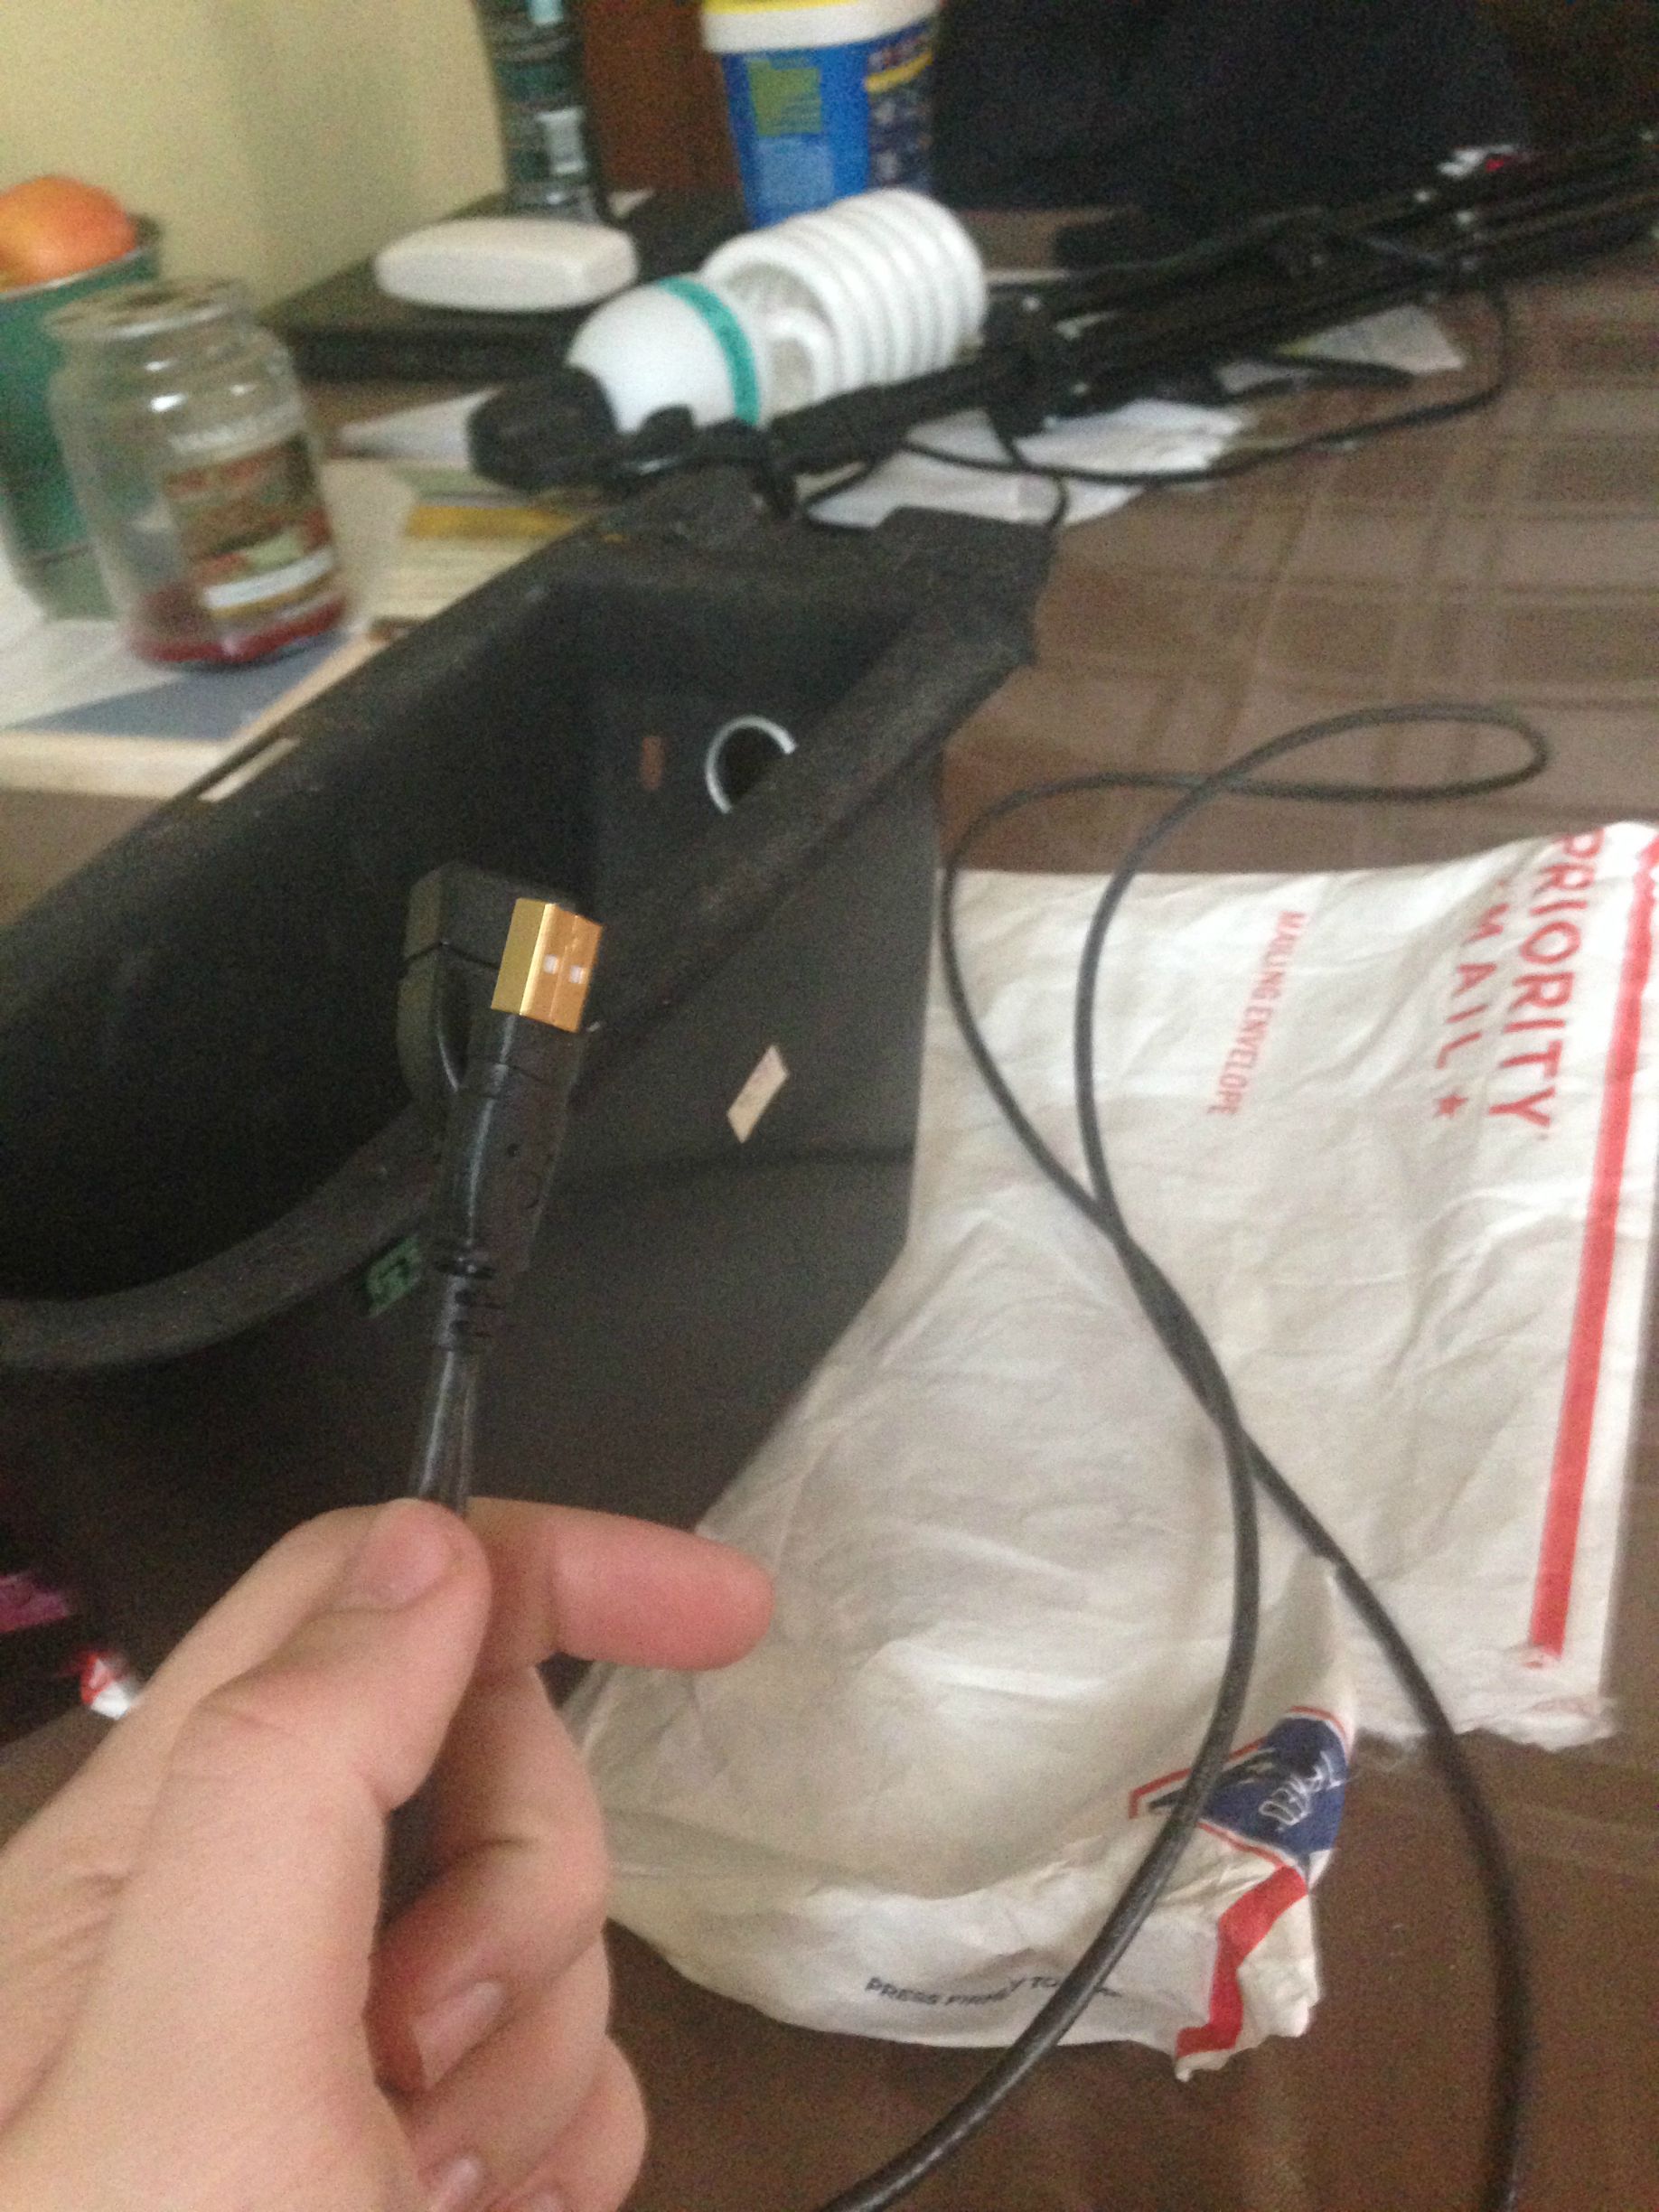
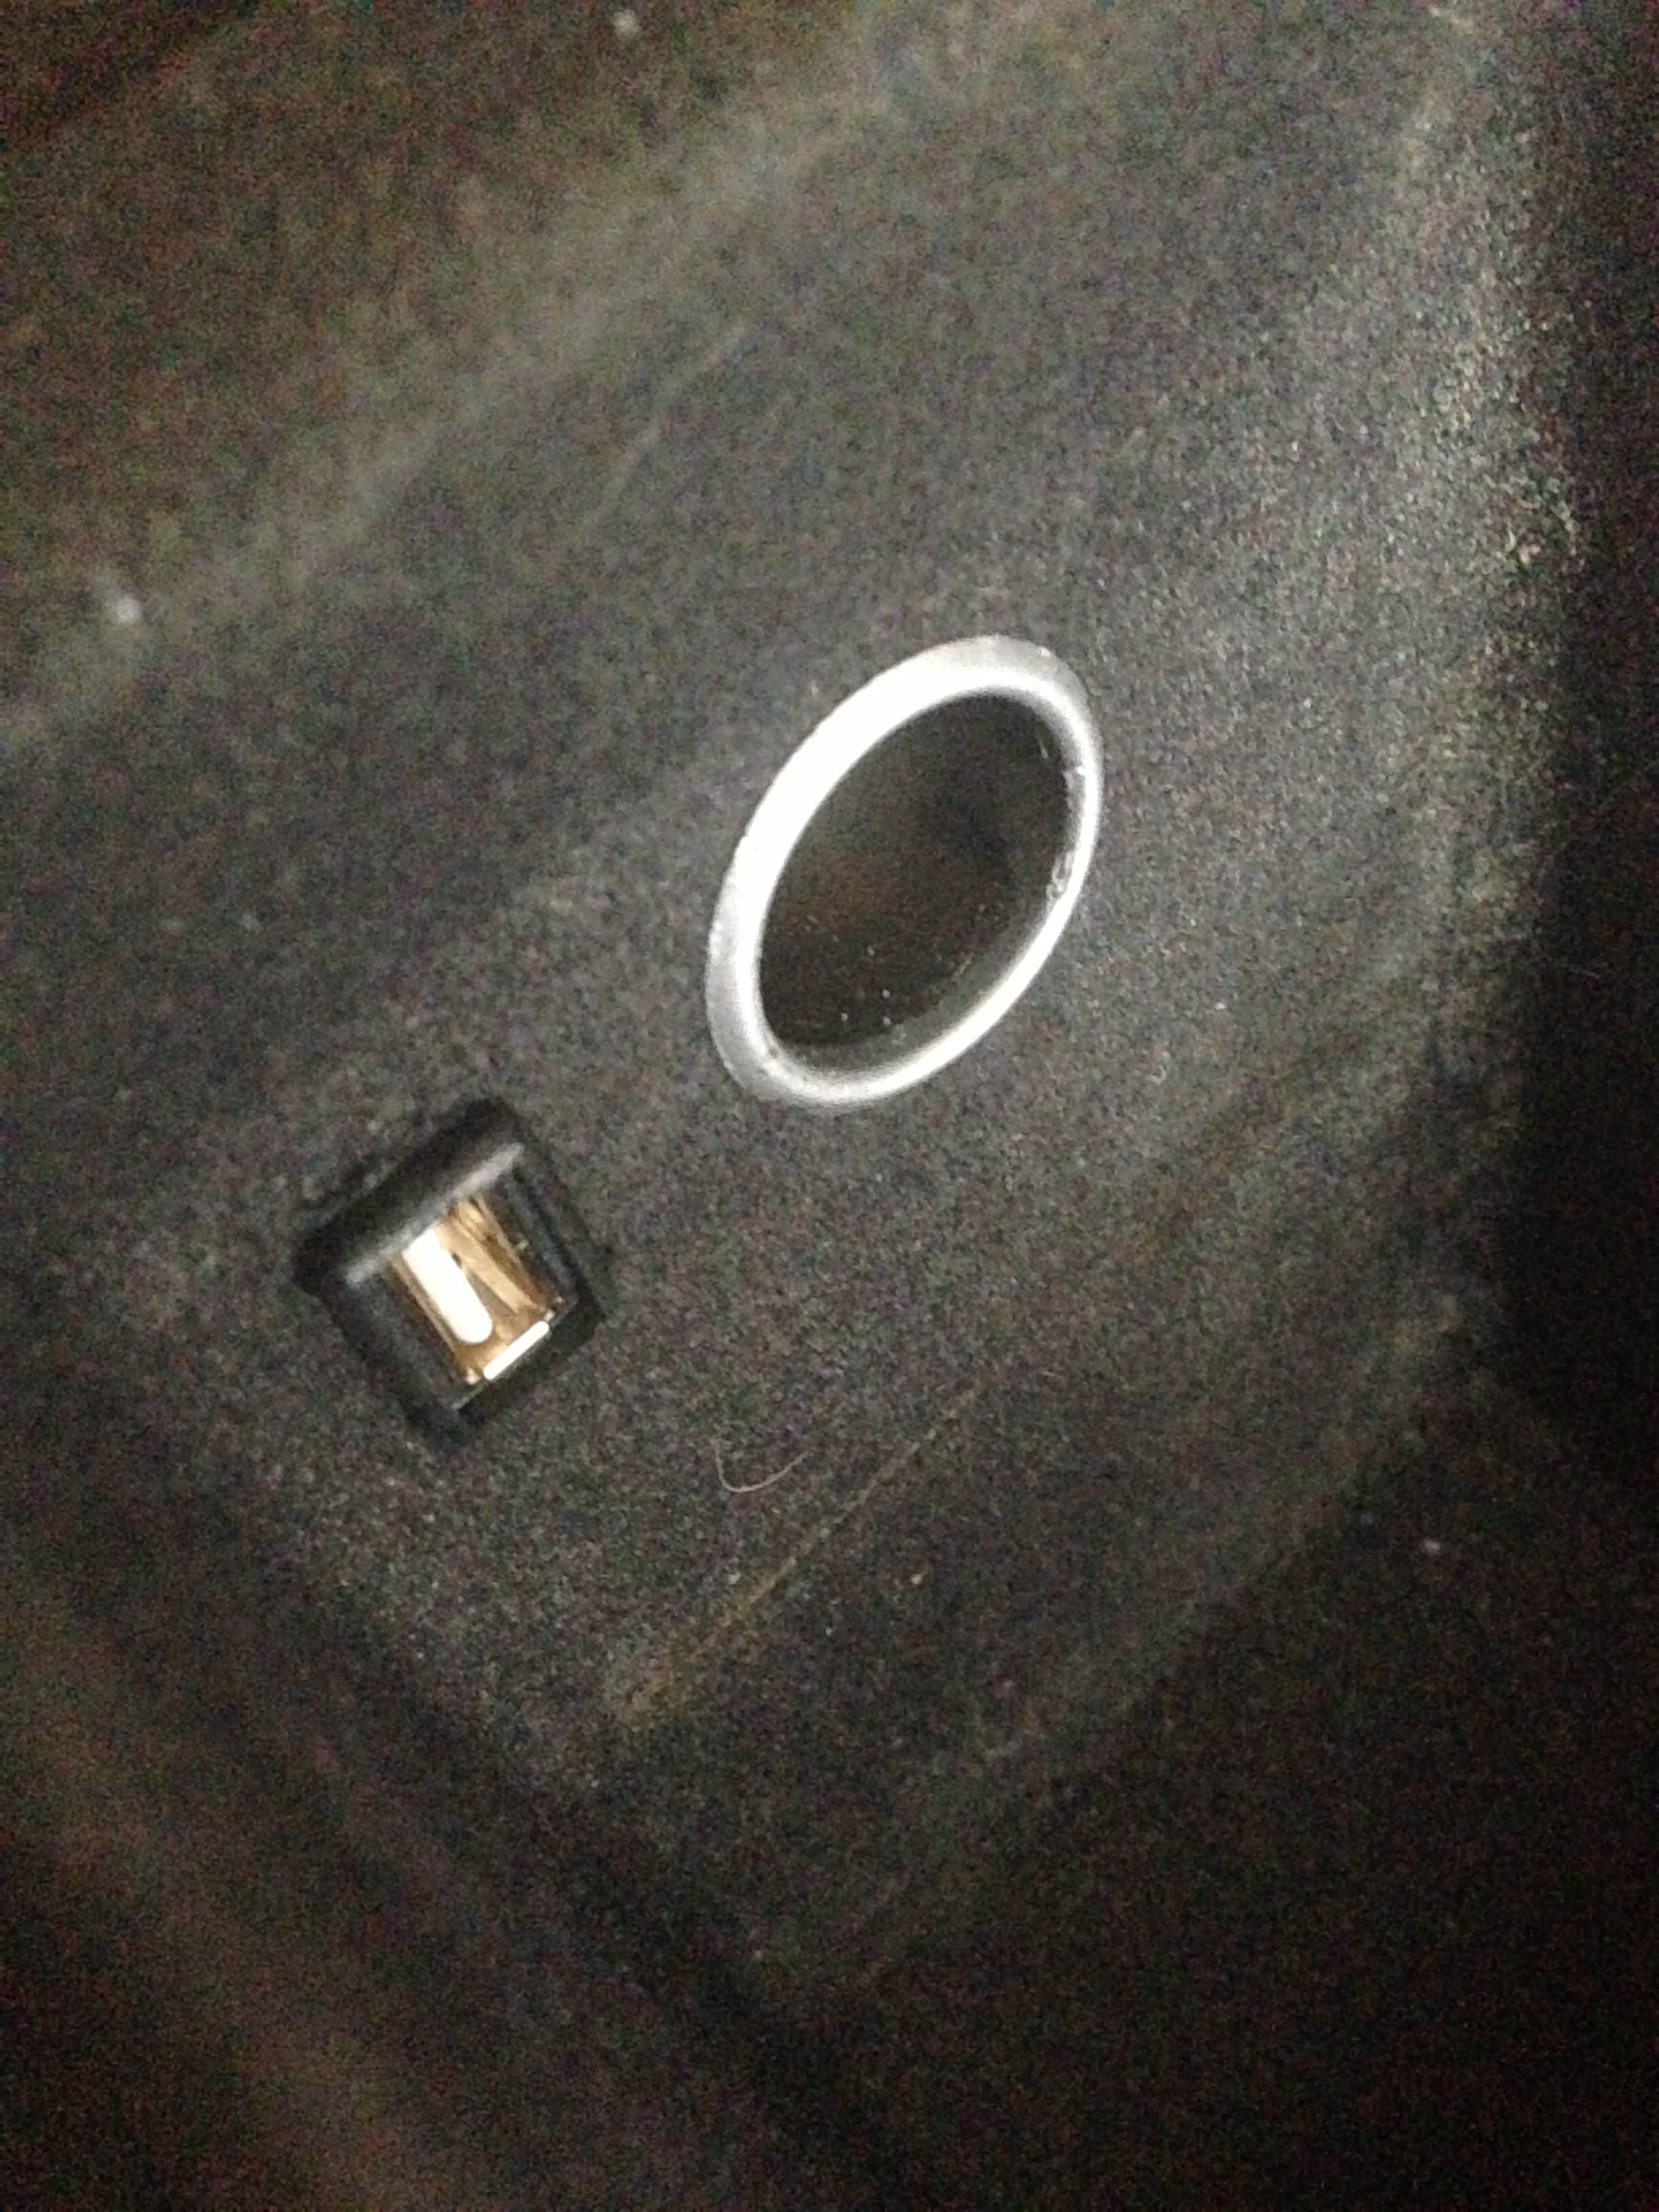
16. If you'd like to make a hole for a USB or AUX cord then repeat 11-14. Just use whatever you are putting in there to mark the cuts and test the holes.
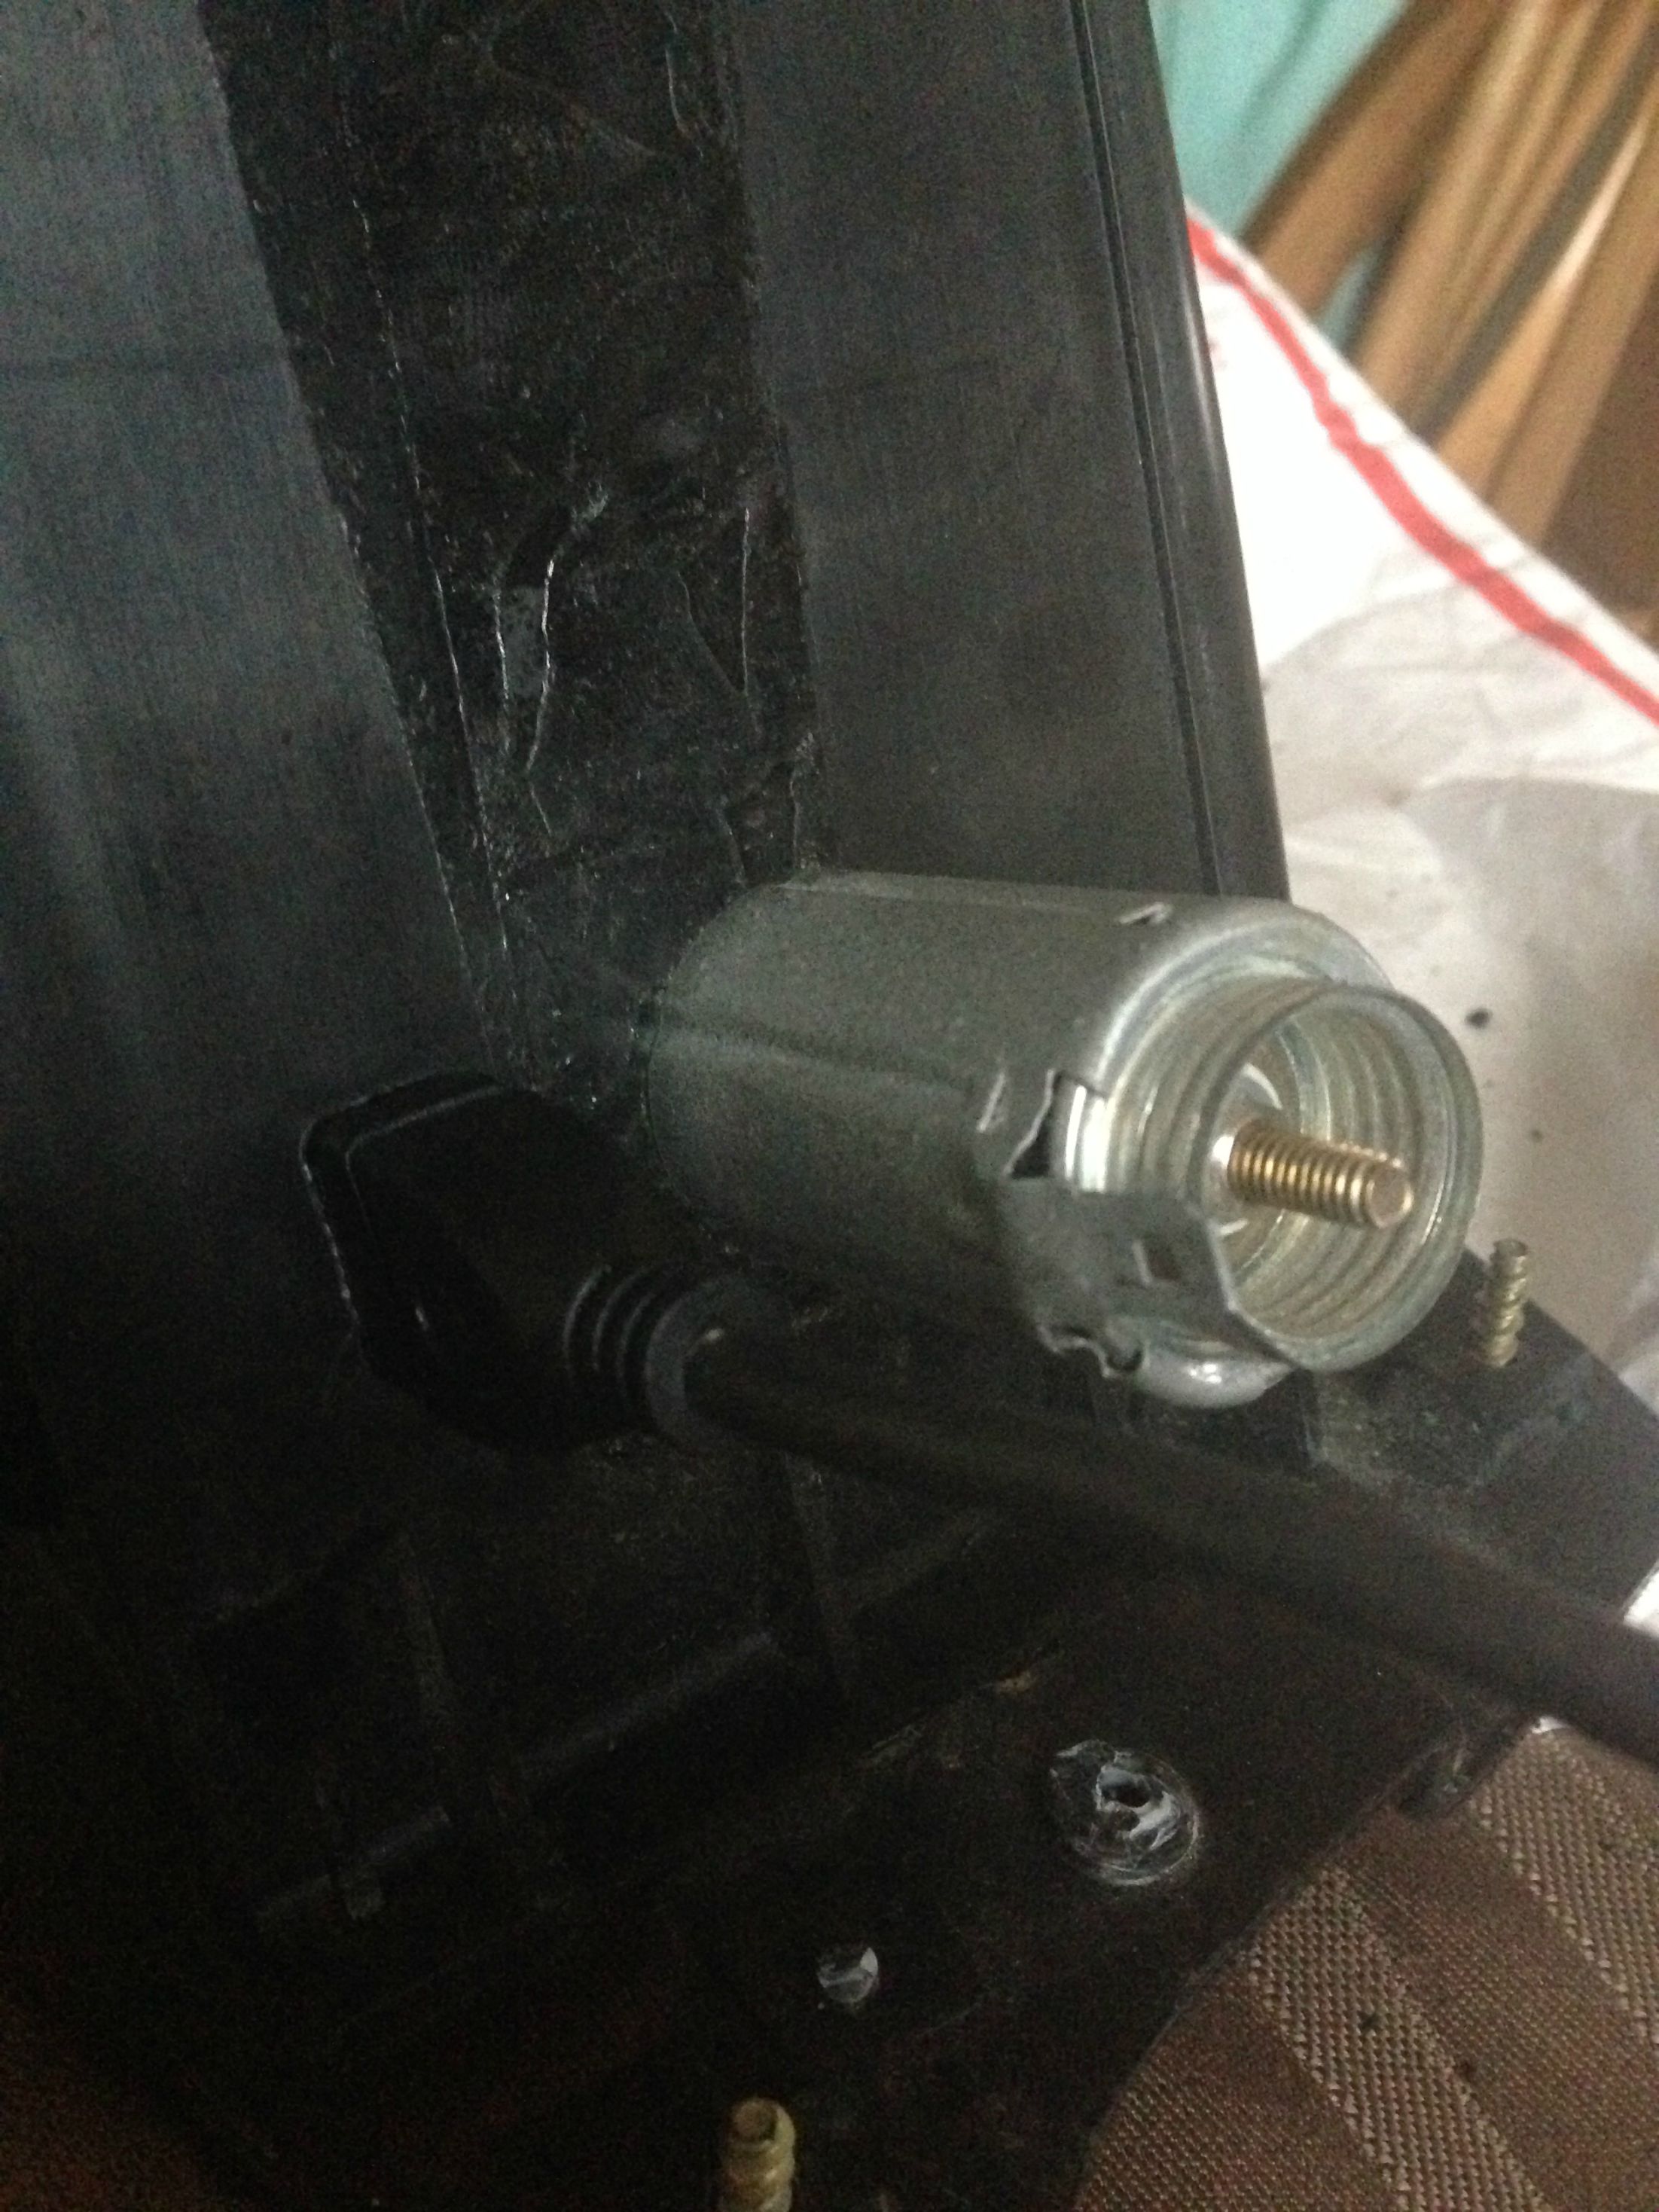
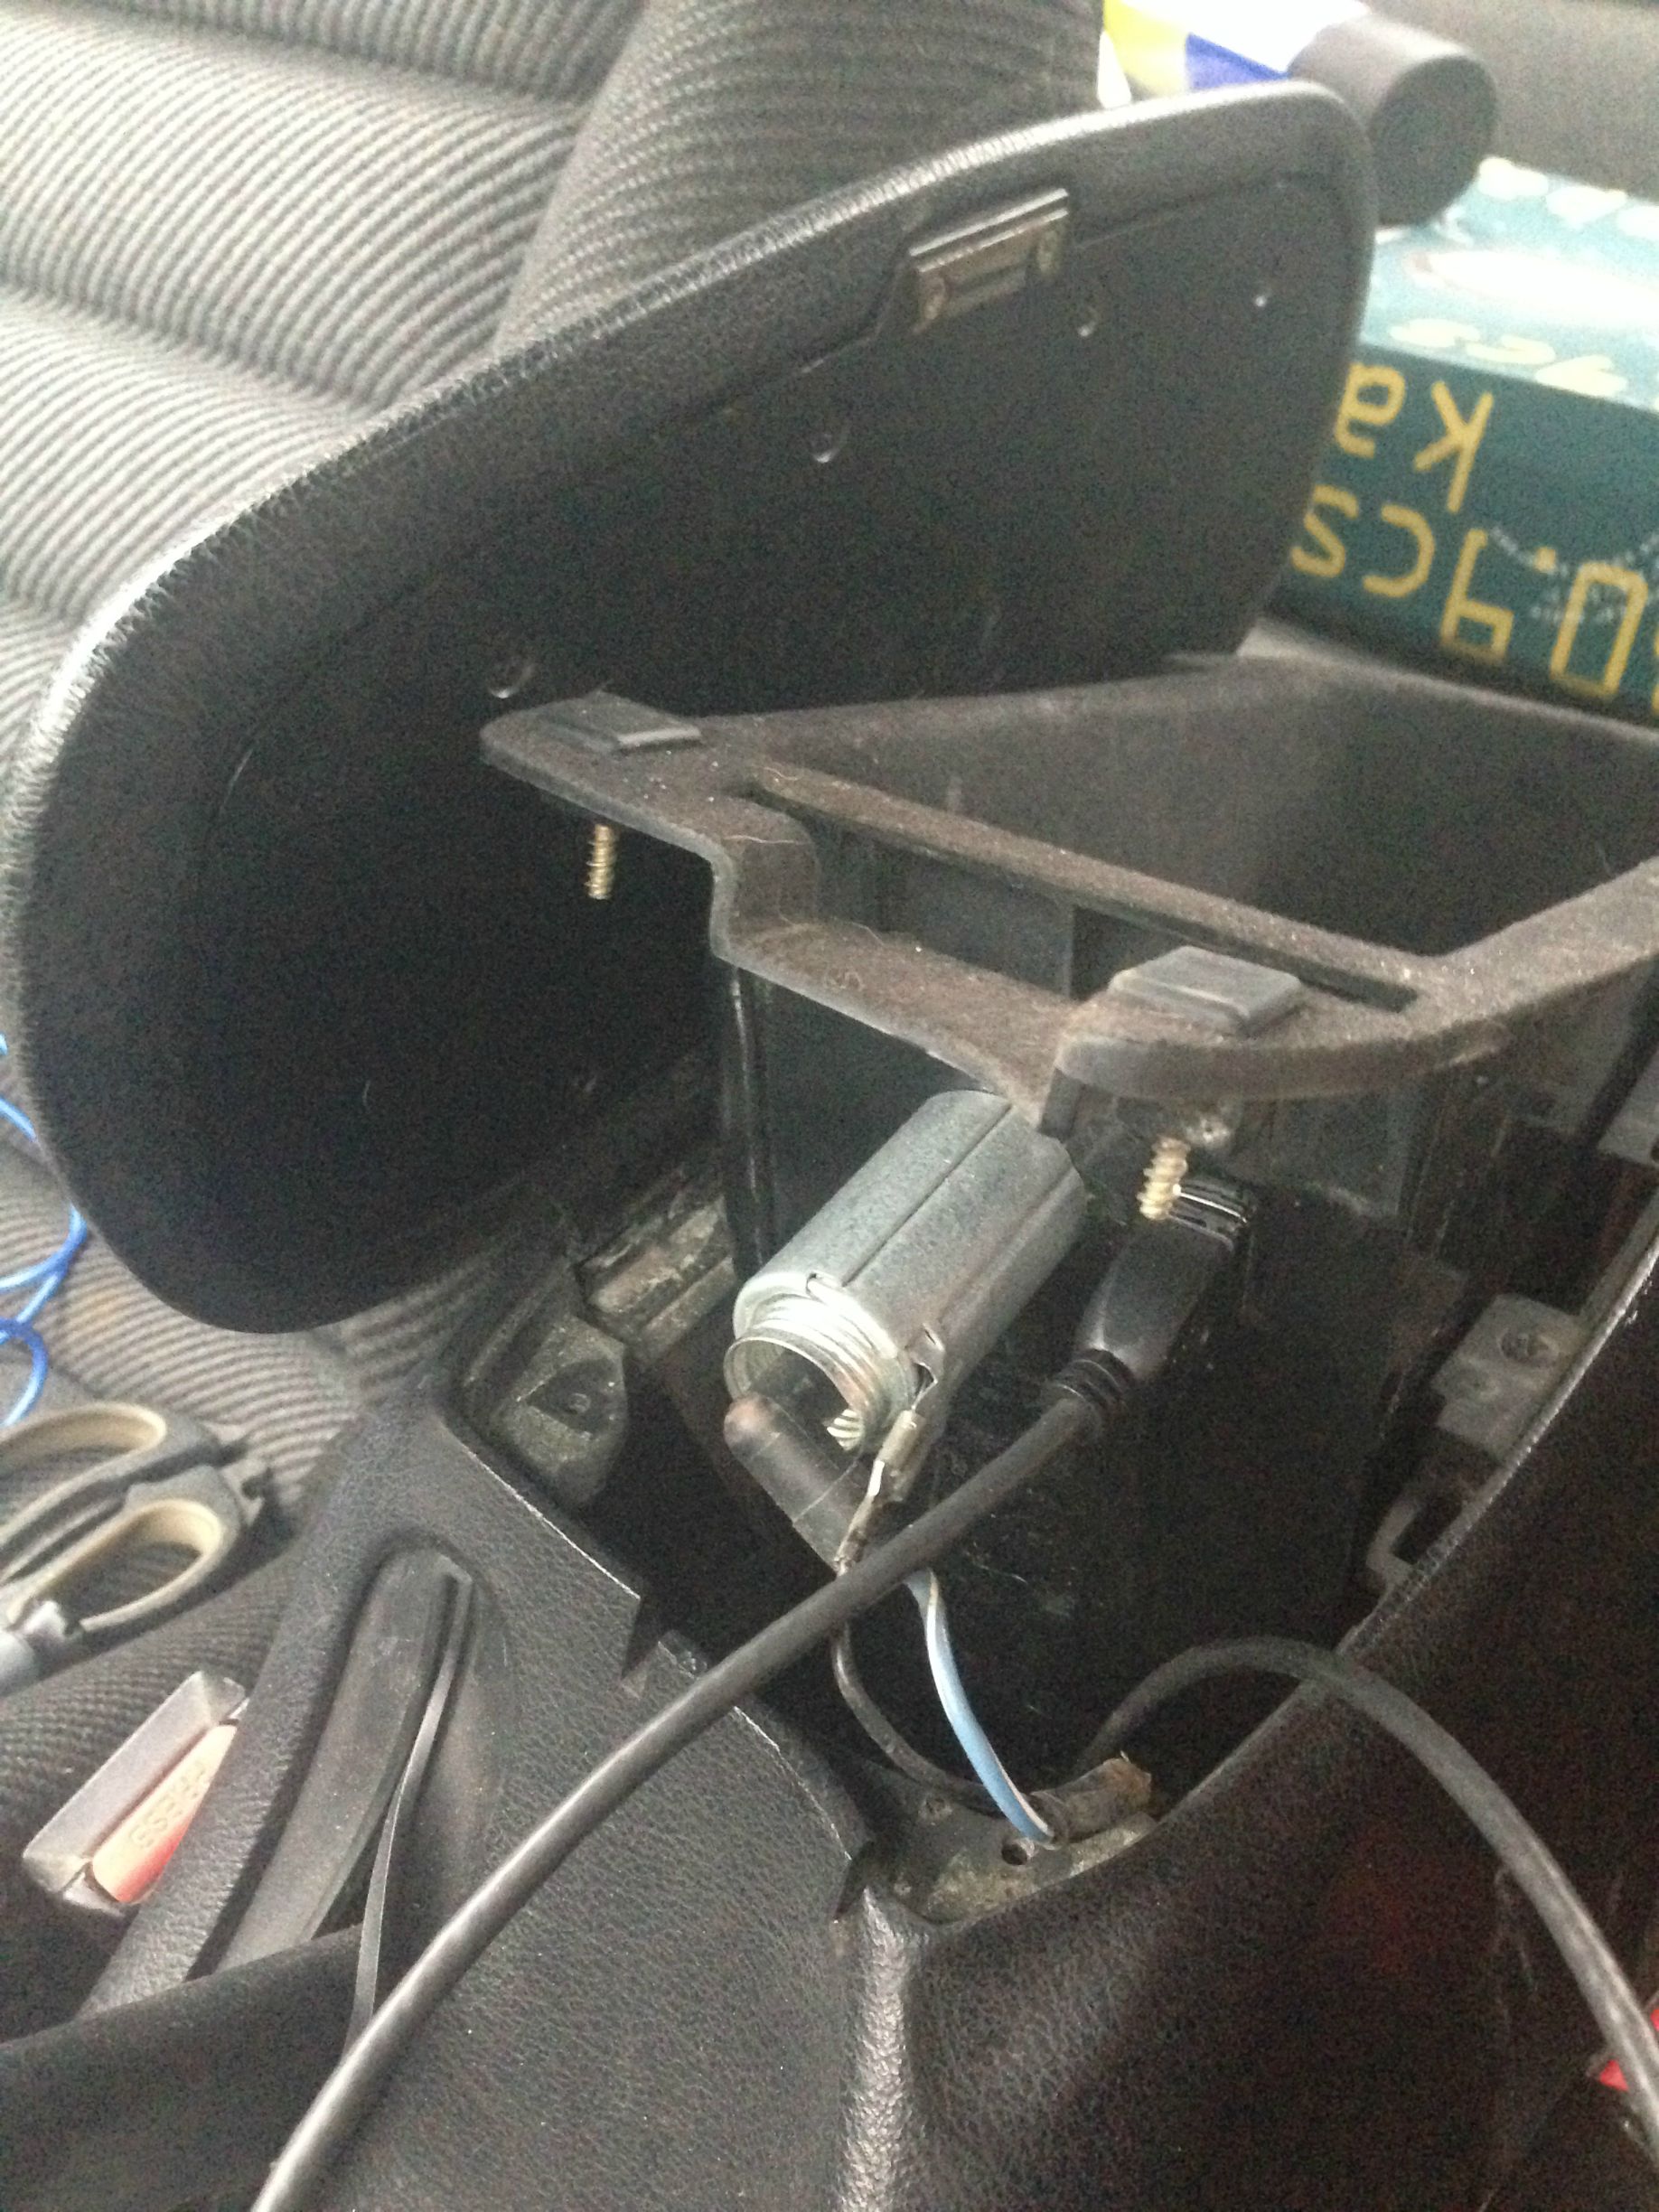
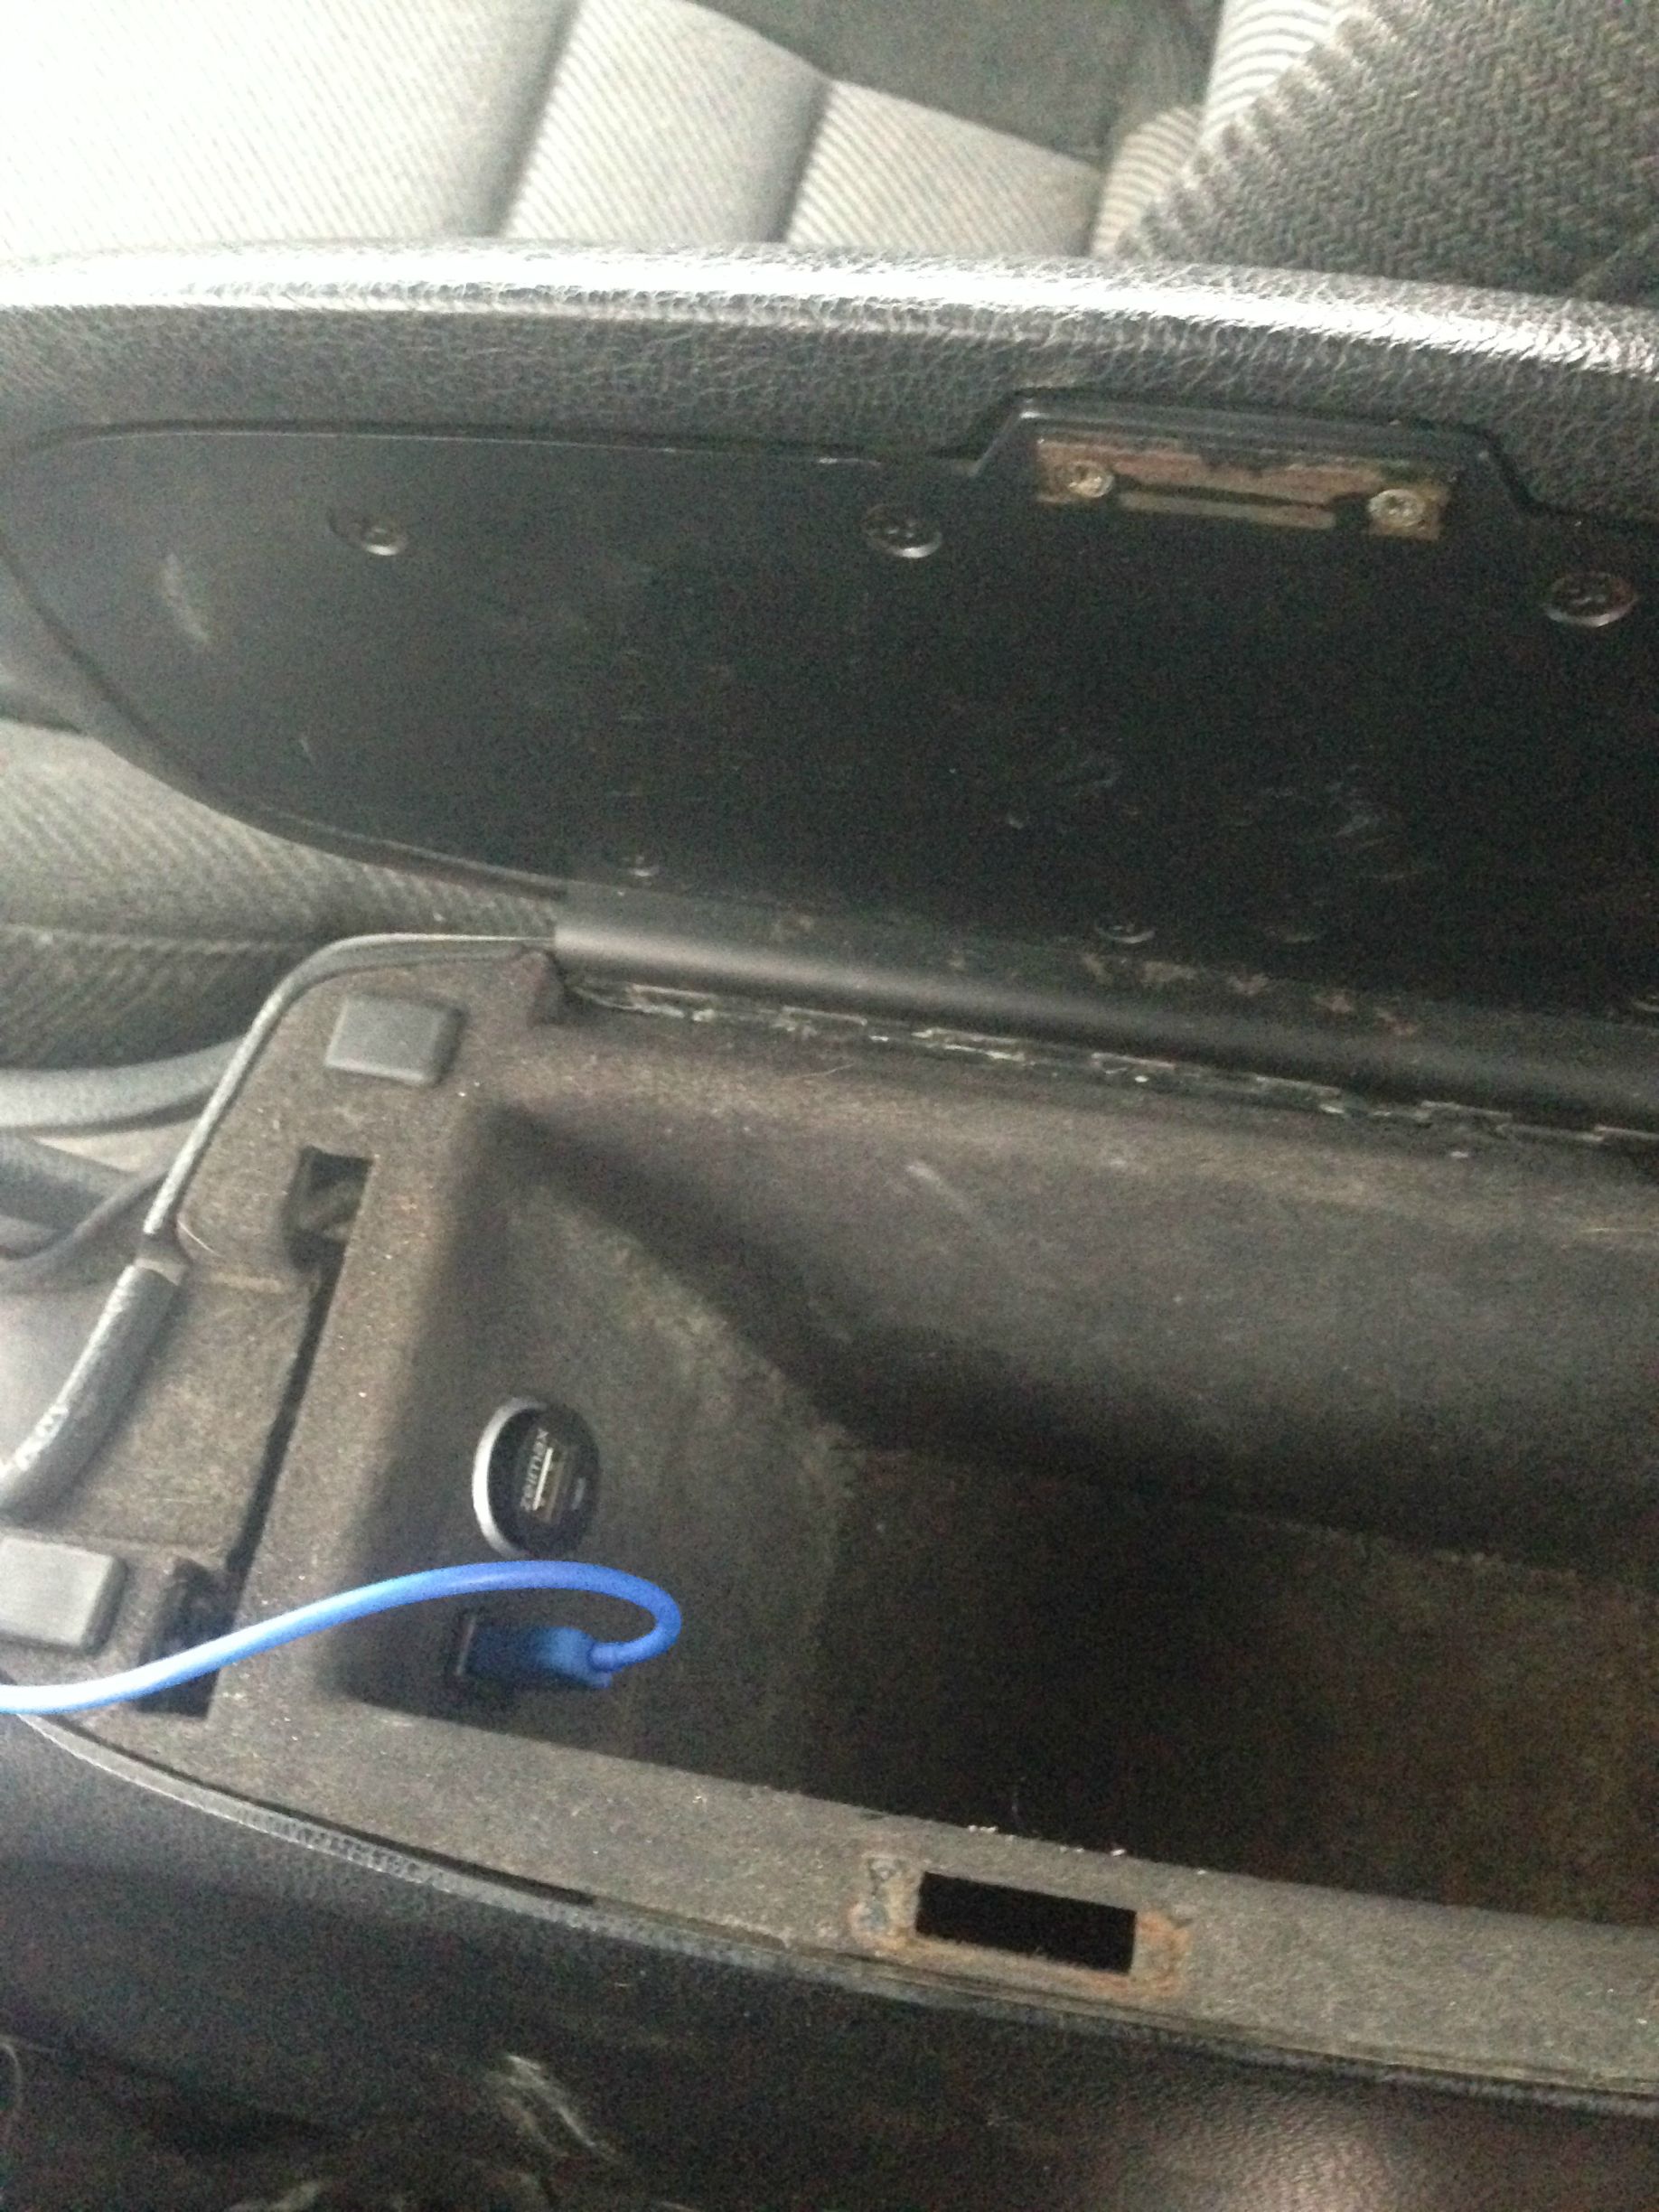
17. Now reinstall the bin. Connect the 2 wires to the lighter and connect any other wires (USB, AUX, etc). Snap the bin into place and secure the screws. Reinstall the little bumpers and you are done.
18. Test the new outlets to make sure they work and have fun with your newly relocated lighter and other cords!
I will be purchasing a proper USB extension cable from eBay or something but for now I have my ghetto home made one and it works fine.
This placement is much more convenient and it allows me to not have wires everywhere all the time now.
Well I got the idea when I wanted to use a USB extension cord for my head unit and run it to my center console bin. Both my parents cars have a cigarette lighter located in their console bin, and my dad also has an AUX cord. It is a very convenient spot for it. I figured I could move the cigarette lighter there too seeing in how I will never use the one that is in front of the shifter and it is a super stupid idea to have it there if you ask me.
[MENTION=17616]the5.ohh[/MENTION] suggested I do a write up on it. So here goes.
NOTE
You will have to delete the cup holder if your car has a cup holder that slide up from the bin. It was useless anyways. No lose.
Total time was about an hour. This includes walking back and forth from my car to in my house, finding a 3 prong wall adapter for my dremel, and waiting 10 minutes for my dad to get off the phone before I started making some noise.
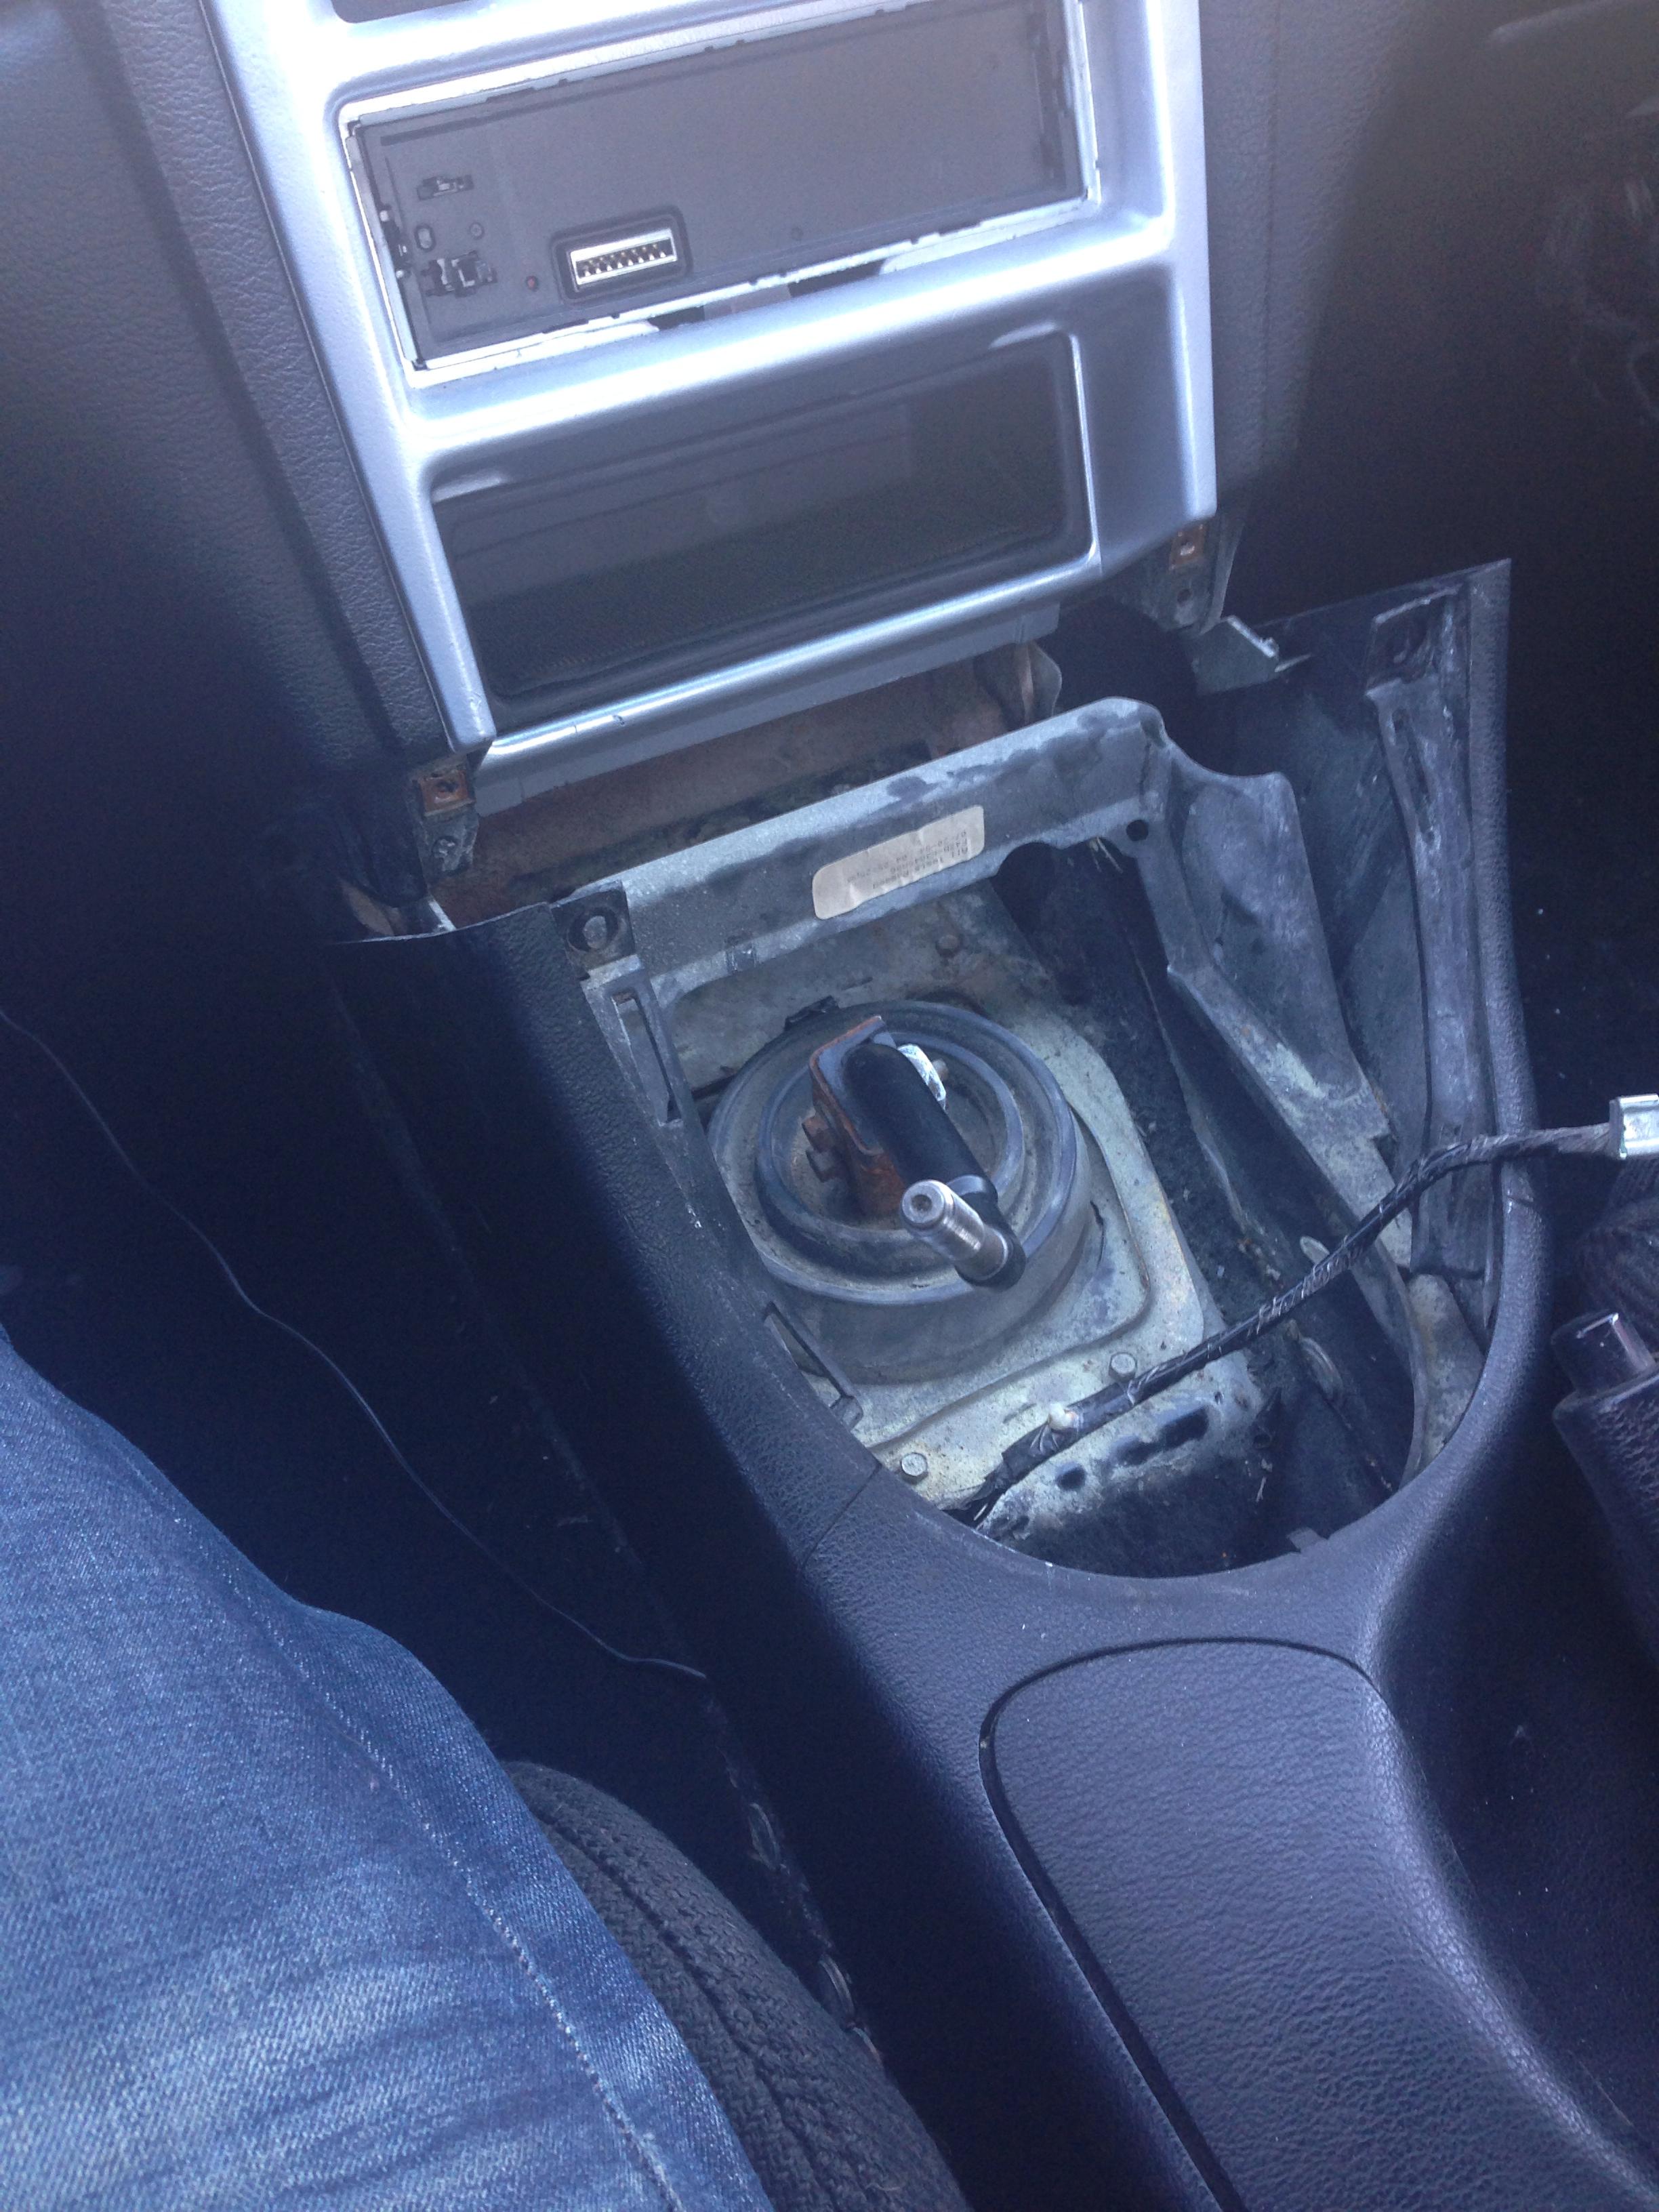
1. Remove the shifter bezel. For automatics, pry the bezel up with some generous force, there are 4 clips holding it down. For manuals, you will need to remove the shifter knob before doing this. There are wires connected to the lighter, these can both be pulled straight off.
2. Remove the center console bin. This is held in by 2 Phillips head screws and 2 clips. The 2 screws are located underneath the 2 front rubber stoppers. Pop those off and remove the screws. The bin should pop out of place easily once those are removed. Under the bin there are 2 screws. Remove those.
3. Now you will need to remove the 2 screws in the front of the console under the radio bezel. Mine was weird, I had a torx bit screw and a bolt/torx head screw. But either way remove those.
4. Now the console is ready to be slid back. You will not have to fully remove it but if you feel like making more work for yourself by all means pop that sucker out. You will need to pull the ebrake up fully to allow the console to slide back 3-4 inches. This will give you enough room to work with the lighter wire.
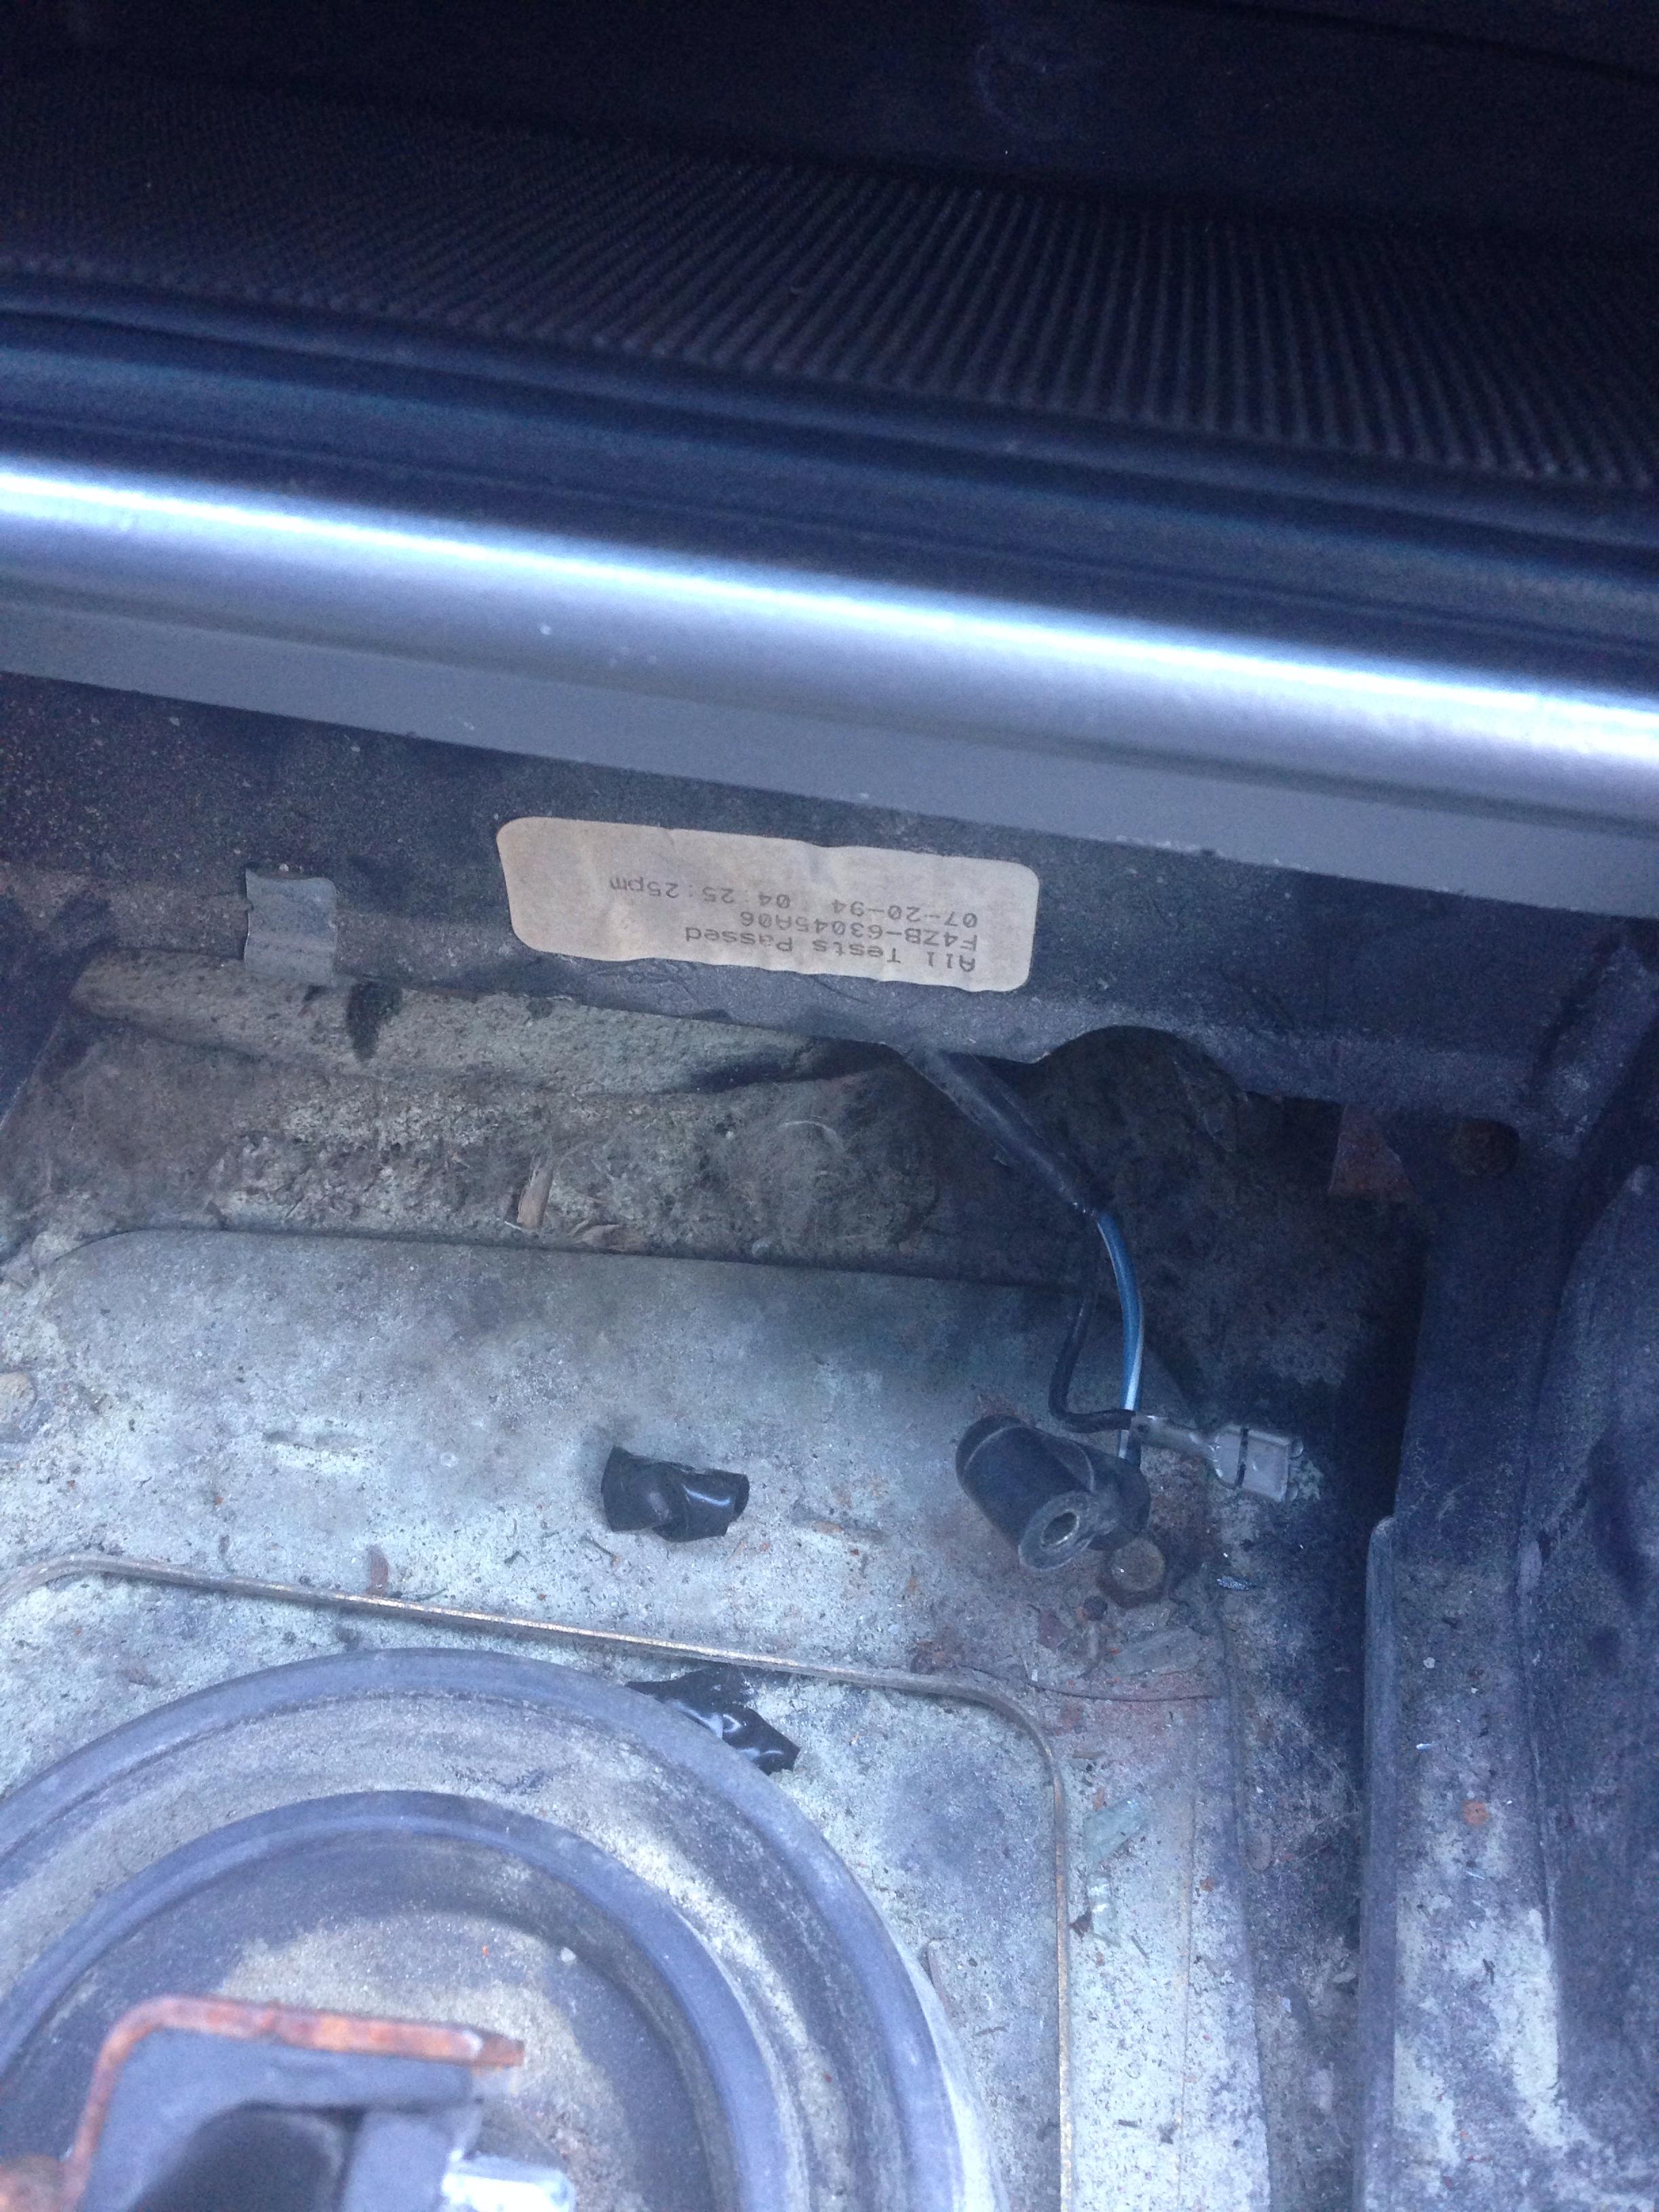
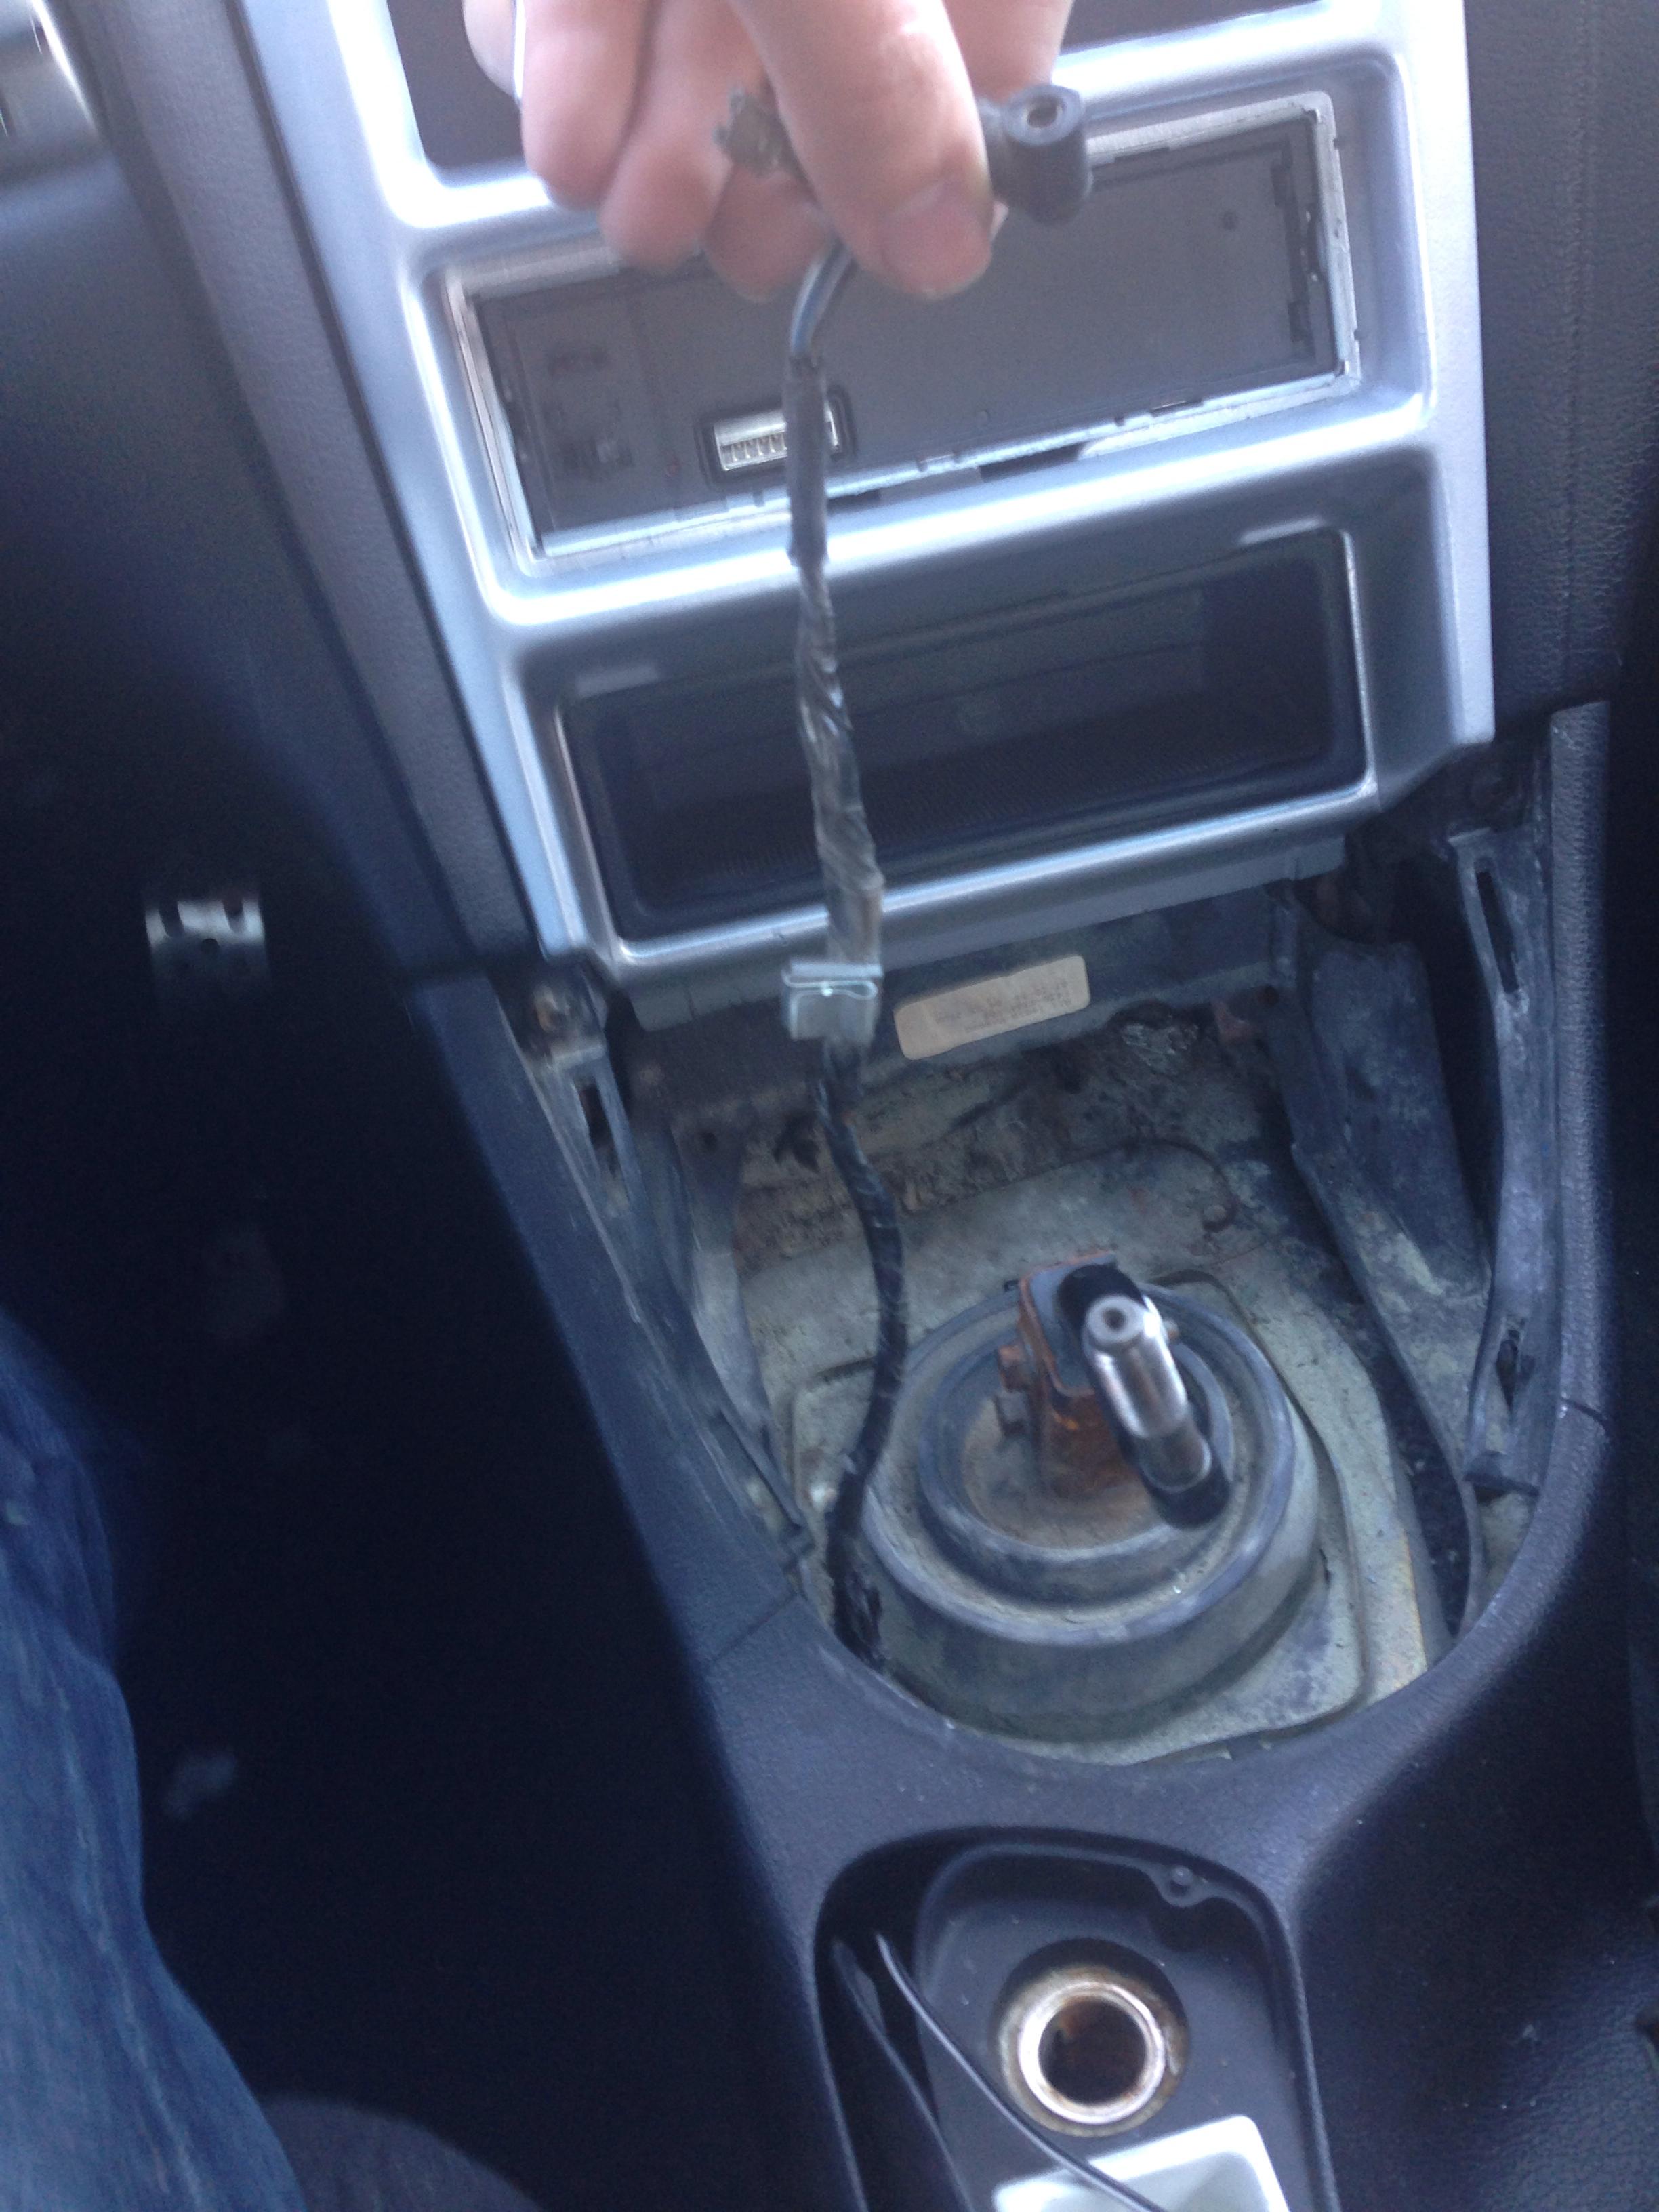
5. Remove the clip and pushpins holding the wires down. The lighter wire runs from the older lighter position back towards the bin, which is convenient as we won't need to extend the wires, just simple move it back. There is 1 clip holding the wires at the front, pull the wire down and it will slide off. Now trace the wire back and cut the top of the little plastic push pins holding the wires in place. Lift the center console up slightly and pull down on the wire.
6. Feed the wire back to the bin area. I have large hands and was able to squeeze one hand from the bin forward and one hand from the shifter back and grabbed the wires and pulled them back.
7. Find some coinage. Now with the wire sorted out, before reinstalling the screws for the center console it's a good opportunity to make some money. I found a good amount in mine
8. Slide the console back into position, and secure it with the 4 screws you removed earlier. Tighten down the two front screws first, followed by the rear.
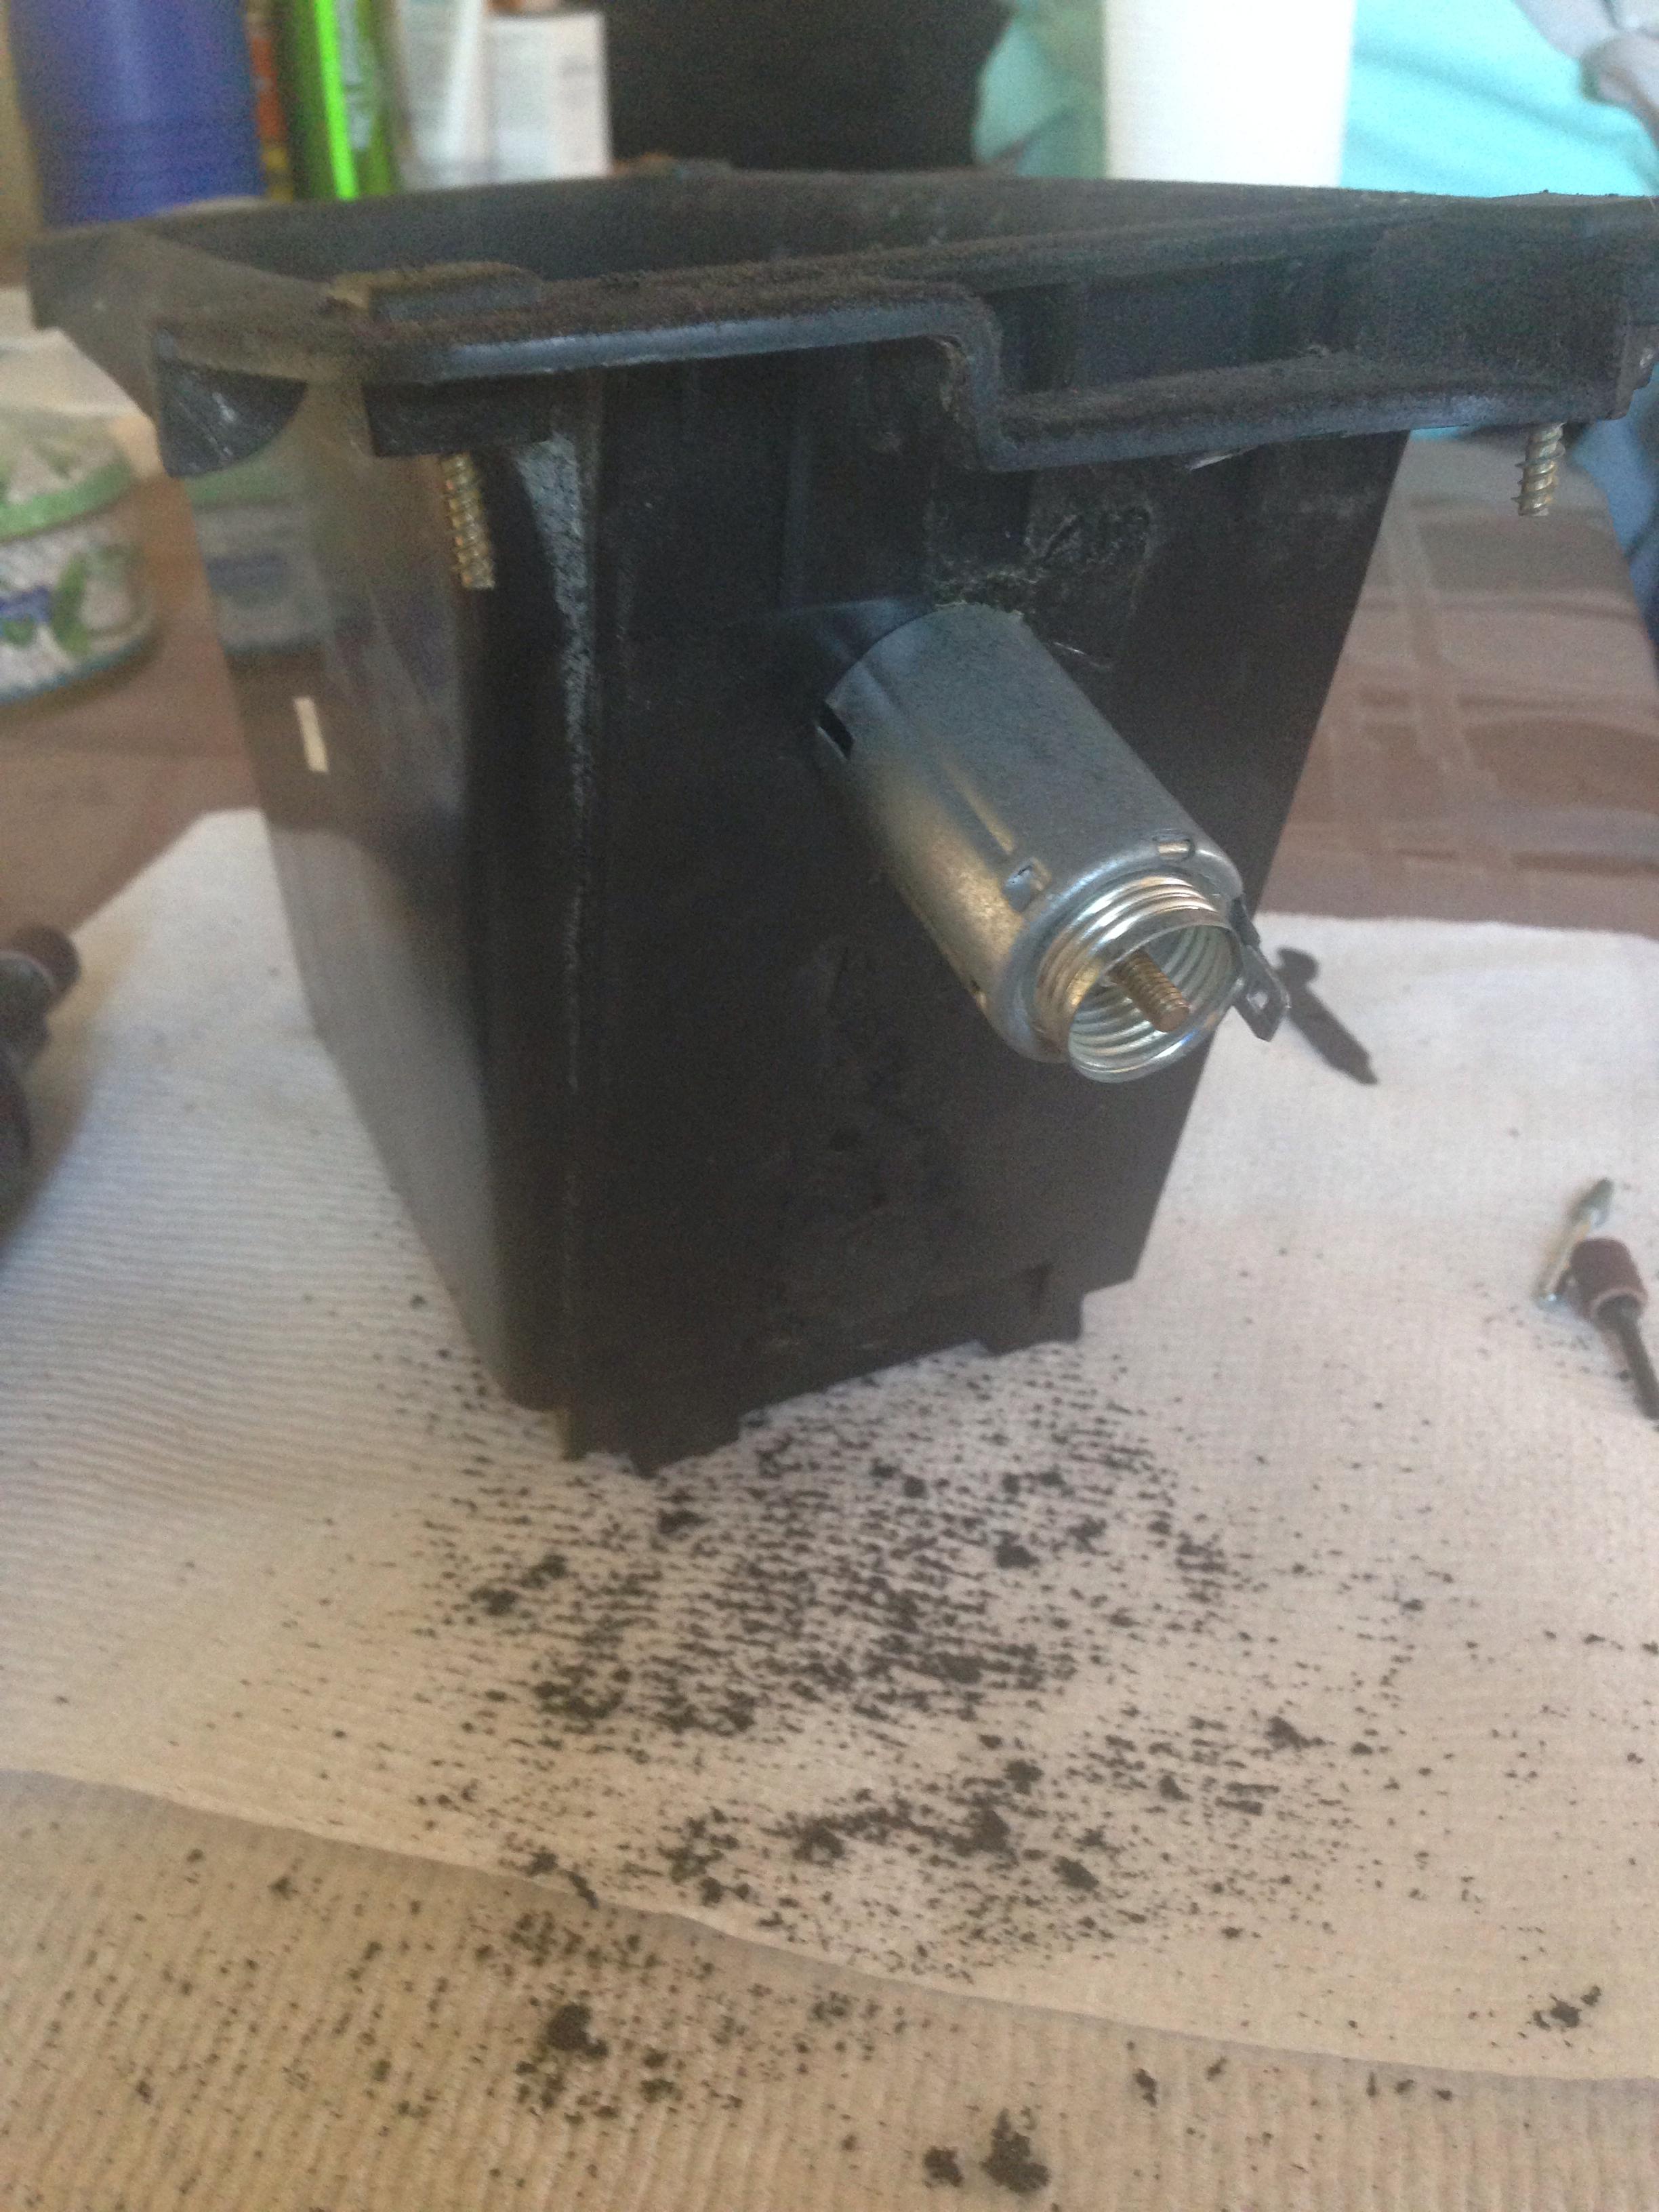
9. Now you need to remove the lighter from the shifter bezel. Place your thumb in the lighter and grab the back of it, twist it as if you're loosening a screw and continue turning it until the back separates from the front.
10. Reinstall the shifter bezel.
11. Remove the cup holder assembly from the bin. This is held in by 3 screws.
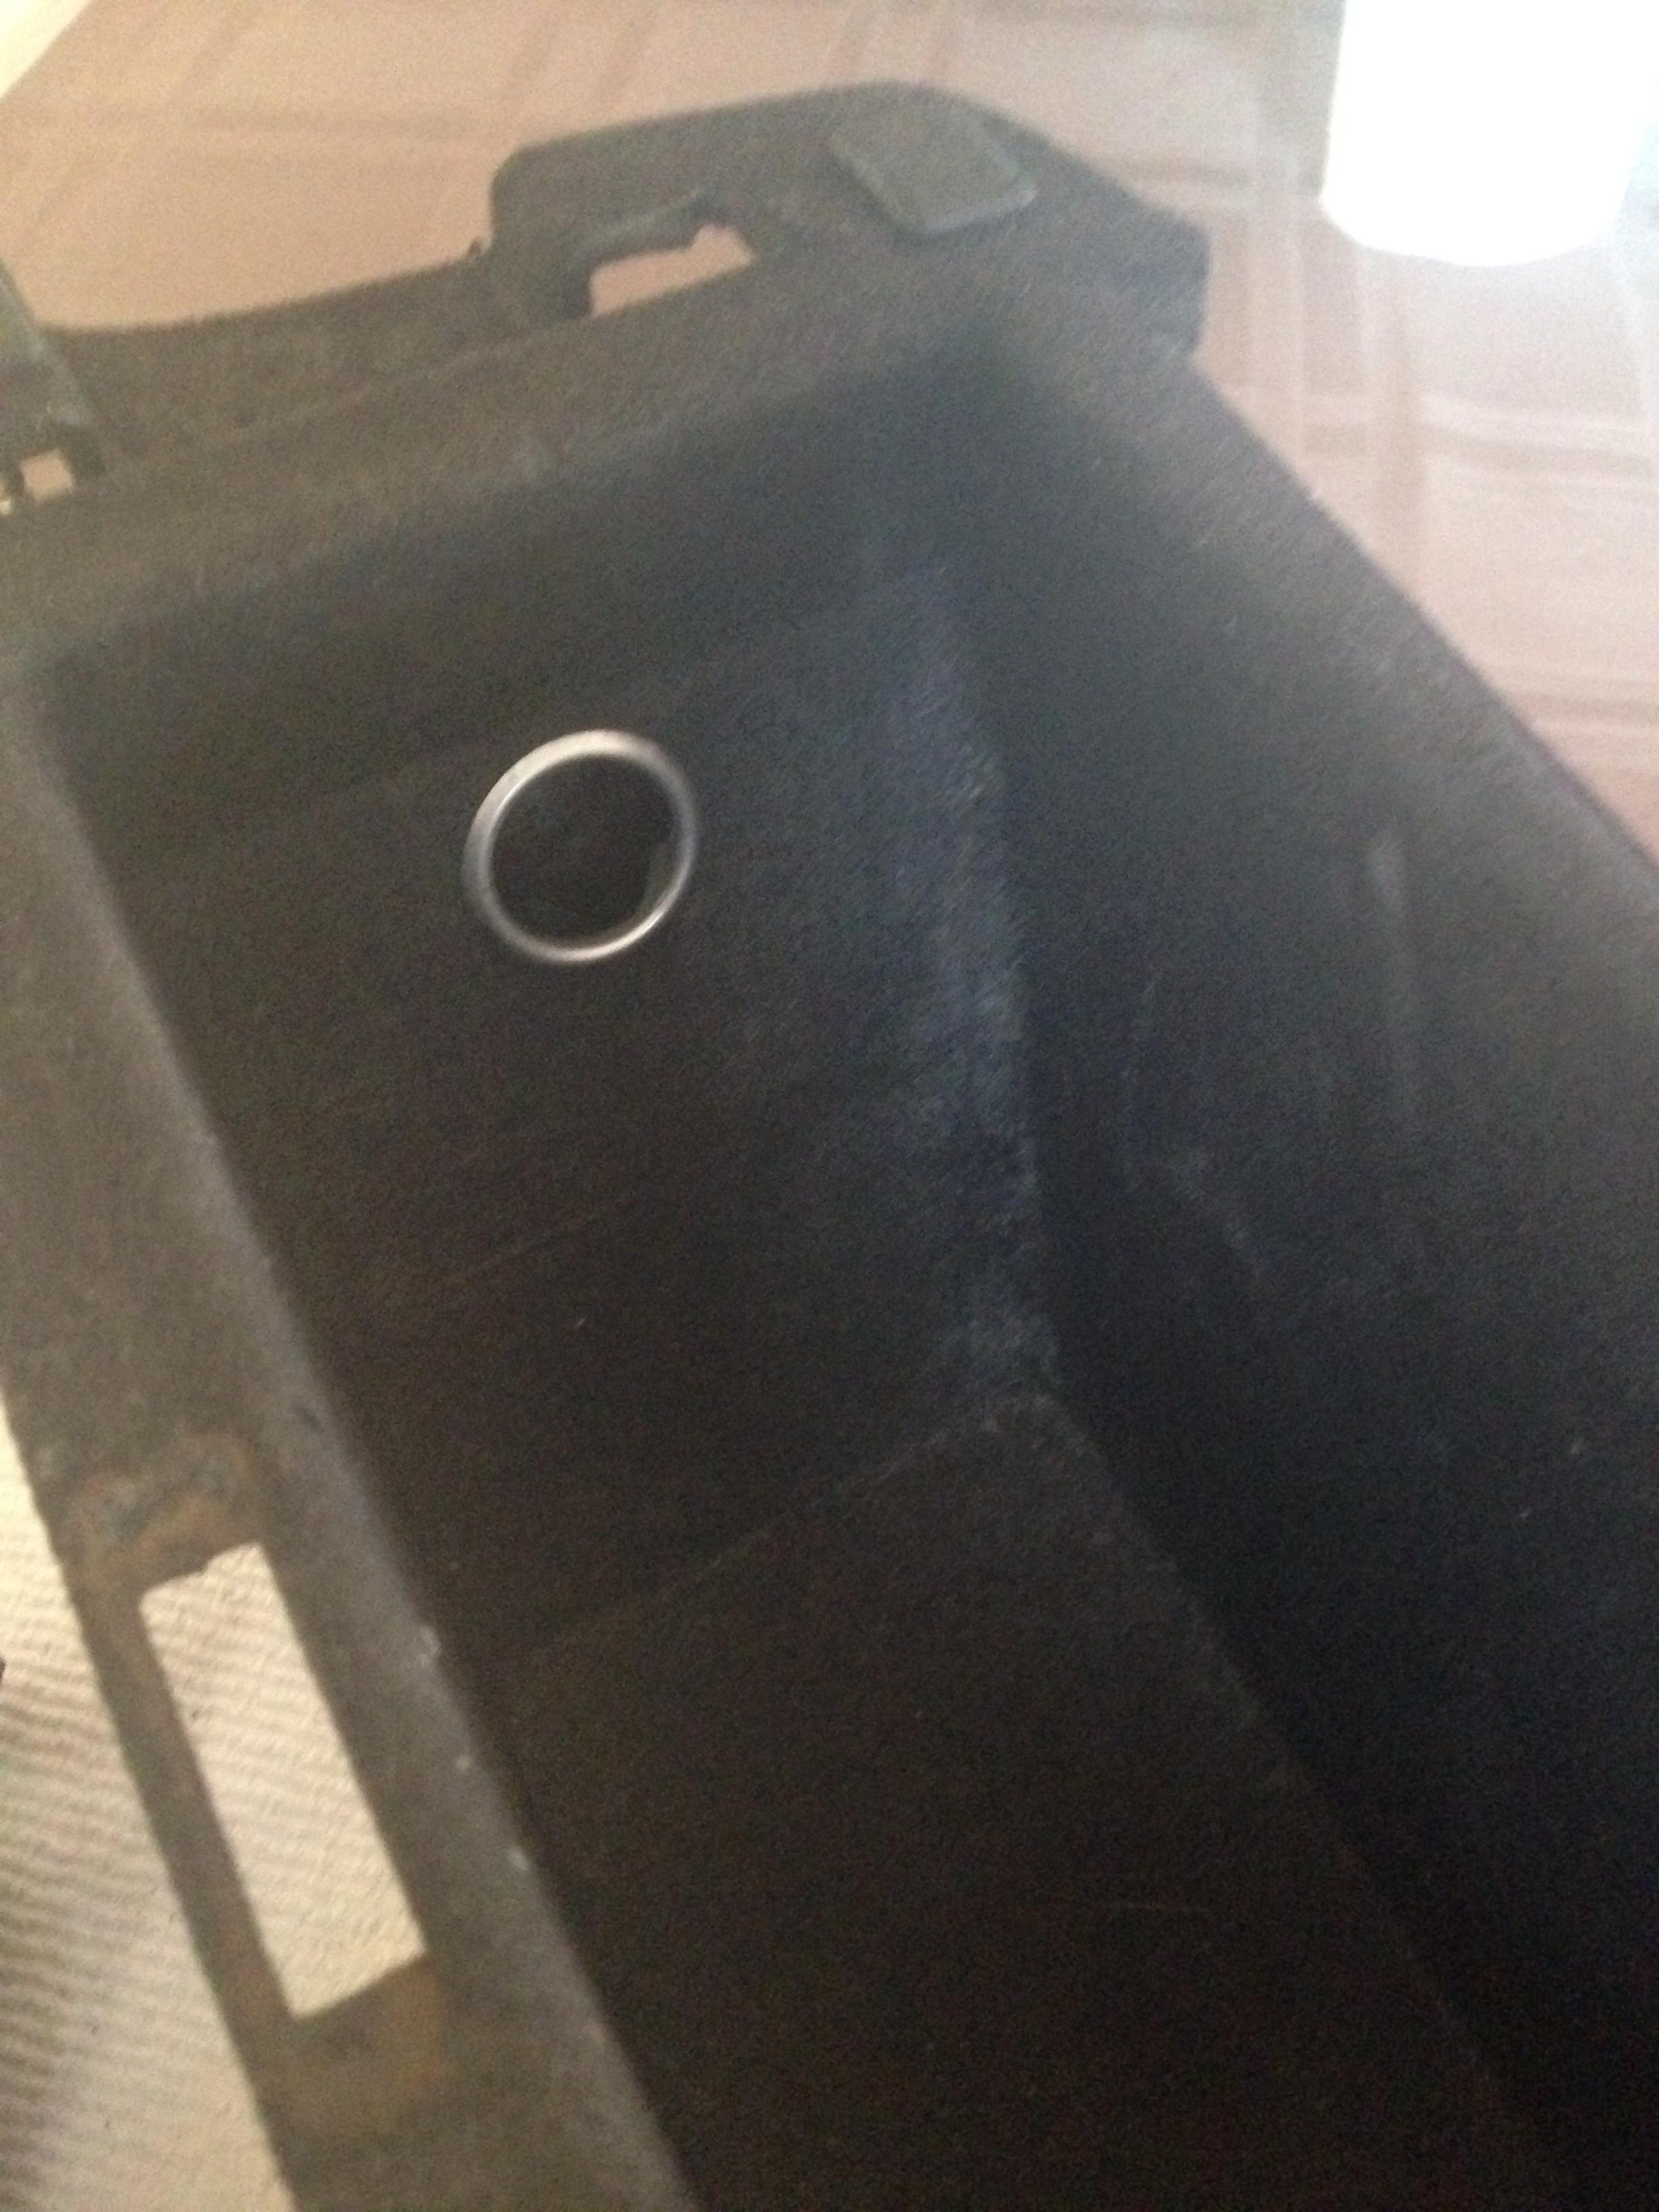
12. Mark where you'd like the lighter to be, trace the lighters outside ring to guide you, but DO NOT make the hole this big. You need some material to secure the lighter.
13. Take a drill and punch a hole in the middle. The bit will need to be big enough to get a Dremmel bit in there to begin enlarging the hole.
14. Keep removing a little bit of material at a time until the lighter will slide into the hole. I used a grinding bit and switched to a large sanding barrel to keep the hole as round as possible.
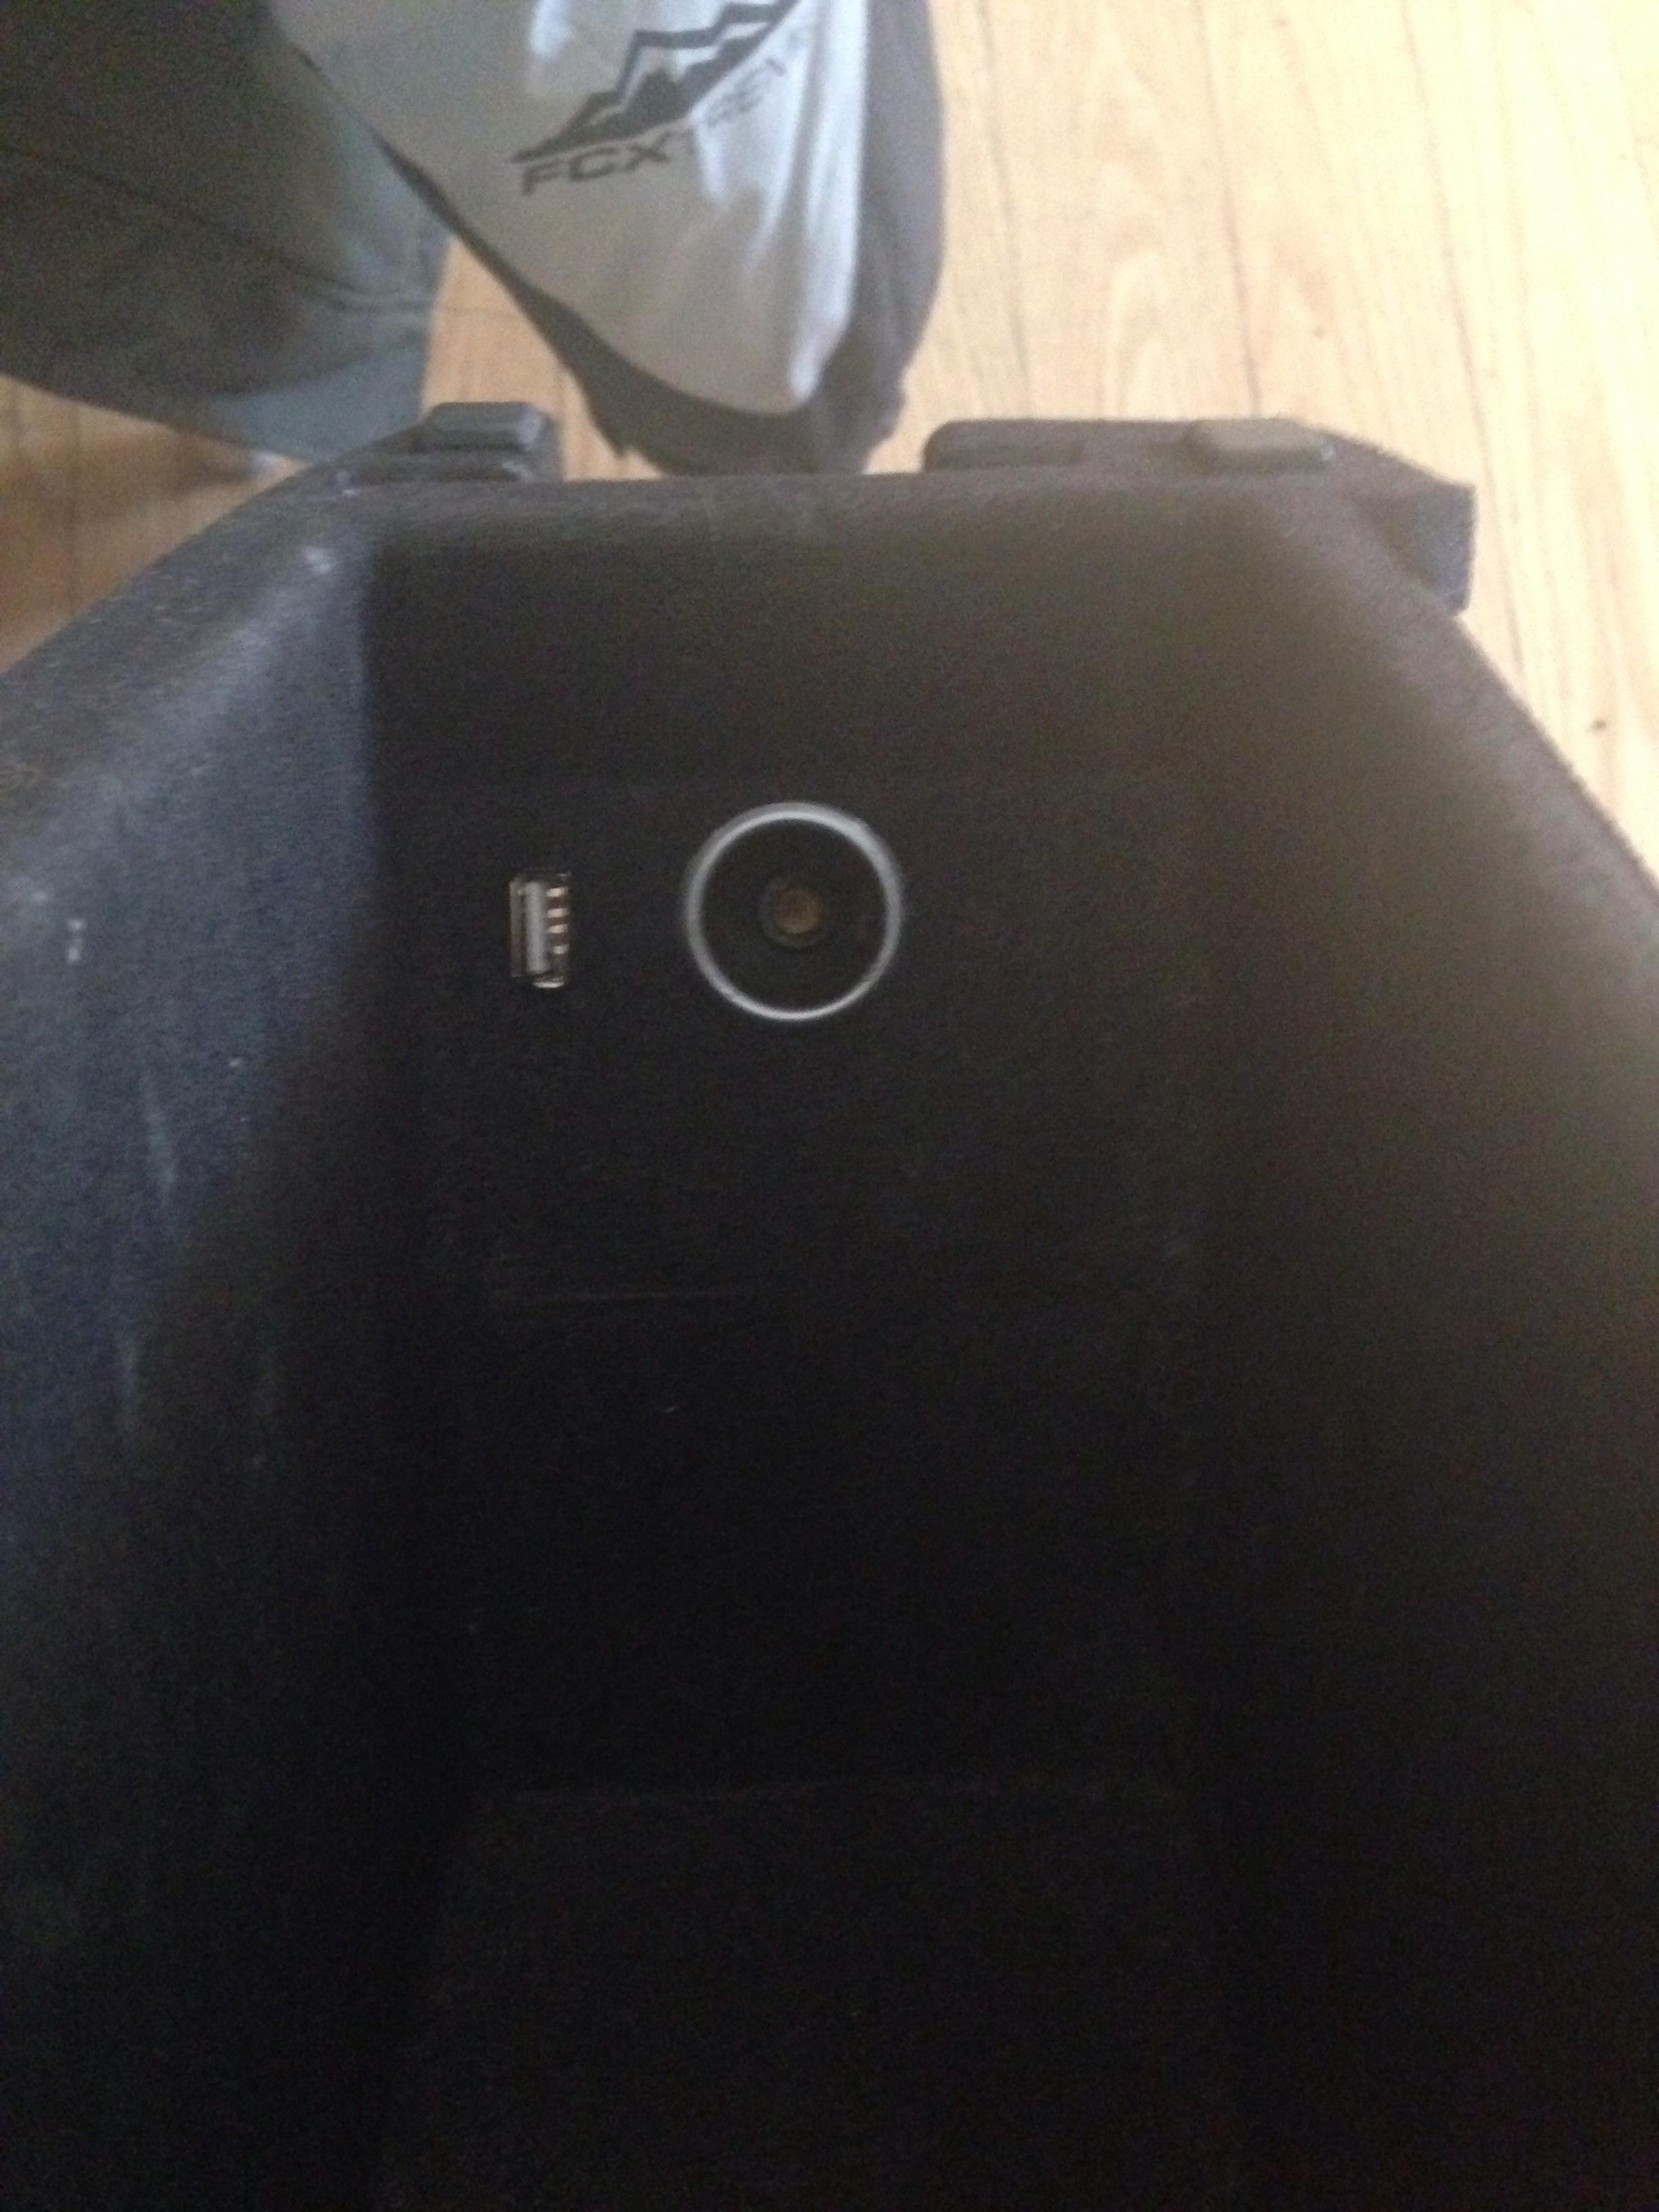
15. Insert the lighter and secure the back by screwing it on.
16. If you'd like to make a hole for a USB or AUX cord then repeat 11-14. Just use whatever you are putting in there to mark the cuts and test the holes.
17. Now reinstall the bin. Connect the 2 wires to the lighter and connect any other wires (USB, AUX, etc). Snap the bin into place and secure the screws. Reinstall the little bumpers and you are done.
18. Test the new outlets to make sure they work and have fun with your newly relocated lighter and other cords!
I will be purchasing a proper USB extension cable from eBay or something but for now I have my ghetto home made one and it works fine.
This placement is much more convenient and it allows me to not have wires everywhere all the time now.