Also did this write-up when i had the 98Gt so its a little old but still useful if your wanting to be different

Went wingless and had to fill the holes.Along with filling the holes i also filled in the holes for the factory ford emblem.After thinking about it i said ah what the heck ill fill in the seam around the Tag to.Short and Sweet but if you have basic hands on skills this can be done in an afternoon
Items Used: The Body Filler that was used is Bondo Glass.Also pick up a few Spreader Pads.(2) Cans Primer and (2) Cans Paint.
Bondo-Glass is a unique reinforced filler containing short, interlocking fiberglass strands and fibers that make it twice as strong as regular body filler. Repairs small (dime size or smaller) rusted-out metal holes and shattered fiberglass body parts. PERFECT FOR MARINE USE! Eliminates the need for backing strips, fiberglass resin or cloth on small holes and rusted out areas. Sandable in only 20 minutes and compatible with all paint systems. Waterproof. Includes Red Cream Hardener.

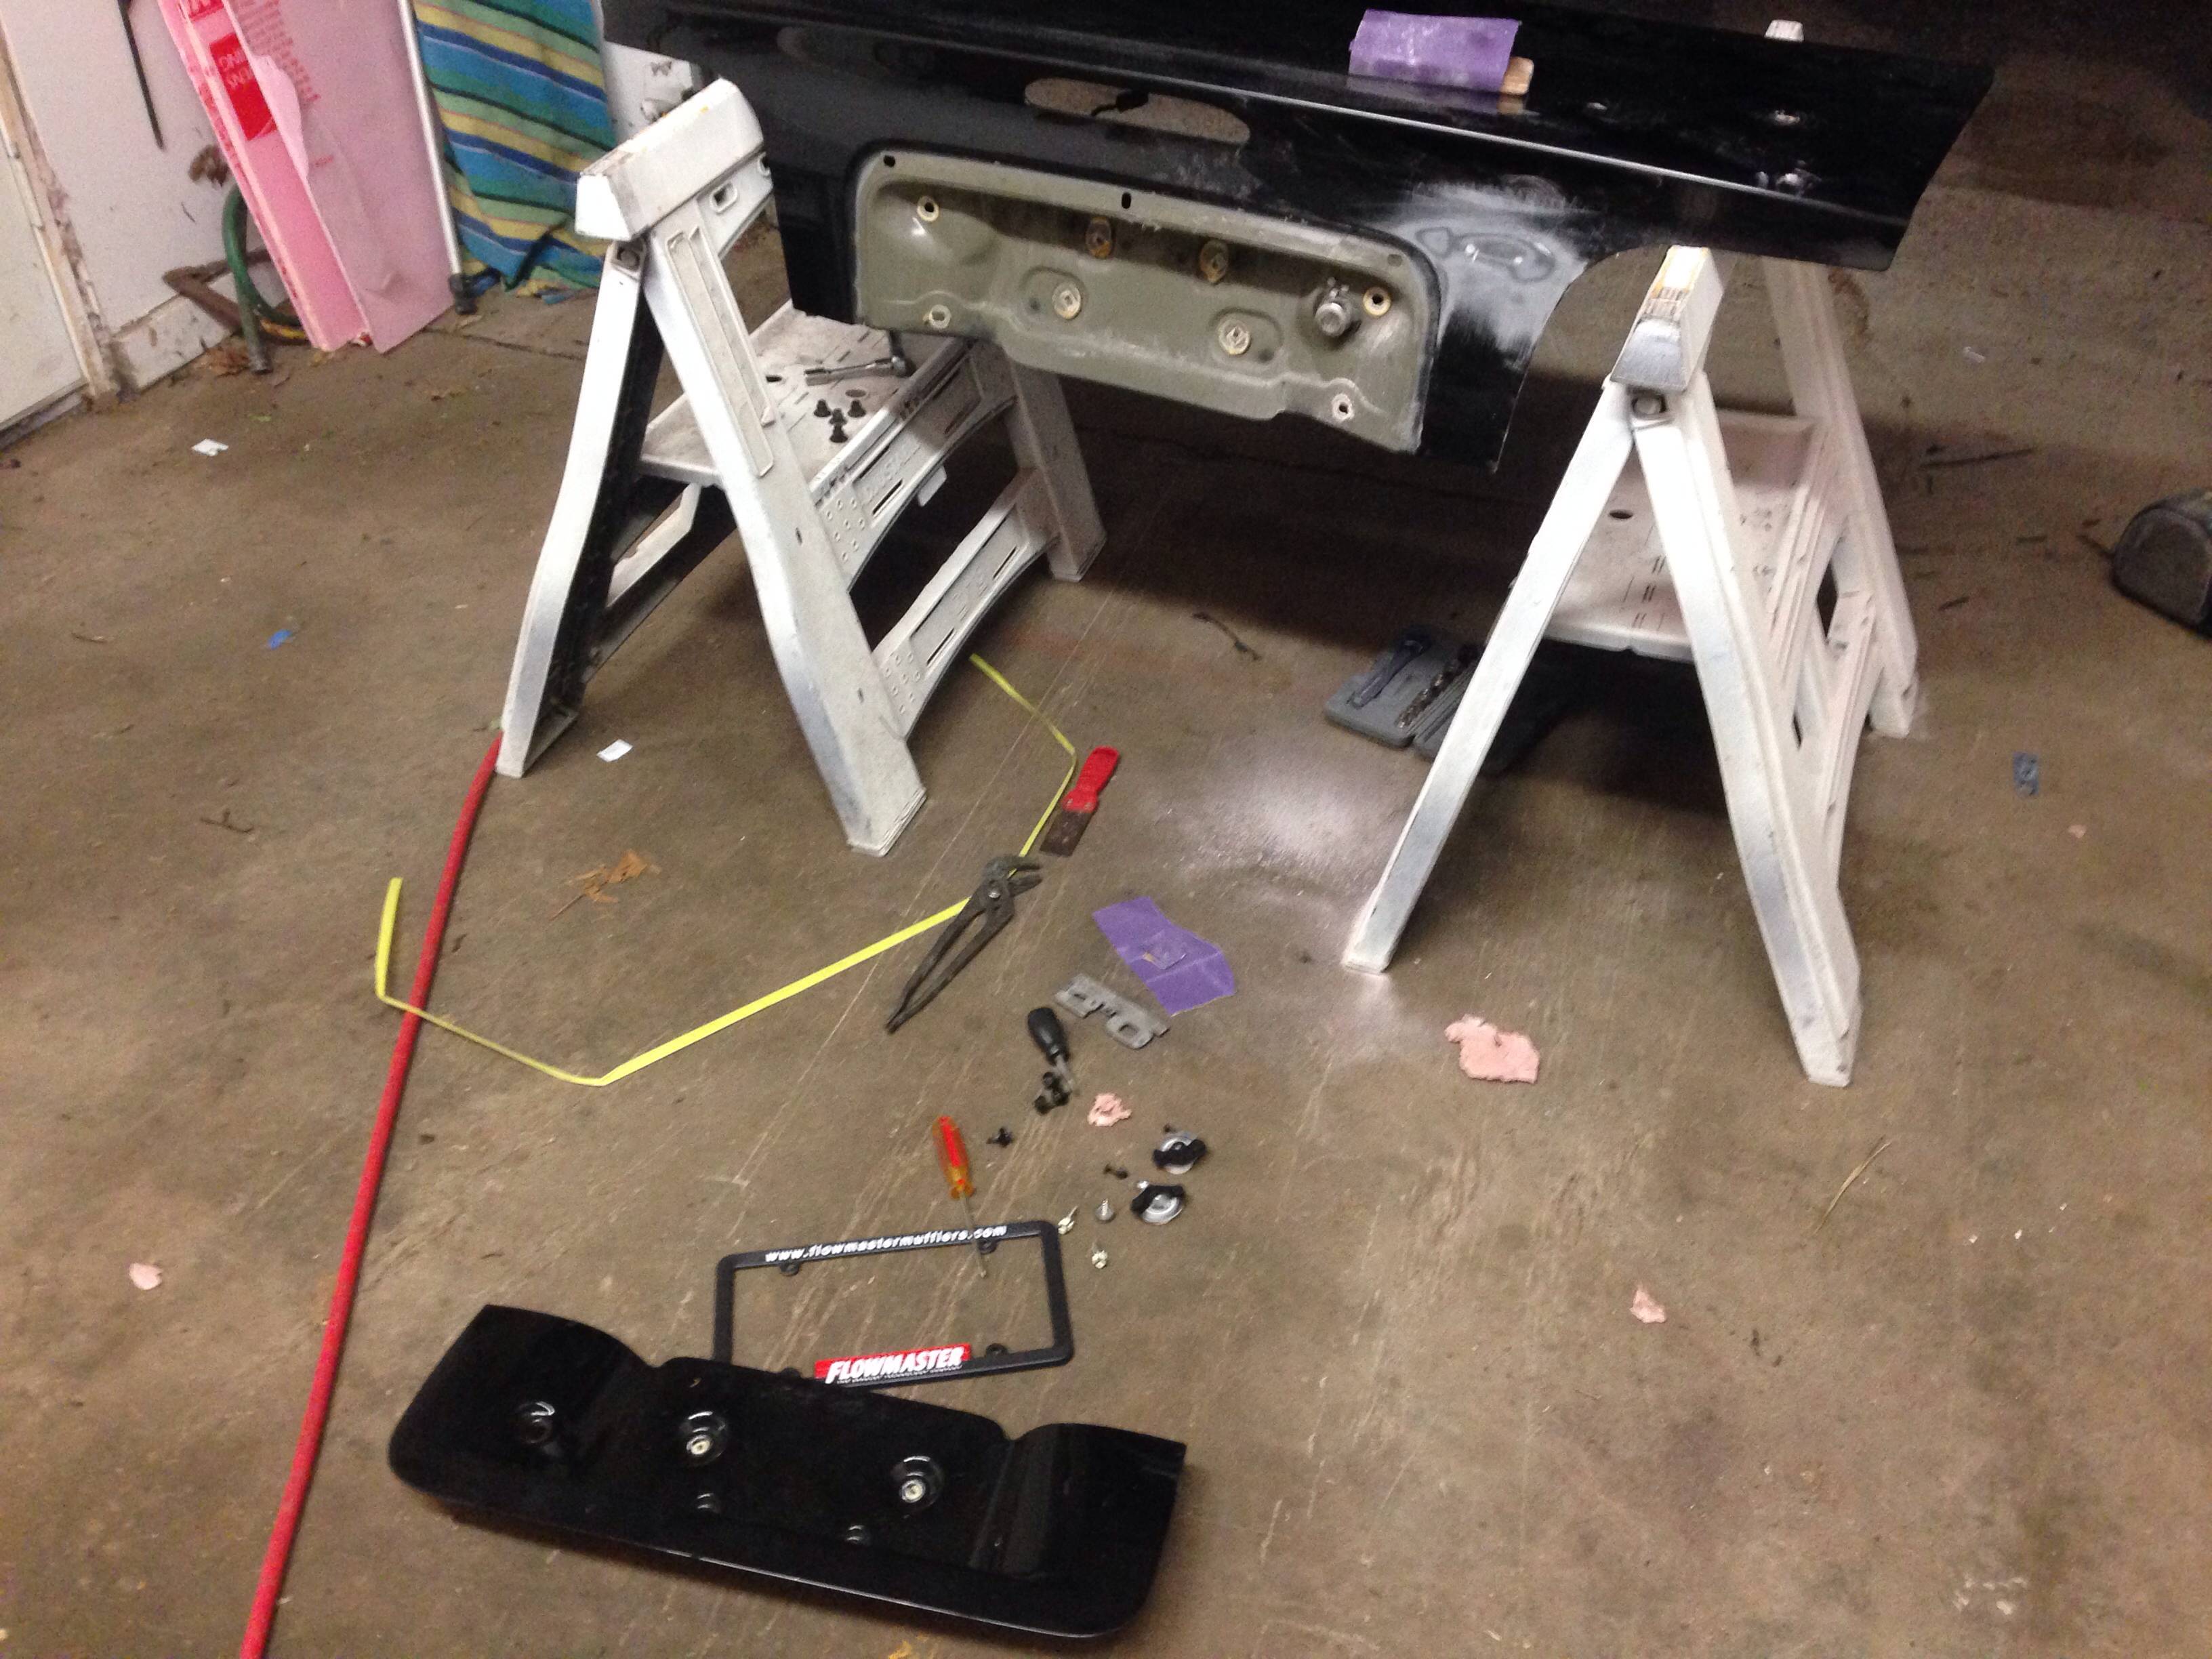
I Removed the Third Brake light (2) 10mm Nuts and got to work.Using 300 Grit sand paper and my Porter Cable E-Sander.

300 Grit is pretty tough so don't stay in one place for to long.Keep in mind if you do not have a Sander this job can be done by hand if all your doing is filling the wing holes.
I Removed the Ford Emblem with a small flat head Screw Driver.Then Hit that area with the sander this is what it should look like.

After thats done Move on to the Seam around the tag along with the wing holes.

Once this is done you need to put somthing behind the wing holes along with the emblem, in my case i used a small amount of epoxy on a square piece of aluminum and stuck it behind each hole.If you try to do this next step with out putting something behind the holes the Bondo Glass will sag through the holes and end up every where but where you want it.
Now your Ready to mix.I advise you to read the instrutions for mixing in the hardener.In my case what ever the amount of bondo glass i just make a X over the bondo glass and get to mixing.After mixed you only have a limited time to work with the bondo glass before it gets hard.If your not scared of sanding you can apply it think or if you want to save yourself some work apply it a bit lighter.
Then this is how it should look once applyed.

Same goes to the Wing Holes. After it hardened i used a fresh piece of 300 Grit once again to knock it down quickly you might want to use a little less abraisive Grit but thats all i had.Then it should look somthing like this.


Once you get it to being smooth to the touch.with no ripples/air pocket, and your happy with it.your ready to tape off around the trunk use some blue painters tape and some old newspaper and get ready for primer.After you tape it off wipe down the surface area your ready to hit it with some primer,Don't forget to shake it good before you spray.In my case i used Grey Sandable/Filler Primer to help fill in any small imperfections.This is what it should look like after laying on the first coat.

After about 1.5-2 Cans of Primer it should look like this.

After you have it completly covered in primer your Ready to sand it smooth.In my case only having 300 Grit i used an old piece that was kinda wore out.If you can use something a little less harsh maby 800 Grit would be better.Once you have it smooth and even you can get ready for paint.I then again Taped off the Trunk and applyed one coat of Rustoleum Gloss Black paint.

After the first coat drys i hit it with some wet sand paper 1000 Grit and 1500 Grit to get it as smooth as can be.Then i applied 3 more coats of gloss back paint. About $25-30 in supplies and an afternoon of work.
I am by no means good at body work but i try.Someone with more know how on body work im sure can do a much better job.
This is the End Result.


Went wingless and had to fill the holes.Along with filling the holes i also filled in the holes for the factory ford emblem.After thinking about it i said ah what the heck ill fill in the seam around the Tag to.Short and Sweet but if you have basic hands on skills this can be done in an afternoon
Items Used: The Body Filler that was used is Bondo Glass.Also pick up a few Spreader Pads.(2) Cans Primer and (2) Cans Paint.
Bondo-Glass is a unique reinforced filler containing short, interlocking fiberglass strands and fibers that make it twice as strong as regular body filler. Repairs small (dime size or smaller) rusted-out metal holes and shattered fiberglass body parts. PERFECT FOR MARINE USE! Eliminates the need for backing strips, fiberglass resin or cloth on small holes and rusted out areas. Sandable in only 20 minutes and compatible with all paint systems. Waterproof. Includes Red Cream Hardener.
I Removed the Third Brake light (2) 10mm Nuts and got to work.Using 300 Grit sand paper and my Porter Cable E-Sander.
300 Grit is pretty tough so don't stay in one place for to long.Keep in mind if you do not have a Sander this job can be done by hand if all your doing is filling the wing holes.
I Removed the Ford Emblem with a small flat head Screw Driver.Then Hit that area with the sander this is what it should look like.
After thats done Move on to the Seam around the tag along with the wing holes.
Once this is done you need to put somthing behind the wing holes along with the emblem, in my case i used a small amount of epoxy on a square piece of aluminum and stuck it behind each hole.If you try to do this next step with out putting something behind the holes the Bondo Glass will sag through the holes and end up every where but where you want it.
Now your Ready to mix.I advise you to read the instrutions for mixing in the hardener.In my case what ever the amount of bondo glass i just make a X over the bondo glass and get to mixing.After mixed you only have a limited time to work with the bondo glass before it gets hard.If your not scared of sanding you can apply it think or if you want to save yourself some work apply it a bit lighter.
Then this is how it should look once applyed.
Same goes to the Wing Holes. After it hardened i used a fresh piece of 300 Grit once again to knock it down quickly you might want to use a little less abraisive Grit but thats all i had.Then it should look somthing like this.
Once you get it to being smooth to the touch.with no ripples/air pocket, and your happy with it.your ready to tape off around the trunk use some blue painters tape and some old newspaper and get ready for primer.After you tape it off wipe down the surface area your ready to hit it with some primer,Don't forget to shake it good before you spray.In my case i used Grey Sandable/Filler Primer to help fill in any small imperfections.This is what it should look like after laying on the first coat.
After about 1.5-2 Cans of Primer it should look like this.
After you have it completly covered in primer your Ready to sand it smooth.In my case only having 300 Grit i used an old piece that was kinda wore out.If you can use something a little less harsh maby 800 Grit would be better.Once you have it smooth and even you can get ready for paint.I then again Taped off the Trunk and applyed one coat of Rustoleum Gloss Black paint.
After the first coat drys i hit it with some wet sand paper 1000 Grit and 1500 Grit to get it as smooth as can be.Then i applied 3 more coats of gloss back paint. About $25-30 in supplies and an afternoon of work.
I am by no means good at body work but i try.Someone with more know how on body work im sure can do a much better job.
This is the End Result.


")