LED Gauges & HVAC:
What You May Not Know
*****NOTES*****
Its a pretty simple procedure of swapping out your bulbs for some white LEDs and your gauges and HVAC will then appear blue.
Here is the how-to on that: http://sn95forums.com/showthread.php?14693-SN95-LED-Gauge-Cluster
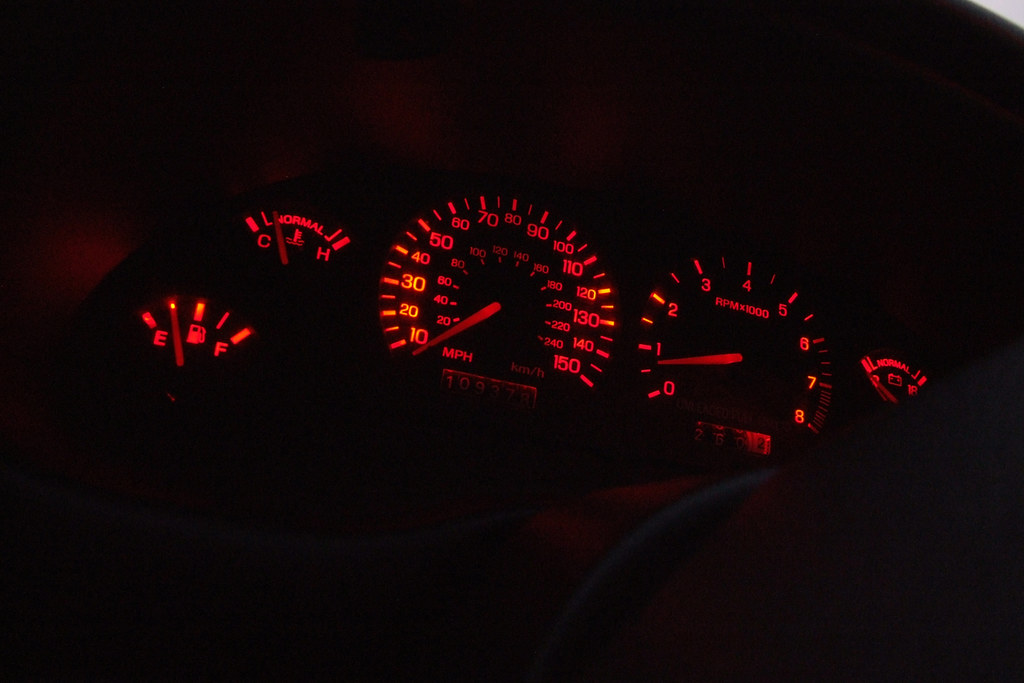
Now what you may not know, is that you can convert your gauges and HVAC to ANY color you'd like with a few more steps.
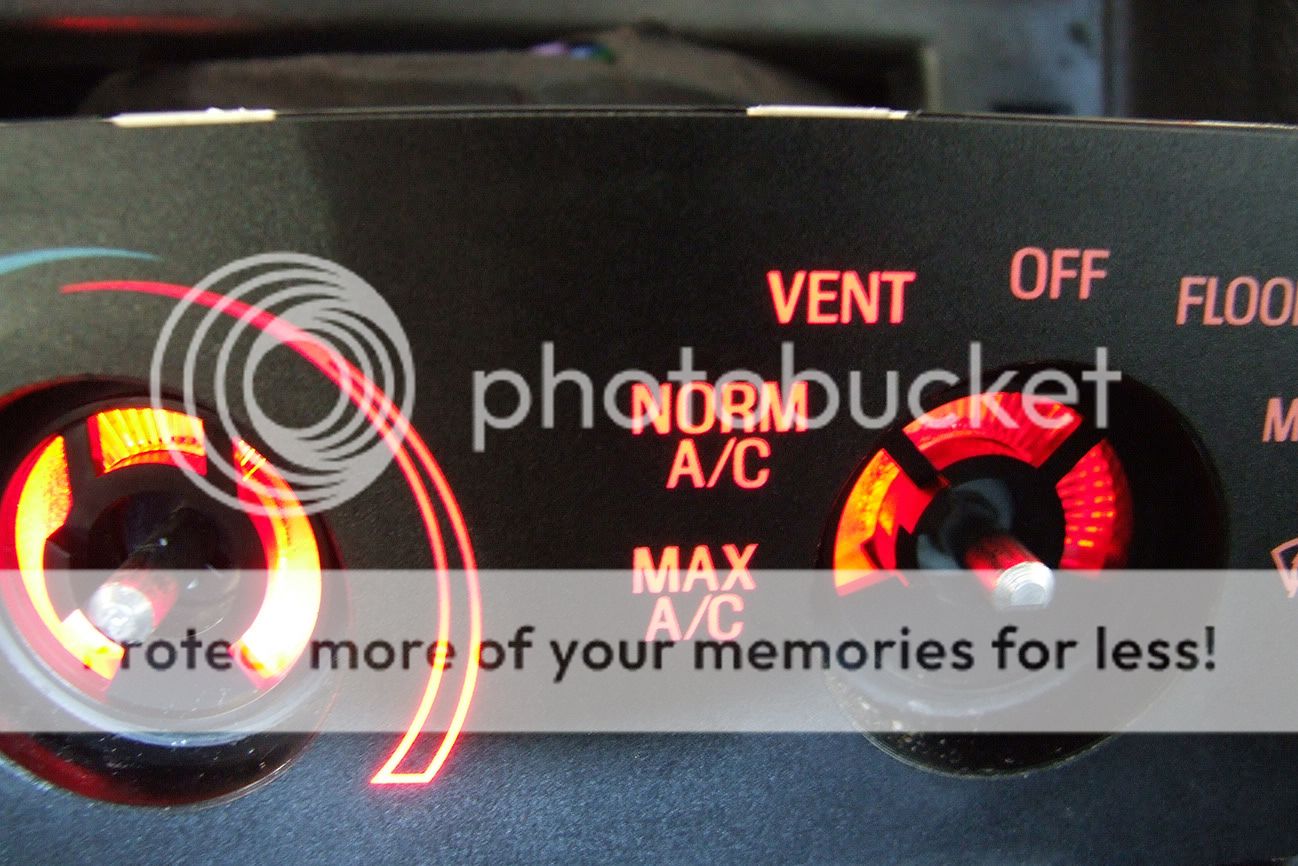
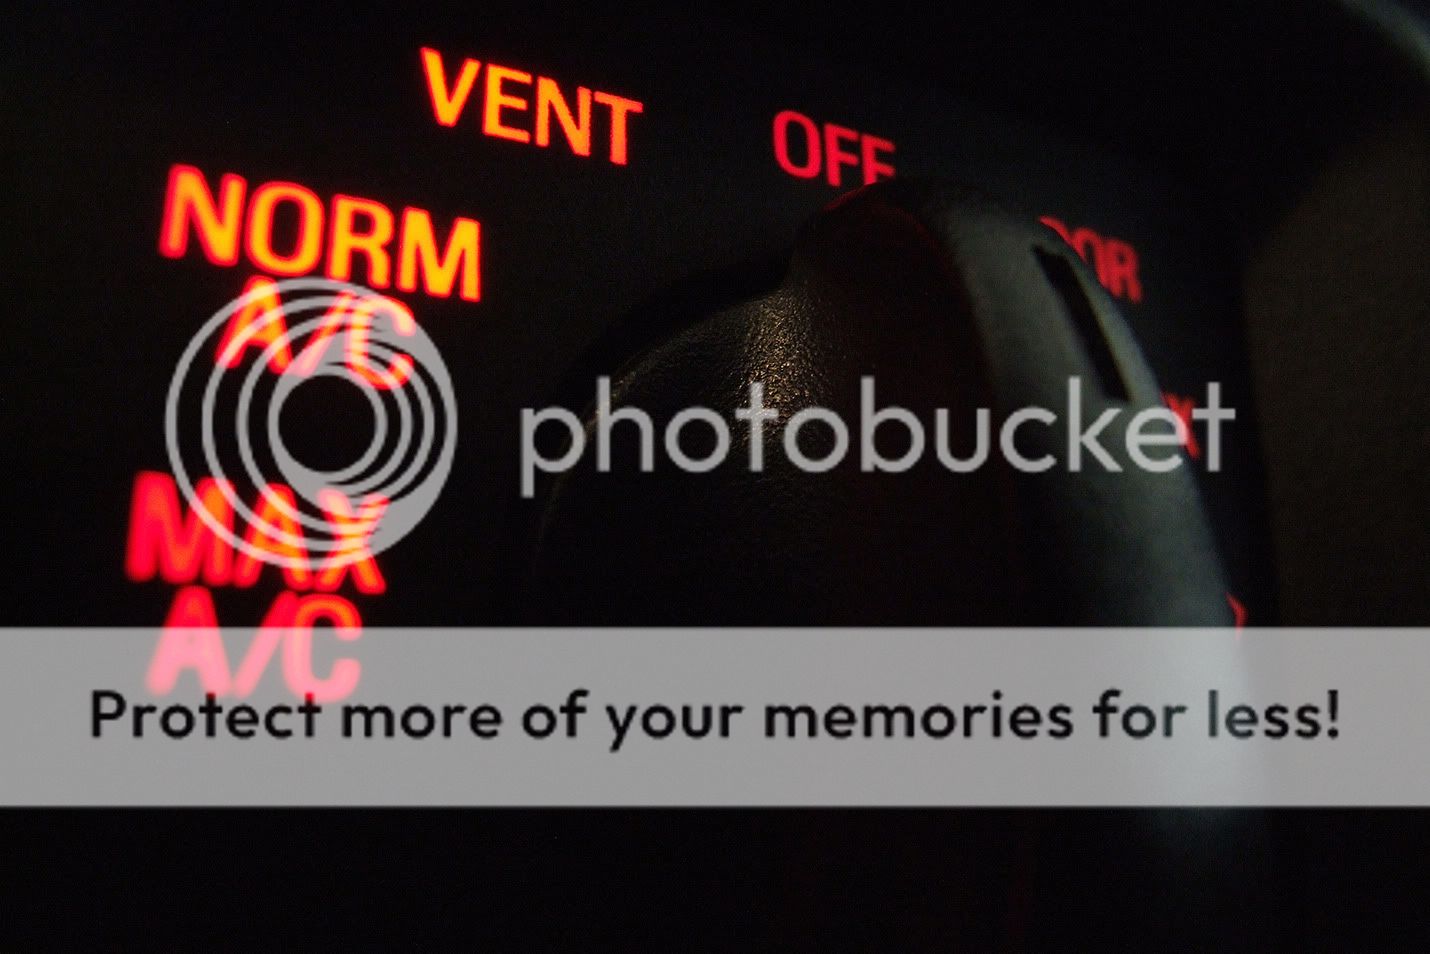
The reason that your gauges and hvac appear blue is because there is blue film located behind each of the indicators. From the factory, you are supplied with amber bulbs. If you put an amber bulb behind blue film (yellow + blue) the outcome becomes green, as seen in the cluster and hvac from the factory. When swapping in white or blue LED's the bulb diffuses with the film and creates a very ambient blue. However, if you put a red bulb or a green bulb, the light will not shine through the density of the film without losing light. The solution to this is to simply remove the film. Once the film is removed, any color bulb or LED that you get, will shine through without blending or having to go through a film. The original color or the LED/bulb will be the color your gauge cluster and HVAC appears.
Step 1:
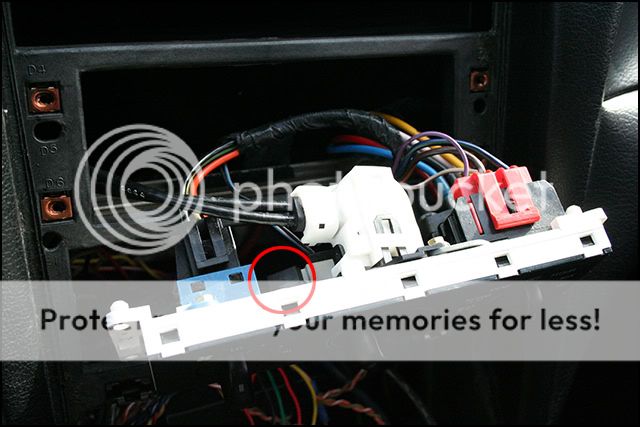
Proceed to remove the cluster and HVAC controls from the dashboard.
(http://sn95forums.com/showthread.php?14693-SN95-LED-Gauge-Cluster) Once everything is removed and you have all component exposed, its time to start the process of removing the film.
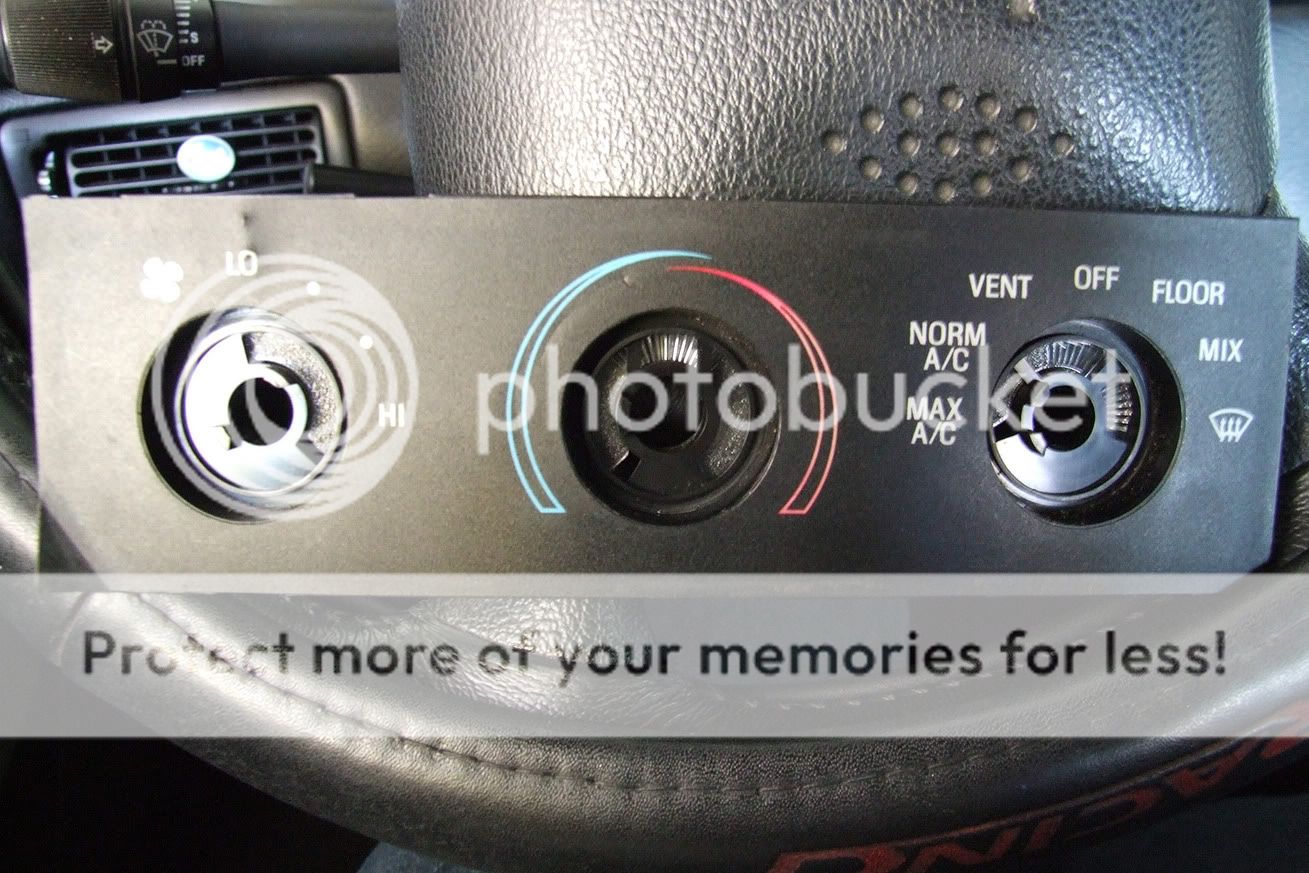
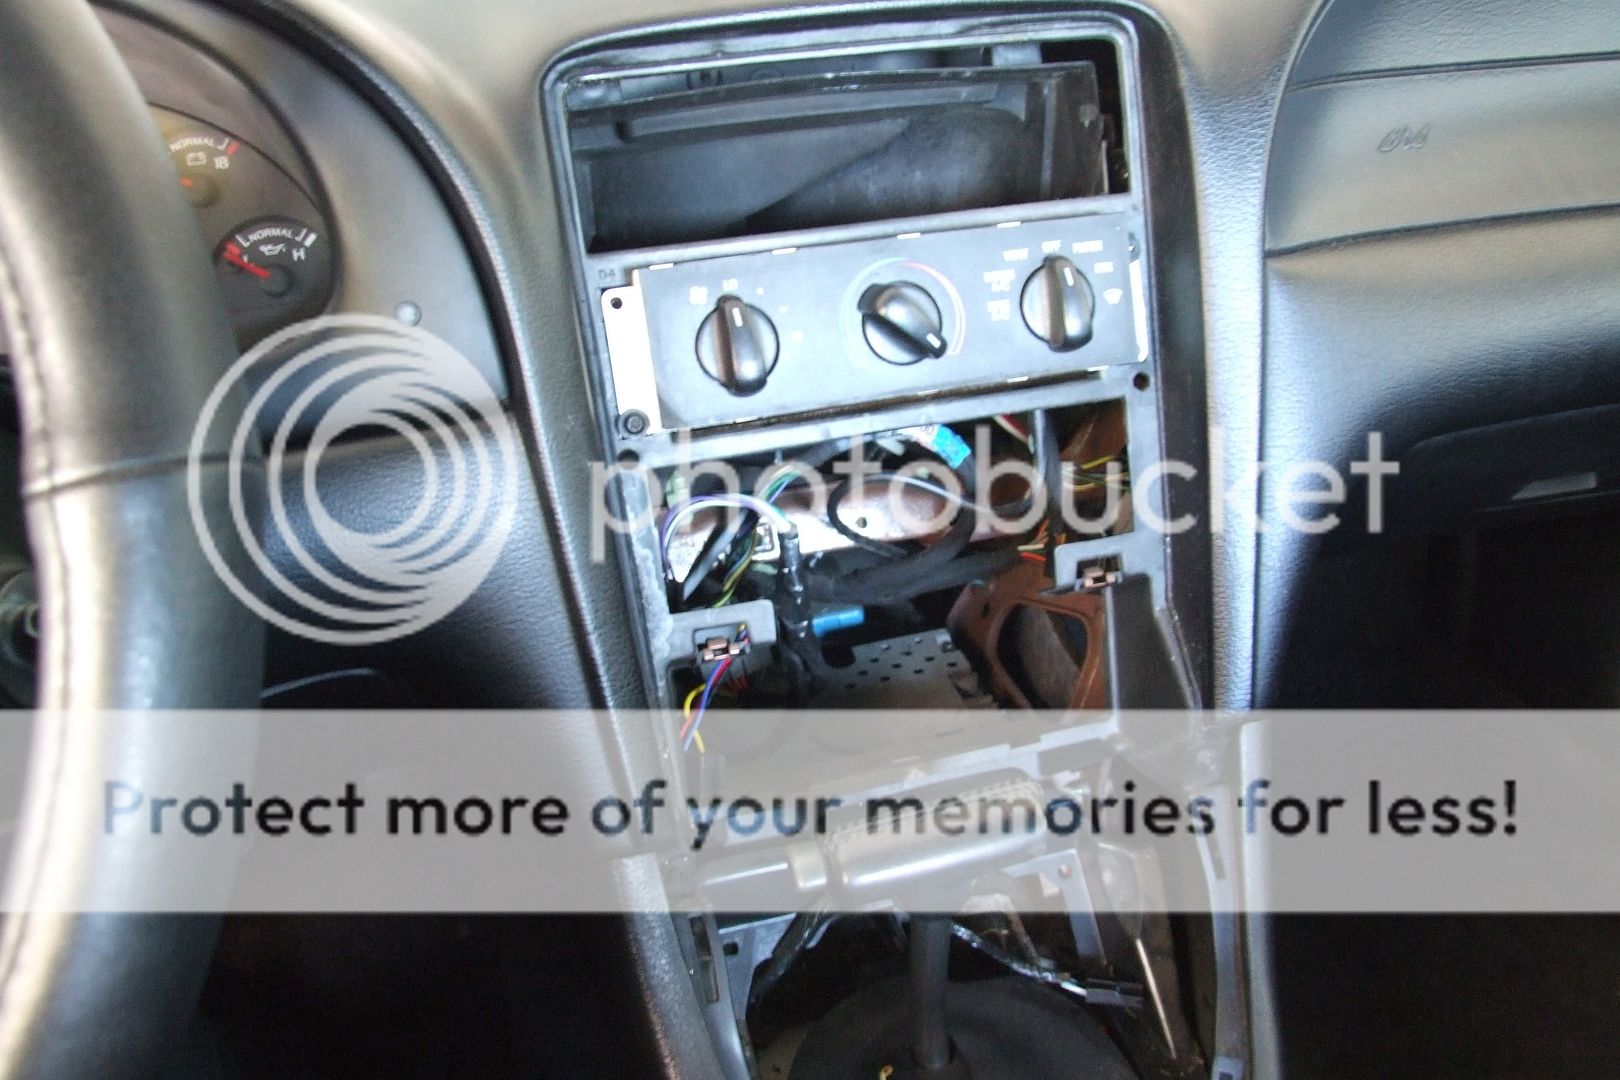
Step 2:
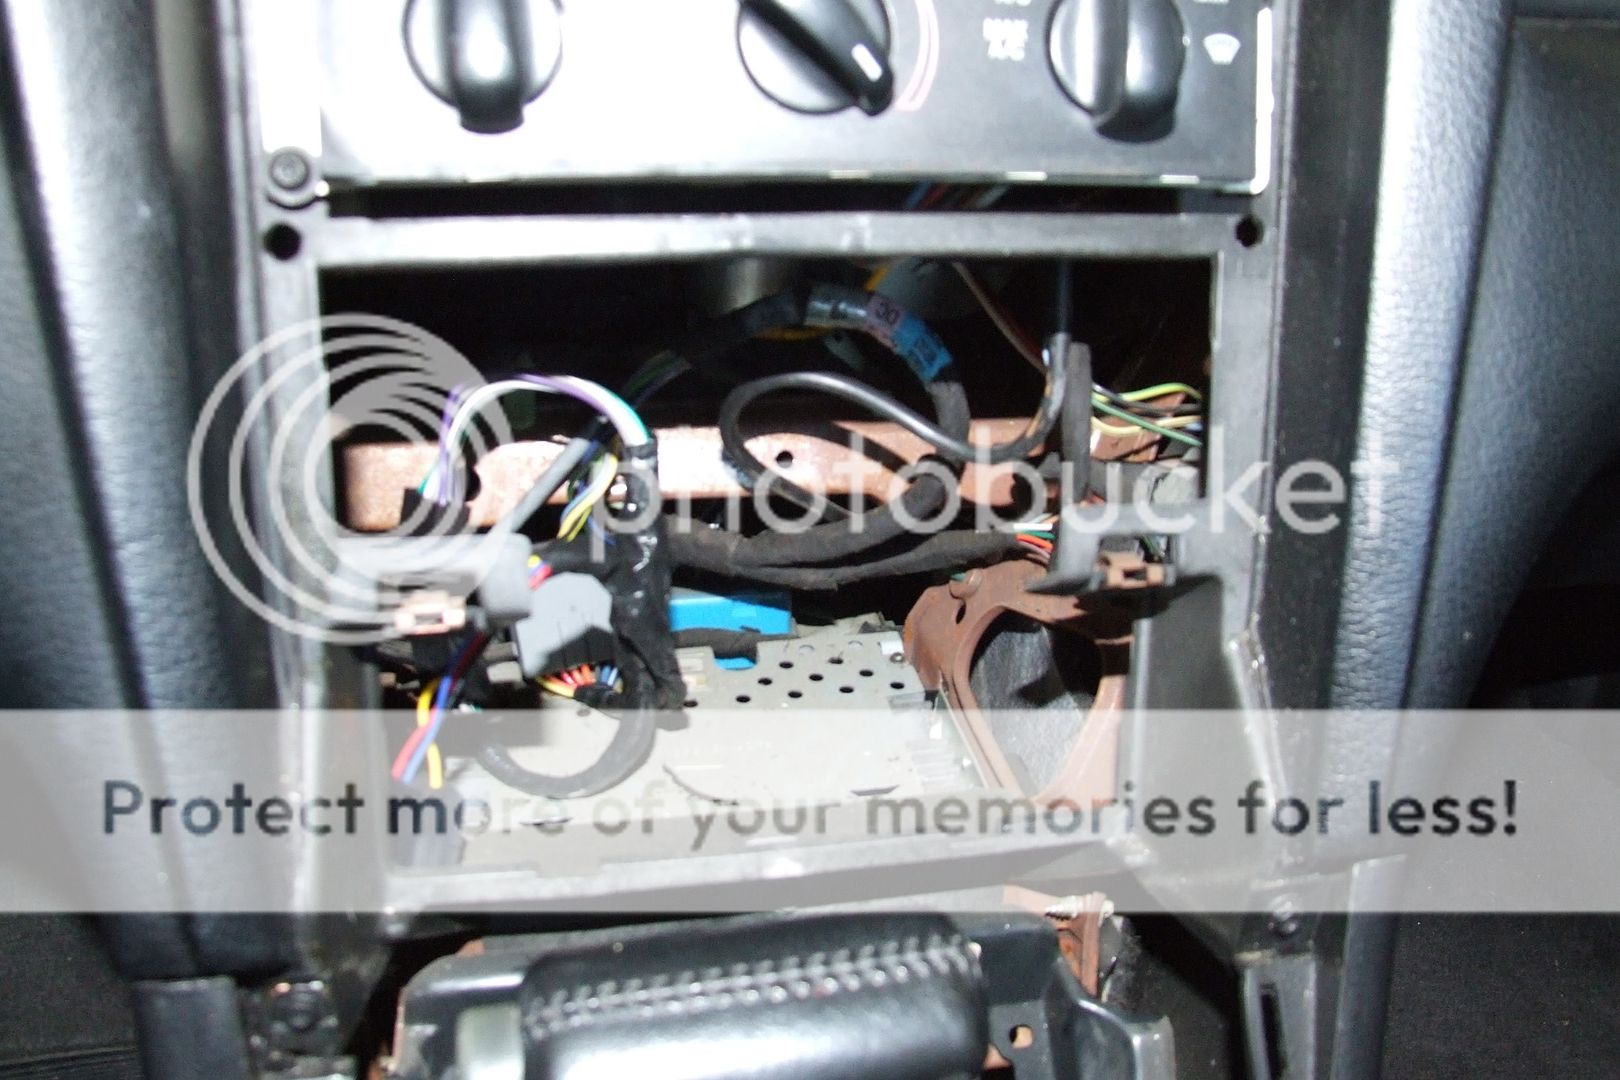
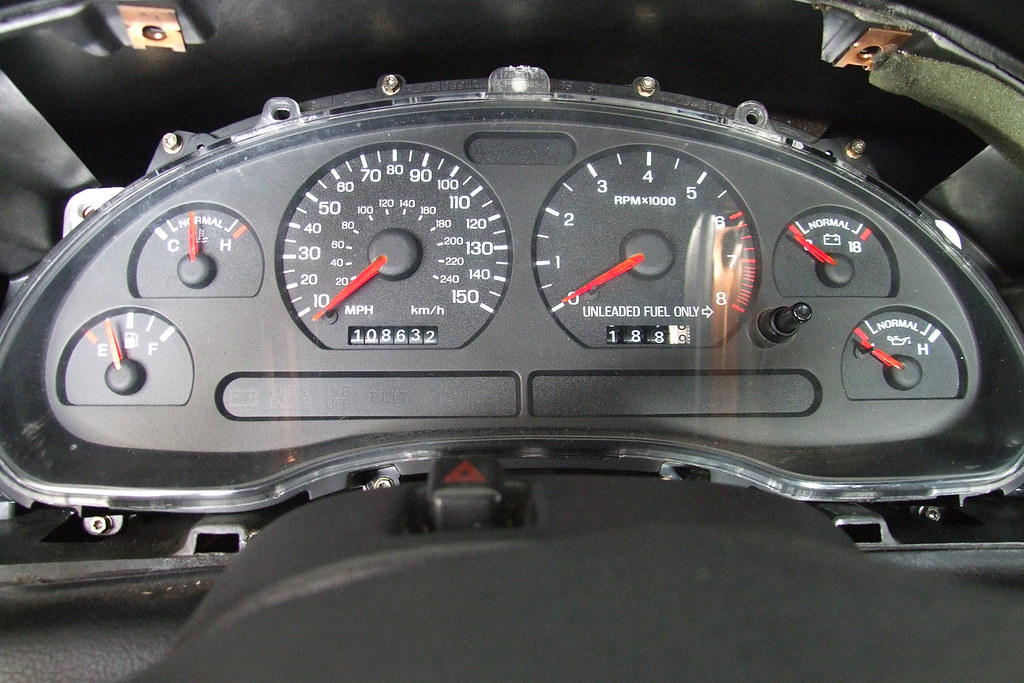
This is what you should see. Lets start with the gauge cluster.
Step 3:
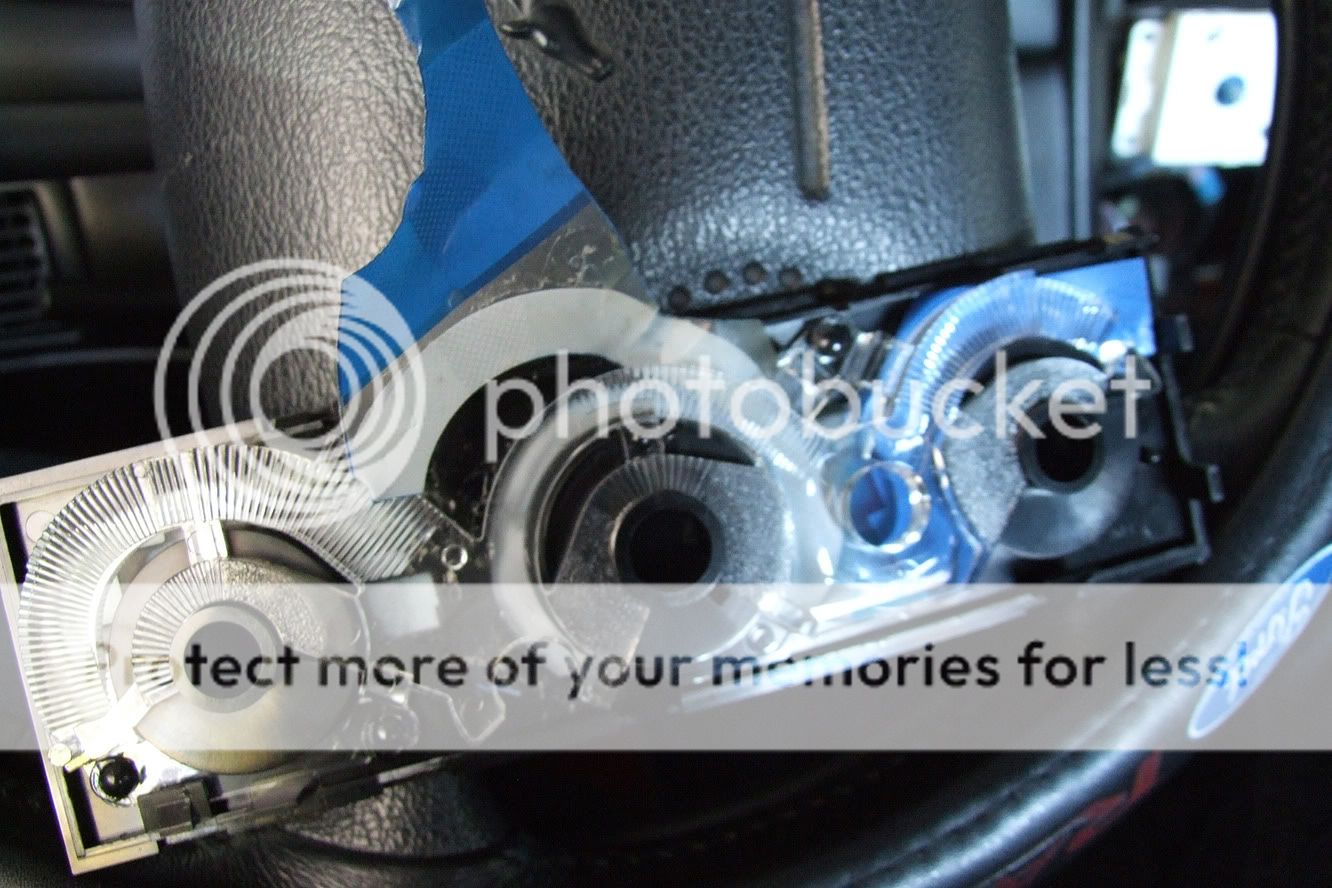
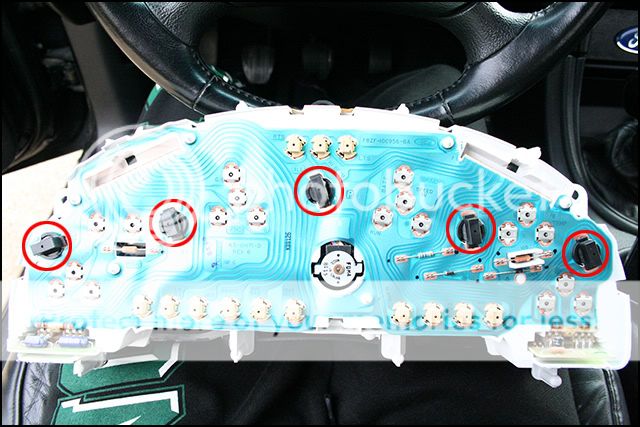
Once the gauge cluster is removed (using torx 15 screwdriver) and all connectors are removed, it should look like this:
Go ahead and pull it out and place it somewhere with room for you to work on it.

Step 4: Go ahead and remove all 8 screws holding the glass cover to the the cluster.
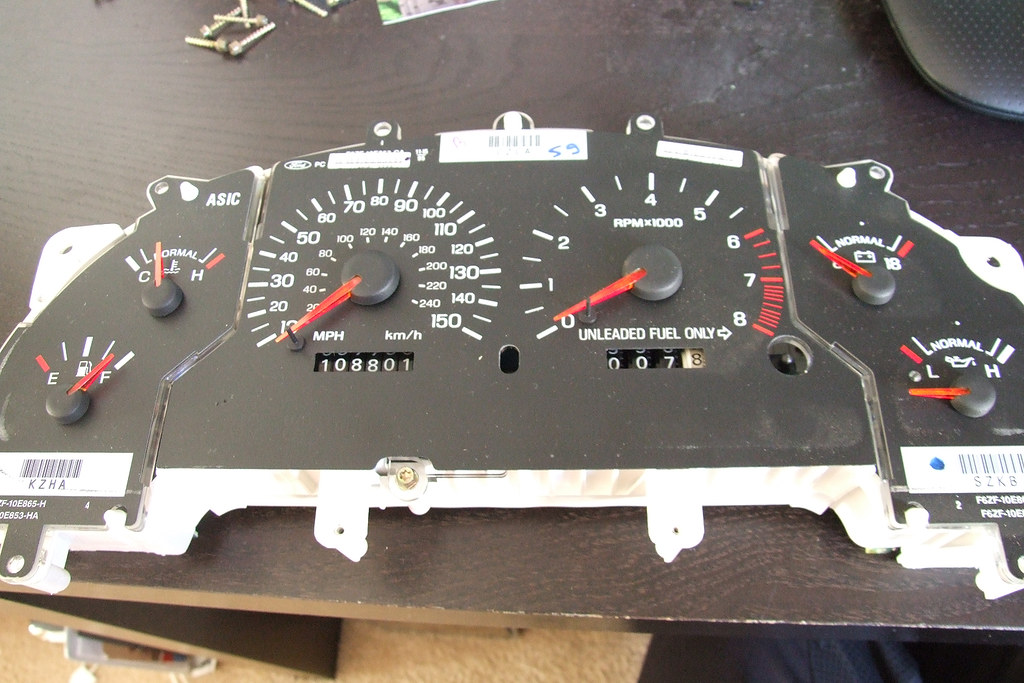
Step 5: After all is exposed, go ahead and take multiple pictures of your cluster so you can use it as reference when re-setting the needles.
Step 6: Go ahead and remove all needles by sticking a fork under them and slowly pulling upwards with firm pressure. They are hard to remove, and don't break easily, so feel free to use more pressure if they are not coming off.
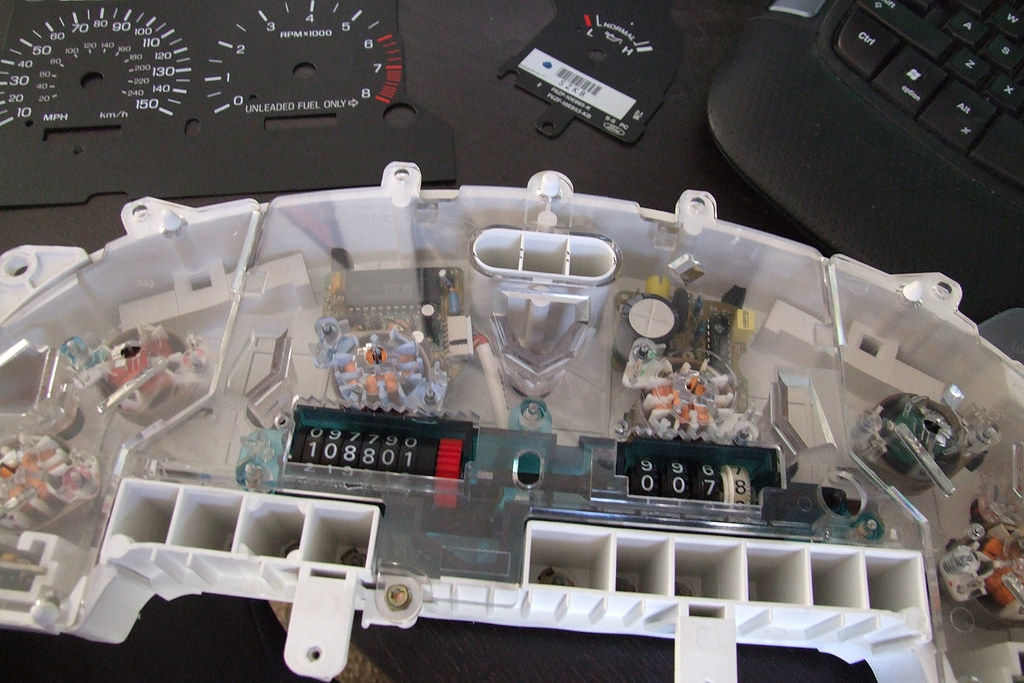
Step 7: Once the needles are off, grab a flathead screwdriver and slowly pry off the black plastic with all the indicators. It should be held down in several spots with some sort of glue/residue. To make things easier, you can use fishing line and place it under the plastic and slowly work you way towards the sides, making sure to remove the cover in all places.
Step 8: After the plastic is remove, go ahead and set the cluster aside.
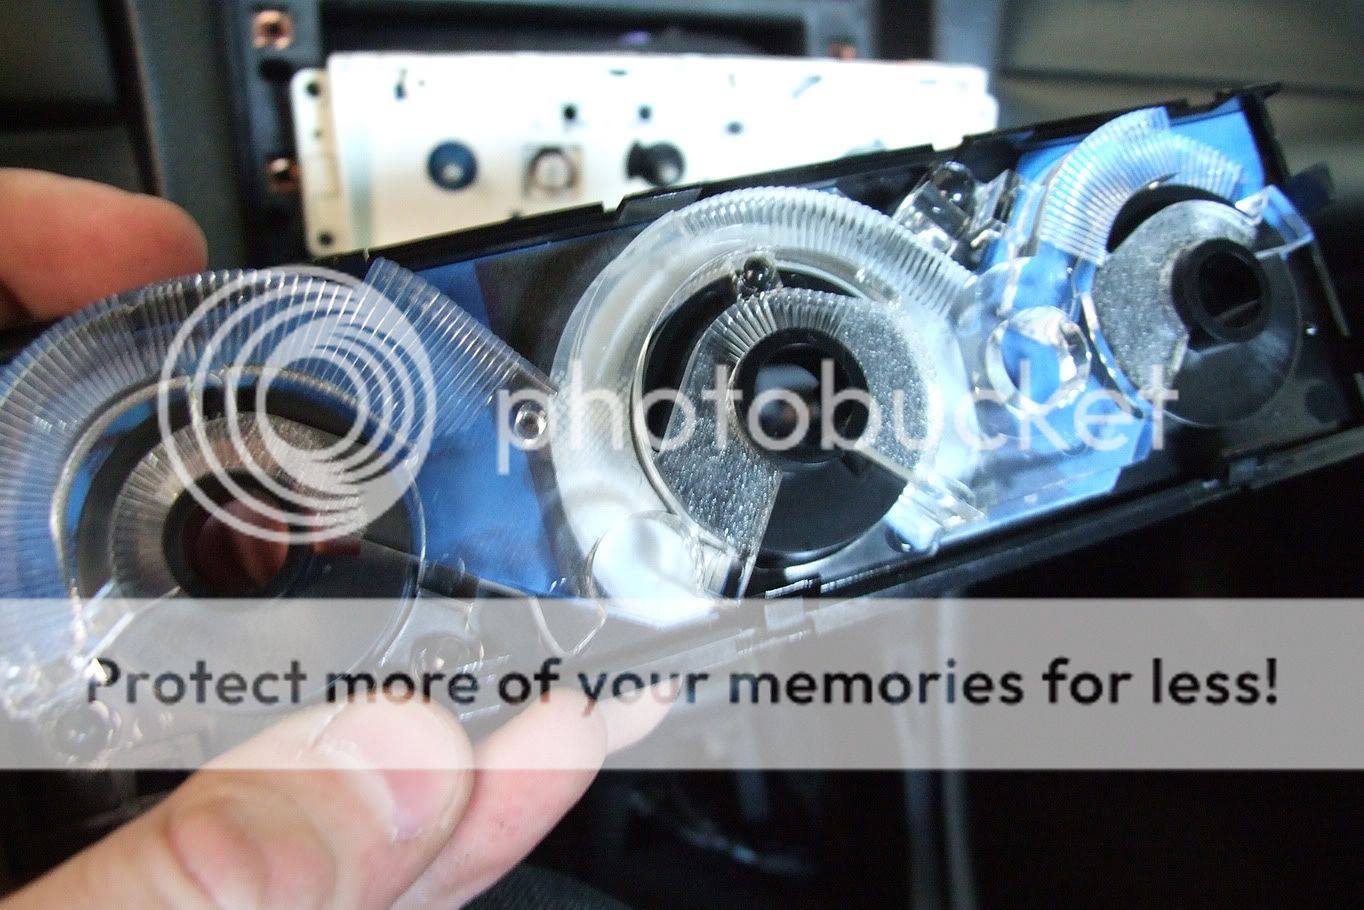
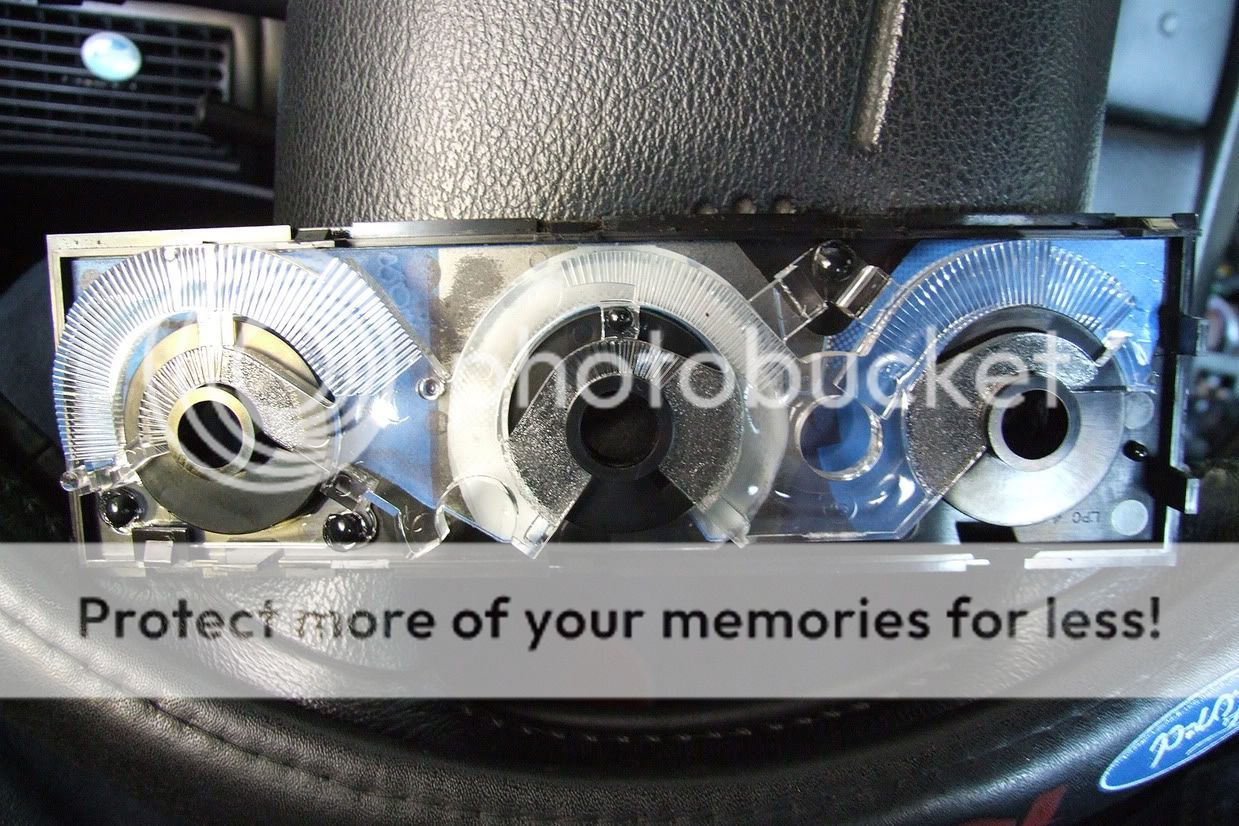
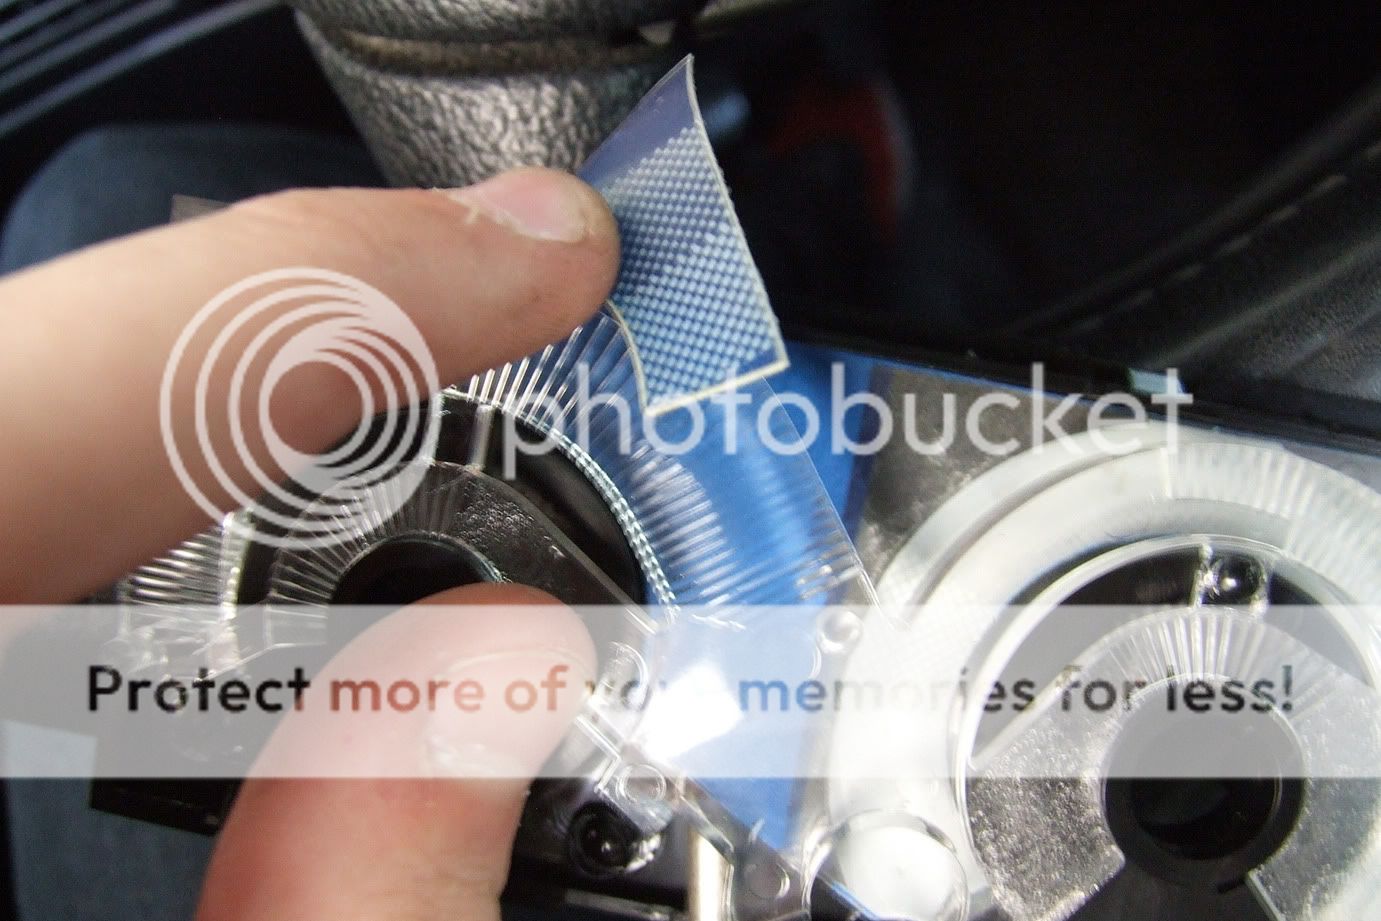
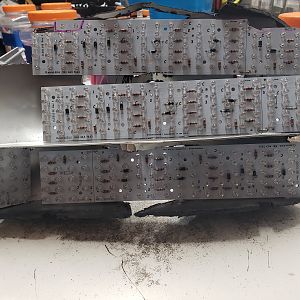
Step 8: Now flip over the black plastic parts and go ahead and take a look. You should see blue film covering all the spaces on the indicators.
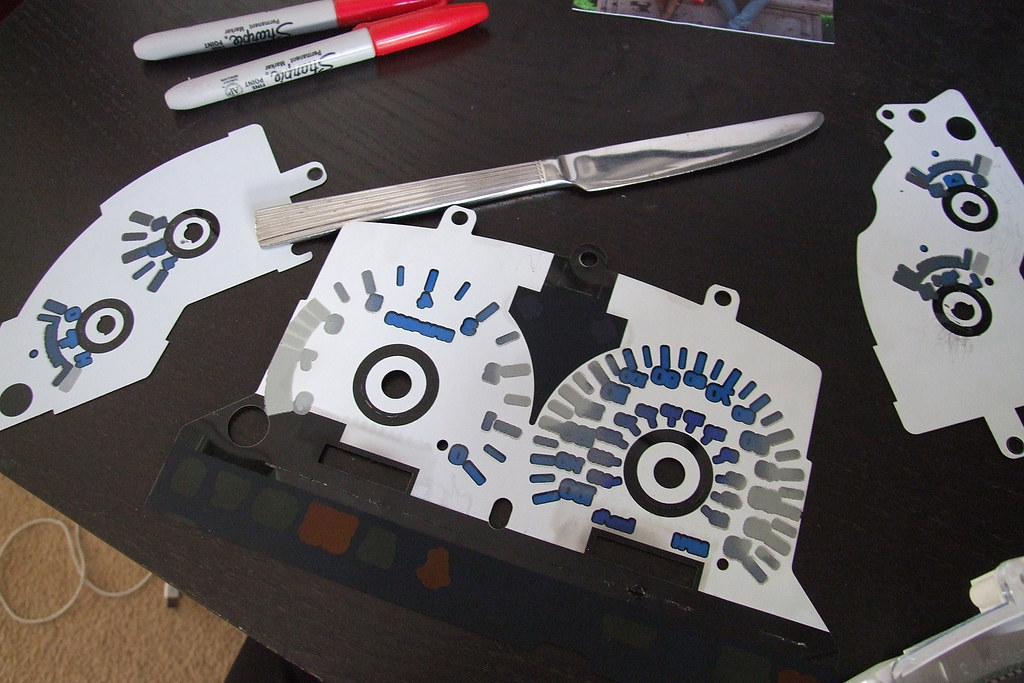
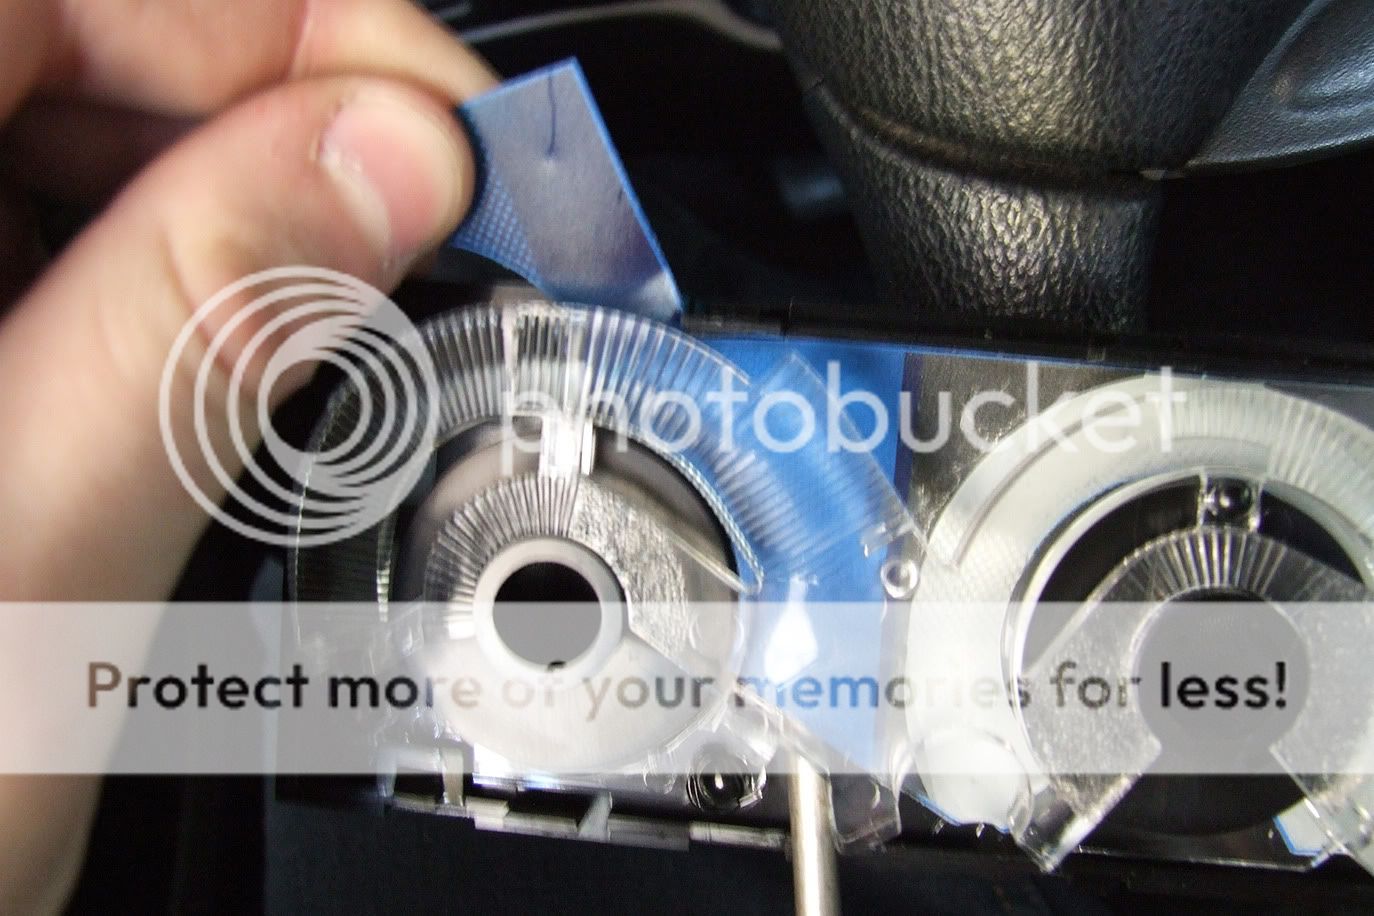
Step 9: Using a razor, knife, or sharp object, begin to scrape away at the blue film. To make this much easier, you can use sand paper (500-800-1000 grit). Go ahead and remove all the blue film you see. If you are sanding, keep sanding until the back of the cover turns black and there is not blue left. You can be as neat as you want. If you go all over the place with the sanding like i did, do not worry, it will not show once you put it back on.
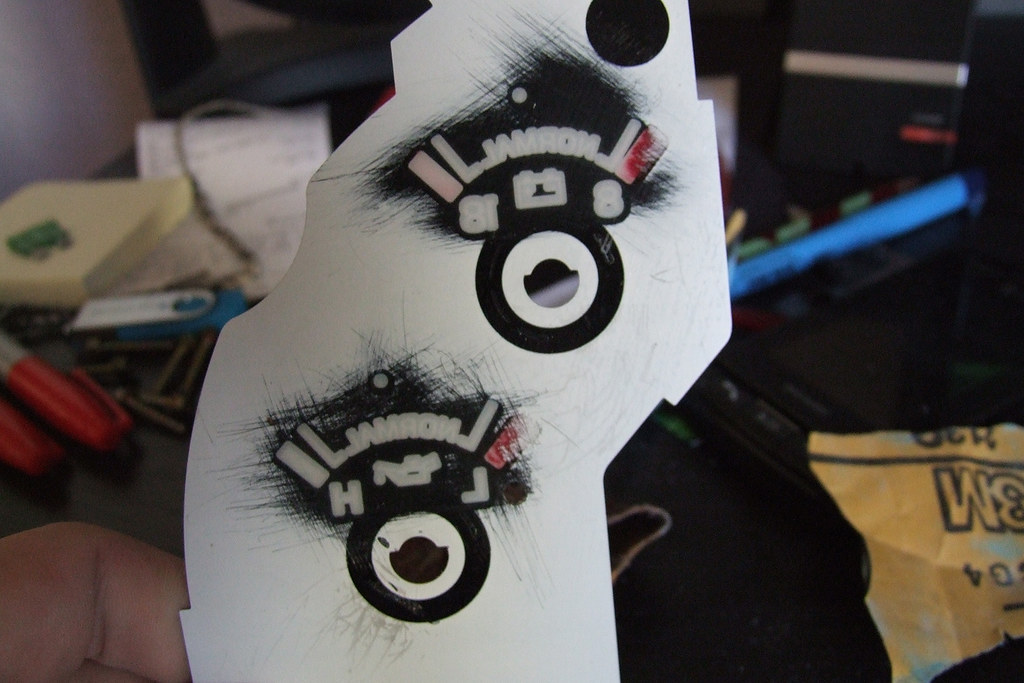
Step 10: Finish sanding the rest of the blue film.
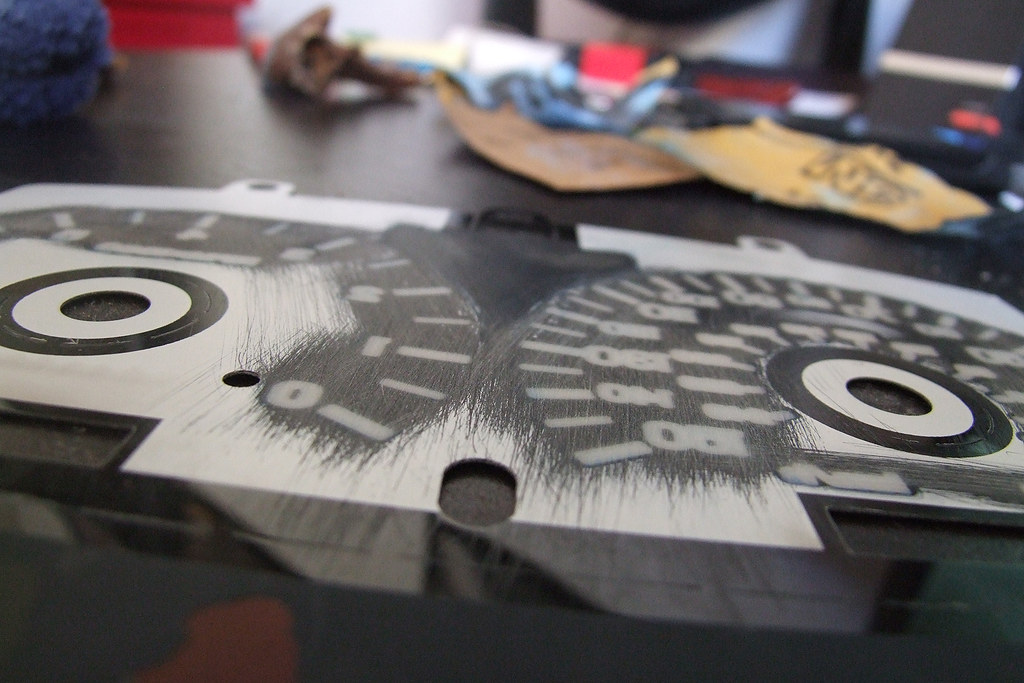
Step 11: Once everything is sanded and there is no blue film leftover, go ahead and place the plastic back on the cluster.
Step 12: Before you re-install your arrows, check the pictures you took and place the arrows EXACTLY where they were when you began.
Step 13: Place the LED bulb color of you choice in the cluster. Series 194/168 I believe.
Step 14: Then go ahead and place the cover back on, screw everything back in, and place the gauge cluster back into your car.
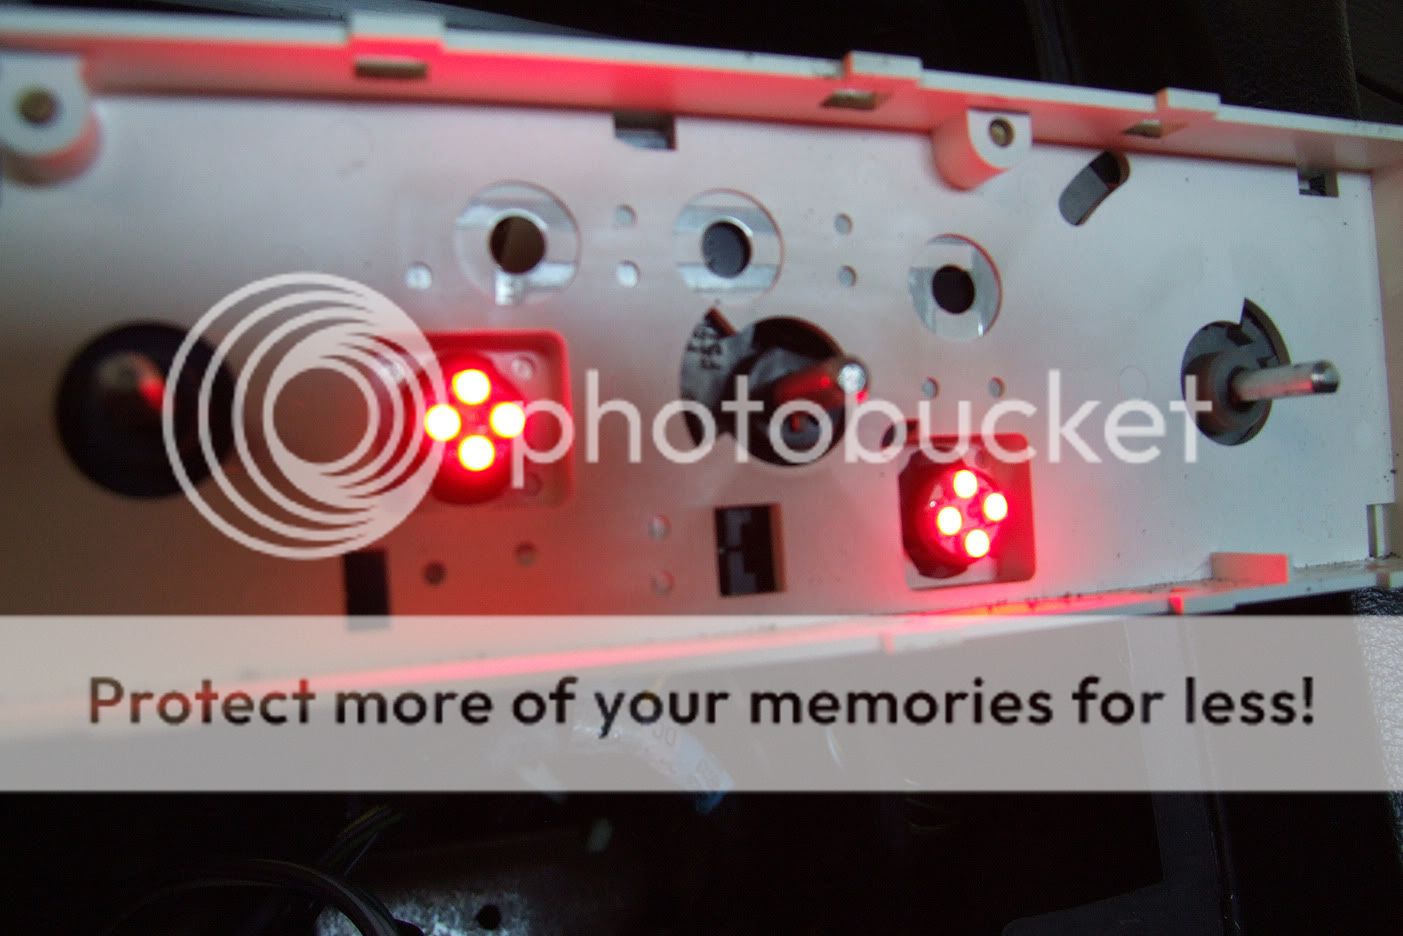
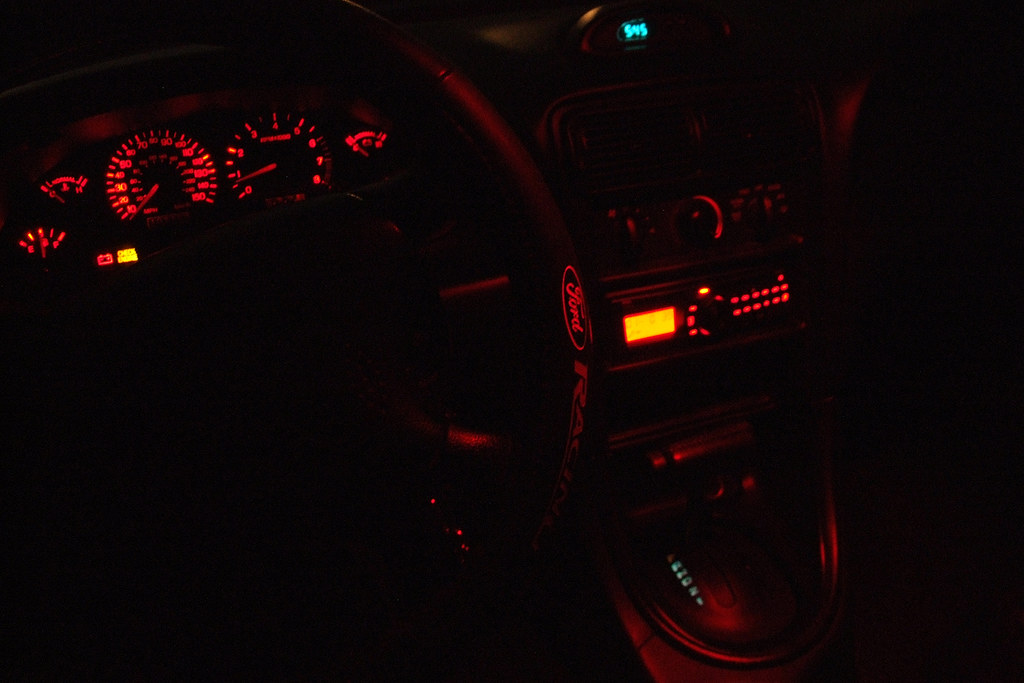
Step 15: Turn the car and lights on. Check for any bulbs that are not working or for arrows that were not placed correctly. (some may need re-adjusting).
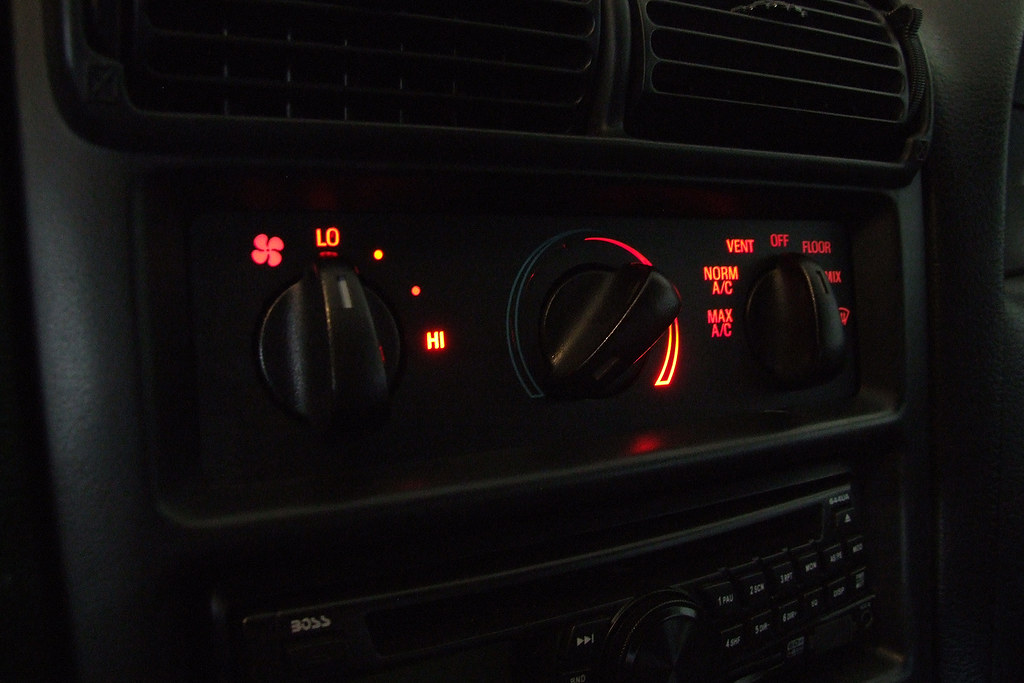
Done! Now on to the HVAC controls.
What You May Not Know
*****NOTES*****
- If you remove the film, light may not shine equally through all parts of the cluster/HVAC controls. click here for reference.
- 94-00 mustangs have blue film behind the gauges/hvac. 01-04 mustangs have a green film behind the gauges/hvac. (GT's & V6's)
- Do not attempt to remove film off the back of white face gauges.
Its a pretty simple procedure of swapping out your bulbs for some white LEDs and your gauges and HVAC will then appear blue.
Here is the how-to on that: http://sn95forums.com/showthread.php?14693-SN95-LED-Gauge-Cluster
Now what you may not know, is that you can convert your gauges and HVAC to ANY color you'd like with a few more steps.
The reason that your gauges and hvac appear blue is because there is blue film located behind each of the indicators. From the factory, you are supplied with amber bulbs. If you put an amber bulb behind blue film (yellow + blue) the outcome becomes green, as seen in the cluster and hvac from the factory. When swapping in white or blue LED's the bulb diffuses with the film and creates a very ambient blue. However, if you put a red bulb or a green bulb, the light will not shine through the density of the film without losing light. The solution to this is to simply remove the film. Once the film is removed, any color bulb or LED that you get, will shine through without blending or having to go through a film. The original color or the LED/bulb will be the color your gauge cluster and HVAC appears.
Step 1:
Proceed to remove the cluster and HVAC controls from the dashboard.
(http://sn95forums.com/showthread.php?14693-SN95-LED-Gauge-Cluster) Once everything is removed and you have all component exposed, its time to start the process of removing the film.
Step 2:
This is what you should see. Lets start with the gauge cluster.
Step 3:
Once the gauge cluster is removed (using torx 15 screwdriver) and all connectors are removed, it should look like this:
Go ahead and pull it out and place it somewhere with room for you to work on it.
Step 4: Go ahead and remove all 8 screws holding the glass cover to the the cluster.
Step 5: After all is exposed, go ahead and take multiple pictures of your cluster so you can use it as reference when re-setting the needles.
Step 6: Go ahead and remove all needles by sticking a fork under them and slowly pulling upwards with firm pressure. They are hard to remove, and don't break easily, so feel free to use more pressure if they are not coming off.
Step 7: Once the needles are off, grab a flathead screwdriver and slowly pry off the black plastic with all the indicators. It should be held down in several spots with some sort of glue/residue. To make things easier, you can use fishing line and place it under the plastic and slowly work you way towards the sides, making sure to remove the cover in all places.
Step 8: After the plastic is remove, go ahead and set the cluster aside.
Step 8: Now flip over the black plastic parts and go ahead and take a look. You should see blue film covering all the spaces on the indicators.
Step 9: Using a razor, knife, or sharp object, begin to scrape away at the blue film. To make this much easier, you can use sand paper (500-800-1000 grit). Go ahead and remove all the blue film you see. If you are sanding, keep sanding until the back of the cover turns black and there is not blue left. You can be as neat as you want. If you go all over the place with the sanding like i did, do not worry, it will not show once you put it back on.
Step 10: Finish sanding the rest of the blue film.
Step 11: Once everything is sanded and there is no blue film leftover, go ahead and place the plastic back on the cluster.
Step 12: Before you re-install your arrows, check the pictures you took and place the arrows EXACTLY where they were when you began.
Step 13: Place the LED bulb color of you choice in the cluster. Series 194/168 I believe.
Step 14: Then go ahead and place the cover back on, screw everything back in, and place the gauge cluster back into your car.
Step 15: Turn the car and lights on. Check for any bulbs that are not working or for arrows that were not placed correctly. (some may need re-adjusting).
Done! Now on to the HVAC controls.