2slo95fiveoh
Well-Known Member
Ha. Thanks.. At least I know I have 2 votes for ROTM, whichever month it is.. maybe July.. idk. That is my birth month, so that'd be cool, but the car kinda has to get done first. haha.


 ).. I'm tired of using a 2x4 as a hood prop.. haha.
UPDATE!
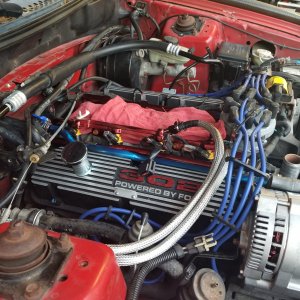
-So I got a little extra time to work on the car. I built a small bracket out of sheet metal to move the coolant resevoir slightly more towards the center of the car to avoid contact with the headlight adjusting 'stud'.
-I forgot to take pictures (not that it looks any different) while I was doing it, but I swapped the 3.33" blower pulley in favor of a 3.12" pulley. When it comes time to get the car tuned and I'm not seeing the 12 pounds of boost I would like, then I will swap to my other pulley, a 2.95".
-The extent of diagnosing my headlights and foglights not turning on was flipping the plug-into-ballast socket around. I'm glad it was something simple, unfortunately I had to pull the front bumper, lights, and bumper support to do so. But it's all back together now.
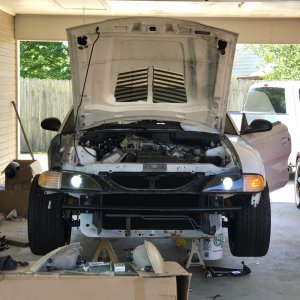
You can get a rough idea of the color of the bulbs (foglights are 6000k, headlights are 800k):

With the bumper on:

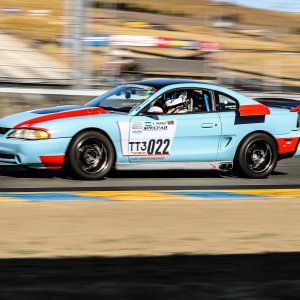
I really like the way the front end looks, both in daylight and at night with those HIDs.. It will be bright, thats for sure!
-Then I moved onto the shifter area. I added transmission fluid (Royal Purple Syncromax) to the transmission from the shifter location, then bolted the shifter base on:

Attached the insulating boot:

Shifter handle:

And finally the shift boot and shift knob. Man has it been a while since I've seen that:

I finished wiring up my line lock (I still need to tidy up some of those wires, etc):

Then tried it out to make sure the switch is powering up the solonoid.. Yup, light comes on, and solonoid 'clicks' when turned on, so that's good news:

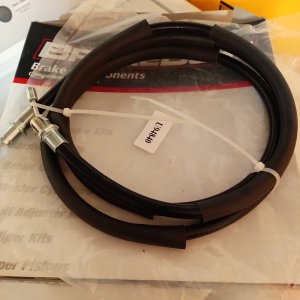
-Then I moved on to the charcoal canister. Through a small amount of investigation I believe the 'mystery hose' leading to the canister originally came from the smog system, but since that isn't used anymore I just capped that port off. I forgot to take a picture of it installed but heres the comparison between new and old:

After that I started messing with my serpentine belt fitment, and one more trip back to the parts store should get me the proper length belt. This week, while time will be somewhat limited, my plan is to diagnose my 20 amp alternator fuse short-to-ground, buy/prep/paint my passenger side hood hinge, then possibly fiddle with my on-going battle with the aftermarket hood strut kit.
Questions/comments always welcome.
^Thanks.
Yeah 460rwhp is a ballpark for what I would like to see, but I would sacrifice dyno #s for great driveability.. My last setup (Trickflow H/C/I basically) only put down 290rwhp, but I could start it up any time, drive any distance, shut it off, restart it and it would idle perfect, no hesitations, no dying, it was really nice.
I hope to have the car tuned around the first of June. A local guy who knows his stuff when it comes to OBD-1 Fords is moving to a new location, yada yada, and won't be up and running until 'June-ish' he says.
I still haven't gotten with him to discuss details with my setup, what to change etc.. I will have to mention the IAT vs boost issue. I had considered running meth though.. perhaps I will start that research process.


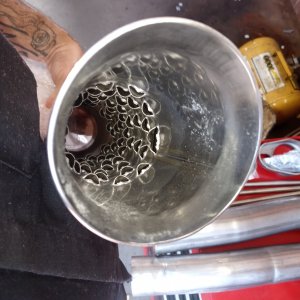
My tailpipes are also pretty off. I believe mine are due to a shitty fitting midpipe though.
The pipes cleaned up real good though. Nice work.