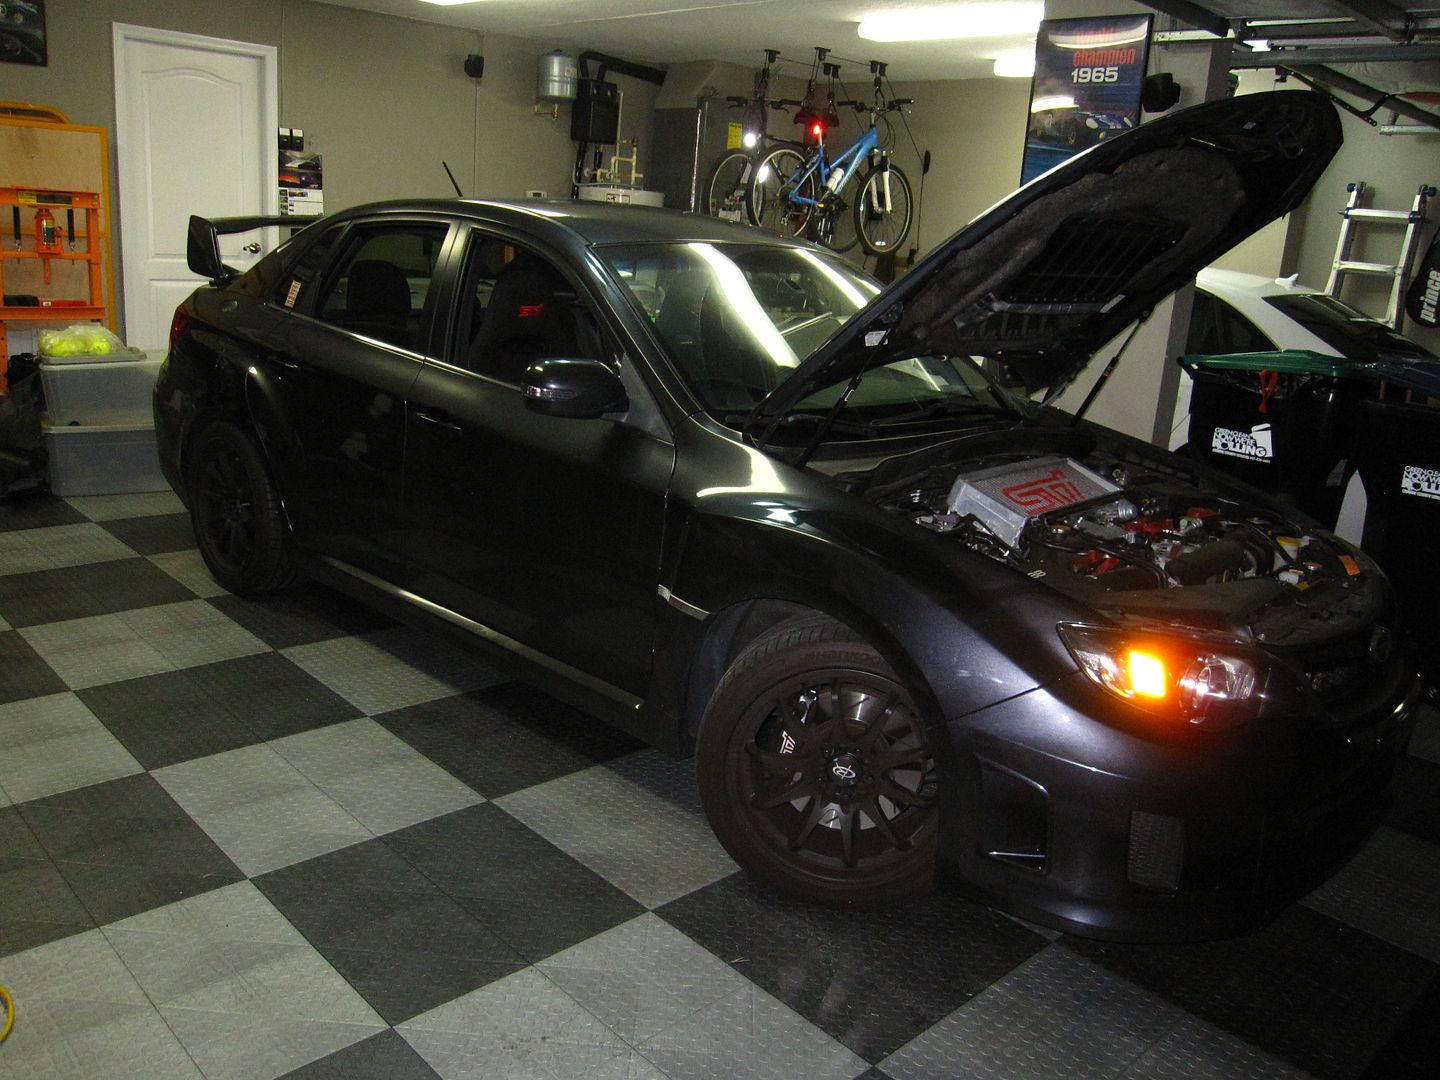
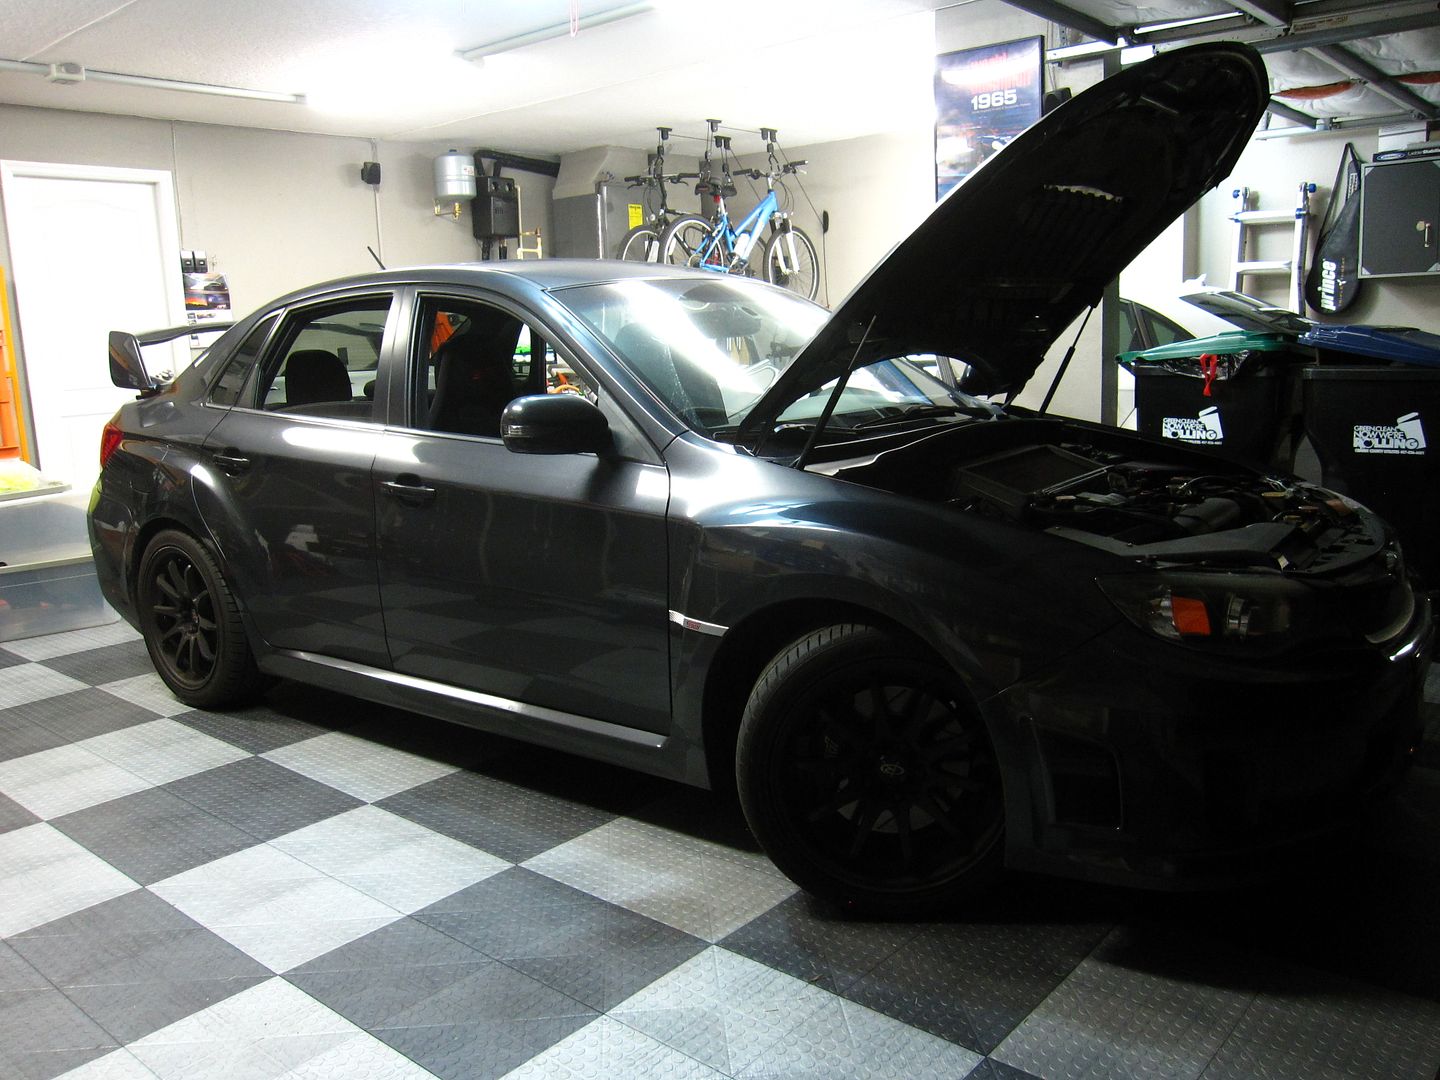
Hey everyone, decided to do an update to the audio in my '11 STI. I already have an aftermarket head unit in the car (I'm pretty sure I had a thread on this but I can't find it) and I currently have an old Rockford Fosgate amp and an old Rockford Fosgate Punch P2 10" sub. Otherwise, stock speakers. Typically I just install an amp (either bridged or a mono) to run a sub and run the other speakers off the head unit. Lately though, thinking about a potential "new to me" car, I got the itch to update the STI. I decided to see what running the other speakers off an amp was like.
I did some looking around to see what's out there as it's been quite a while. I'm not excited about running 2 amps but what else could I do? Ah ha! I see now there are 5-channel amps. Two amps built into the same chassis: a 4-channel and a mono. Well. That's just super.
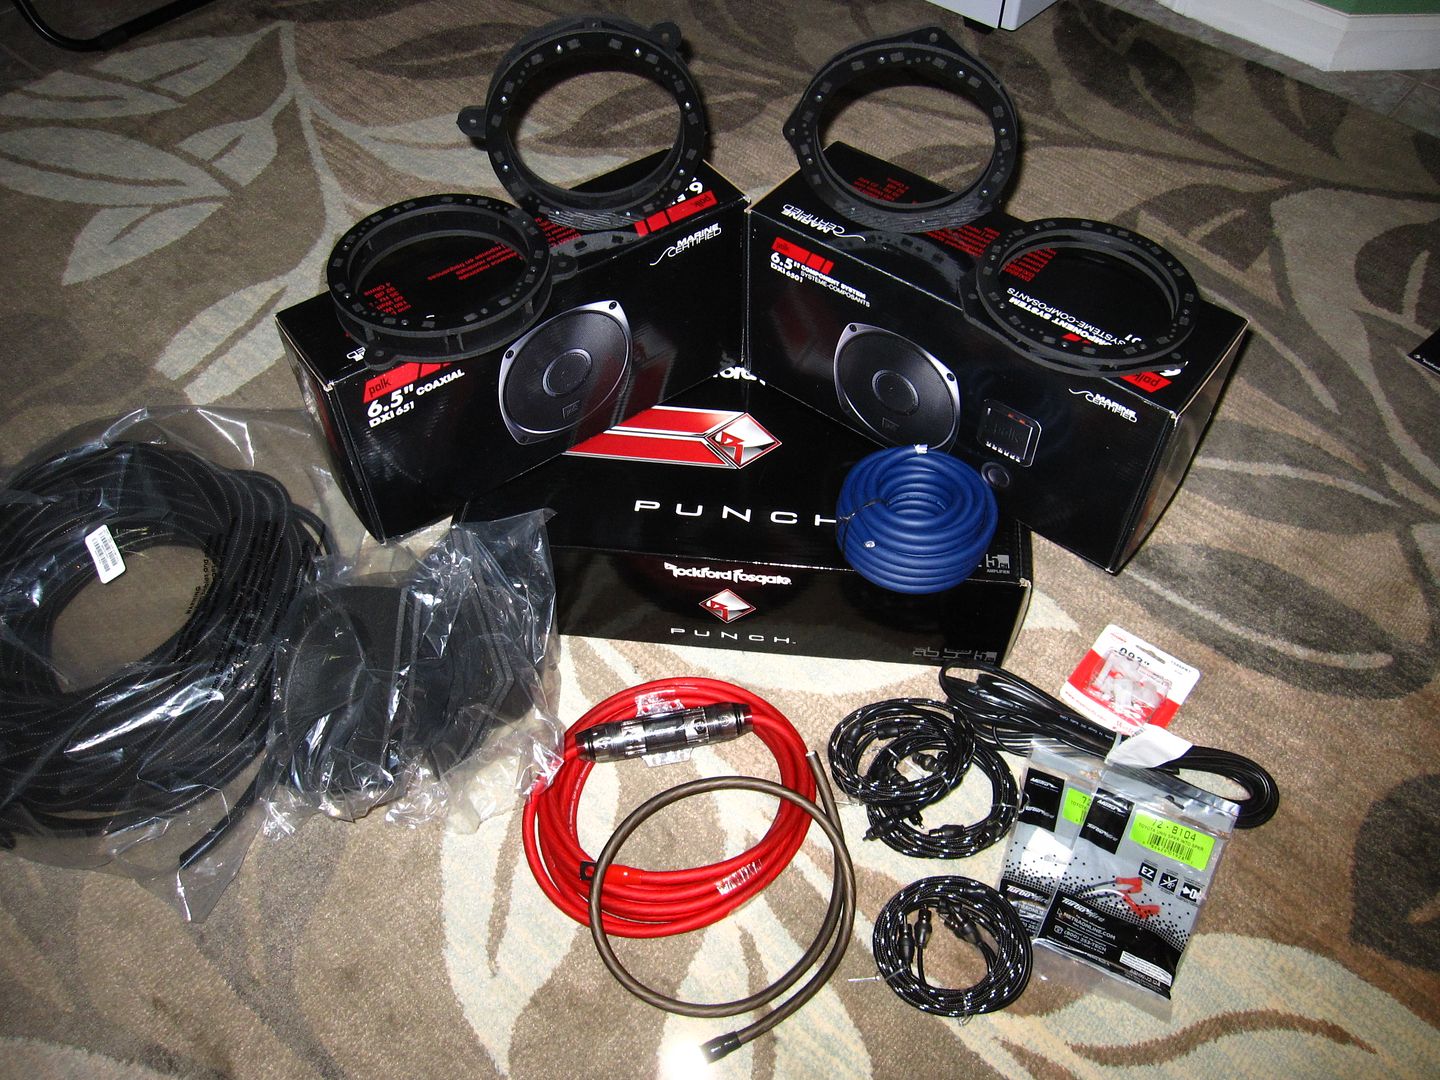
So I picked out my amp, picked out my new speakers, all the additional stuffs I will need for the install, and ordered it all up. This post will document my install because hey, why not. Some might find it interesting.
On to the audio bits!
Alright, so what do we have here...
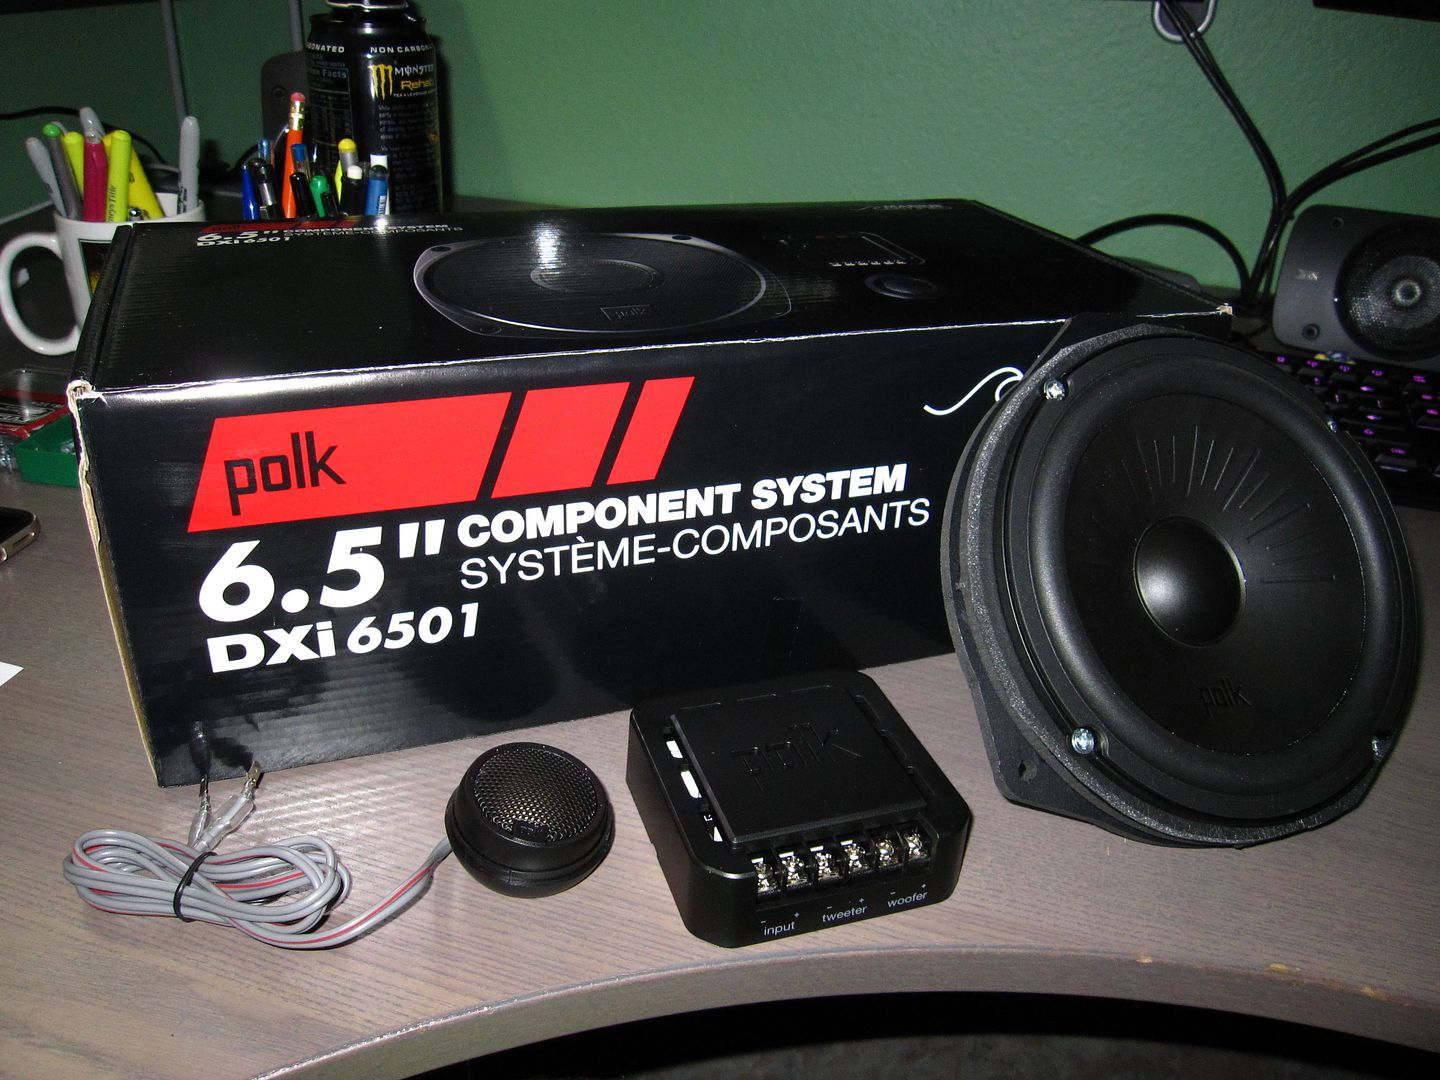
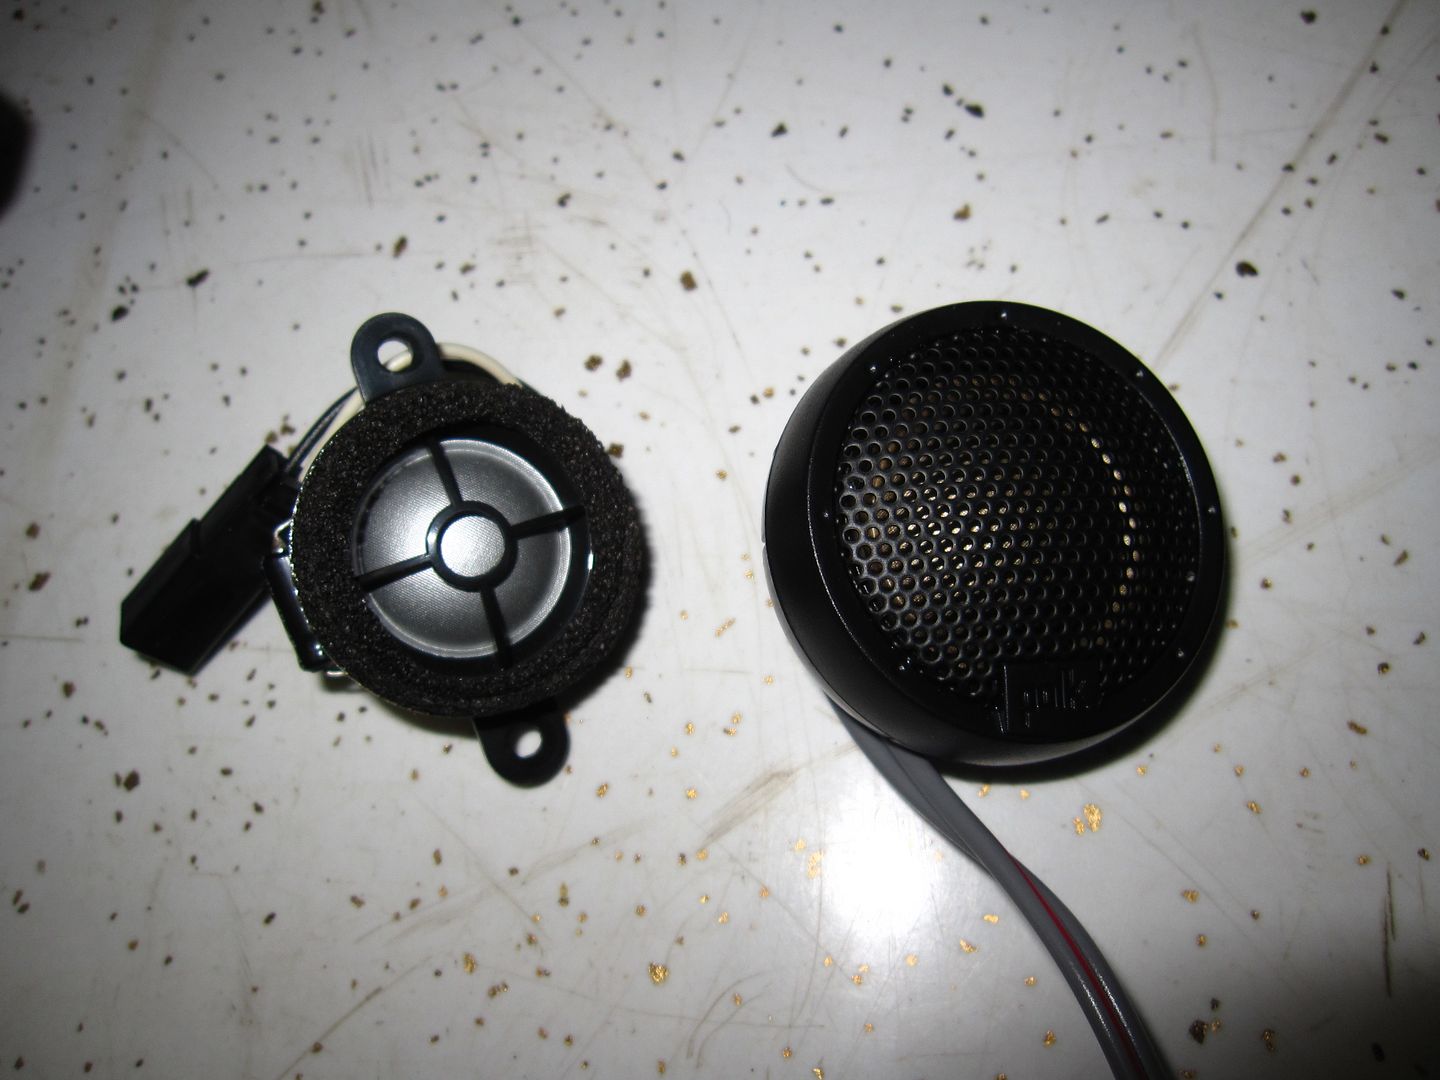
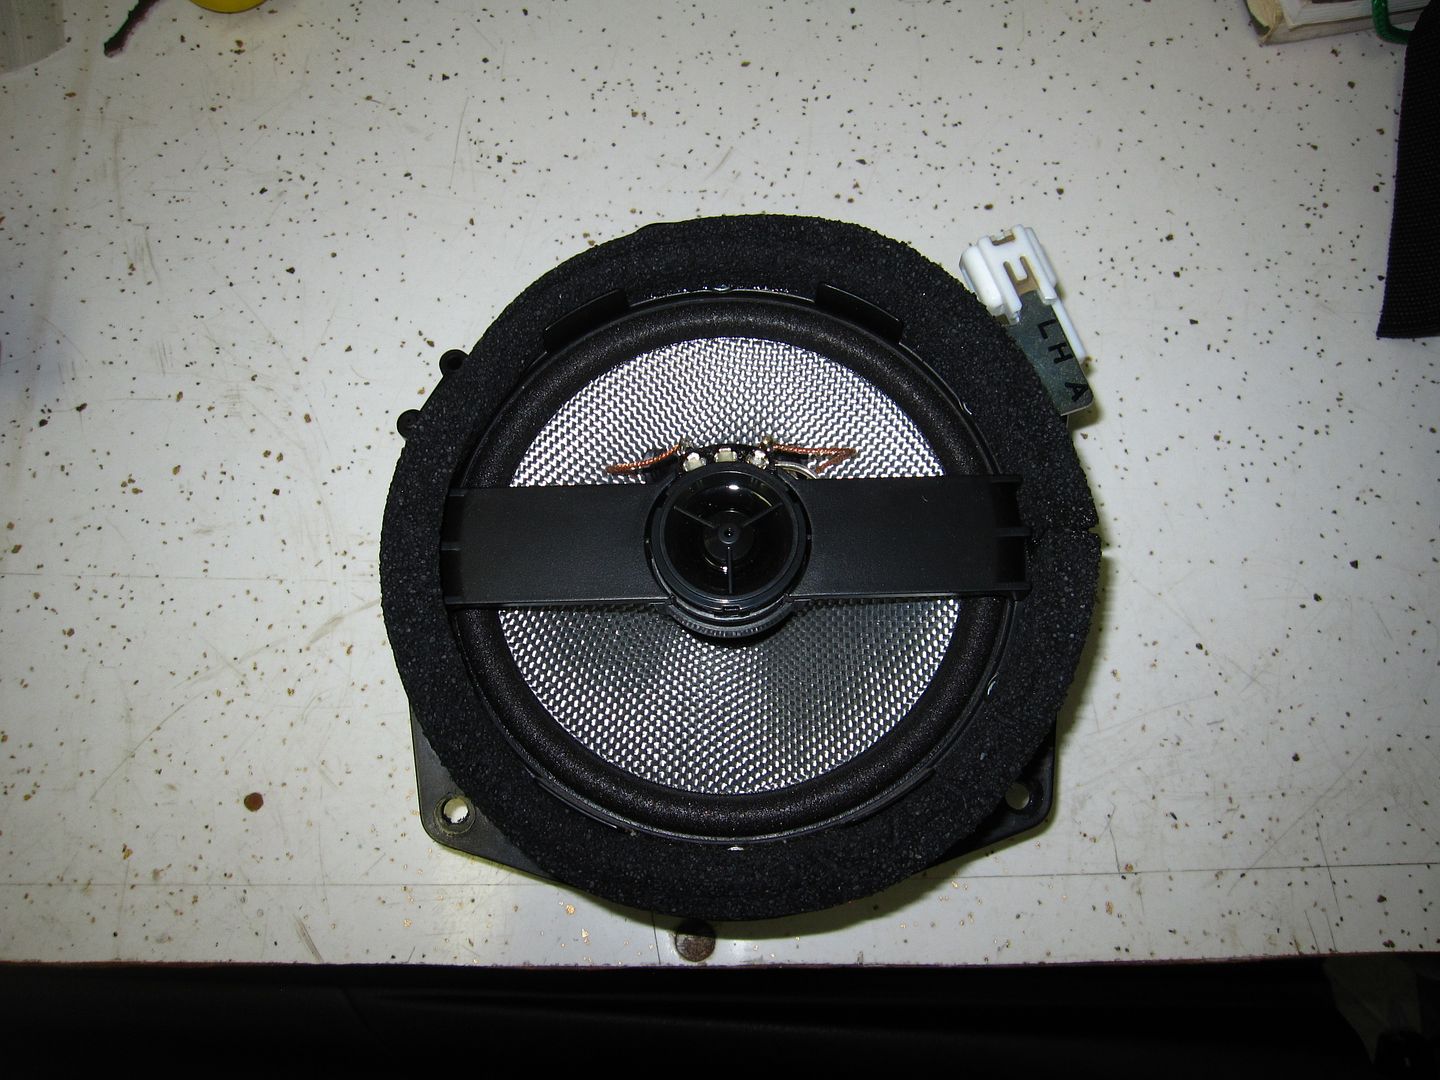
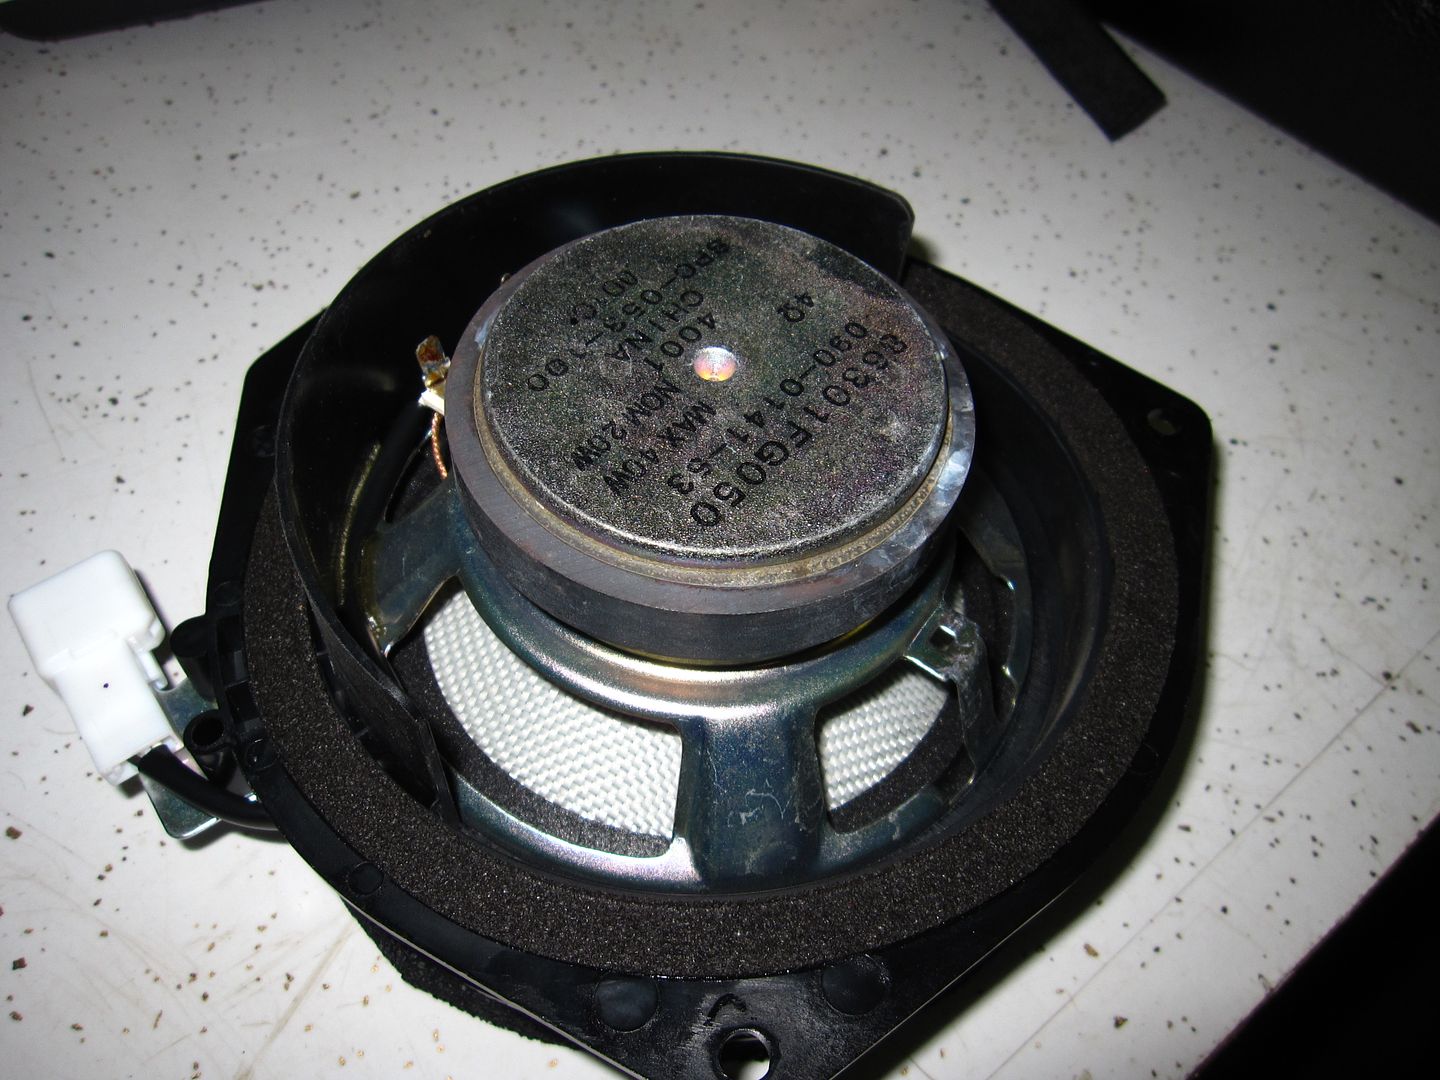
Front Door Speakers
Rear Door Speakers
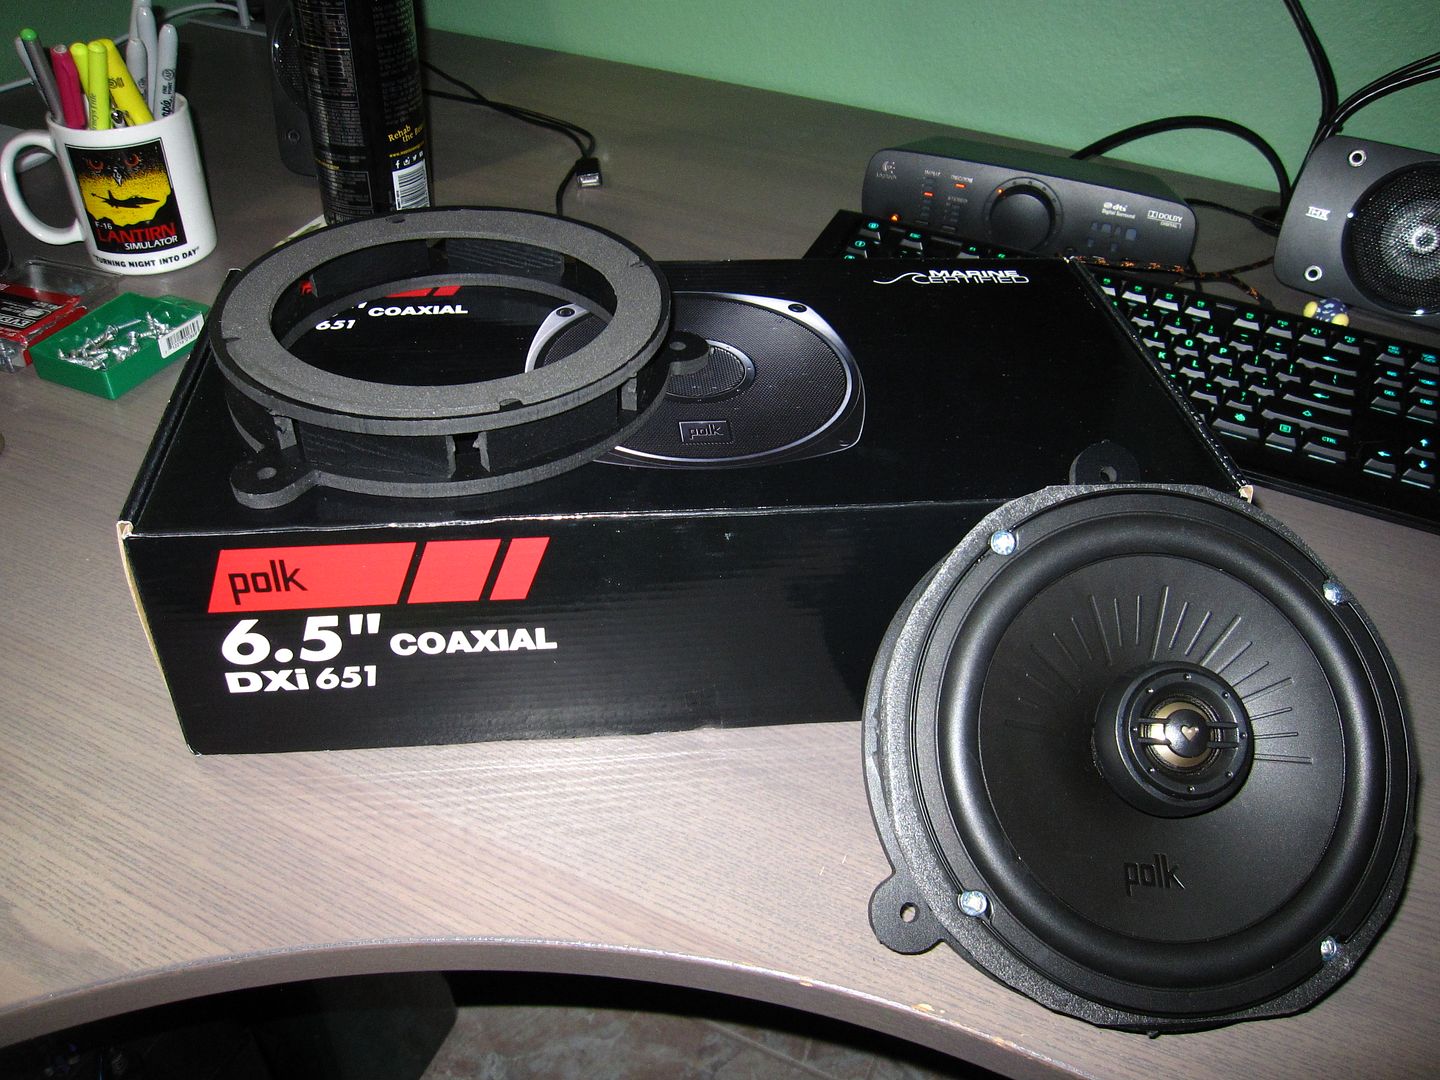
Not really much to say about these guys. I like Polk Audio speakers. I expect these to sound pretty good. The front door speakers are 100 Watts RMS, and the rears are 60 Watts RMS.
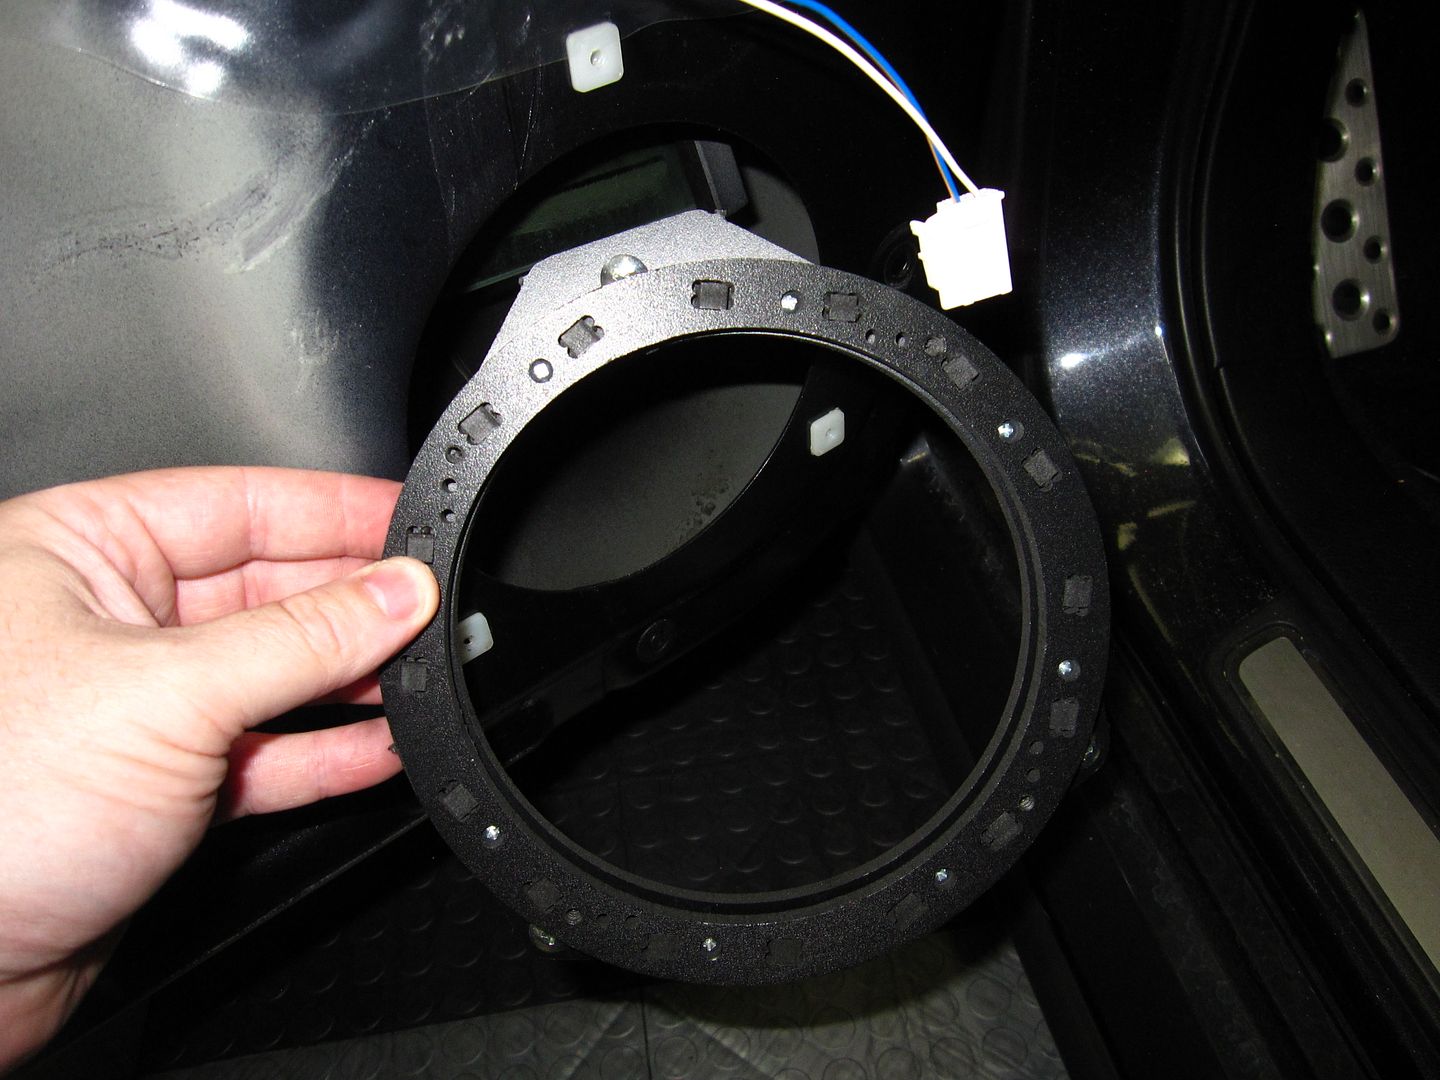
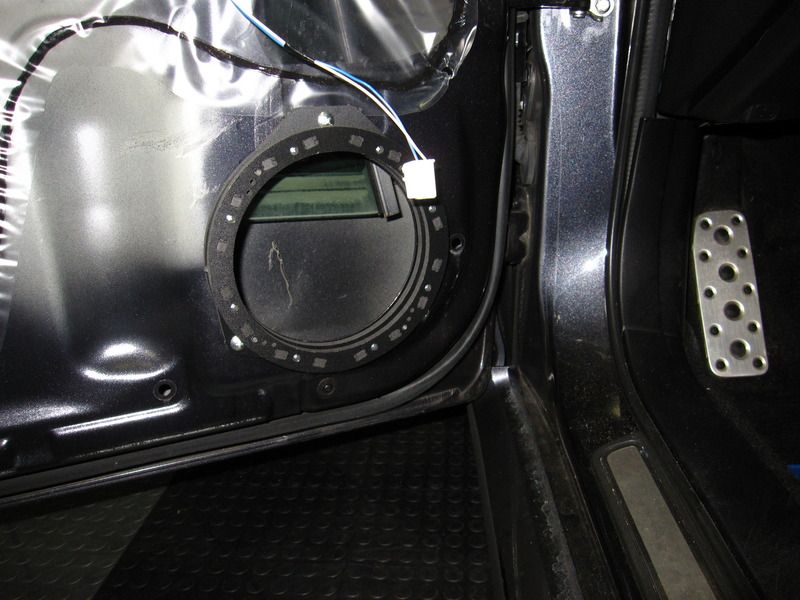
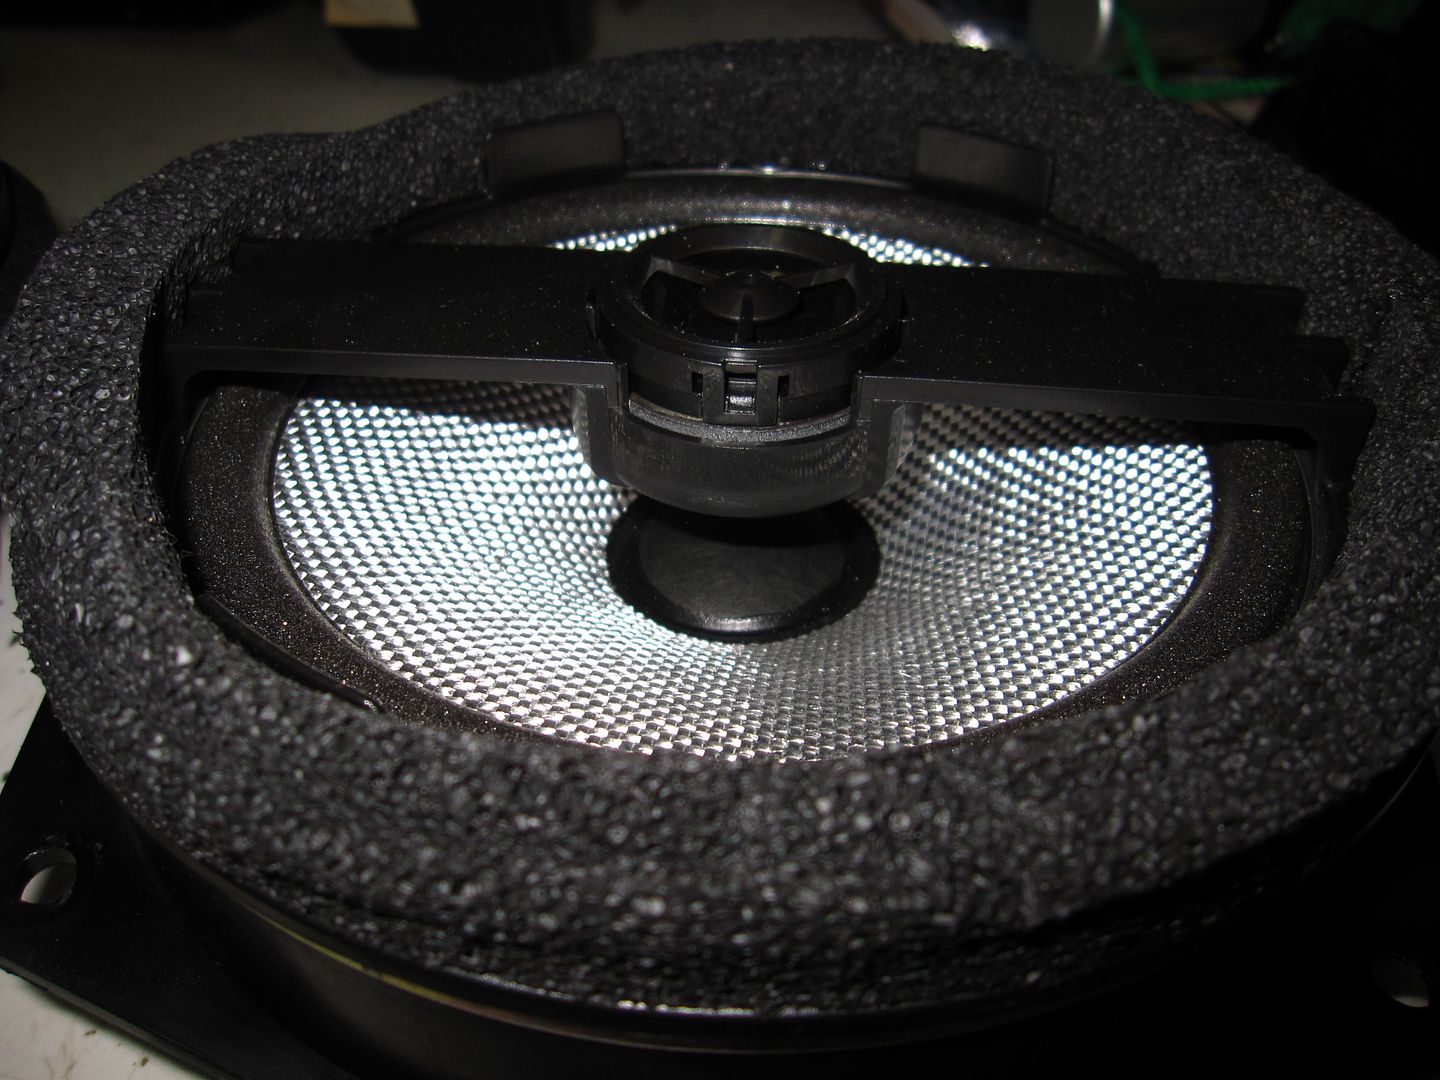
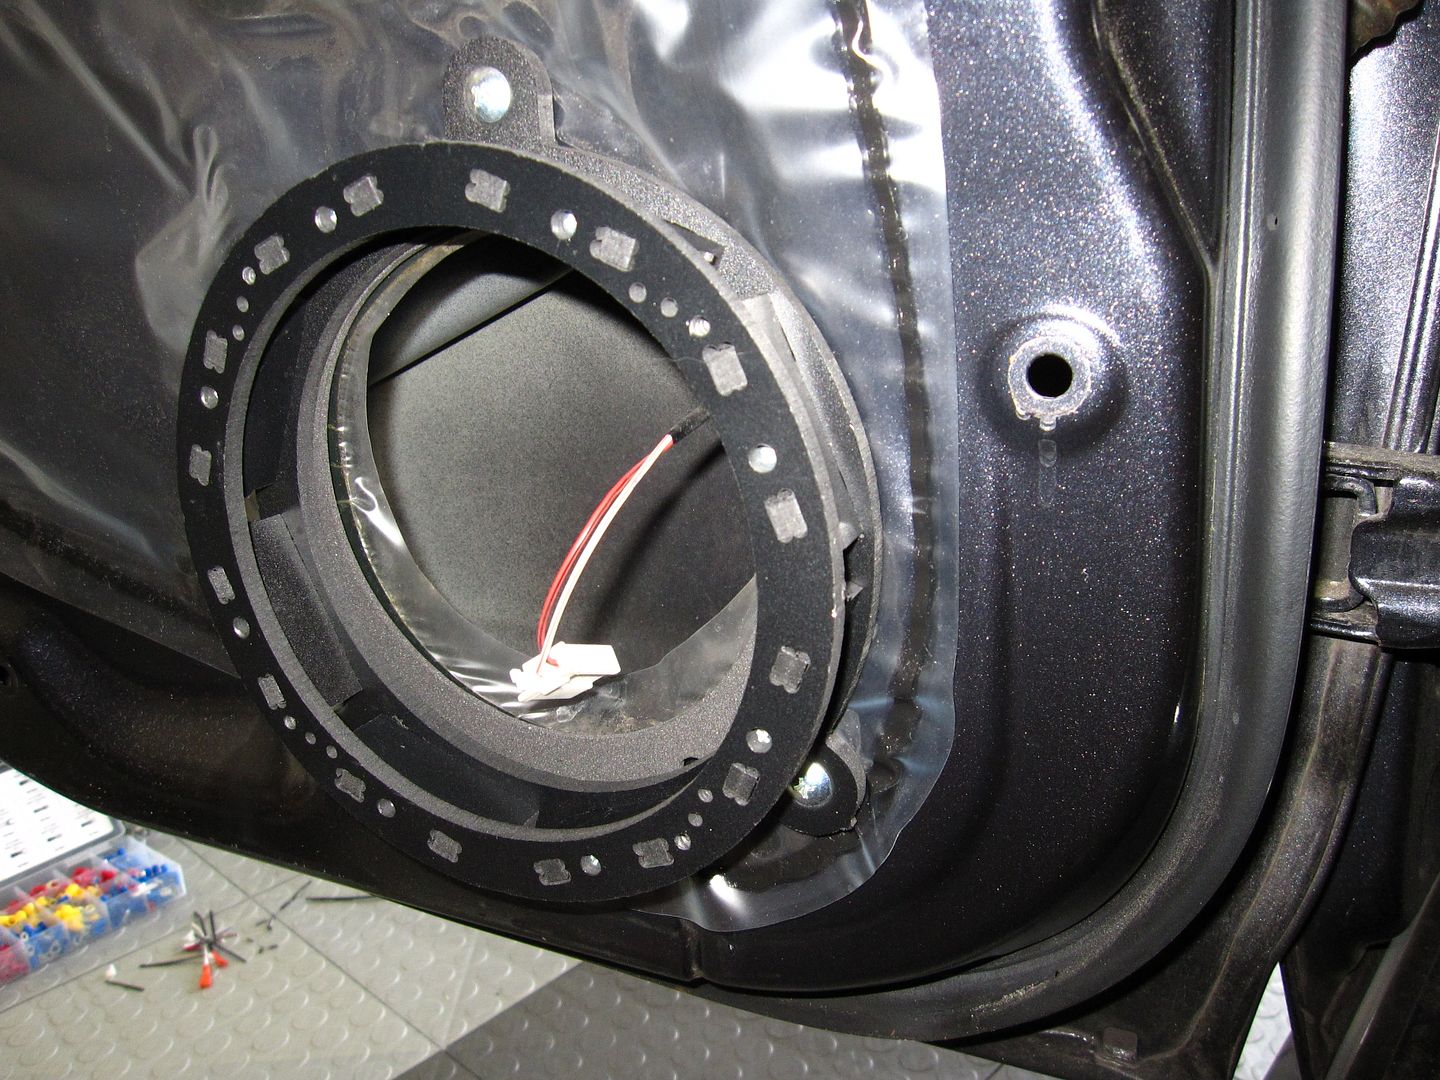
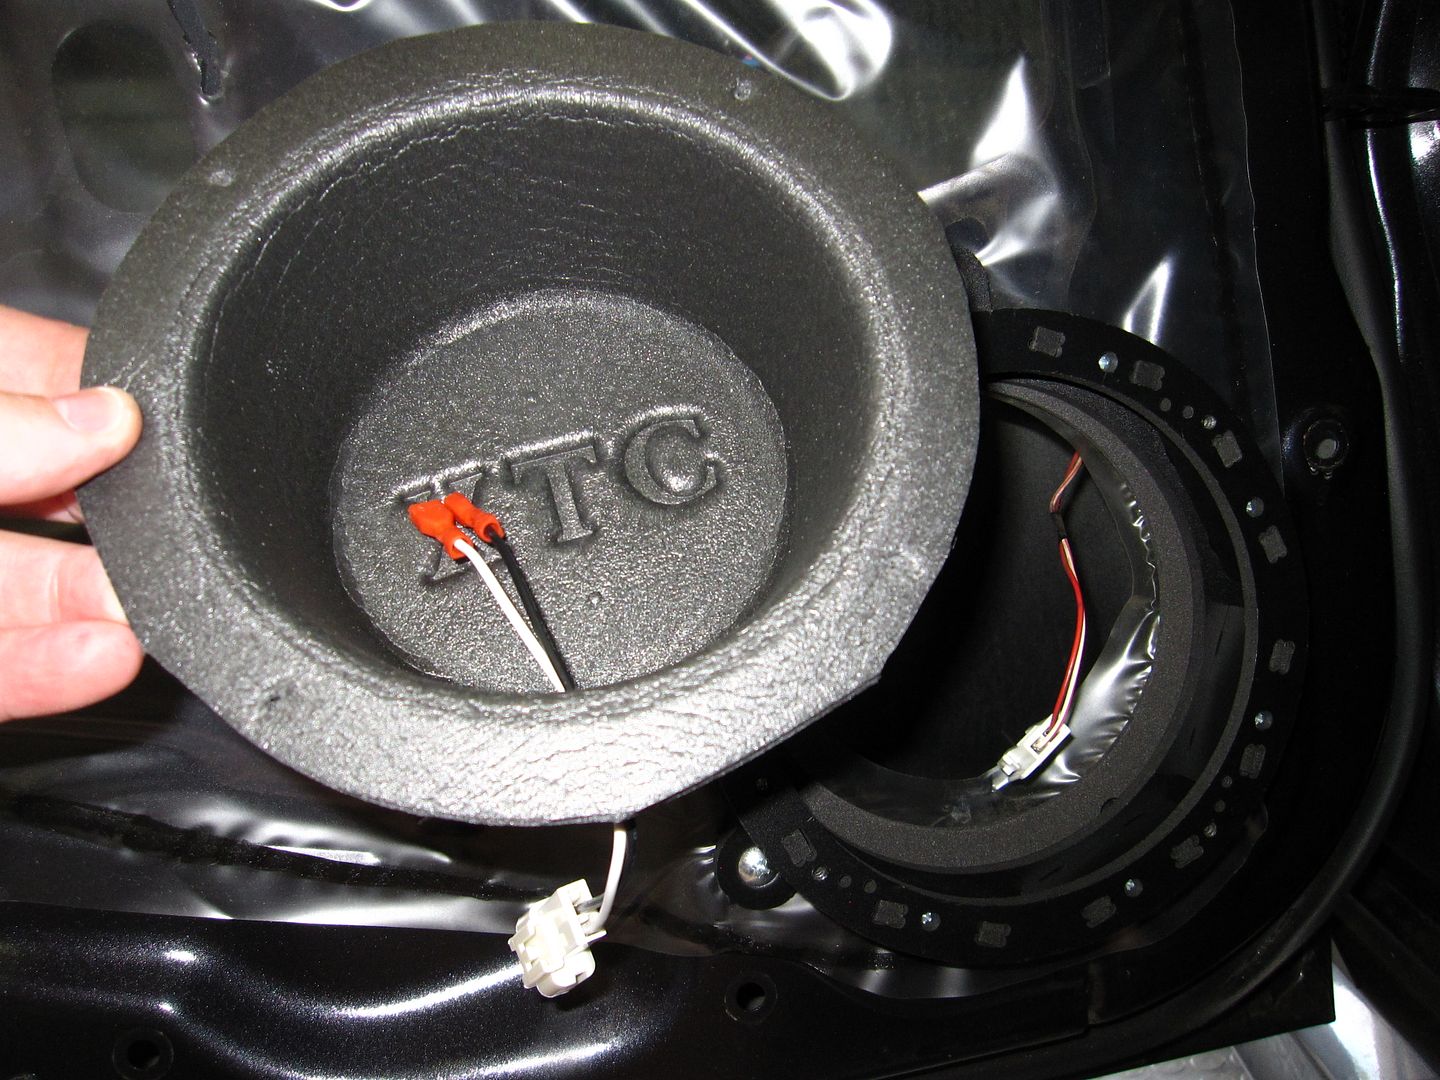
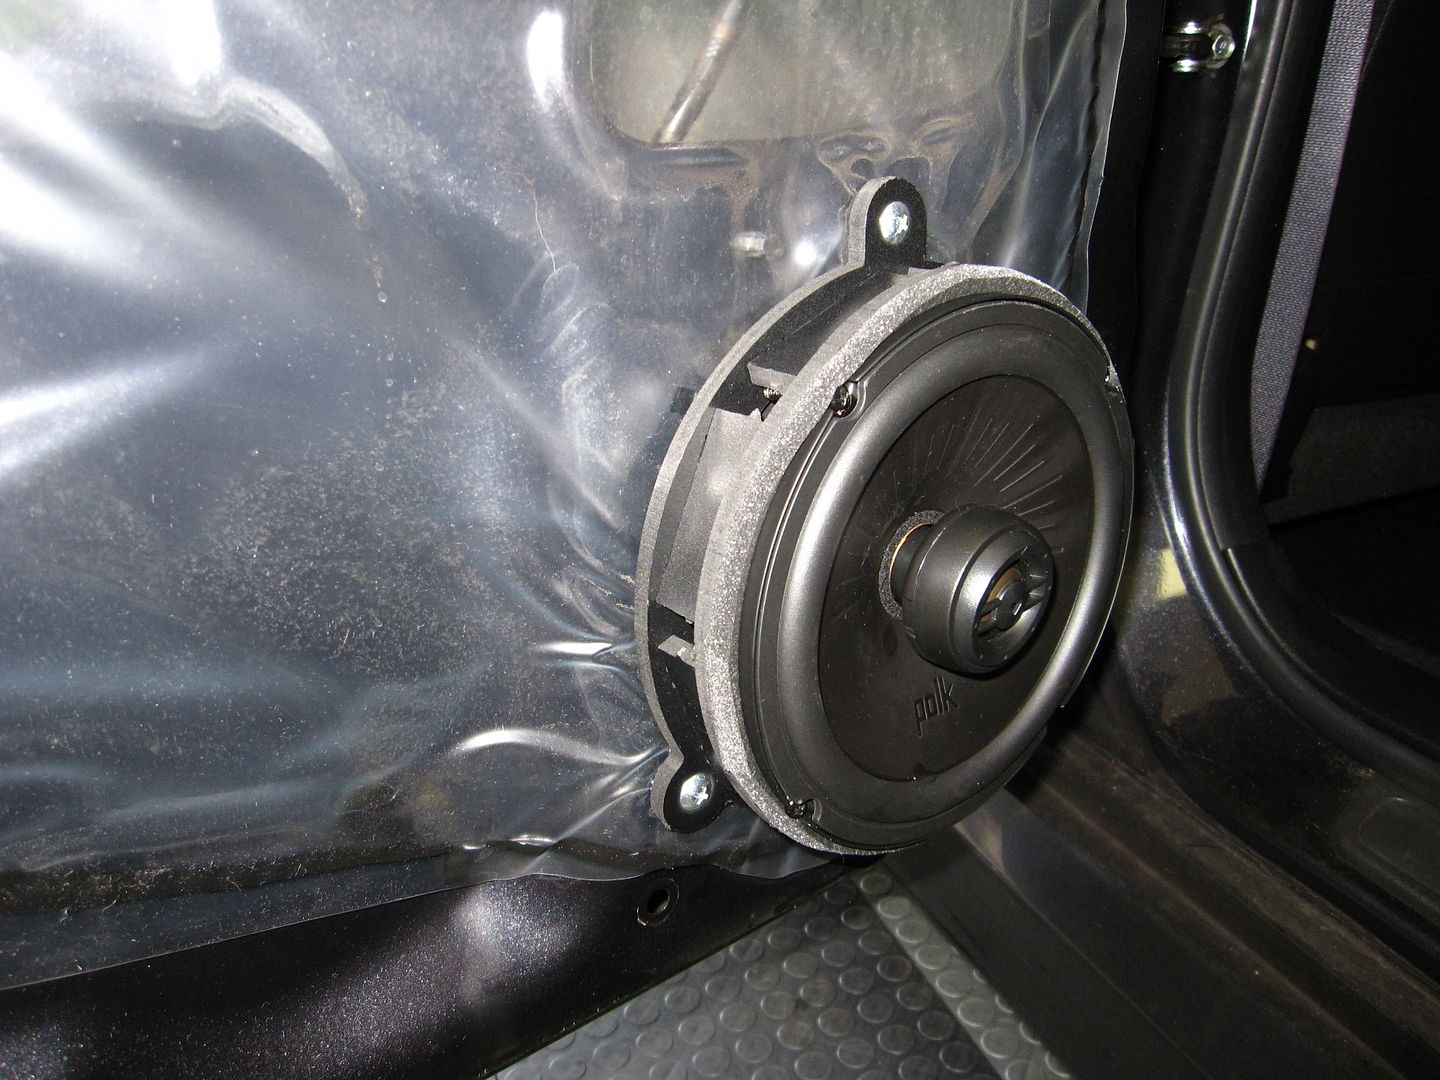
Speaker Brackets
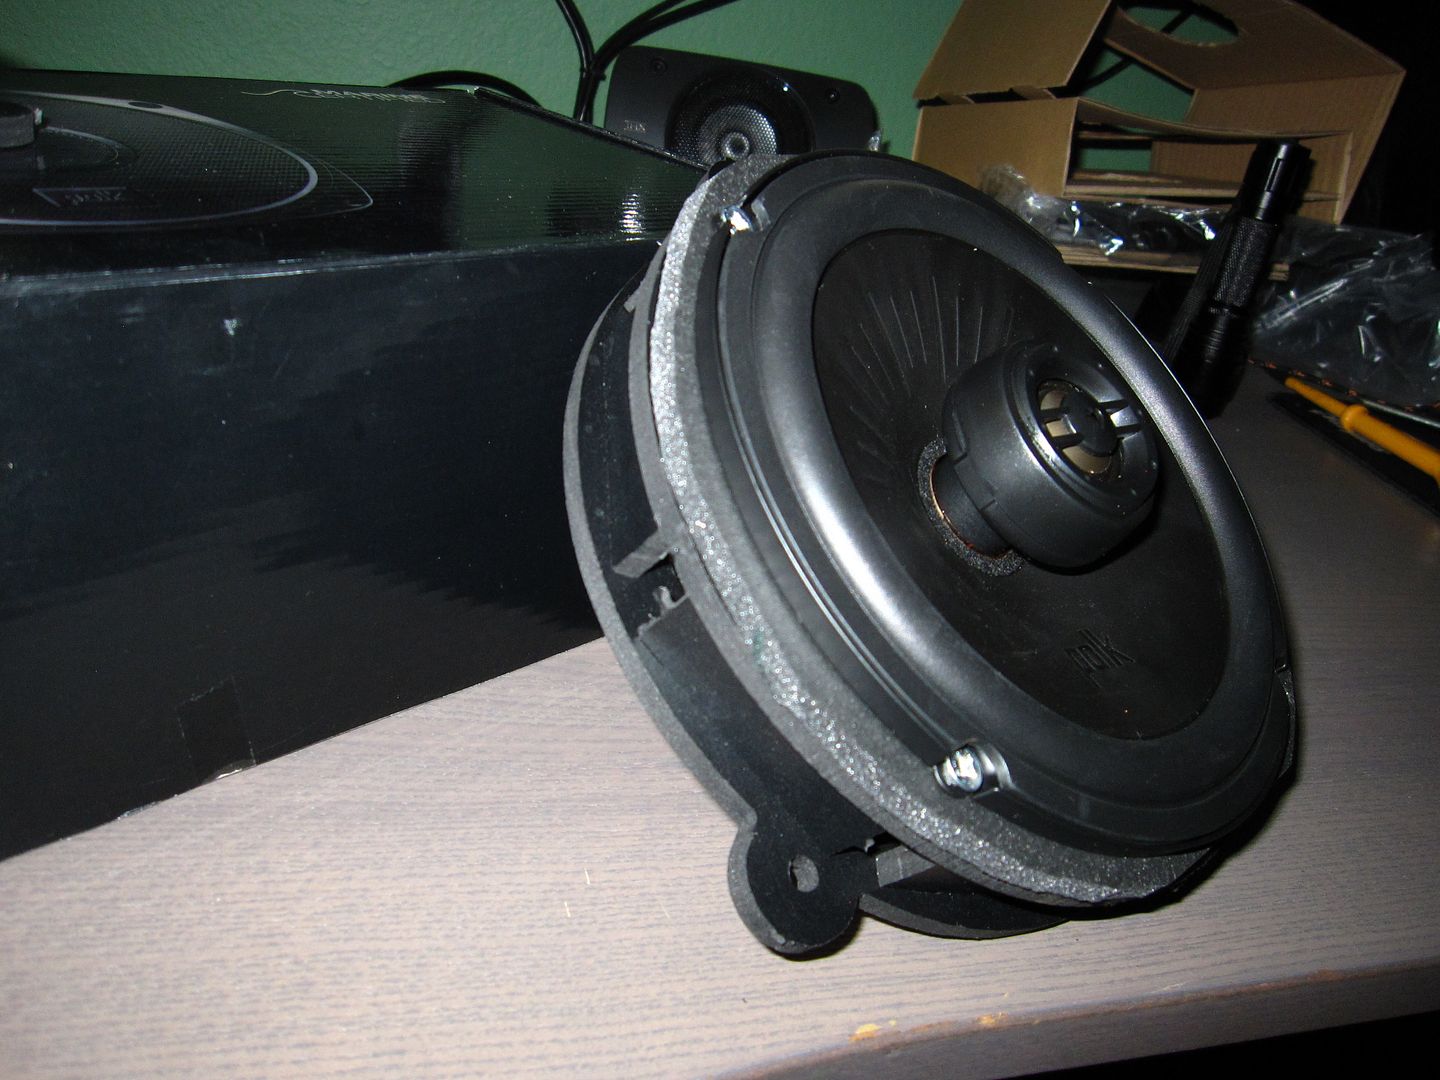
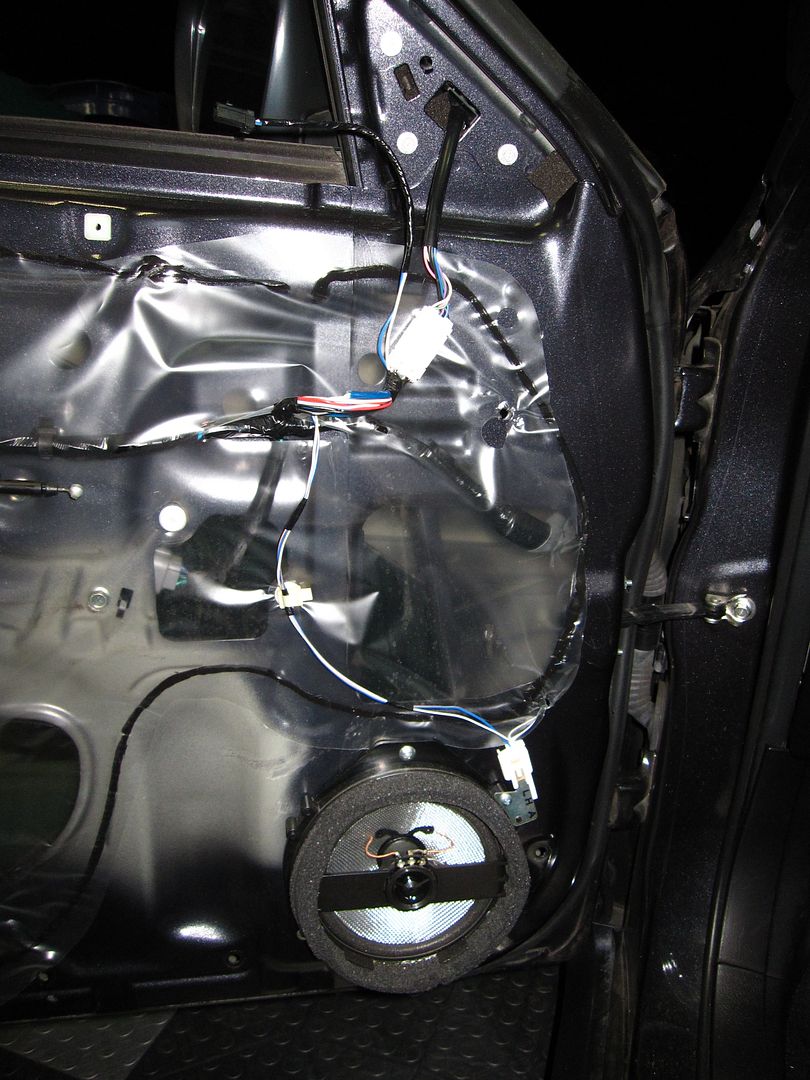
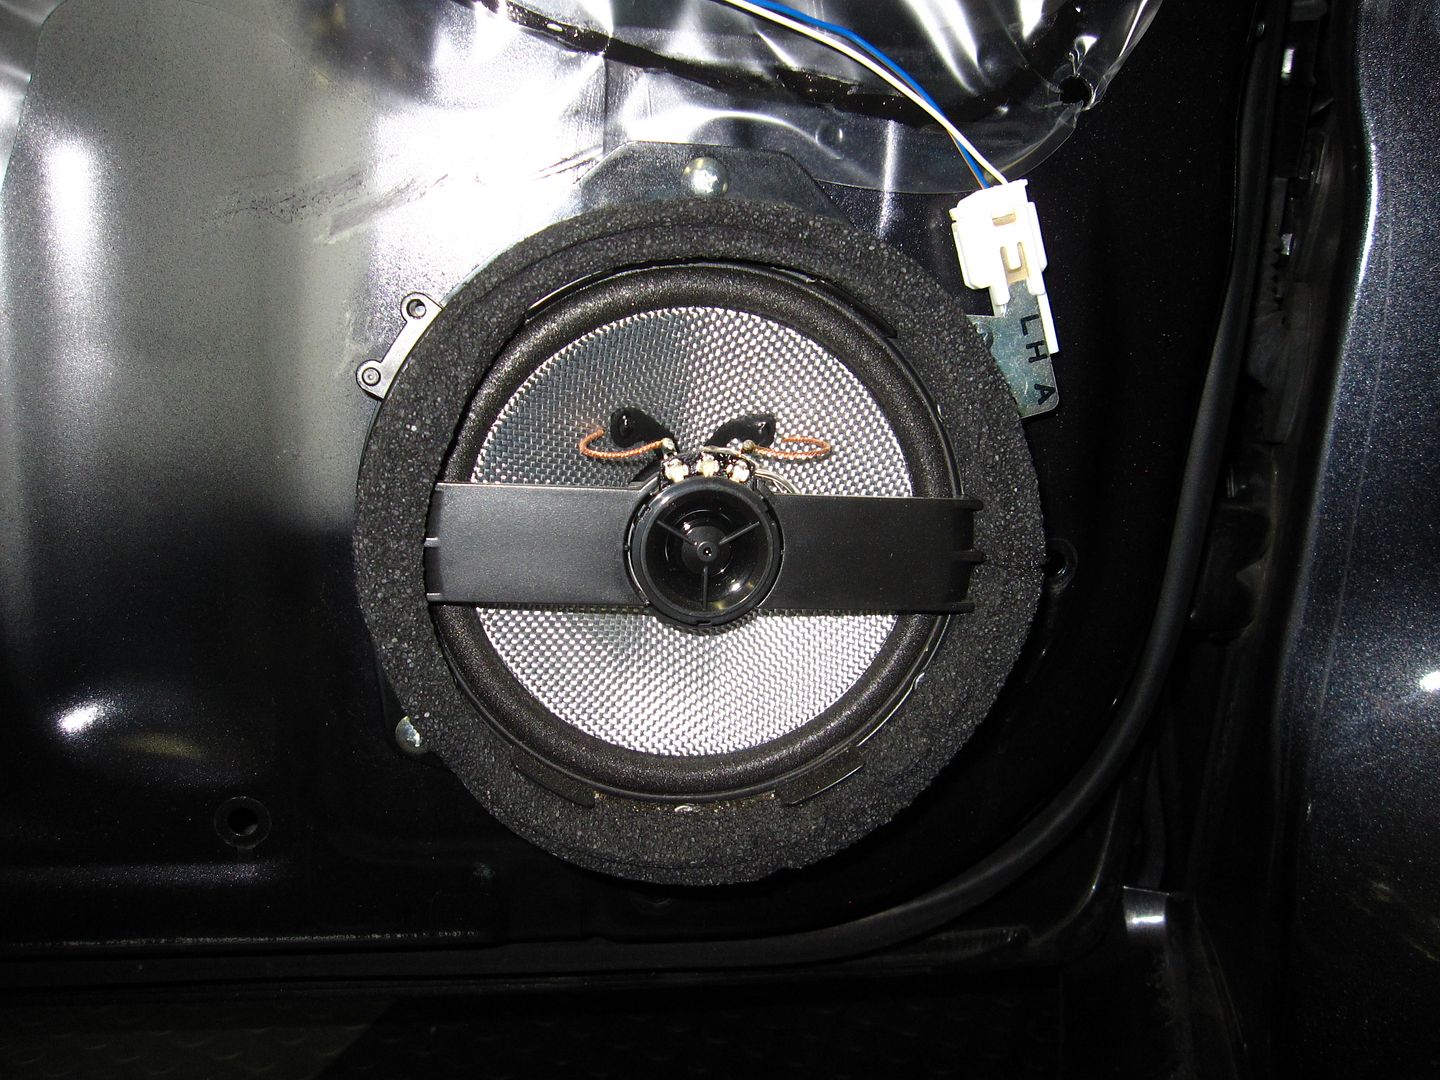
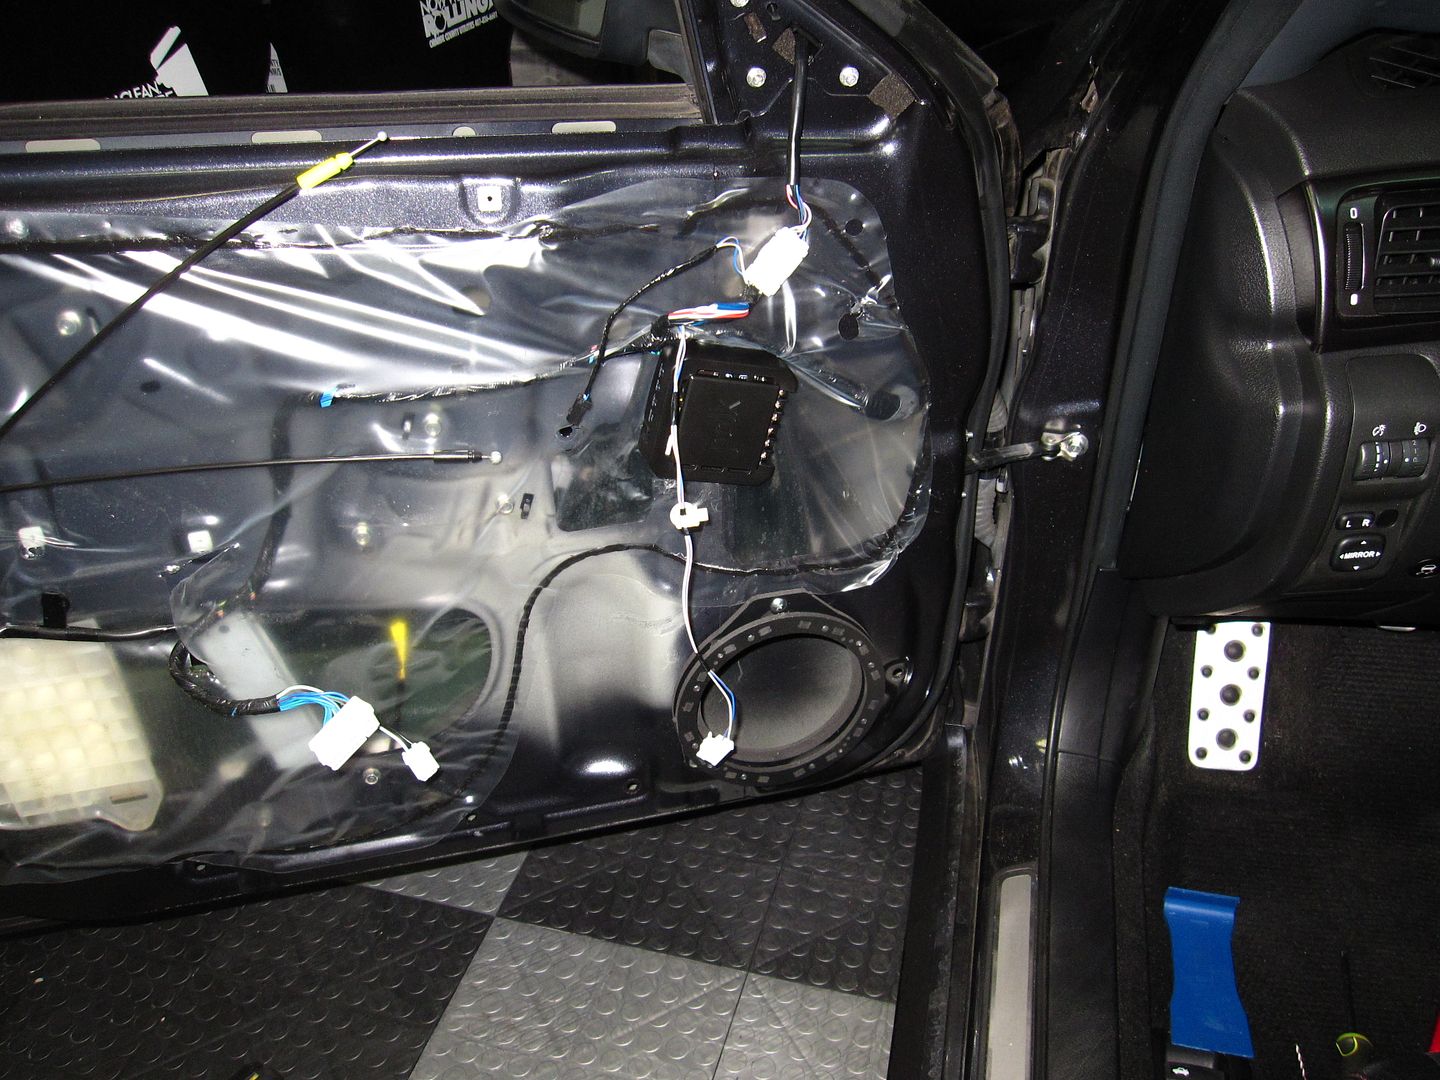
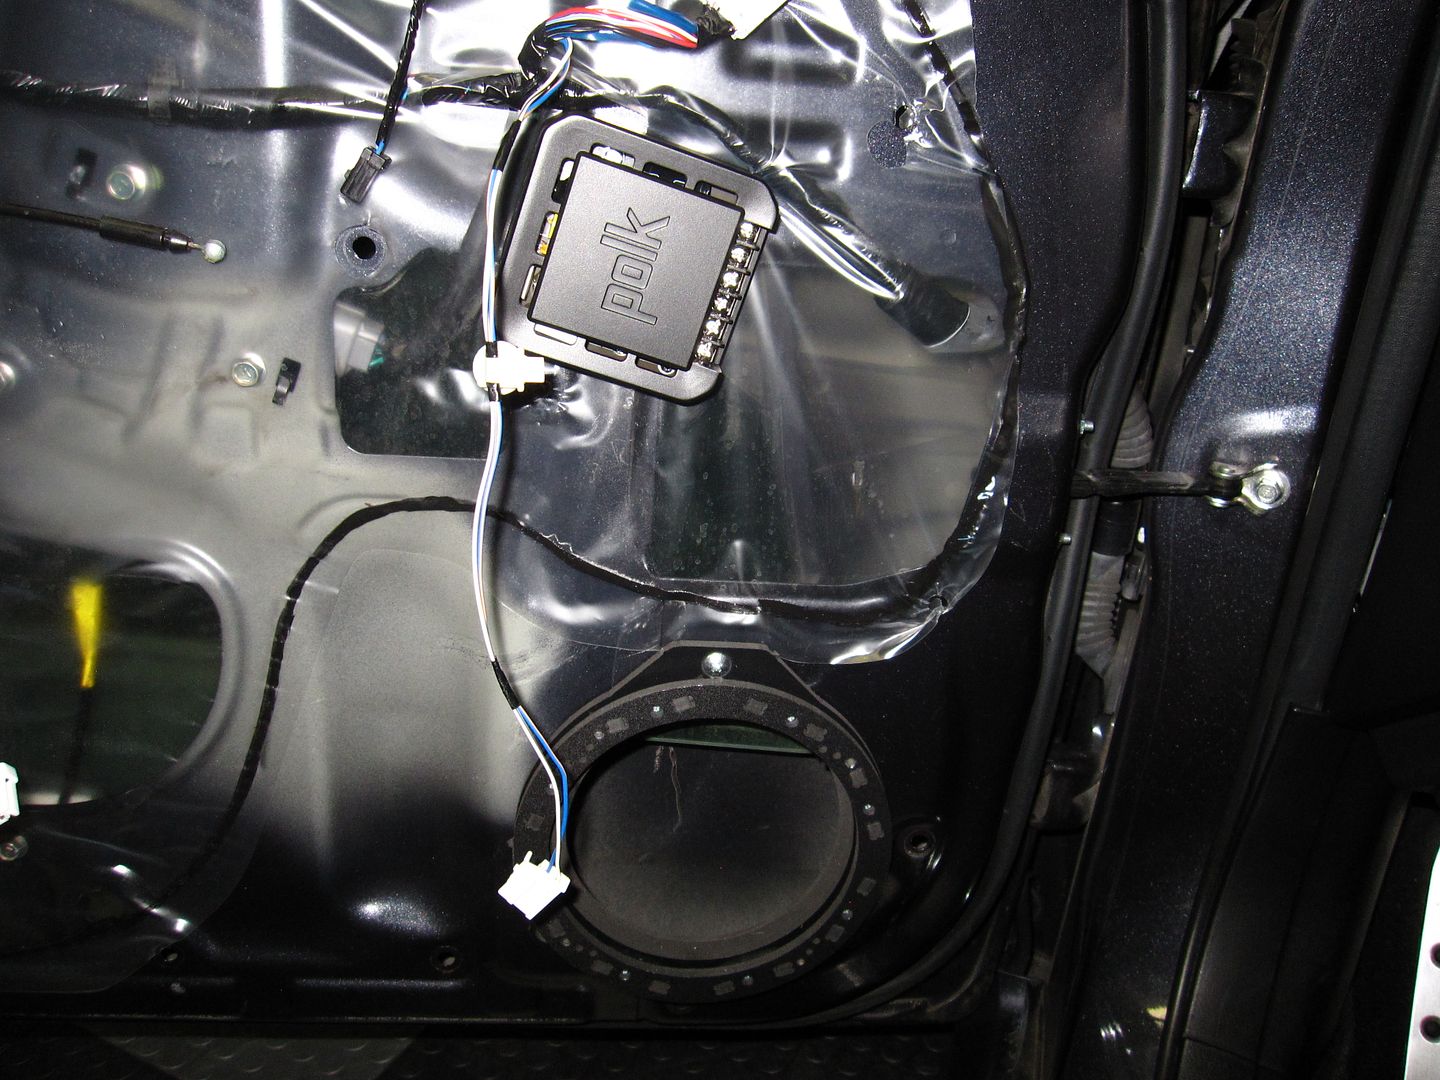
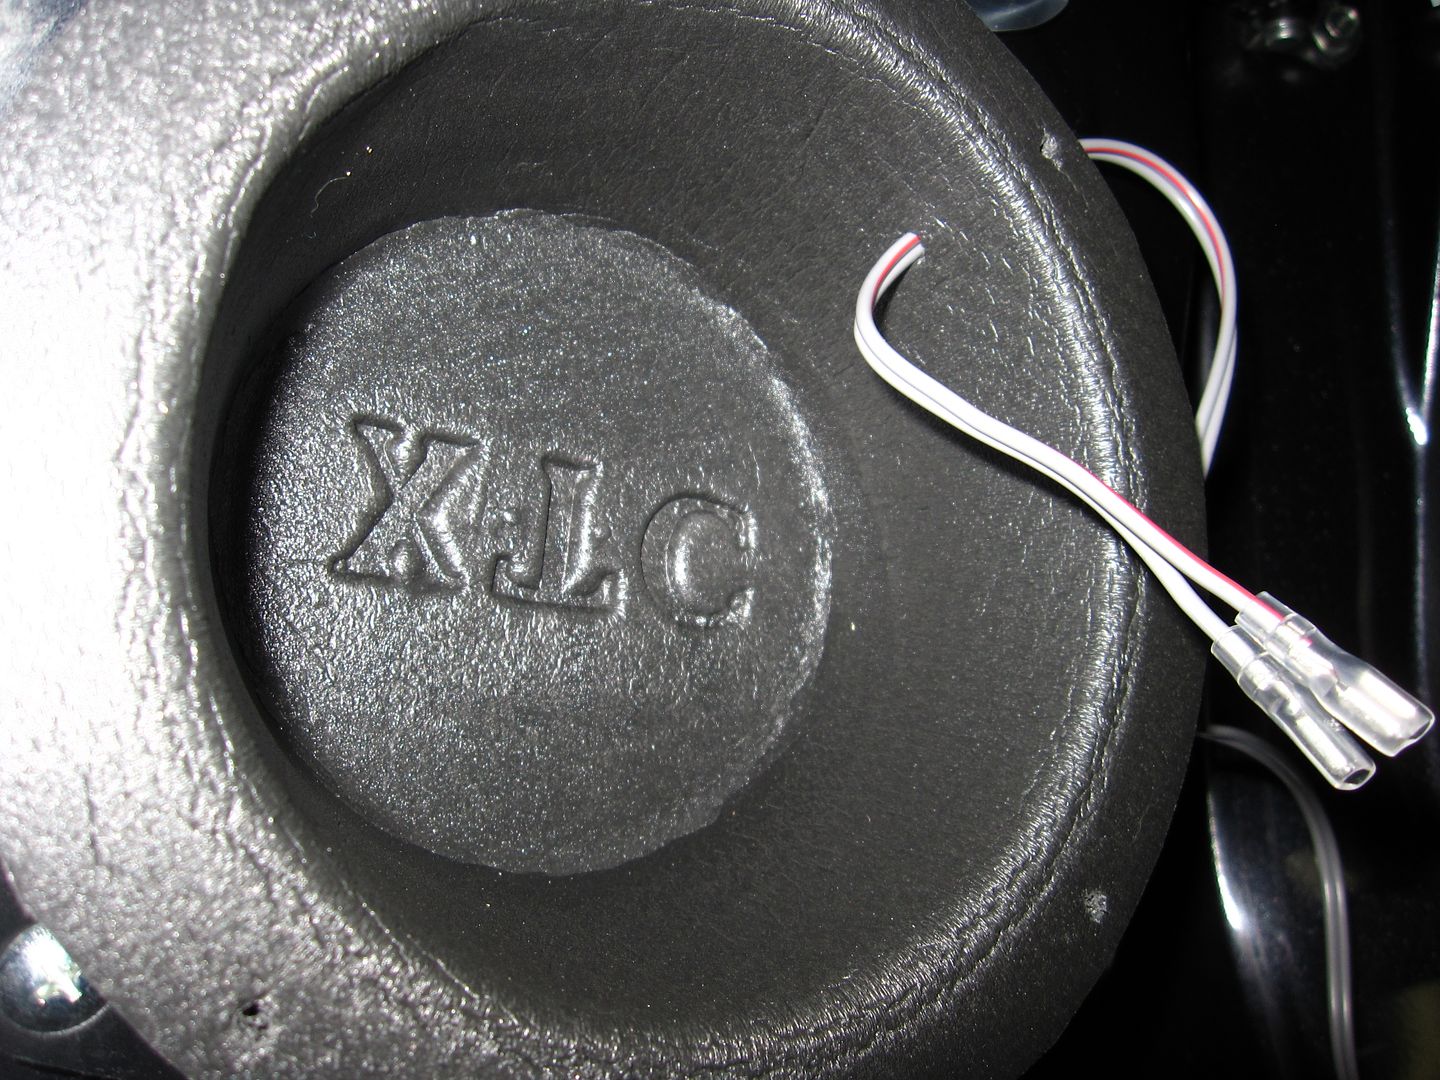
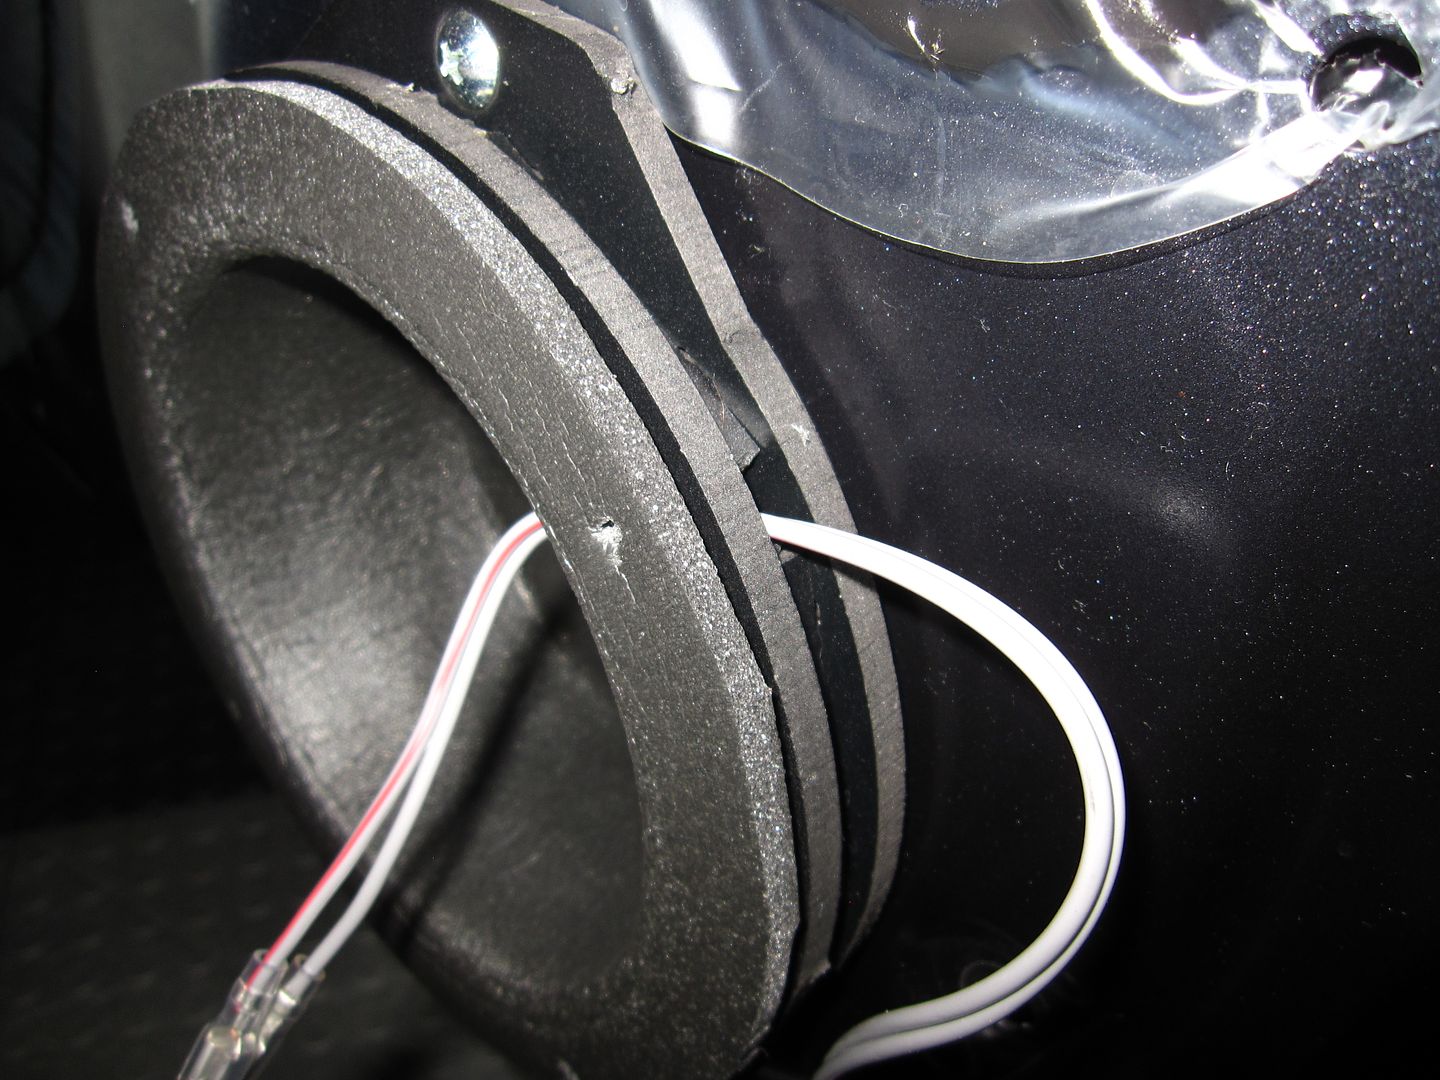
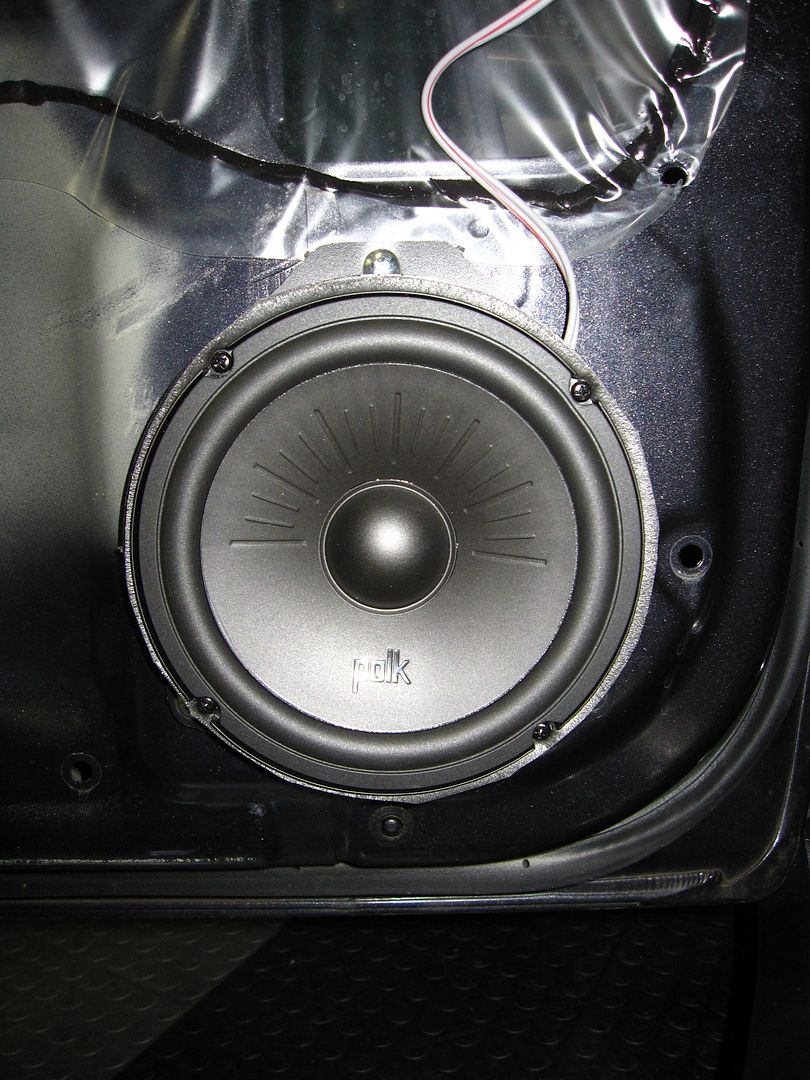
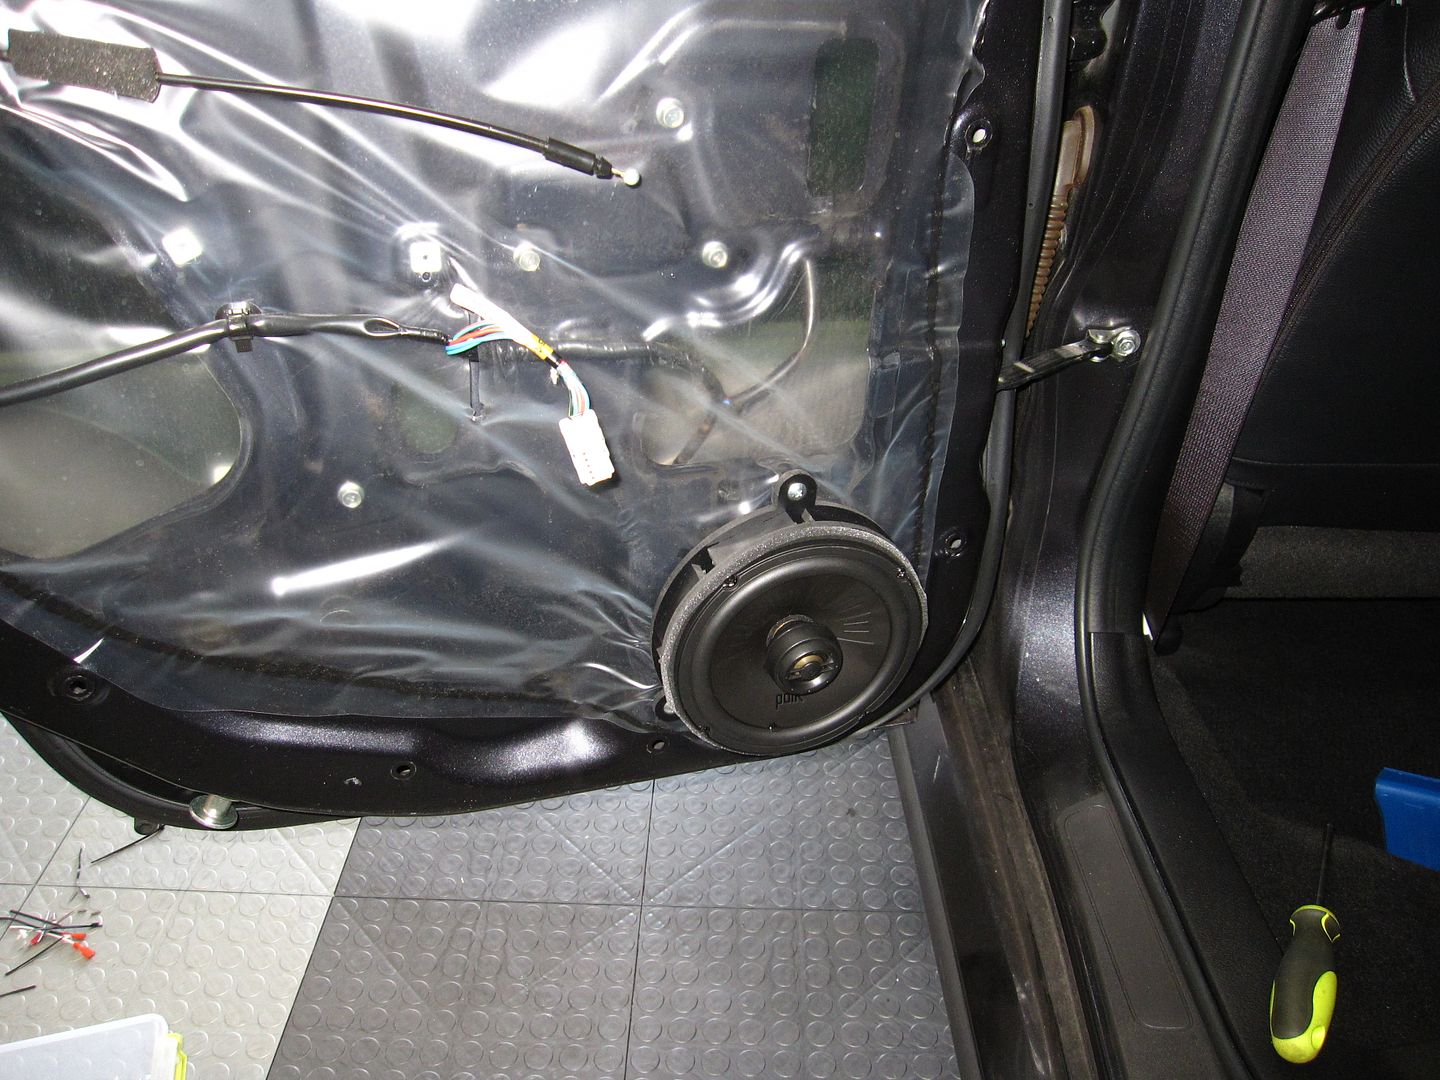
Here's a close up of the rear speaker mounted in the adapter (with the XTC baffle trimmed and installed). Supposedly, the STI has a non-standard mounting pattern for their speakers. The Polk's came with adapter brackets, but they require drilling a hole. I ran across the car-speaker-adapters looking up stuff for that other car, and decided to give them a try. They are supposed to be sized exactly to the STI and require no modifications to fit - they "should" screw right in. The rears also space the speaker out a bit to ensure there's no interference with the window. We'll see how these work out. The only downside to them so far is the cost - they are a bit overpriced IMO (however, if you document your install with pics and submit them to the company, they will refund 50% of the purchase price - which I will be doing).
Also, with these guys, they supply machine screws to attach the speaker. They want you to use super glue with the screws to prevent them from backing out. I opted to use wood screws instead, thinking that the larger threads will engage and hold the PVC better than the machine screws supplied. We'll see...

Update: I ended up not using those screws in the install. They were too short. Instead, I used the black course thread screws that came with the speakers (as part of the installation bits). These worked perfectly, and you can see them in the later install pics - the screws are black instead of these silver ones. Also, I send car-speaker-adapters.com the pics and Michael (the owner, I'm assuming) gave me a 50% refund, true to his word on his website. That makes these actually reasonably priced. So I totally recommend these guys - just be sure to take enough good pics so you can get the refund.
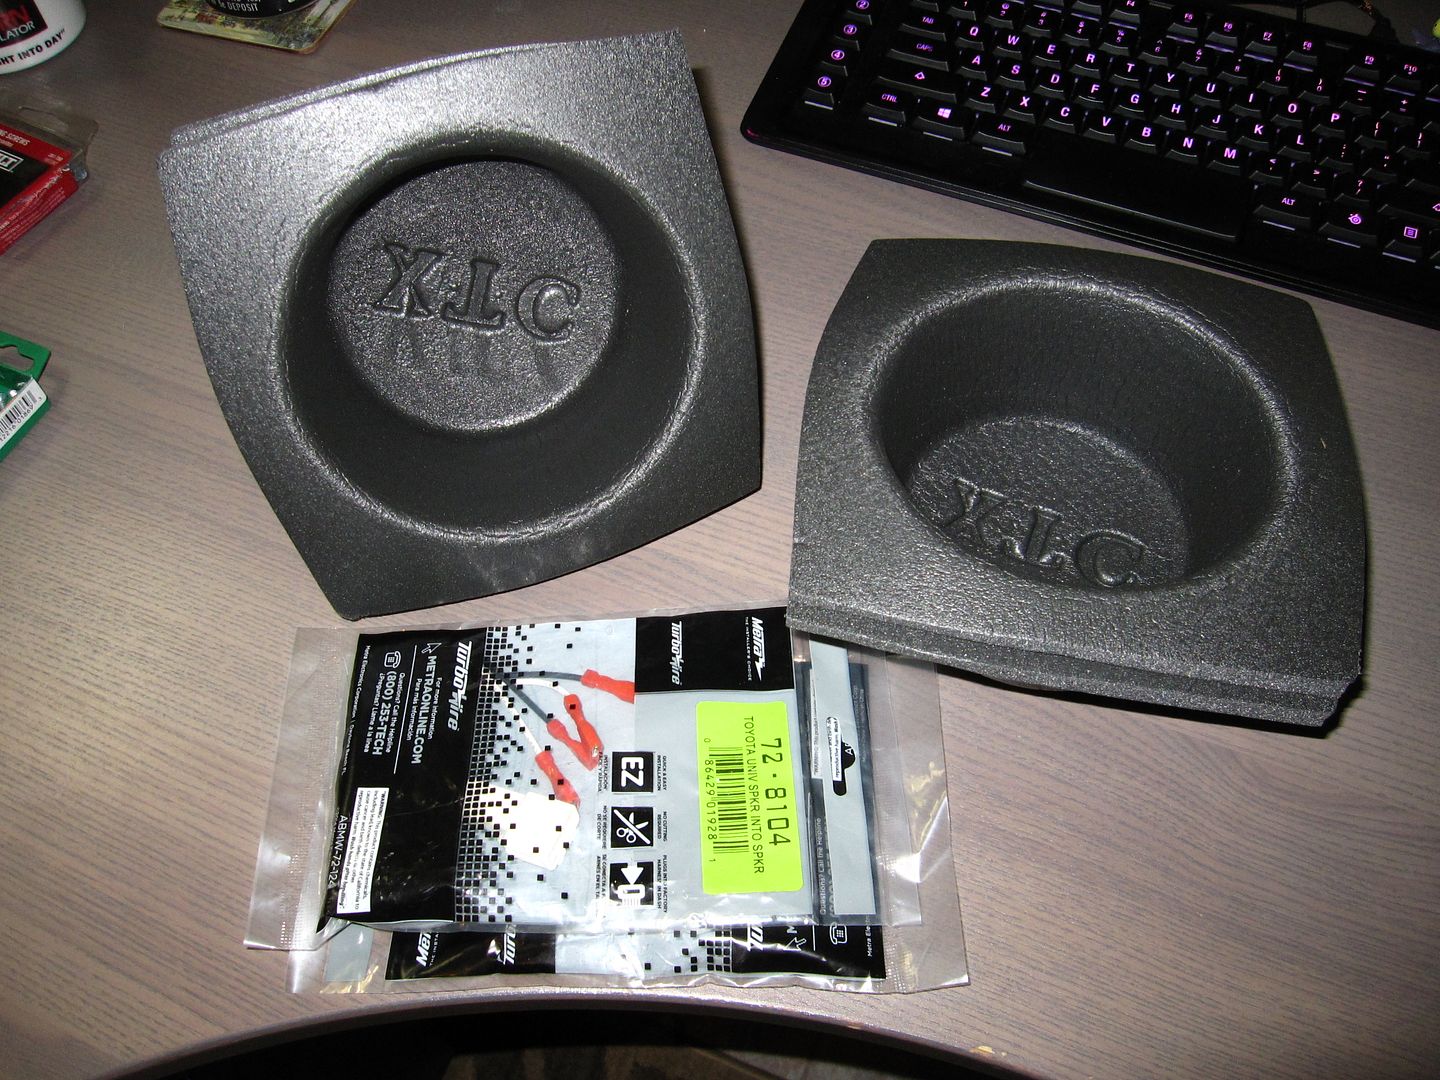
Rest Of the Stuff
The speaker baffles and speaker connectors:
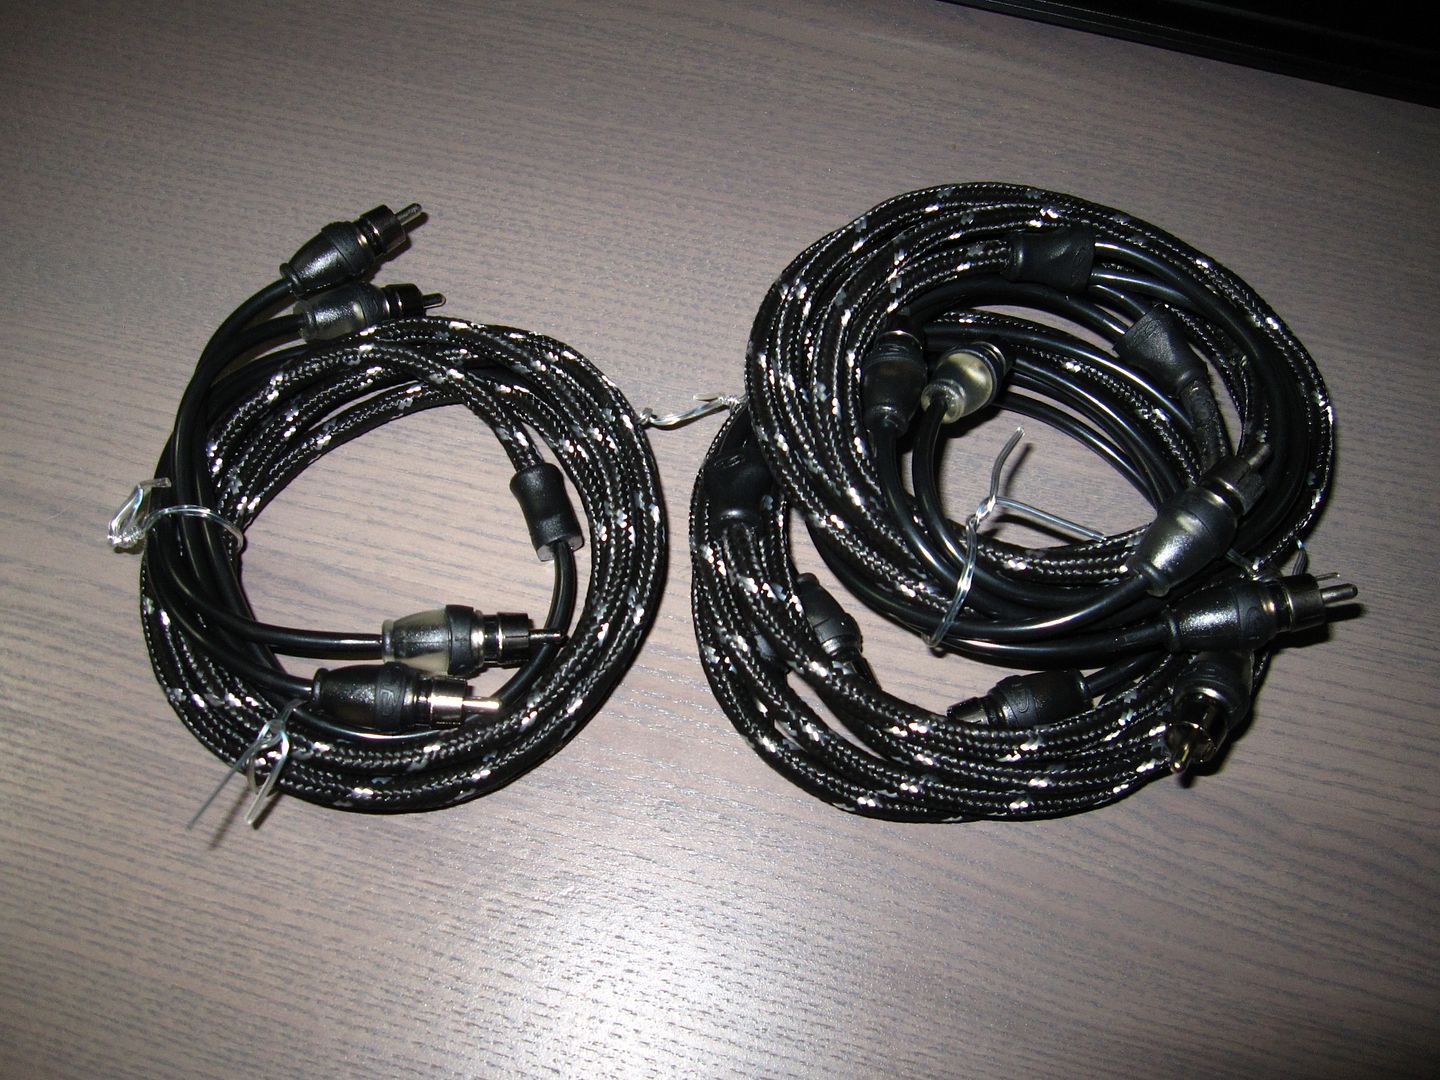
RF RFIT6 RCA cables:
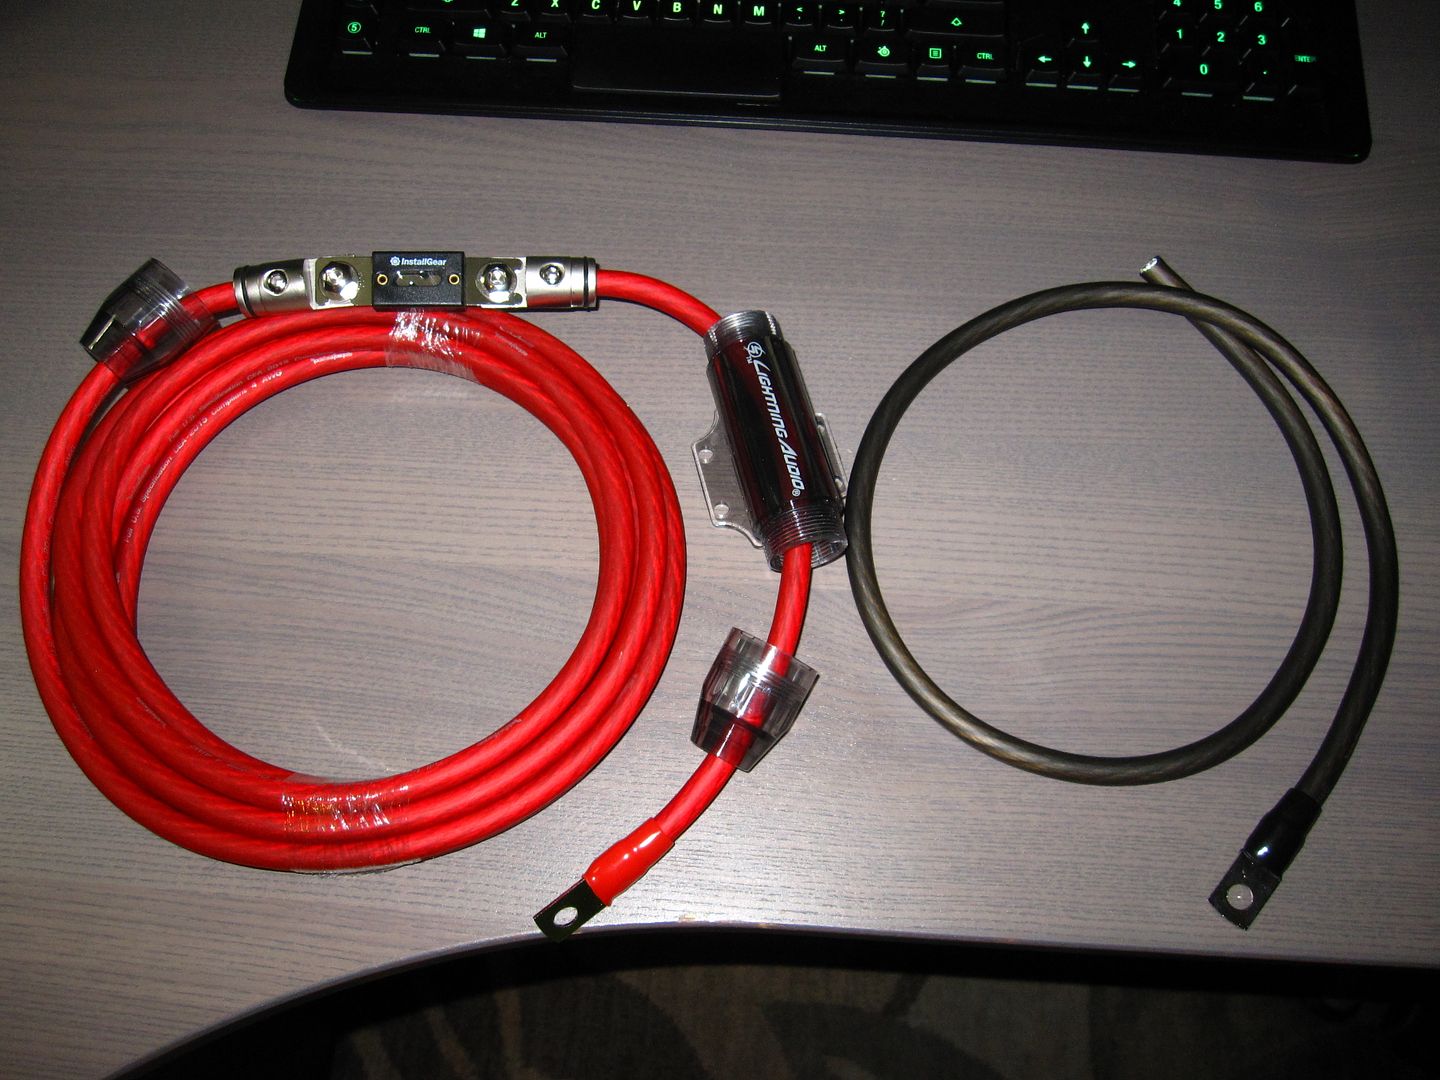
RF 4 AWG kit (power cable, ground, and remote cable only) with Lightning Audio in-line ANL fuse holder (150 Amp fuse):
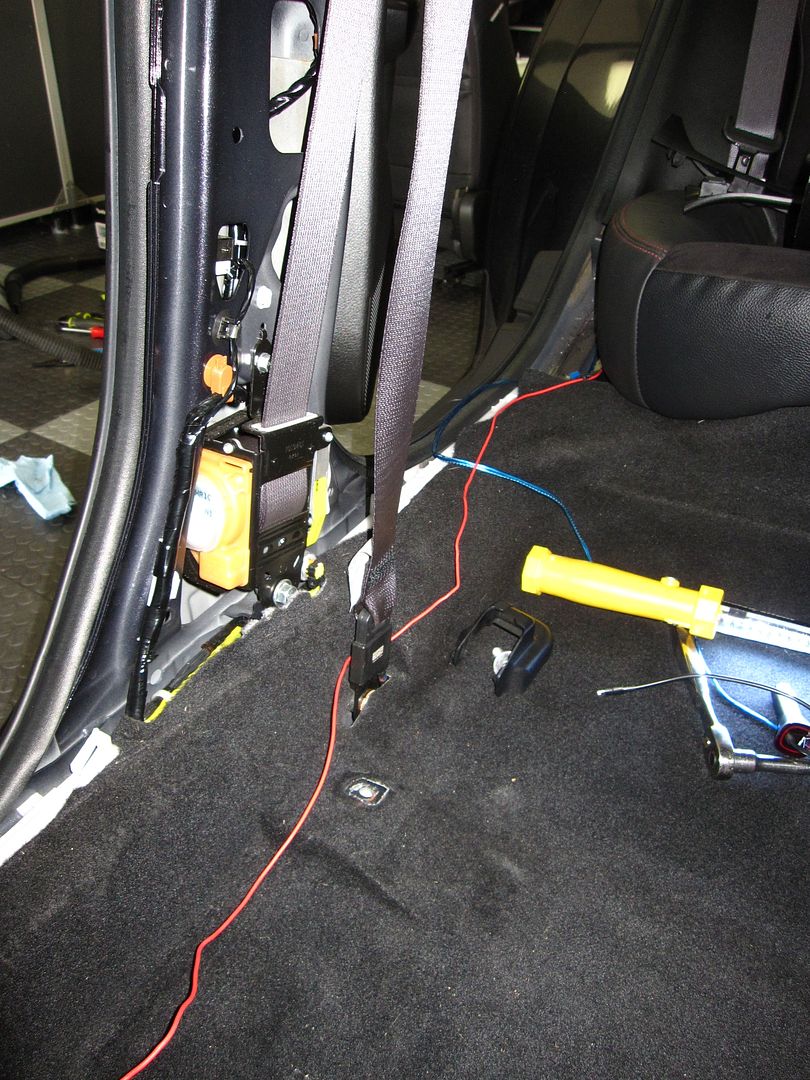
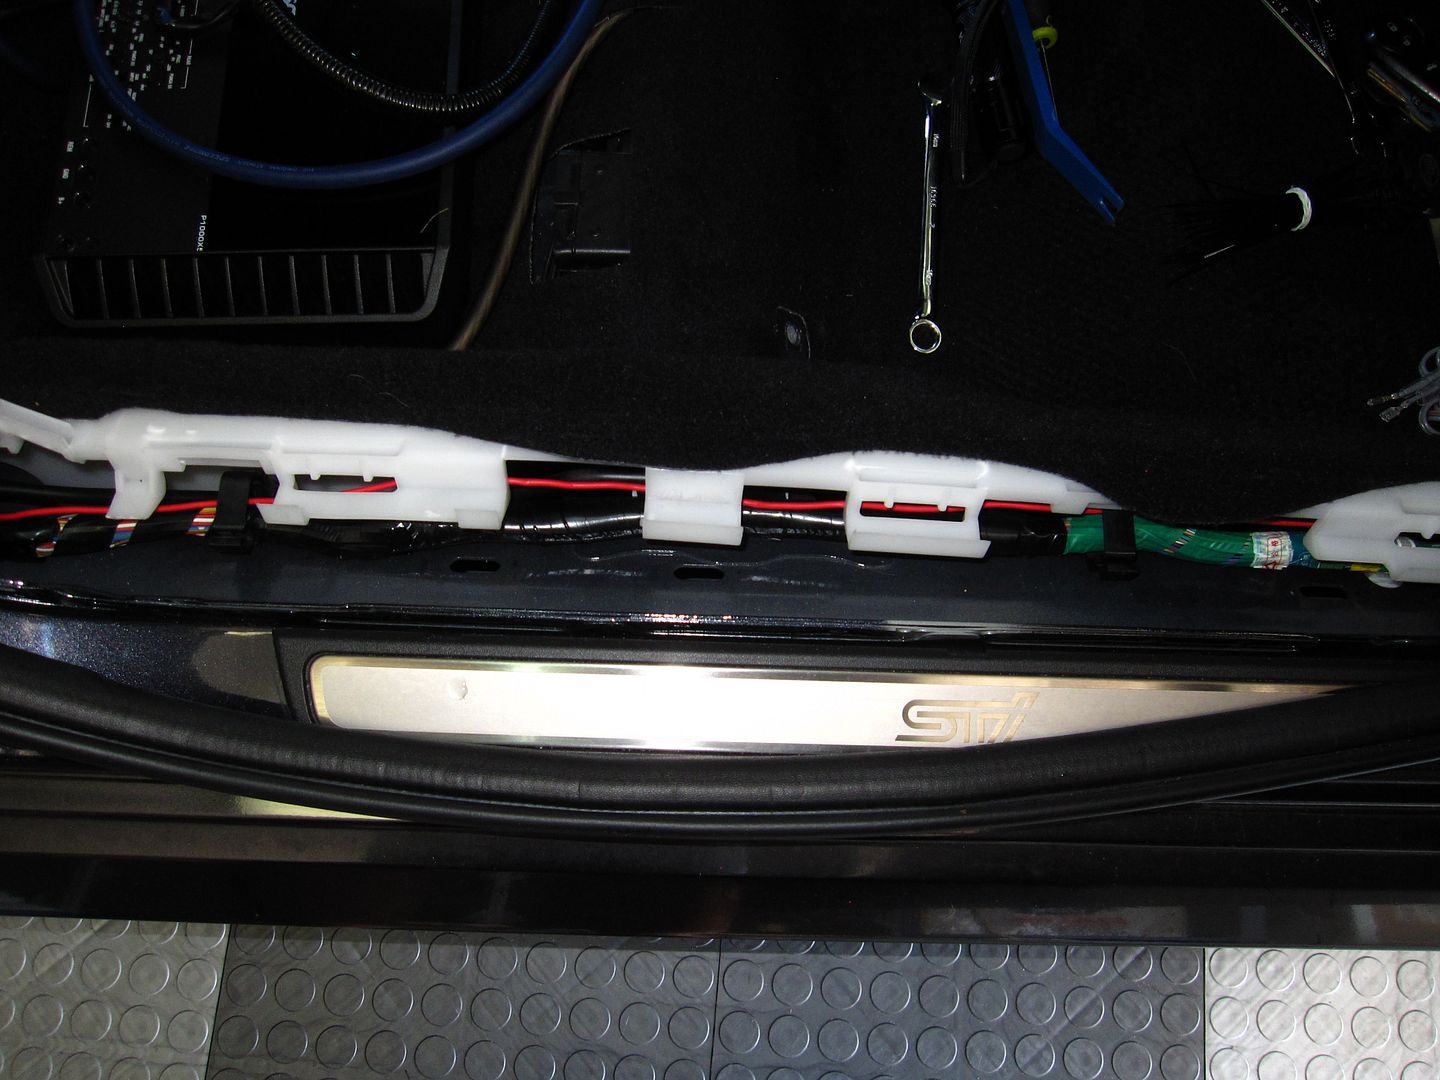
Stinger 9-wire speed cable, 14 AWG speaker cable and Molex connectors:

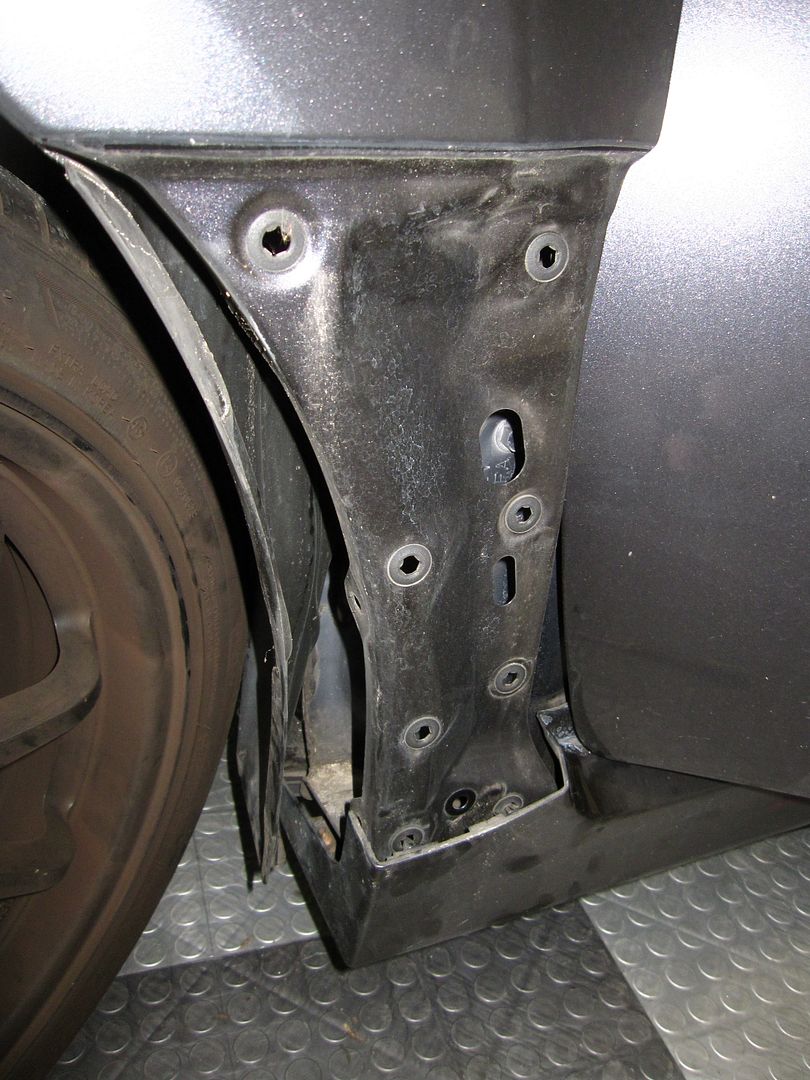
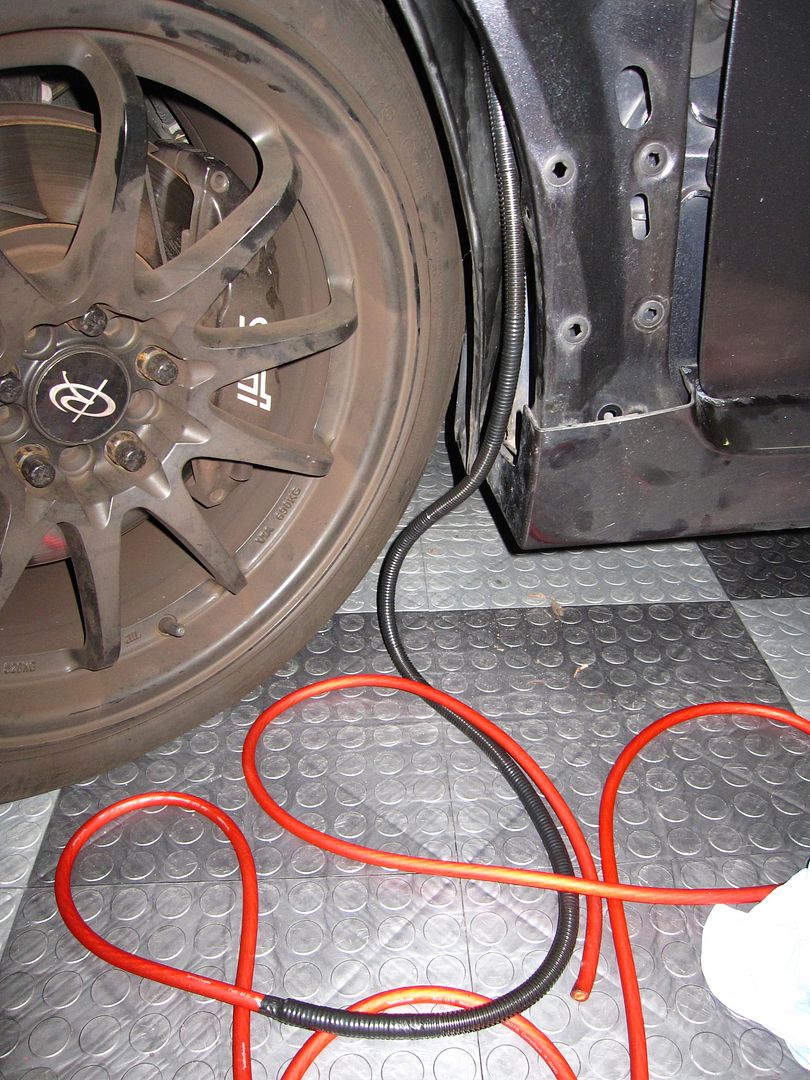
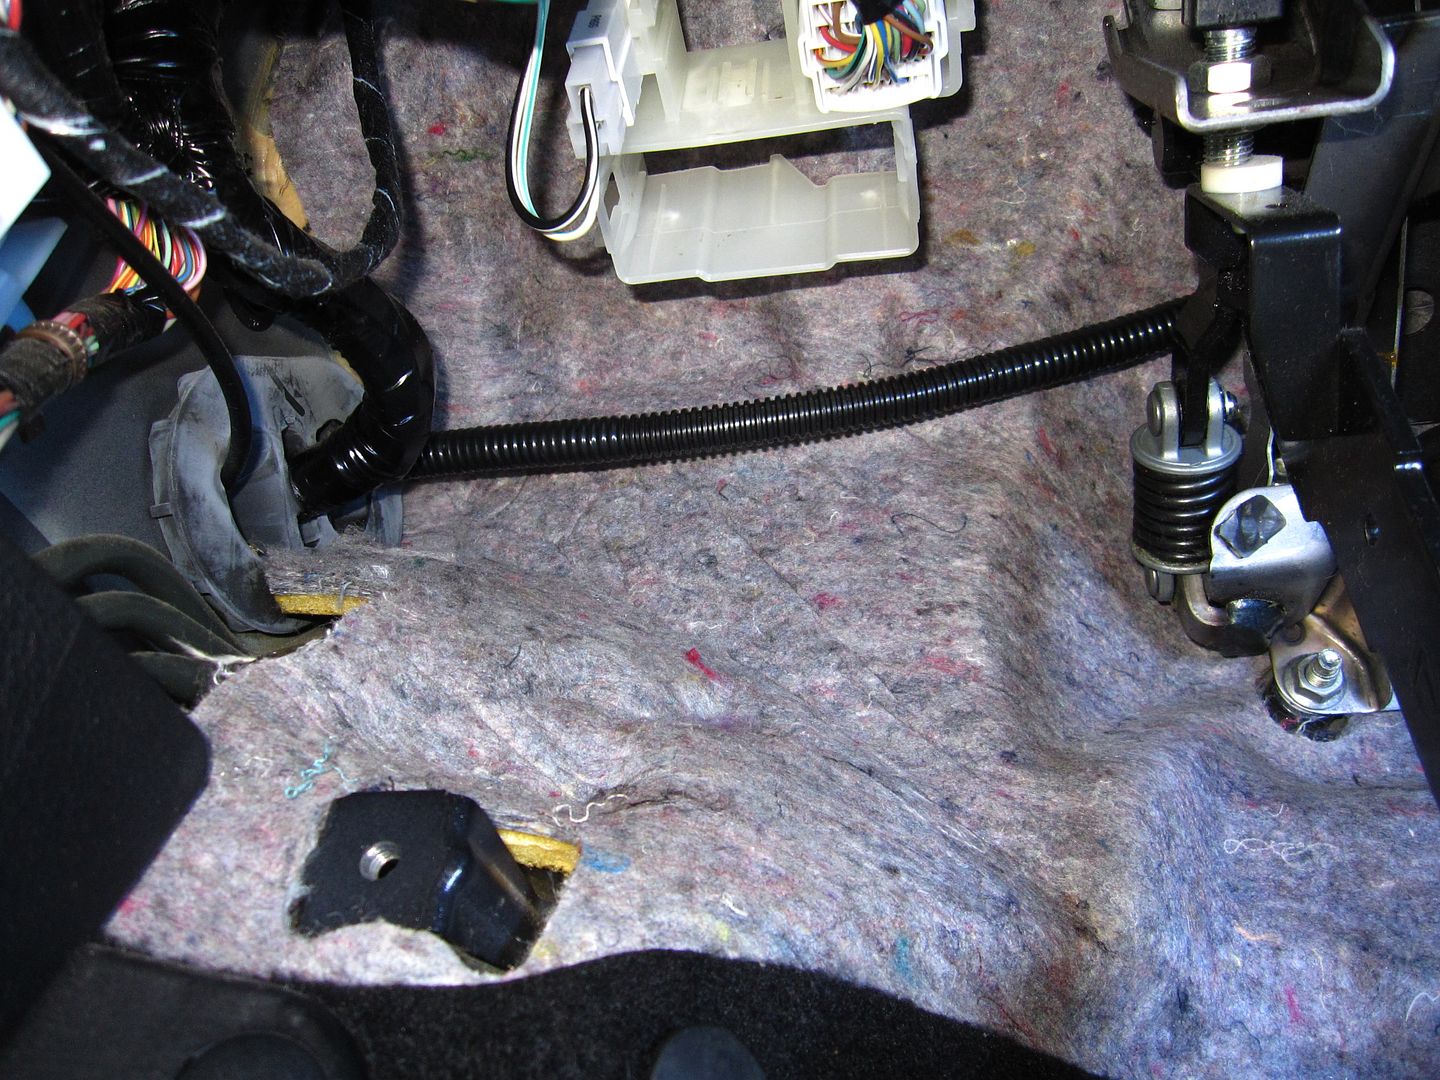
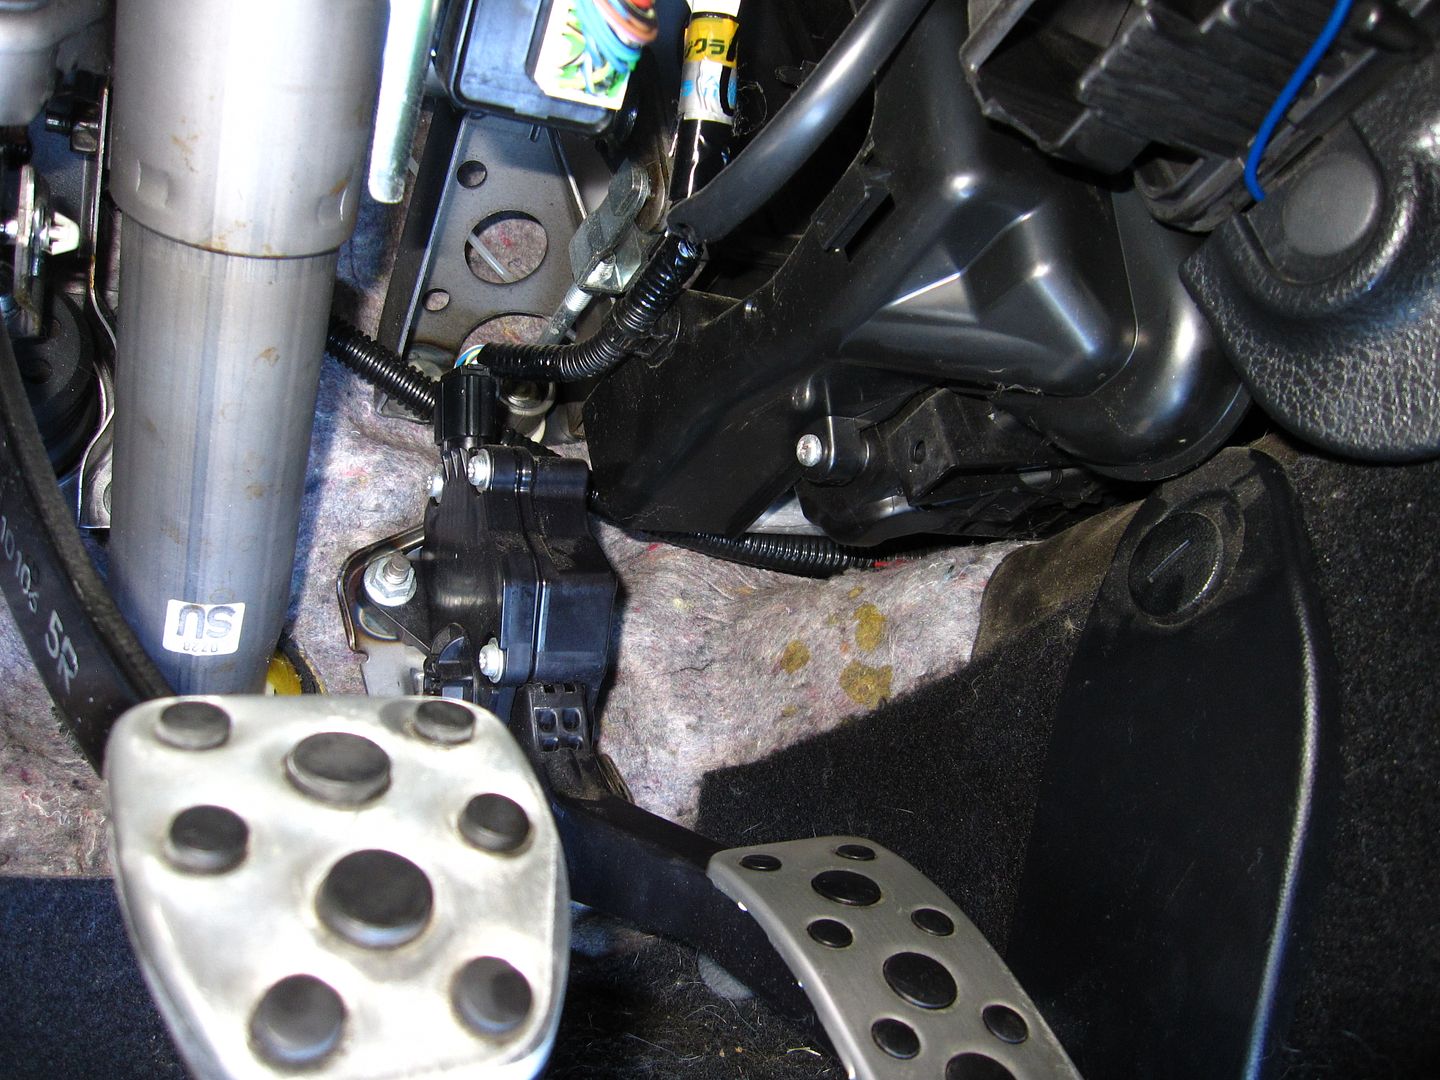
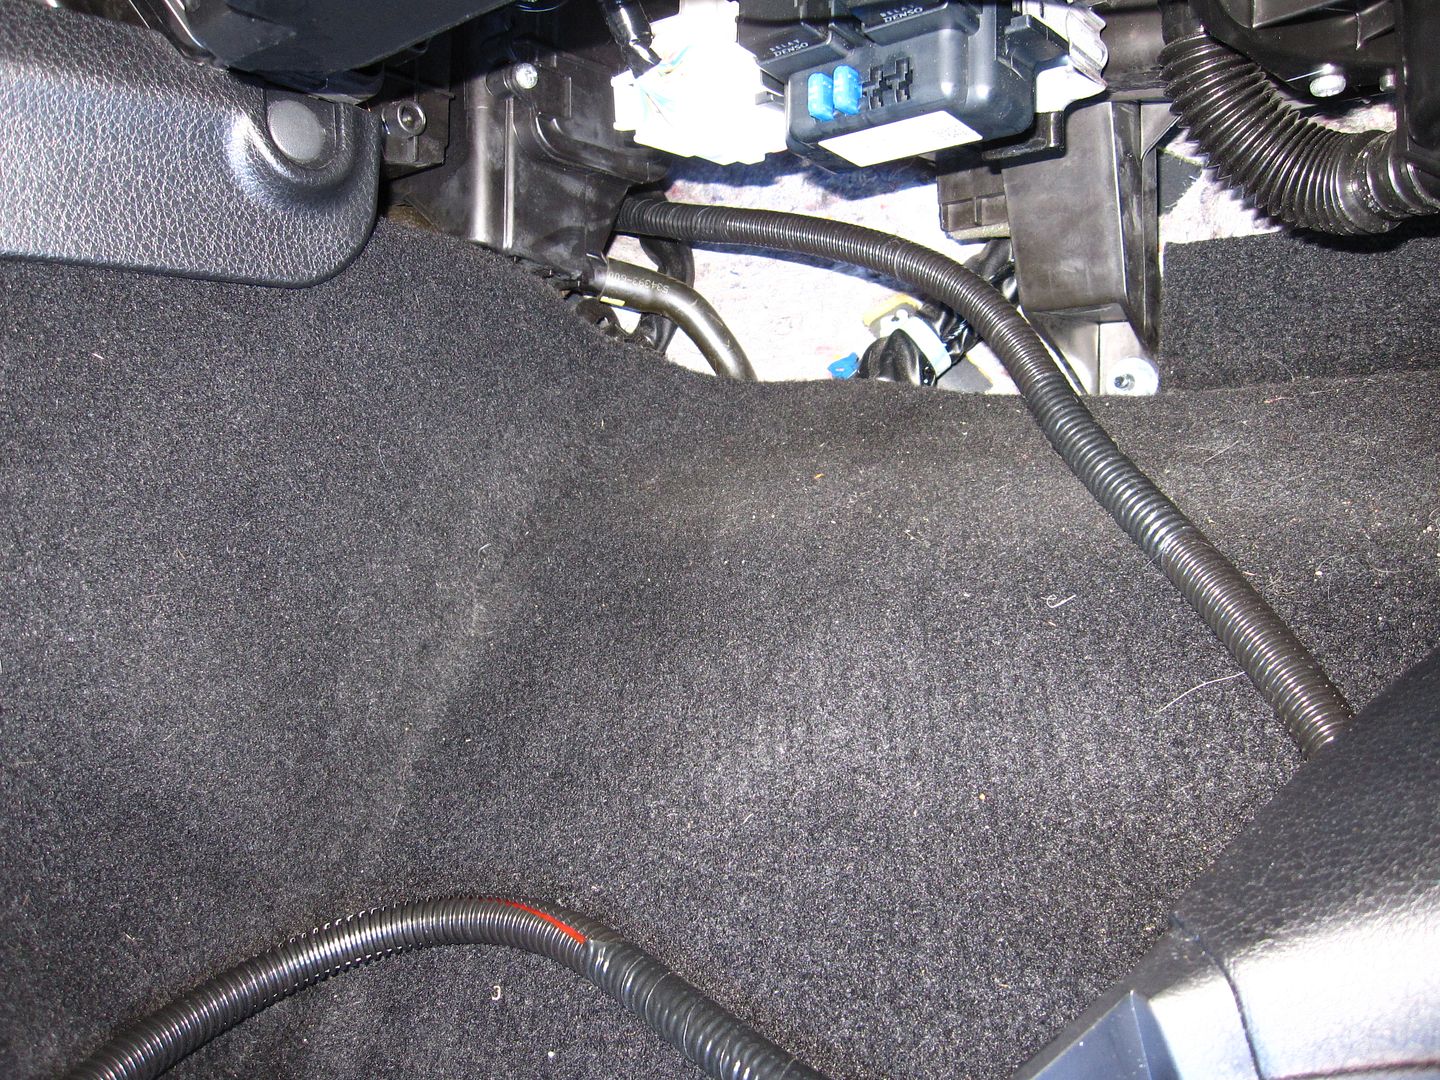
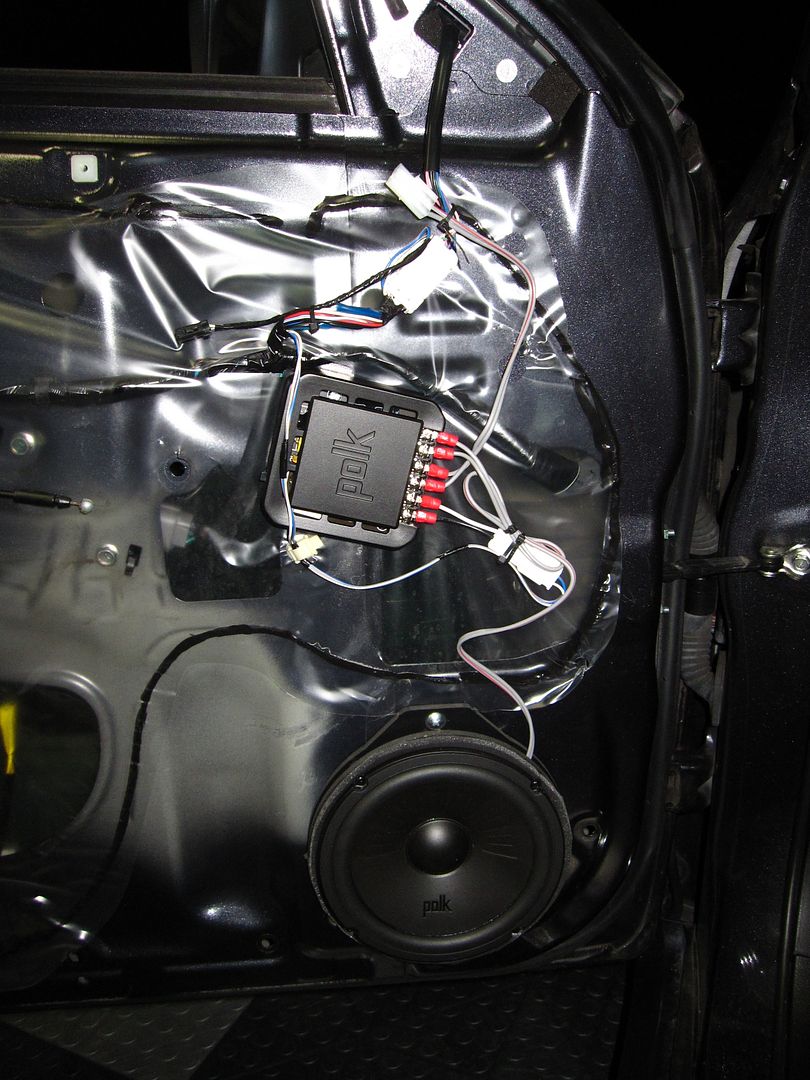
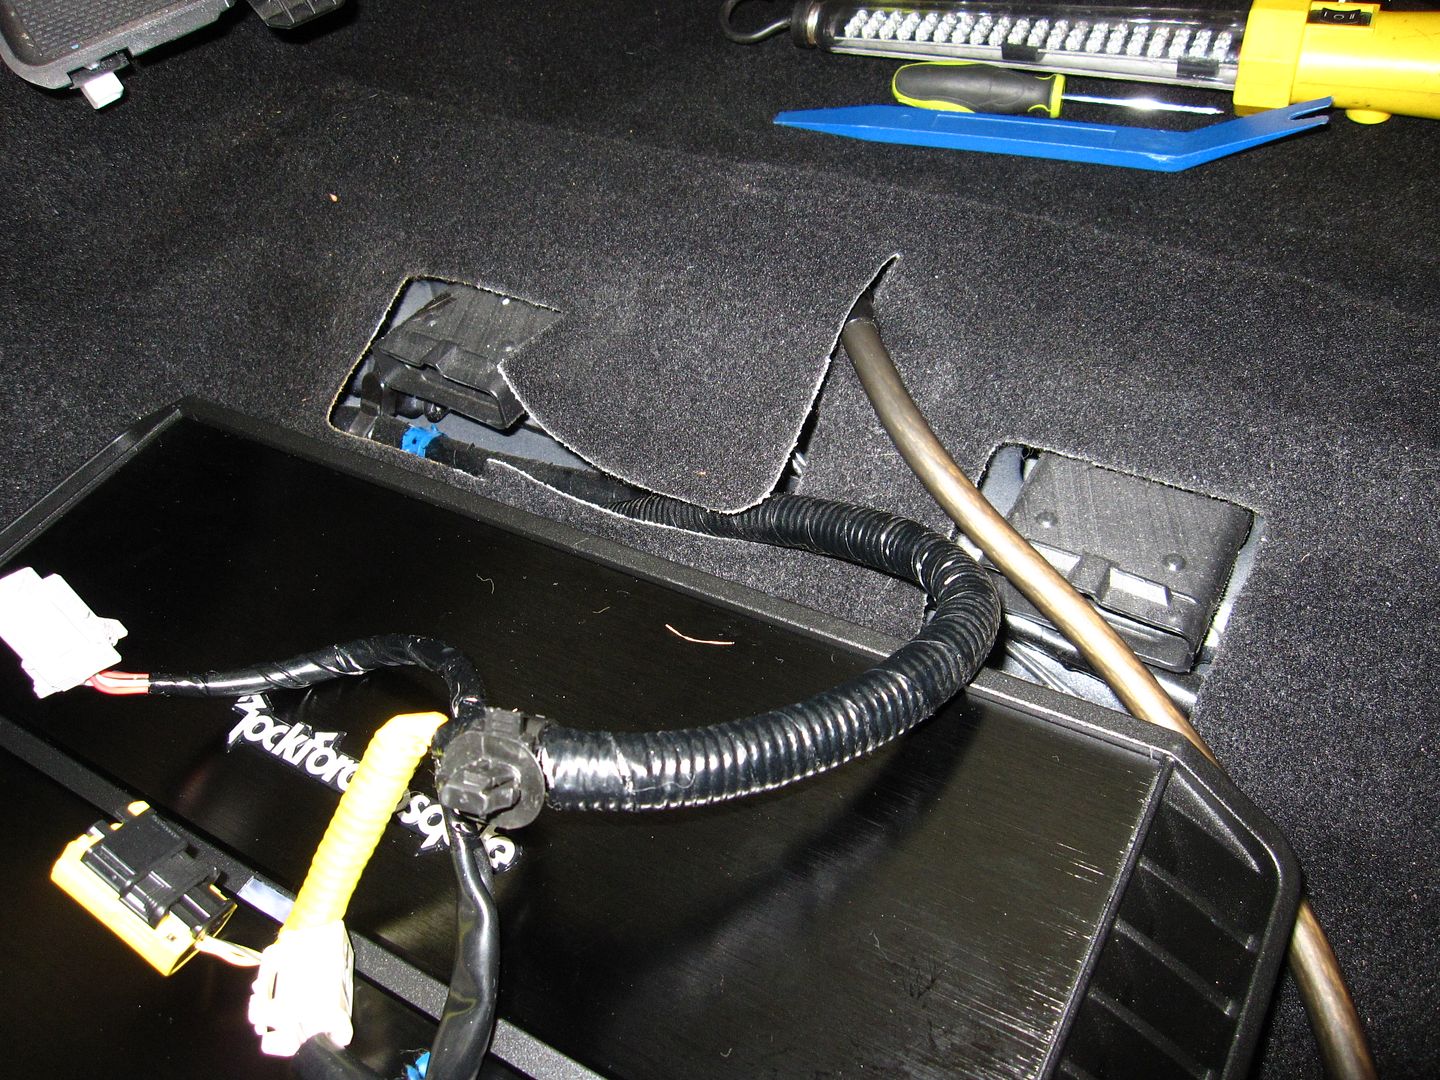
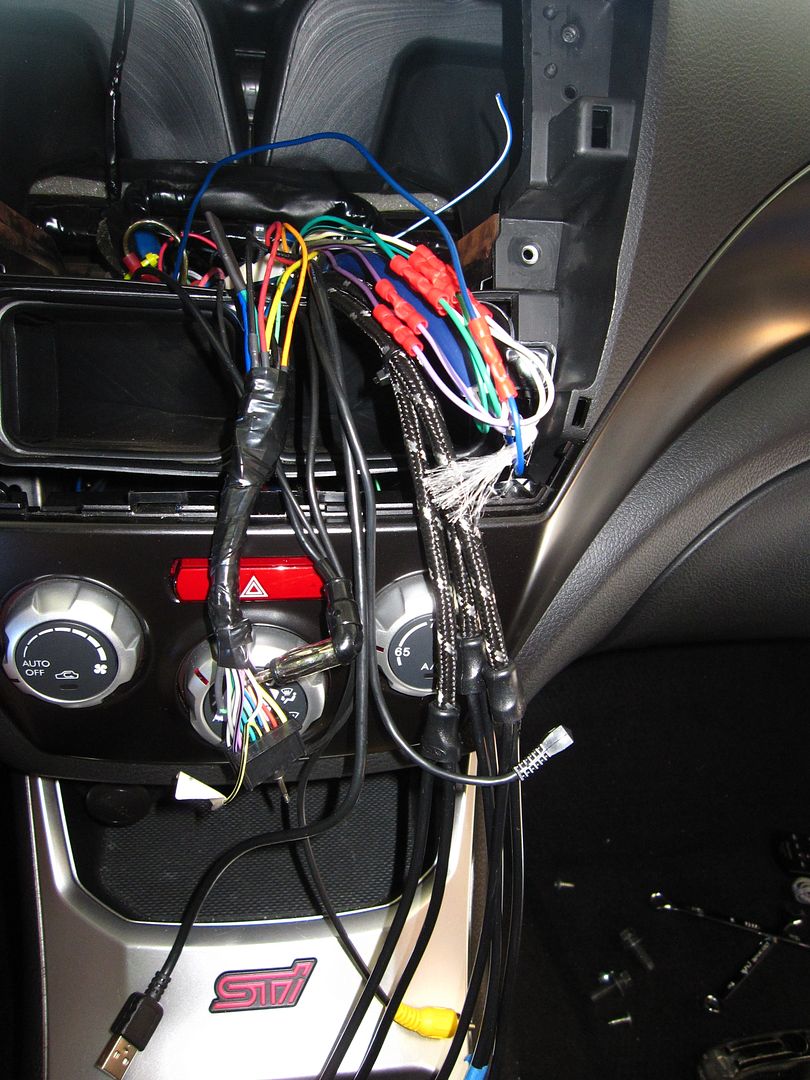
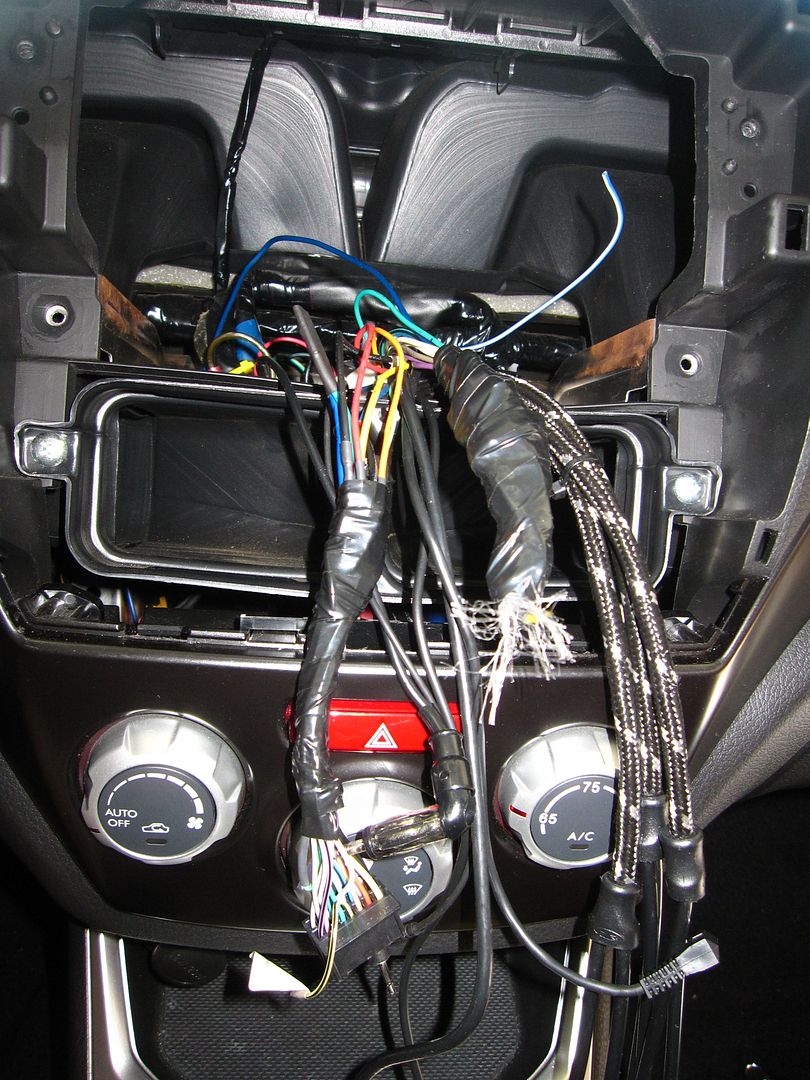
So my plans for wiring up the door speakers: simply put, I'm using the OEM wires. The research I've done indicates that at Watts of around 75 RMS and below, the OEM wire is just fine. At Watts over that, larger gauge wire should be used. As it happens, my new amp puts out 75 Watts x 4 RMS (at 4 Ohms) - so OEM wire it is. Okay, with that out of the way, the next question is how to hook up the amp to the stock OEM wires. Enter the speed wire. Essentially, it's 9 wires bound up in a single sheath. 8 of them are for the 4 speakers (pos and neg), and the 9th is for the remote turn-on wire. One runs the speed wire from the amp up to the head unit. At the head unit, I will cut the speaker wires that connect the head unit to the OEM wires, and instead connect the speed wire to the OEM wires. Thus, my amp now drives my new speakers via the OEM wires, and I do not have to run wires through the car (apart from the speed wire).
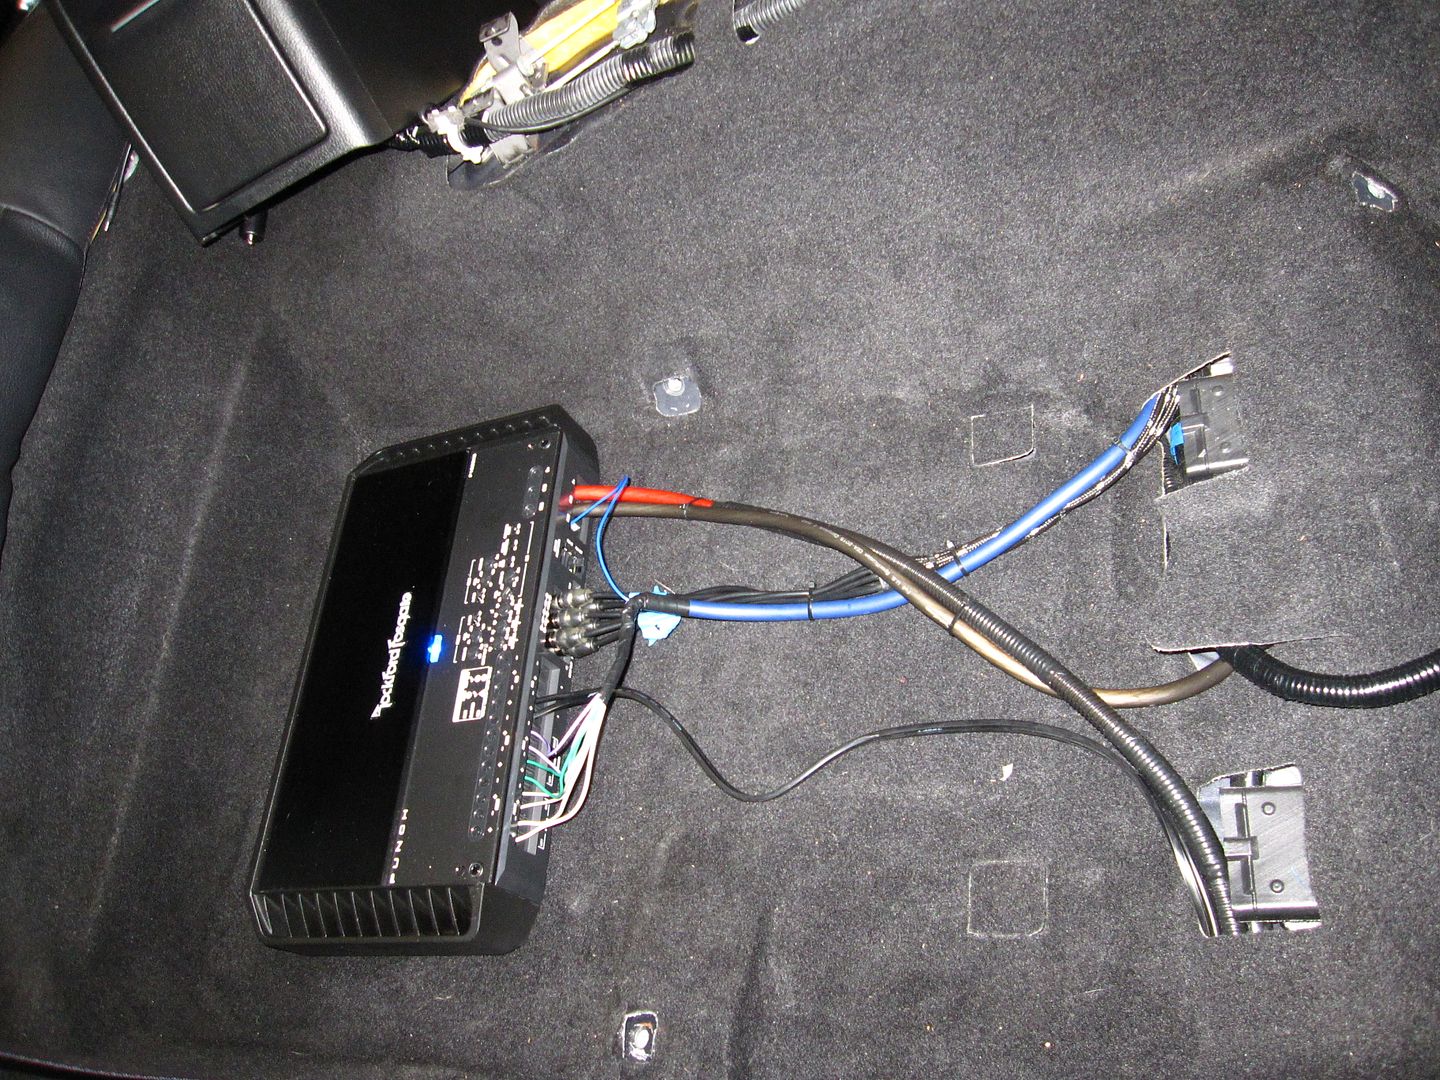
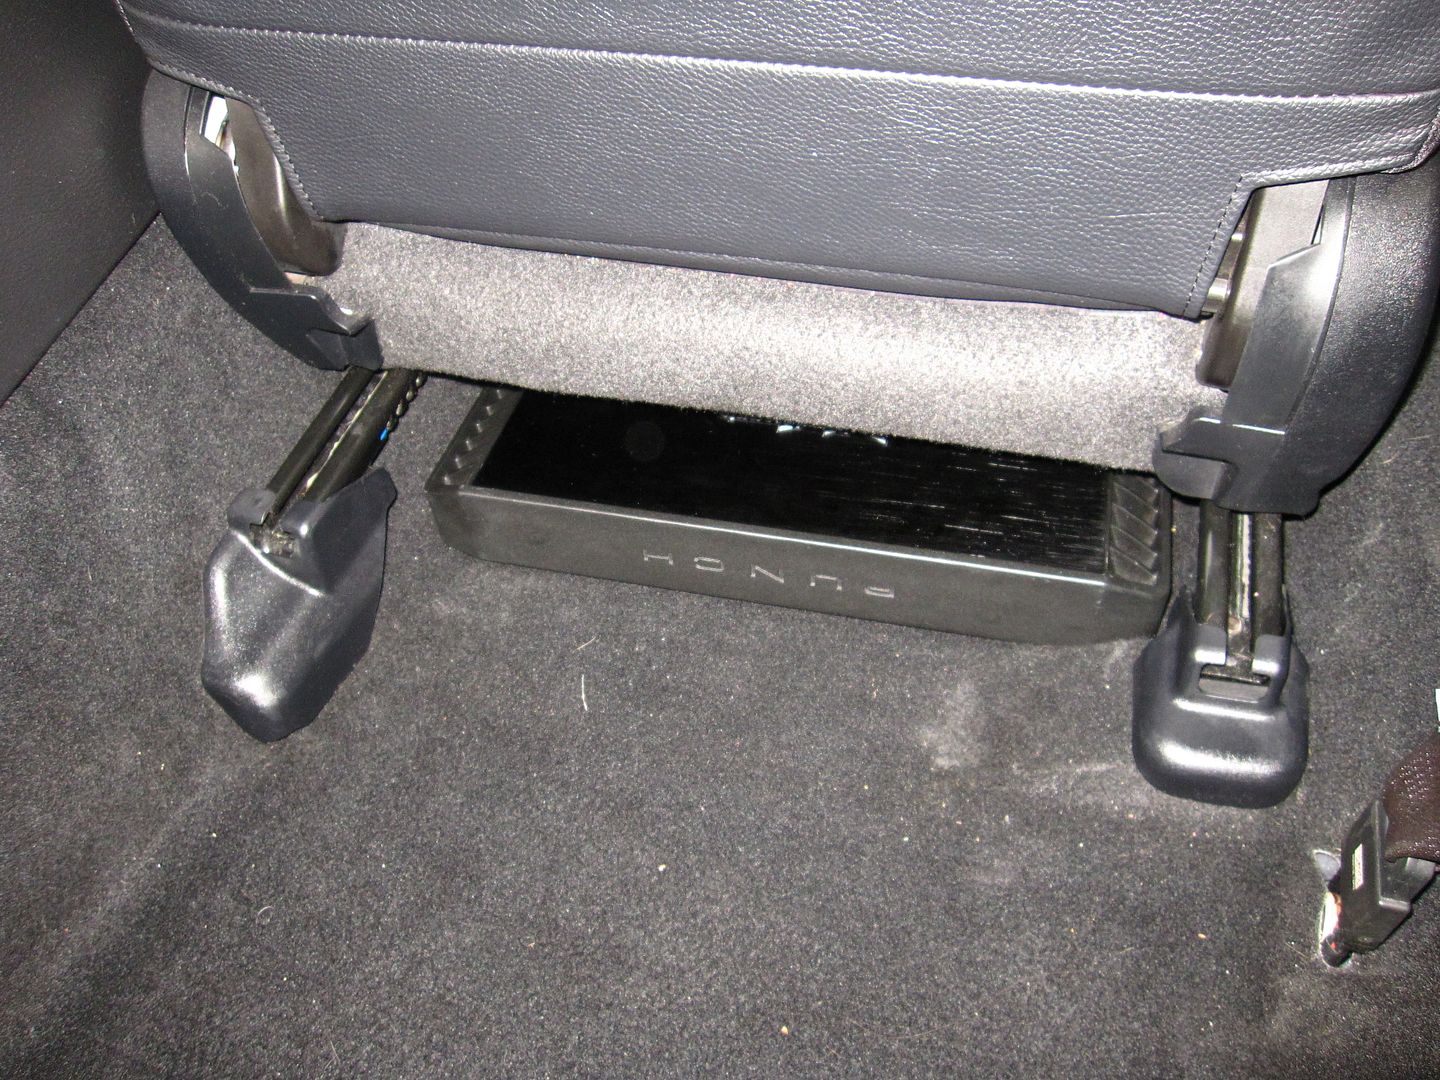
The Amp
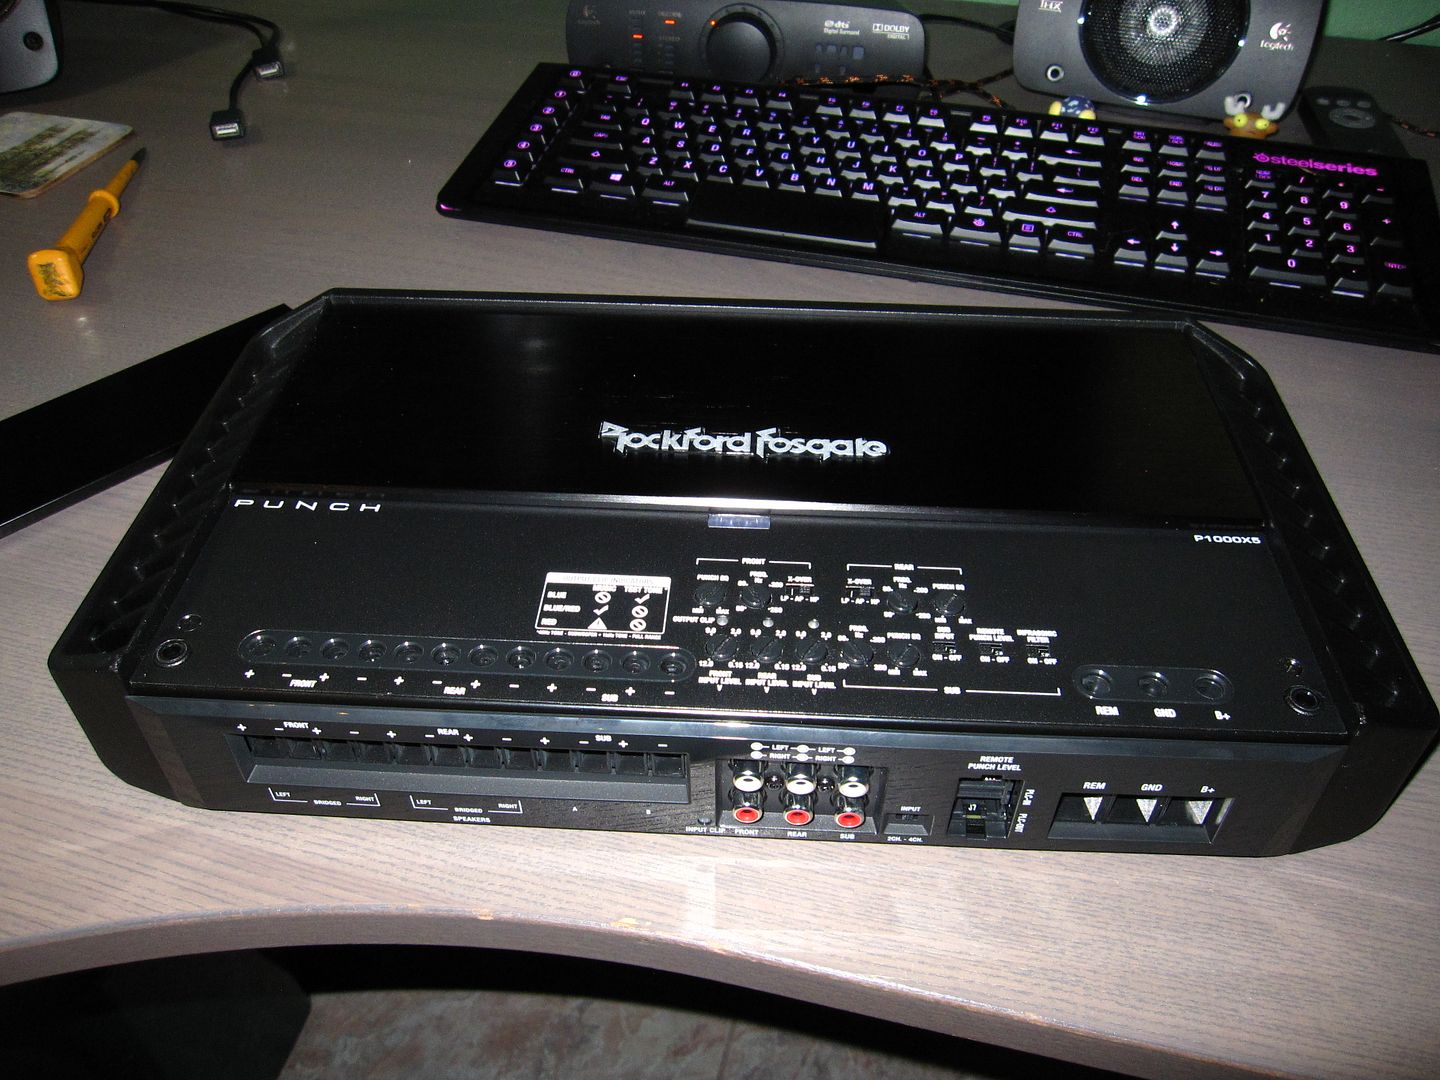
Damn. This thing is robust. The whole thing is basically an aluminum block, with amp guts nestled inside it. It's rated at 1000 Watts, and as per the course for Rockford Fosgate, all their amps are under-rated (or over-engineered, depending on how you look at it). It's rated for 1000 Watts total, but in testing is good for 1337 Watts. Their amps always perform better than what they are rated at.
I will be running my door speakers at 4 Ohms, and will eventually run a 2 Ohm 10" sub (though for now, I will be keeping my old 10" RF Punch P2, which is 4 Ohms). The 4-channel portion of the amp will thus run at 75 Watts RMS x 4, and the mono amp will be at 150 Watts RMS x 1 at 4 Ohm (but will be 300 Watts RMS x 1 at 2 Ohms when I get a new sub). This amp also has built in clipping detection that looks pretty sweet. Looking forward to that.
Update: I ended up switching to a new 10" 2 Ohm right away. This amp only pushes like 150 Watts at 4 Ohms - the door speakers essentially drowned out the sub. It was like there wasn't even a sub, way under-powered. So I ordered a new sub and enclosure the next day. At 2 Ohms, 300 Watts from the amp should plenty. Oh and the clipping detection is awesome. Literally takes all the guesswork out. Technically, you can tune by ear - play the test tone and slowly turn up the gain until you hear the pitch change. It does work. You can do this. Or...even easier. Turn up the gain until the light turns blue. Keep turning...once the light turns red, turn it back a bit to blue and you are done. It took me literally 10 seconds to adjust (correctly!) the gain.
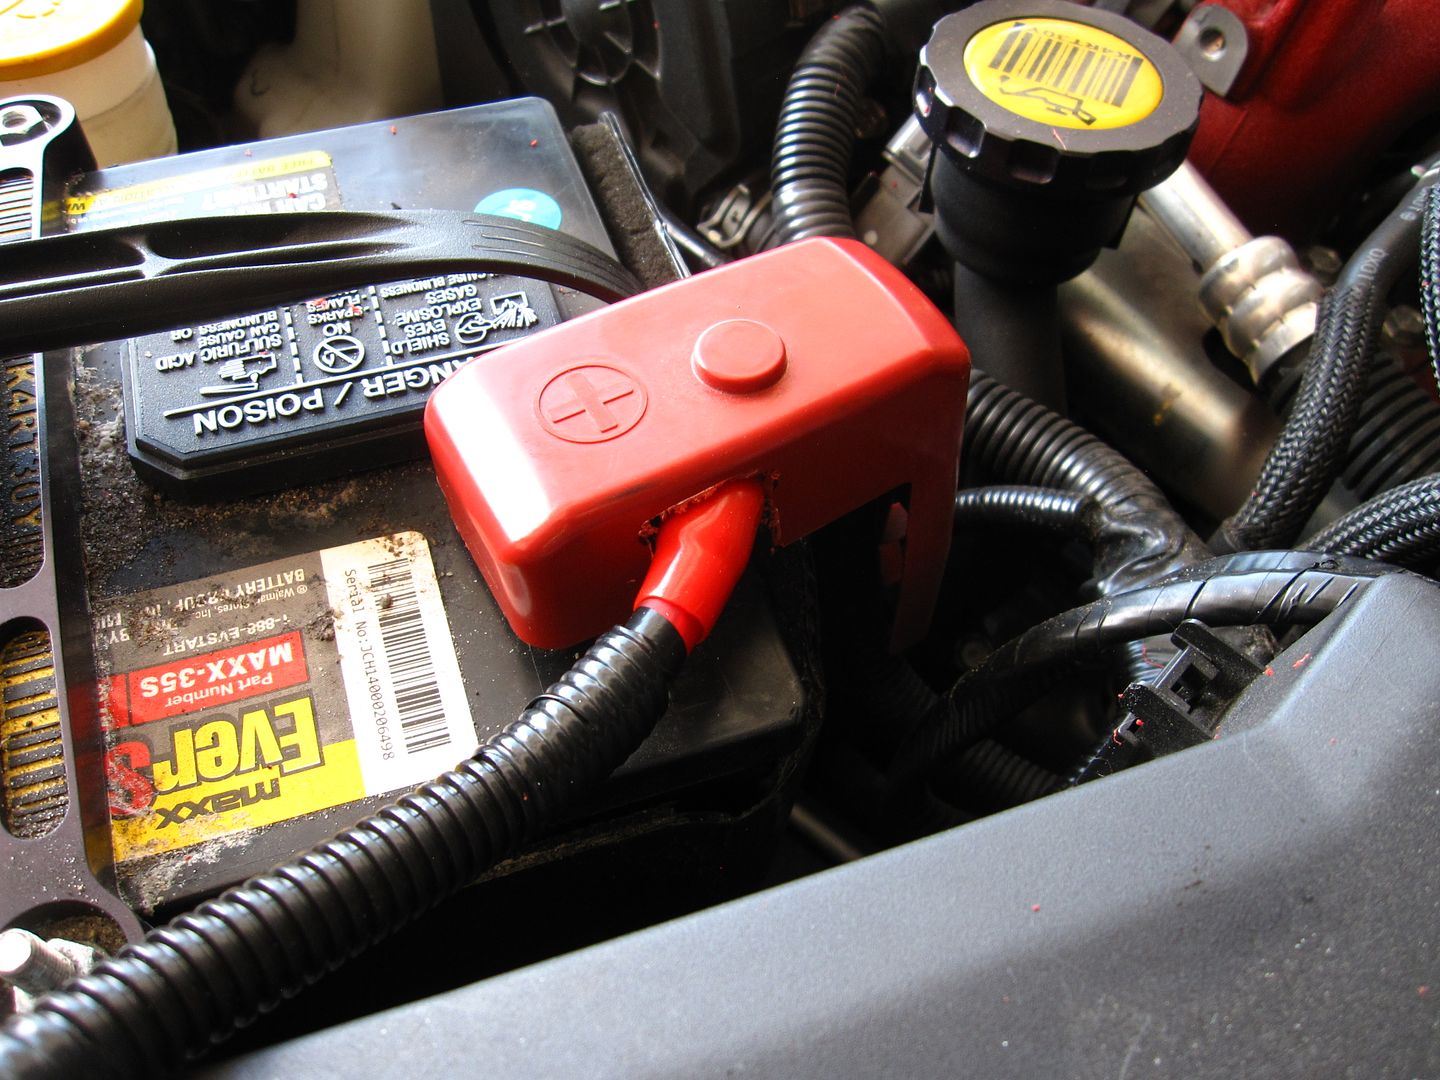
Super Big Question: Can My Car (Alternator) Handle My Amp?
So this was the cause for some consternation initially. I don't really want to install a new alternator. And I don't want my headlights dimming on hard hits. Luckily for me, I don't play my music that loud. So I'm not too worried about that. But I am worried about prematurely killing my battery and alternator. So the question of the day for me was: can my car in its current form handle my new amp? I arrived at an answer of yes (obviously, as I bought it) - and here's how I did it.
I did some research, and found this gem at Crutchfield. It's sort of quick and dirty, but I do so trust those guys over at Crutchfield. The general thinking is that a car will use some portion of the alternator output - but not all of it. What's left over is available for other electrical loads (such as an amp). To find the "left over" available with your alternator: take your total Amps that the alt is rated at, assume 60% will be used by the car electronics, which means you have 40% to play with... (Warning, colors in-coming! Color-coding used to (hopefully) make it easier to follow the calculations):
1.) Alternator Amps * .4 = Available Amps
So, for me: I've got a 90 Amp alt, which means 90 * .4 = 36 Amps. Therefore I've got about 36 Amps to play with.
Next, figure out the draw your new amplifier(s) will make on your alt. The start to this is calculating the total Watts RMS your amplifier(s) will produce.
2.) Number of Channels * Watts RMS (at the Ohm for the speakers) (+ SUM this up for each amplifier installed) = Total Watts RMS of Amplifier
So, for me: I'm running 4 Ohm speakers in the doors, 4 channels * 75 Watts RMS = 300 Watts; but I've also got the Mono amp, and I intended on running that with a 2 Ohm sub, so that's 1 channel * 300 Watts = 300 Watts. Then sum up all the "amplifiers", 300 + 300 = 600 Watts total.
Amplifiers, by their nature, are not efficient. Which is too bad. But needs to be accounted for. Being conservative, assume 50% efficiency. This needs to be accounted for in the total wattage.
3.) Total Watts RMS of Amplifier * 2 = Actual Total Watts RMS of Amplifier
So, for me: 600 Watts * 2 = 1200 Watts. What this means is that the amplifier(s) is actually working at 1200 Watts to produce 600 Watts. This is because of the 50% efficiency. 50% efficiency is just a rule of thumb - Mono amps are actually pretty efficient, like 80% or so, but to be safe for your estimates, stay with 50%.
To calculate the amp draw this Wattage will require, divide the Actual Total Watts RMS by the voltage of the car electrics. Which is typically around 13.8 Volts.
4.) Actual Total Watts RMS of Amplifier / 13.8 Volts = Amp Draw of Amplifier
So, for me: 1200 Watts / 13.8 = ~87 Amps.
But wait, this is way more than I have available at my alternator. Well. The average music signal only requires about a third of the total Watts at full volume (where a sine wave test tone will use the full amount - so careful there when using test tones to configure your system). In other words, playing music at full volume will take about 1/3 of the power.
5.) Amp Draw of Amplifier * 1/3 = Expected Amp Draw of Amplifier
So, for me: 87 Amps * 1/3 = 29 Amps.
Lastly, compare the Amps required to that of the extra provided by the alternator...
6.) Expected Amp Draw of Amplifier < Available Amps = All Good!!
So, for me: 29 < 36. This means, at full volume, my alternator should be able to handle the load of the amplifier. And for me, I rarely (like actually never) play my music at full volume, so my Amp draw will actually be a little less. All is good!!
If your Expected Amp Draw of Amplifier is larger than your Available Amps, then either buy and install a larger alternator, or down-size your amplifier(s). Thanks Crutchfield! So I followed this thinking. Maybe, after the install, I'll discover this is all rubbish. At which point, I'll let you guys know. But like I said, I tend to trust the findings of Crutchfield, so I'm not sweating it right now.
And since this is my DD, and the Mustang is being temperamental right now, I shall wait for the weekend to do the install. More to come!!!
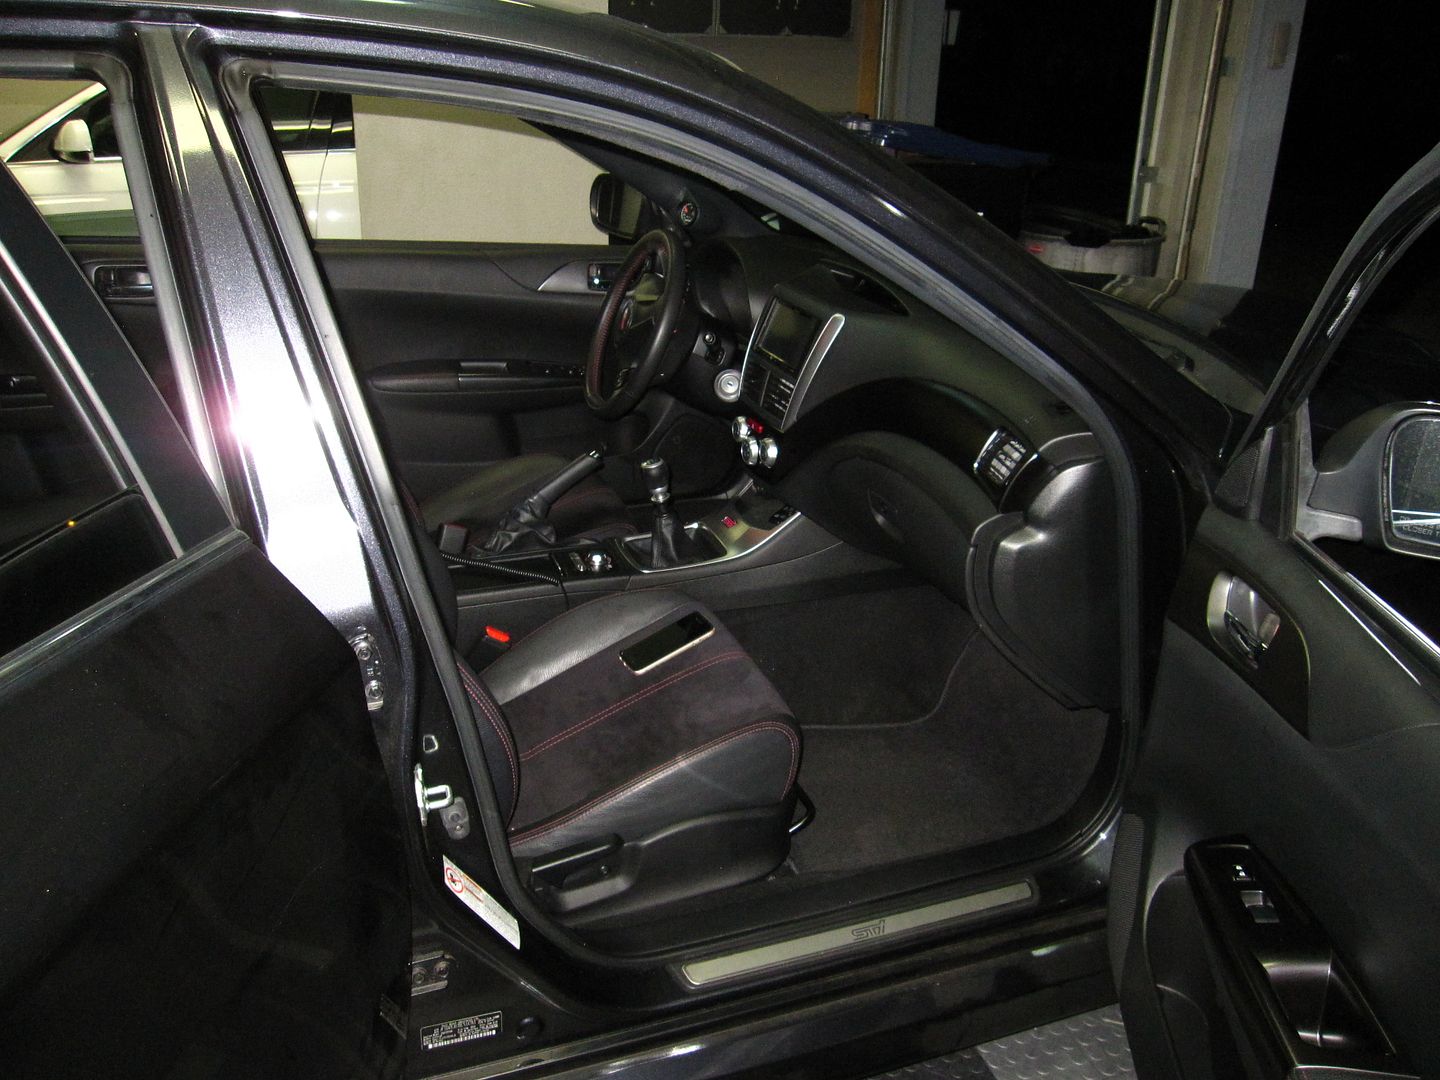
UPDATE: okay, so I got home late from work tonight. My new sub enclosure was waiting for me. I pulled the old one out, installed the new sub in the new enclosure, put it in the car. Adjusted the amp accordingly, and bob's your uncle. For me, it sounds fantastic. While the stock OEM speakers are pretty good...this is better. Without a doubt. It sounds really good, very "powerful" at only half volume. If I turn it up, it hurts my ears before it really starts to distort. Also, no dimming lights or anything at the volume I listen at. And....no dimming at a volume that starts to hurts my ears. This while idling in the garage. So the alternator in the car can certainly handle what I'm running right now. Granted, it should only be about 600 Watts and not the full 1000 Watts the amp is rated at - perhaps at full Wattage my car would dim. But where I am...it sounds great and doesn't seem to cause any electrical issues!
I did some looking around to see what's out there as it's been quite a while. I'm not excited about running 2 amps but what else could I do? Ah ha! I see now there are 5-channel amps. Two amps built into the same chassis: a 4-channel and a mono. Well. That's just super.
So I picked out my amp, picked out my new speakers, all the additional stuffs I will need for the install, and ordered it all up. This post will document my install because hey, why not. Some might find it interesting.
On to the audio bits!
Alright, so what do we have here...
- Rockford Fosgate Punch P1000X5 Amplifier
- Polk Audio DXi6501 6.5" Component (for the front door)
- Polk Audio DXi651 6.5" Coaxials (for the rear door)
- car-speaker-adapters.com speaker brackets, STI specific, front and rear
- Rockford Fosgate RFK4 amp install kit (4 AWG) with a 150 Amp ANL fuse
- Rockford Fosgate RFIT6 RCA cables, 6" length (3 sets: Front, Rear, Sub)
- XTC speaker baffles, 2 for the front door, 2 for the rear
- Stinger 9-wire speed cable, 20'
- Stinger PRO 14 AWG speaker wire, 15' (for the sub)
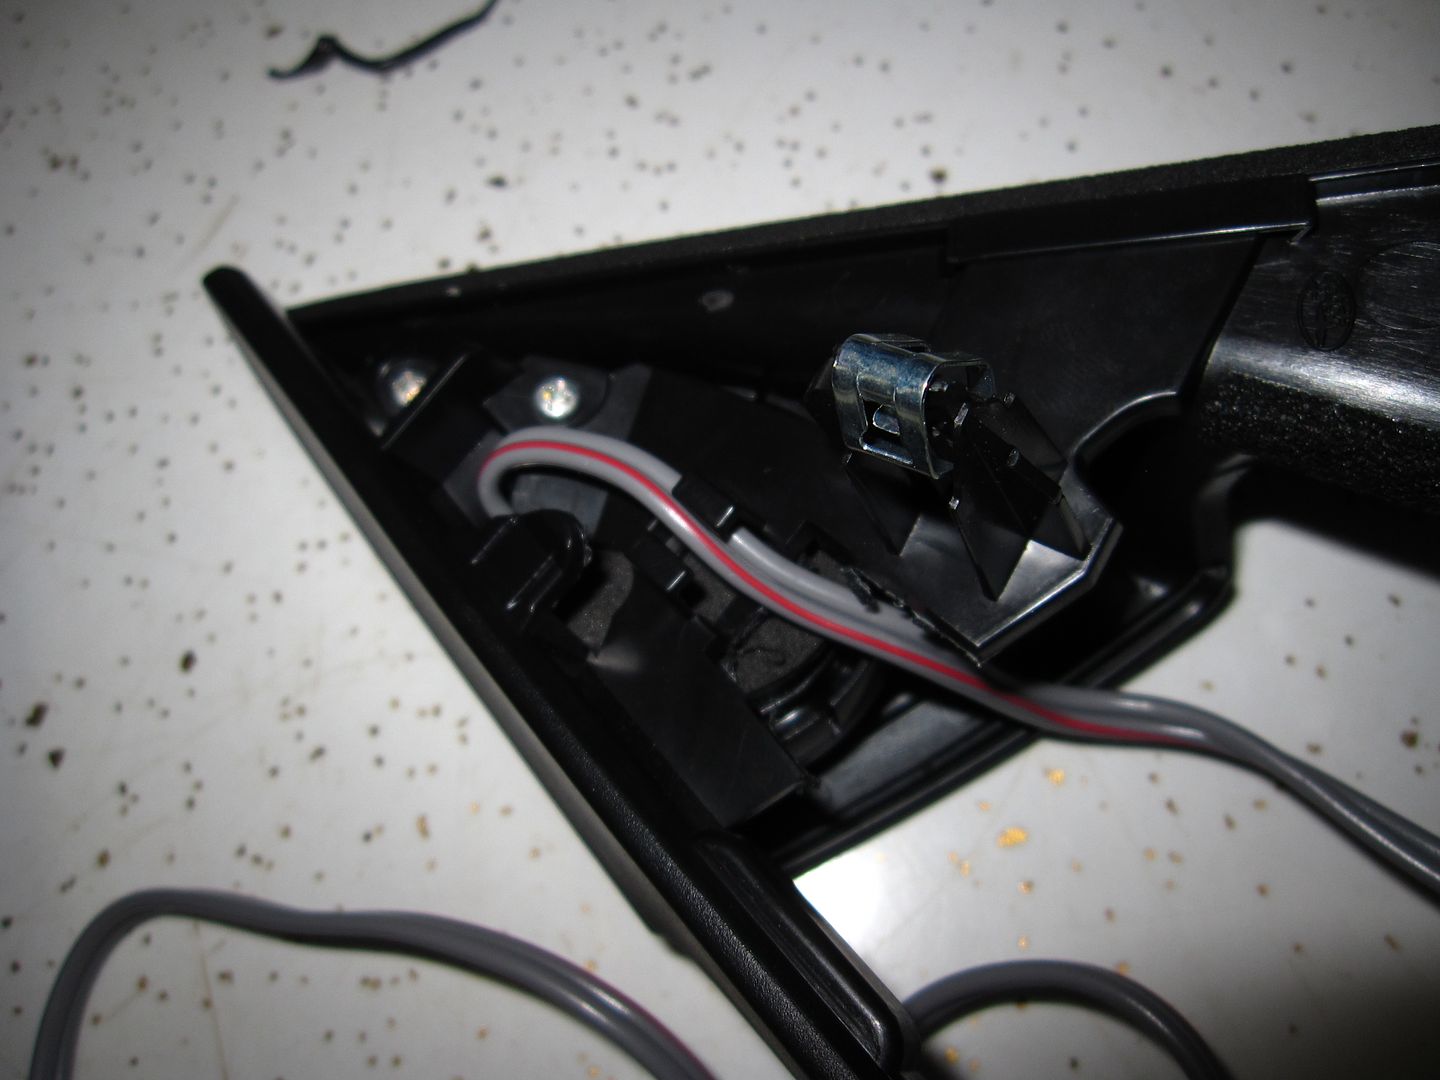
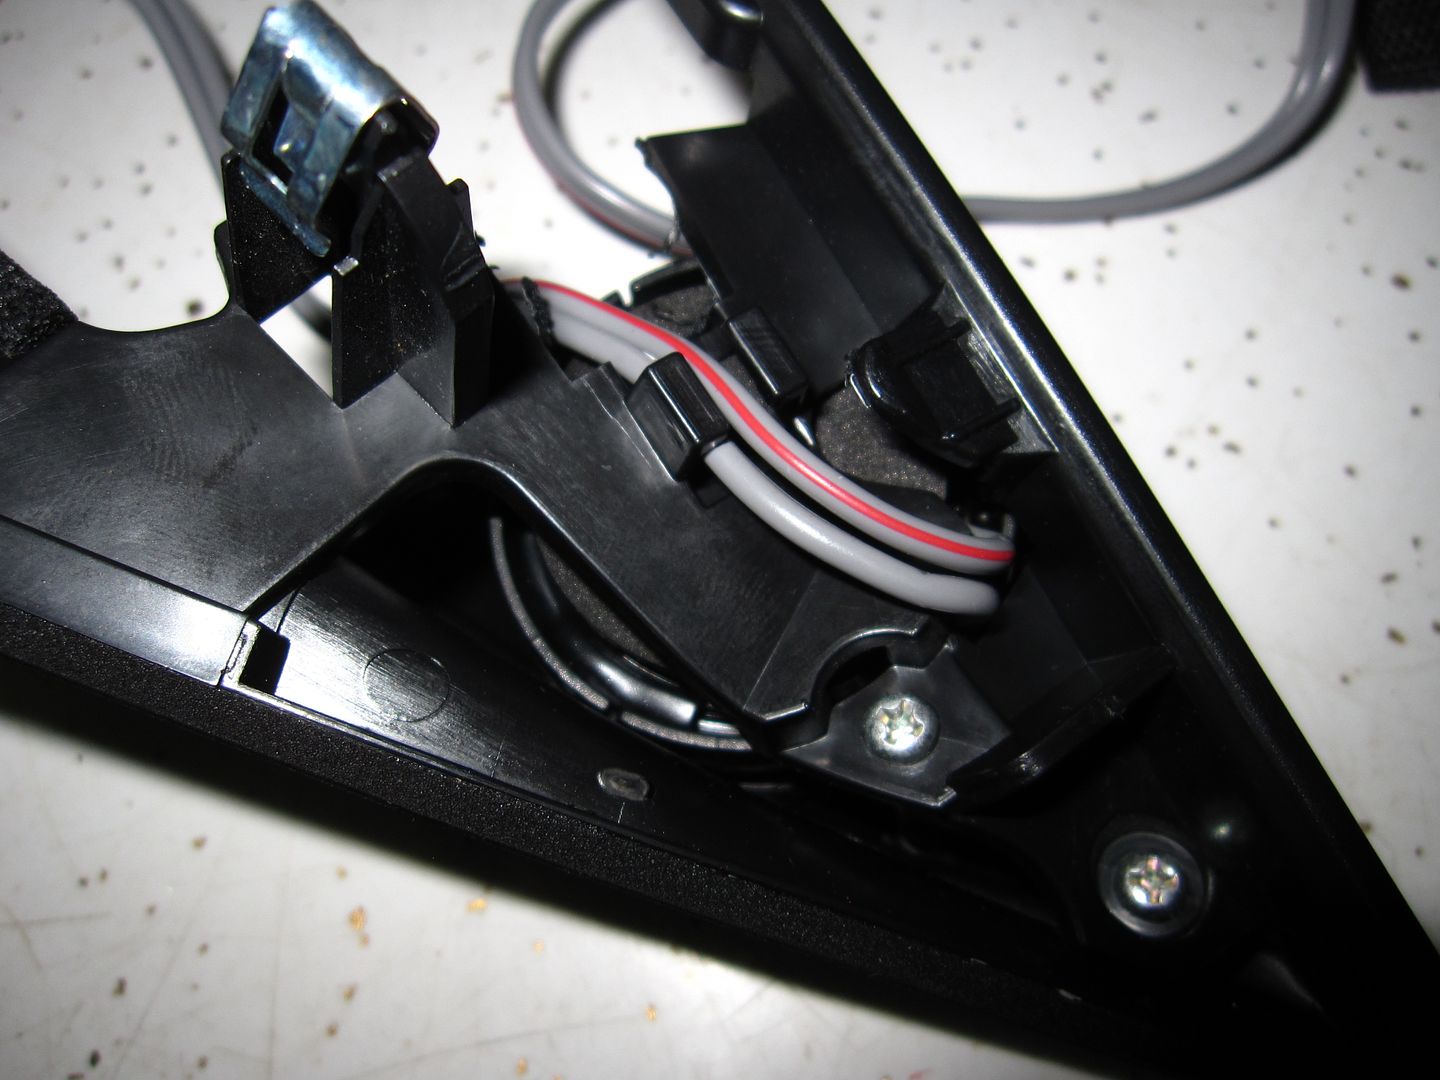
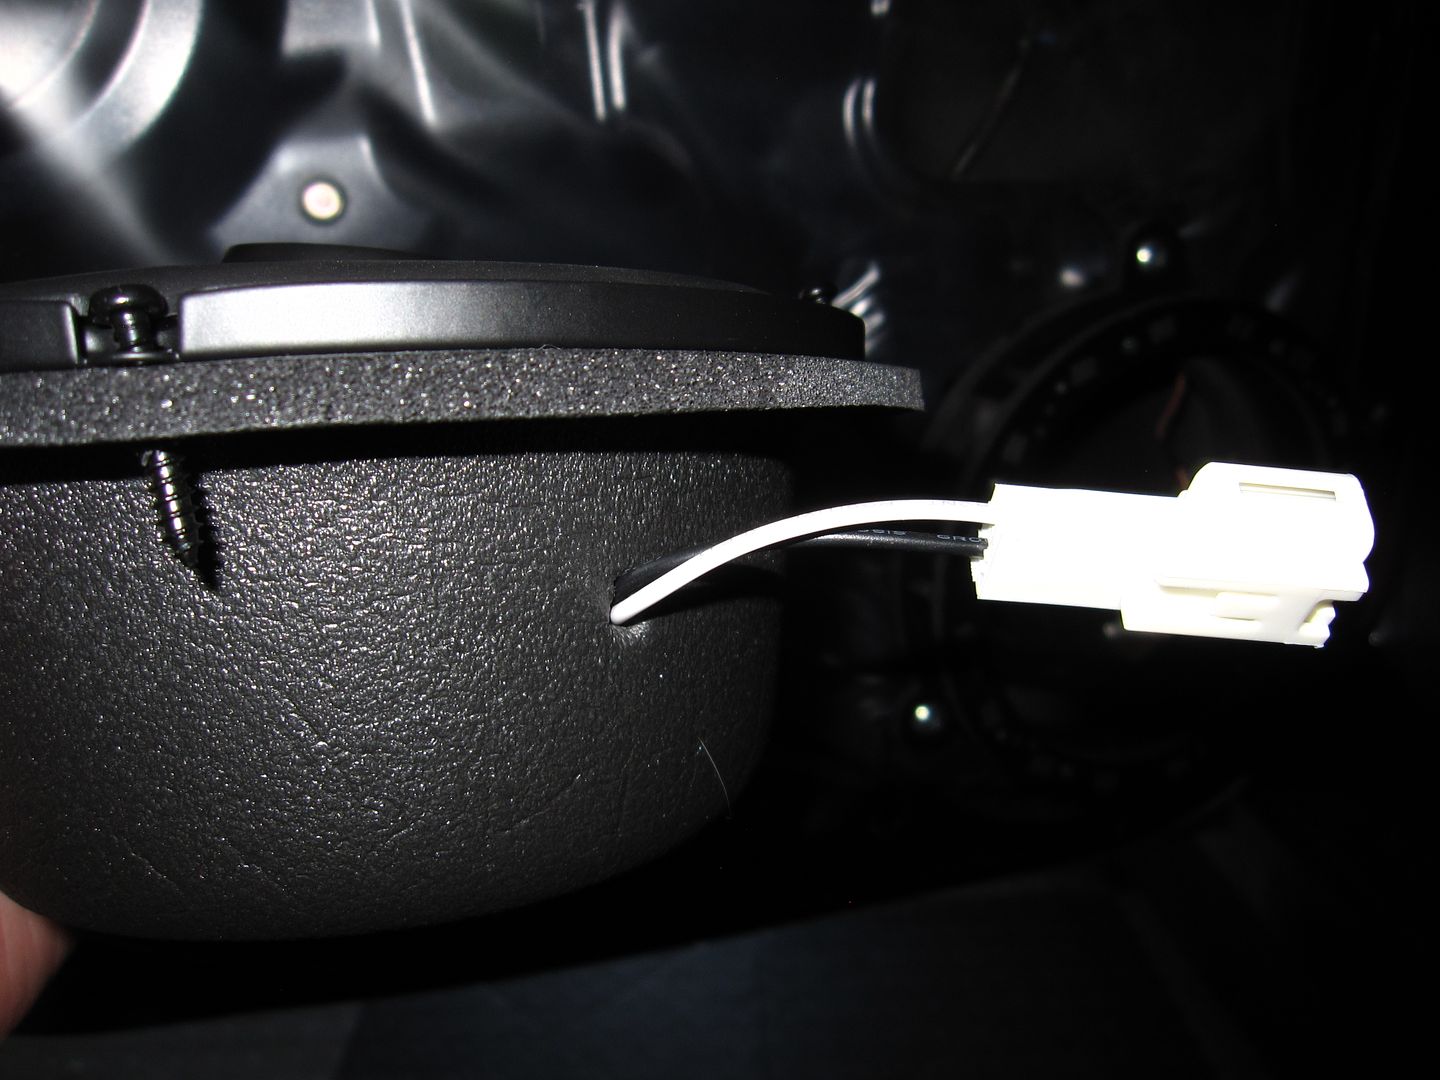
- Speaker connector adapters, supposedly for the STI
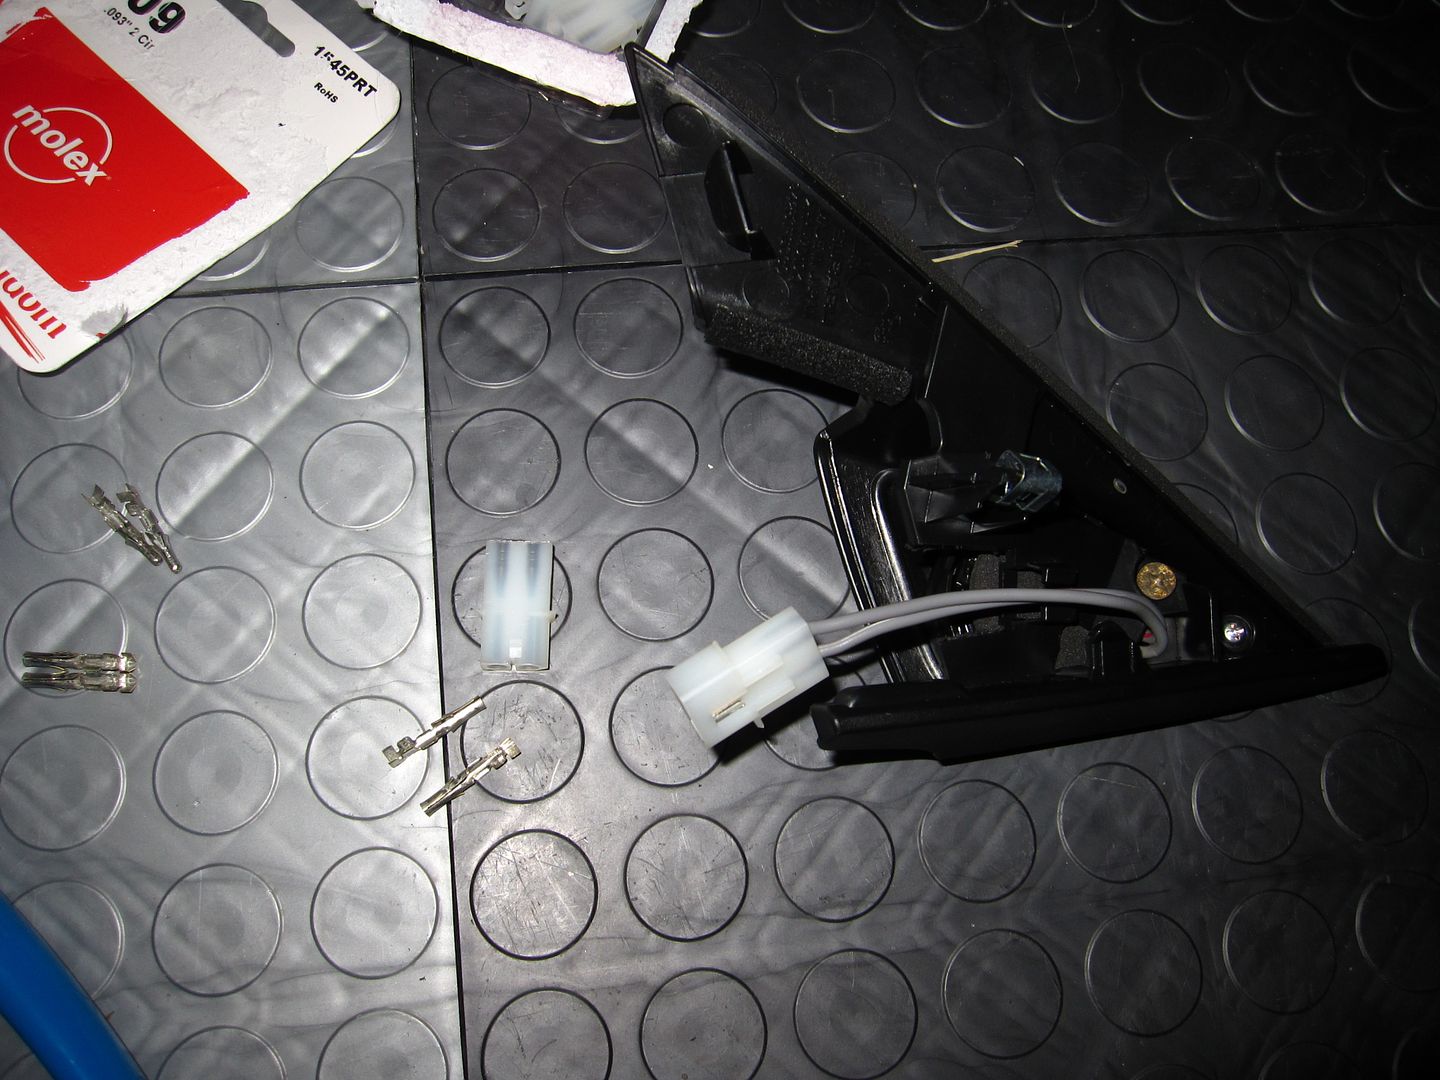
- Molex 2-pin connectors, for the tweeters
Front Door Speakers
Rear Door Speakers
Not really much to say about these guys. I like Polk Audio speakers. I expect these to sound pretty good. The front door speakers are 100 Watts RMS, and the rears are 60 Watts RMS.
Speaker Brackets
Here's a close up of the rear speaker mounted in the adapter (with the XTC baffle trimmed and installed). Supposedly, the STI has a non-standard mounting pattern for their speakers. The Polk's came with adapter brackets, but they require drilling a hole. I ran across the car-speaker-adapters looking up stuff for that other car, and decided to give them a try. They are supposed to be sized exactly to the STI and require no modifications to fit - they "should" screw right in. The rears also space the speaker out a bit to ensure there's no interference with the window. We'll see how these work out. The only downside to them so far is the cost - they are a bit overpriced IMO (however, if you document your install with pics and submit them to the company, they will refund 50% of the purchase price - which I will be doing).
Also, with these guys, they supply machine screws to attach the speaker. They want you to use super glue with the screws to prevent them from backing out. I opted to use wood screws instead, thinking that the larger threads will engage and hold the PVC better than the machine screws supplied. We'll see...
Update: I ended up not using those screws in the install. They were too short. Instead, I used the black course thread screws that came with the speakers (as part of the installation bits). These worked perfectly, and you can see them in the later install pics - the screws are black instead of these silver ones. Also, I send car-speaker-adapters.com the pics and Michael (the owner, I'm assuming) gave me a 50% refund, true to his word on his website. That makes these actually reasonably priced. So I totally recommend these guys - just be sure to take enough good pics so you can get the refund.
Rest Of the Stuff
The speaker baffles and speaker connectors:
RF RFIT6 RCA cables:
RF 4 AWG kit (power cable, ground, and remote cable only) with Lightning Audio in-line ANL fuse holder (150 Amp fuse):
Stinger 9-wire speed cable, 14 AWG speaker cable and Molex connectors:
So my plans for wiring up the door speakers: simply put, I'm using the OEM wires. The research I've done indicates that at Watts of around 75 RMS and below, the OEM wire is just fine. At Watts over that, larger gauge wire should be used. As it happens, my new amp puts out 75 Watts x 4 RMS (at 4 Ohms) - so OEM wire it is. Okay, with that out of the way, the next question is how to hook up the amp to the stock OEM wires. Enter the speed wire. Essentially, it's 9 wires bound up in a single sheath. 8 of them are for the 4 speakers (pos and neg), and the 9th is for the remote turn-on wire. One runs the speed wire from the amp up to the head unit. At the head unit, I will cut the speaker wires that connect the head unit to the OEM wires, and instead connect the speed wire to the OEM wires. Thus, my amp now drives my new speakers via the OEM wires, and I do not have to run wires through the car (apart from the speed wire).
The Amp
Damn. This thing is robust. The whole thing is basically an aluminum block, with amp guts nestled inside it. It's rated at 1000 Watts, and as per the course for Rockford Fosgate, all their amps are under-rated (or over-engineered, depending on how you look at it). It's rated for 1000 Watts total, but in testing is good for 1337 Watts. Their amps always perform better than what they are rated at.
I will be running my door speakers at 4 Ohms, and will eventually run a 2 Ohm 10" sub (though for now, I will be keeping my old 10" RF Punch P2, which is 4 Ohms). The 4-channel portion of the amp will thus run at 75 Watts RMS x 4, and the mono amp will be at 150 Watts RMS x 1 at 4 Ohm (but will be 300 Watts RMS x 1 at 2 Ohms when I get a new sub). This amp also has built in clipping detection that looks pretty sweet. Looking forward to that.
Update: I ended up switching to a new 10" 2 Ohm right away. This amp only pushes like 150 Watts at 4 Ohms - the door speakers essentially drowned out the sub. It was like there wasn't even a sub, way under-powered. So I ordered a new sub and enclosure the next day. At 2 Ohms, 300 Watts from the amp should plenty. Oh and the clipping detection is awesome. Literally takes all the guesswork out. Technically, you can tune by ear - play the test tone and slowly turn up the gain until you hear the pitch change. It does work. You can do this. Or...even easier. Turn up the gain until the light turns blue. Keep turning...once the light turns red, turn it back a bit to blue and you are done. It took me literally 10 seconds to adjust (correctly!) the gain.
Super Big Question: Can My Car (Alternator) Handle My Amp?
So this was the cause for some consternation initially. I don't really want to install a new alternator. And I don't want my headlights dimming on hard hits. Luckily for me, I don't play my music that loud. So I'm not too worried about that. But I am worried about prematurely killing my battery and alternator. So the question of the day for me was: can my car in its current form handle my new amp? I arrived at an answer of yes (obviously, as I bought it) - and here's how I did it.
I did some research, and found this gem at Crutchfield. It's sort of quick and dirty, but I do so trust those guys over at Crutchfield. The general thinking is that a car will use some portion of the alternator output - but not all of it. What's left over is available for other electrical loads (such as an amp). To find the "left over" available with your alternator: take your total Amps that the alt is rated at, assume 60% will be used by the car electronics, which means you have 40% to play with... (Warning, colors in-coming! Color-coding used to (hopefully) make it easier to follow the calculations):
1.) Alternator Amps * .4 = Available Amps
So, for me: I've got a 90 Amp alt, which means 90 * .4 = 36 Amps. Therefore I've got about 36 Amps to play with.
Next, figure out the draw your new amplifier(s) will make on your alt. The start to this is calculating the total Watts RMS your amplifier(s) will produce.
2.) Number of Channels * Watts RMS (at the Ohm for the speakers) (+ SUM this up for each amplifier installed) = Total Watts RMS of Amplifier
So, for me: I'm running 4 Ohm speakers in the doors, 4 channels * 75 Watts RMS = 300 Watts; but I've also got the Mono amp, and I intended on running that with a 2 Ohm sub, so that's 1 channel * 300 Watts = 300 Watts. Then sum up all the "amplifiers", 300 + 300 = 600 Watts total.
Amplifiers, by their nature, are not efficient. Which is too bad. But needs to be accounted for. Being conservative, assume 50% efficiency. This needs to be accounted for in the total wattage.
3.) Total Watts RMS of Amplifier * 2 = Actual Total Watts RMS of Amplifier
So, for me: 600 Watts * 2 = 1200 Watts. What this means is that the amplifier(s) is actually working at 1200 Watts to produce 600 Watts. This is because of the 50% efficiency. 50% efficiency is just a rule of thumb - Mono amps are actually pretty efficient, like 80% or so, but to be safe for your estimates, stay with 50%.
To calculate the amp draw this Wattage will require, divide the Actual Total Watts RMS by the voltage of the car electrics. Which is typically around 13.8 Volts.
4.) Actual Total Watts RMS of Amplifier / 13.8 Volts = Amp Draw of Amplifier
So, for me: 1200 Watts / 13.8 = ~87 Amps.
But wait, this is way more than I have available at my alternator. Well. The average music signal only requires about a third of the total Watts at full volume (where a sine wave test tone will use the full amount - so careful there when using test tones to configure your system). In other words, playing music at full volume will take about 1/3 of the power.
5.) Amp Draw of Amplifier * 1/3 = Expected Amp Draw of Amplifier
So, for me: 87 Amps * 1/3 = 29 Amps.
Lastly, compare the Amps required to that of the extra provided by the alternator...
6.) Expected Amp Draw of Amplifier < Available Amps = All Good!!
So, for me: 29 < 36. This means, at full volume, my alternator should be able to handle the load of the amplifier. And for me, I rarely (like actually never) play my music at full volume, so my Amp draw will actually be a little less. All is good!!
If your Expected Amp Draw of Amplifier is larger than your Available Amps, then either buy and install a larger alternator, or down-size your amplifier(s). Thanks Crutchfield! So I followed this thinking. Maybe, after the install, I'll discover this is all rubbish. At which point, I'll let you guys know. But like I said, I tend to trust the findings of Crutchfield, so I'm not sweating it right now.
And since this is my DD, and the Mustang is being temperamental right now, I shall wait for the weekend to do the install. More to come!!!
UPDATE: okay, so I got home late from work tonight. My new sub enclosure was waiting for me. I pulled the old one out, installed the new sub in the new enclosure, put it in the car. Adjusted the amp accordingly, and bob's your uncle. For me, it sounds fantastic. While the stock OEM speakers are pretty good...this is better. Without a doubt. It sounds really good, very "powerful" at only half volume. If I turn it up, it hurts my ears before it really starts to distort. Also, no dimming lights or anything at the volume I listen at. And....no dimming at a volume that starts to hurts my ears. This while idling in the garage. So the alternator in the car can certainly handle what I'm running right now. Granted, it should only be about 600 Watts and not the full 1000 Watts the amp is rated at - perhaps at full Wattage my car would dim. But where I am...it sounds great and doesn't seem to cause any electrical issues!


 )
)