ttocs
Post Whore
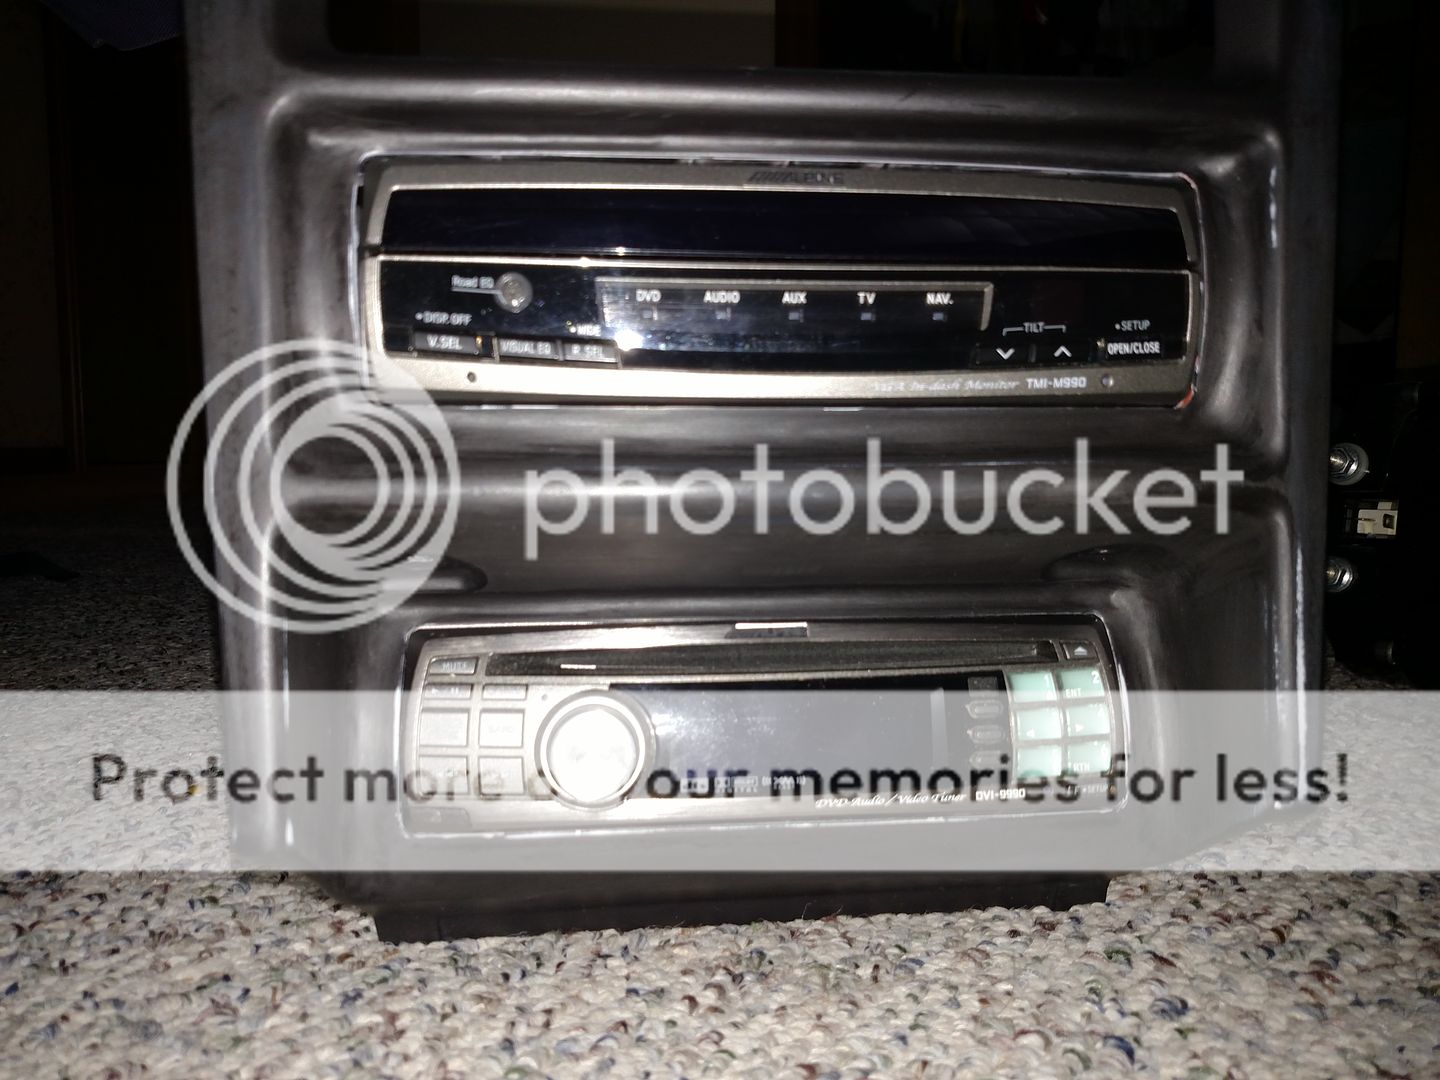
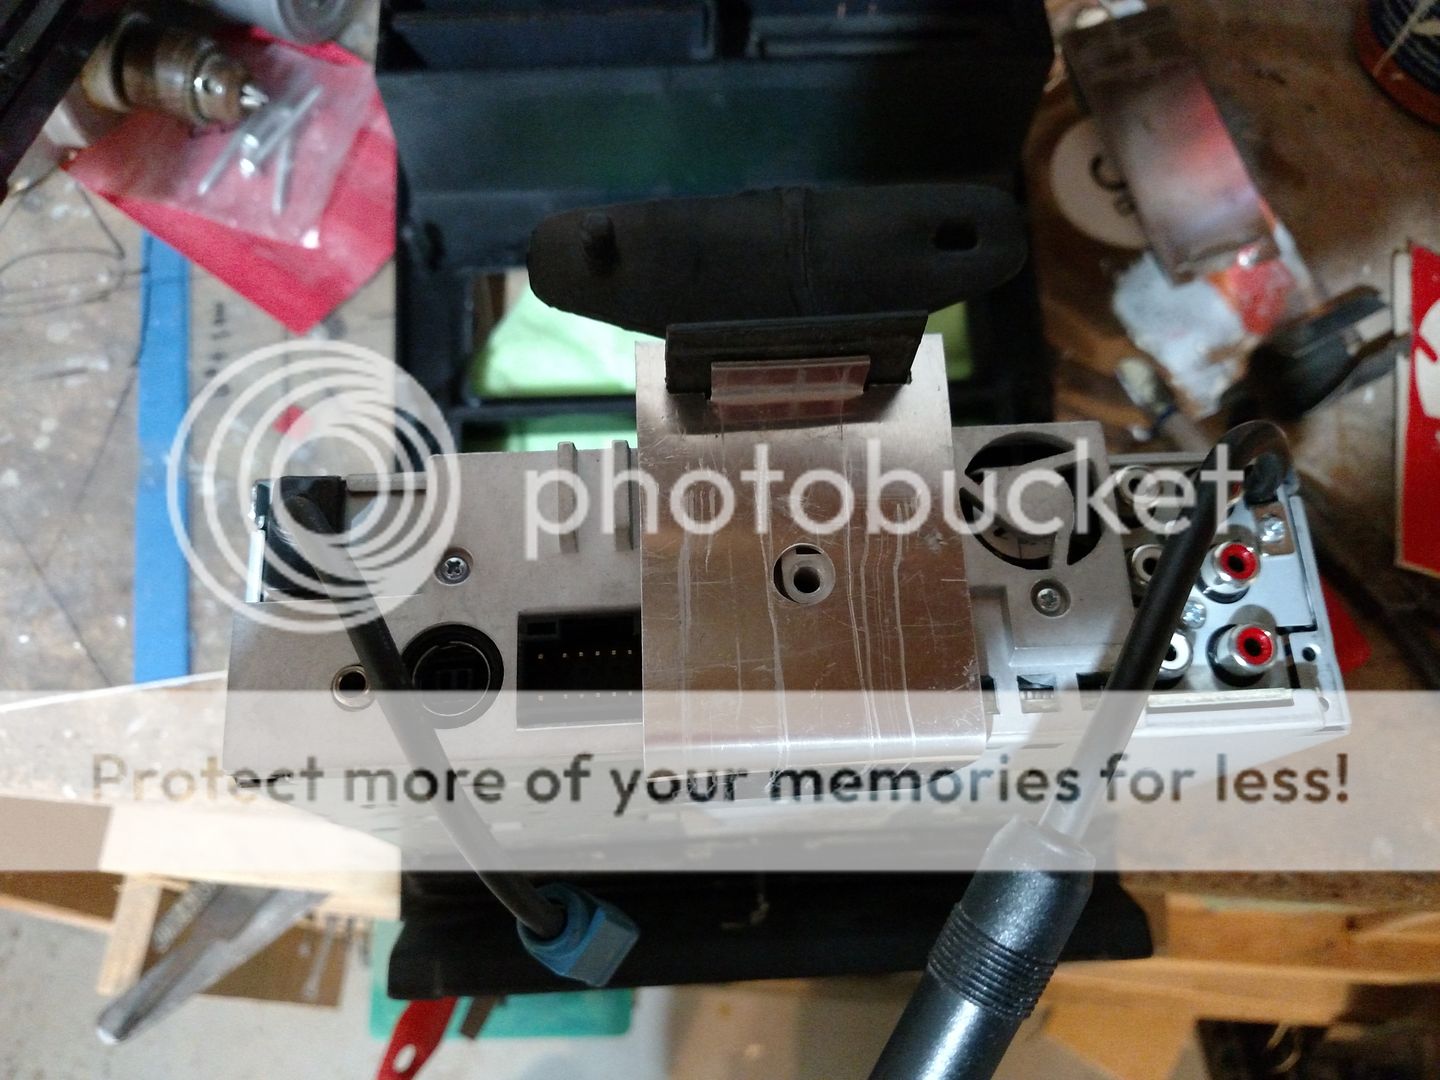
seems like we have not had much stereo related stuff in here lately so I thought I would share a recent stereo purchase and part of the install. I came across a system that is arguably the best sounding system that Alpine ever made designed completely around the sound quality arena for competition systems. Everything in it was designed around getting the best sound quality from copper chassis on all the pieces for maximum noise rejection to the deck having the power sources for the deck/display in an off-board module to isolate the signal from it(beside the remote). The Alpine F1 Status system consists of the DVI-9990 dvd player, a tmi-m990 fold out screen and two PXI-H990 sound processors that will allow me to do all the cross overs and eq'ing digitally through the deck/screen in what is called an active system. The cool part is that it will allow me to individually tune the cross over frequencies, eq and output of each individual speaker. The bad part is it means I will need 12 rca cables between the processors and the amps... But anyway here is the deck/processors

The screen is nothing fancy and in fact the GUI for it all is pretty dated since this was made in 2007. It wasn't designed for maximum video but it does have the option.
For such a nice stereo I decided to make a better mount for it so I knew it would be rock solid. I bent this aluminum into the mount you see now so it hangs from the rail above it in the lowest din mount. If you look closely where the aluminum meets the dash it also rests on a lip on the back of the dash so between the mounting points the front is not moving. I am going to have to cut out the old decks trim ring and flush mount the new one so it will be flush with the dash(Stay tuned for that possibly shortly).

I also made this bracket to go on the back to hold it in place. I need to do some trimming on it so that the harnesses do not get in the way(this is still the old deck I don't want to scratch the copper chassis up).
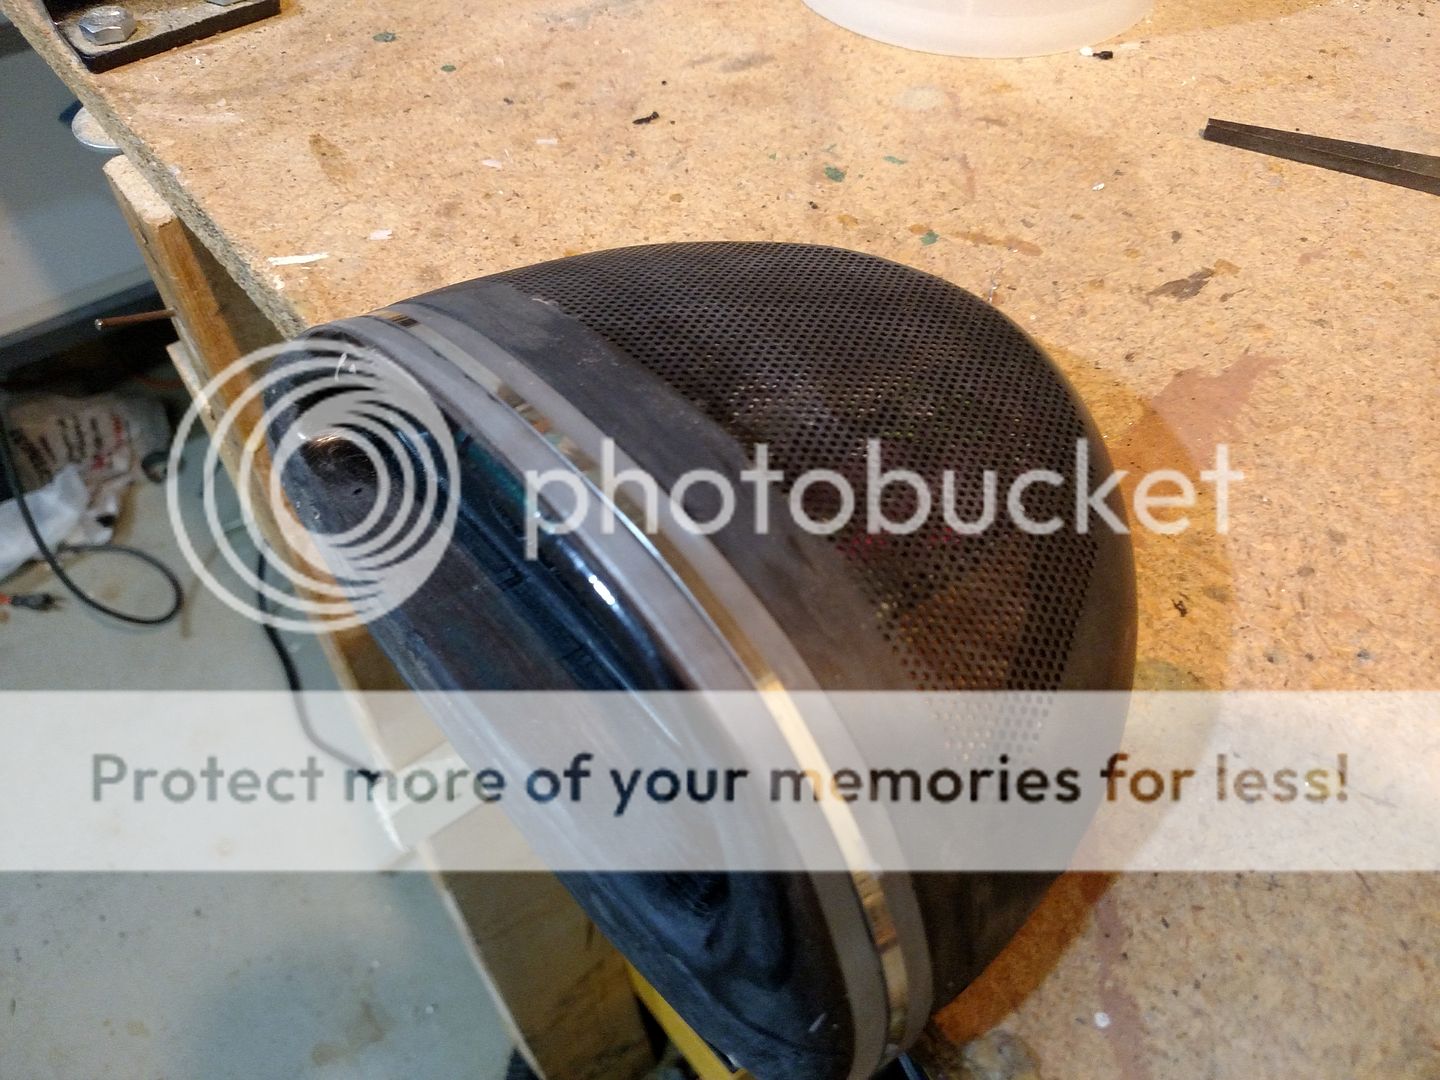
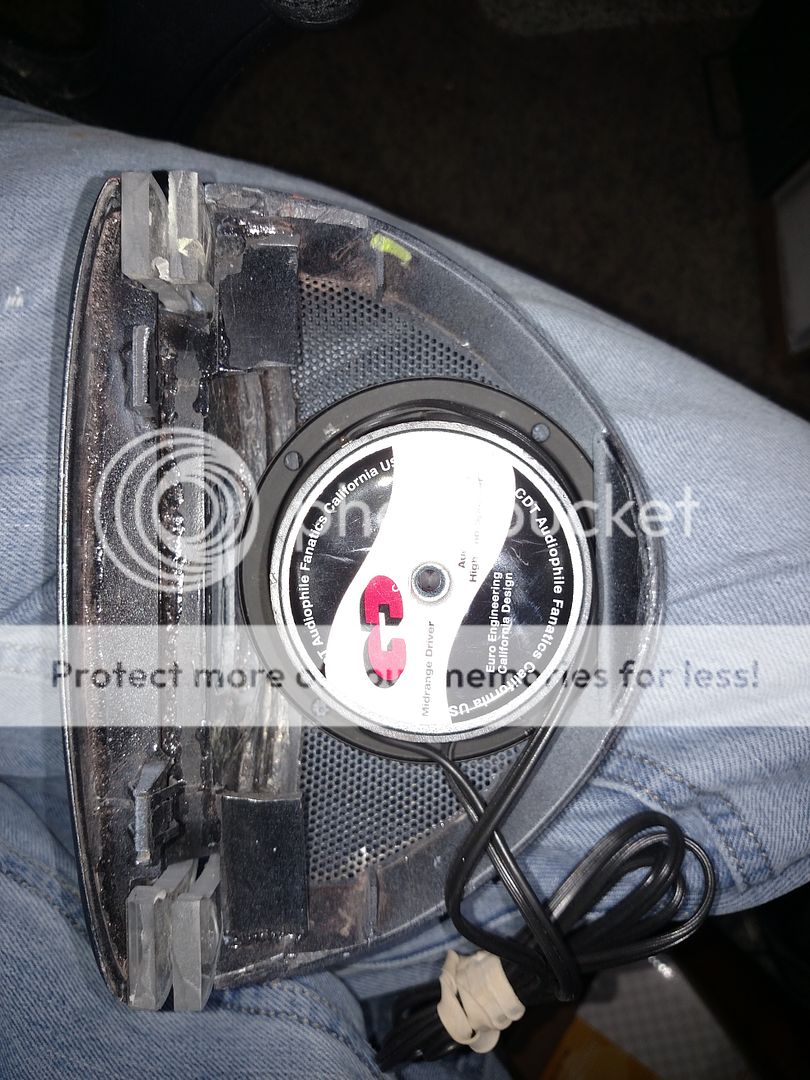
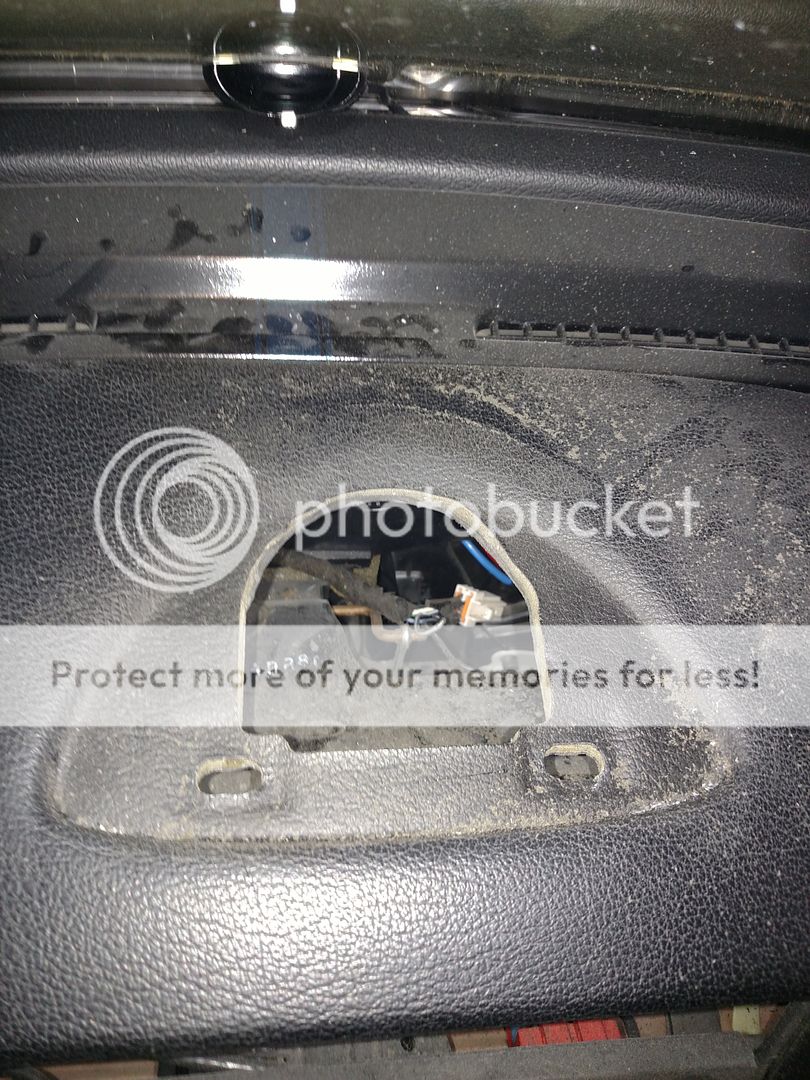
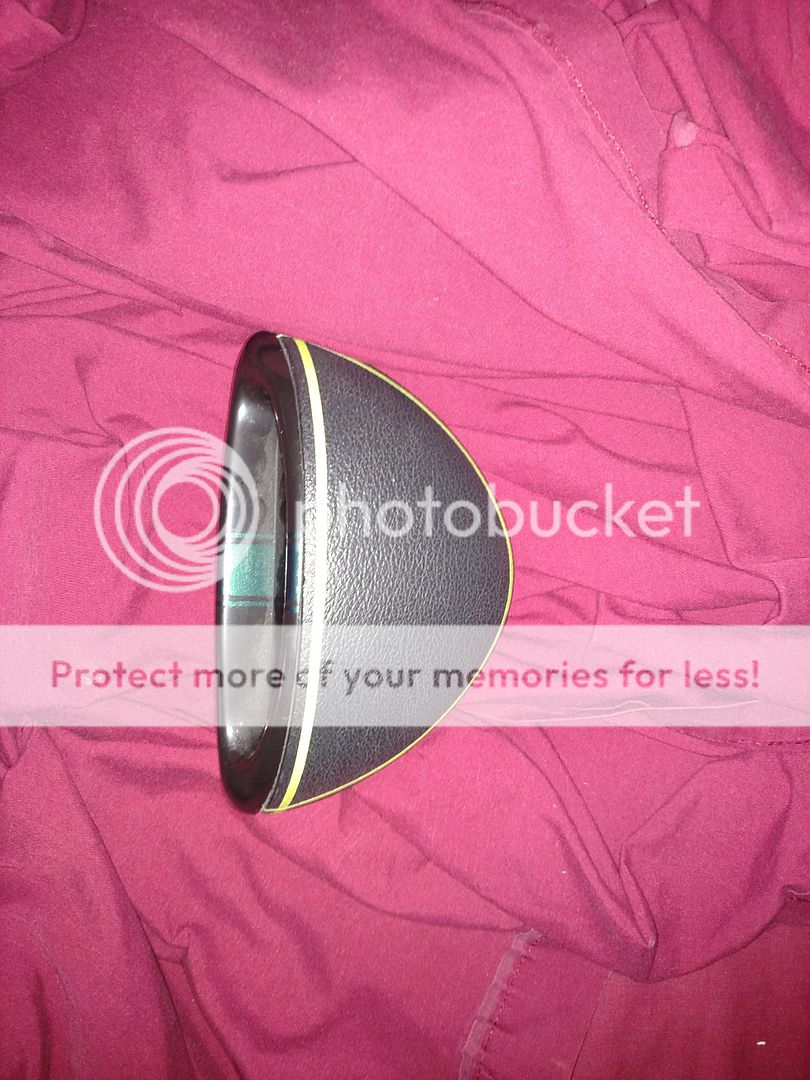
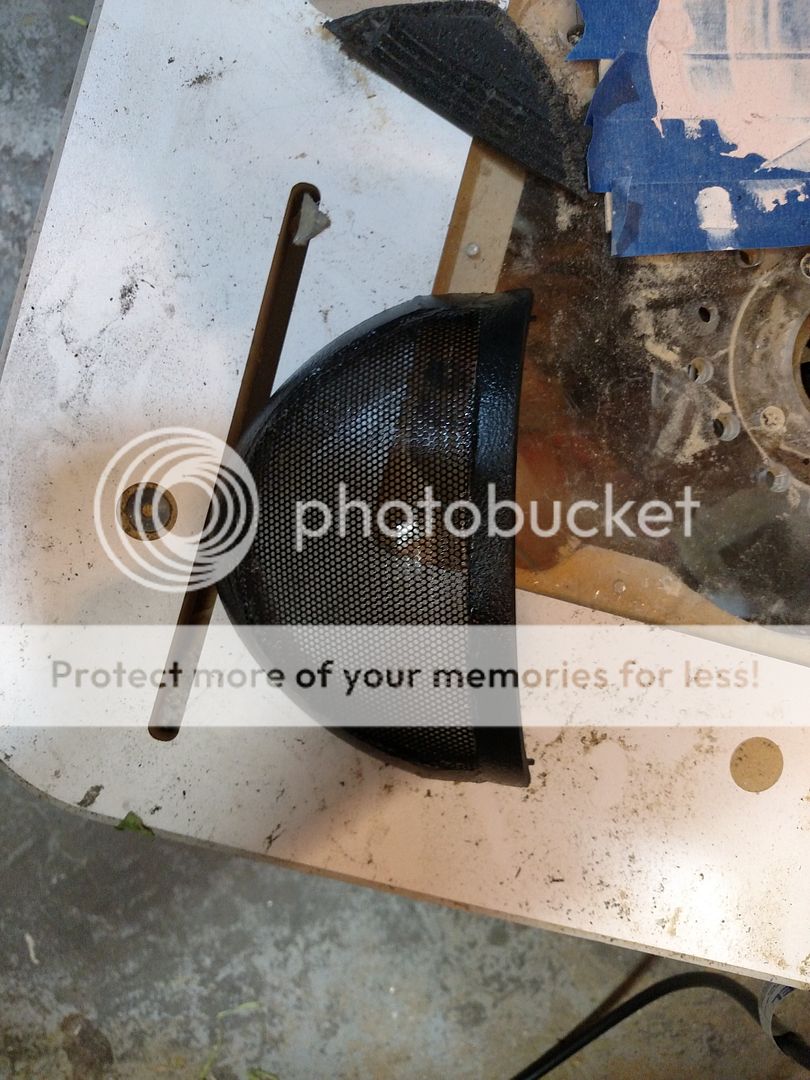
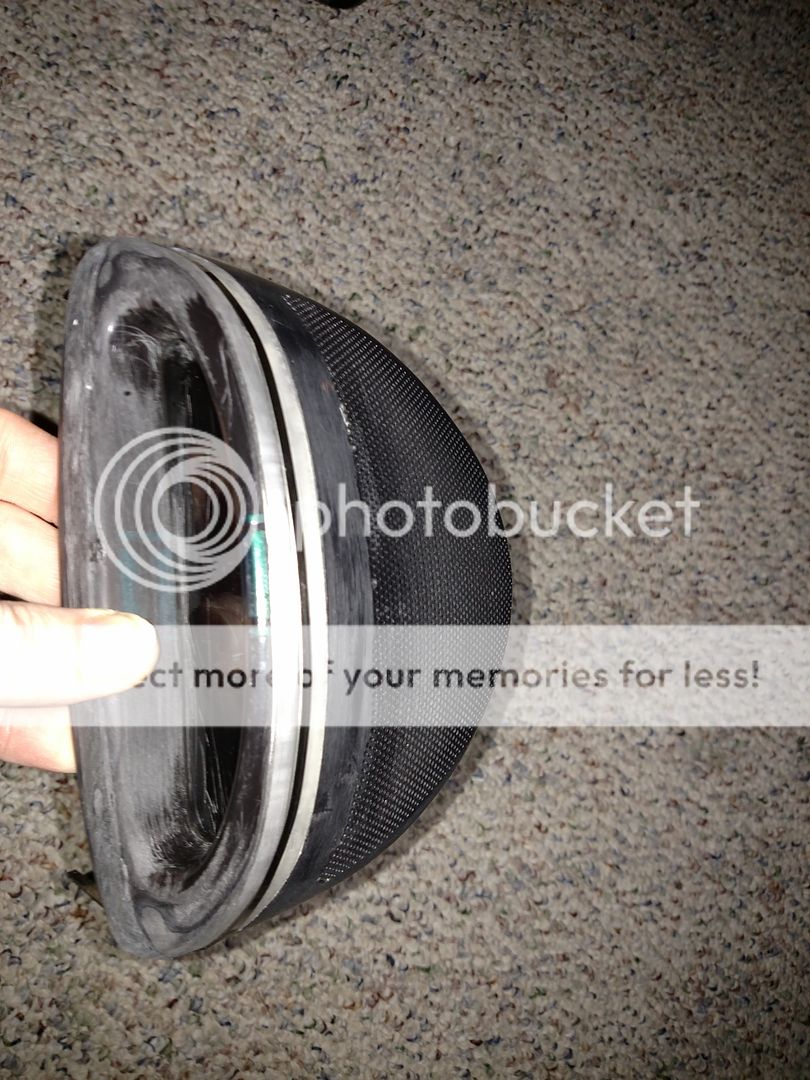
so the next problem was the occasion I do video in the car I needed a center channel. After a lot of thought of where I could put it I decided to modify the clock pod slightly so it would play up into the windshield. It already holds the display for my escort 9500ci remote radar detector and the only problem with it is that its really small to try and fit a speaker in it. The tape lines are where I cut the back half of the pod after I separated the front/back from each other.
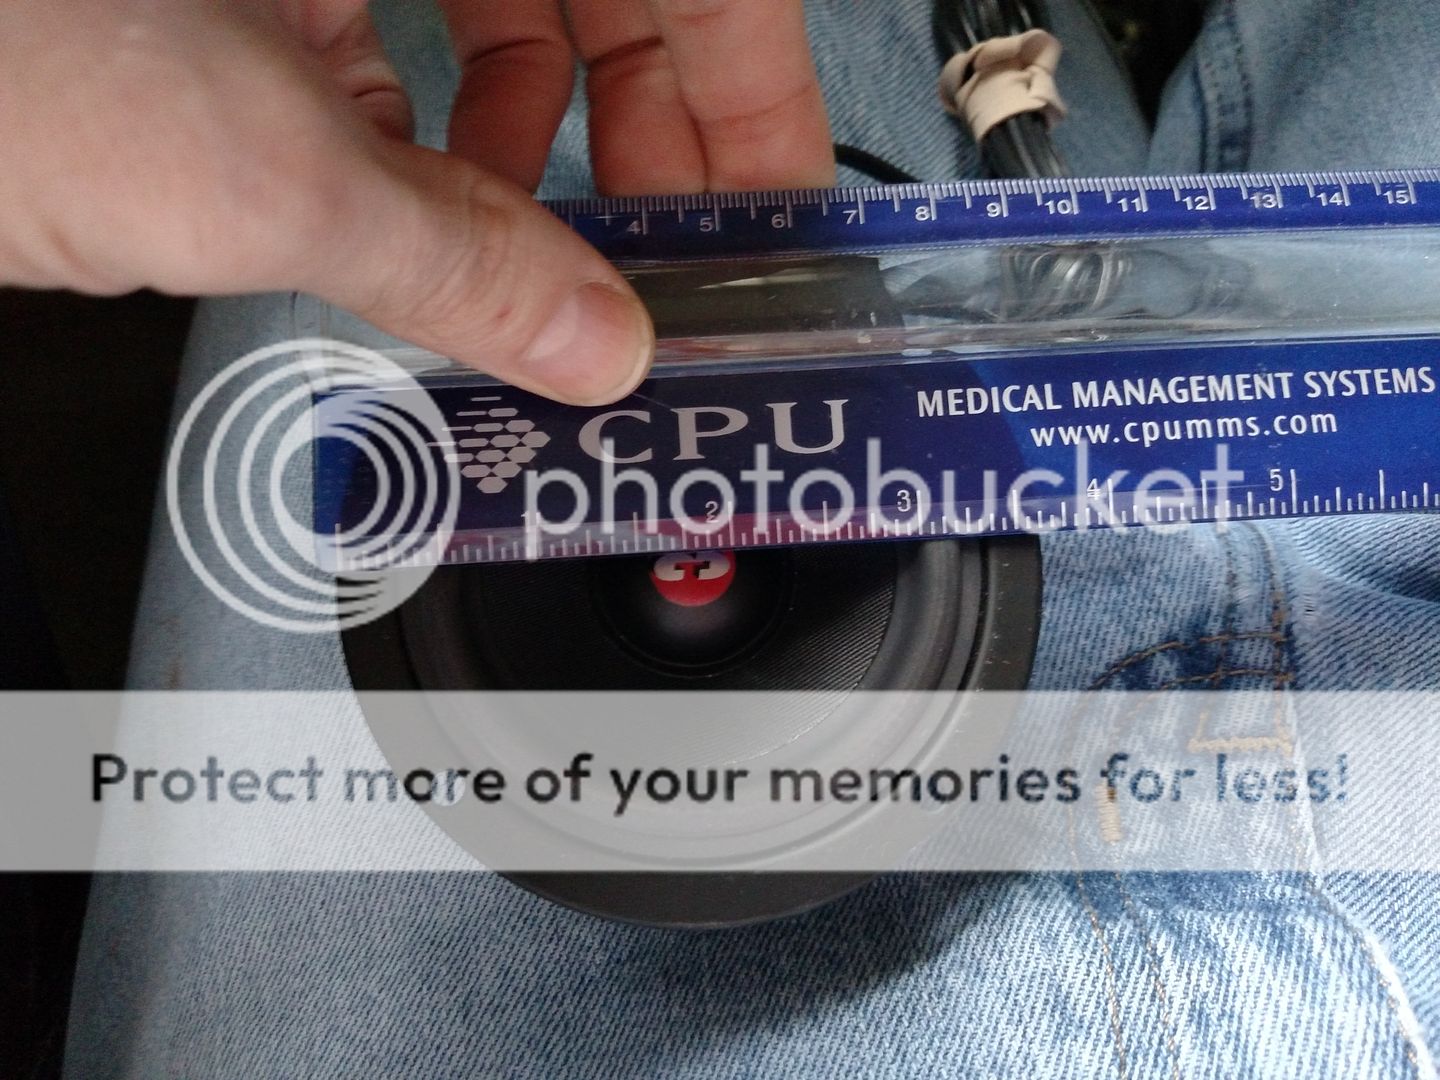
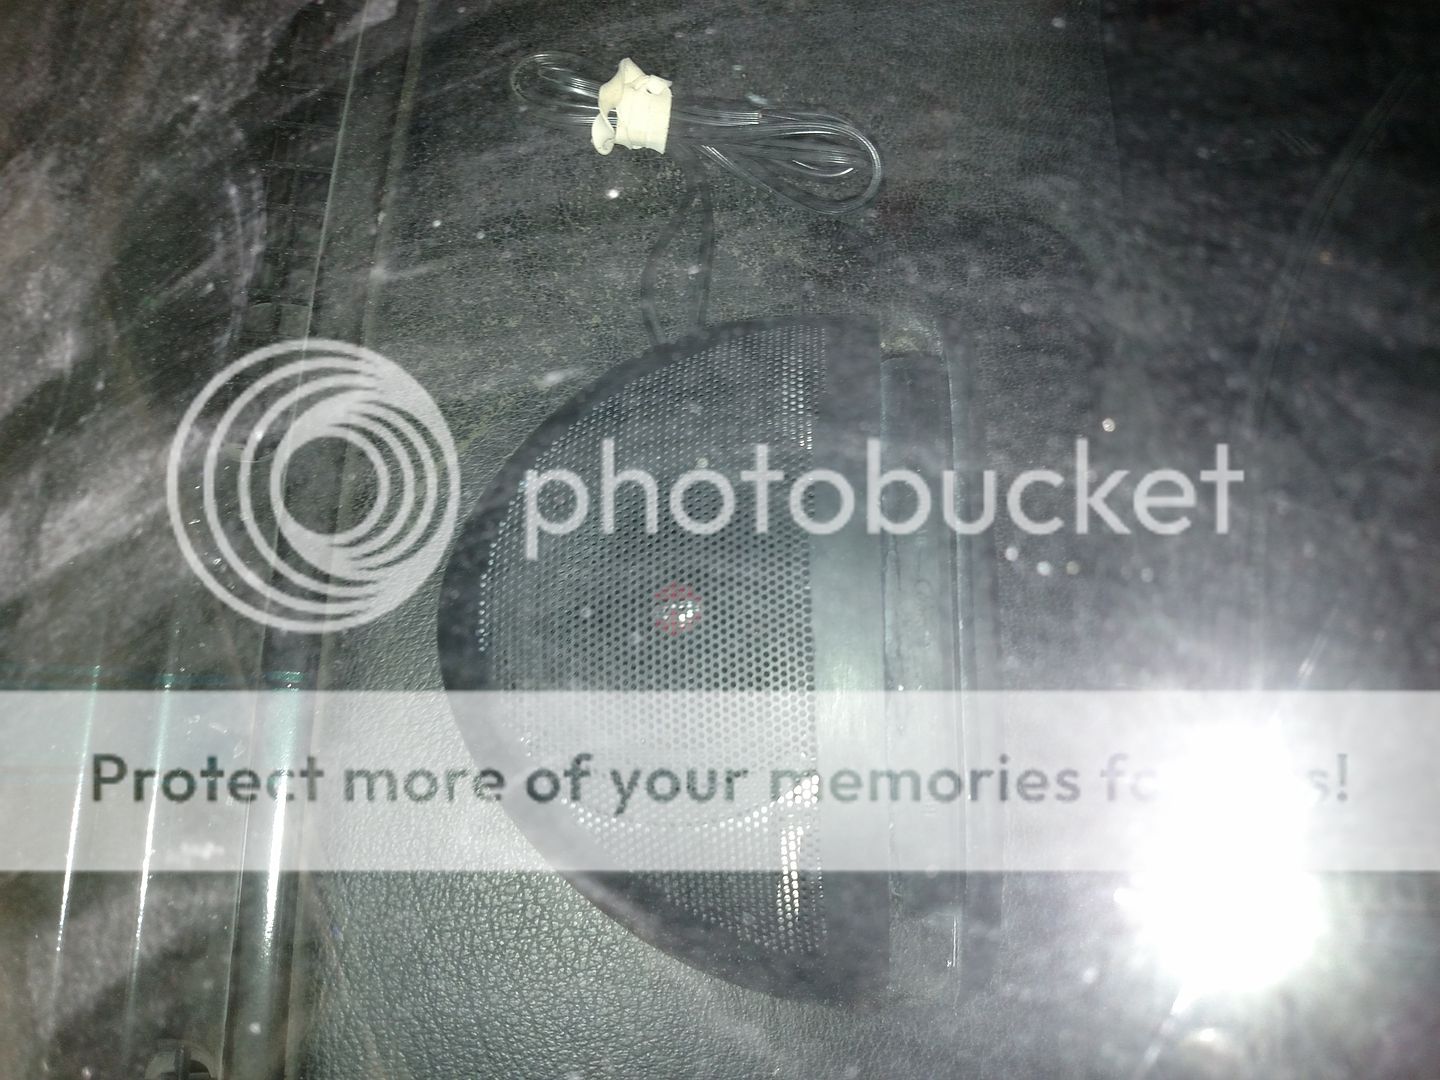
I made two cuts on the back half to remove the top and replace it with grill mesh that he speaker can play through. if you look at the top/bottom on the right you can see where I also added 1/2" piece in order to make it bigger to fit the speaker I hope to squeeze in(3"cdt)
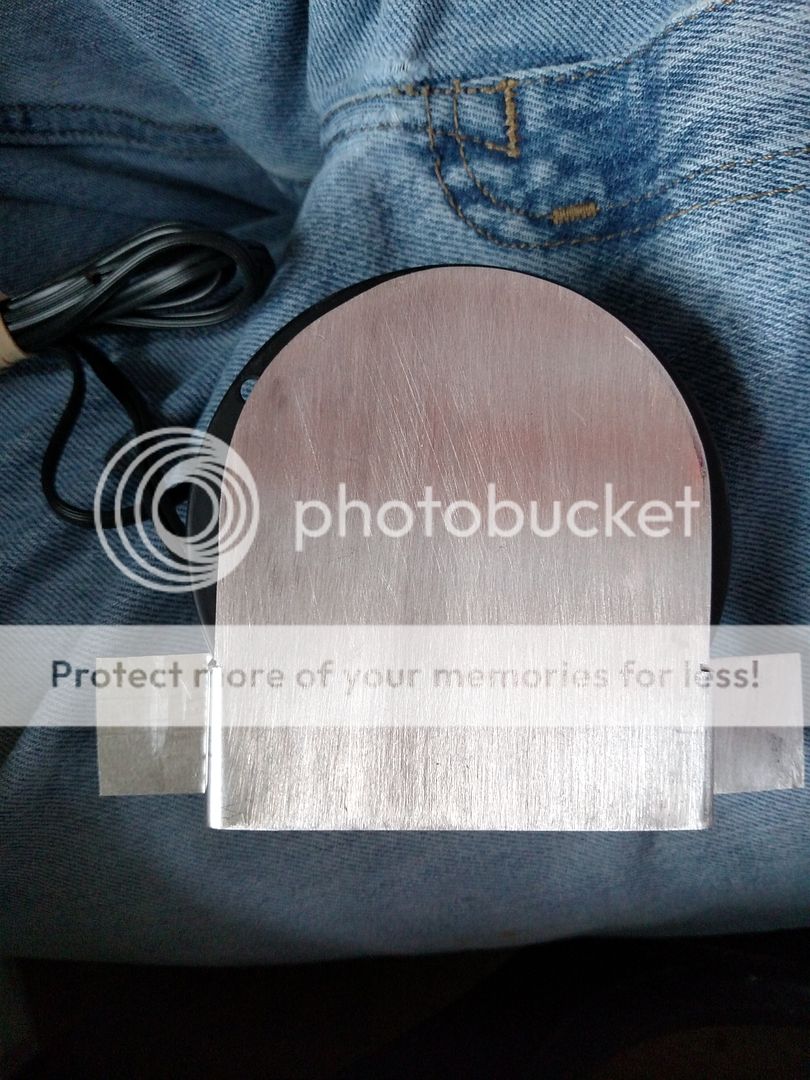
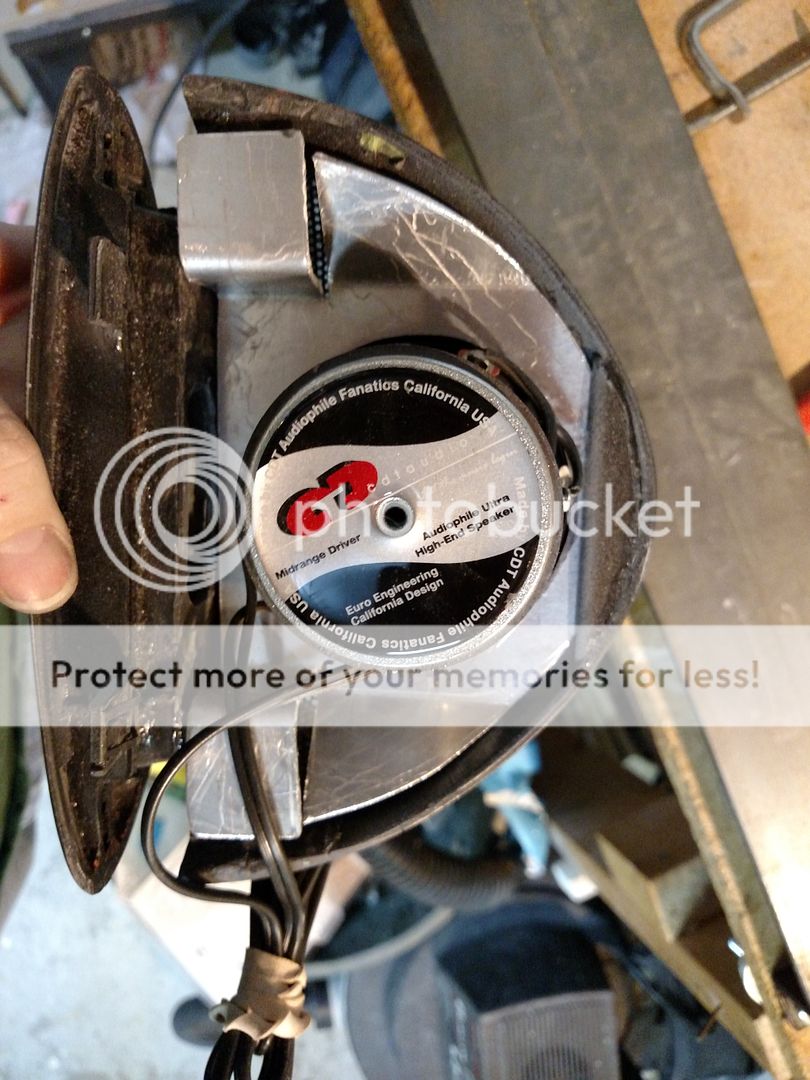
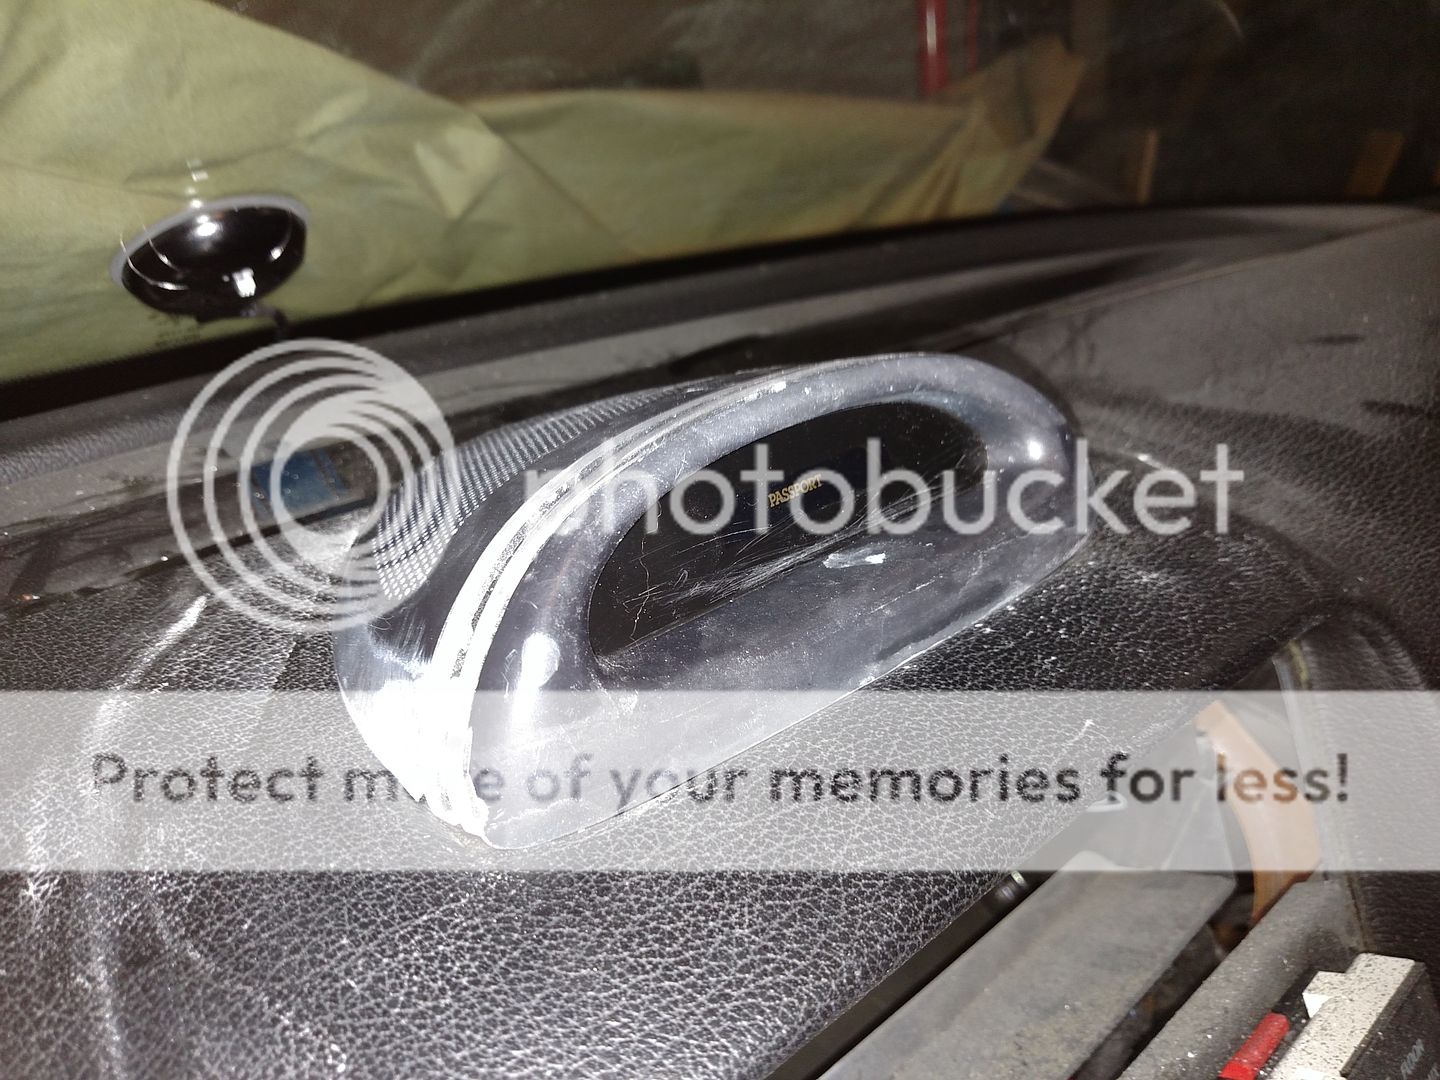
so after all that I was still JUST a hair short of the 3" I was hoping for. I decided to add a design element that matches the gauge pod I made on the a-pillar(can't find a pick right now). Its just two pieces of plexi that are separated by a piece of stainless that I took from an old windshield wiper in case your curious. I inserted that between the front/back half so it stretched it out another 3/8". Because of this stretch I also made it so that it would no longer fit in the recessed area that it was designed too. To fix this I actually raised the front of the pod up a 1/4". To do this I again cut the pod and was starting to wonder if it would go back together. This time I cut the bottom lip off of the front portion of the display.
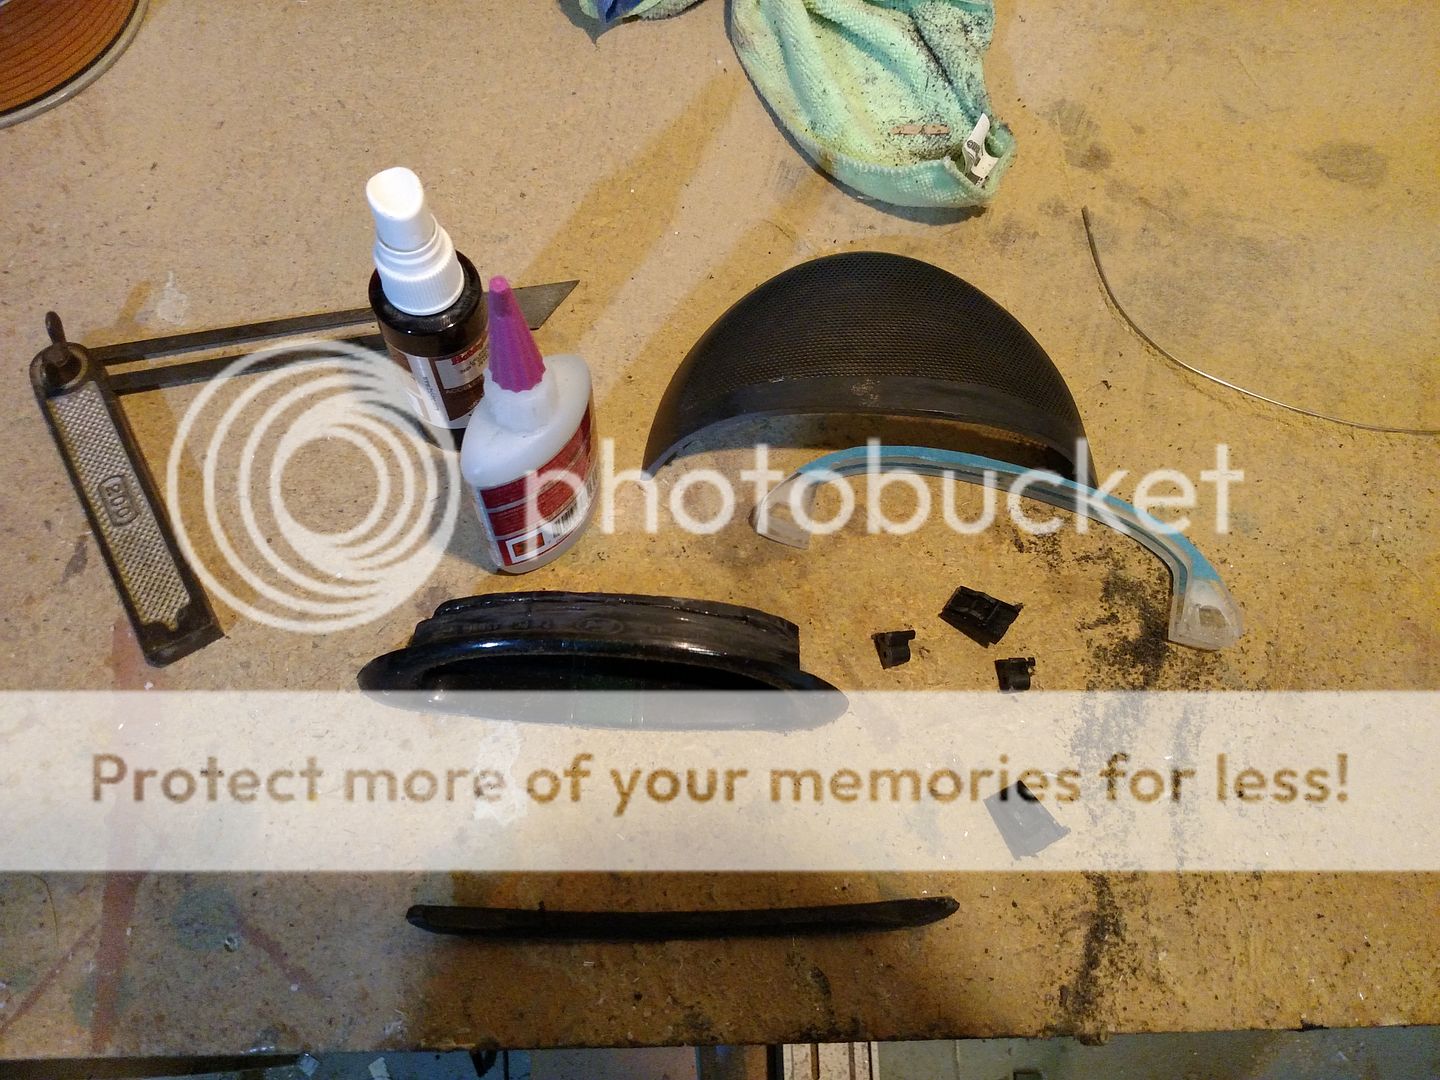
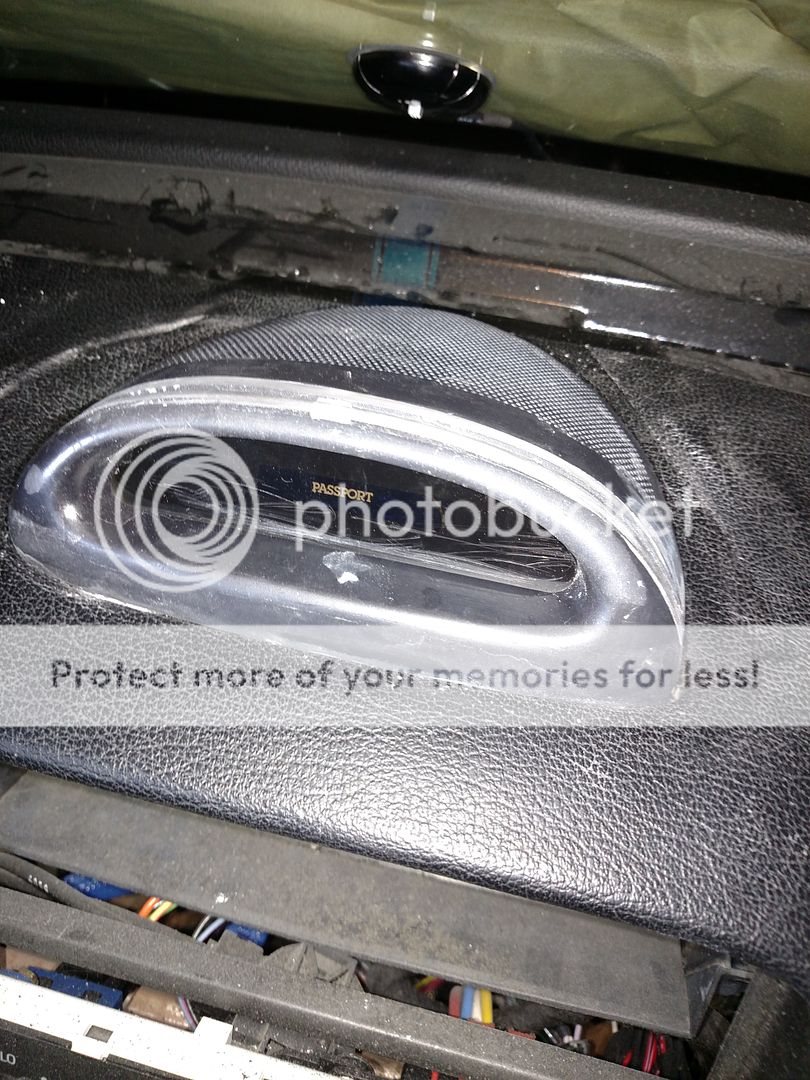
The nice thing about plastic though is with the right glue/epoxy/filler you can extend/shorten/modify it in a number of ways. After I cut that lower lip off(the thing black strip shown at the bottom of the pic above) I took another piece of plastic that I pilfered from my rangers old dash fit kit. It was nice and flat on top/bottom and was about a 1/4" tall so I simply glued it in place with the CA glue shown above and then ca'd the bottom lip back on and sanded everything down to a rough finish shown below. You can see the filler piece I glued in with the difference in the color of the plastic.

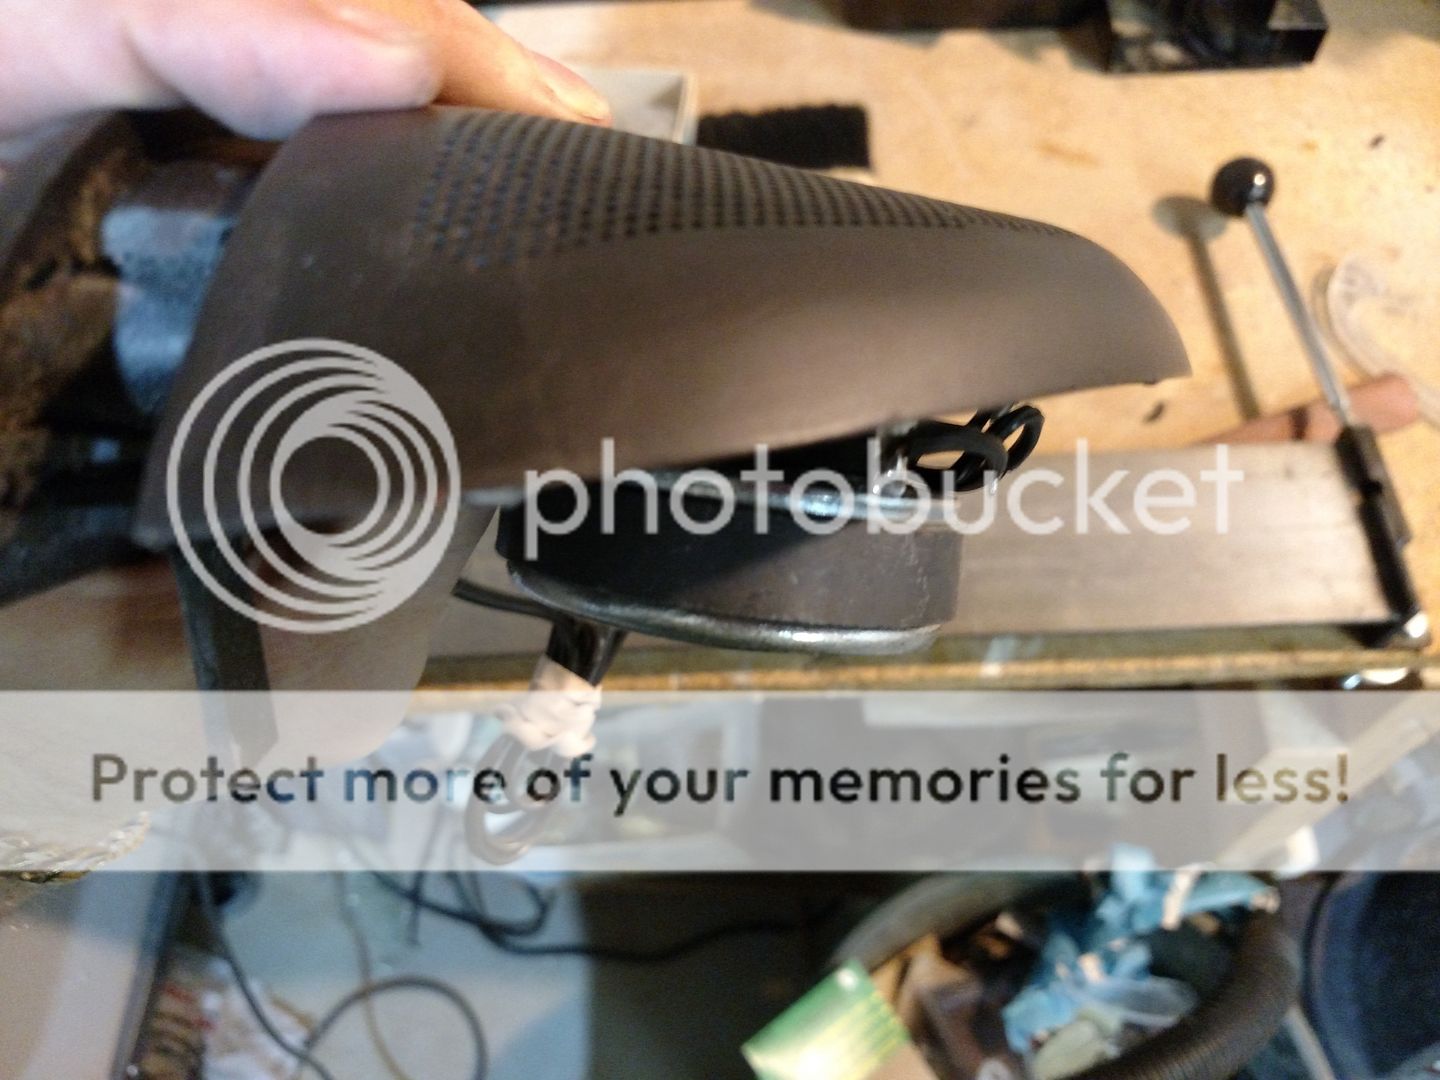
I still need to finish trimming the bottom of the plexi and the strip but the final form can now be seen.
And the good news is that there is JUST enough space for the 3" speaker I was hoping to fit.

So stay tuned for the speakers mounting bracket and for finishing the pod. I am going to be painting it gloss black with the green stripe going over the top.
The screen is nothing fancy and in fact the GUI for it all is pretty dated since this was made in 2007. It wasn't designed for maximum video but it does have the option.
For such a nice stereo I decided to make a better mount for it so I knew it would be rock solid. I bent this aluminum into the mount you see now so it hangs from the rail above it in the lowest din mount. If you look closely where the aluminum meets the dash it also rests on a lip on the back of the dash so between the mounting points the front is not moving. I am going to have to cut out the old decks trim ring and flush mount the new one so it will be flush with the dash(Stay tuned for that possibly shortly).
I also made this bracket to go on the back to hold it in place. I need to do some trimming on it so that the harnesses do not get in the way(this is still the old deck I don't want to scratch the copper chassis up).
so the next problem was the occasion I do video in the car I needed a center channel. After a lot of thought of where I could put it I decided to modify the clock pod slightly so it would play up into the windshield. It already holds the display for my escort 9500ci remote radar detector and the only problem with it is that its really small to try and fit a speaker in it. The tape lines are where I cut the back half of the pod after I separated the front/back from each other.
I made two cuts on the back half to remove the top and replace it with grill mesh that he speaker can play through. if you look at the top/bottom on the right you can see where I also added 1/2" piece in order to make it bigger to fit the speaker I hope to squeeze in(3"cdt)
so after all that I was still JUST a hair short of the 3" I was hoping for. I decided to add a design element that matches the gauge pod I made on the a-pillar(can't find a pick right now). Its just two pieces of plexi that are separated by a piece of stainless that I took from an old windshield wiper in case your curious. I inserted that between the front/back half so it stretched it out another 3/8". Because of this stretch I also made it so that it would no longer fit in the recessed area that it was designed too. To fix this I actually raised the front of the pod up a 1/4". To do this I again cut the pod and was starting to wonder if it would go back together. This time I cut the bottom lip off of the front portion of the display.
The nice thing about plastic though is with the right glue/epoxy/filler you can extend/shorten/modify it in a number of ways. After I cut that lower lip off(the thing black strip shown at the bottom of the pic above) I took another piece of plastic that I pilfered from my rangers old dash fit kit. It was nice and flat on top/bottom and was about a 1/4" tall so I simply glued it in place with the CA glue shown above and then ca'd the bottom lip back on and sanded everything down to a rough finish shown below. You can see the filler piece I glued in with the difference in the color of the plastic.
I still need to finish trimming the bottom of the plexi and the strip but the final form can now be seen.
And the good news is that there is JUST enough space for the 3" speaker I was hoping to fit.
So stay tuned for the speakers mounting bracket and for finishing the pod. I am going to be painting it gloss black with the green stripe going over the top.