cantbuytime
Active Member
- Joined
- Mar 1, 2010
- Messages
- 699
- Reaction score
- 12
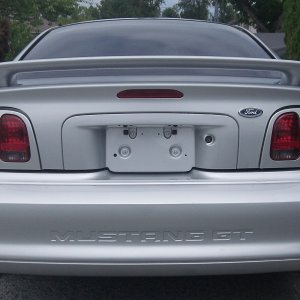
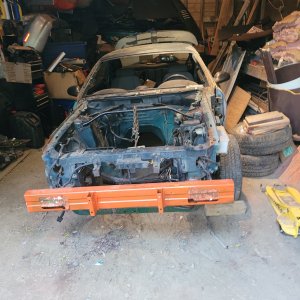
Well, I bought this car back in January, It had been sitting in a garage for 1.5 years.. had a fresh coat of paint ,new cobra hood and bumper just before it was stored. bad part was it had a few gallons of gas in the tank so that has led to a clogged filter and f'ed up injectors.. On top of that they swapped in a 4R70W trans and reused the AODE converter. So i paid $1300 for the car plus $276 for registration. This is how i got it.


Got the car home and cleaned her up


Next I went and had my trans fluid changed and tuneup done.. Bad idea, motor was started with no fluid in the trans.. Stupid shop :argh:
New trans cost me $1836, so this is when i got her back two months ago. Owned her 5 months and only drove her 12 days..
New BF Goodrich G force tires


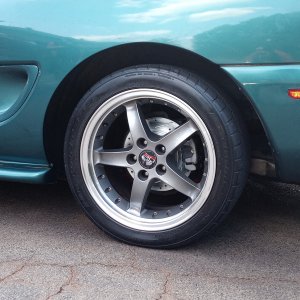
Then i sold my wheels and tires for $450 and Headlights for $90 then bought these American Muscle Anthracite Bullitts 17x8 & 17x9 lip'd
while in that process I replaced all vacuum lines


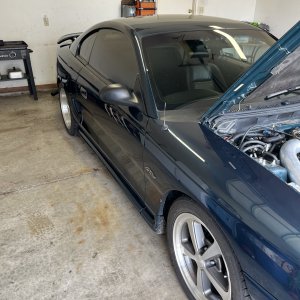
new wheels


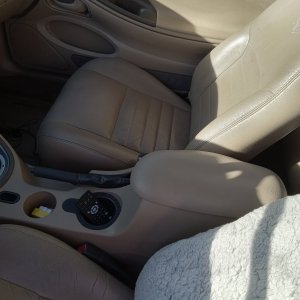
Then i sold my Flo-fits for $500 and bought these leather seats for $200


Ok, so here is the first thing I had to repair, bent window track cause of poor installation


fixed

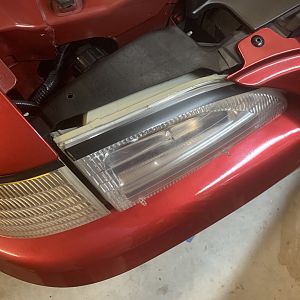
New corner lights


Replaced TB with a 70mm TB and removed smog


$120intake upper/and ported lower thats waiting for Edelbrock elbow and GT40P heads so it can go on


I will post pics as i progress> top end swap coming soon
Oh, mods are BBK CAI, 3:73 gears, Magnaflow stainless catback, and everything visual u see. i changed to the 70mm TB and had rear cats removed also had a shift kit and HP guts put in transmission..
Oh and the pics of the wheels.. The car is filthy and i had just ordered center caps
These- http://www.americanmuscle.com/centercap-silvergt.html


Got the car home and cleaned her up
Next I went and had my trans fluid changed and tuneup done.. Bad idea, motor was started with no fluid in the trans.. Stupid shop :argh:
New trans cost me $1836, so this is when i got her back two months ago. Owned her 5 months and only drove her 12 days..
New BF Goodrich G force tires
Then i sold my wheels and tires for $450 and Headlights for $90 then bought these American Muscle Anthracite Bullitts 17x8 & 17x9 lip'd
while in that process I replaced all vacuum lines
new wheels
Then i sold my Flo-fits for $500 and bought these leather seats for $200
Ok, so here is the first thing I had to repair, bent window track cause of poor installation
fixed
New corner lights
Replaced TB with a 70mm TB and removed smog
$120intake upper/and ported lower thats waiting for Edelbrock elbow and GT40P heads so it can go on
I will post pics as i progress> top end swap coming soon
Oh, mods are BBK CAI, 3:73 gears, Magnaflow stainless catback, and everything visual u see. i changed to the 70mm TB and had rear cats removed also had a shift kit and HP guts put in transmission..
Oh and the pics of the wheels.. The car is filthy and i had just ordered center caps
These- http://www.americanmuscle.com/centercap-silvergt.html


 )To make it start to wrinkle