AfghaniBob
Member
- Joined
- Jun 19, 2007
- Messages
- 130
- Reaction score
- 20
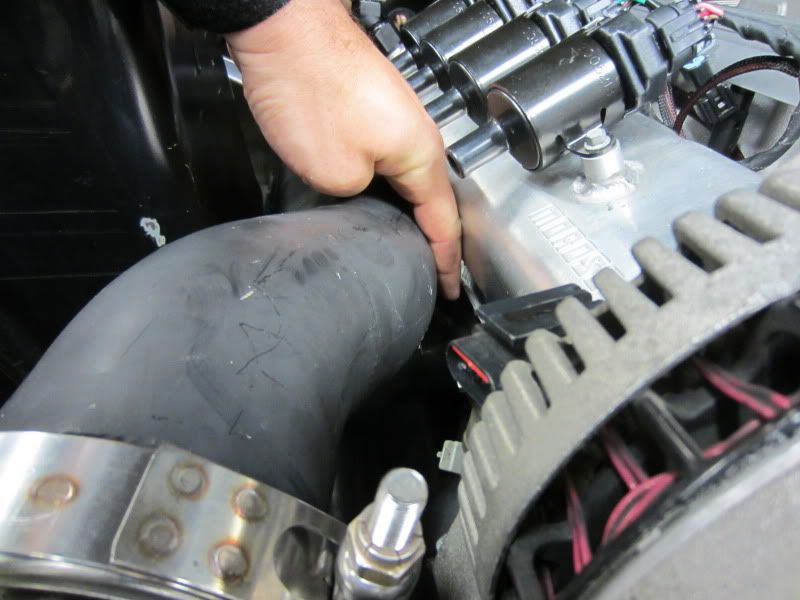
From building the hoses
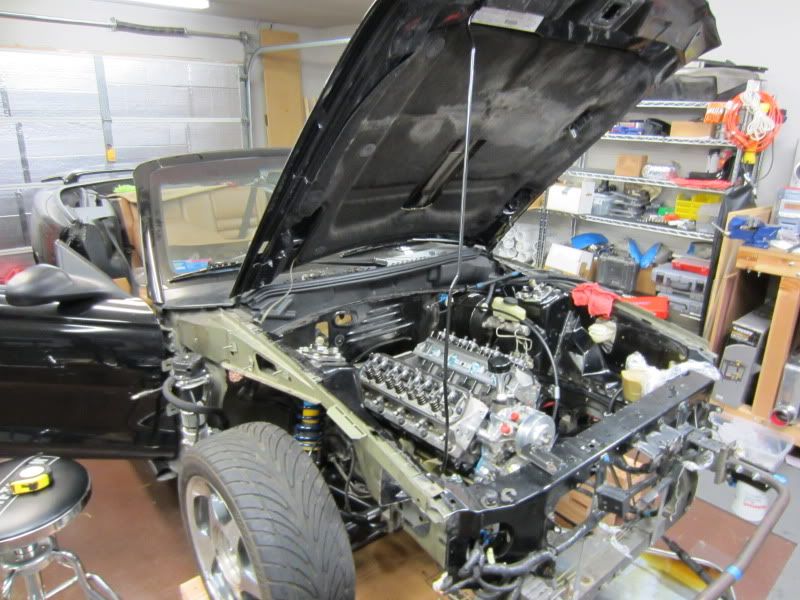
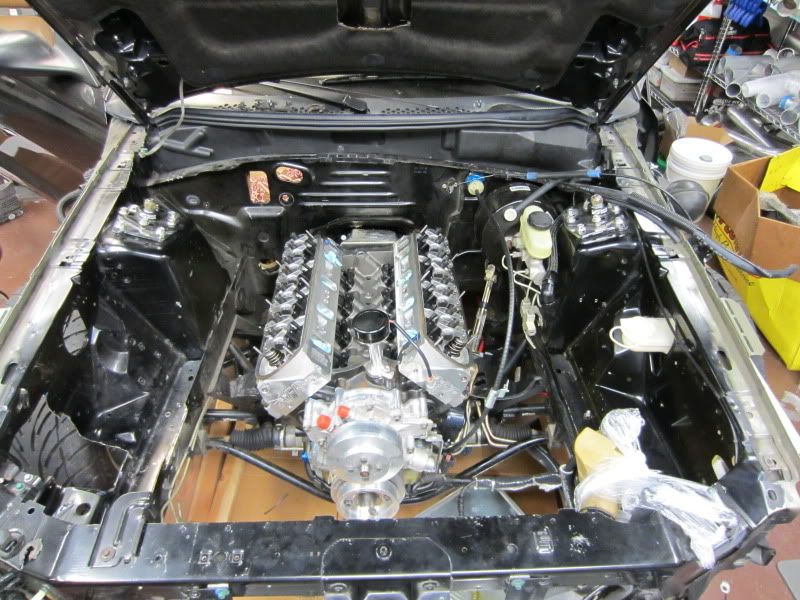
Update:
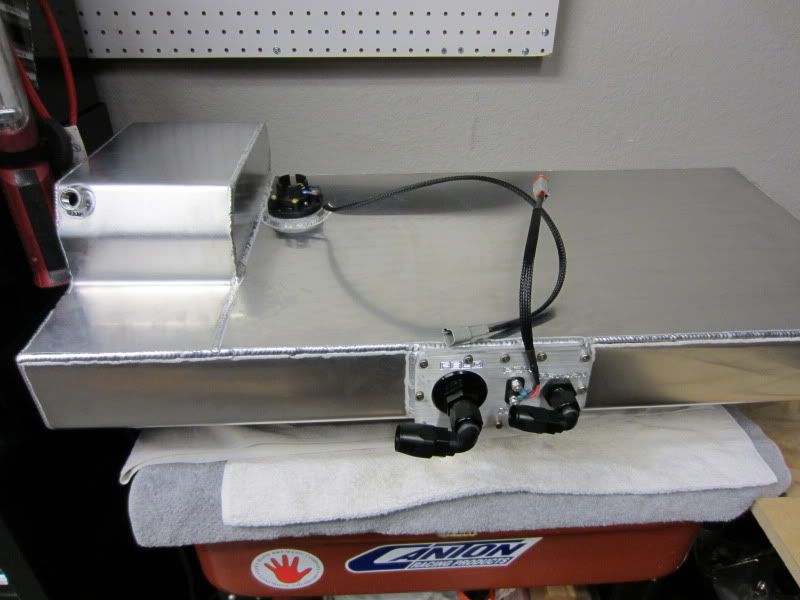
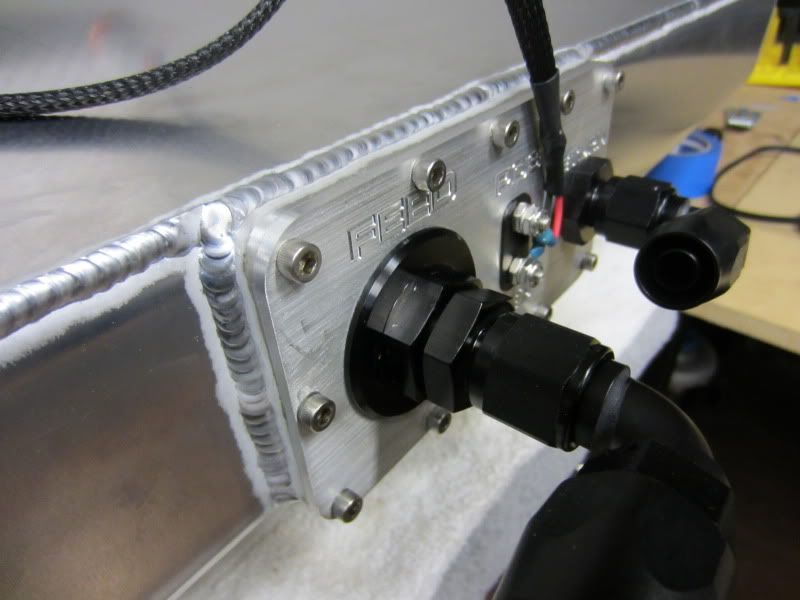
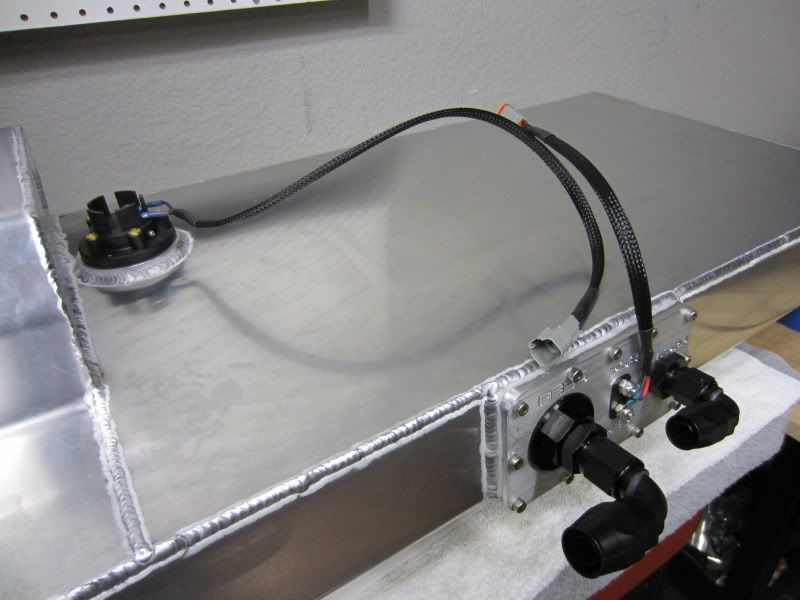
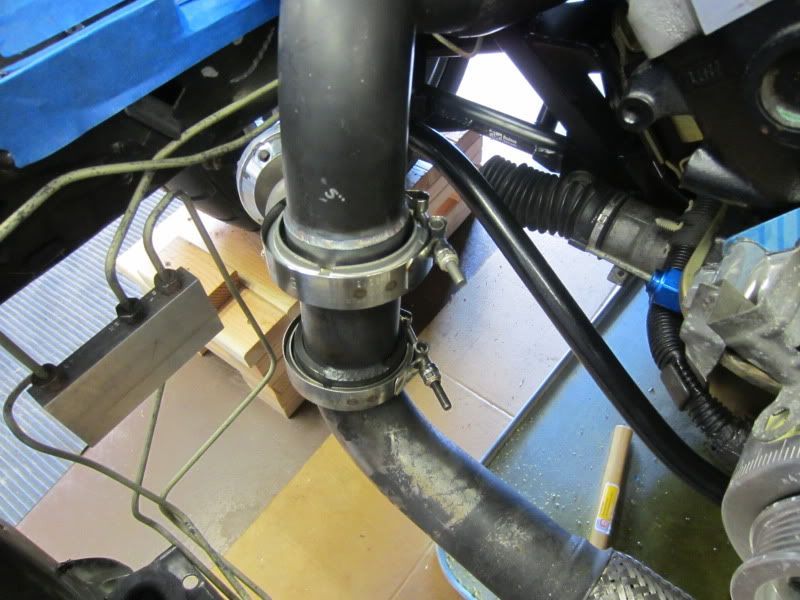
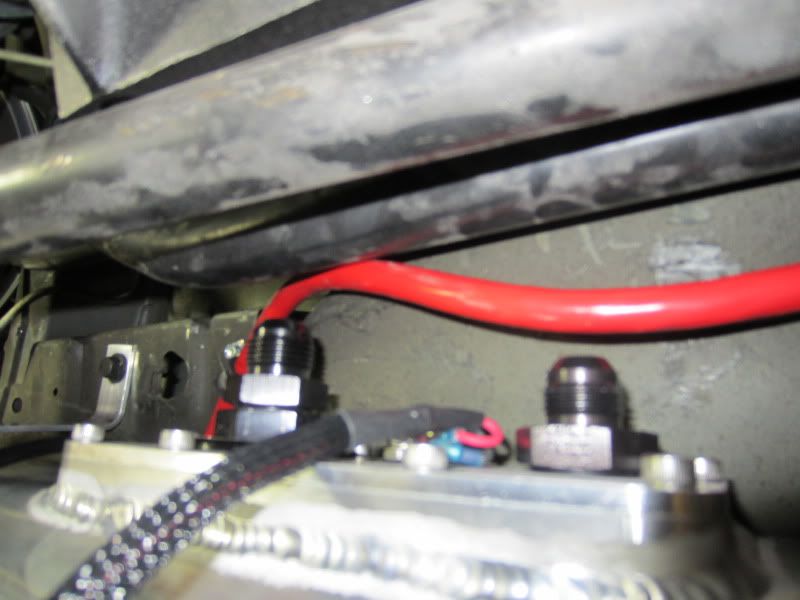
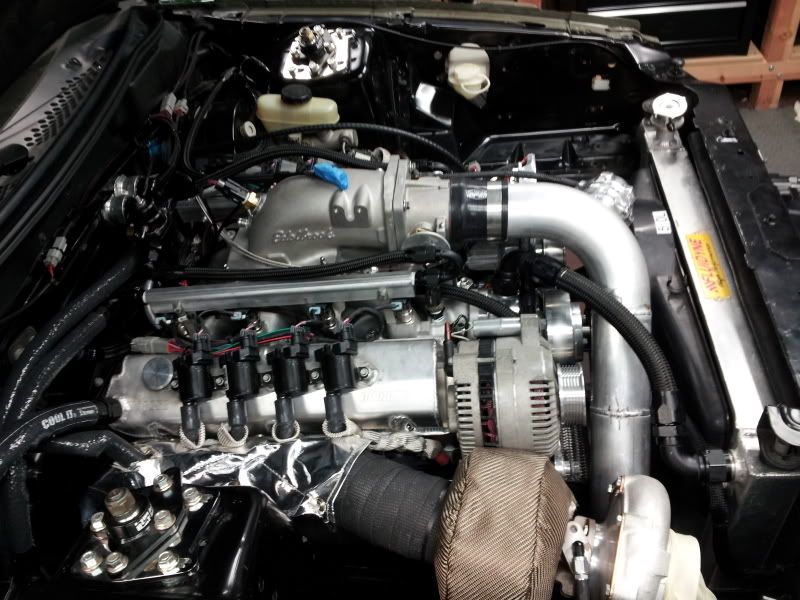
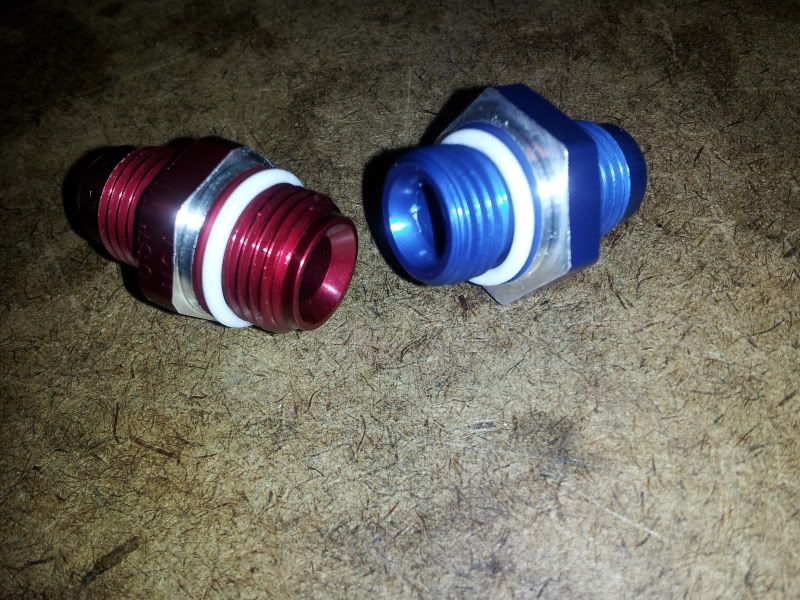
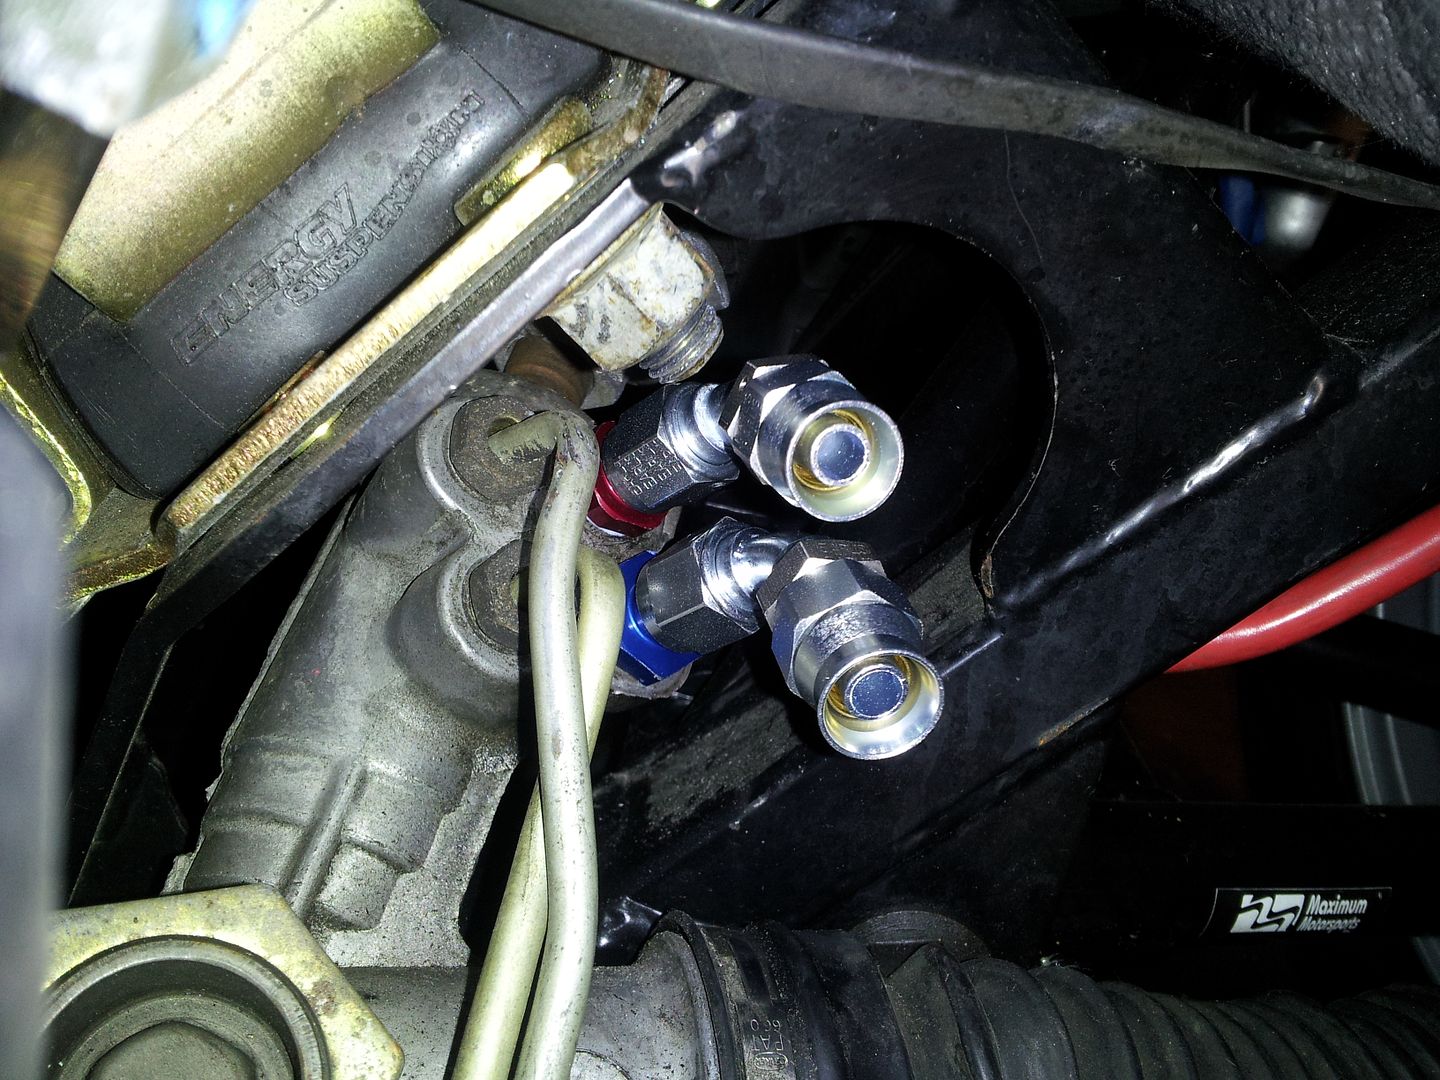
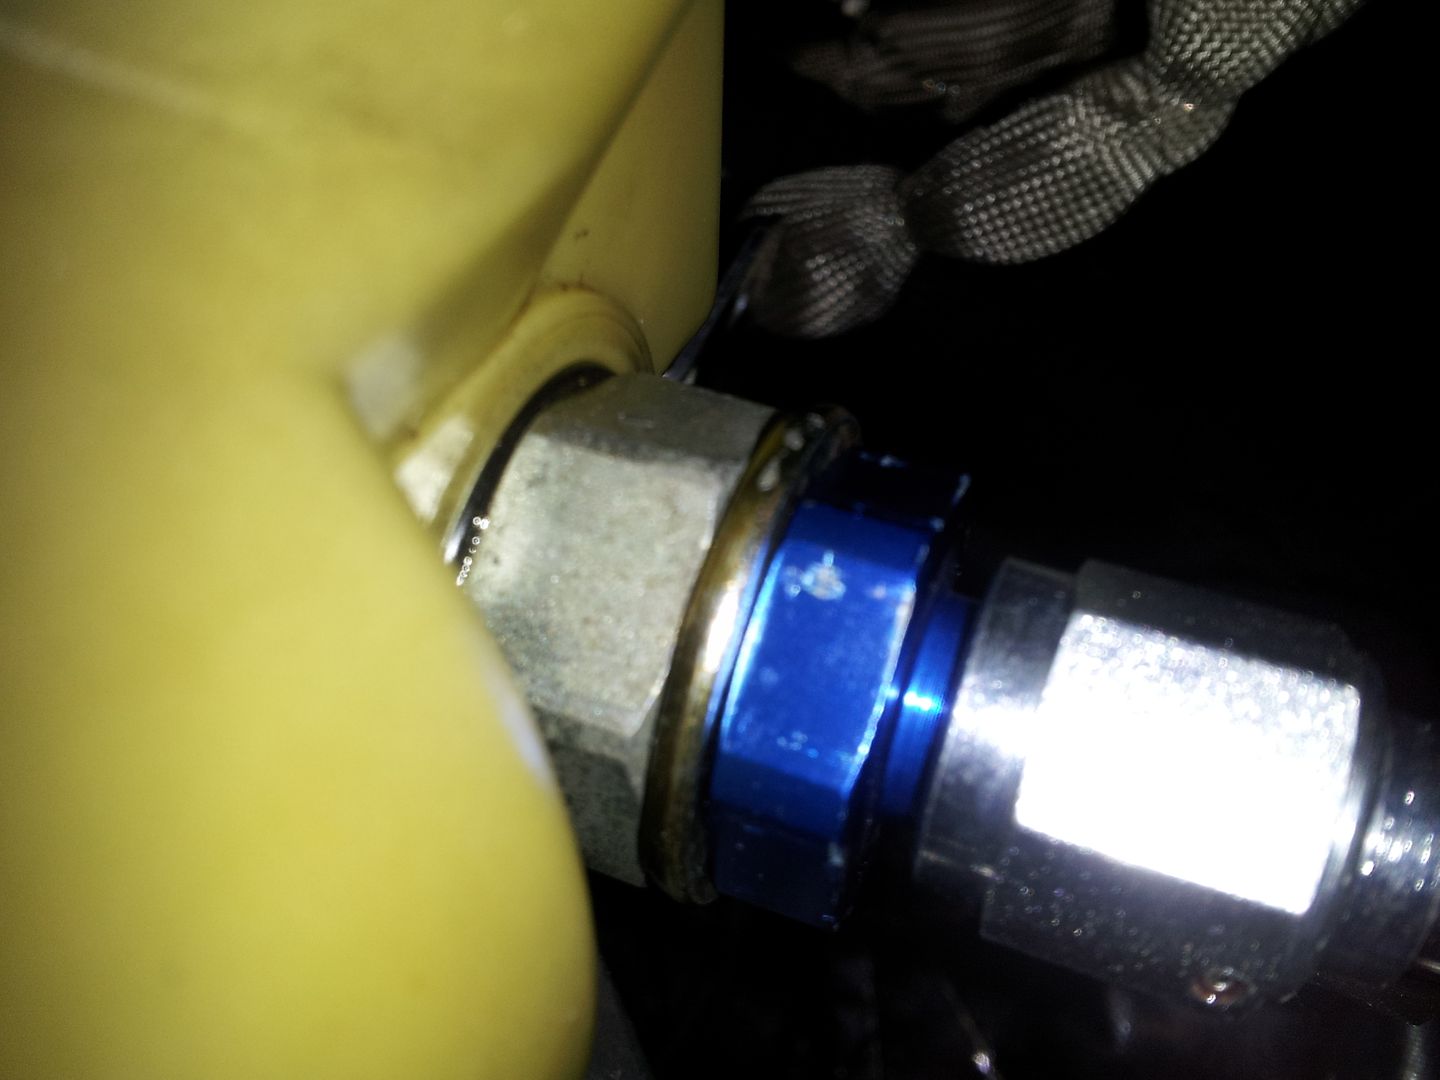
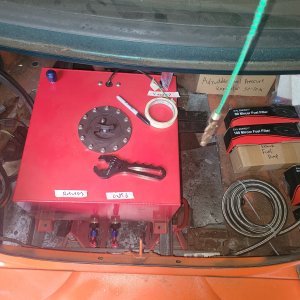
Hoses came back from Kim's in Fort Worth and his brazing aluminum tubes to the unique ends the condenser required look factory and perfect. Since I marked the "clock" of the fittings/hose they installed in a matter of minutes.
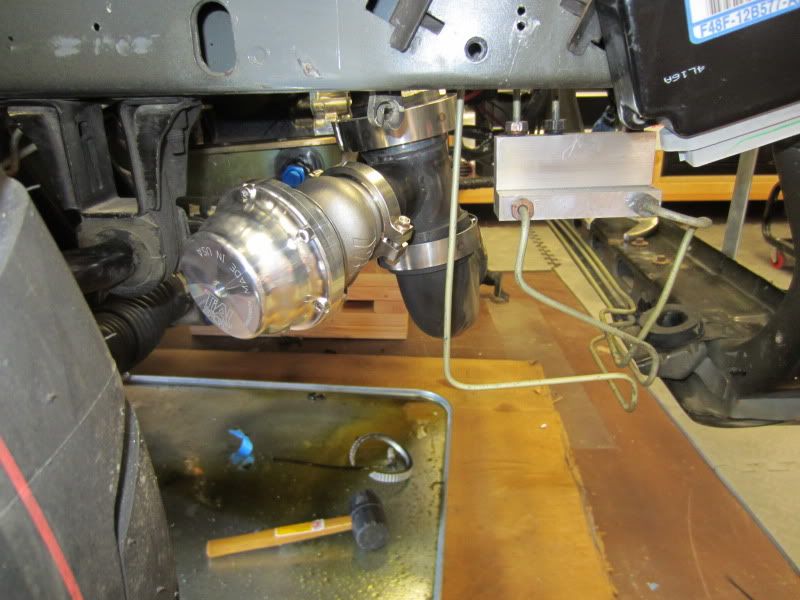
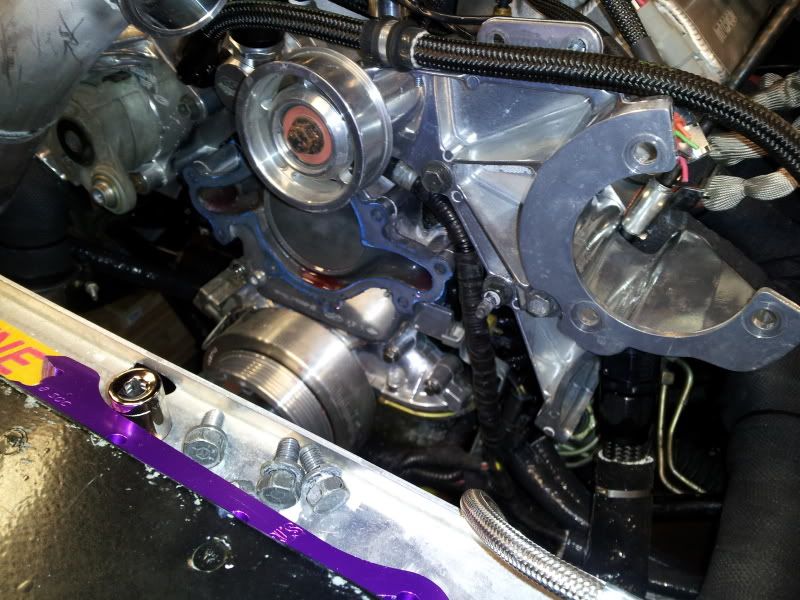
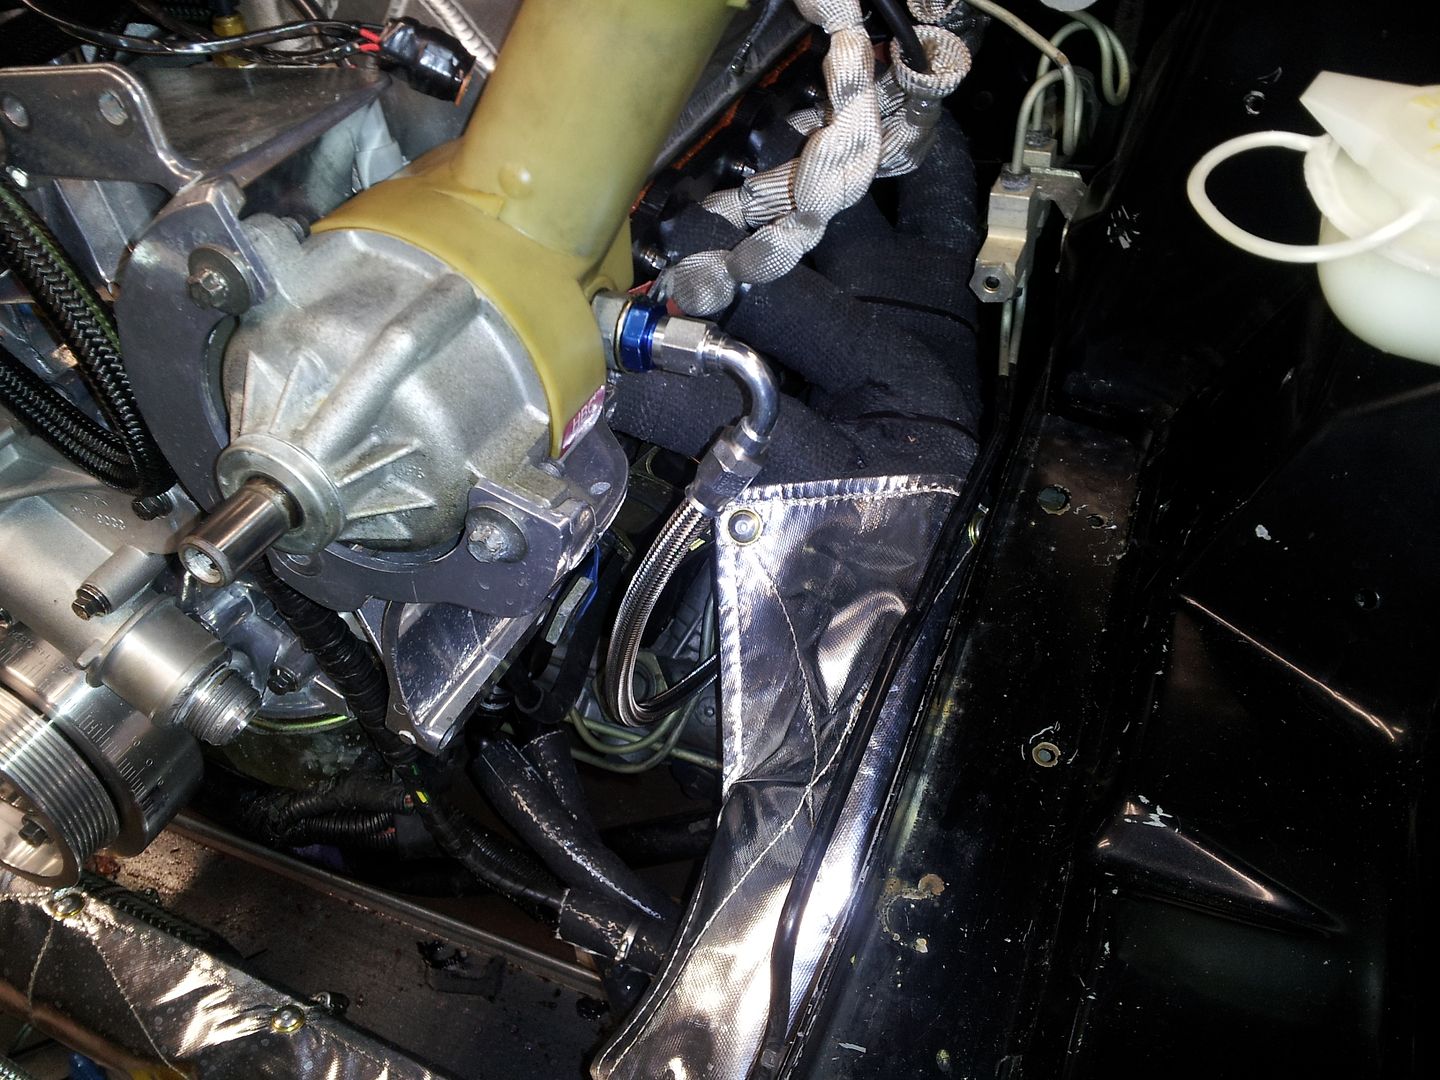
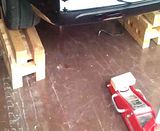
I used a unused hose end to the compressor with a section of hose on it to fill the compressor. Compressor got about 5oz and the accumulator got a little over 3oz. I cranked it at least 20 times. All the fittings are tight and the lines are protected from abrasion and secured.
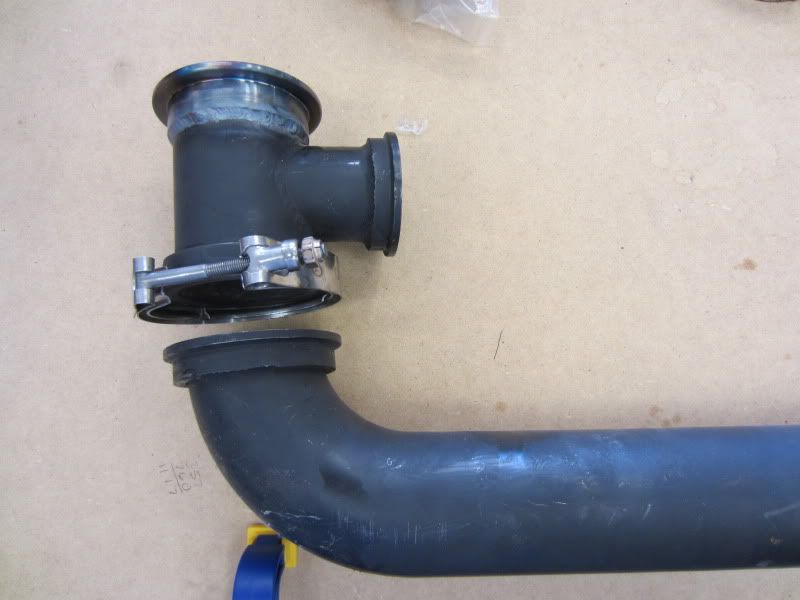
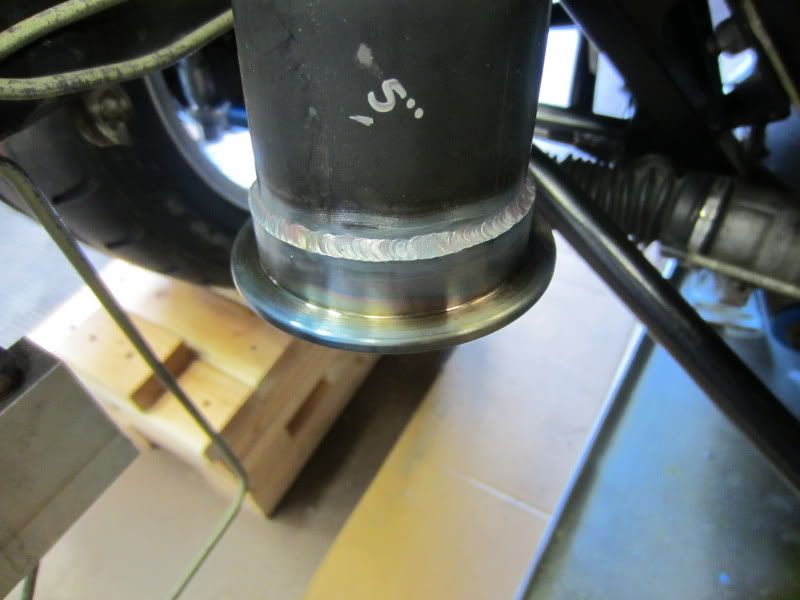
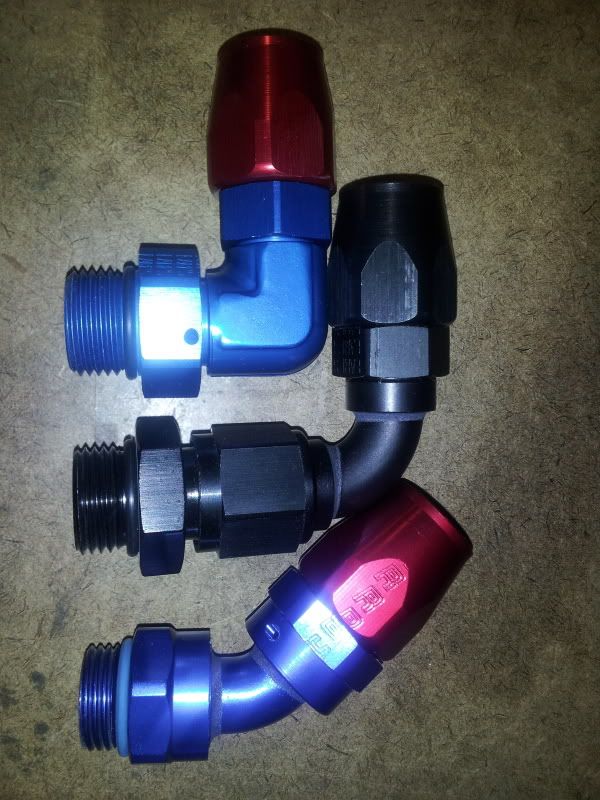
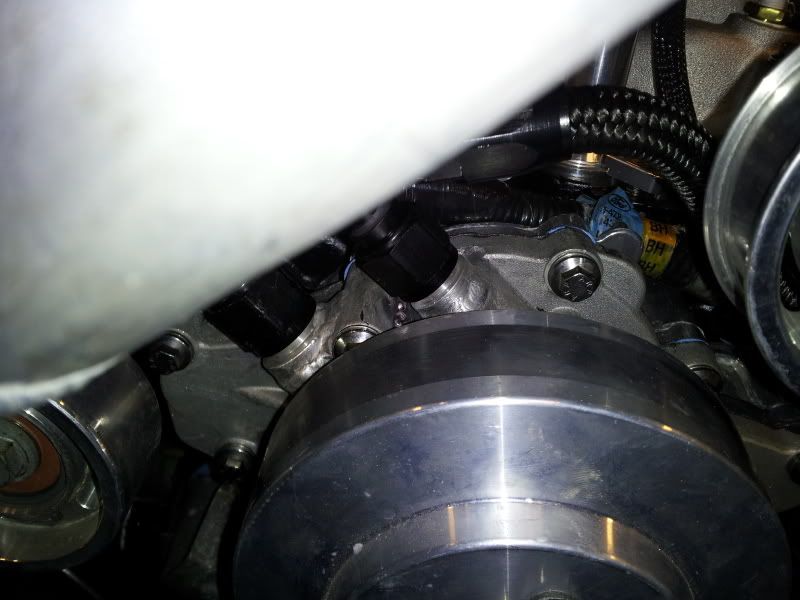
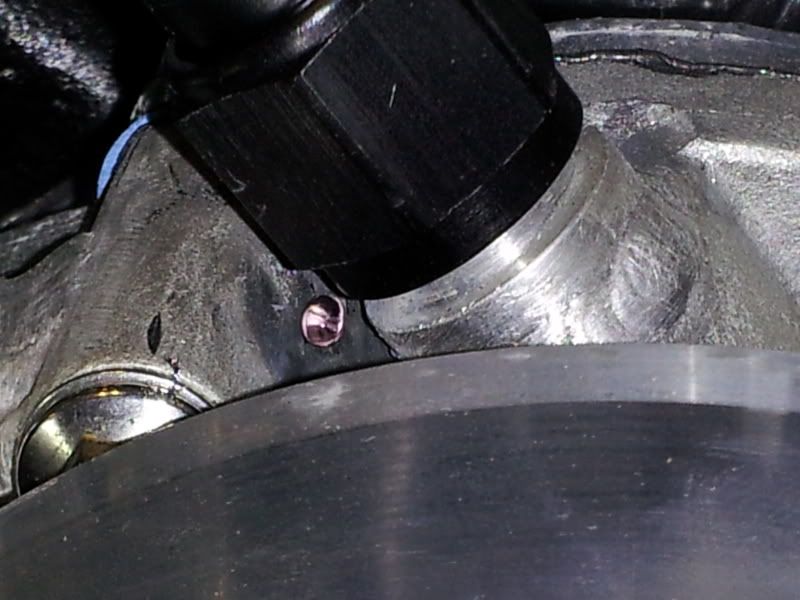
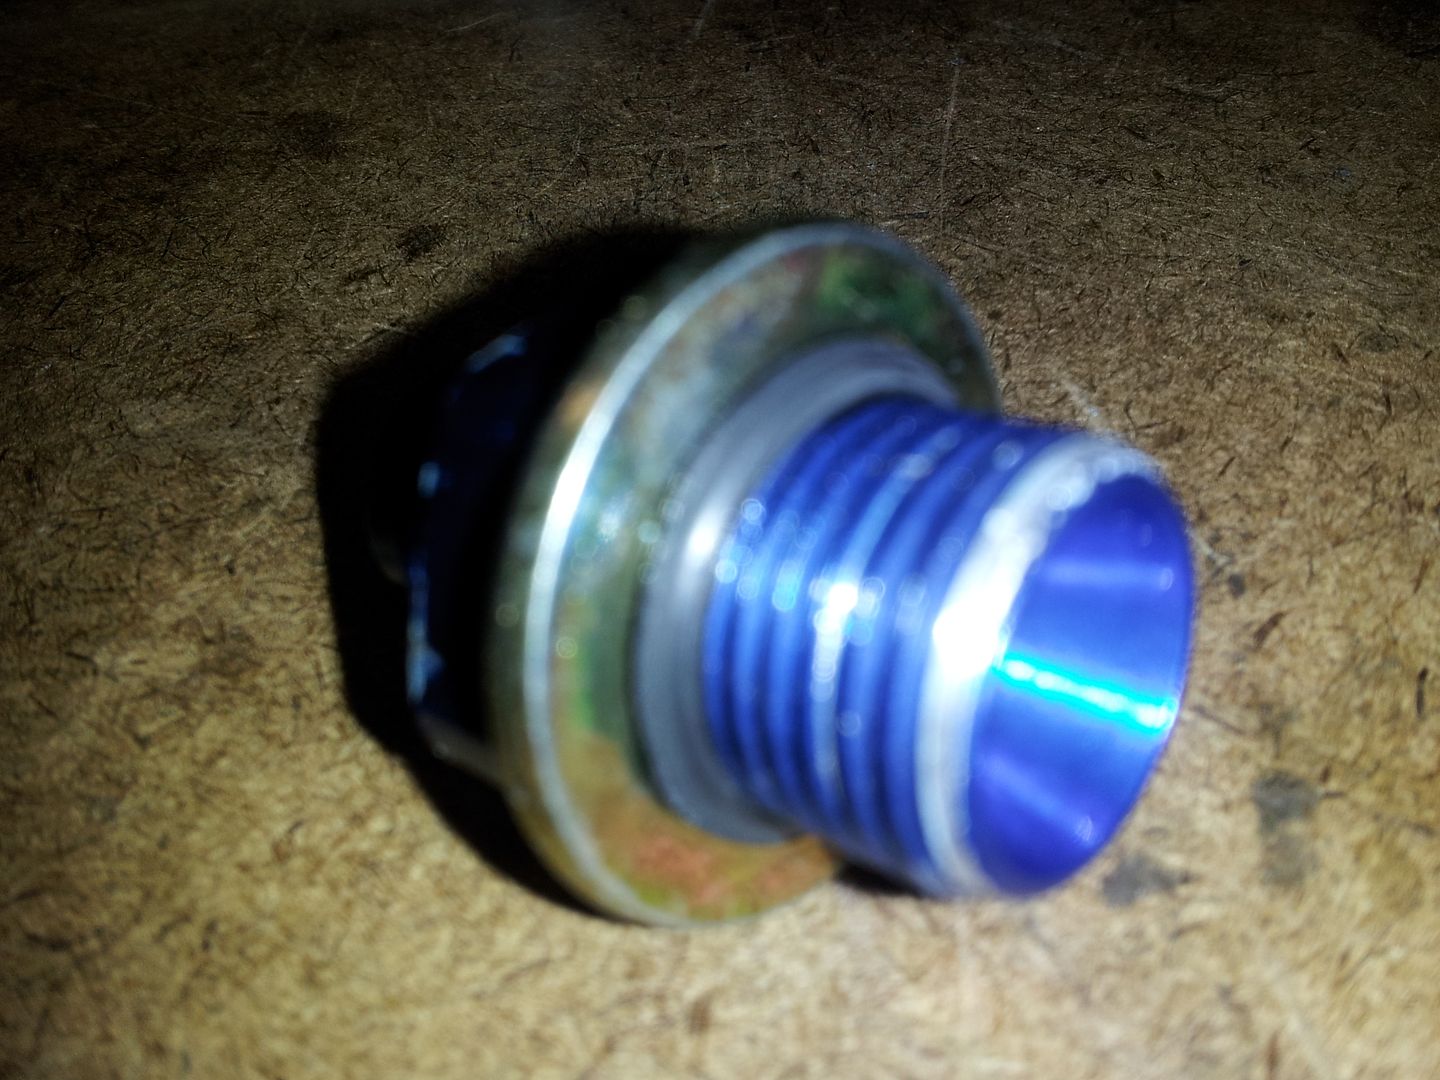
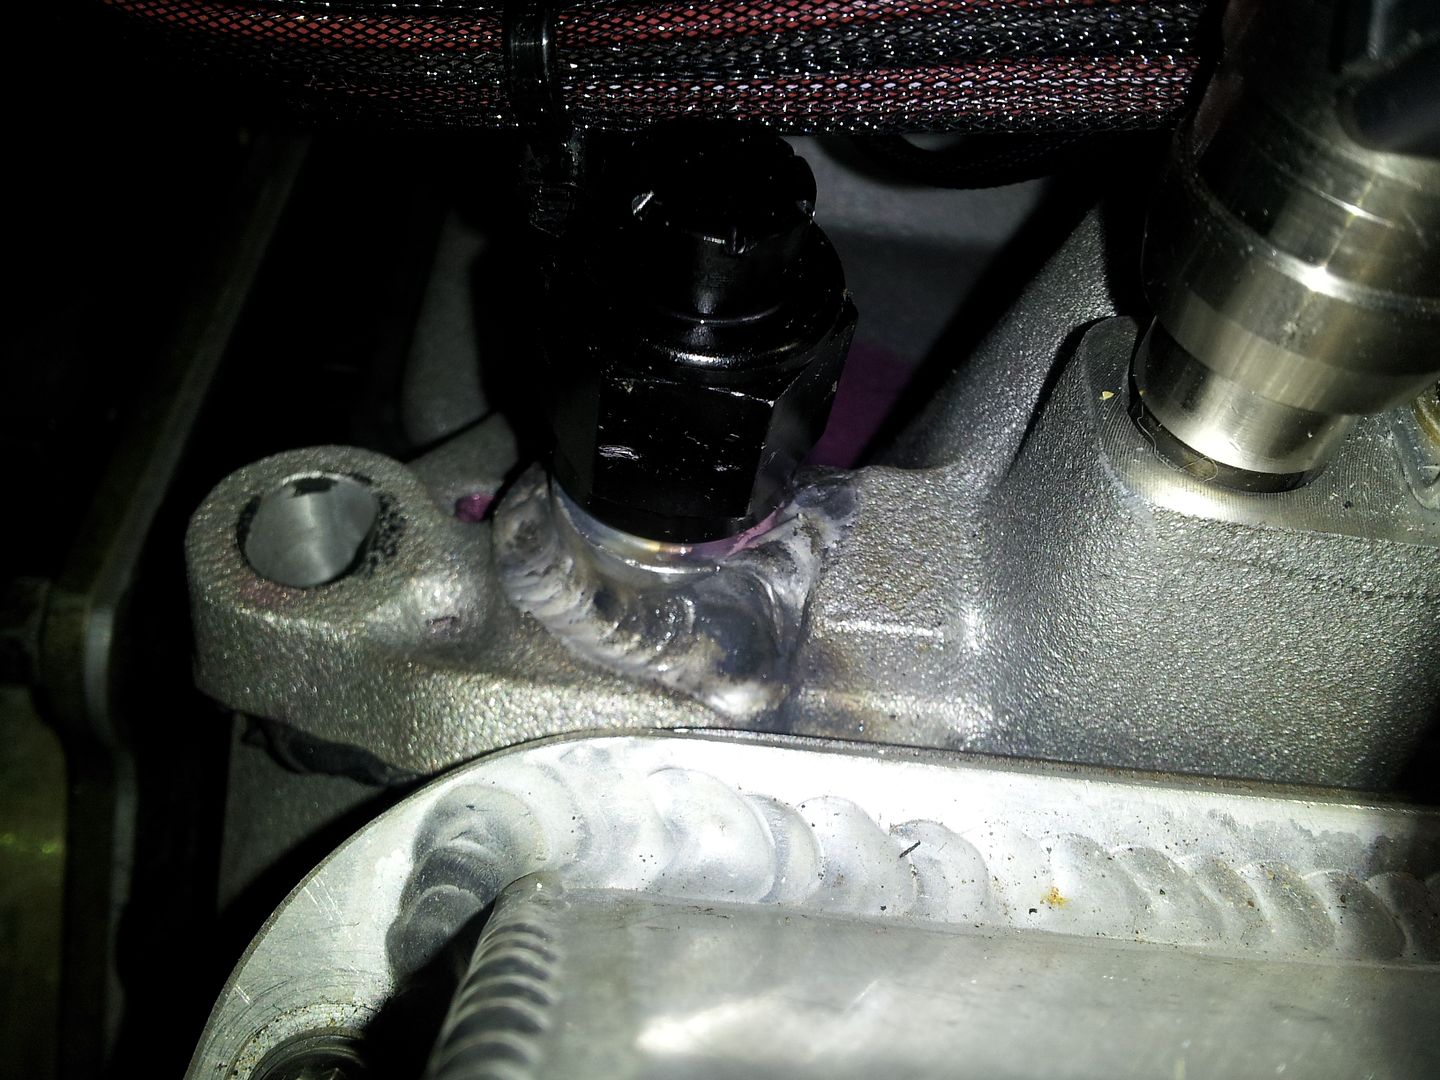
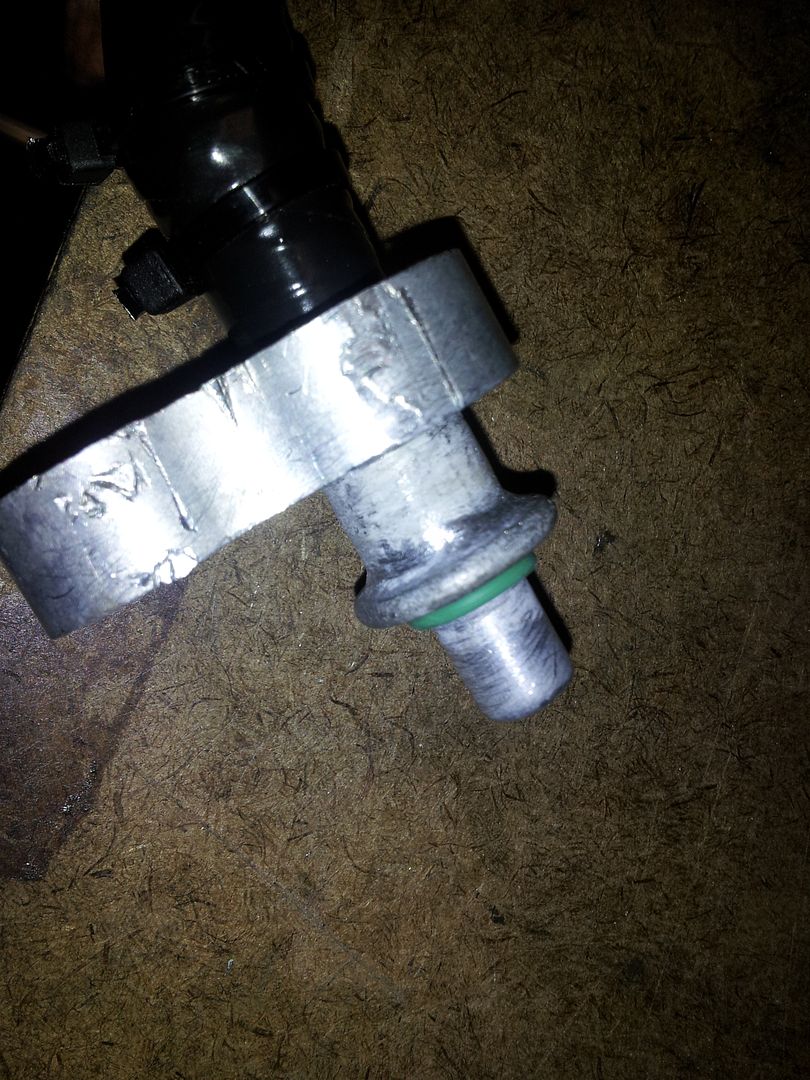
Take a look at how good the welded ends for the condenser came out. It took a little thought but I am confident I could have used any style of condenser/accumulator/etc and made it all work just the same.
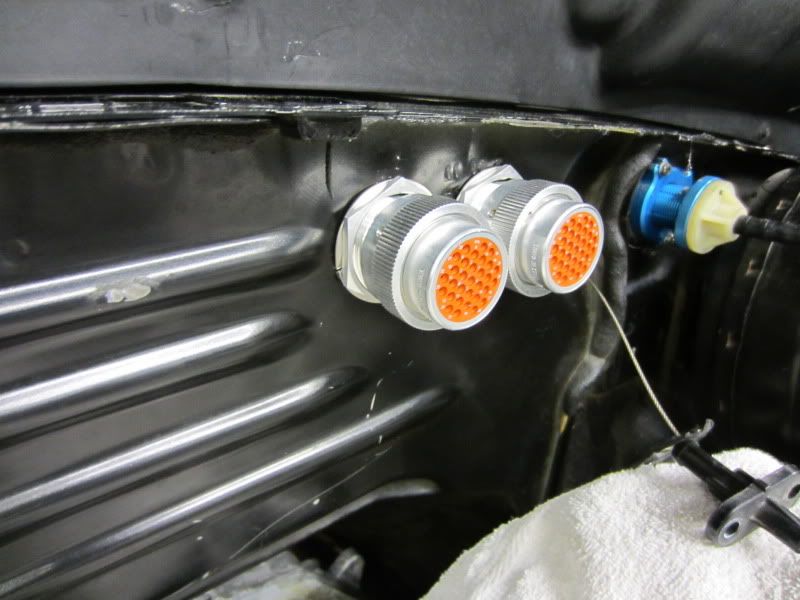
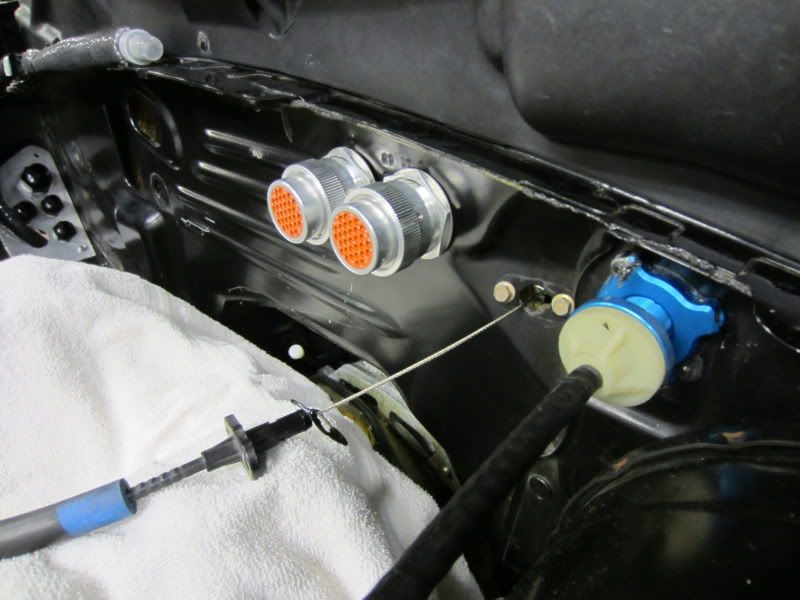
Welded end
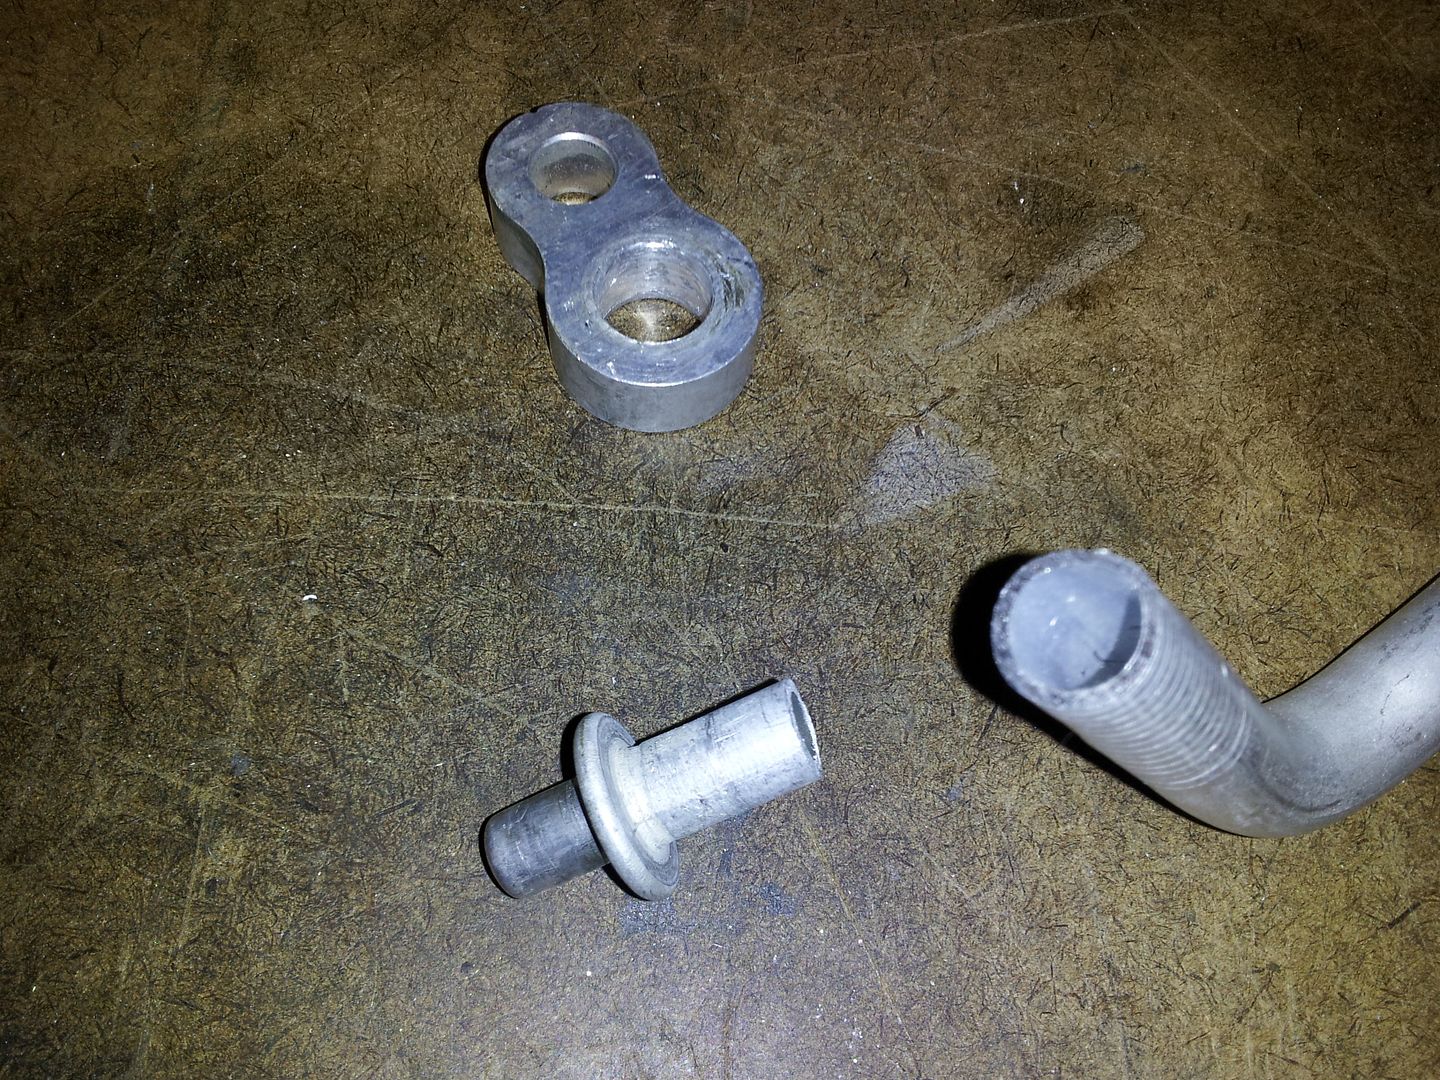
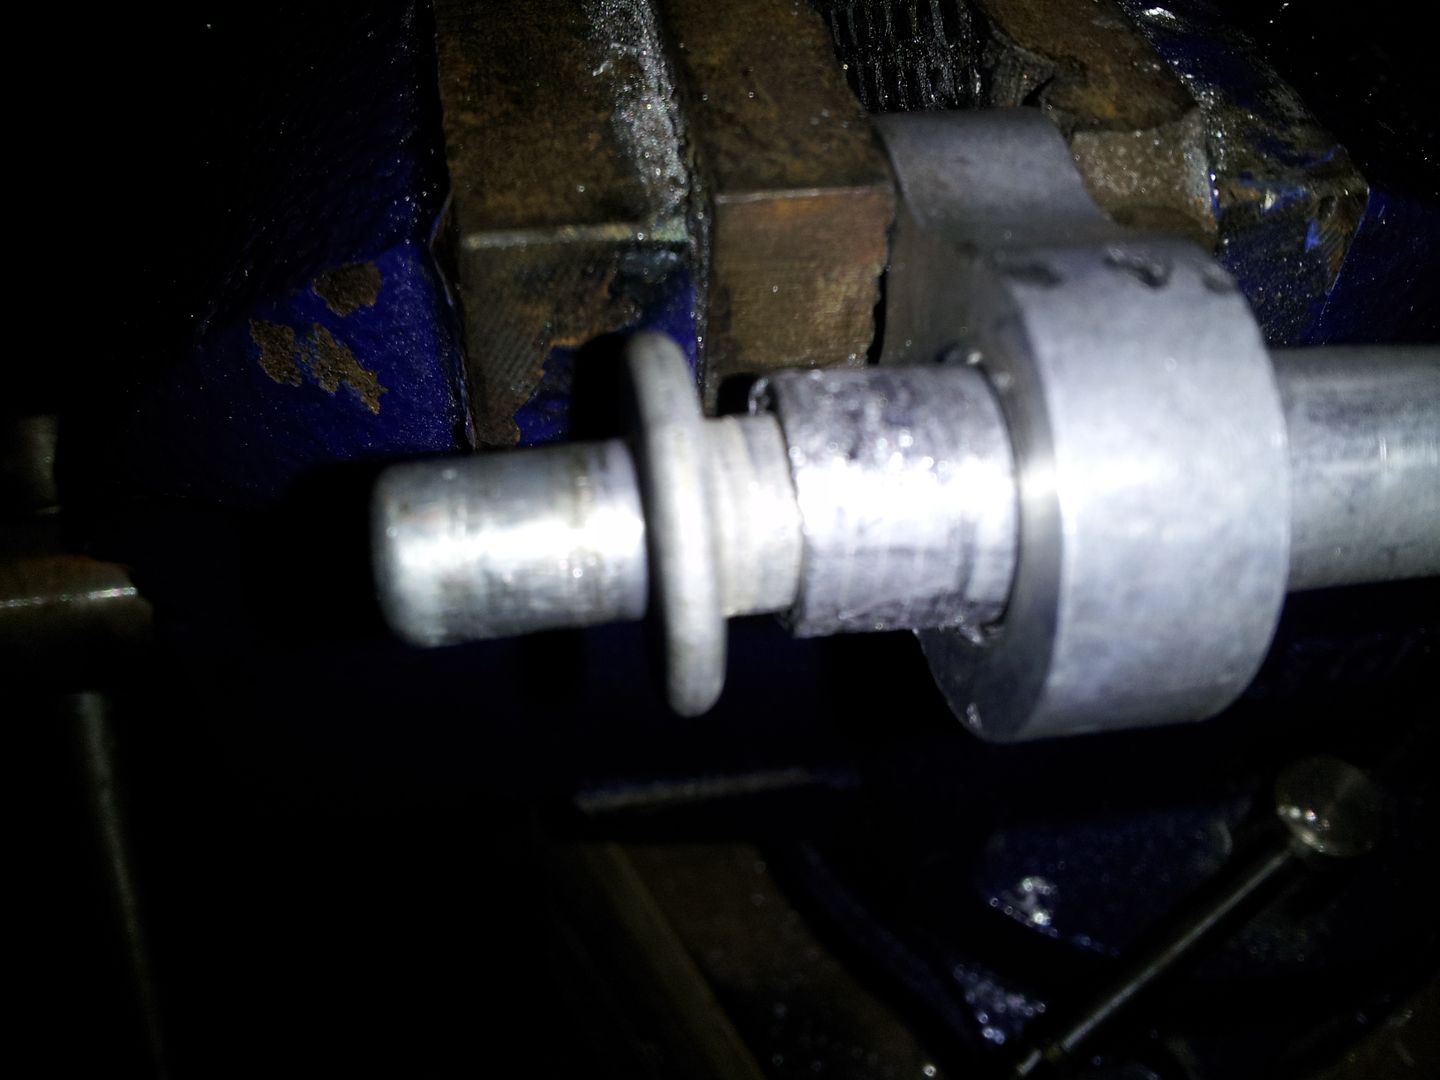
after
Welded end from 3 pieces
before
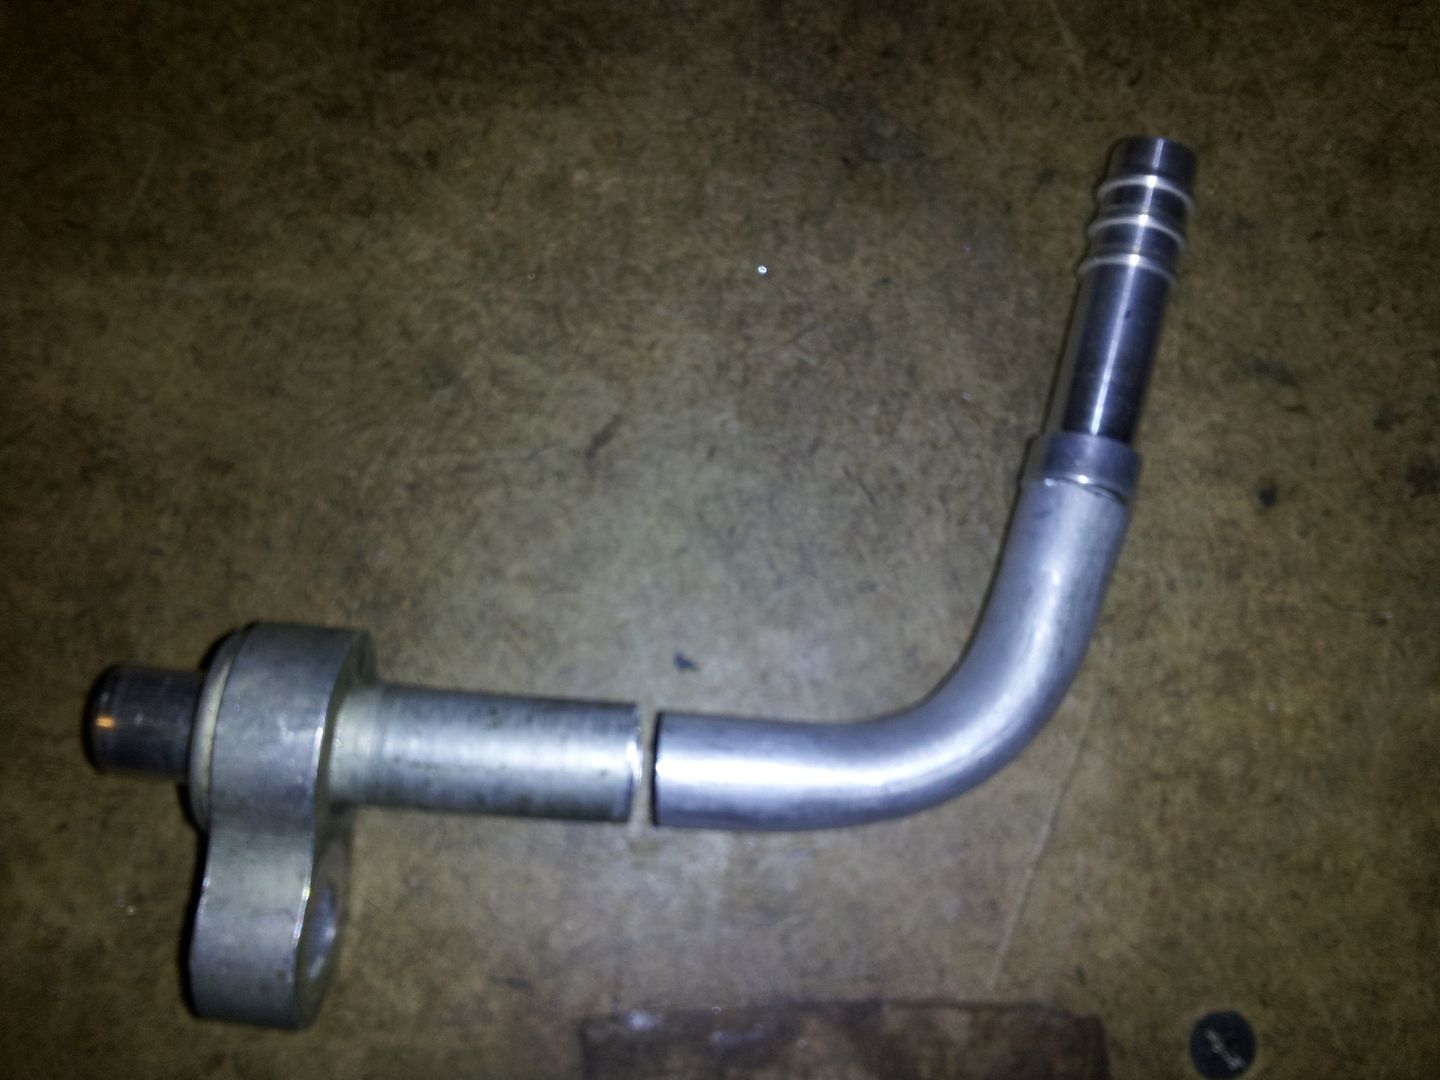
after
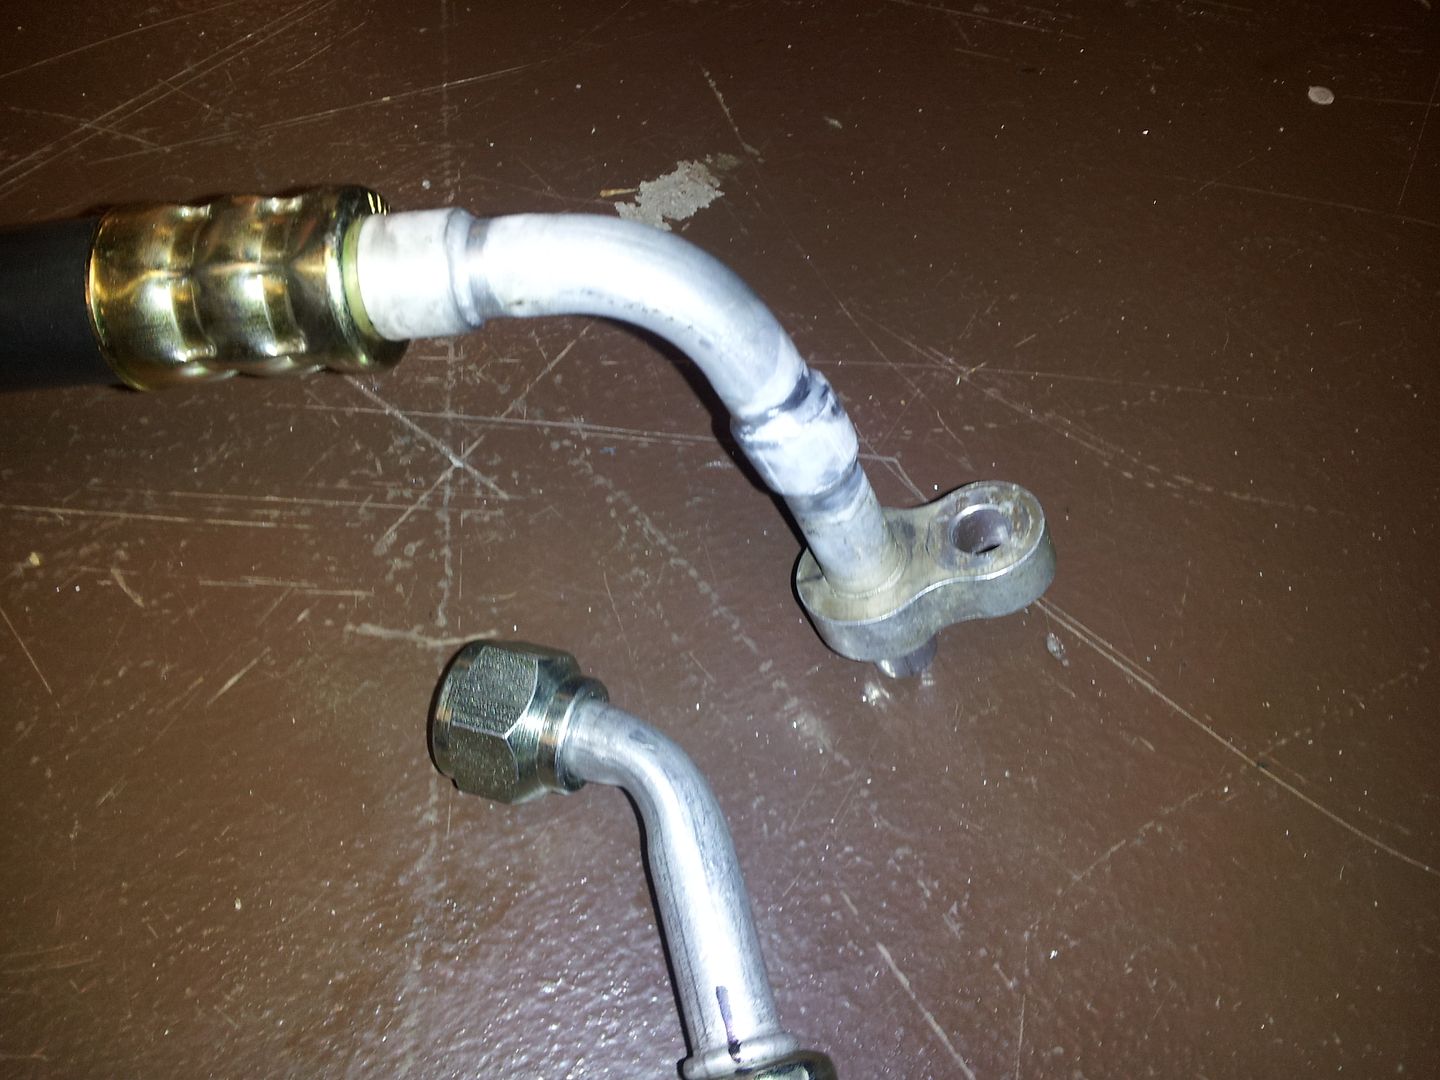
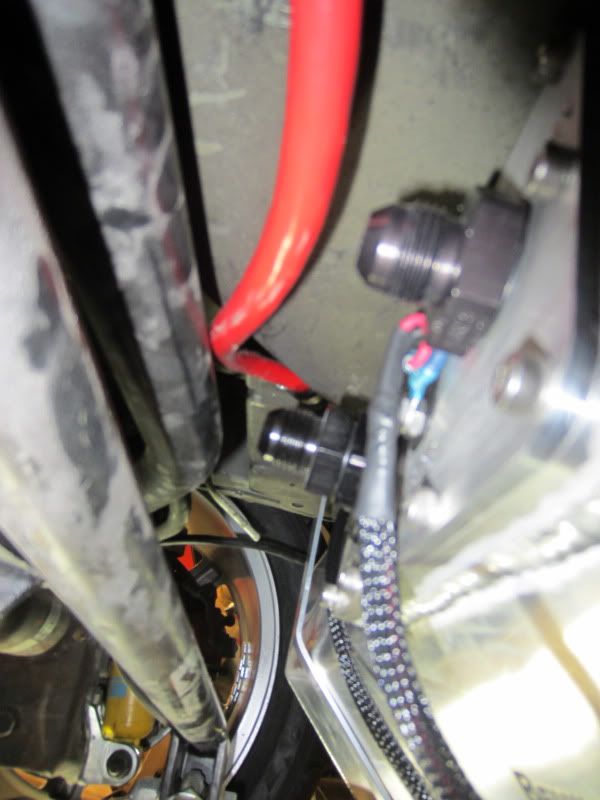
Pressure switch spliced in

Line

What you see
To the evaporator

Update:
Hoses came back from Kim's in Fort Worth and his brazing aluminum tubes to the unique ends the condenser required look factory and perfect. Since I marked the "clock" of the fittings/hose they installed in a matter of minutes.
I used a unused hose end to the compressor with a section of hose on it to fill the compressor. Compressor got about 5oz and the accumulator got a little over 3oz. I cranked it at least 20 times. All the fittings are tight and the lines are protected from abrasion and secured.
Take a look at how good the welded ends for the condenser came out. It took a little thought but I am confident I could have used any style of condenser/accumulator/etc and made it all work just the same.
Welded end
after
Welded end from 3 pieces
before
after
Pressure switch spliced in
Line
What you see
To the evaporator