$am$tang

jun10r

New Member
Joined
Jun 9, 2015
Messages
49
Reaction score
0
Location
Triad, NC
I decided to create a single consolidated thread for my "build up" or ongoing projects! I see lots of these on the board and I know I personally have spent HOURS reading my way through dozens of pages watching the cars transform.

So my history so far!

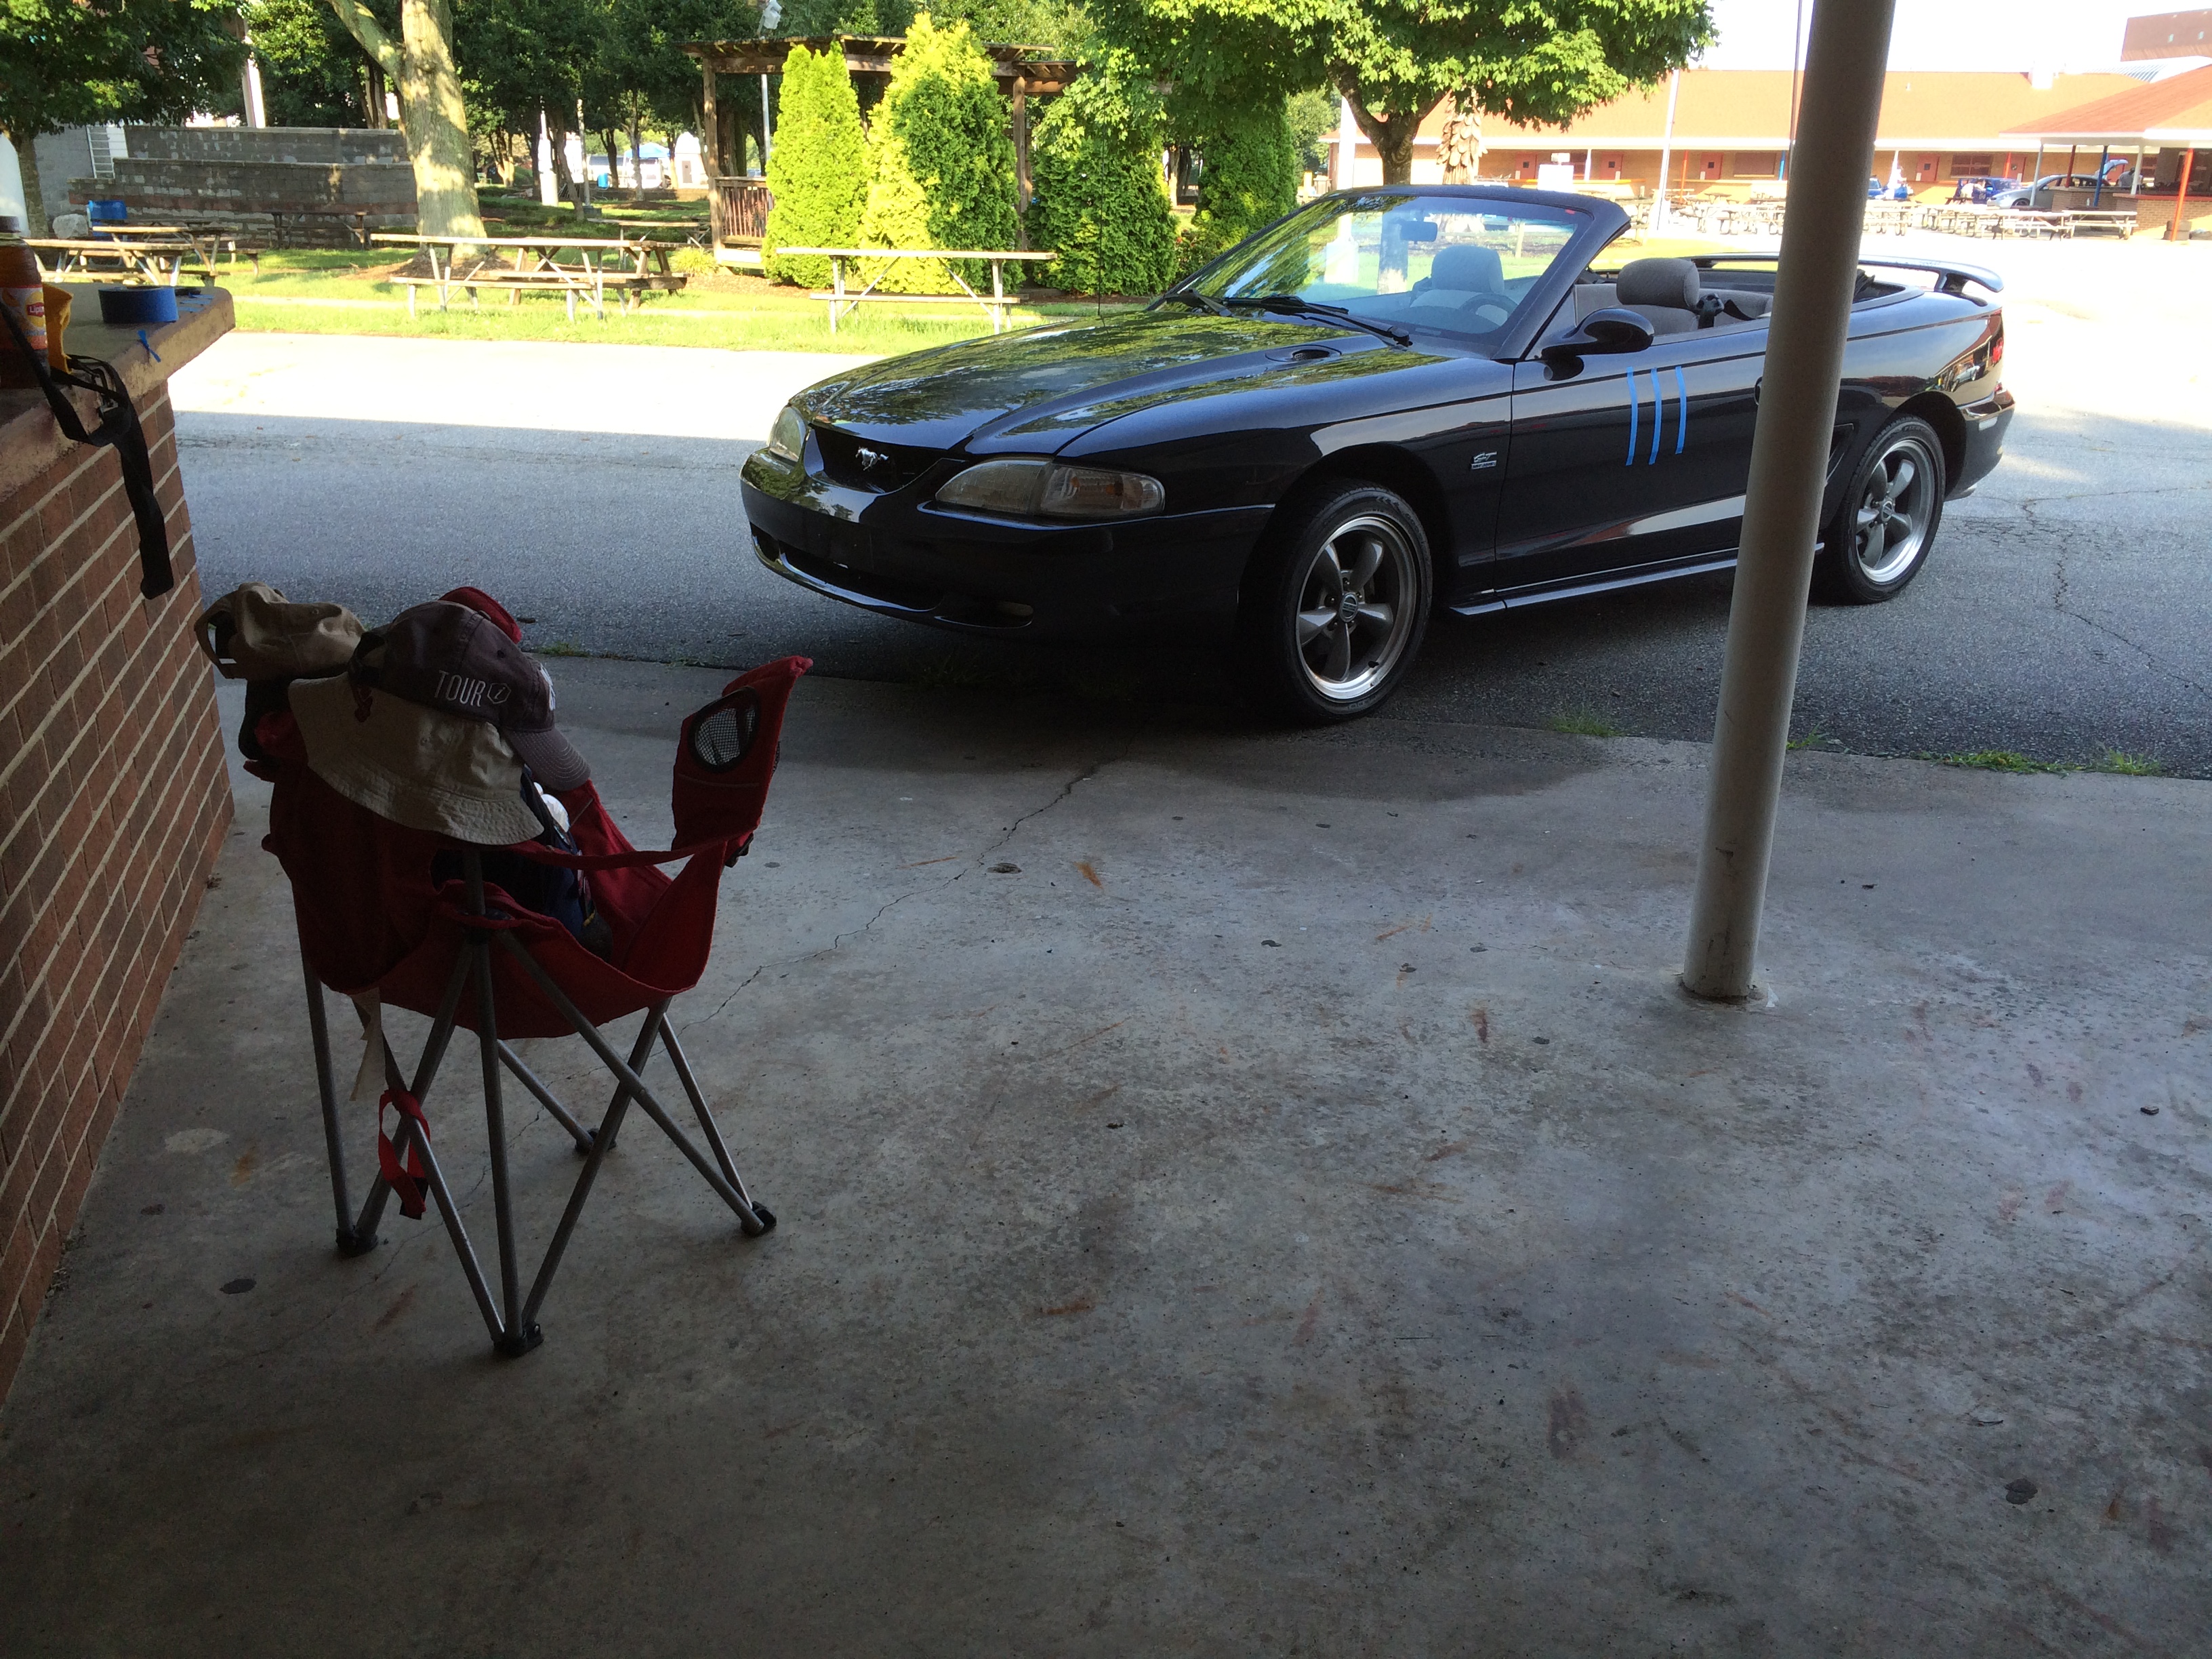
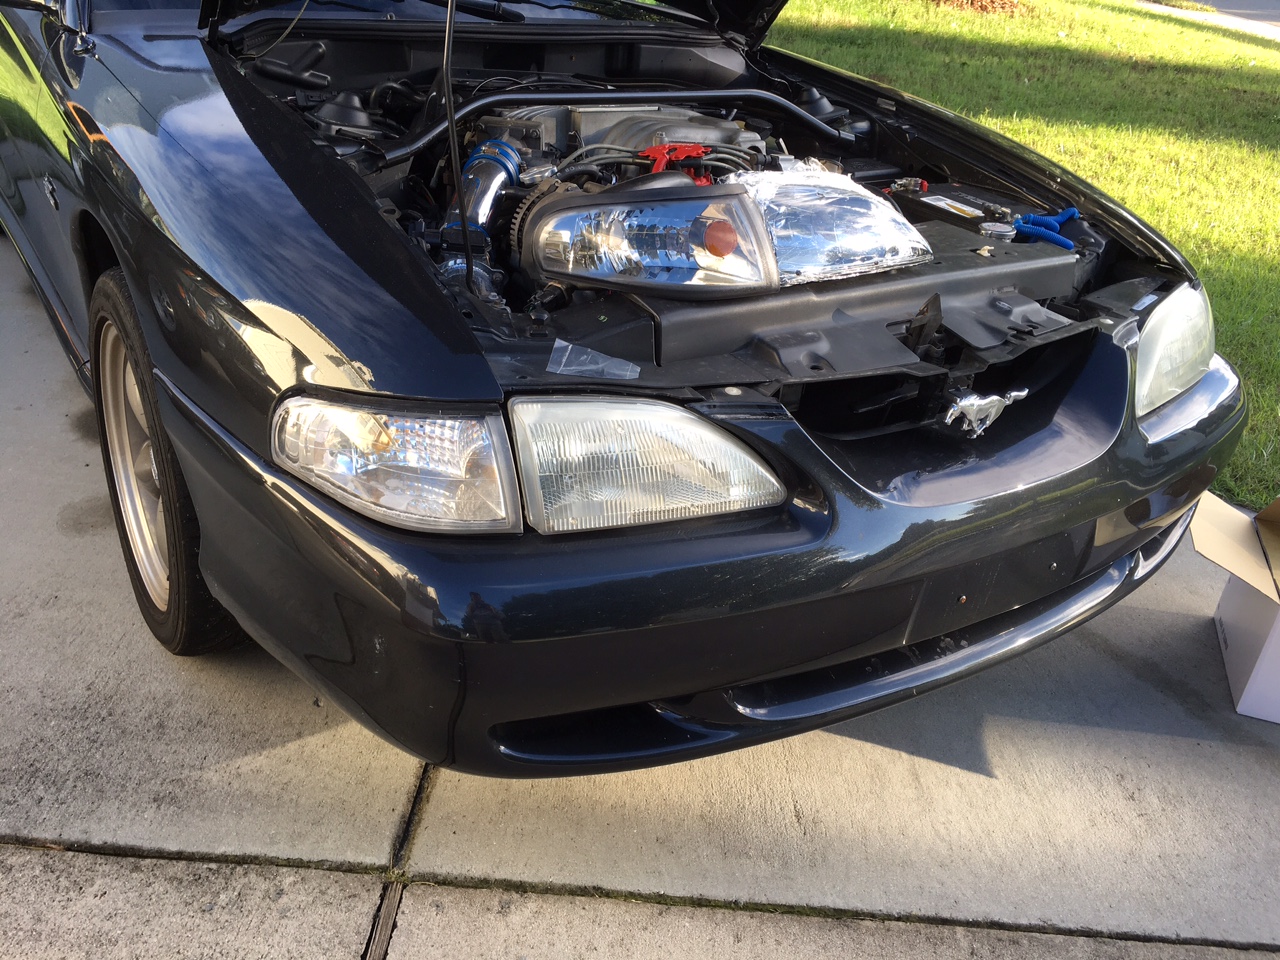
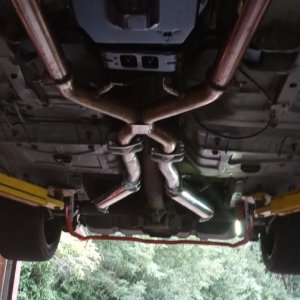
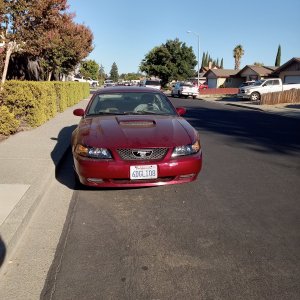
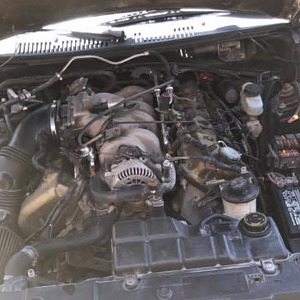
I bought the car in June 2015, it is a 1994 GT Convertible, with the 5.0L and automatic. Just 94k on the odomenter and I thought it was in pretty good shape for the cost ($4,000) New top, wheels and a bunch of engine mods. (E303 cam, .498 lift, BBK Cold air intake, Aluminum radiator, MSD coil and Distributor, custom exhaust with Flowmasters)

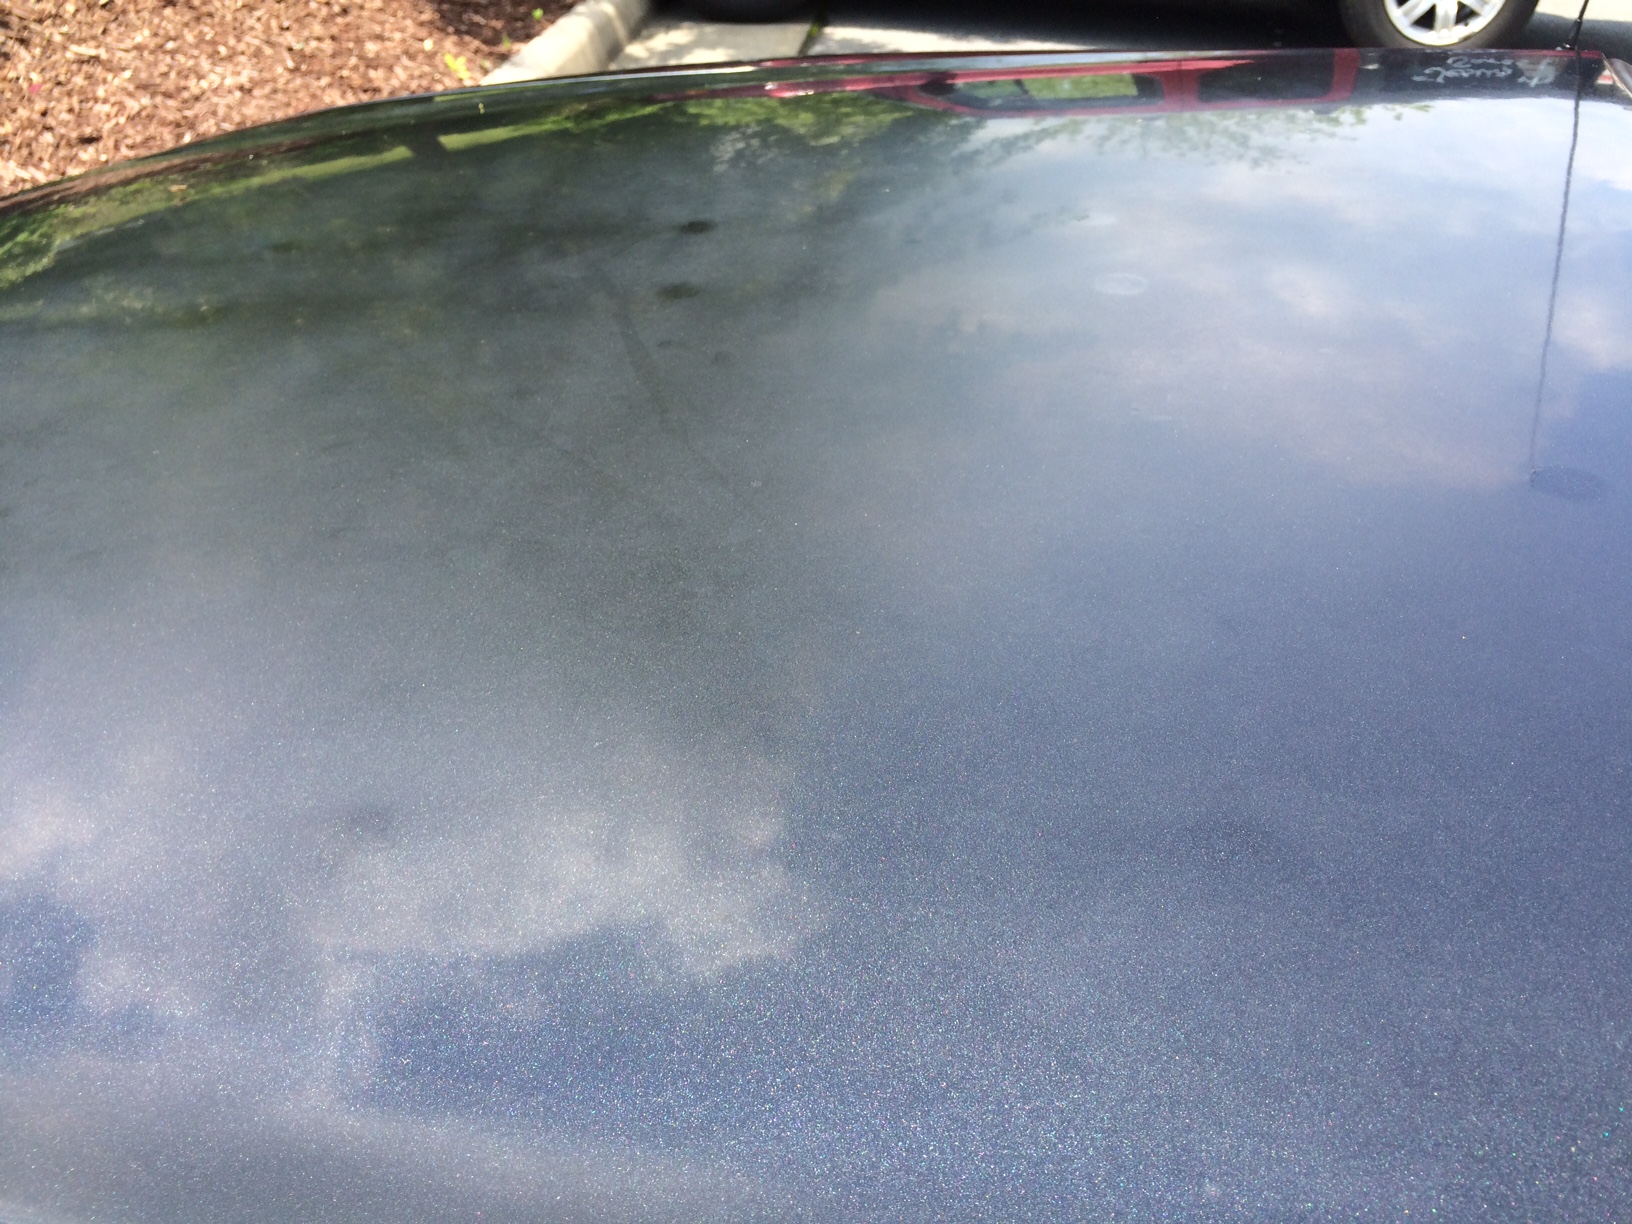
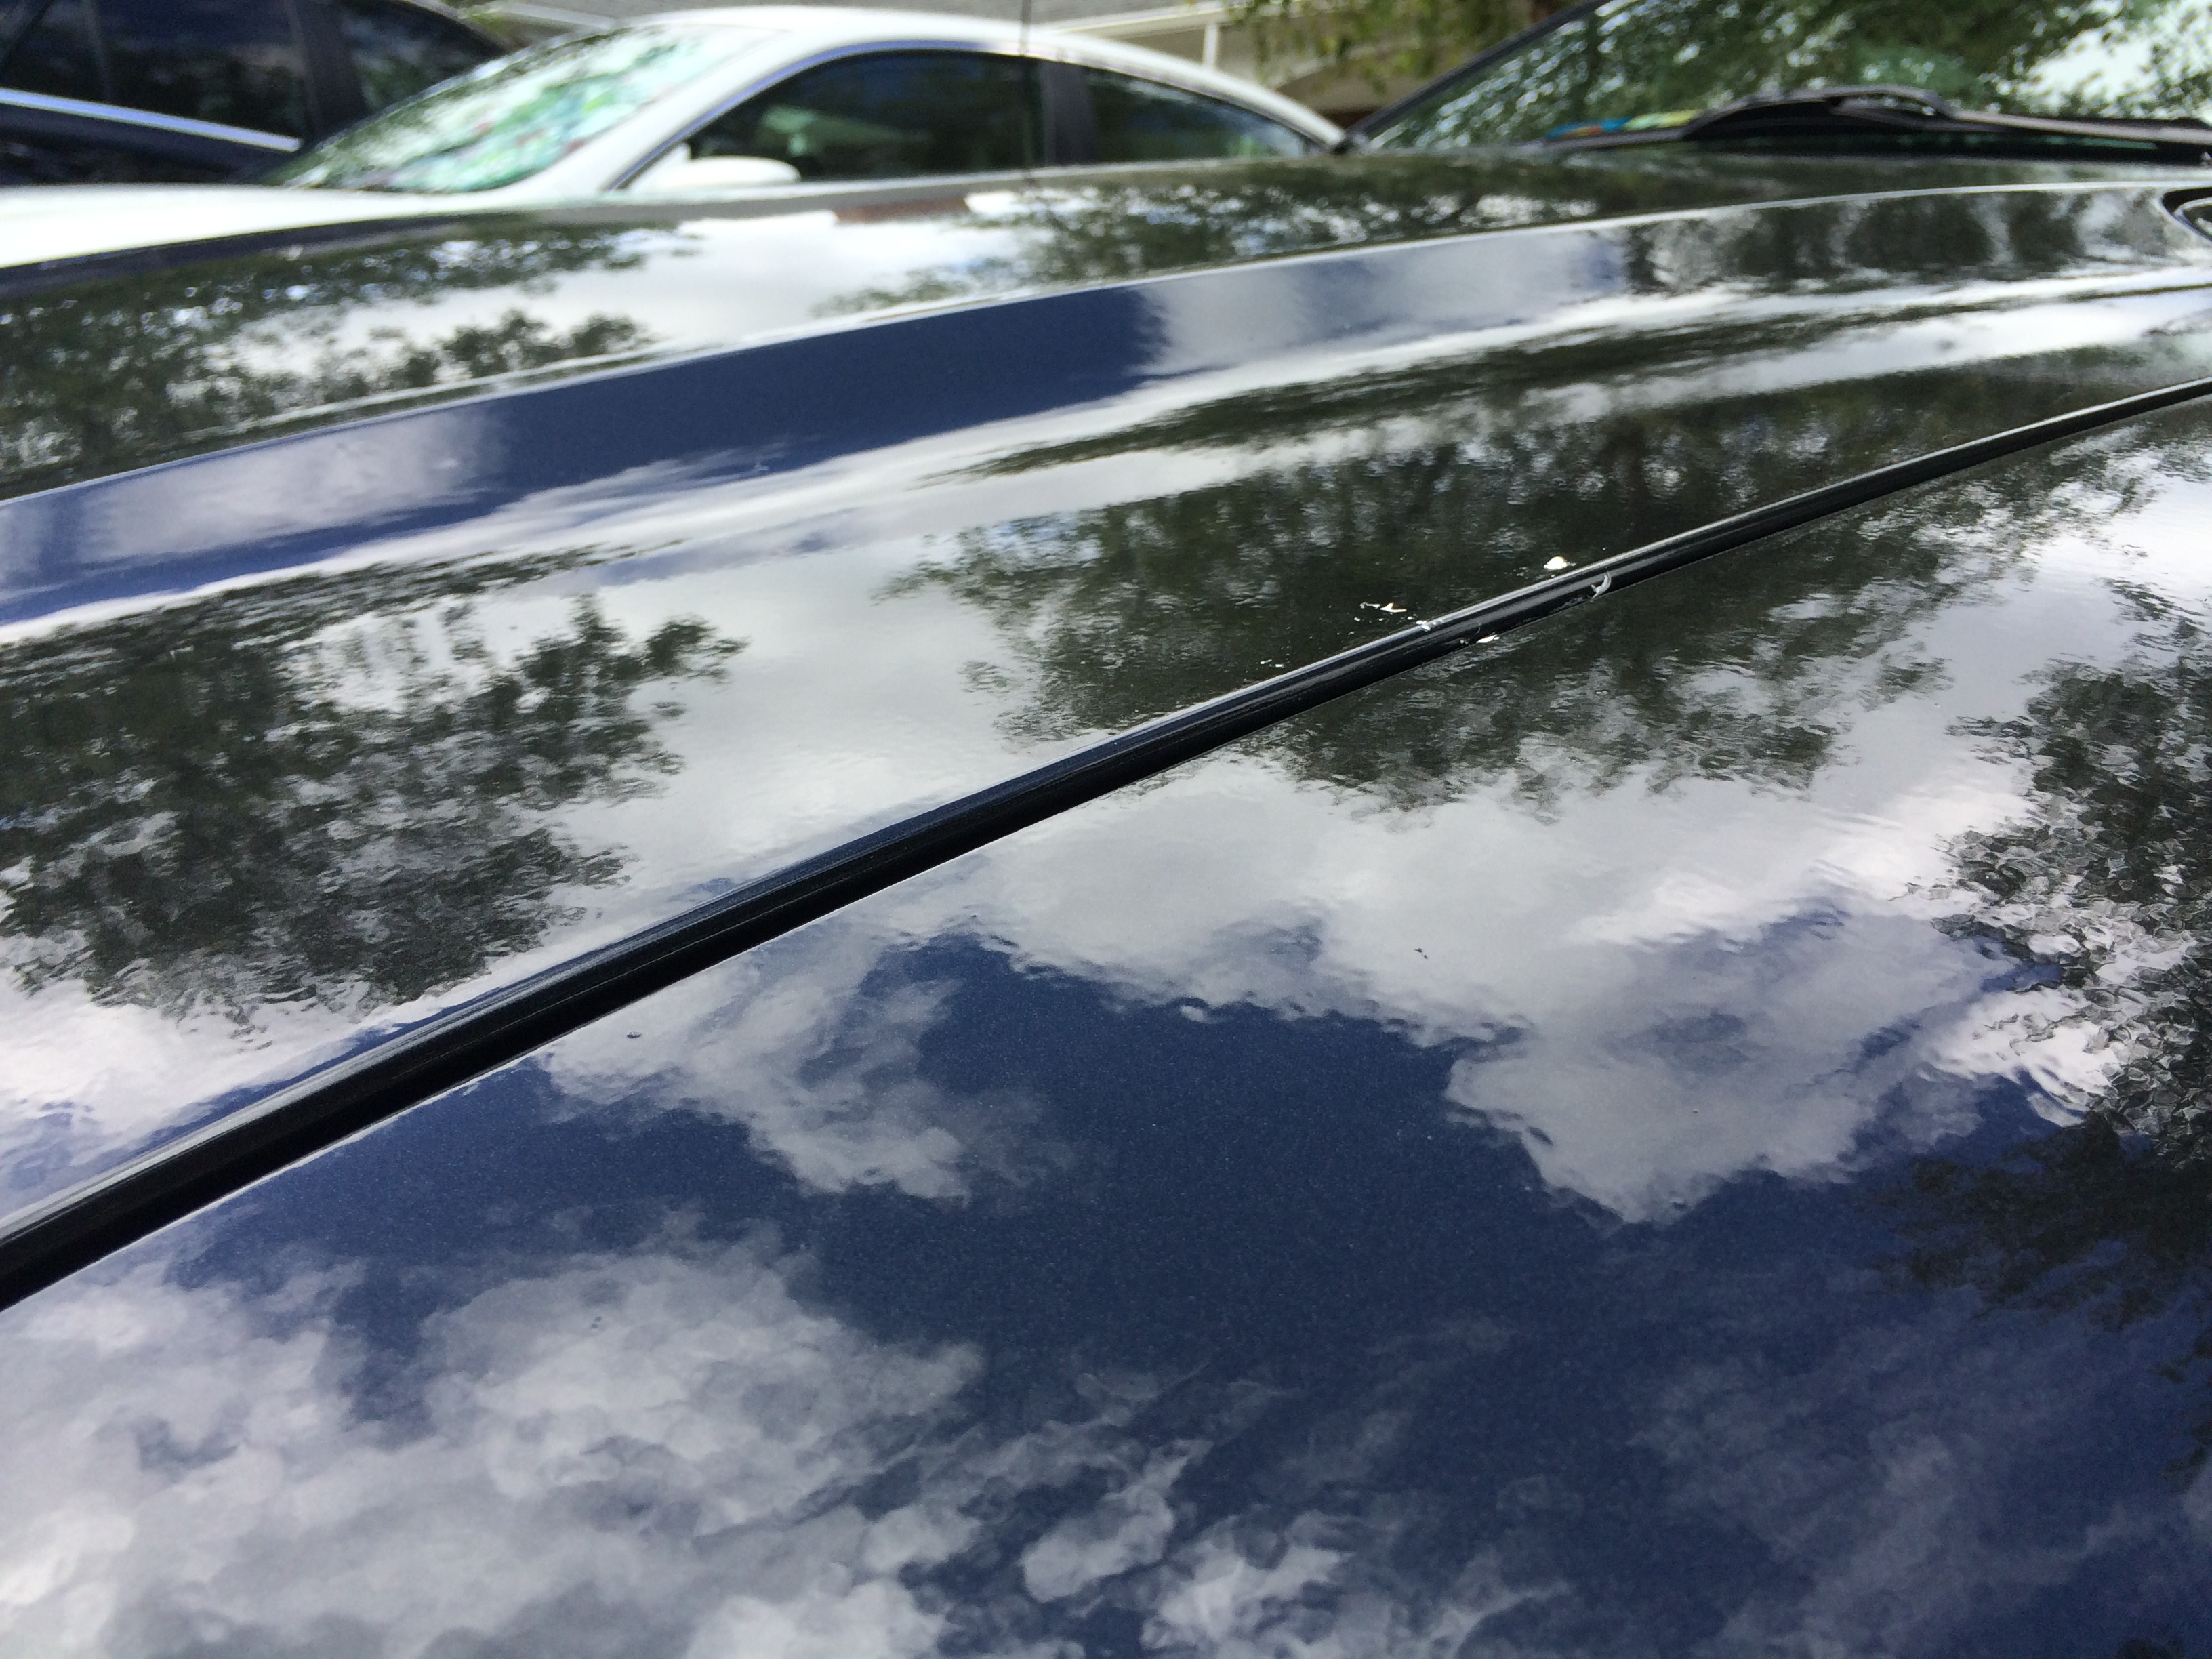
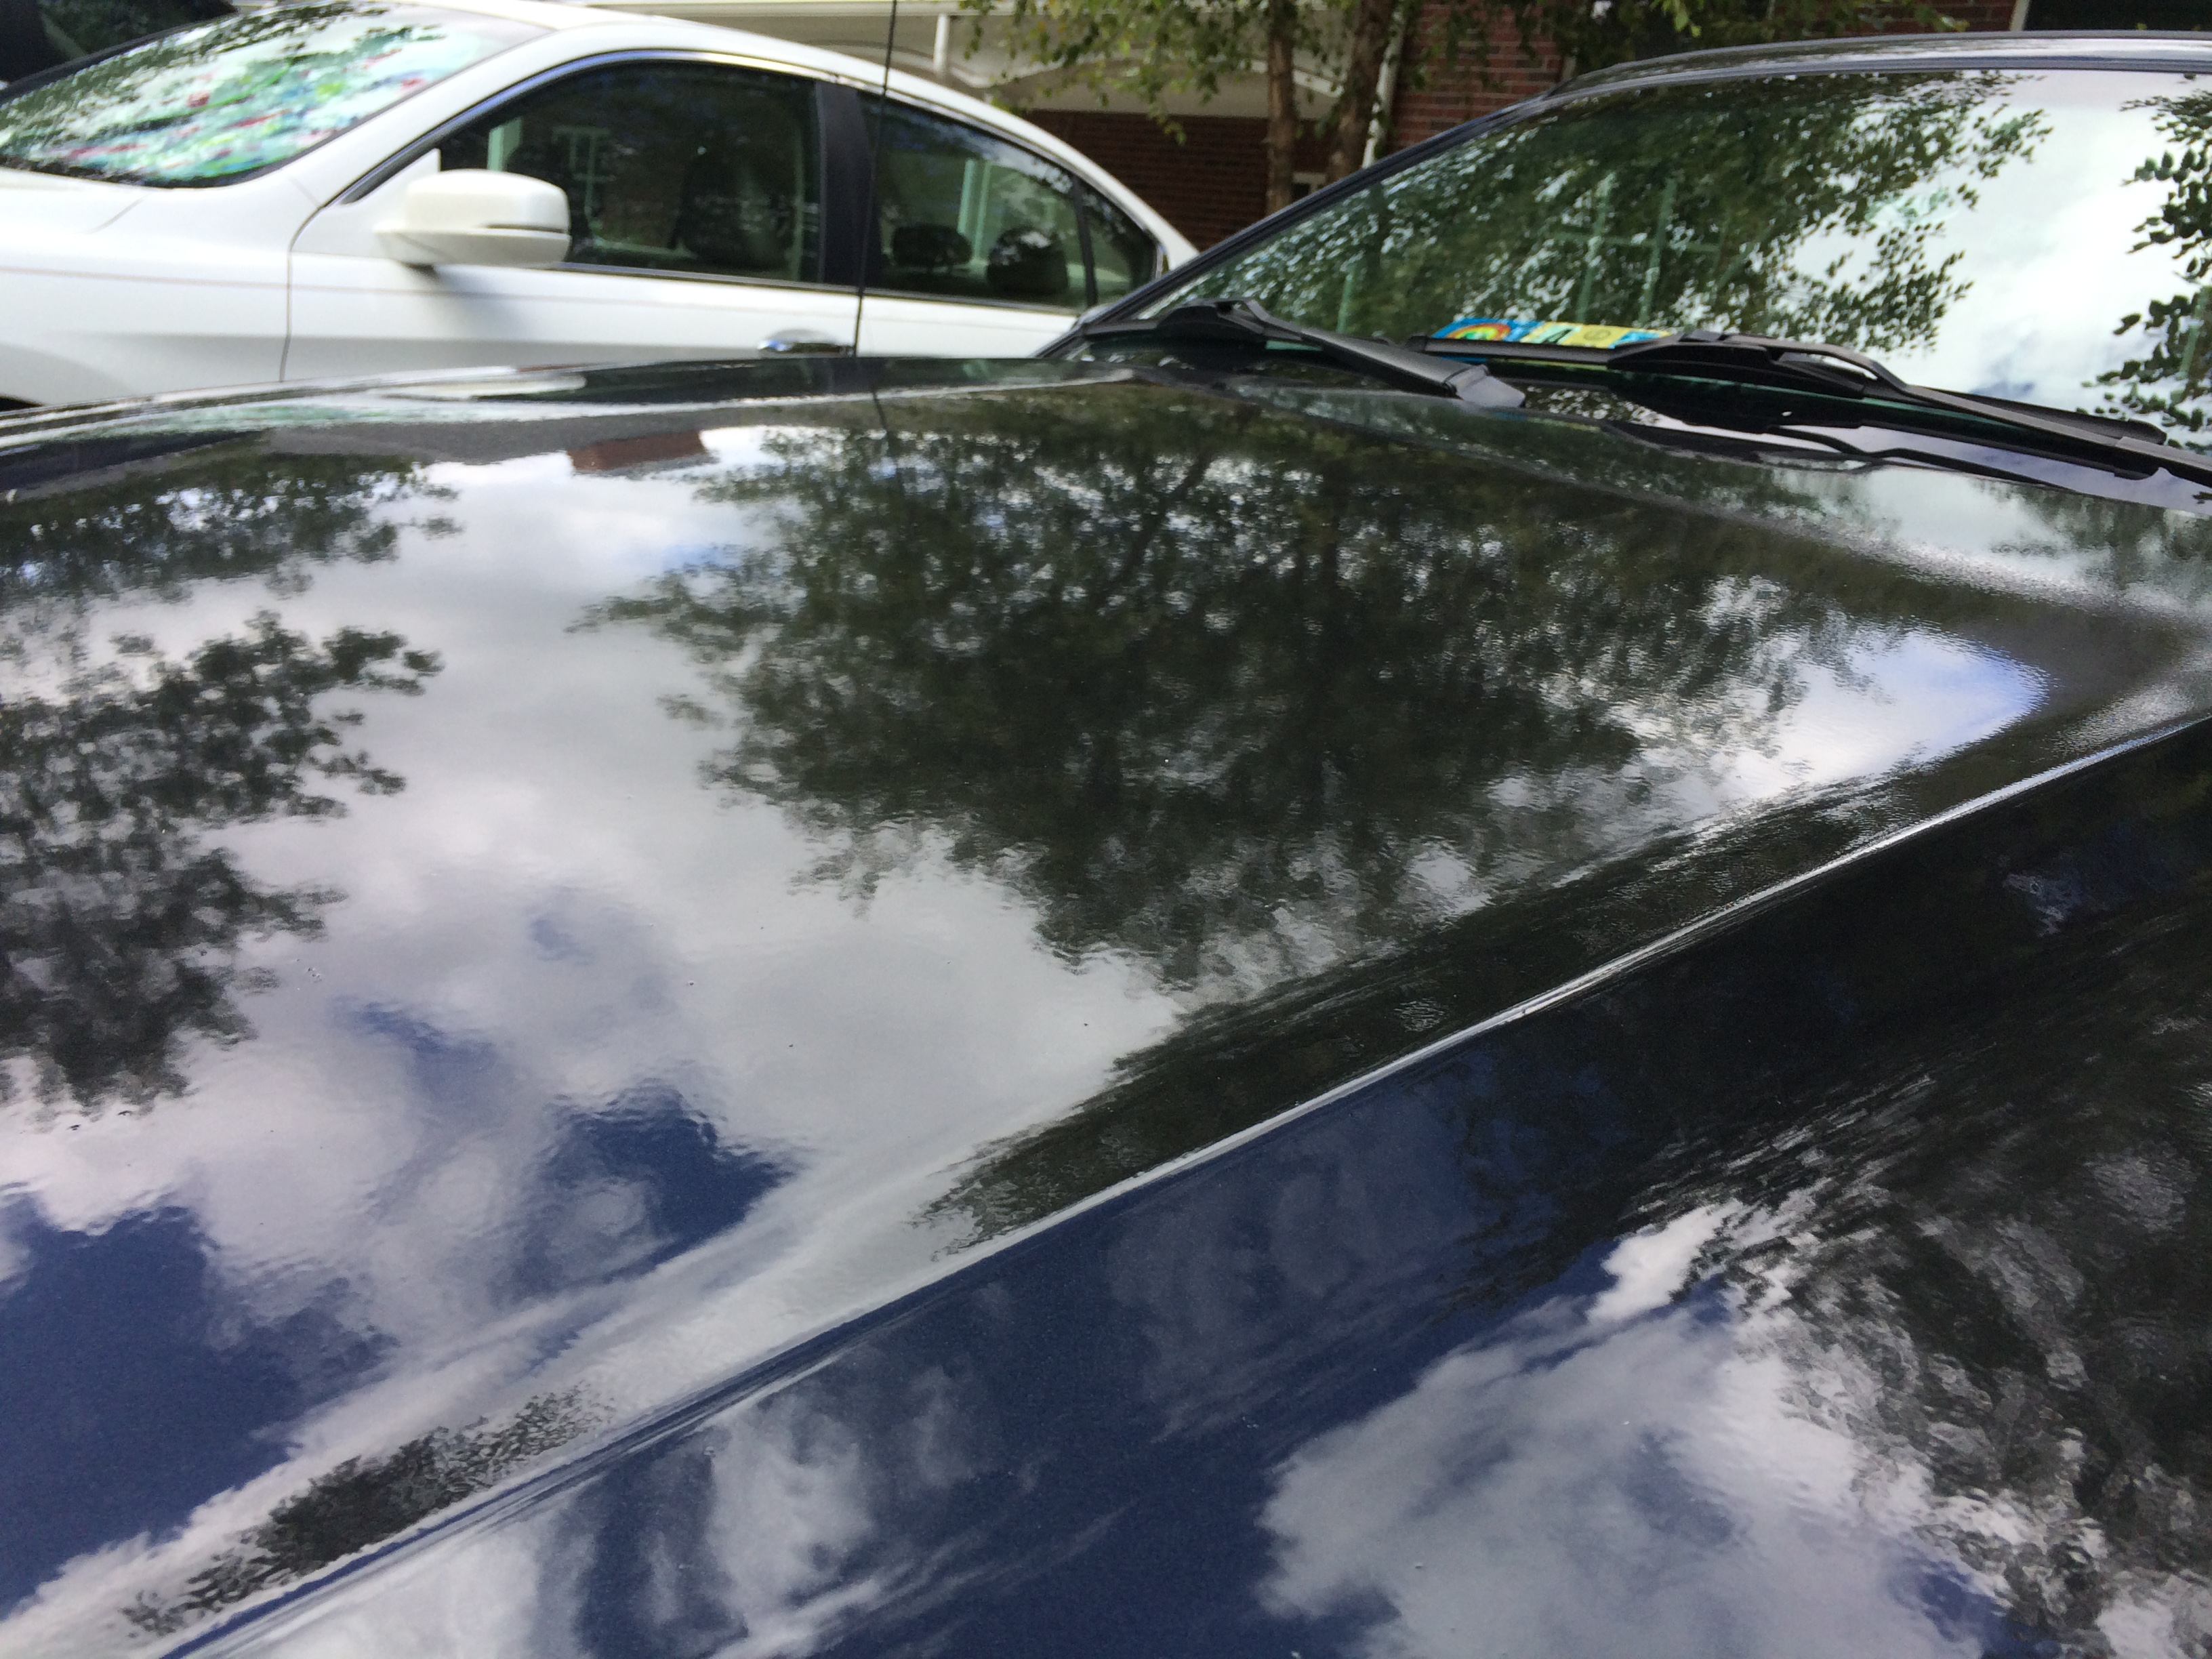
The car had been painted at some point from black to a really dark metallic grey. It looks great up close with the exception of the hood and a few spots on windshield, etc. that the clear coat is clouding up.

Power seat on the drivers side does not work but in up/down.

So my first mod was to correct the drivers seat, I will link to that below.
http://www.sn95forums.com/showthread.php?69656-94-Mustang-Power-Seat-project

Seat works great now, has been fine for over a month, on to the paint job in the next post.

wCHJ6QL.jpg
 
OP
OP
J

jun10r

New Member
Joined
Jun 9, 2015
Messages
49
Reaction score
0
Location
Triad, NC
So we left off with the discussion that the hood was cloudy/flat, this was all in the clear coat. It had been painted by a prior owner a deep grey with lots of metal flake. Love the color, but the hood and windshield were both showing a large amount of dead spots.

Wdg6KrA.jpg


So the first solution was to have the car polished and detailed. Polish removed a small bit of the flatness but too much product ended up leaving it in worse shape than I started.

#2 attempt, wife's cousin works at body shop, paid him to detail the paint, he sanded it all down with 2000-3000 and polished it. It looked fantastic, zero flat/dead spots, parked in garage all weekend and looked great. However he suspected it would come back and sure enough after just ONE afternoon of driving it was back to square one!

Current situation! My dad is an OLD SCHOOL body & fender guy, literally starting as a teenager in the 50s, to running body shops in Florida in the 70s when I was a kid. The product/materials was a lot different 40 years ago than today, and so were the techniques. South Florida is notorious for dry/dead clear coats and dad knows a trick or two!

Modern day wisdom says you "cannot" do this, and there are certainly downsides but it works for me! Essentially, we sanded down the hood and fenders with 400 grit sandpaper. Dry sanding the detail areas, and wet sanding the bigger/flatter spots on the hood itself. Then we shot the hood and fenders again with 3 coats of clear, allowing it to settle down into those dead areas.

He has done this multiple times over the years and it beats re-painting the car with base coat / clear coat again.

I actually shot the clear on the car, and so you can blame a good bit of the orange peel on me. I tend to spray a bit further out than him. The car needs a good wash and then I will polish it to see how much of the little trash I can get out and smooth out the look.

Long term, I will likely sand out the orange peel altogether and the car will look 100% even close up. But for now, all the dead spots are gone whereas you could see them from a pretty good distance. Of course you do see the orange peel but that does not bother me nearly as much.

z7V0xLp.jpg

tQgFBac.jpg

l46DOwu.jpg
 
OP
OP
J

jun10r

New Member
Joined
Jun 9, 2015
Messages
49
Reaction score
0
Location
Triad, NC
Ok, so when I started out to buy a "fun car" this year, I was originally thinking a newer Trans Am / Camaro, as I drove a 1982 Trans Am for a couple years (1989-1990, RIP) in college.

But the pricing on the newer LS1 powered v8s were generally a couple thousand more than the equivalent Mustang, and the wife and I really enjoyed our time when we rented the 2015 Mustang convertible in Florida earlier this year.

I have been thinking about AutoX for years. I had a Scion xB that would have been fun, but barely legal (height vs width) and certainly not competitive. So, bought the Mustang and immediately started haunting the forums, including here, and really got excited about racing in a controlled environment!

The racing I did in the late 80s was on the street and dangerous, lucky to have lived though it, but I was a teenager and thus invulnerable. Now at age 44, I take my excitement with a serious dose of caution.

So a few pictures of my first two AutoX events!! I joined SCCA this month as part of the Central Carolina Region, would love to meet other Mustang members on here, have met several so far at the events.

I ran #111 at the Triad Sports Car Club AutoX event in July, mostly because I knew that would be super easy to tape on!

13ldxFr.jpg

Did not get any pictures of me competing unfort!

Then this monthly went all out, bought a Snell 2010 helmet and fancy magnetic race numbers! #38 was the number of the car a buddy of ours raced in the late 70s, early 80s. Dad actually built me a "race car" all painted up in white/orange to match it and I will find that picture soon to post here! I was a VERY excited kid, though the race car was just a riding lawnmower with some fancy sheet metal.

So that is where the #38 comes from along with the White / Orange paint. I am planning on painting the calipers a bright orange as well, we will see how far this color scheme goes.

D32ZOCq.jpg

Me with the competition behind me.

tL6uHQE.jpg

Pushed the rear end out a bit on the final curve on my first run! But I shaved off time for each run, so I am feeling better.
 

Burninriverdiver

Well-Known Member
Joined
Jan 1, 2014
Messages
2,770
Reaction score
234
Great work so far! The paint looks a lot better than mine for sure, looking forward to seeing the progress
 
OP
OP
J

jun10r

New Member
Joined
Jun 9, 2015
Messages
49
Reaction score
0
Location
Triad, NC
Ok, some updates on the project! Drivers side headlight was not working, high or low beam, lots of cracks in the headlight and side markers so I decided to upgrade! American Muscle product, 49050 - BlackCobra Style Headlights (94-98 All) for $149.99.

Got them in a few weeks ago and have some before and after pictures and updates.

Installation went pretty well, no instructions per se in the box, and my tip is this. Start with the side marker, there is just a single nut that holds it in place. Then just a matter of working the light out of the three holes/posts.

The headlight itself did not really want to come out. What I mean is the part you are supposed to squeeze did not want to go down and come out the hole. Tried various pliers and eventually they did come but broke for the most part but who cares right?

Turns out on the drivers side, the 'fin' that you use to slide the adjusters on is pretty much gone in my case. Passenger side is there and so I can see how it is supposed to work. But the headlights all went in, then installed the side markers and wahlah, working headlights!

3Tag1gJ.jpg

sxDo2ln.jpg
[FONT=&quot][/FONT]
 
OP
OP
J

jun10r

New Member
Joined
Jun 9, 2015
Messages
49
Reaction score
0
Location
Triad, NC
So a follow up to the headlights being installed! Drove it for the first time, did not adjust anything just put them in and they were aimed VERY VERY low. Really funny, but had to be very careful on my way home, even with high beams on they were only a few feet in front of the car!

Time to fix this! Read up on the three adjusters, the top one is supposed to adjust up/down, finally figured out that it is a 4mm socket by the way! Royal pain to adjust these, I am doing this at night so I can "see" where it is aimed.

Cranking away and it does not really appear to be moving. Then I hear a SNAP sound and I can see the adjuster just dangling. Enough fun for tonight, park the Mustang and will try this again in the daylight.

Took apart the drivers side (the one missing the fins the adjuster is supposed to be on) and sure enough, where the upper adjuster is molded to the headlight itself snapped off and is just dangling. This is not going to go back on and I really do not feel like buying another one (or complaining and trying to get a replacement.)

So time to improvise! I start by moving the headlight by hand, remember it is aimed at the ground, so I put my fingers under the bottom and I can move it up a LOT! It needs to be moved a lot, but how to keep it up there?

I will take pictures of this and post them at some point, but essentially zip ties! I drilled two small holes into the 'fins' on the headlight itself and pulled the headlight up where I think it will be good and zip tied it in two places keeping it aimed nice and high!

Passenger side. The upper adjuster has a plastic piece that is supposed to go through the hole and they give you a C shaped clip that is supposed to hold it in place? I could not get that clip to work at all and so when you adjust it nothing is happening because the plastic piece is coming back out of the hole and the adjuster part is freely moving on the slide.

I can easily move it up to match the drivers side with my hand and see the plastic part moving in and out of the hole and so I decided a bit of electrical tape will be my first attempt to hold this.

I put a piece around the nut (where it is on the inside) and a second piece on the slide to keep it from moving back down. So between those two, the passenger headlight is up nice and high now, but not quite as high as the drivers side.

Now I have to try driving at night to see how close these are to their final locations! Redneck fixes for the win!
 
OP
OP
J

jun10r

New Member
Joined
Jun 9, 2015
Messages
49
Reaction score
0
Location
Triad, NC
Also, any tips on fog light bulbs / replacements are welcomed!! They are there and are working so new bulbs might help?? Mostly just a big fan of LOTS of light down low.

Saw there is some LED bulbs for $$, and some clear lens options (and the darker lens which would match my new headlights...)

Thought about something like PIAA or other driving/fog lights, would love a plug and play solution that adds to the total light available.

Where am I going from here? The answer is SOLO / Autocross for my racing, keeping the car somewhat comfy for daily driving and so the wife will still drive it and ride with me. Probably getting a 2nd set of sticky 200s, "street" tires for the CAM class.
 

Forum statistics

Threads
77,513
Messages
1,504,094
Members
14,981
Latest member
Cwacaser

Members online

Top