OP
OP
Jules98GT
New Member
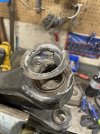
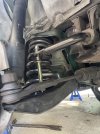
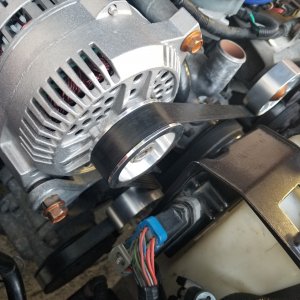
You're right on the money, PS fluid all over the front. I've got a line leaking somewhere.
") I've noticed some guys don't even run a PCV.
I've noticed some guys don't even run a PCV.Another great piece of advice I overlooked. That makes perfect sense to me thank you!100% air oil seperator. Todays normal driving cars can benefit installing one and its not the blow by like everyone claims. Its oil spun off the cams into a mist. The oil suspension gets drawn out of the valve cover.
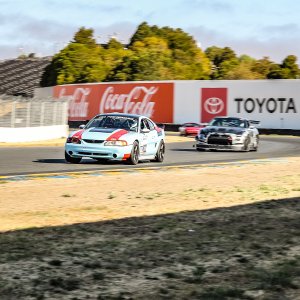
When circuit racing, i cant stress enough about an extra capacity oil pan designed for road racing. The extra capacity is a plus but its the slosh baffles that you want. The tight turns cause the oil to slosh to the side away from the pick up tube sadly causing a dry sump that will eventually eat your engine. Factory oil pans are no good for this. Aftermarket pans are expensive but cheap insurance.
_68038019748_DAF1EFF1-7B34-4E9C-BD86-F8839DCC84F4.png")
_IMG_2936(1).png")