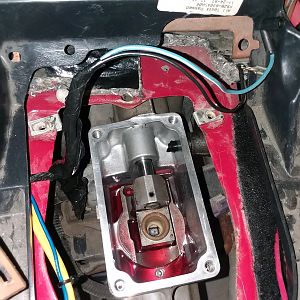
Picking up from where I left off. Back in May I made a simple little bracket to mount the limit switch that will operate my 2-step. The arm of the switch rides on the clutch fork, and when the clutch is pressed in it completes the ground circuit for the relay. I’m gonna throw in a diagram that I based my setup off. It took me a while to get everything working how I wanted it but it works great.


I wanted to keep all of the wiring as clean and simple as I could, without having to run a bunch of wires in and out of the car. I grabbed a spare center console wiring harness from the wrecking yard and removed all of the wires that I would not be using. I used the 12v+ for the cig lighter circuit as power for the relay, ran thru a toggle switch that I mounted in a UPR switch panel.

I removed the ashtray and cig lighter from under the flip door in the console and mounted my momentary switch/button in the hole towards the front. (Will grab a pic of this and add later) I used one of the purple wires that goes to the convertible top switch for power to the momentary switch, and as stated the ground goes through the clutch switch. So when power is on to the relay, with the clutch down and one push of the button, the 2-step is activated and stays on until you let off the clutch, breaking the ground. I tested it out this weekend and it works really good. I’ll have to take some more pictures but it was a clean install being able to use factory wiring and keep everything hidden inside the console. The console and wiring can even be removed in one piece by removing the ground pin from the relay and disconnecting the harness connector.
Here’s a video that I got all my info from for anyone interested in this.
So I drove the car fairly often up until 4th of July weekend when I realized I had an exhaust gasket going bad. Since it was pretty much the hottest part of the year at that point I parked the car I. The shop and didn’t fix it until September. Grabbed a new set of gaskets but only changed the one on the passenger side for now. It was cooked well done.


While trying to get the headers back on, I dropped a bolt and it slid perfectly down one of the primaries into the void where they all merge into the collector.

Couldn’t get anything down in there to get a hold of it or anything. I refused to have a header bolt rattling around in there forever so I finally got it to move by wrapping a towel around the collector and blowing compressed air behind it until the pressure made it start traveling back the way it went in, and it actually stuck to a magnet just enough that I was able to direct it out to a point where I could grab it.
THEN I DROPPED IT AGAIN AND HAD TO DO THE SAME THING A SECOND TIME.
I even told myself I should probably put something there to block that off in case I dropped it again, but didn’t.
IDIOT. IDIOT.
Lolol. Moving on.
A couple months back I won a $100 gift card to Hanlon Motorsports and used that to get a driveshaft safety loop since I already had a Stiffler’s crossmember.

I’ve also picked up an Aeromotive 340 pump and hanger assembly, torque box reinforcements, new set of headlights and did some swapping and ended back up with the UPR rear suspension kit I got rid of a couple years ago - adjustable uppers and lowers with anti-roll bar and axle braces.
I’ve been planning some pretty major upgrades this winter if I go through with it all at the same time. Plan is to snatch the tank axle and rear suspension out and tackle all of it while everything is out. All of the rear suspension install plus the torque boxes, go through the axle while it’s out and probably invest in C clip eliminators and have the tubes welded plus a new cover, and do the pump upgrade along with new feed and return lines to get rid of all the stock lines. I also talked to Hanlon about getting a TKX so we’ll see what happens.
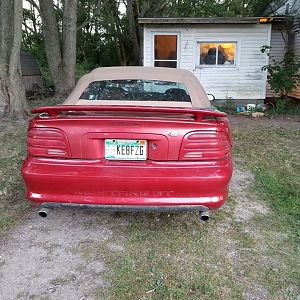
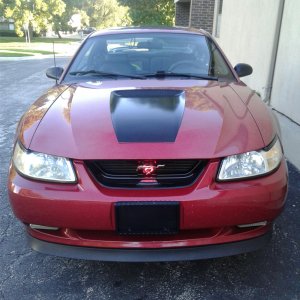
Next post I’m gonna dump some random pics of the car throughout the year.