Project Unfinished Business: 95PGTTech's 1998 Cobra build...

OP
OP
9

95PGTTech

Well-Known Member
Joined
May 17, 2007
Messages
1,681
Reaction score
0
Sigh. Another day where I got little done.
Found a bunch of wiring issues in Adam's car and got it started and running though.

got a couple more seam welds done
Monday005-2.jpg

Monday006-2.jpg

Monday007-2.jpg


cut a 10 3/4 piece for the middle part of the jack rails. beveled both ends to clear the welds from the rocker panel footer plates to seat mount tubes. added 1/8" plate to take up the gap between the jack rail and pinch weld. jack rails serve a few purposes - strengthen and straighten the abused pinch weld and tie it into the SFCs, provide a higher clearance, easily accessible area to lift the car with floor jack or car lift, and for me, securely mount side skirts.
Monday019-2.jpg

Monday020-2.jpg


I'm going to cut it back out. Apparently I moved it between tacking and welding and I don't like how far the front part is away from the footer plate. I don't know WTF is up with the brown dust it looks like I ARCd.
 
OP
OP
9

95PGTTech

Well-Known Member
Joined
May 17, 2007
Messages
1,681
Reaction score
0
Fought the welder through that piece again today (eventually figured out I needed more wire speed) and made some welds I'd rather not have any human set eyes on. Drilled the first bolt holes for the side skirts. The following pictures convey the general idea.
Tuesday026-1.jpg

Tuesday027-1.jpg


Cut the section for the front, I think it was on the order of 24" or so. Ground out all the seam sealer I could with the wire wheel (messy!), then went back with the paint stripper, more wire wheel, then a scratch awl, and finally a pick. And in the end, still didn't get it all. Seam welded this section. Also cut and flattened a front portion I was not able to earlier.
Tuesday028-1.jpg

Tuesday029-1.jpg

Tuesday032-1.jpg


Got my drill press working again!
Tuesday053-1.jpg


Tacked the front tube into place after requiring six notches for clearance. I did add the 1/8" plate spacers just like the last one to account for the seat rail to rocker panel footer plates. I drilled the holes (above) into this one prior to welding in the car so I should have a pretty easy time drilling straight up through the holes as a pilot for the easy through-floorpan hole. Five bolts per side skirt should suffice in helping mount them sturdier than they were previously.
Tuesday066-1.jpg

Tuesday067-1.jpg

Tuesday068-1.jpg


My welding is still extremely hit or miss. I'm signed up for another adult education class to find out if it's man, machine, or both. The tricky part for the front jack rail tube is that the front fender mounts to the pinch weld at the very front. I ground off the two nuts that the bolts go through and planned on drilling through the tube once installed and installing longer fender bolts and tacking nuts on the end. We'll see how that plays out. As you can see in the pictures, I need to really bend and hammer the pinch weld in this area closer to the jack rail, that's how bad mine were messed up. It was a bit late to be doing that so we cleaned up and called it a day. Adam got a lot of work done again and we both were able to sell some used parts but the car is not moving along as quickly as one would hope.
 

Petek

Well-Known Member
Joined
Mar 13, 2007
Messages
2,295
Reaction score
3
in my experience 75% of the time its the man not the machine. however welding on old previously painted thin metal isnt the best thing to master your skills on. however props man, looks like your getting it done !
 
OP
OP
9

95PGTTech

Well-Known Member
Joined
May 17, 2007
Messages
1,681
Reaction score
0
Beautiful day out. Going in late to work consistently on Fridays so making it over there then too. When I got there the last thing I wanted to do was work on the car, way too nice out. Ended up doing other stuff I needed to catch up on around the house and garage and helping Adam out. I started hammering that pinch weld towards the jacking rail some more, man that area is F'd up. I need a bigger hammer.

Some new toys:
Friday061.jpg

Friday027.jpg

Friday001-1.jpg


And since my wife is a giant jerk and hates pictures being taken of her, I took one of her and said I would put it in the thread to embarrass her.
Friday026.jpg


Cut down some trees. Threw lots of crap out. Sold some crap, shipped some crap, took pictures to sell and ship some crap. Not much done on Cobra, but overall good day.
 
OP
OP
9

95PGTTech

Well-Known Member
Joined
May 17, 2007
Messages
1,681
Reaction score
0
Non-car.

Focus brakes. Gotta keep the daily's running.
Friday031.jpg


Chopped another load to recycler out of the junk cars.
Friday040.jpg

Friday041.jpg


Act like monkey. Get light into rear yard so I can plant some grass seed. New cordless sawzall with wood blade is much easier to climb with than chain saw.
Friday048.jpg


Next time need chain saw to cut down a big dead tree and truck to haul branches and more trash away. Recyclers is not much these days but need the space and shit gone, it pays for lunch that day. We did find out the SS brake line is a lot tougher than the mild steel junk you get at like my job that we use that rusts in two years. So it's even more impossible to flare. Either gotta buy bad ass flare tool or buy easier line to flare. I found some FedHill supposedly that is good.
 
OP
OP
9

95PGTTech

Well-Known Member
Joined
May 17, 2007
Messages
1,681
Reaction score
0
I had my first experience with doing V-band clamps myself today. Did these for a customer for a dual exhaust project on a 02 Concorde (yeah...). I don't have all the parts in yet but I wanted to see if it was true about eBay brand V-bands leaking. They seemed to seal pretty damn good to me but I'll put a bead of RTV orange on them when they're in the car. When you put the two flanges together even before the clamp they are so solid you have to break them apart with a vice grip. I know what I'll be doing all my exhaust out of from now on.

I did figure out that as thick as they are, I'm getting such good heat and penetration with my welds lately that I need to run short beads, rotate, and give good cool down time. The first one was ever-so-warped so I threw on its mate and clamped it down real hard for awhile while it was still very hot and it seemed to get better. Later on this project I'll also have my first experiences using stainless 304.

Monday007-3.jpg

Monday001-3.jpg

Monday002-3.jpg

Monday003-3.jpg

Monday004-3.jpg

Monday005-3.jpg

Monday006-3.jpg

Monday008-3.jpg

Monday009-3.jpg

Monday017-3.jpg

I guess I didn't take a finished picture. I painted it silver to match the muffler, came out pretty good. My welds are still a little tall and not wide enough for my preference, I need to get closer to my work piece and slower hands.


I spent a few hours with my BFH from work and a few more vicegrips pulling the pinch weld back to somewhere near where it should have been from the factory.
Monday019-3.jpg


zap zap!
Monday020-3.jpg


Down below, use the two holes I drilled in the front tube during the assembly process upward into the floorpan. Up top, locate those holes, scrape the sound deadener (yay...) and get them the right diameter.
Monday022-1.jpg

Monday023-2.jpg


Grind two washers, insert bolts - with the exception of deciding on the front two fender to pinch weld bolts, the front tube is done.
Monday023-2.jpg

Monday026-2.jpg


Finally decided to drill off the factory brake line, fuel line (2) and EVAP line retainers after working around them this whole time.
Monday027-2.jpg


That tree that I had to cut...yeah. It lost. Dropped it within an inch of where I called it. Not bad for a recip saw. Still working on clearing out the back lot to plant some grass, get some more sunlight, and concrete a two car wide space for more workspace.
Monday028-2.jpg


Onto the rear, and final jacking tube...or not. The rear lower S-box needs to go in first because the tube goes overtop it. I had been avoiding it, I admit, because I wasn't quite sure how Gene wanted me to cut the v-cut in the factory frame rail to help move the S-box closer to the frame rail. I pulled the S-box down and had some good witness marks exactly where it was hitting.
Monday029-2.jpg

Monday030-2.jpg


MOZILLA OWNS. I loved it before, and it saved me a ton of times I accidentally hit back or a link while I was typing a big post and you hit back quick and it has what you typed saved (unlike IE or AOL), but my computer just lost power and shut down. Not only did it do the restore function, but everything I typed is still there...crap that's a lot.


Made a T cut. I didn't get a pic of it, but I will tomorrow, I had to make a lot more horizontal cuts because I'm hitting this mofo as hard as I could and it wouldn't move until I cut more.
Monday031-2.jpg


Back up in place and tracing the outline so I know where to strip to get good weld areas. Also from bottom drilled three pilot holes through the holes previously drilled in the S-box into the floor pan.
Monday032-2.jpg


Went up top, found three holes, drilled to correct size. And got rid of more insulation crap...
Monday033-2.jpg

Monday034-2.jpg


I'm missing a piece. These S-boxes are supposed to come with floor reinforcing plates. A 1/8" thick mild steel plate with 3 holes in it. The bolts come up through the holes I just drilled and through the plate, then the plate gets welded to the floor pan. Good thing, because that plate comes with holes already drilled in it and they wouldn't match up with the holes I just randomly chose spots for in the S-box. I have a ton of 1/8" plate around, now I get to make my own unique ones. There was a big hill right where I wanted to put my plate. I removed it.
Monday035-2.jpg

Monday040.jpg


The 22AUG is hard to weld without punching through, that's ugly. That's actually a patch panel cut to fit but you can't tell I went through it so many times. I later found some settings that worked good for filling some of the many holes I've drilled in these floor pans (1, 20).


Stripper top and bottom.
Monday036-2.jpg

Monday037-1.jpg


Clean and ready to go.
Monday038-1.jpg

Monday039-1.jpg


Look to the left of the last pic. You can actually see the horizontal slots and the hammering. Tomorrow I am going to start by welding that back together now that I recessed it. Then I have to put the S-box back in place and mark its ouline again and then paint everything that the s-box is going to cover up. It doesn't sit perfectly flush to the floorpan so if any of that is left bare I won't be able to paint it after installation and it will just rust again. Maybe I should have just wire-wheel stripped that would have been more precise, this primer does come up fairly easy.

Not a bad day, not a great day.
 
OP
OP
9

95PGTTech

Well-Known Member
Joined
May 17, 2007
Messages
1,681
Reaction score
0
MustangChris said:
dang man. that is alot of digging. what are the major gains of the s box?

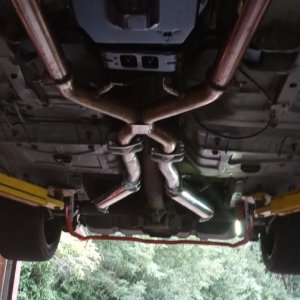
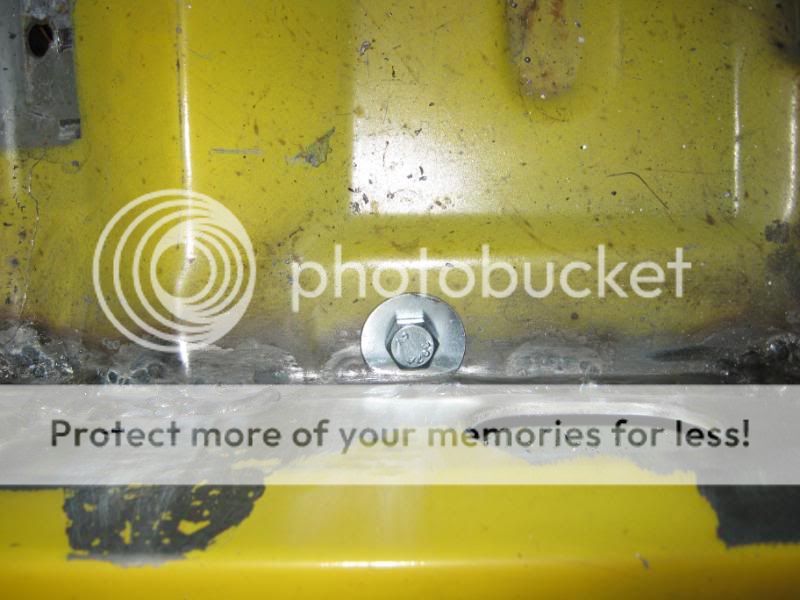
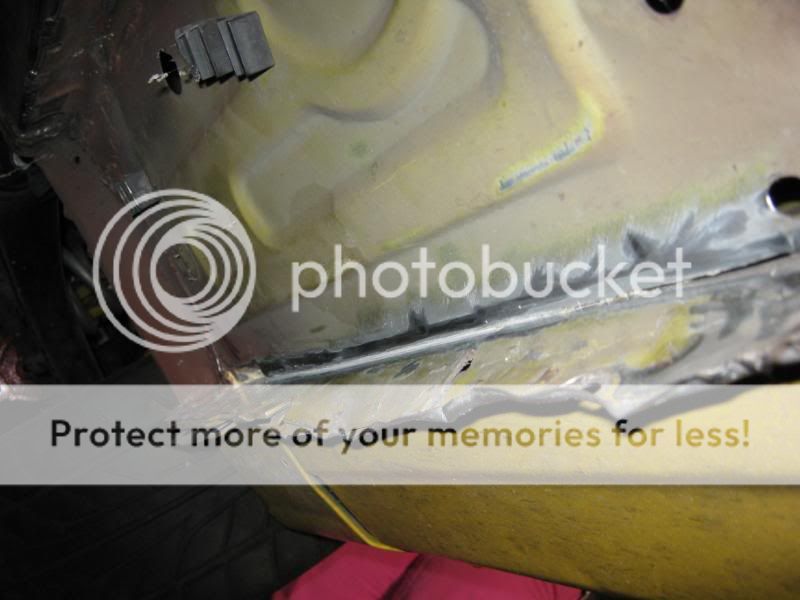
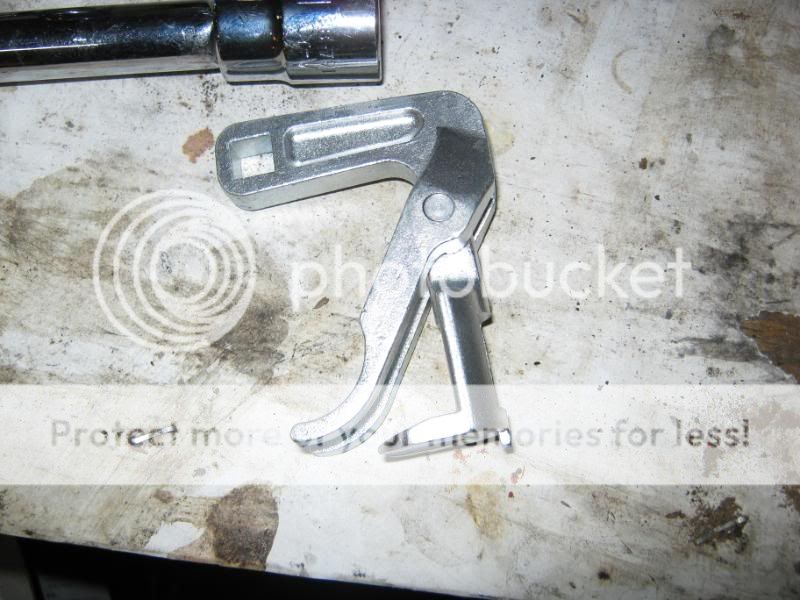
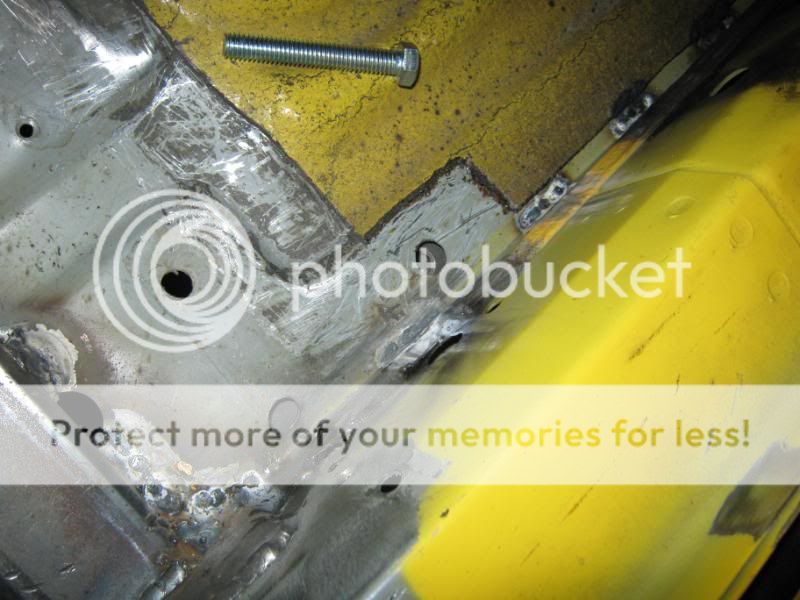
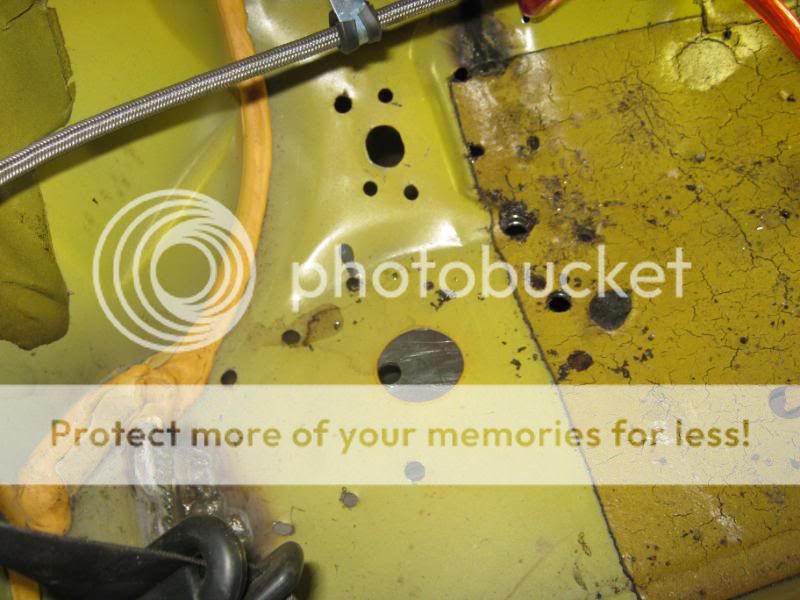
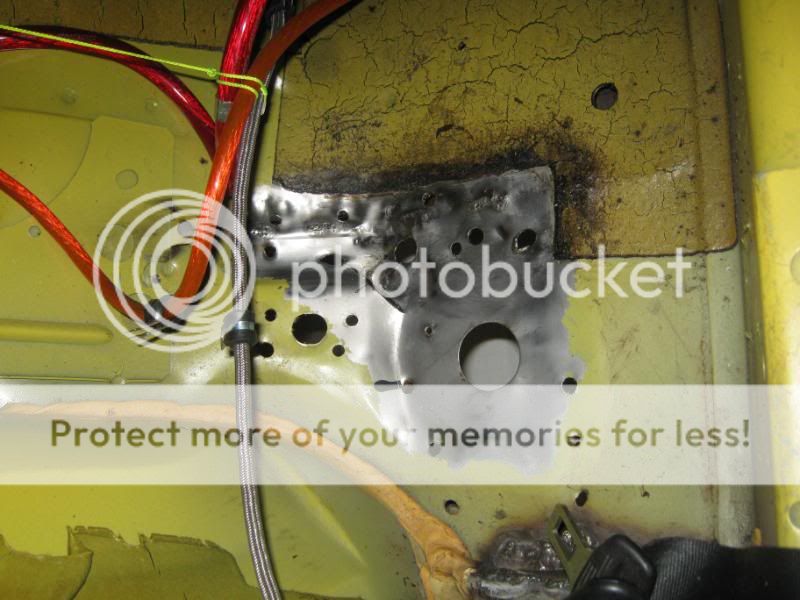
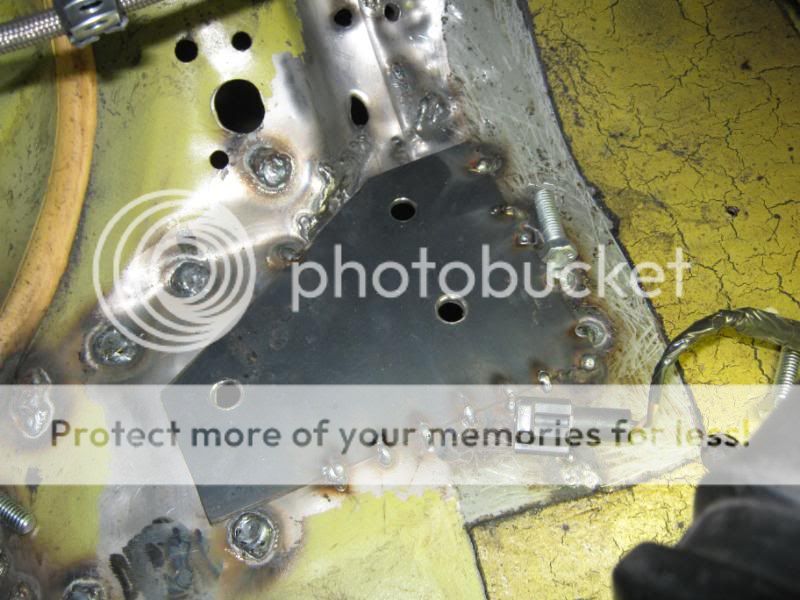
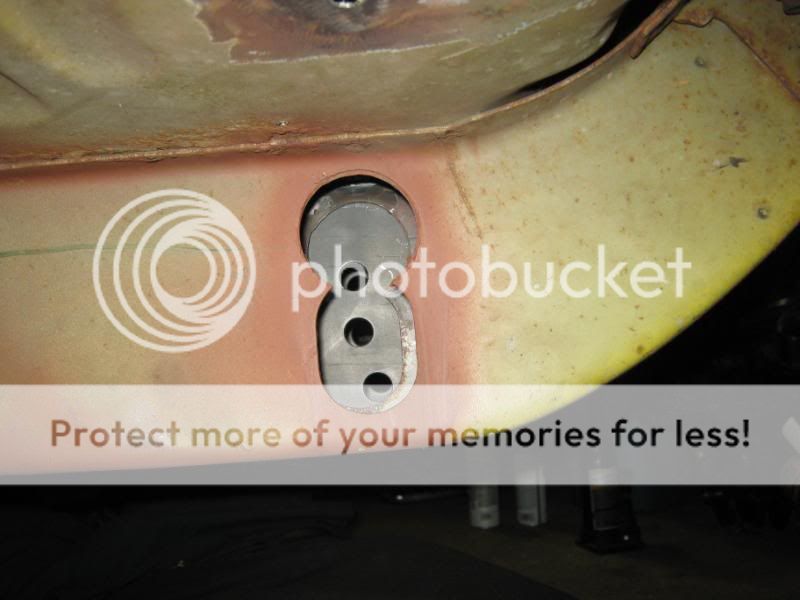
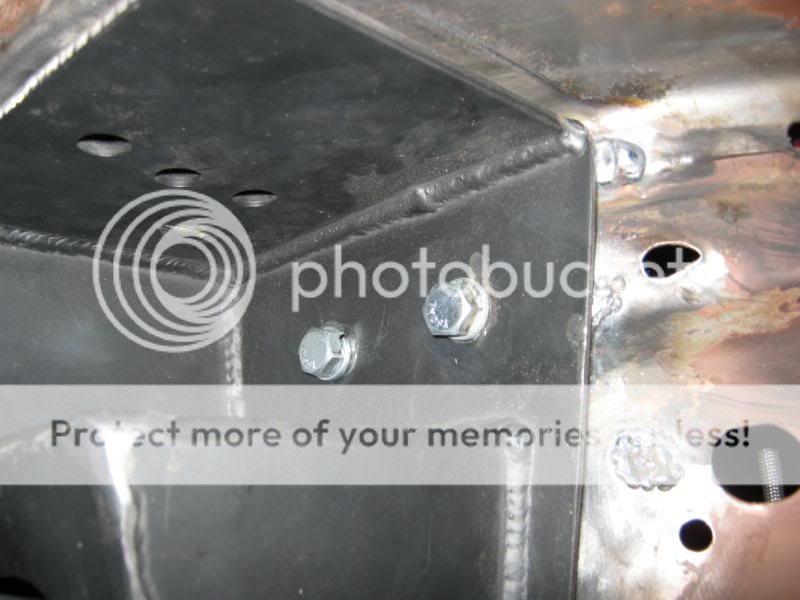
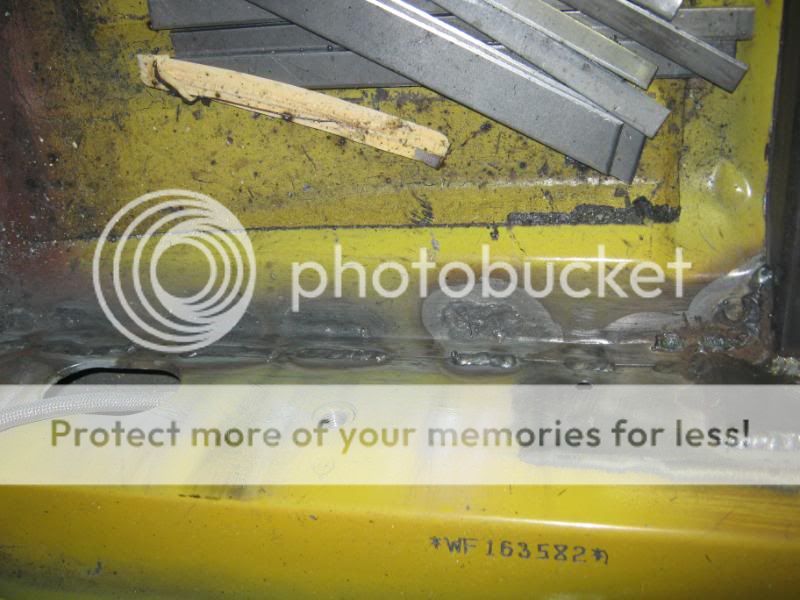
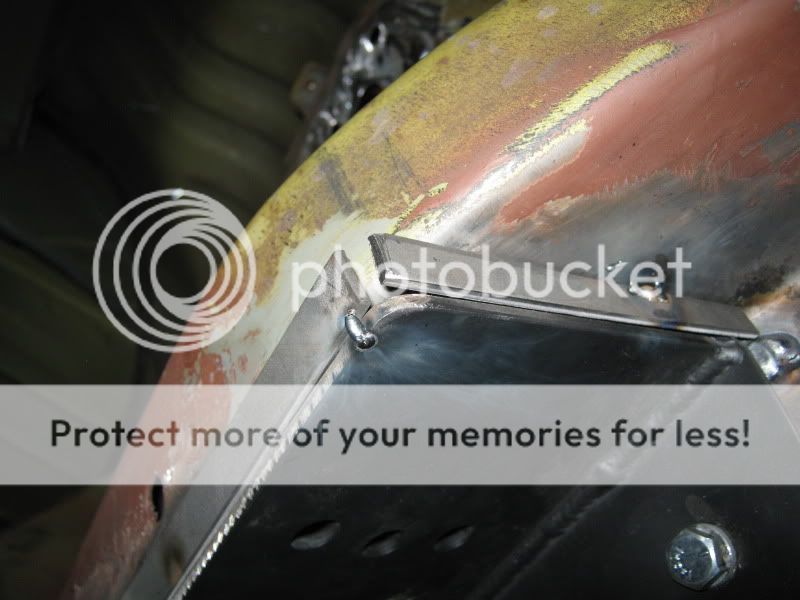
The lower, which I am installing now, has three mounting holes as opposed to the stock one of one. The stock location, one above, and one below. Without going too much into the rear suspension geometry, you can really help a car squat if the class you run allows relocation of the front LCA point - some don't, that's why the middle hole is in the stock location. Some people have simply torn the lower torque box so bad reinforcements will not suffice. Such was the case for me.


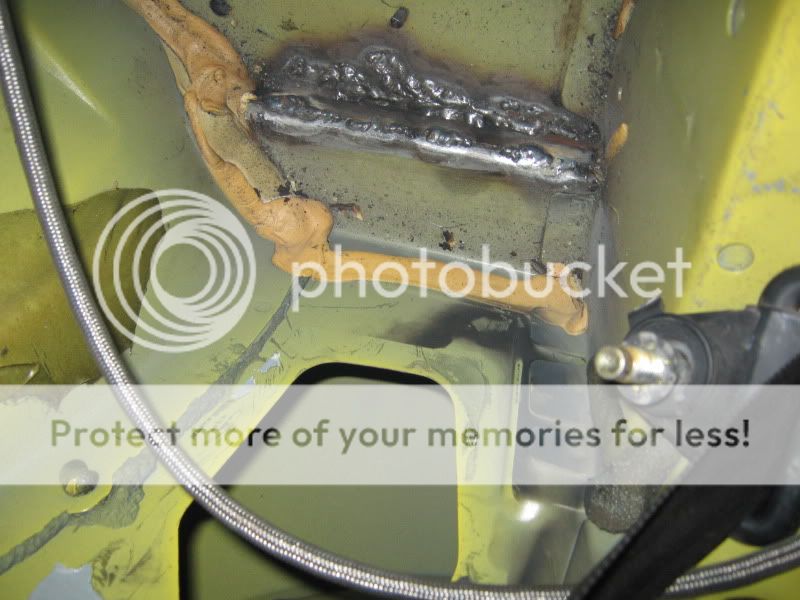
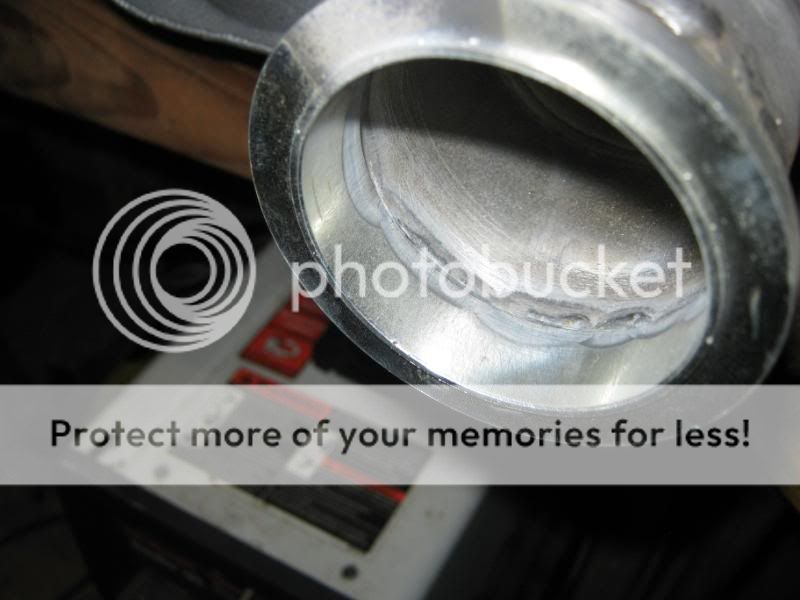
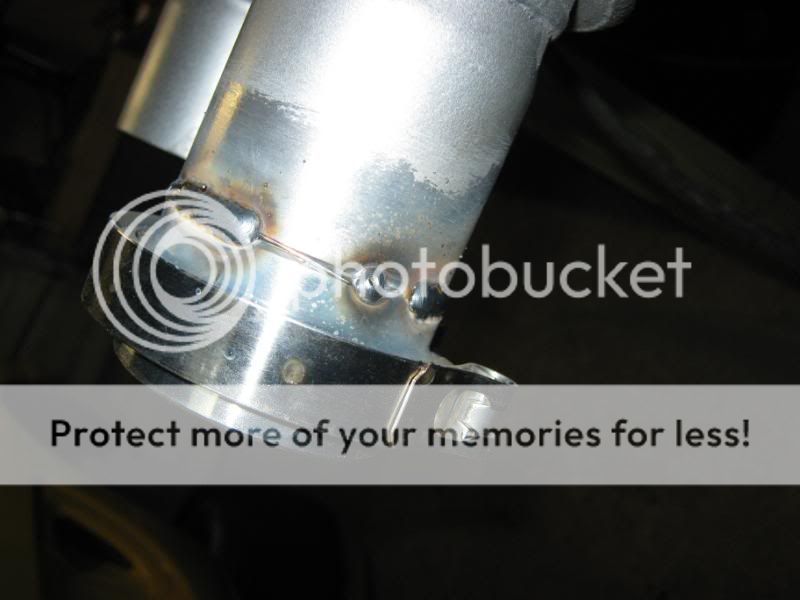
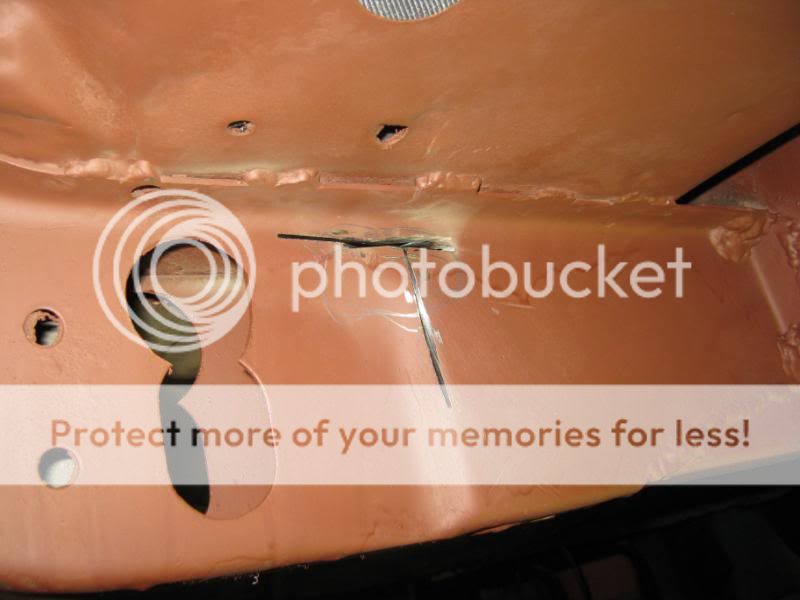
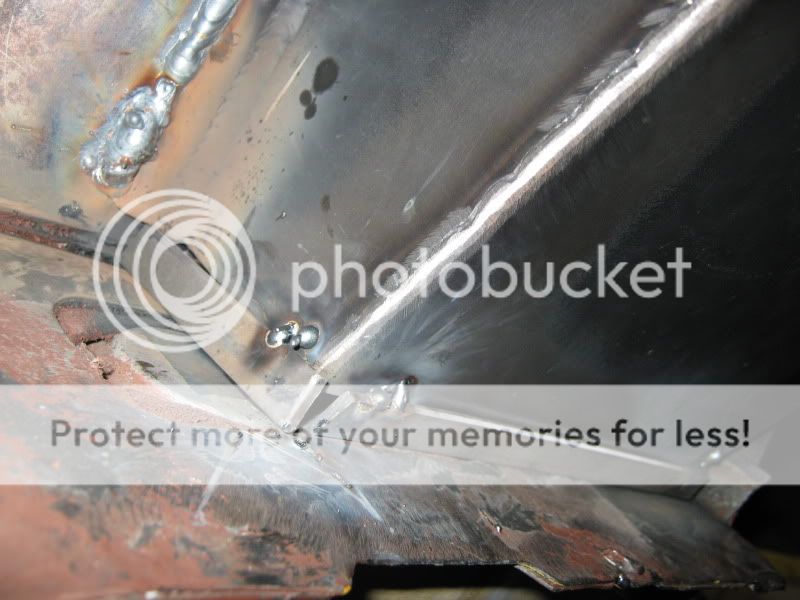
I promised a pic last time of the horizontal cuts.
Tuesday001-2.jpg


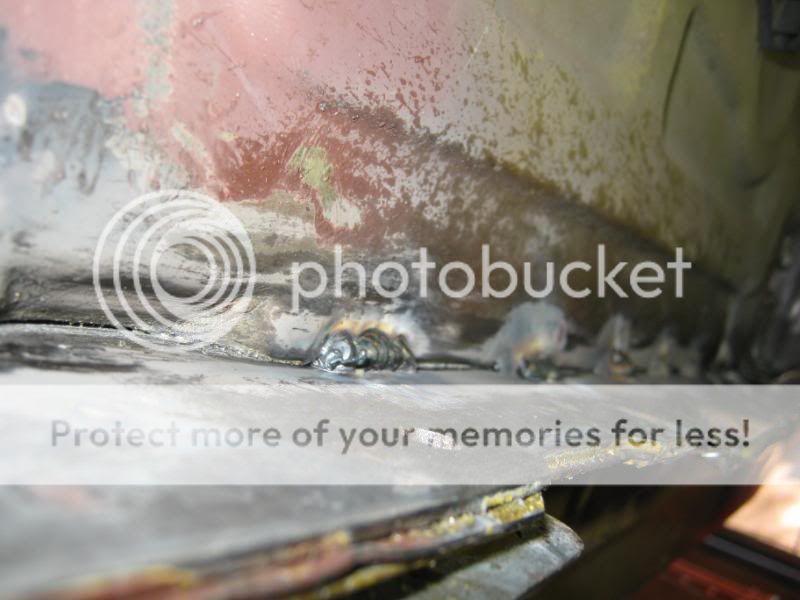
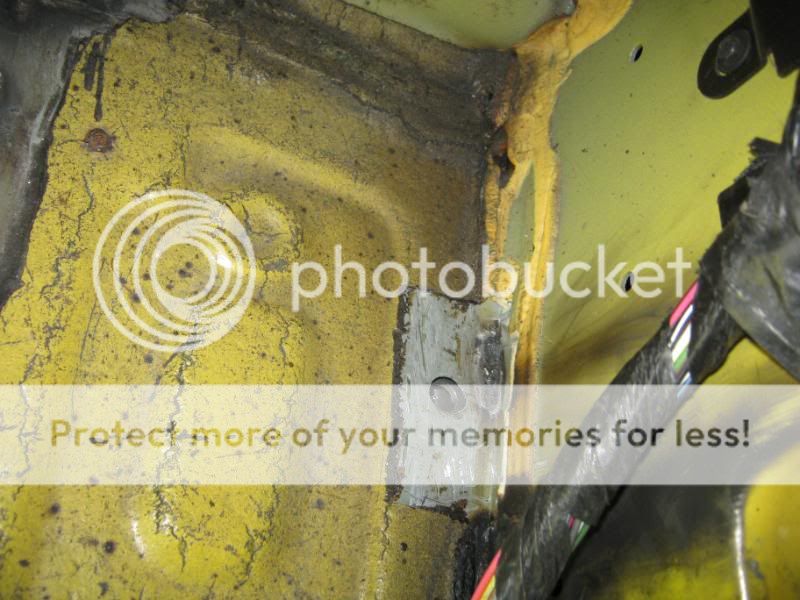
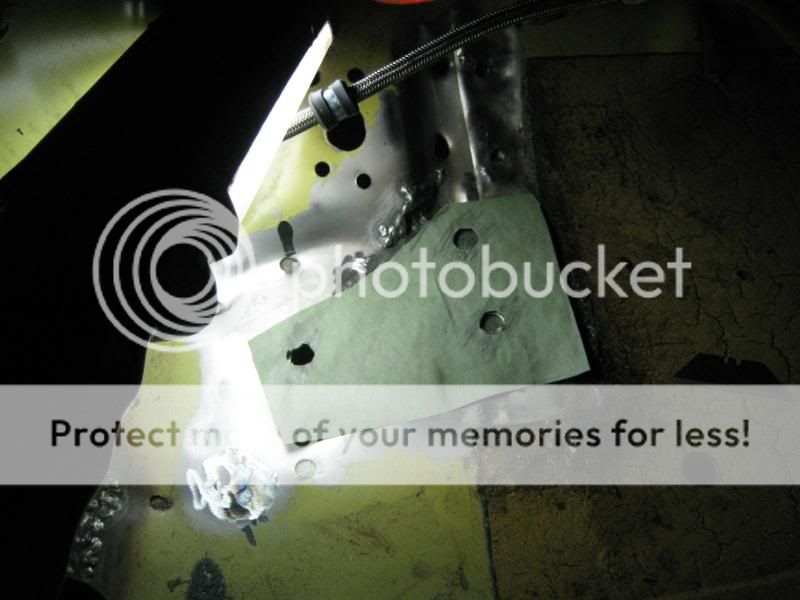
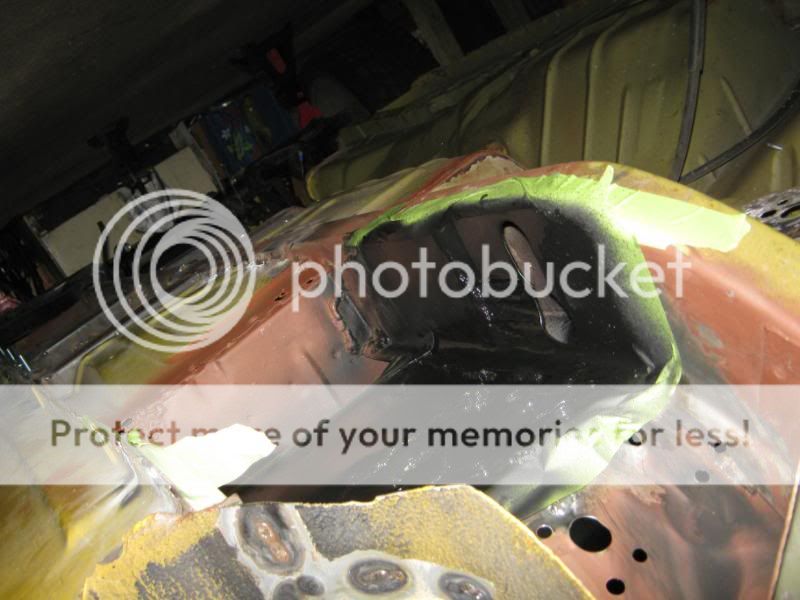
Welded, ground down, put the S-box up and marked the perimeter.
Tuesday002-2.jpg


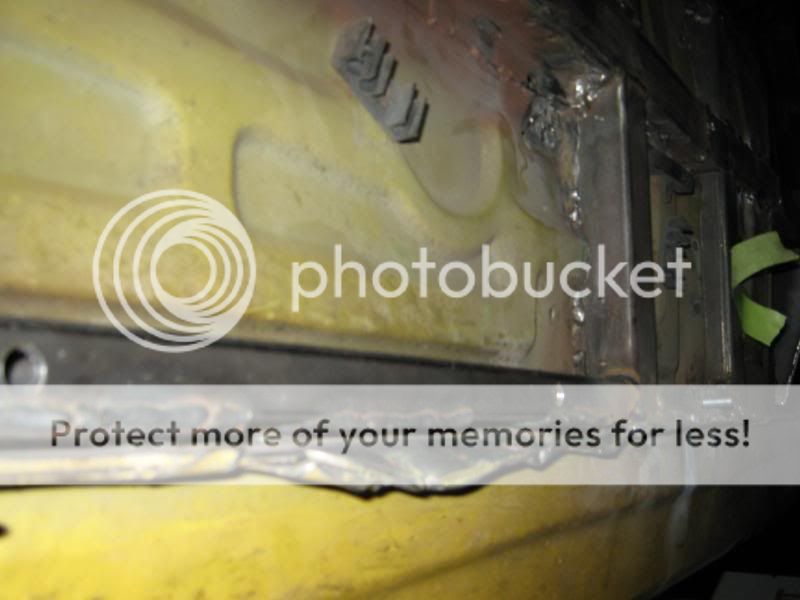
My intention was to tape off the area which would be covered by the S-box and paint it. I then realized I had a lot more welding to do first, between plugging holes that I would never have access to again to welding the top floor plate in. This welding would burn away the new paint and just let rust right back in.
Tuesday003-2.jpg


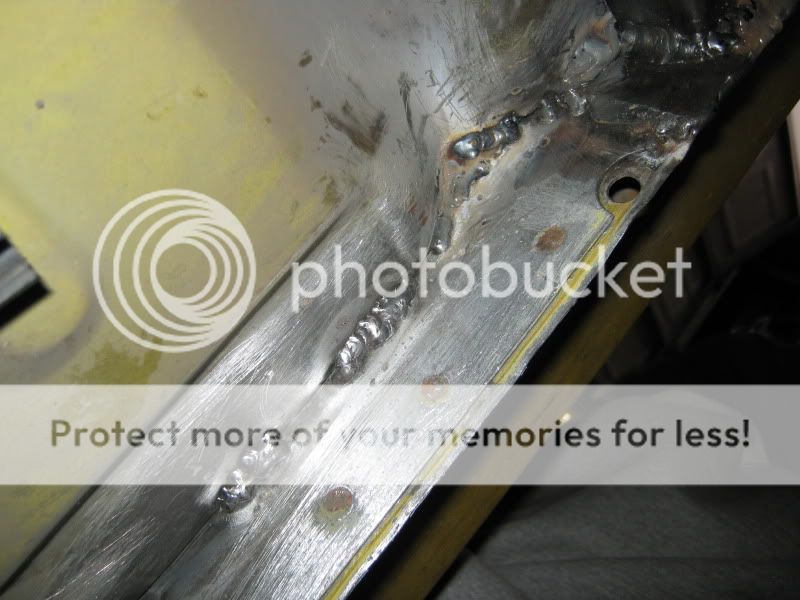
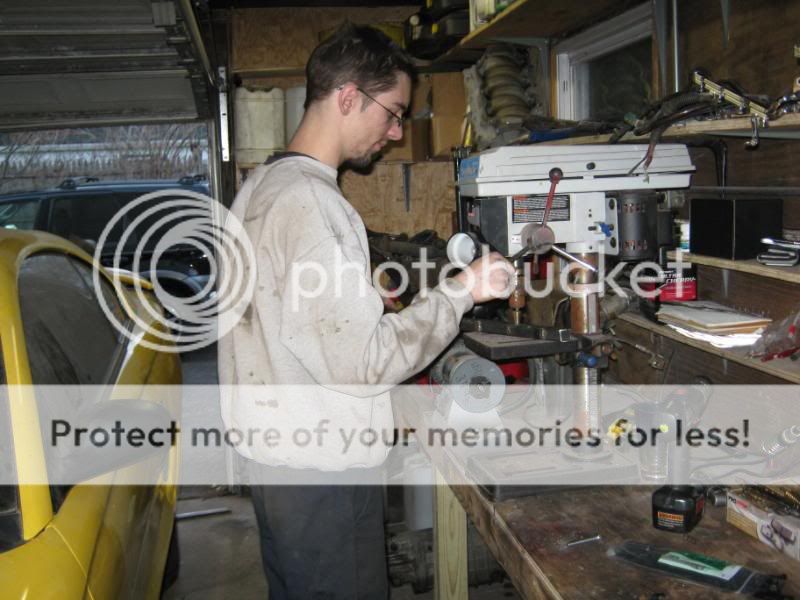
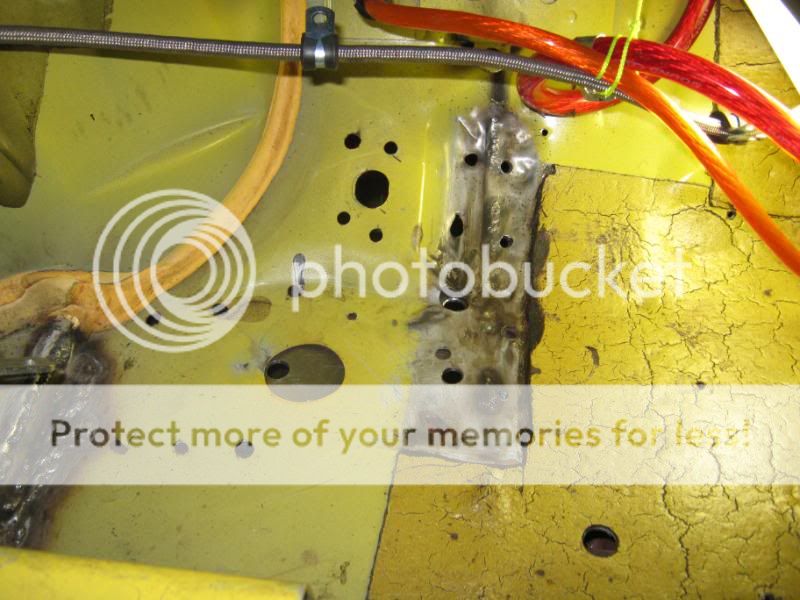
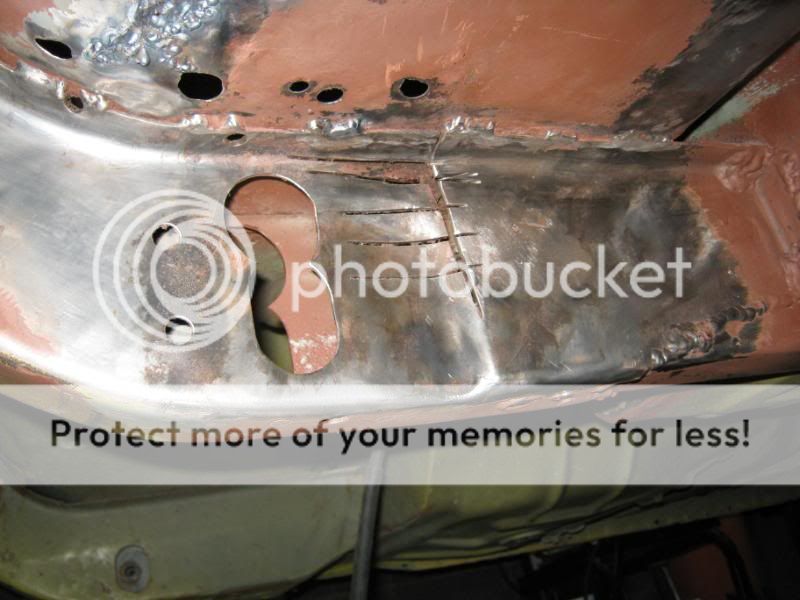
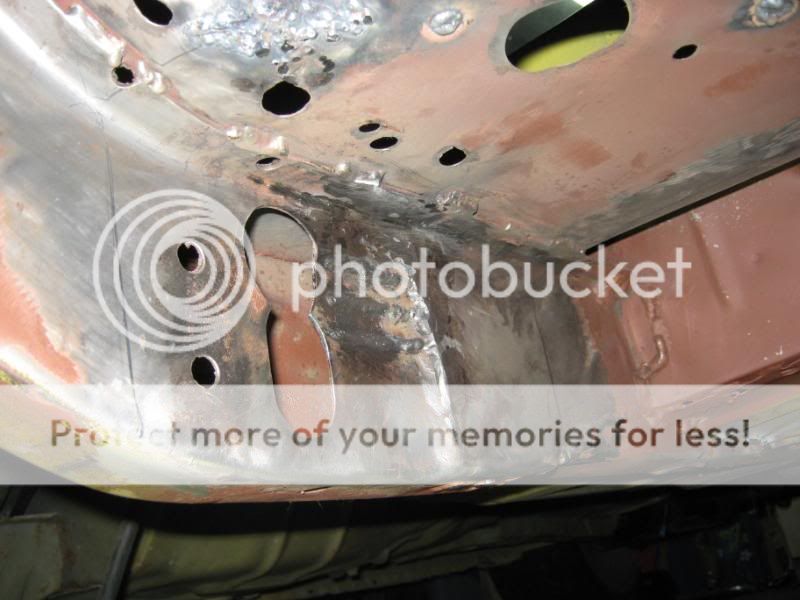
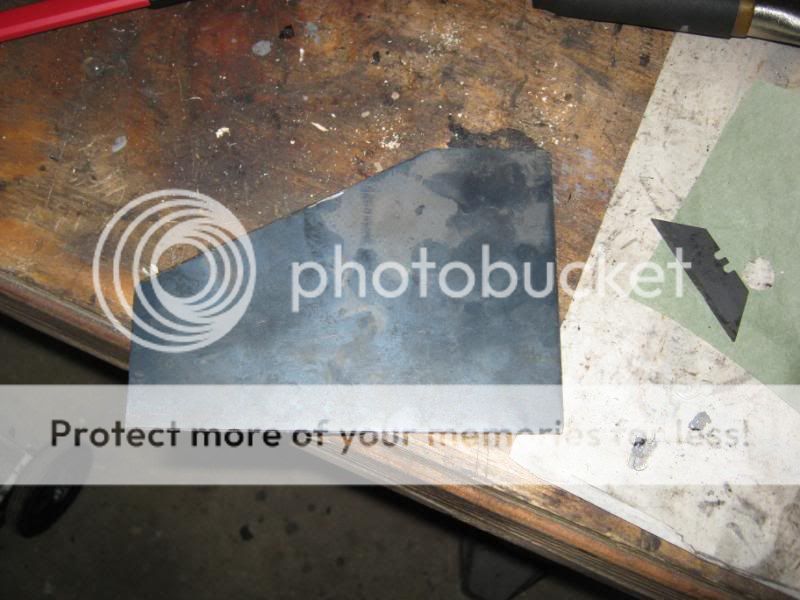
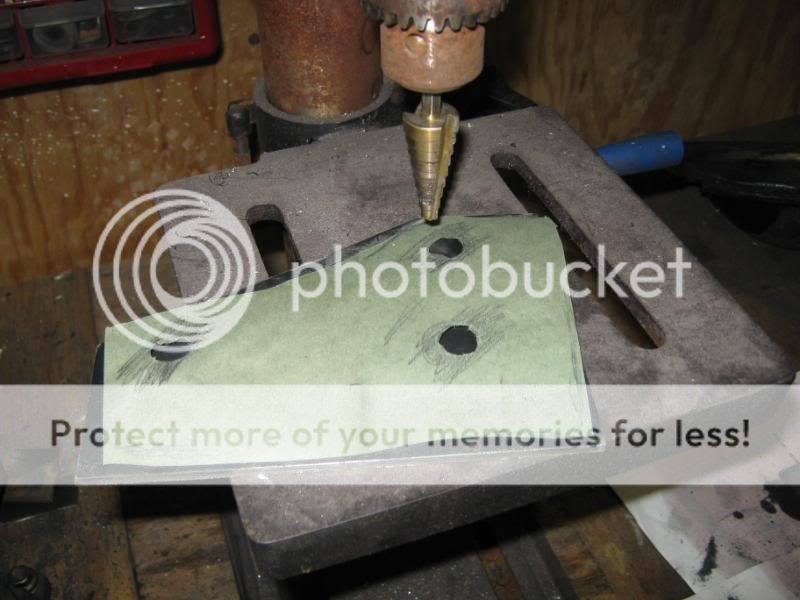
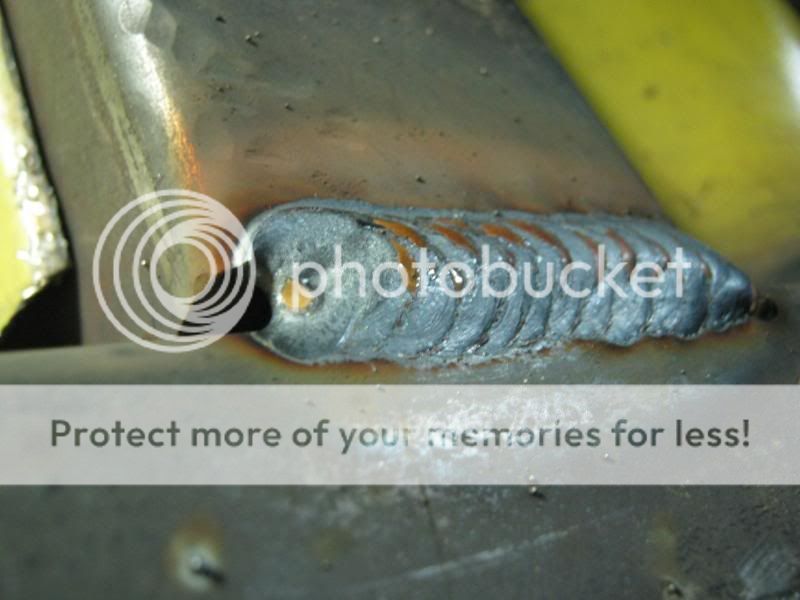
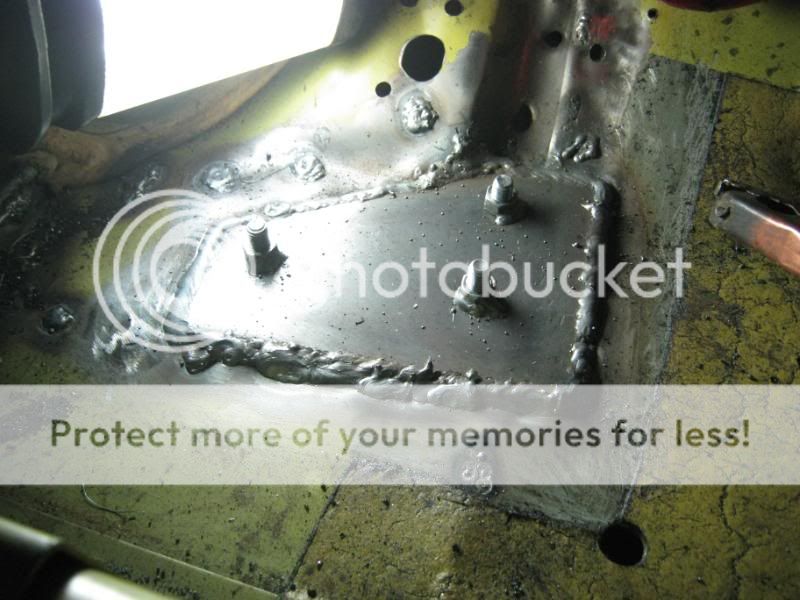
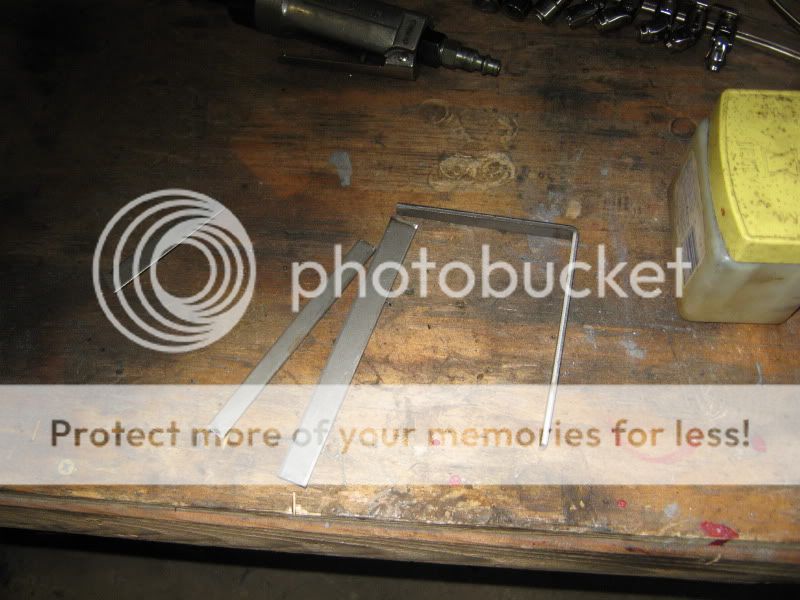
Made my template top floor plate out of paper, transferred to 1/8" plate, drilled the holes on the drill press, tack welded it in, then finish welded it. Man, was it a task welding a 1/8" plate to 22AUG steel (.003" versus .120"). I have been struggling the past two days with my Hobart Hood (helmet) and the auto-dim. The screen is just really foggy. So I ended up switching to an older straight -10 filter helmet and laid down some of the best welds of my life actually being able to see for once.
Tuesday004-2.jpg

Tuesday005-2.jpg

Tuesday006-2.jpg

Tuesday007-2.jpg

Tuesday008-2.jpg

Tuesday0010-2.jpg


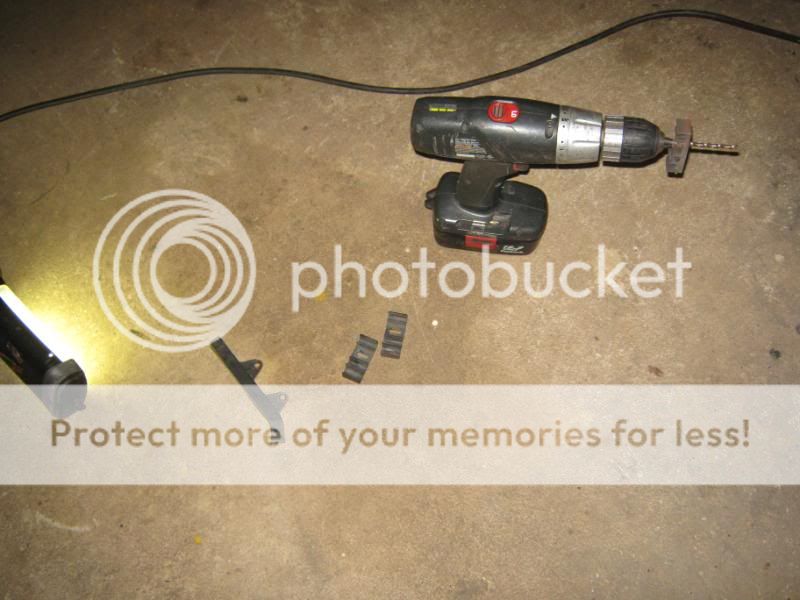
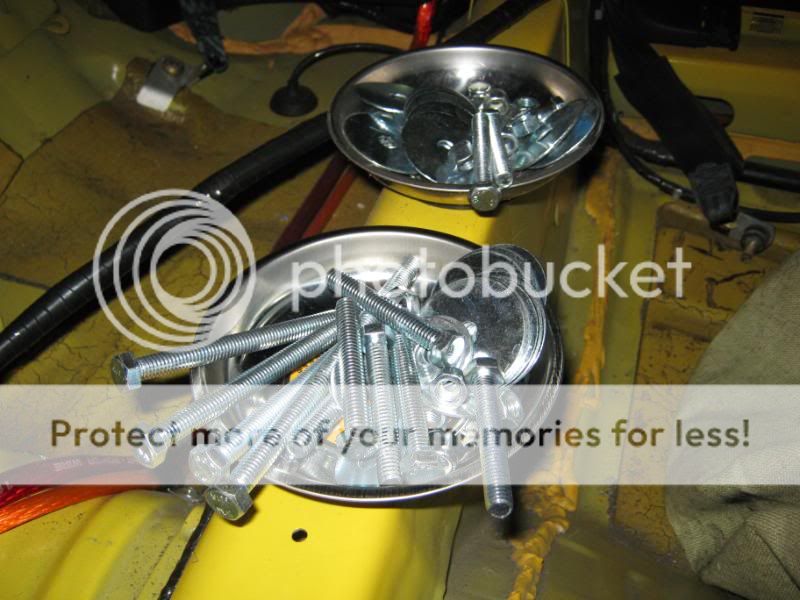
Went to Ace and picked up some more hardware now that I decided which of the hardware I picked the first time I was going to use. At under a half dollar per, I'm having a field day. And bought another metal tray. My wife rolled her eyes.
Tuesday009-2.jpg


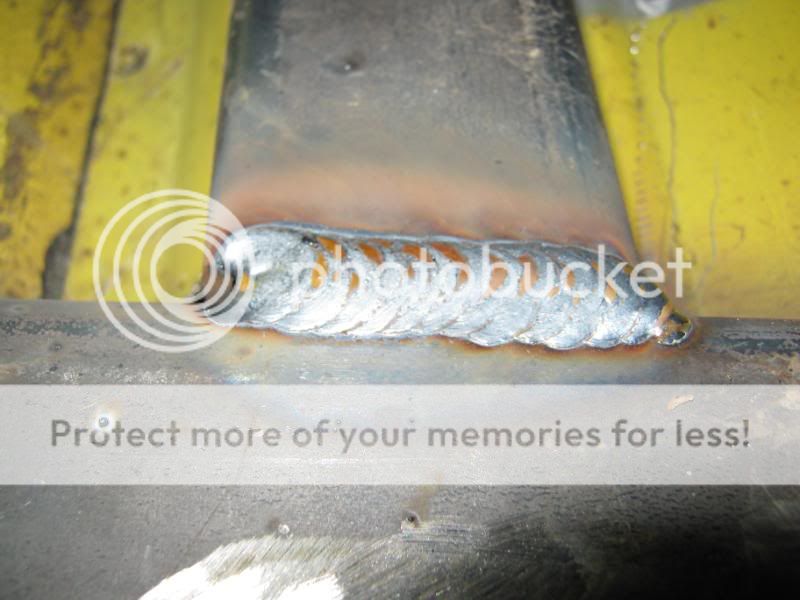
I was saying about the welds.
Tuesday011-2.jpg

Tuesday012-2.jpg


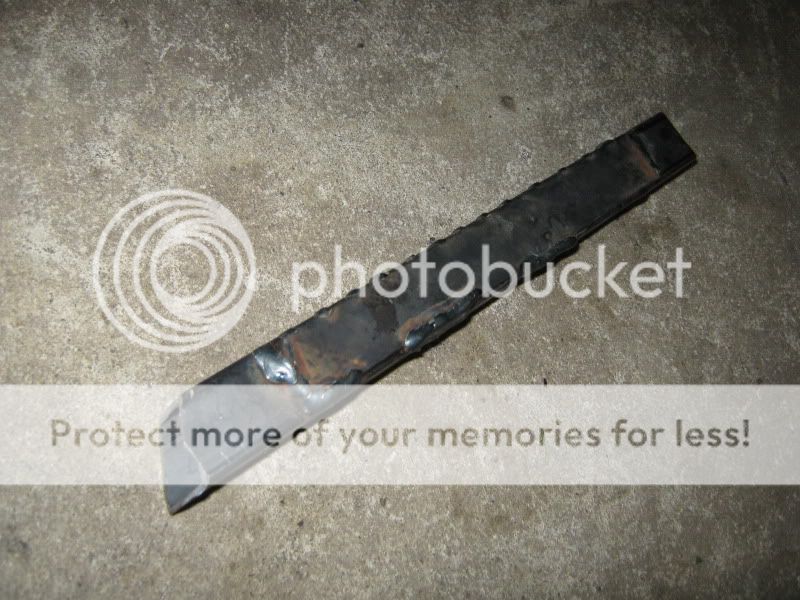
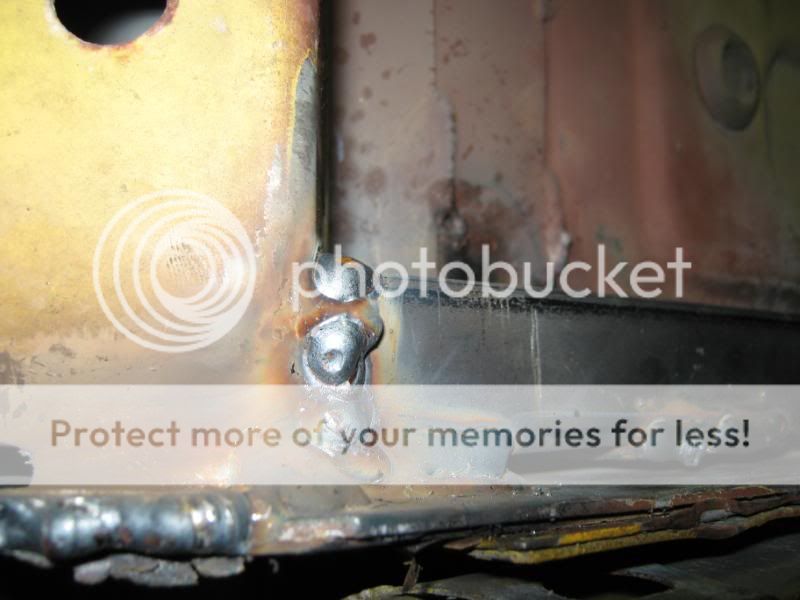
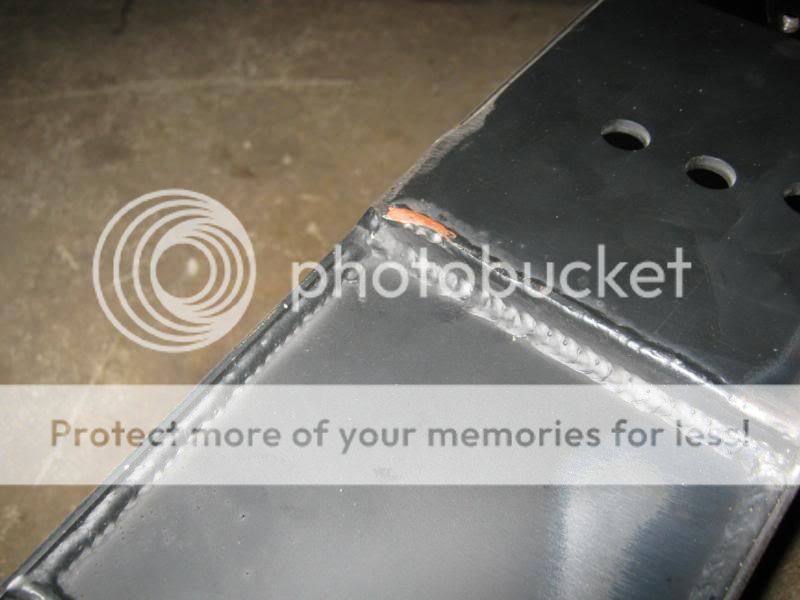
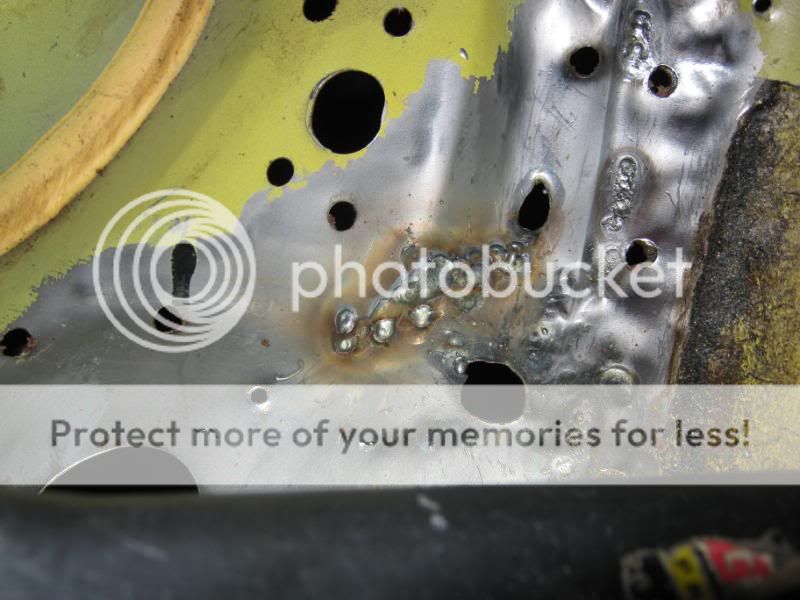
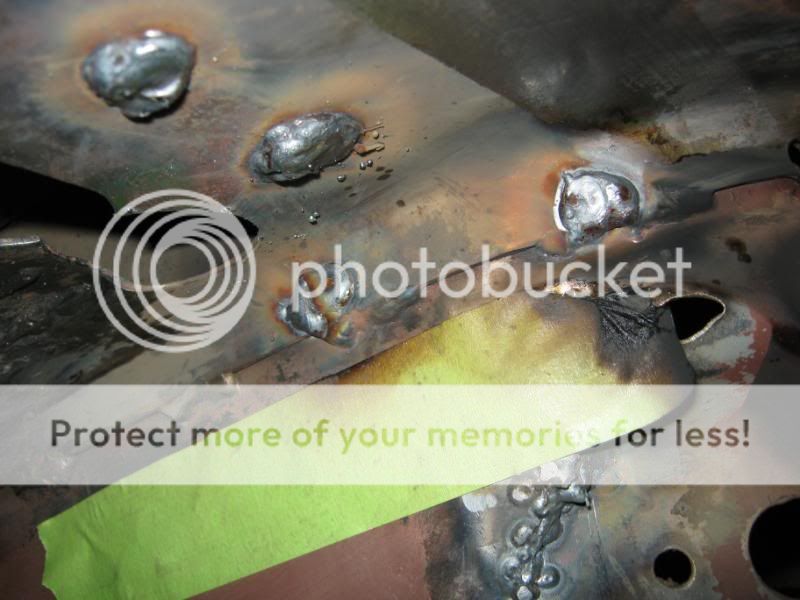
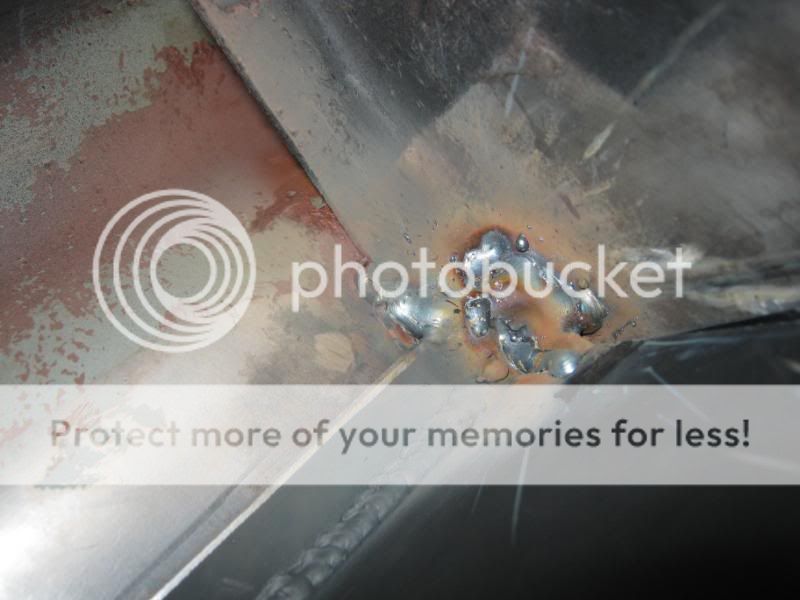
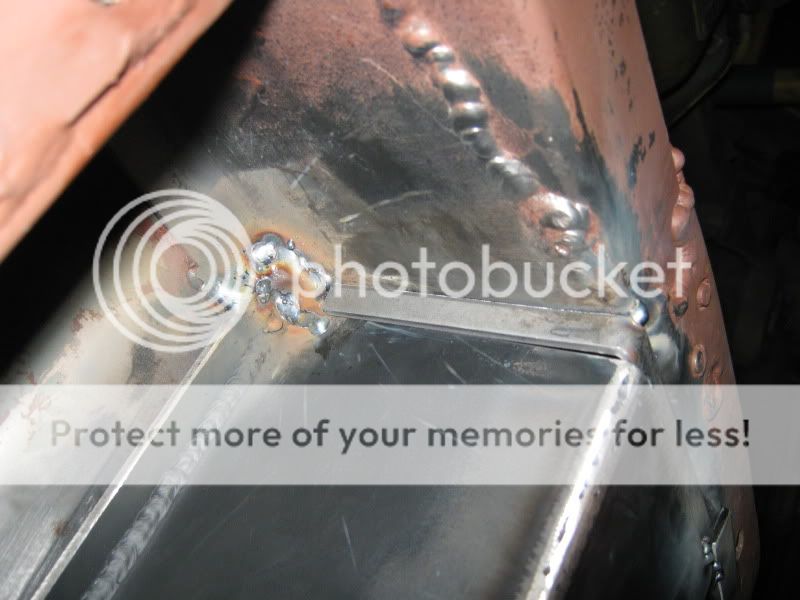
I decided to test on something "easy" to see if I really was making any progression in my skills (or lack thereof). There is still a ton of welding to be done on the seat rails and floor pans everything is just real solid tacked in right now so I did one of the top SFC to seat-rail joints. And I just dropped a bomb on it, I wish all my welds were anywhere near this flat, this consistent. Great penetration, great heat, it even looks nice. Remember when I did the others I had to grind them flat for seat clearance...no grinding this one is so flat. Hopefully I can have more results like this in the future and less rhino snot.
Tuesday013-2.jpg

Tuesday014-2.jpg

Tuesday016-2.jpg


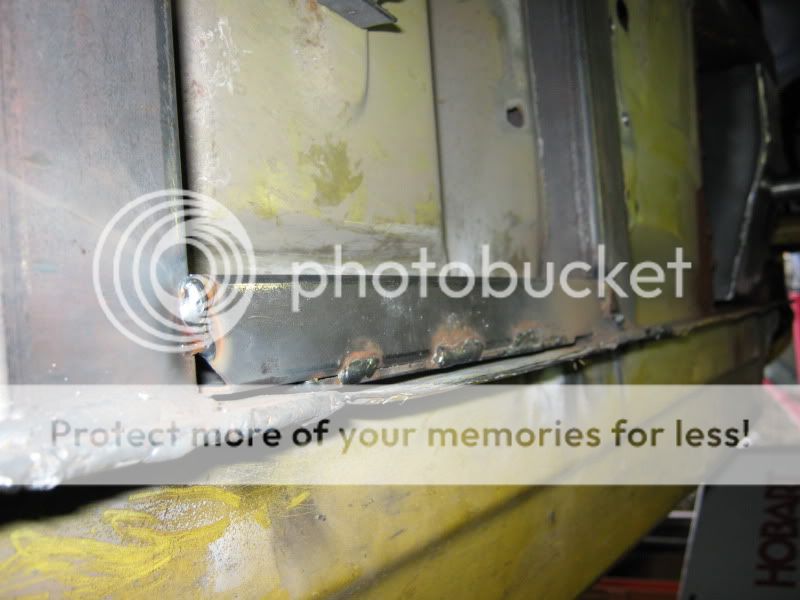
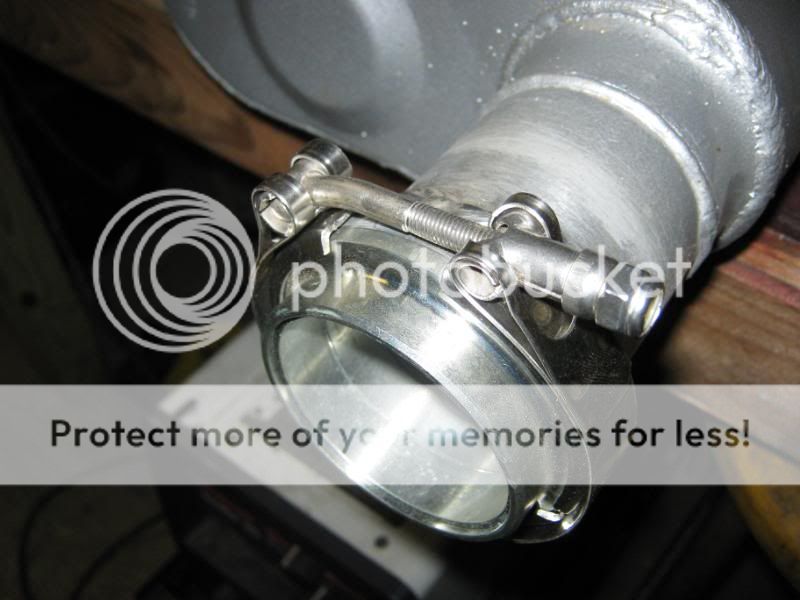
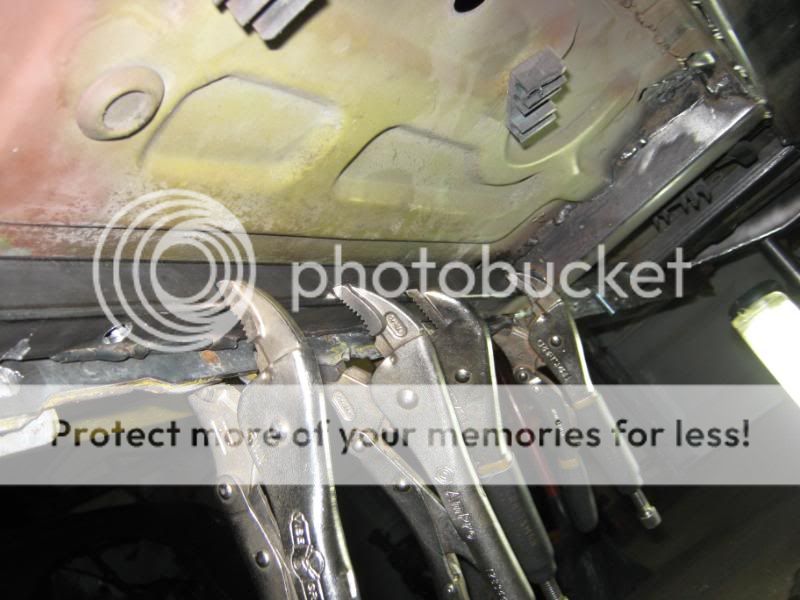
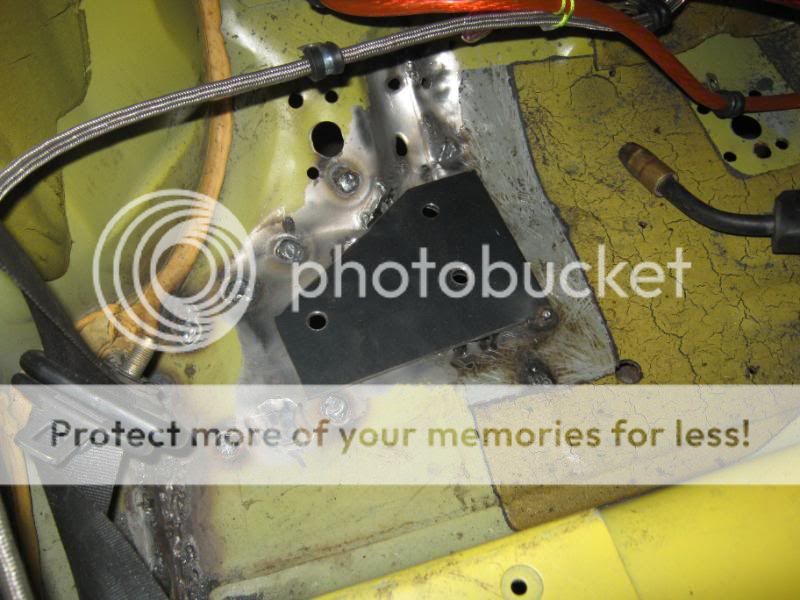
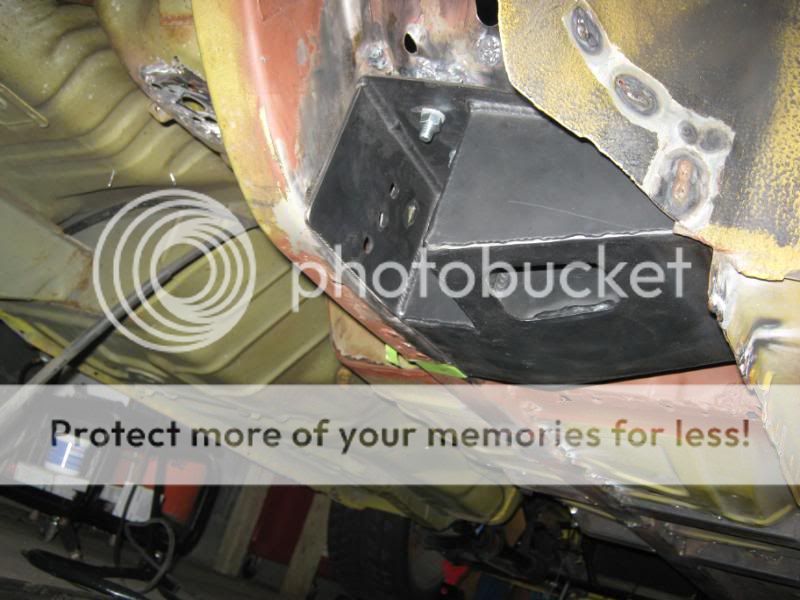
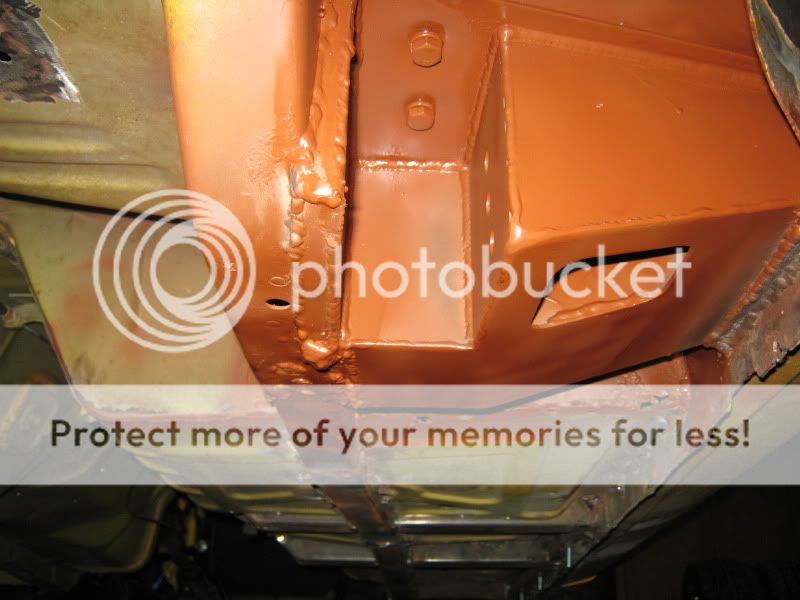
Mounted the S-box for the first time without a jack. Glad I drilled the holes in the plate, floorpan, and S-box two sizes over the bolt size so I had room to muscle it around.
Tuesday019-2.jpg

Tuesday020-2.jpg


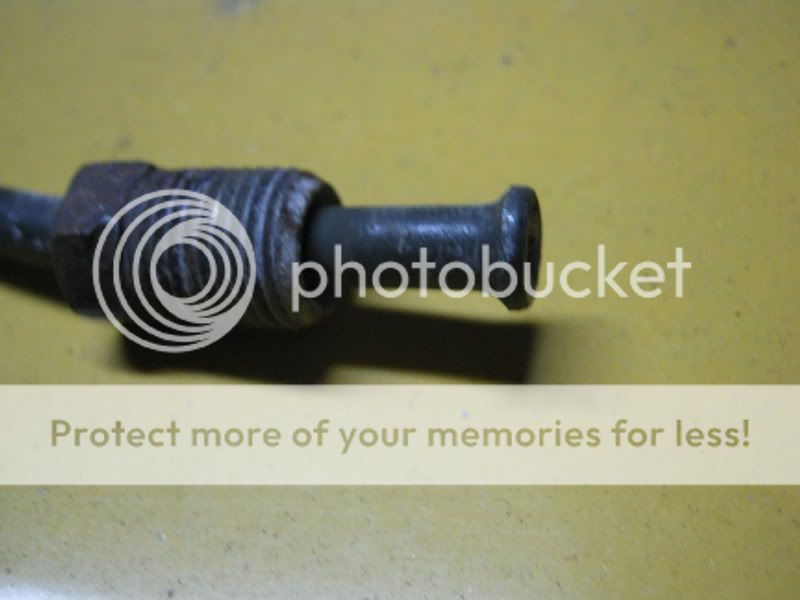
Installed the bolts the opposite way of the directions hoping to be able to tack weld the heads of the bolts to the floor plate...no dice, the hardware comes in too deep and would hit the LCA on the stock or highest setting.
Tuesday018-2.jpg


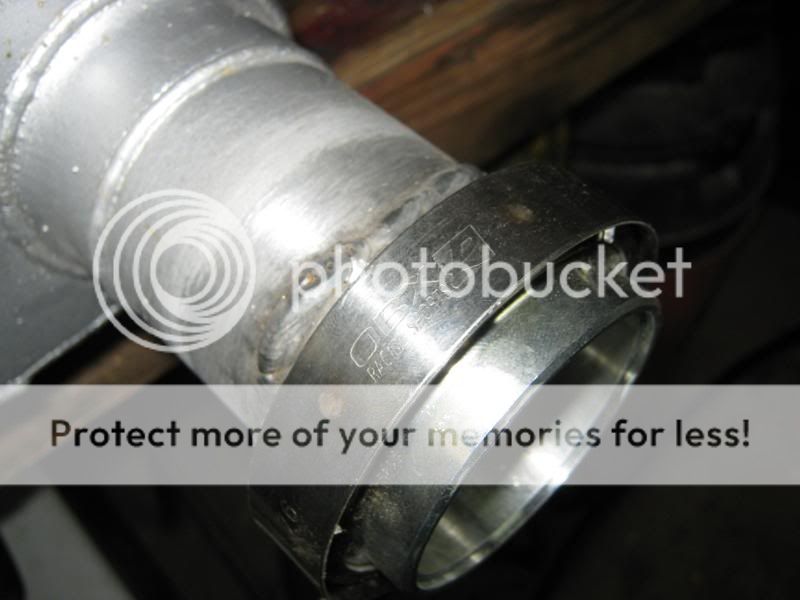
Flipped them, VERY SLOWLY and rotating often tack welded the nuts on just two of the six sides. Worked out good.
Tuesday022-2.jpg

Tuesday024-2.jpg

Tuesday025-2.jpg


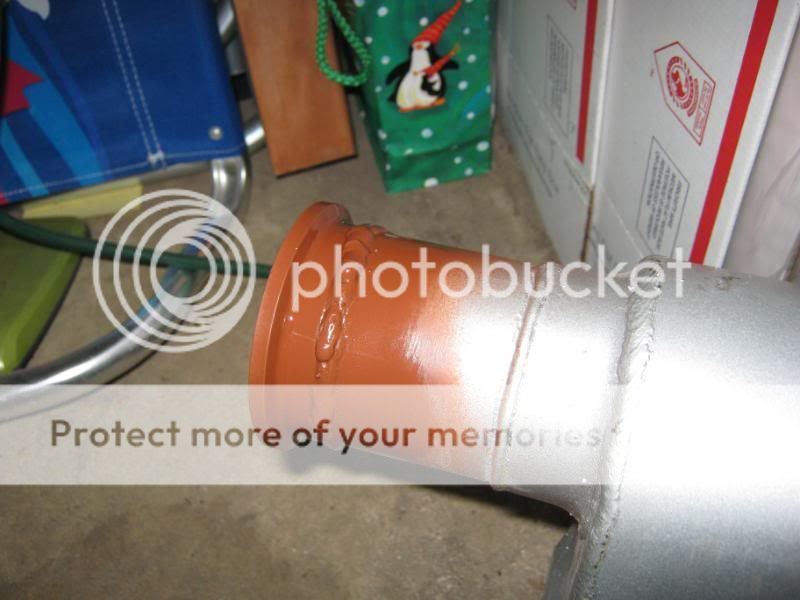
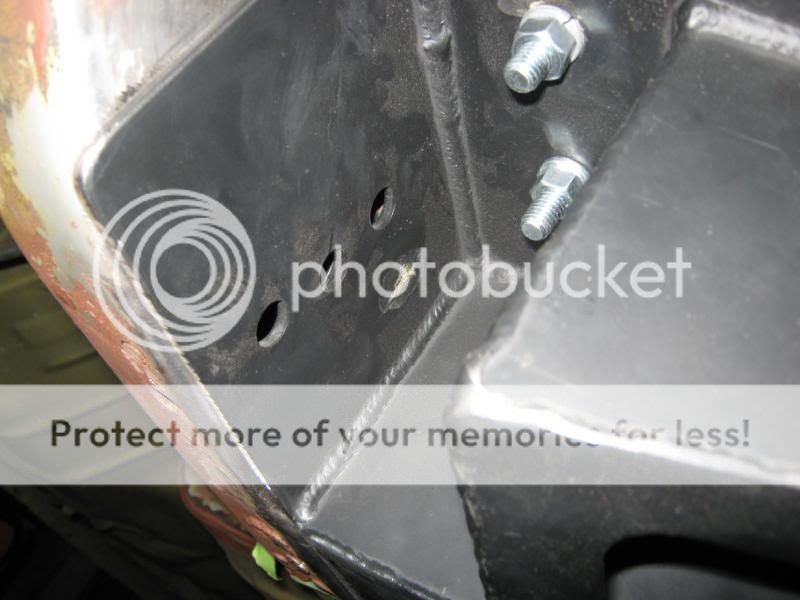
I'm happy with the fitment so I stenciled the outline again. This time with all the holes plugged, ground down, and the top plate welded in.
Tuesday021-2.jpg

Tuesday023-2.jpg


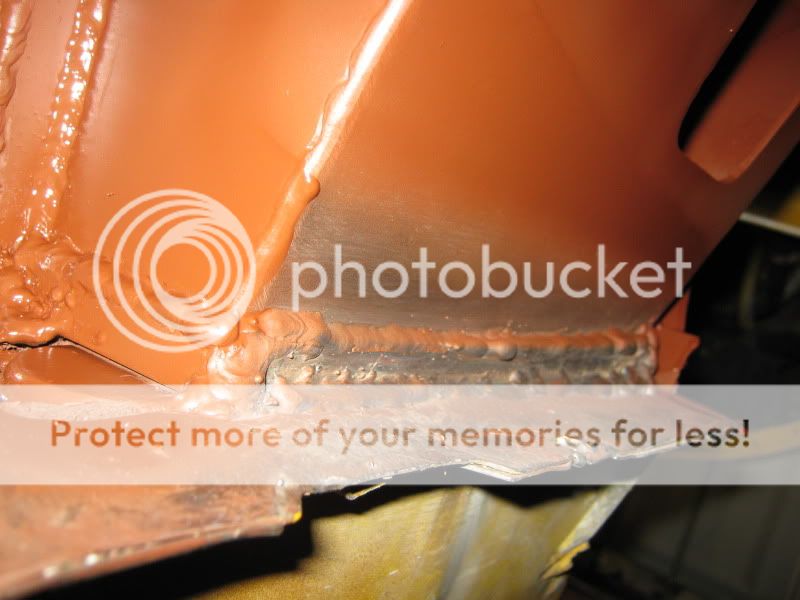
Masking tape, primer, paint. I was going to do my chrome yellow i have in aerosol but this rustoleum black should cover up bad ass and who knows if we're ever going to paint the car. I've never seen a black undercarraige that looked bad.
Tuesday026-2.jpg

Tuesday027-2.jpg

Tuesday033-2.jpg


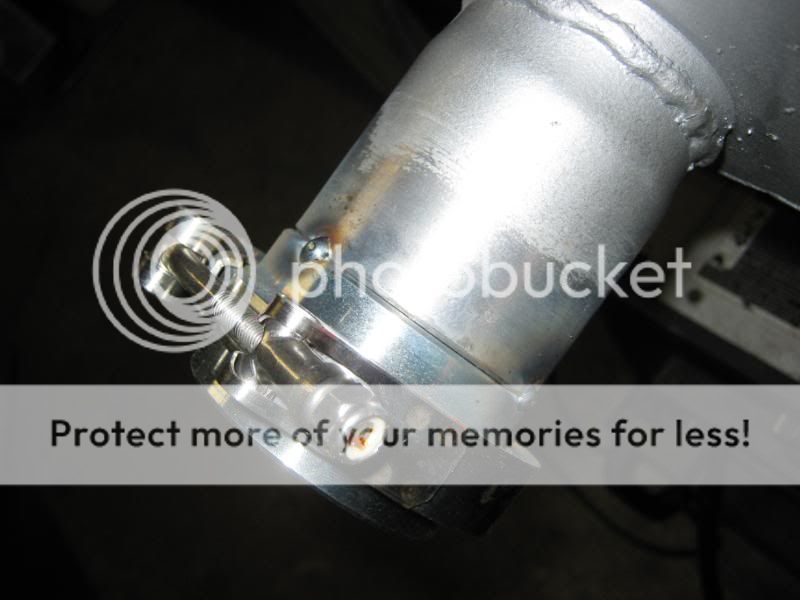
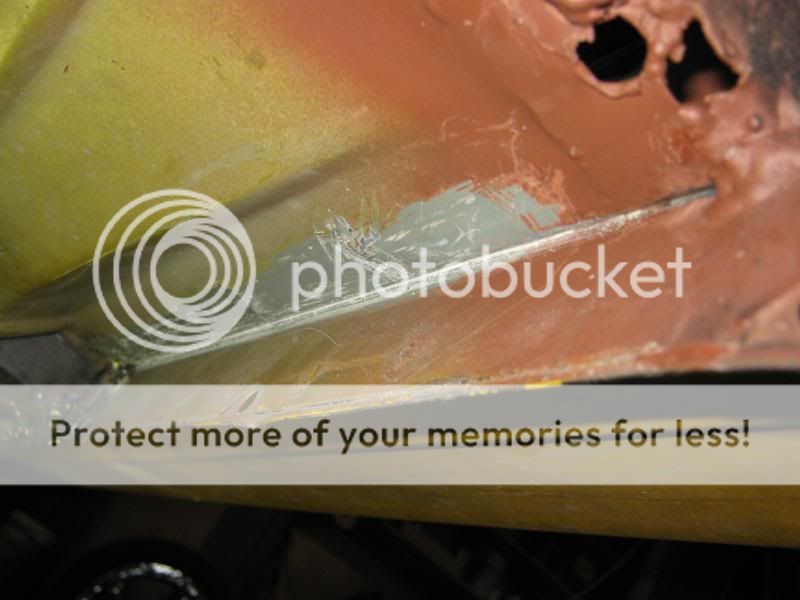
A couple excessive tacks to hold it in place. Bolts do 90% of the work but want to pull one corner up. Not so great welds on my back in tight spots holding the mask with one hand. But they'll hold.
Tuesday035-2.jpg

Tuesday036-2.jpg


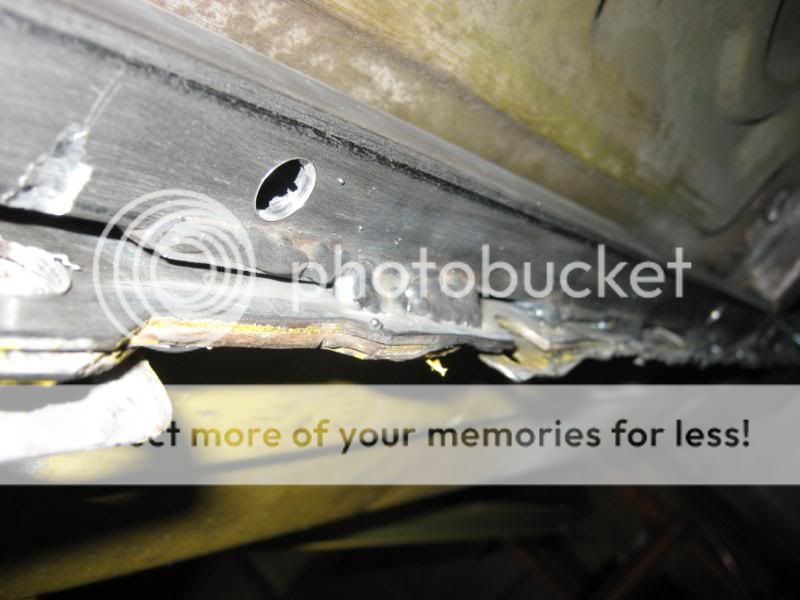
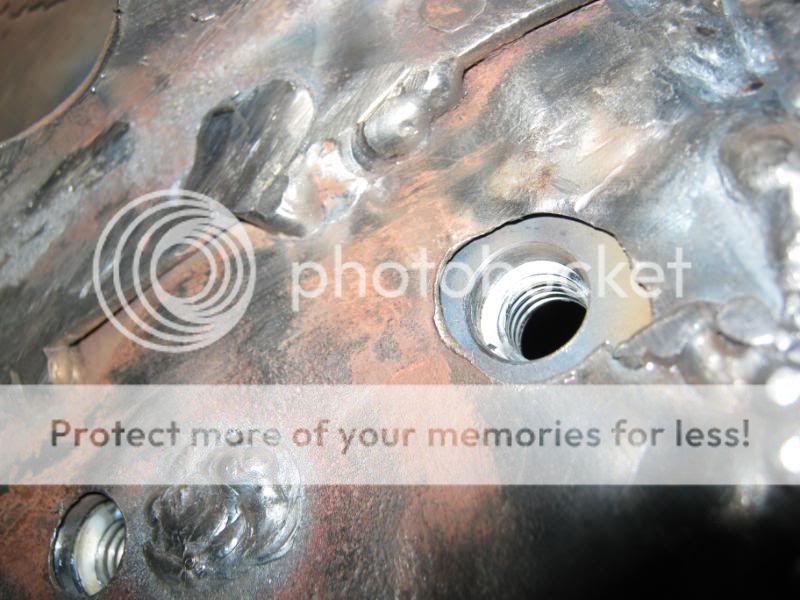
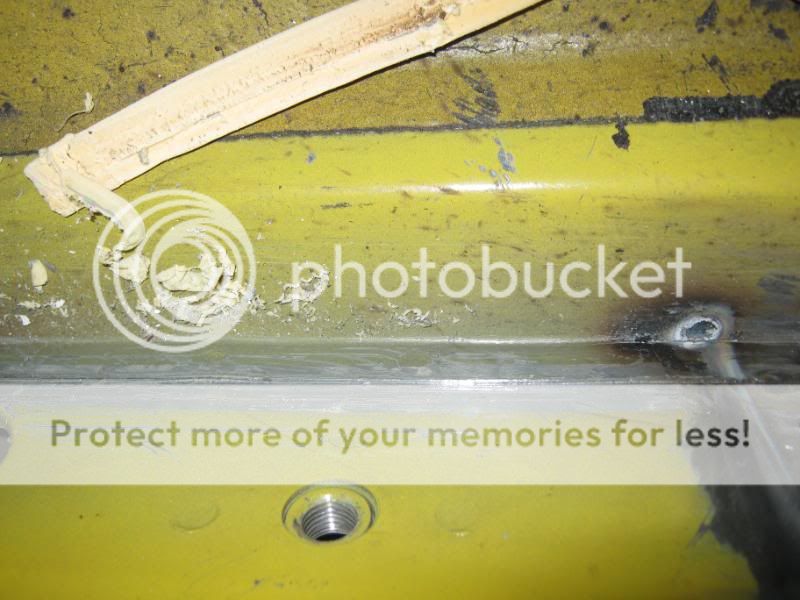
Damn near no gas left, late. Cleaned the seam seal out of the weld top and bottom that goes where the rear most jack rail goes. I was going to stripper, wire wheel them again but decided to take a short cut. If you move really slow, it burns through the paint pretty damn good. Just watch out for those fumes.
Tuesday037-2.jpg

Tuesday034-2.jpg

Tuesday038-2.jpg


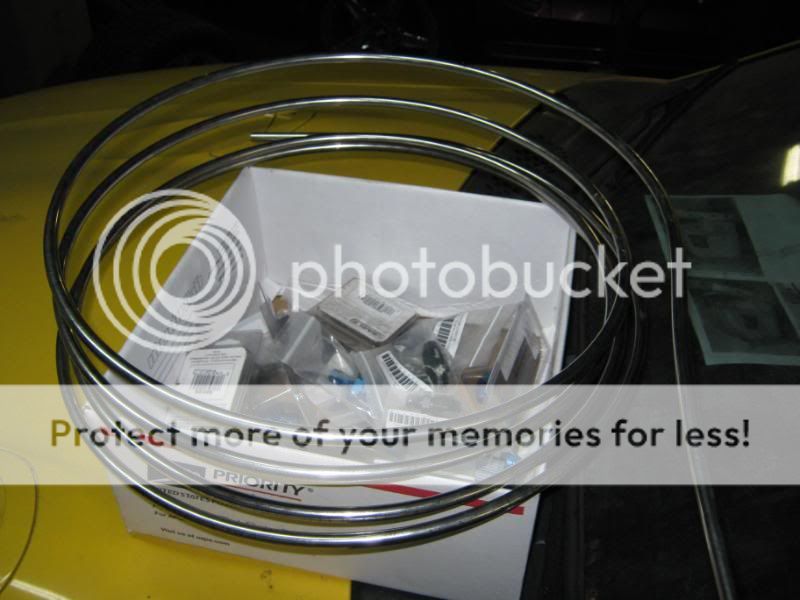
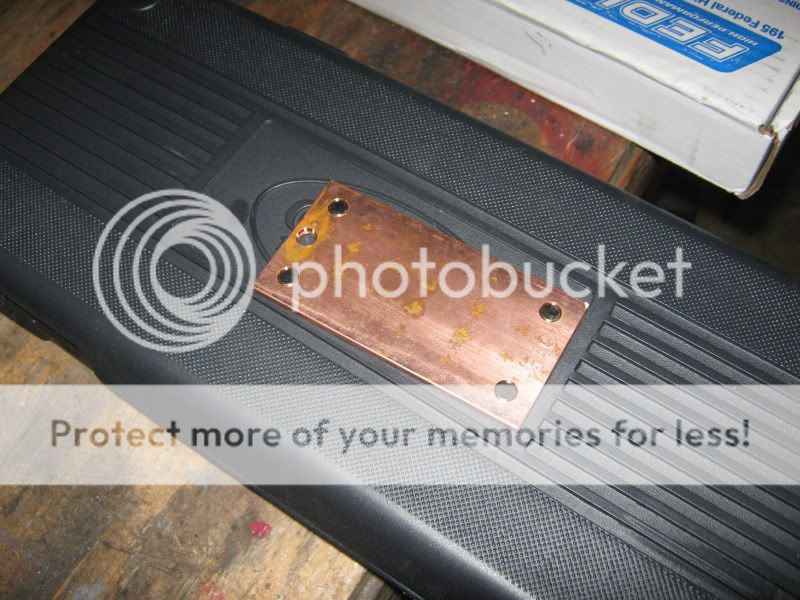
organized some junk in my time left, took another trash run, found some old fuel line stuff I won't have to order now.
Tuesday031-2.jpg

Tuesday032-2.jpg


My goal was to be test fitting the side skirt with the new mounting system by the end of Monday, and we're still finish welding the S-box and installing the rear jack rail away from even a first attempt at fitment. Oh well, an inch at a time, right?
 
OP
OP
9

95PGTTech

Well-Known Member
Joined
May 17, 2007
Messages
1,681
Reaction score
0
I had a lot of non-Cobra things to take care of today, mostly generating more space for tools/car parts and selling/acquisition of new parts. Concerning the Cobra...

New toys. 60cuft C25 tank (long overdue), Fedhill Cunifer brake line and fittings, Eastwood double/bubble flaring tool, welding buddy, and rust dissolver. The combination of the new tool and practicing on softer stock lines really make some scary differences, this tool is worth every penny. I can't wait to try it on the relatively soft as butter Cunifer line. My cylinder head changing kit also came in the other day but I don't think I got a pic - most cost effective way of getting stock head bolts.
Friday003-2.jpg

Friday004-2.jpg

Friday005-2.jpg

Friday006-2.jpg

Friday007-2.jpg

Friday008-1.jpg

Friday009-2.jpg

Friday010-2.jpg

Friday011-1.jpg


My minimal on the car progress is pretty easy to sum up. Step 1: cut fillers.
Friday026-1.jpg


Step 2: weld fillers
Friday027-1.jpg

Friday028-1.jpg

Friday029.jpg


Step 3: primer everything but what the rear jack rail is going to be welded to.
Friday044-1.jpg

Friday045-1.jpg

Friday046-1.jpg

Friday047-1.jpg

Friday048-1.jpg

Friday049-1.jpg


Next time is Monday. Sell more crap. Ship some crap. Figure out that rear jack rail tube and hopefully even test fit the side skirt.
 

MustangChris

Post Whore
SN95 Supporter
Joined
Aug 20, 2008
Messages
27,425
Reaction score
910
Location
Aurora, CO
if you haent opened the head swap kit, i have a used one for sale if you want to return yours and buy mine for cheep.

Ford OEM romeo head bolts. brand new. its for 2v head swap, so im not sure if there are the same number/specs as cobra stuff, but i figured i would throw that out there for ya.


nice progress. those lines look great!
 
OP
OP
9

95PGTTech

Well-Known Member
Joined
May 17, 2007
Messages
1,681
Reaction score
0
the 2v and 4v head changing kits are different. thanks though.
 
OP
OP
9

95PGTTech

Well-Known Member
Joined
May 17, 2007
Messages
1,681
Reaction score
0
Terrible week. Stayed home Monday and Tuesday, today I got very little done on the car. Lots done this week in terms of Adam's car, around the house, selling, buying, etc. other stuff though.

The rear jack rail is ready to be put in. 28", leveled, cut to clear some welds, spaced out with the 1/8" plate like the others. Capped the end to get a decent seal hopefully.

IMG_0720.jpg
 
OP
OP
9

95PGTTech

Well-Known Member
Joined
May 17, 2007
Messages
1,681
Reaction score
0
Been awhile. Life.

Got the rear tube in today. Mostly helped my friend on his car and cleaned up the garage. Trying to get on a consistent schedule again to make a push to get this finished.

IMG_0727.jpg

IMG_0734.jpg


It took a bit more fitment to get it where I wanted but now it's square and level.
I'll use this filler strip tomorrow to join it to the lower S-box.

IMG_0736.jpg
 

Latest posts

Forum statistics

Threads
77,542
Messages
1,504,619
Members
15,004
Latest member
rjac

Members online

Top