OP
OP
9838stang
Well-Known Member
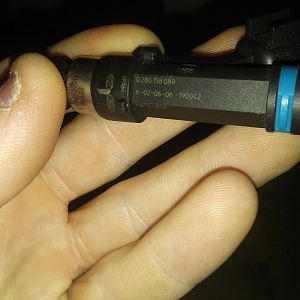
I have bi xenon HIDs now. So I am going to reuse my ballasts and harness with the projectors

i saved 5 whole bucks on them and i also got the bulbs way cheaper too. if the bulbs fail no big deal i just want to see how it all looks. when done


Do you remember what brand lights these are and/or where you got them. I just destroyed mine earlier robbing trying to separate them an the bulb shroud would also have been in the way of the projector.
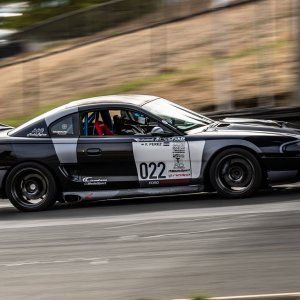
Hmm this is interesting. My cousin has a new accord he keeps putting different setups of projectors in. I never really understood the point but looking at them on the stangs I can see why. Looks pretty neat.