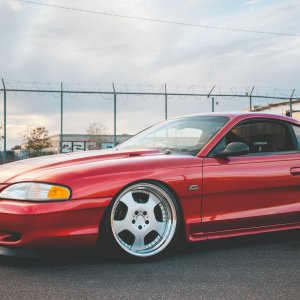
today I went over and got my Dad from the nursing home. he is still able to get out and about, and although he has very little endurance these days, he is still the best mechanic I know. So I brought him over to "supervise" some work on the vert. I really wish I had come up with a better title for my thread now. it was kind of tongue in cheek when I did it, but I am liking this car so much now that I feel like I am insulting my buddy lol. anyway onward and well, onward.
first thing I did was to paint my door hinges. It looks unlikely that I will get those swapped this weekend, but we will see.

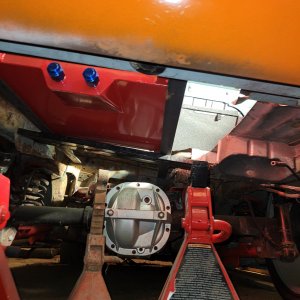
then I put the car on the lift, pulled the wheels off and started removing the rear control arms. first I supported the axle with my screw jacks. then unbolted the shocks in the trunk. then removed the rear sway bar and swapped the speed nuts to the other direction as they say to do on the LMR website. then I sanded it down and painted it with vht black paint.
then I removed the shocks, and the springs, and tried to remove the bolts from the lower control arm.
and this is when things started down the typical murphy path every project I do seems to follow lol. now in the video they just unbolted the lower control arms and they came right out, but that was not how it went for me lol. the bolts had seized inside the sleeves of course. just like trying to remove the leaf springs on my 65. what a pain in the butt. I ended up having to cut the heads of the bolts off with a 4 inch angle grinder and then drive them out with an air hammer. but I finally got them out. both sides had to be cut out like that. the upper part came out easier. so once I removed the lower control arms I cleaned up the mounting brackets with brake cleaner and a steel brush then painted them with rustoleum gloss black. then after that dried we put the new lower control arms in place. then removed the uppers and put them in place. everything went fine until the last control arm. for some reason the last metal tube that went inside the upper bushing was 1/4 inch longer than all of the others. now I know the later model cars had a larger bolt and sleeve, and this one was the correct one, it was just too long. so I had to cut it off a bit to get it to fit. once I had massaged all that and finally got the upper control arms in I put the new lowering springs in.
here is a little tip for anyone doing this. it is probably obvious to everyone but me lol. anyway when putting the new springs in, I dropped the screw jacks all the way out and tried to put the new springs in, It was a struggle until I got smart and put the screw jack back in on the opposite side and lifted the opposite side up, that dropped the side I was working on enough to get the new spring and isolater in easily. then repeat on the other side.
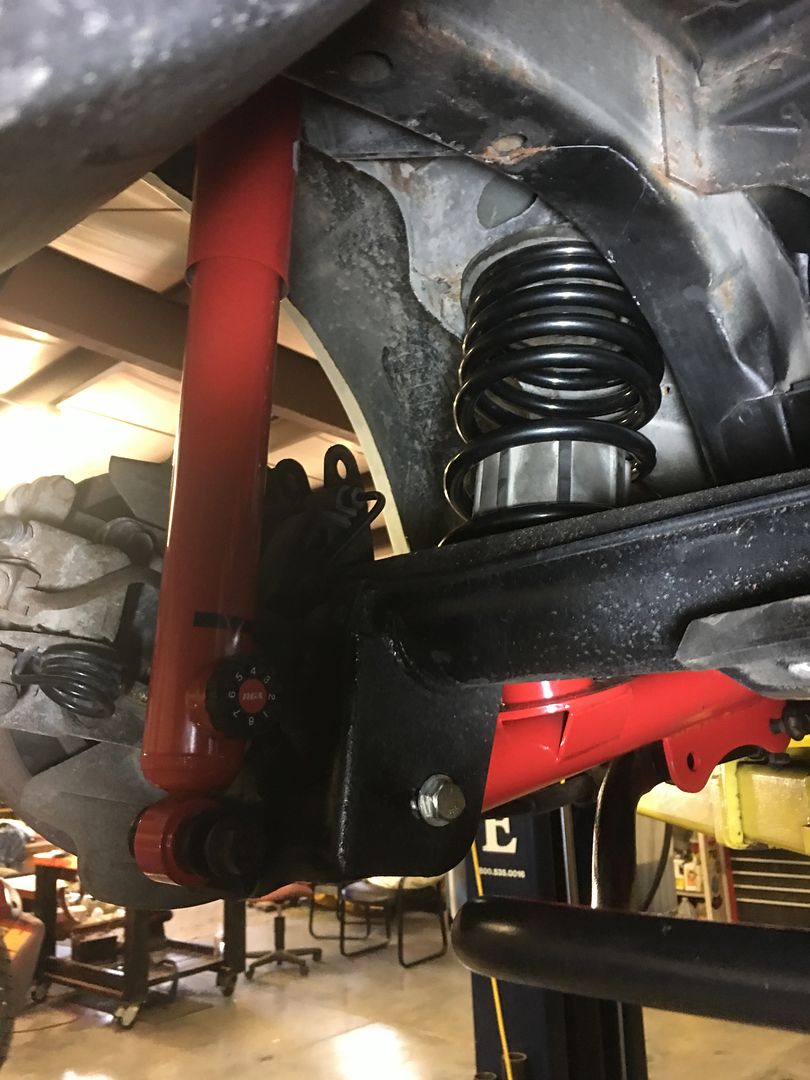
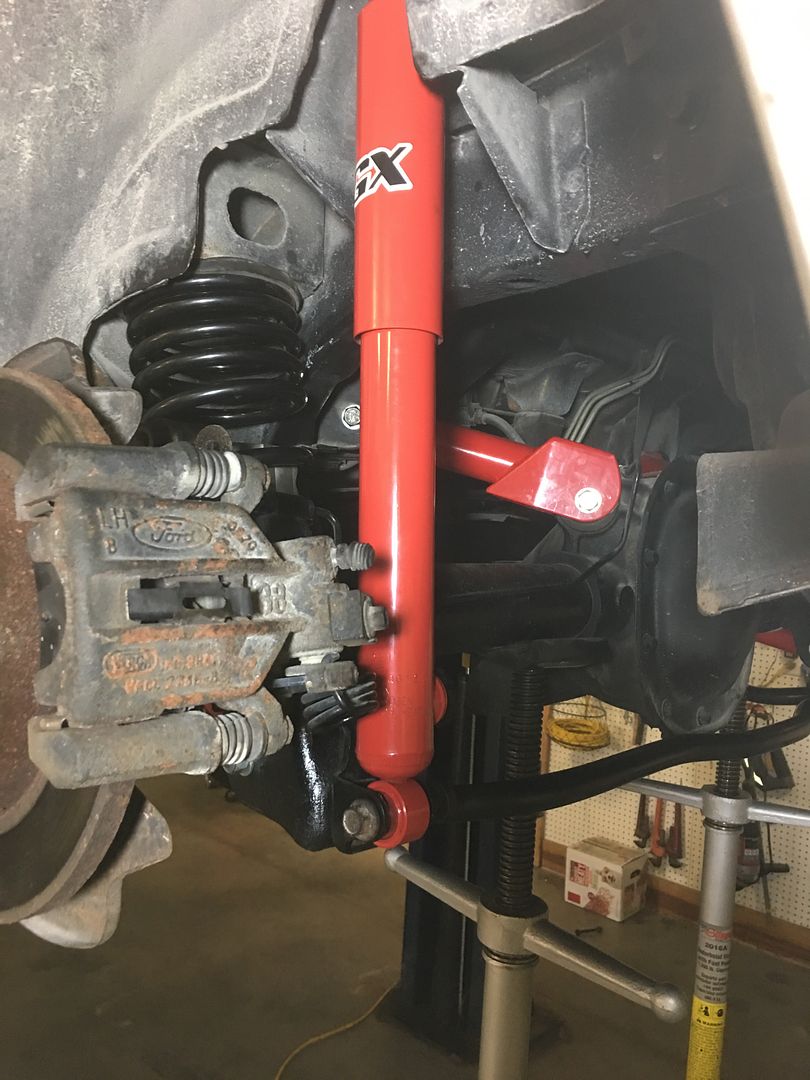
after that I installed the new kyb agx adjustable shock and the sway bar. the instructions do not tell you how the heck you are supposed to mount the emergency brake bracket back to the sway bar mount now that the bolt is coming from the other side. There did not seem to be enough threads coming through to get a nylock nut on there so I went to orshelins and bought a couple longer 10mm bolts and nylock nuts and that worked perfectly.
then I removed the pinion snubber bracket and removed the old snubber from the bracket.

then powder cleaned and powder coated the bracket and installed the new snubber.

bolted it back in. torqued everything but the bottom bolts on lower control arms to 60 foot pounds. put the wheels back on and dropped it on the ground to torque the lower control arms to 60 footpounds.
and finally I am done. with that part. tomorrow I will tackle the front. hopefully it will go a bit smoother, but knowing me I will not be holding my breath.