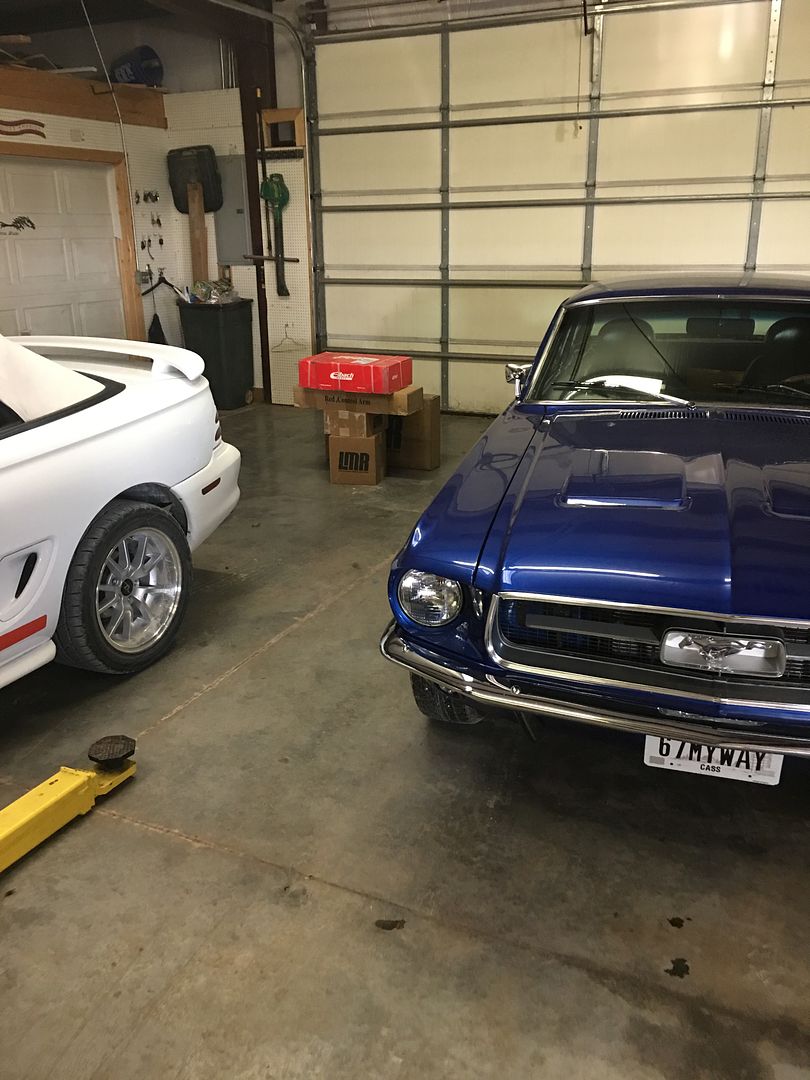
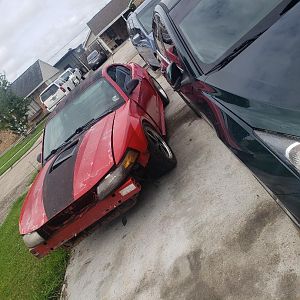
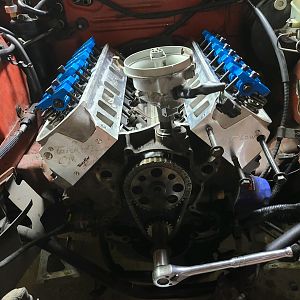
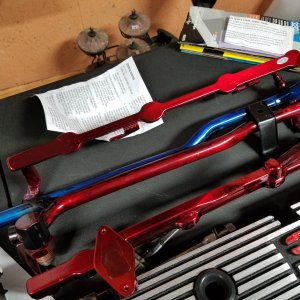
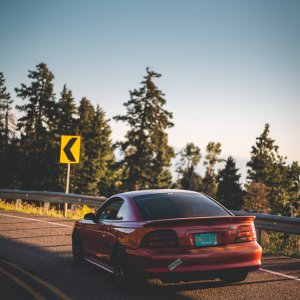
the slow white guy build.

OP
OP
mustanggarage

mustanggarage

New Member
Joined
Sep 2, 2016
Messages
57
Reaction score
0
Location
Iowa
yes it looks like the kits they sell with the matched shocks and springs etc. are for the coupes because of the spring rates. Eibach has a kit for convertibles, other than that it looks like you buy the springs you want and the shocks and struts should work interchangeably. I may just put the lower control arms on for now because the rear suspension is binding and I really need to fix that problem I don't really want to spend as much money as I really need to, to get what I want so rather than going with something cheaper now that I will not be happy with I think I will just wait until I feel I can spend the money to do it right. I have already spent a significant amount of money on this car the last couple months since I got it. and besides I will need something to do this winter. in the mean time I also ordered some new hinges for the drivers door. the bushings are worn and it sags a bit. thanks for the advice.
 
OP
OP
mustanggarage

mustanggarage

New Member
Joined
Sep 2, 2016
Messages
57
Reaction score
0
Location
Iowa
well I suck. I can't stick to a budget to save my soul lol. I went ahead and ordered some ford motorsport progressive lowering springs. they have just over an inch of drop. I don't want to drop it much, but I do want to drop it. I will have to save up a bit for the shocks and struts. I may get some rear shocks, but the struts are expensive and they will have to wait a bit. I am thinking of getting some tubular front lower control arms at the same time. man the disease is insidious. It's no wonder I never have any money lol.
 

DKblue98GT

Well-Known Member
Joined
Dec 19, 2009
Messages
1,406
Reaction score
333
Funny! I can totally relate. I have now convinced myself that I need a tubular K member for some more ground clearance. Was a new k in the budget? No. As long as I have the K off I might as well do headers too, right. It never ends...

Good choice on the springs, I think you will like the ride and the looks.
 

Mustanger

Well-Known Member
Joined
Dec 3, 2006
Messages
2,310
Reaction score
120
Location
Southern Oregon
I just checked the Latemodel website to make sure I wasn't making things up. I don't see the shocks and struts listed as being for coupes or convertables, only the springs. Since convertables weigh more they make different springs for them.

Depending on how much you want to lower the car I would probably go for the H&R sport springs 1.6" drop. I had the Eibach pro kit 1.7" drop springs in my coupe. They are a non progressive spring and the ride was kind of harsh. I have the H&R supersports 2" drop, which are a progressive spring now and the ride is much smoother than the Eibachs.

Both of these kits will lower your car about and inch and a half. I would just reuse the stock upper and lower spring isolators or you could buy new poly ones.

My 315's rubbed the inner fender well on the GT until I got new lower control arms. The factory control arms and worn out rubber bushings were pretty sloppy. You should have no rubbing issues as long as the wheels have the correct backspacing.

I have Tokico blue shocks and struts now but when these crap out I will do Bilstiens all around.

All of this is based only on my experience. I hope it helps!
Robb


I have the Eibach Prokit Springs on mine and they are Progressive Springs not linear...I double checked several places & they all are listed as Progressive. With that said I will say they are a bit harsher over hard bumps than the Roush Springs & Bilstein shocks & Struts that I have personal experience with...so far I attribute most of that to the Eibach Struts & Shocks compared to the Bilsteins...with the Bilsteins being the best over anything else. Just my experience...
 

DKblue98GT

Well-Known Member
Joined
Dec 19, 2009
Messages
1,406
Reaction score
333
I am sure you are right about the Eibach springs. I am just going by how they look compared to the H&R's and the difference in ride quality.
 

hotmustang95

Active Member
Joined
Apr 6, 2011
Messages
604
Reaction score
15
Location
Boynton Beach FL
Great build. Reminds me of the early days when I did all this too. Like seeing beat up stangs being brought back to life.
 
OP
OP
mustanggarage

mustanggarage

New Member
Joined
Sep 2, 2016
Messages
57
Reaction score
0
Location
Iowa
OP
OP
mustanggarage

mustanggarage

New Member
Joined
Sep 2, 2016
Messages
57
Reaction score
0
Location
Iowa
we had a nice trip to Washington last week. I had a conference and so we did not have much chance to do see any of the sights. We have been there before so we did not really feel the need to do all the usual tourist stuff, but we did get over to the Jefferson memorial. Since that one is across the river we never managed to make it over there before. insert mandatory selfie now lol.


and when I returned I found this in my garage!


lots of fun stuff planned for this weekend. I ordered ford racing lowering springs. the box says made by eibach. either ford racing springs are made by eibach or they sent me the wrong ones. I am guessing they are made by eibach. anyway I am going to be installing them this weekend hopefully.
 

g36 monkey

Post Whore
SN95 Supporter
Joined
Nov 15, 2008
Messages
14,081
Reaction score
596
Location
Orlando, Fl
Washington has some really cool sights. I have always wanted to go, but certainly don't want to stay! Excited for the parts!
 
OP
OP
mustanggarage

mustanggarage

New Member
Joined
Sep 2, 2016
Messages
57
Reaction score
0
Location
Iowa
today I went over and got my Dad from the nursing home. he is still able to get out and about, and although he has very little endurance these days, he is still the best mechanic I know. So I brought him over to "supervise" some work on the vert. I really wish I had come up with a better title for my thread now. it was kind of tongue in cheek when I did it, but I am liking this car so much now that I feel like I am insulting my buddy lol. anyway onward and well, onward.

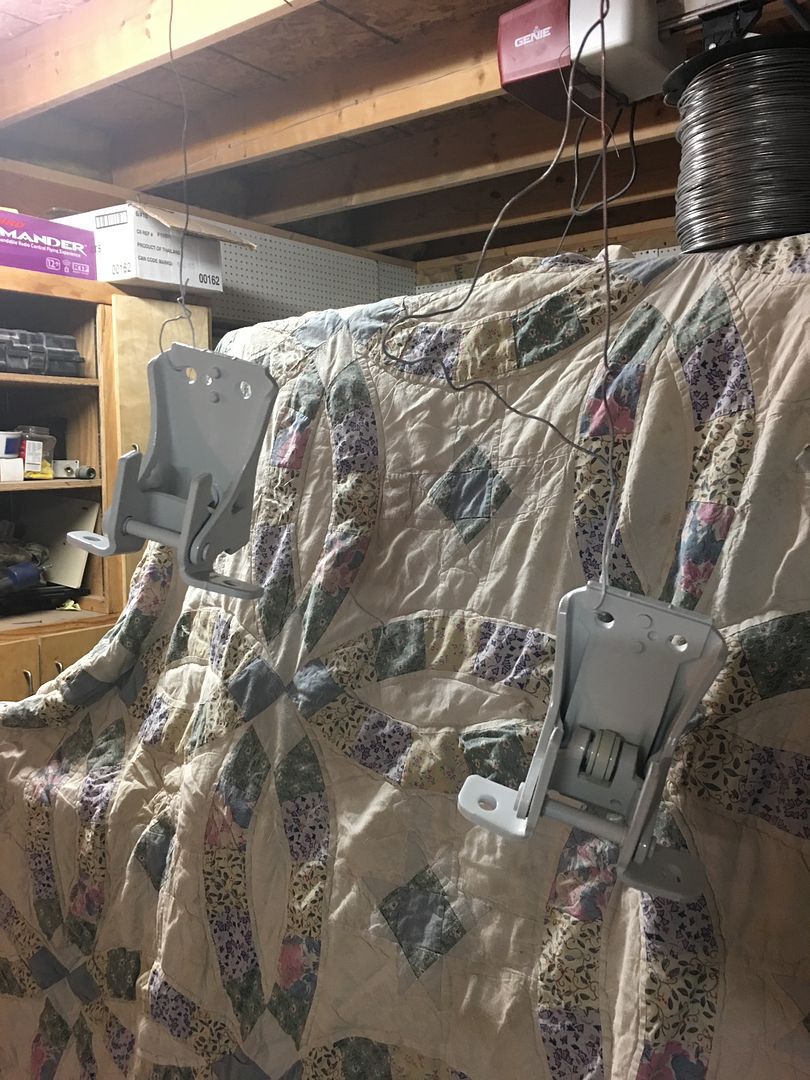
first thing I did was to paint my door hinges. It looks unlikely that I will get those swapped this weekend, but we will see.

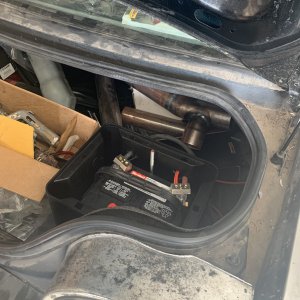
then I put the car on the lift, pulled the wheels off and started removing the rear control arms. first I supported the axle with my screw jacks. then unbolted the shocks in the trunk. then removed the rear sway bar and swapped the speed nuts to the other direction as they say to do on the LMR website. then I sanded it down and painted it with vht black paint.

then I removed the shocks, and the springs, and tried to remove the bolts from the lower control arm.

and this is when things started down the typical murphy path every project I do seems to follow lol. now in the video they just unbolted the lower control arms and they came right out, but that was not how it went for me lol. the bolts had seized inside the sleeves of course. just like trying to remove the leaf springs on my 65. what a pain in the butt. I ended up having to cut the heads of the bolts off with a 4 inch angle grinder and then drive them out with an air hammer. but I finally got them out. both sides had to be cut out like that. the upper part came out easier. so once I removed the lower control arms I cleaned up the mounting brackets with brake cleaner and a steel brush then painted them with rustoleum gloss black. then after that dried we put the new lower control arms in place. then removed the uppers and put them in place. everything went fine until the last control arm. for some reason the last metal tube that went inside the upper bushing was 1/4 inch longer than all of the others. now I know the later model cars had a larger bolt and sleeve, and this one was the correct one, it was just too long. so I had to cut it off a bit to get it to fit. once I had massaged all that and finally got the upper control arms in I put the new lowering springs in.

here is a little tip for anyone doing this. it is probably obvious to everyone but me lol. anyway when putting the new springs in, I dropped the screw jacks all the way out and tried to put the new springs in, It was a struggle until I got smart and put the screw jack back in on the opposite side and lifted the opposite side up, that dropped the side I was working on enough to get the new spring and isolater in easily. then repeat on the other side.
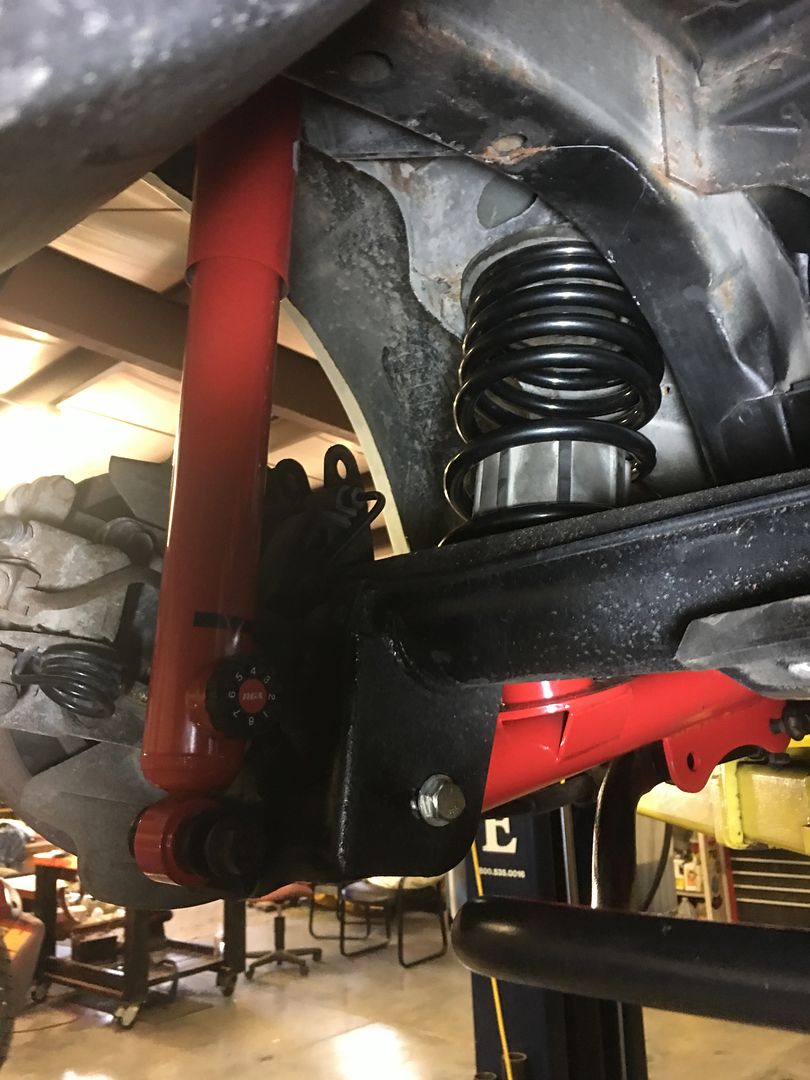
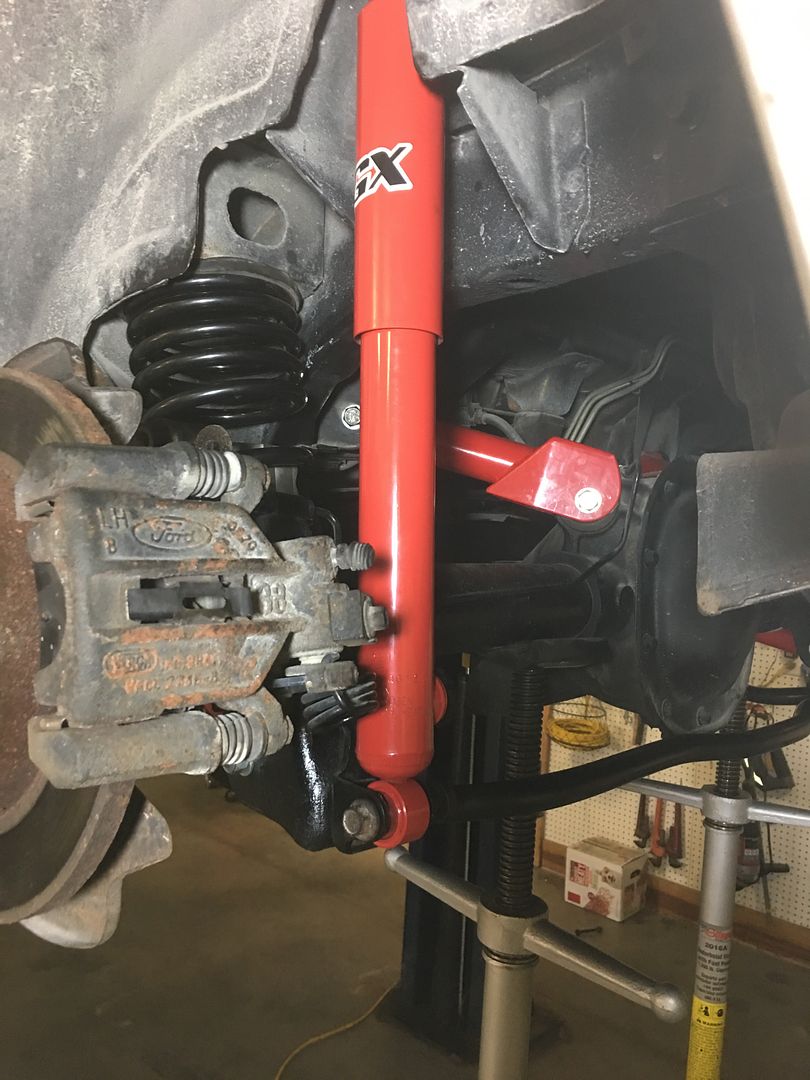


after that I installed the new kyb agx adjustable shock and the sway bar. the instructions do not tell you how the heck you are supposed to mount the emergency brake bracket back to the sway bar mount now that the bolt is coming from the other side. There did not seem to be enough threads coming through to get a nylock nut on there so I went to orshelins and bought a couple longer 10mm bolts and nylock nuts and that worked perfectly.

then I removed the pinion snubber bracket and removed the old snubber from the bracket.


then powder cleaned and powder coated the bracket and installed the new snubber.
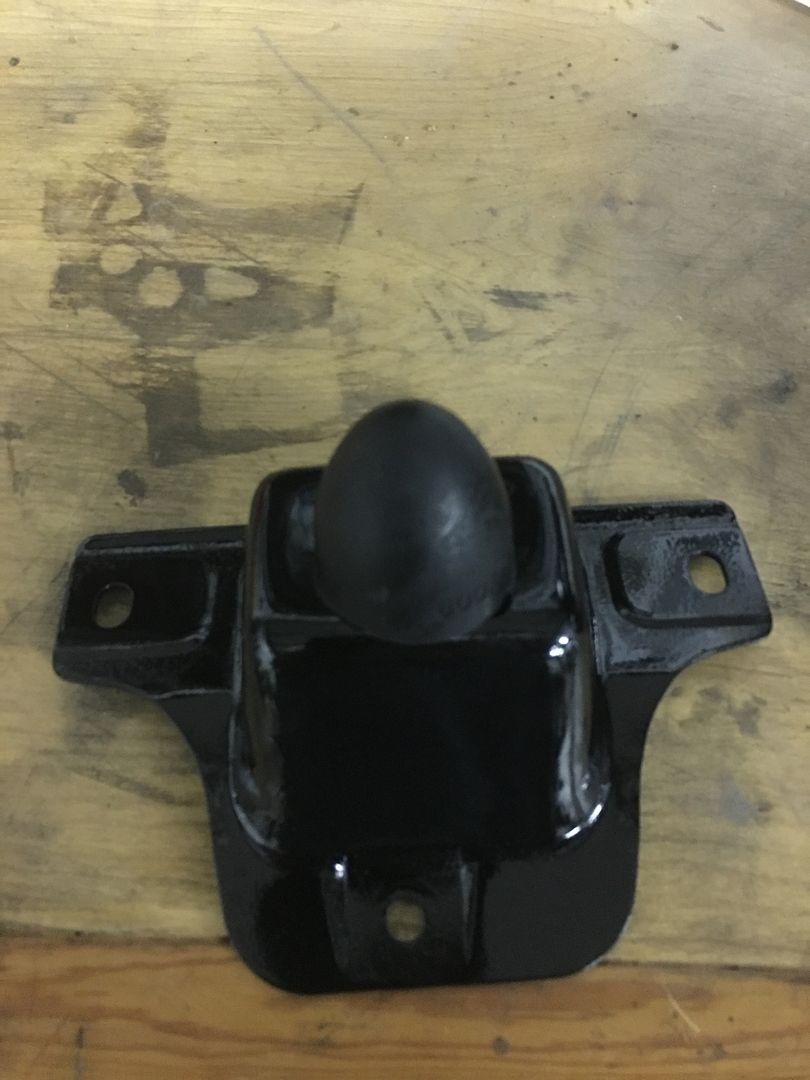

bolted it back in. torqued everything but the bottom bolts on lower control arms to 60 foot pounds. put the wheels back on and dropped it on the ground to torque the lower control arms to 60 footpounds.

and finally I am done. with that part. tomorrow I will tackle the front. hopefully it will go a bit smoother, but knowing me I will not be holding my breath.
 
OP
OP
mustanggarage

mustanggarage

New Member
Joined
Sep 2, 2016
Messages
57
Reaction score
0
Location
Iowa
today I went over and got my Dad from the nursing home. he is still able to get out and about, and although he has very little endurance these days, he is still the best mechanic I know. So I brought him over to "supervise" some work on the vert. And it was a good thing I did he helped me a lot today. I would have had a heck of a time getting this done by myself. thanks Dad. I really wish I had come up with a better title for my thread now. it was kind of tongue in cheek when I did it, but I am liking this car so much now that I feel like I am insulting my buddy lol. anyway onward and well, onward.

first thing I did was to paint my door hinges. It looks unlikely that I will get those swapped this weekend, but we will see.


then I put the car on the lift, pulled the wheels off and started removing the rear control arms. first I supported the axle with my screw jacks. then unbolted the shocks in the trunk. then removed the rear sway bar and swapped the speed nuts to the other direction as they say to do on the LMR website. then I sanded it down and painted it with vht black paint.

then I removed the shocks, and the springs, and tried to remove the bolts from the lower control arm.

and this is when things started down the typical murphy path every project I do seems to follow lol. now in the video they just unbolted the lower control arms and they came right out, but that was not how it went for me lol. the bolts had seized inside the sleeves of course. just like trying to remove the leaf springs on my 65. what a pain in the butt. I ended up having to cut the heads of the bolts off with a 4 inch angle grinder and then drive them out with an air hammer. but I finally got them out. both sides had to be cut out like that. the upper part came out easier. so once I removed the lower control arms I cleaned up the mounting brackets with brake cleaner and a steel brush then painted them with rustoleum gloss black. then after that dried we put the new lower control arms in place. then removed the uppers and put them in place. everything went fine until the last control arm. for some reason the last metal tube that went inside the upper bushing was 1/4 inch longer than all of the others. now I know the later model cars had a larger bolt and sleeve, and this one was the correct one, it was just too long. so I had to cut it off a bit to get it to fit. once I had massaged all that and finally got the upper control arms in I put the new lowering springs in.

here is a little tip for anyone doing this. it is probably obvious to everyone but me lol. anyway when putting the new springs in, I dropped the screw jacks all the way out and tried to put the new springs in, It was a struggle until I got smart and put the screw jack back in on the opposite side and lifted the opposite side up, that dropped the side I was working on enough to get the new spring and isolater in easily. then repeat on the other side.


after that I installed the new kyb agx adjustable shock and the sway bar. the instructions do not tell you how the heck you are supposed to mount the emergency brake bracket back to the sway bar mount now that the bolt is coming from the other side. There did not seem to be enough threads coming through to get a nylock nut on there so I went to orshelins and bought a couple longer 10mm bolts and nylock nuts and that worked perfectly.

then I removed the pinion snubber bracket and removed the old snubber from the bracket.


then powder cleaned and powder coated the bracket and installed the new snubber.


bolted it back in. torqued everything but the bottom bolts on lower control arms to 60 foot pounds. put the wheels back on and dropped it on the ground to torque the lower control arms to 60 footpounds.

and finally I am done. with that part. tomorrow I will tackle the front. hopefully it will go a bit smoother, but knowing me I will not be holding my breath.
 
OP
OP
mustanggarage

mustanggarage

New Member
Joined
Sep 2, 2016
Messages
57
Reaction score
0
Location
Iowa
btw. before anyone says anything. I know my rear rotors are getting pretty thin. brake upgrades will be coming down the road. I do not plan to do anything crazy but I will be putting new pads and rotors all the way around.
 

96blak54

Moderator
Staff
Joined
Feb 21, 2011
Messages
10,043
Reaction score
2,883
Location
In the shop
What...rotors look good to me! I'd run"em till they squeal! Just be sure to post up your progress when you do swap them!
 
OP
OP
mustanggarage

mustanggarage

New Member
Joined
Sep 2, 2016
Messages
57
Reaction score
0
Location
Iowa
What...rotors look good to me! I'd run"em till they squeal! Just be sure to post up your progress when you do swap them!


lol. I may end up doing that. but I will probably go with some powerstop grooved and slotted rotors and pads. they are pretty reasonably priced. they look good and work well. I have had them on my 89 convertible with the 331 stroker and 3.73 gears for a couple years now and they have worked well and still look pretty good.
 
OP
OP
mustanggarage

mustanggarage

New Member
Joined
Sep 2, 2016
Messages
57
Reaction score
0
Location
Iowa
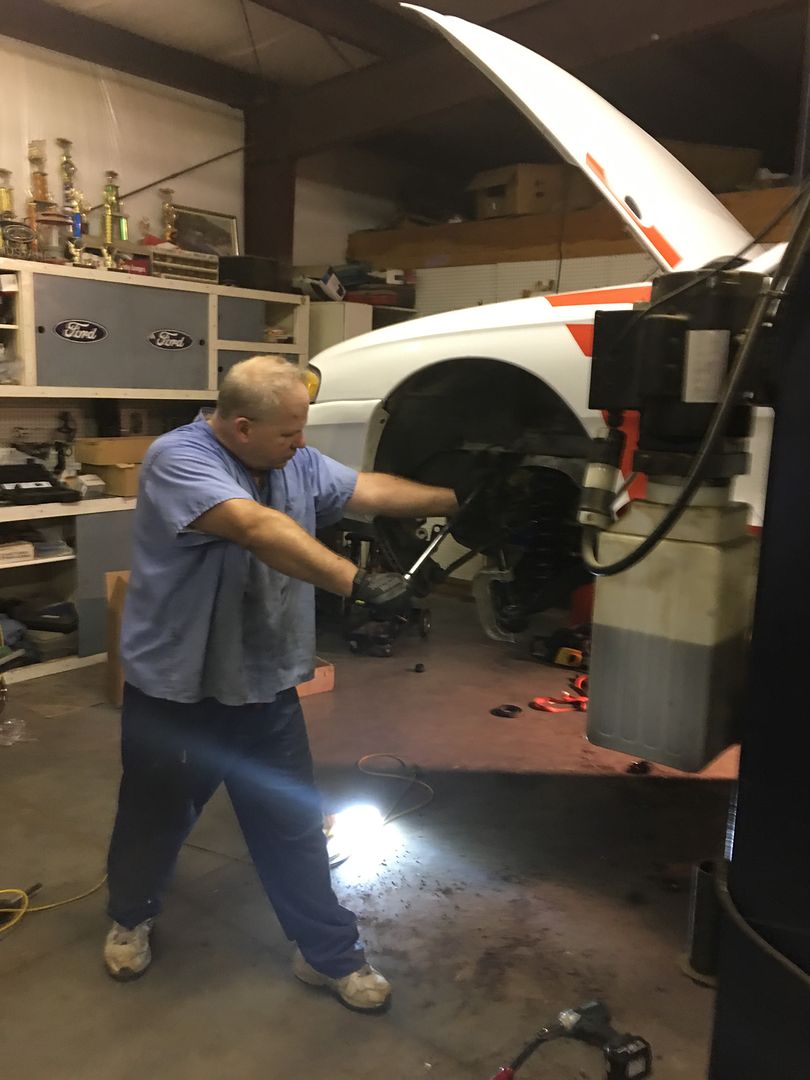
well if anyone who reads this thread has ever installed lowering springs on the front of one of these cars they will know that I have never done it before or I would not have been so optimistic yesterday lol. no this did not go easier than the rear springs in fact it took me even longer to finish. but I did get it done.

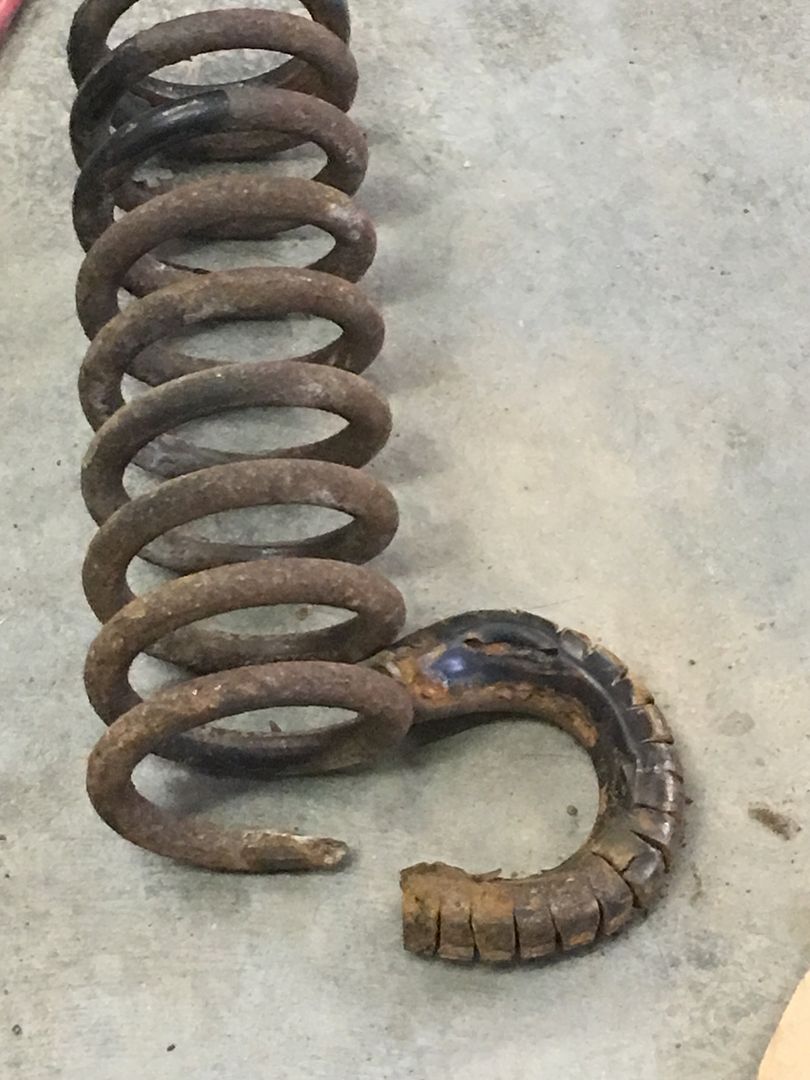
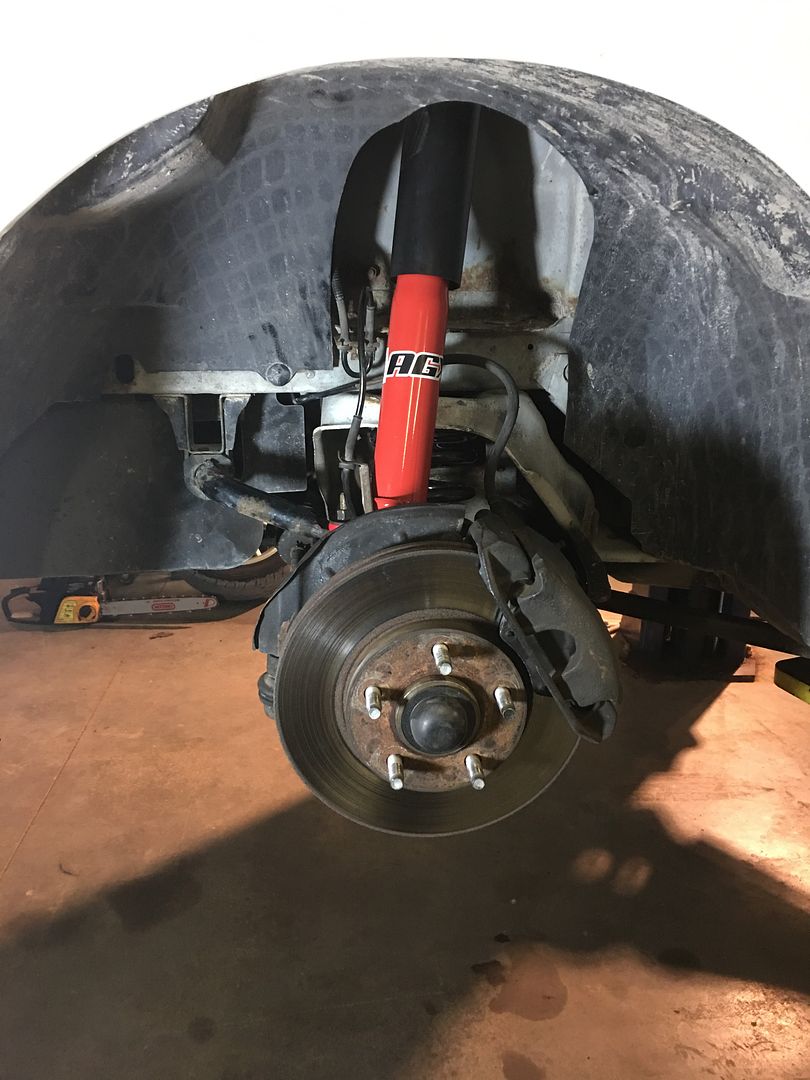
first I put it up on the lift, pulled the front wheels, and then put a jack under the lower control arm to load the spring. then I removed the upper strut nut with a 1/2 inch drive impact. so far so good. then I removed the abs mounting bracket, and the two bolts holding the strut and removed the strut. easy peazy. then I removed the 2 15 mm bolts holding the brake caliper in place and wired it up out of the way. then I removed the abs sensor, then the sway bar nut and dropped the jack. then I simply removed the spring,,,, ok not so simply. I pried and cussed and pried and could not get the spring out. so I went to oreilly's and rented an external spring compressor and came back and could not get it to work. so I just tied a ratchet strap on it to keep it from exploding out at me if it should suddenly give way and just let my mad out and pried it with two long pry bars until it finally came out. that took me hours. so then I cleaned it up and went to put the new spring back in. I decided to leave what I thought was a spring isolator in the control arm but there was simply no way to get the spring in there. so I decided to remove the isolator. that was when I finally realized why it was so hard to get the spring out. I drove a 3 inch pry bar under that isolator and pried it up, put in another and drove it in, pried up, and slowly moved around until I finally got that stupid thing out. this is what I found.


It wasn't a spring isolator, and if I had ever done this job before I would have known that lol. the stupid spring had rusted so bad it was rusted in two. I literally had to pry that last ring of the spring out of the a arm like it had been welded in there. It should have just fallen out. I think that the previous owner must have parked this car with the drivers side facing north for years and let snow and crap just rust that side completely. it was the drivers side in the rear that was the worst as well.

anyway I finally after several hours got the new spring in, unfortunately I discovered that the drivers side ball joint was also shot. so I asked my wife to go back to oreillys and get 2 ball joints and there ball joint compressor. in the meantime, I pulled the other side apart, it was so much easier, it was like I had done it before lol. then I watched a couple utube videos and tried to replace the ball joints. unfortunately the ball joint compressor was not big enough. the hole that the ball joint stud was supposed to fit through was too small. I made it work anyway. but it was a struggle. I had to get out my big breaker bar to get the old ones out and new ones pressed in.


but once I finally got those replaced I went back to oreilly for another trip, took back my rented tools and got some new sway bar endlinks. came back and put everything back together. several mistakes putting things back together. of course. important safety note, you can't get the stupid abs sensor back in if you have re-installed the strut already.

anyway I did get it back together.


then while I still had it on the lift I replaced the broken drivers side fog light with the new assembly I got from late model restoration. and finally put the wheels back on, dropped it to the ground and torqued the wheels back on.


DKblue98GT

Well-Known Member
Joined
Dec 19, 2009
Messages
1,406
Reaction score
333
Wow! That was clearly a pain in the rear but it looks really good now that you are done. I did some ball joints just a few weeks ago and had to use my breaker bar too. Man, am I envious of that lift...
 
OP
OP
mustanggarage

mustanggarage

New Member
Joined
Sep 2, 2016
Messages
57
Reaction score
0
Location
Iowa
Wow! That was clearly a pain in the rear but it looks really good now that you are done. I did some ball joints just a few weeks ago and had to use my breaker bar too. Man, am I envious of that lift...

It seems like a pretty typical job for me lol. I always find ways to struggle it seems. but if it were all easy where would the fun be right? I do this not because I have to, but because I want to. I am 50 years old now. I have a good job. I could pay someone to do this stuff for me, but I find it therapeutic. I get away from the stress of my life for a while and just tackle bolts and stuff. if I don't get it done, its not the end of the world. this is not my daily driver, it is a toy. something for me to play with. my idea of playing is 1 to 1 scale model car building. this weekend I did several things I've never done before. I learned a lot. I struggled but I got the job done. and when all is said and done and someone asks me who did the work I can honestly say I did it. Dad kind of overdid it on friday so he wasn't even here on saturday so I did all that including the ball joints with an improper tool myself. next time I have to tackle ball joints I can do it with confidence.


As far as the lift goes. yes that is a wonderful tool. everybody looks at it and is very envious, thinking it is a hugely extravagant thing. Actually it is kind of funny. about 8 years ago, Dad decided he couldn't ride his motorcycle anymore. so he gave it to me. I started working on it, getting the carbereters cleaned up and making it run better, My wife had a fit lol. So Dad said, well lets put it on craigs list if we can sell it for enough we can use the money for a lift. At that time Dad was still enjoying working on cars but he could not get around or under one easily anymore. so we put it on craigslist. the next day it sold. I ordered the lift from eagle it is an 11,000 pound asymetrical 2 post lift. guess how much it cost? 1800.00 with 200 shipped to a depot near my house. so for 2000.00, less than what I paid for my daughters rack and pinion steering conversion I had a lift. we installed it ourselves except for the wiring. we had that done by an electrician because the warranty required it to be professionally wired. so we got the lift installed and we have used the heck out of it. I use it for everything. It makes working on these cars so much more enjoyable and less painful lol.

when I had the building built when we first moved here I had the concrete poured extra thick in that area because I always hoped to put a lift in, but I really thought they were a lot more expensive than they really are. and I did not want to sacrifice the room. believe me I have not missed the room lol
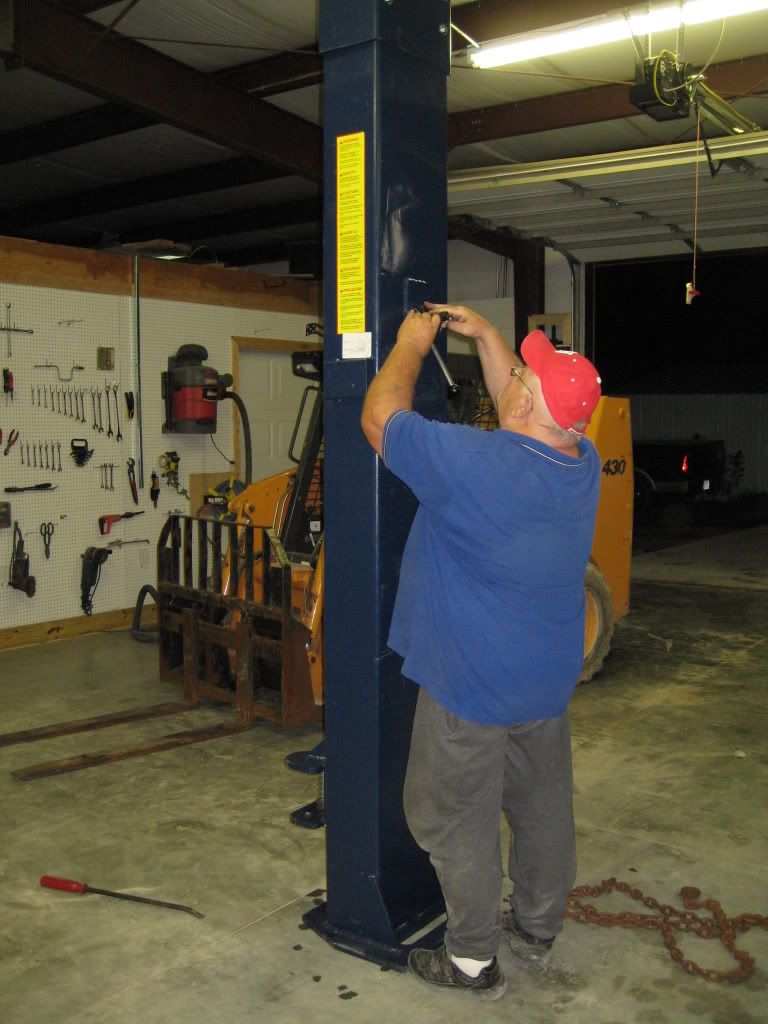
here is a picture of Dad hooking up the locks.


DKblue98GT

Well-Known Member
Joined
Dec 19, 2009
Messages
1,406
Reaction score
333
That's awesome. I know what you mean about being older, I am 56. Today I dropped the motor and trans out of my GT, bolted the K member back in and started putting the suspension back together.

I am tired.
 

Latest posts

Forum statistics

Threads
77,519
Messages
1,504,151
Members
14,984
Latest member
senior001

Members online

Top