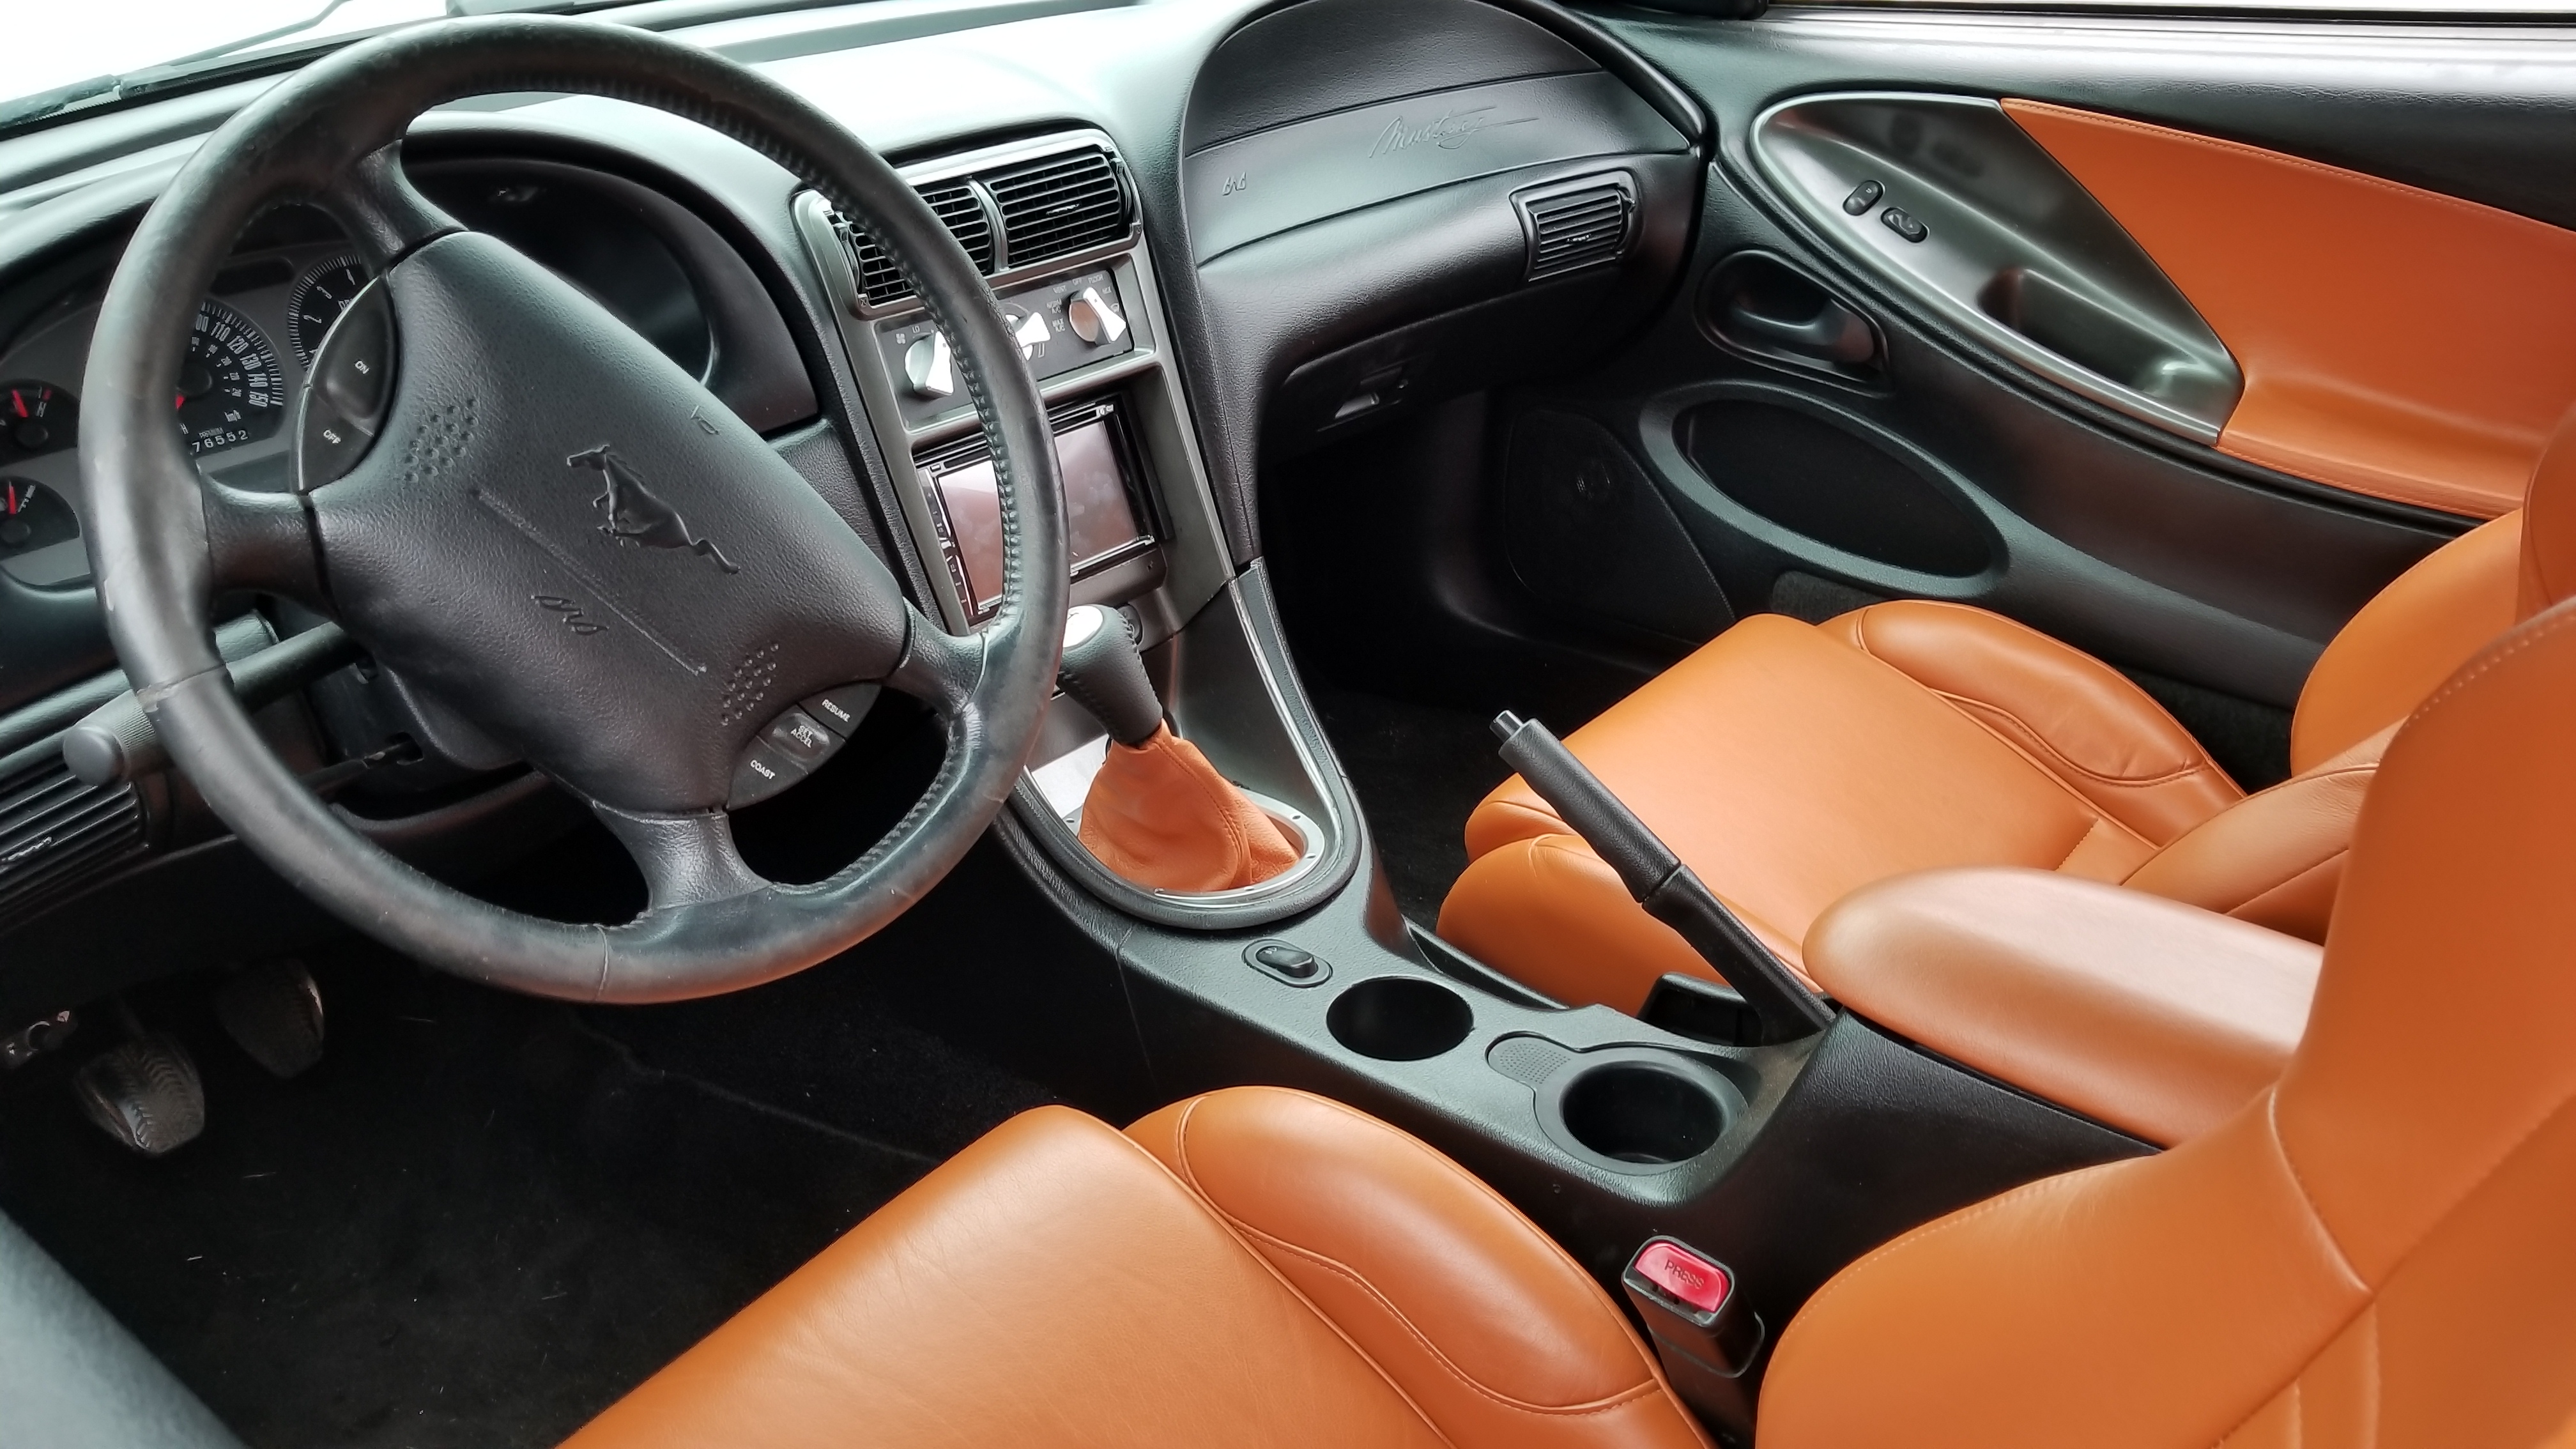
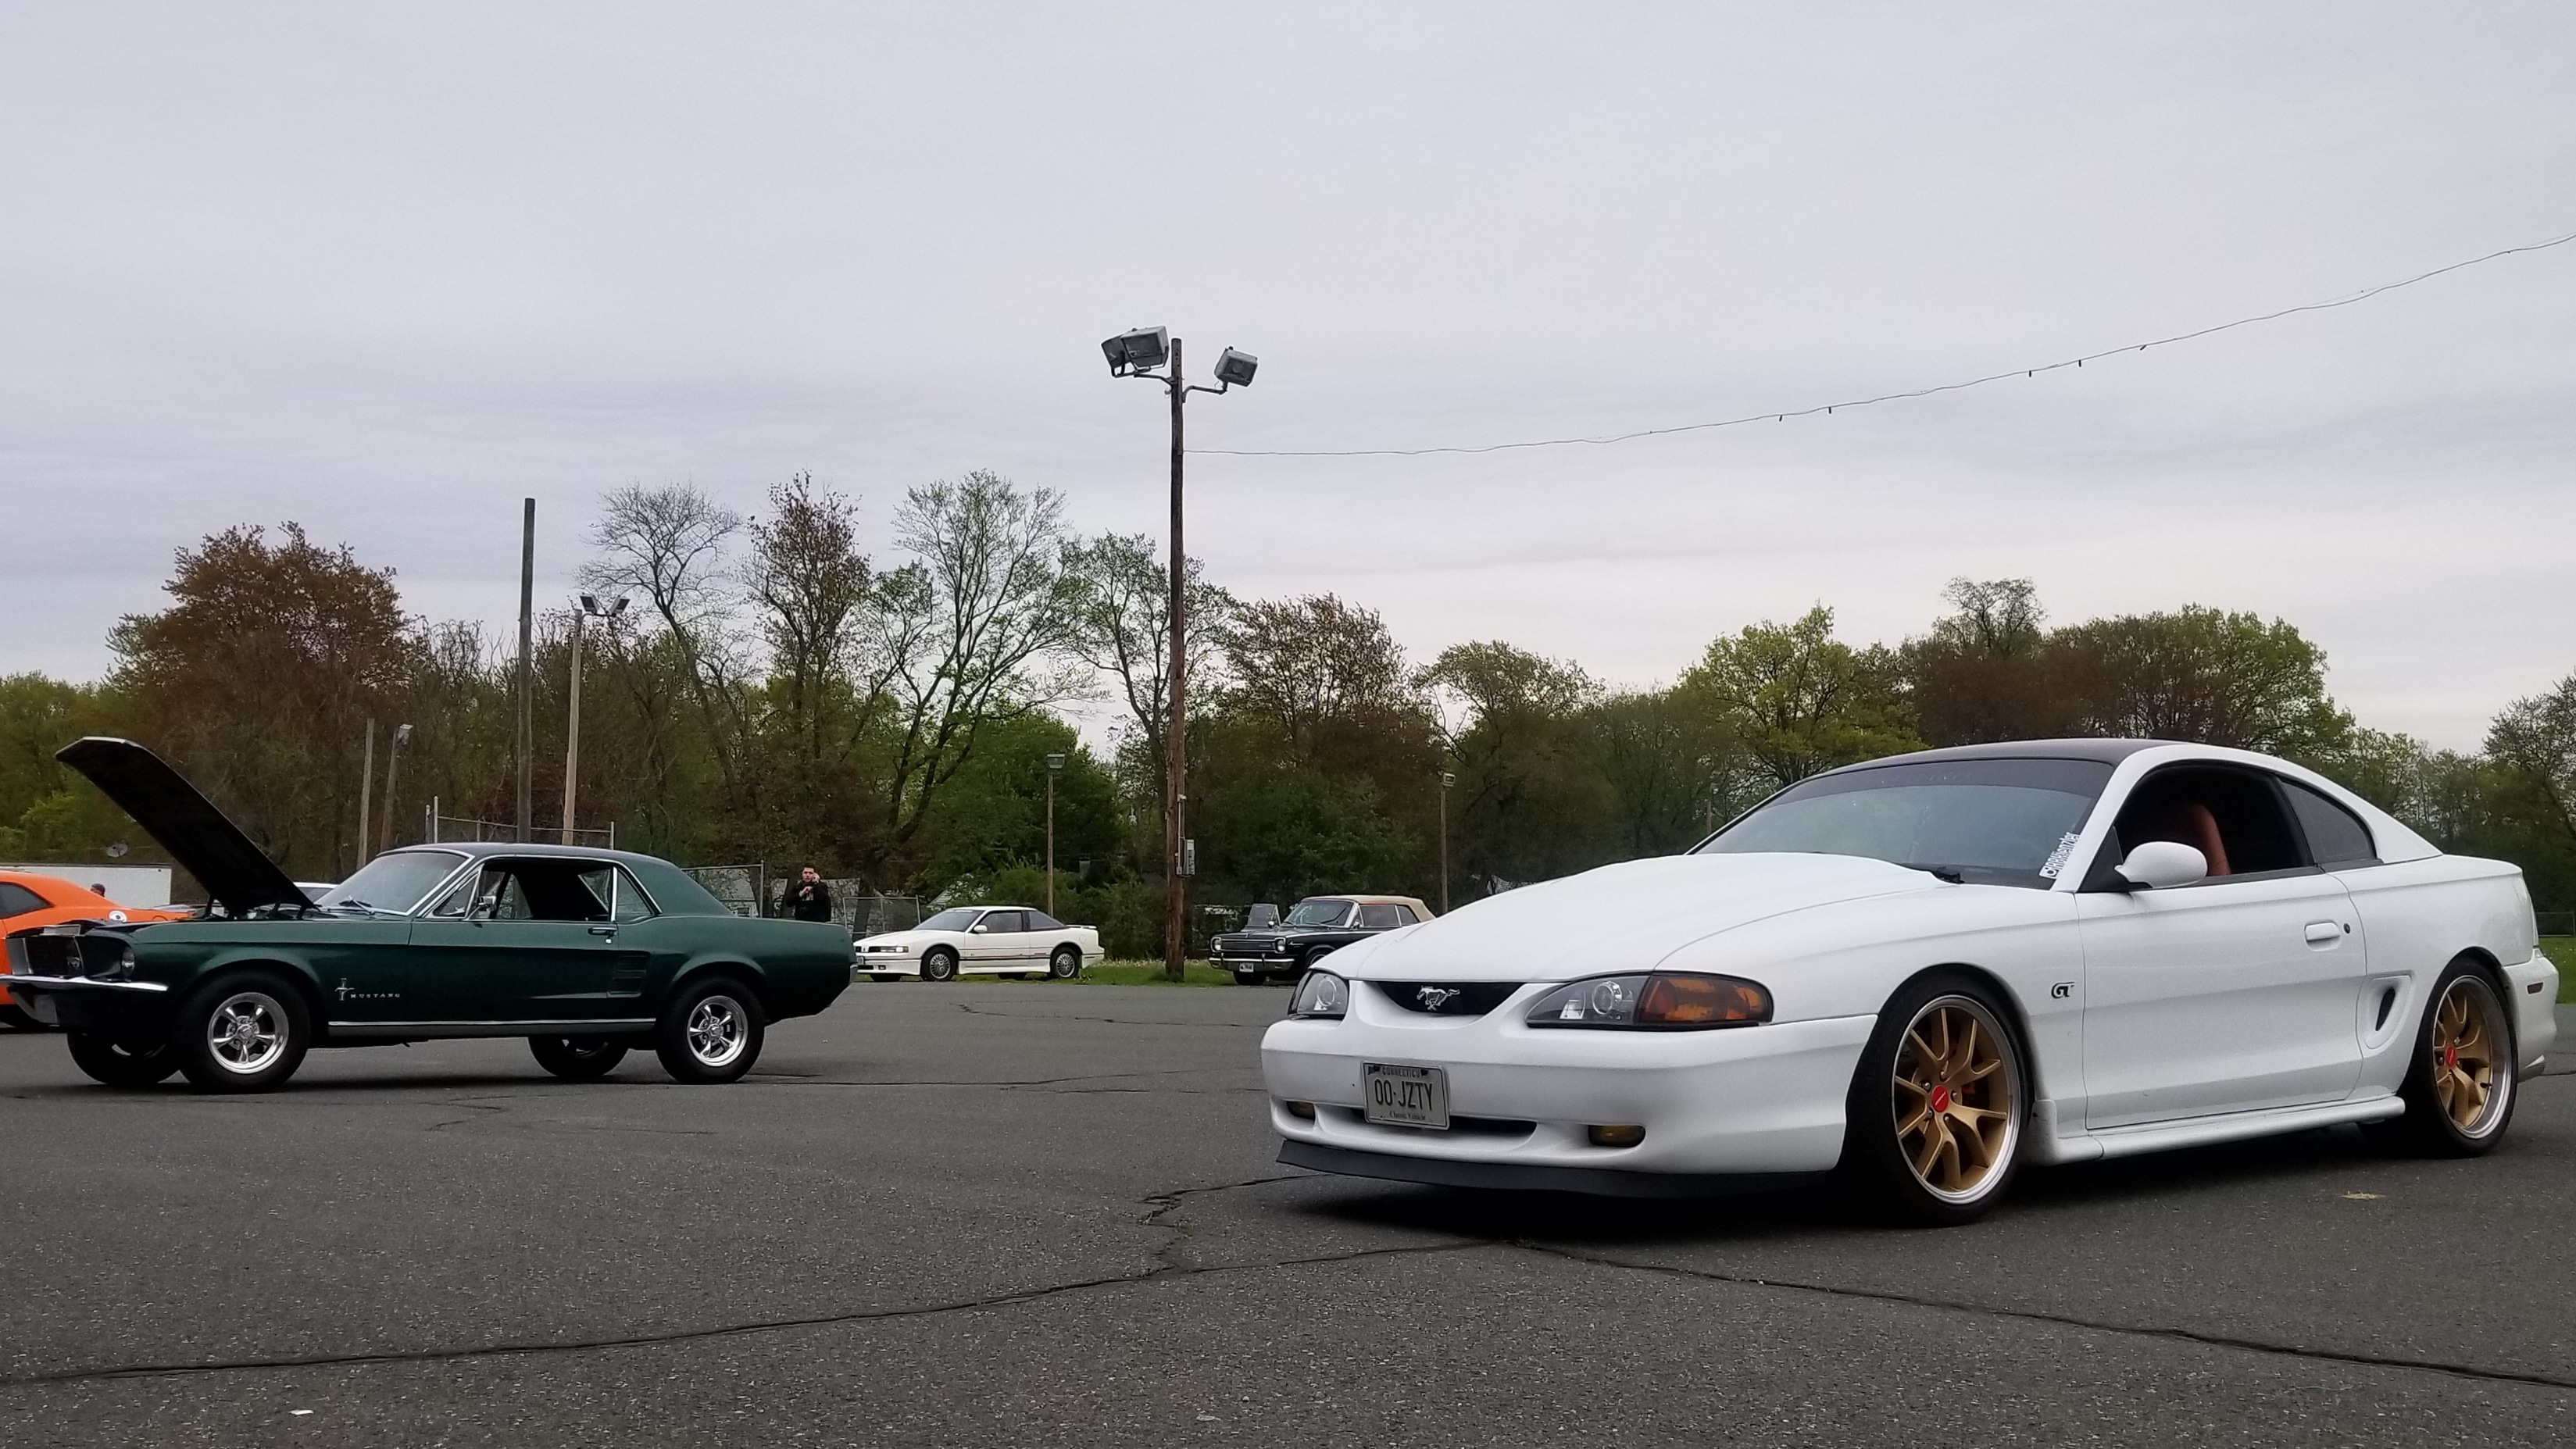
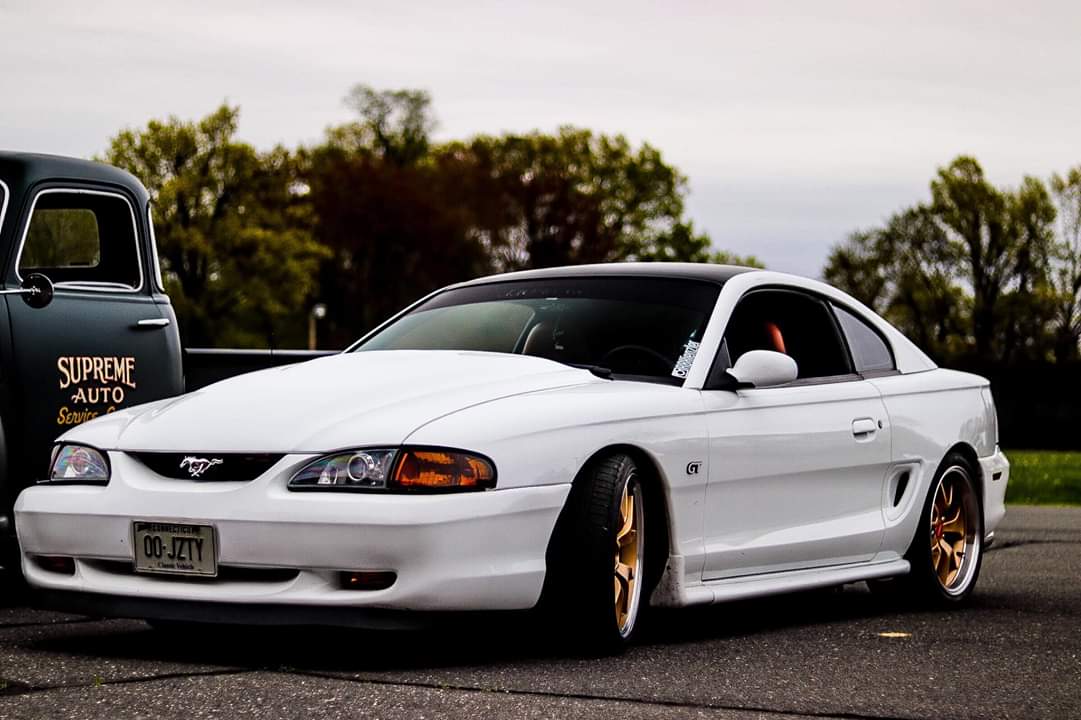
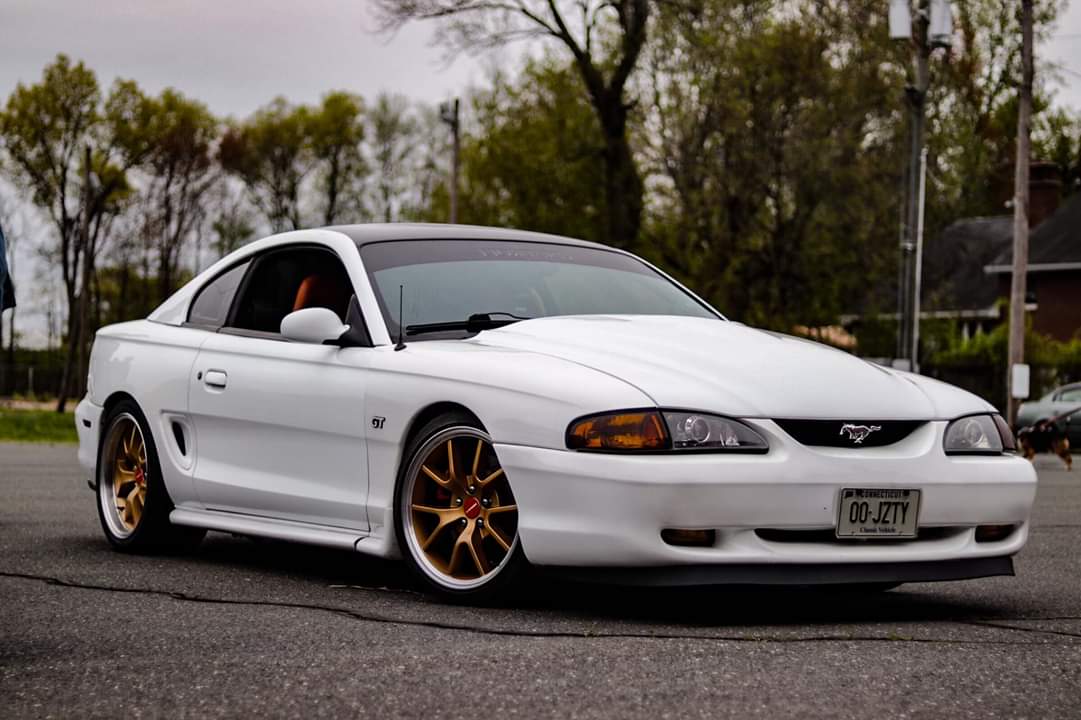
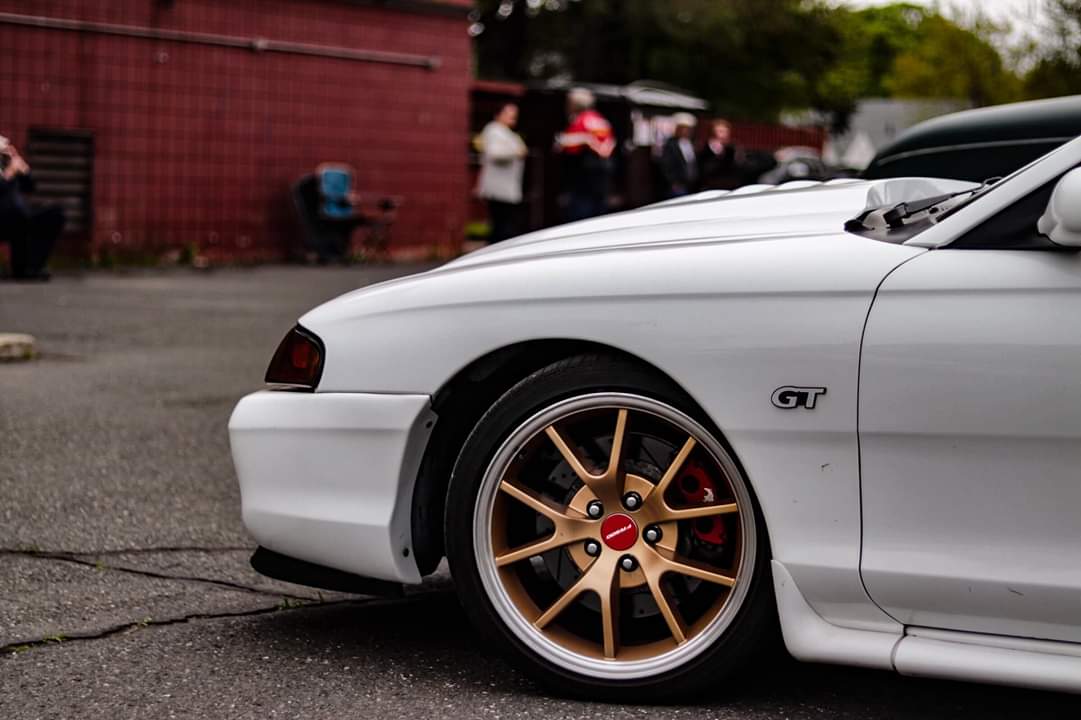
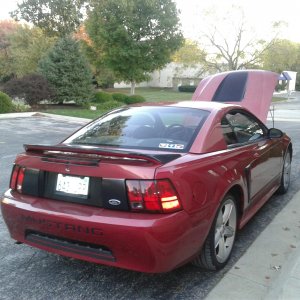
FivepointSlow's 4.6 Build

lwarrior1016

Mr. Secondary Timing Chain
Staff
Joined
Sep 22, 2014
Messages
8,551
Reaction score
4,366
Location
South Mississippi
All you have to do is google the car and ac capacity.

https://www.techchoiceparts.com/refrigerant-and-oil-capacities/ford


If it’s got a leak, it definitely needs to be fixed or you’ll be wasting money pumping refrigerant in to it. You could also get the refrigerant that has the green dye in it and look for the leak. Also, if the compressor is still cycling off, it still sounds a little low.
 
OP
OP
FivepointSlow

FivepointSlow

Well-Known Member
Joined
Oct 22, 2013
Messages
2,646
Reaction score
60
Location
Enfield, CT, USA
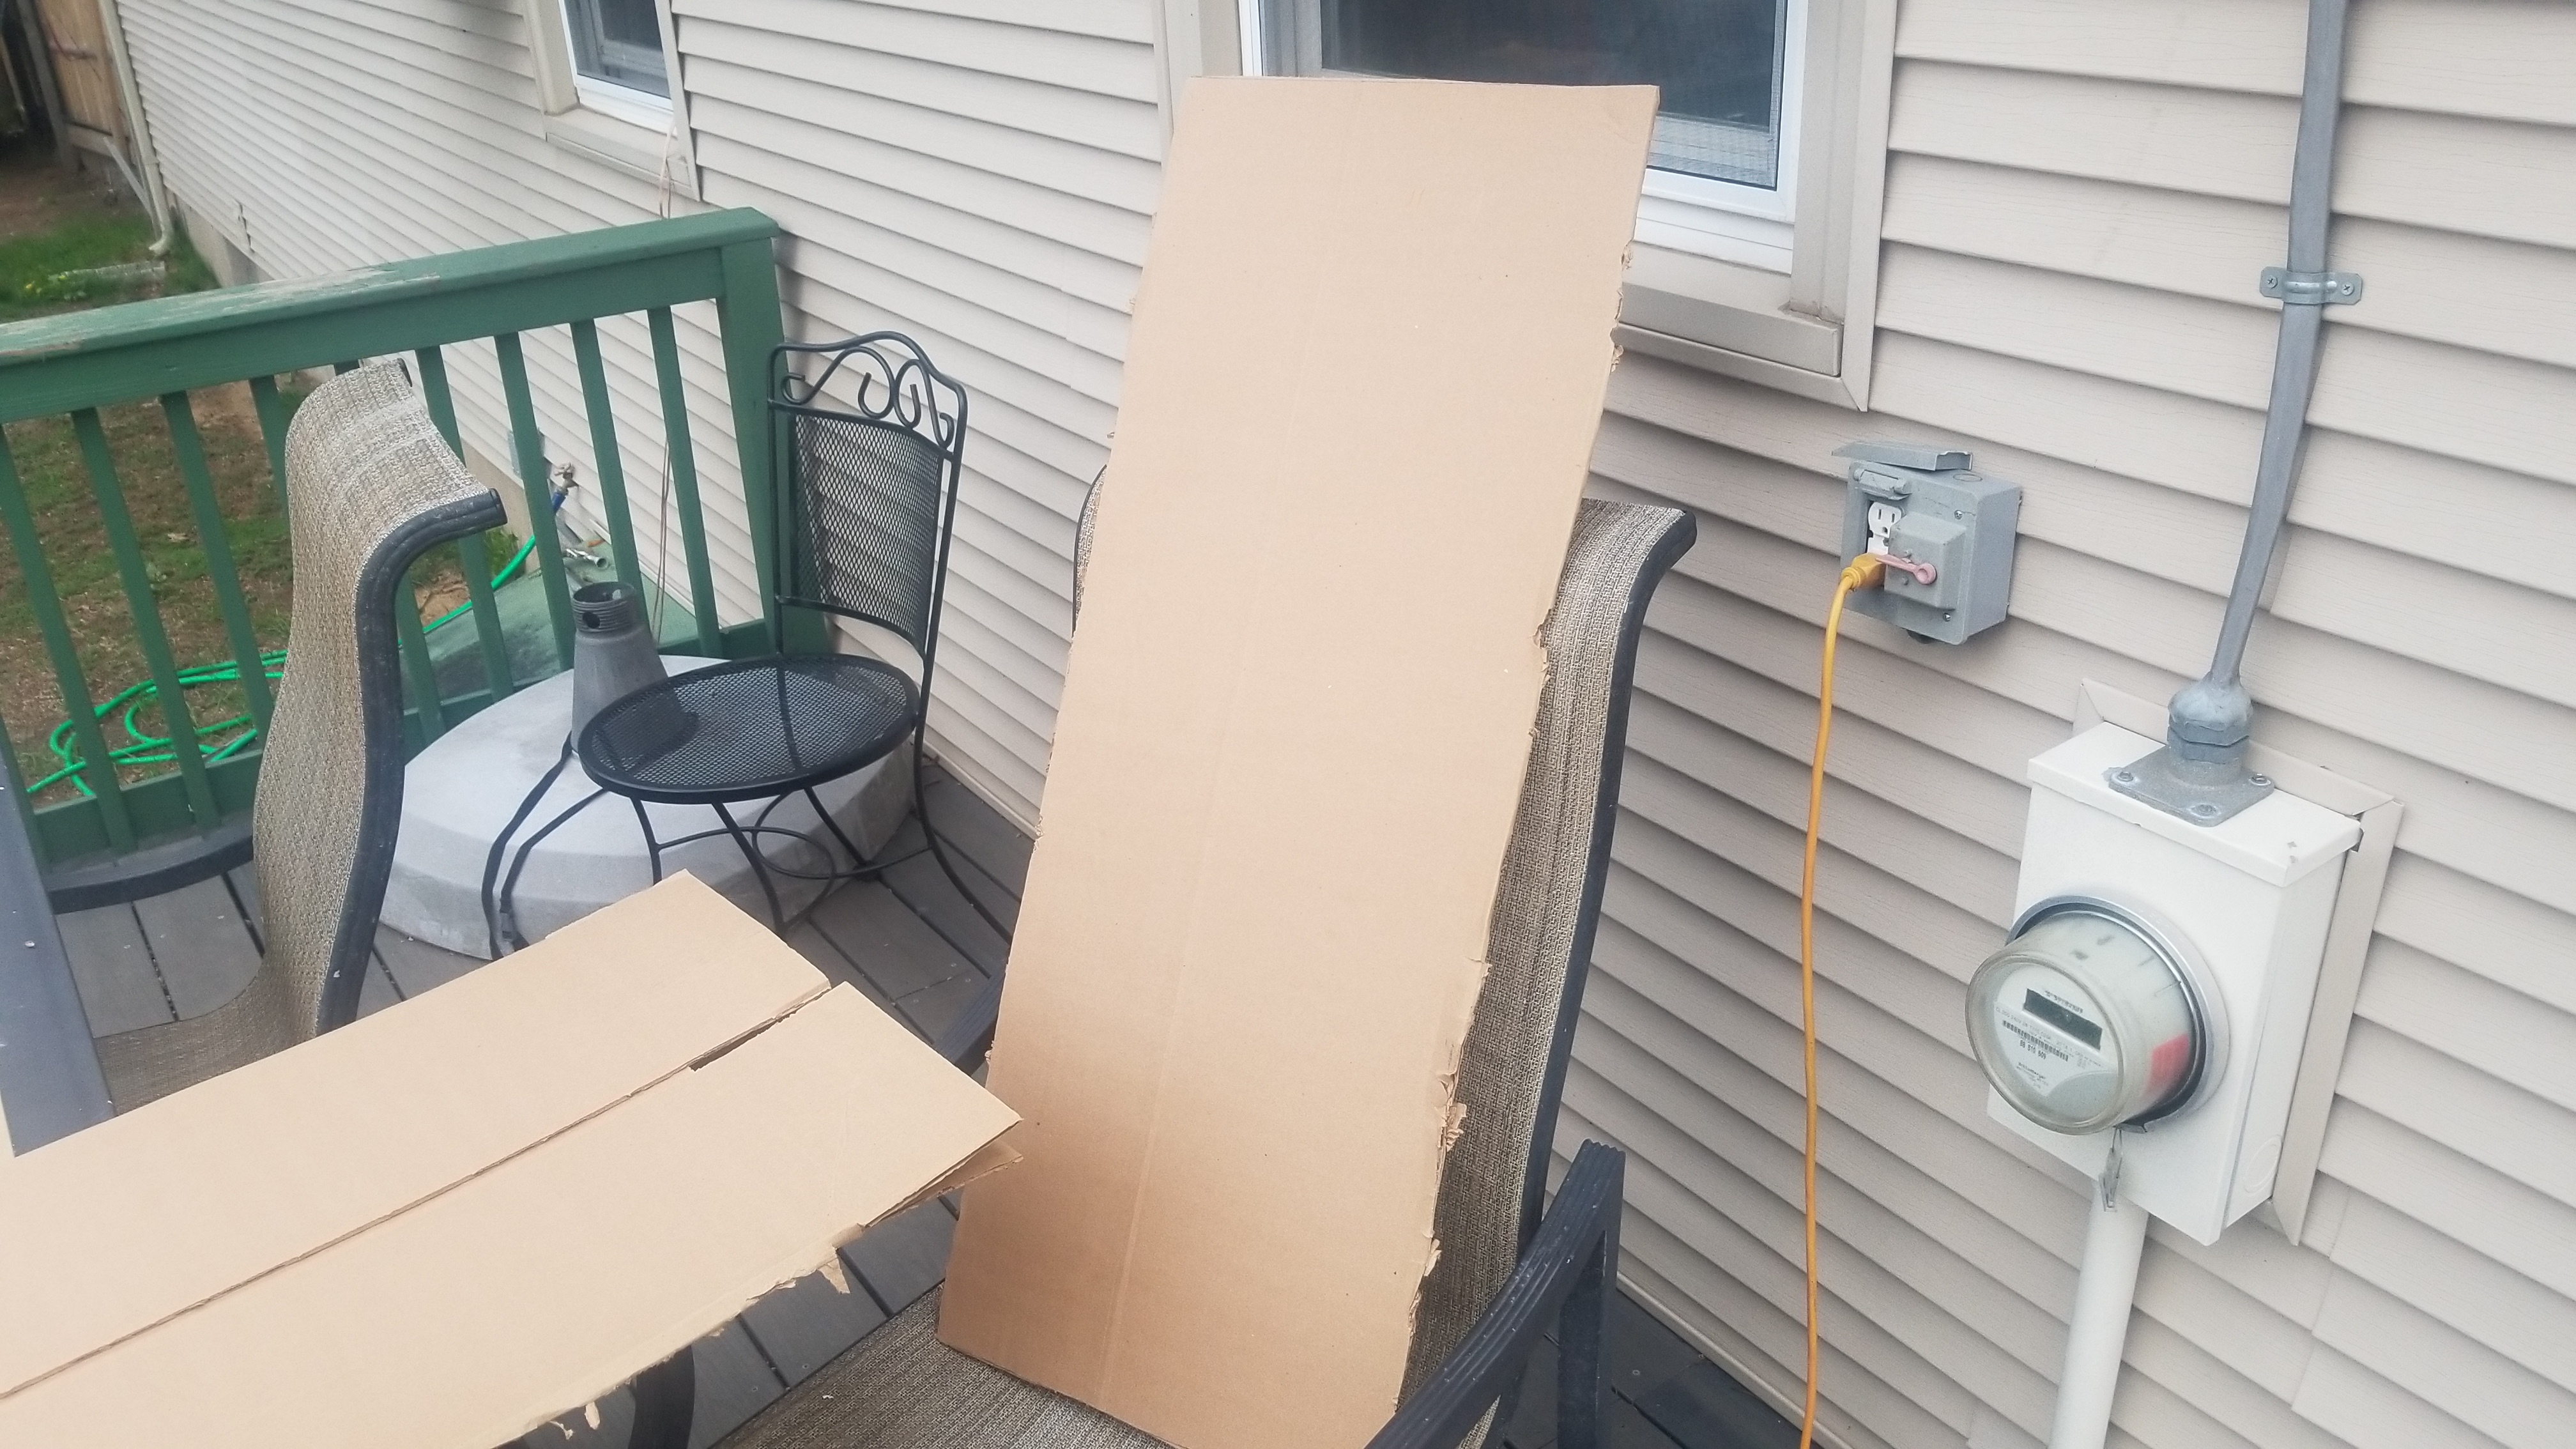
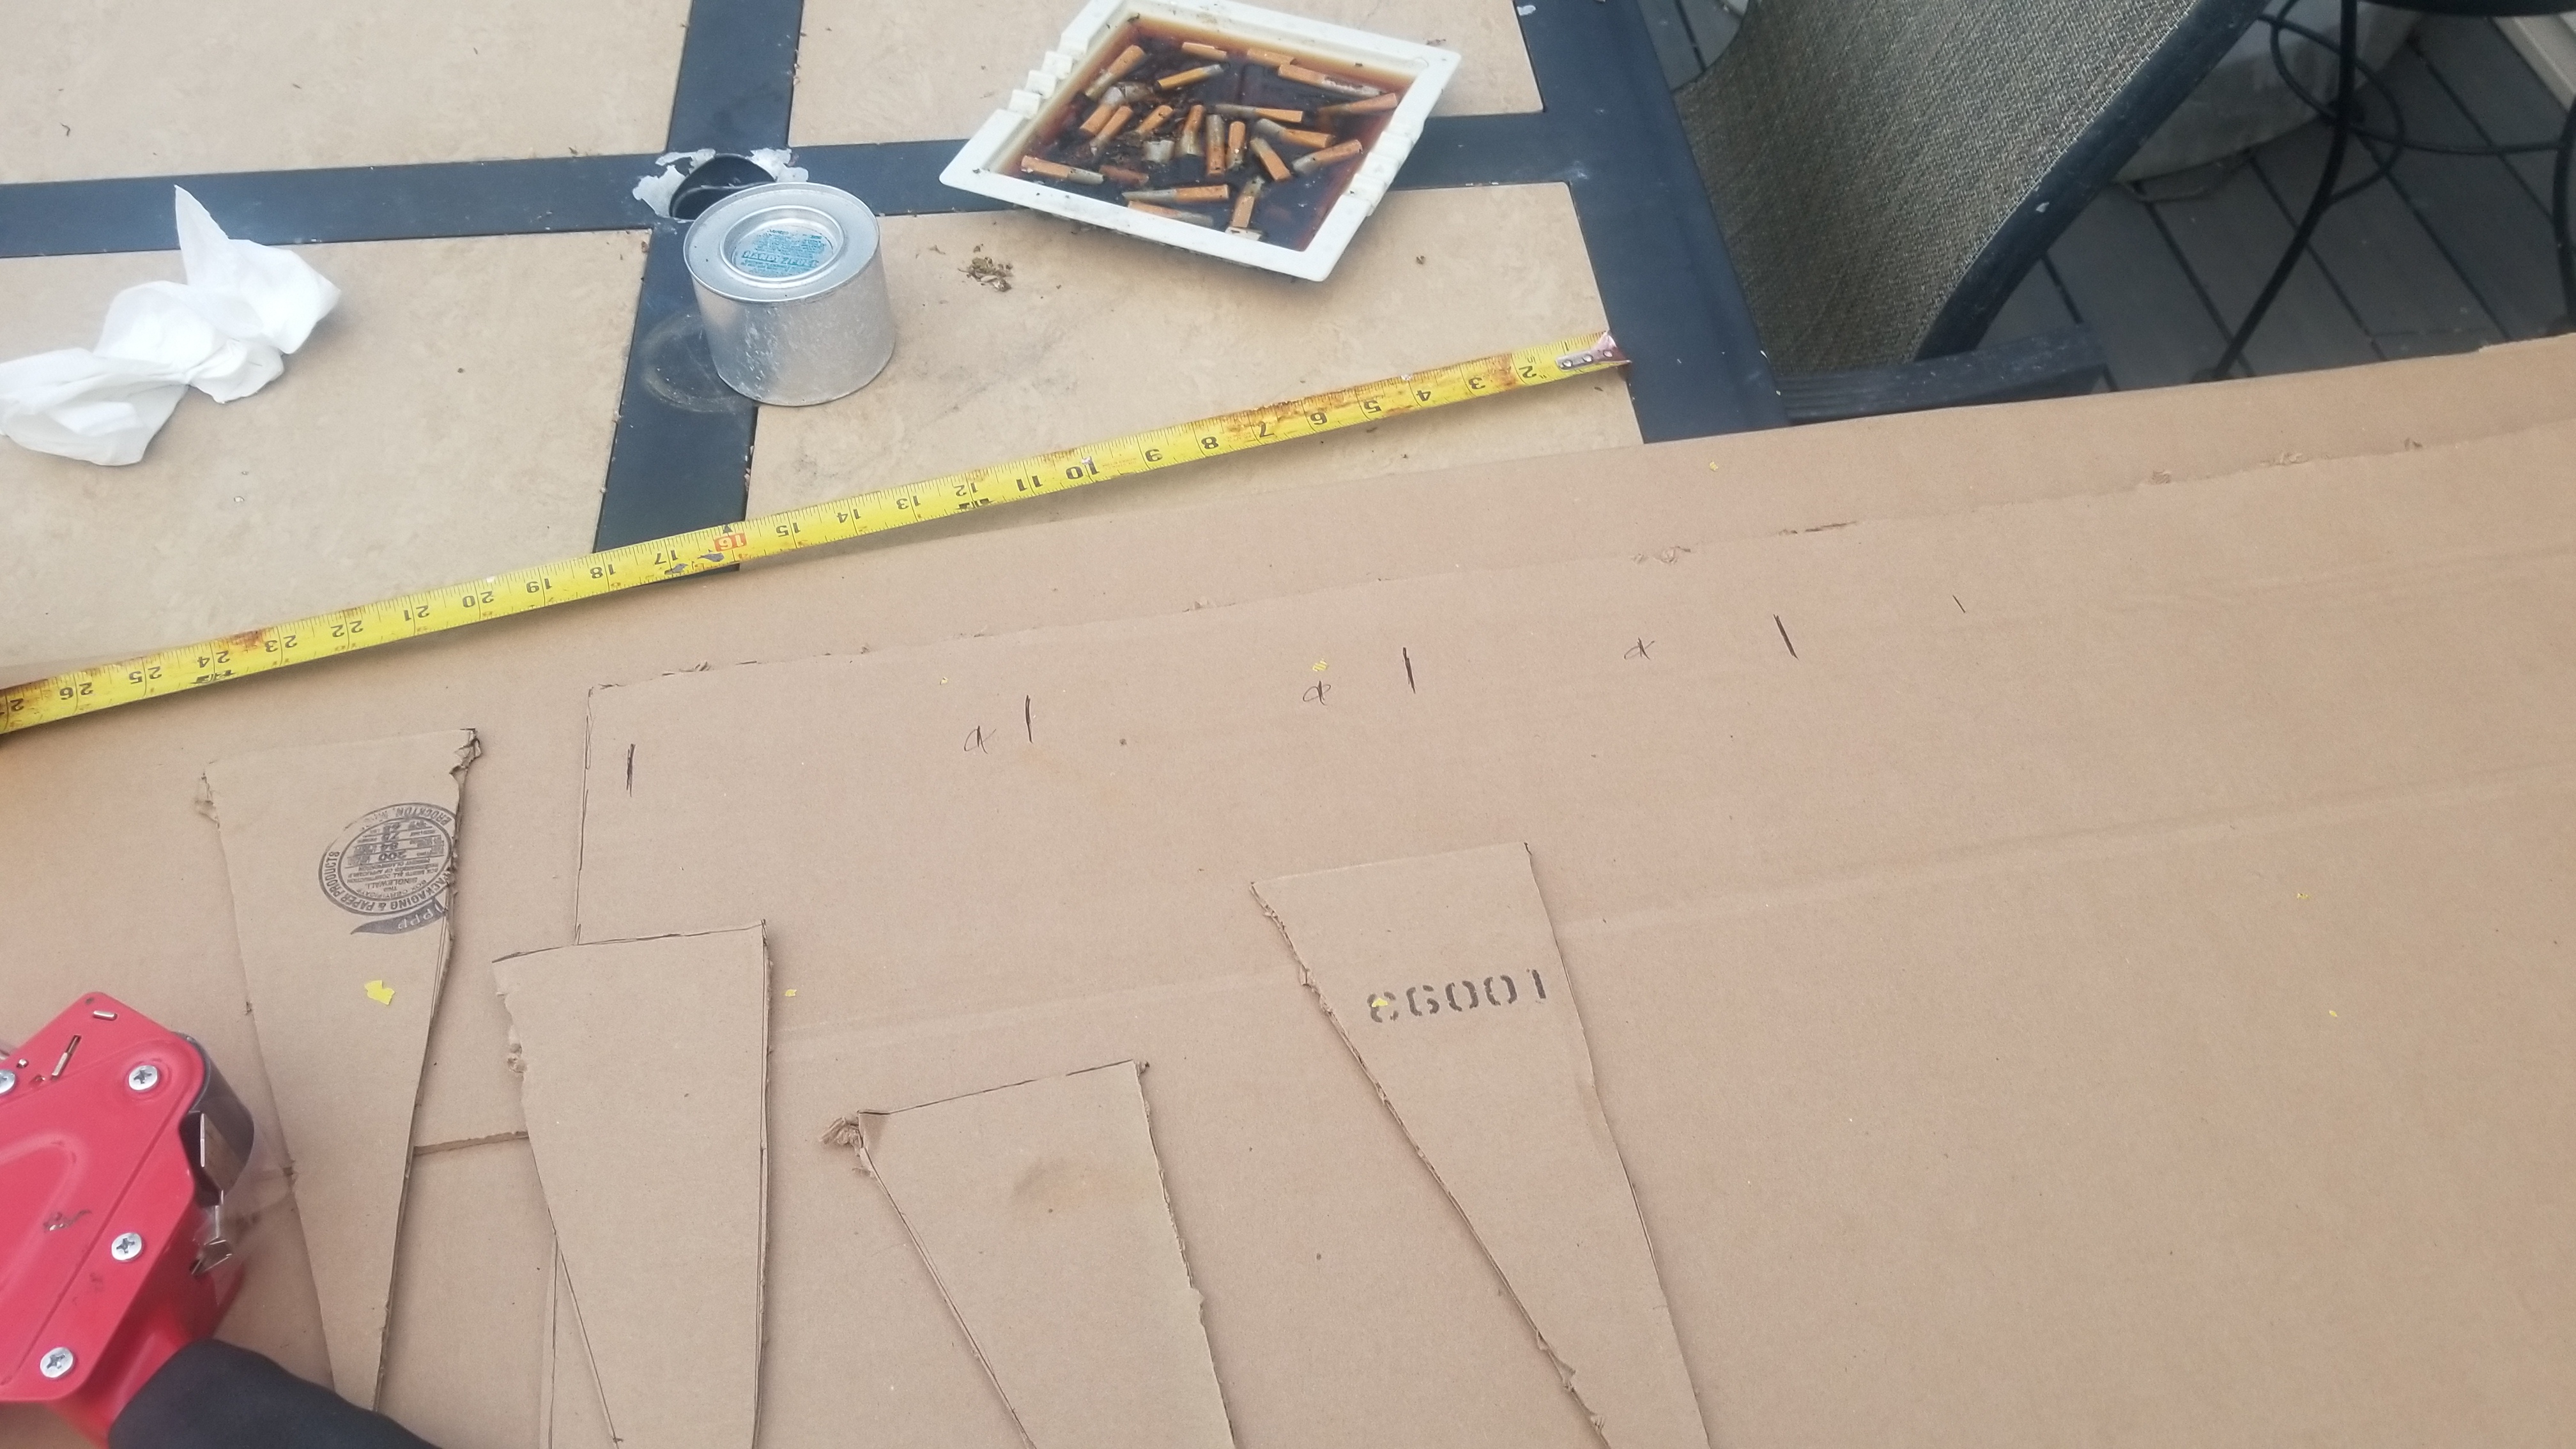
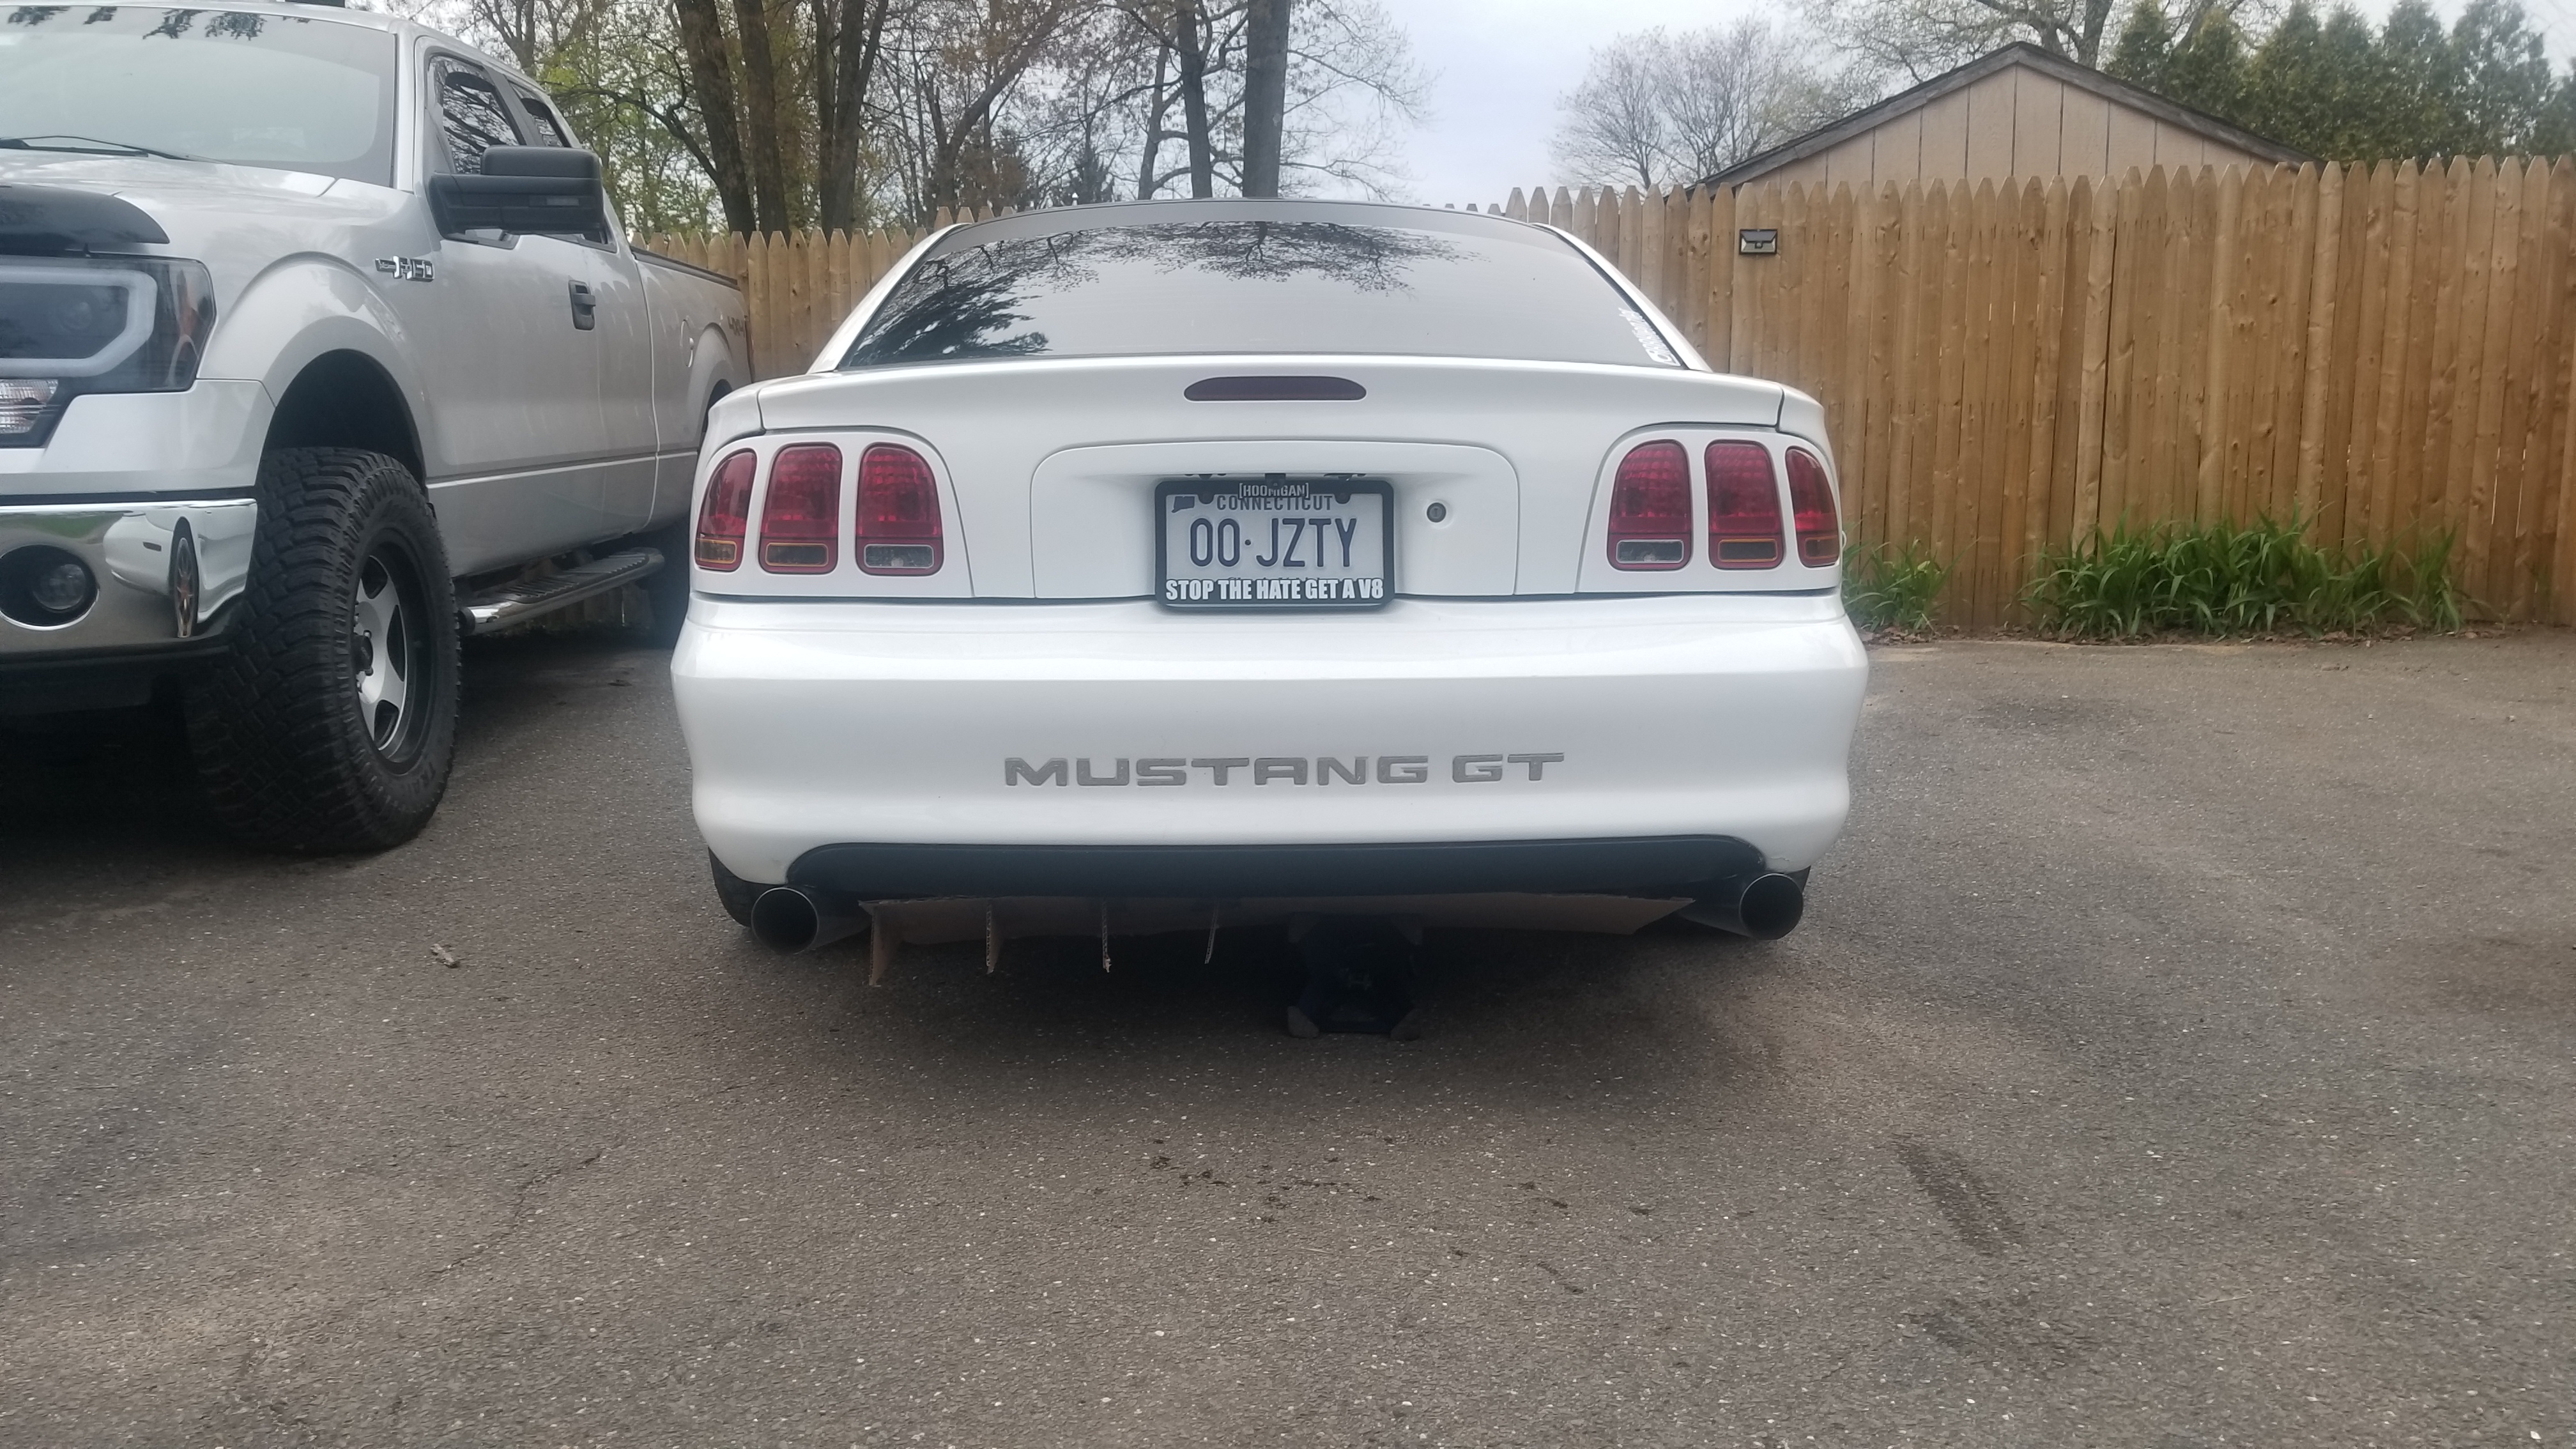
Just messing around with some cardboardfiber today
JkphkAy.jpg

N3CJb48.jpg

OCfvys8.jpg

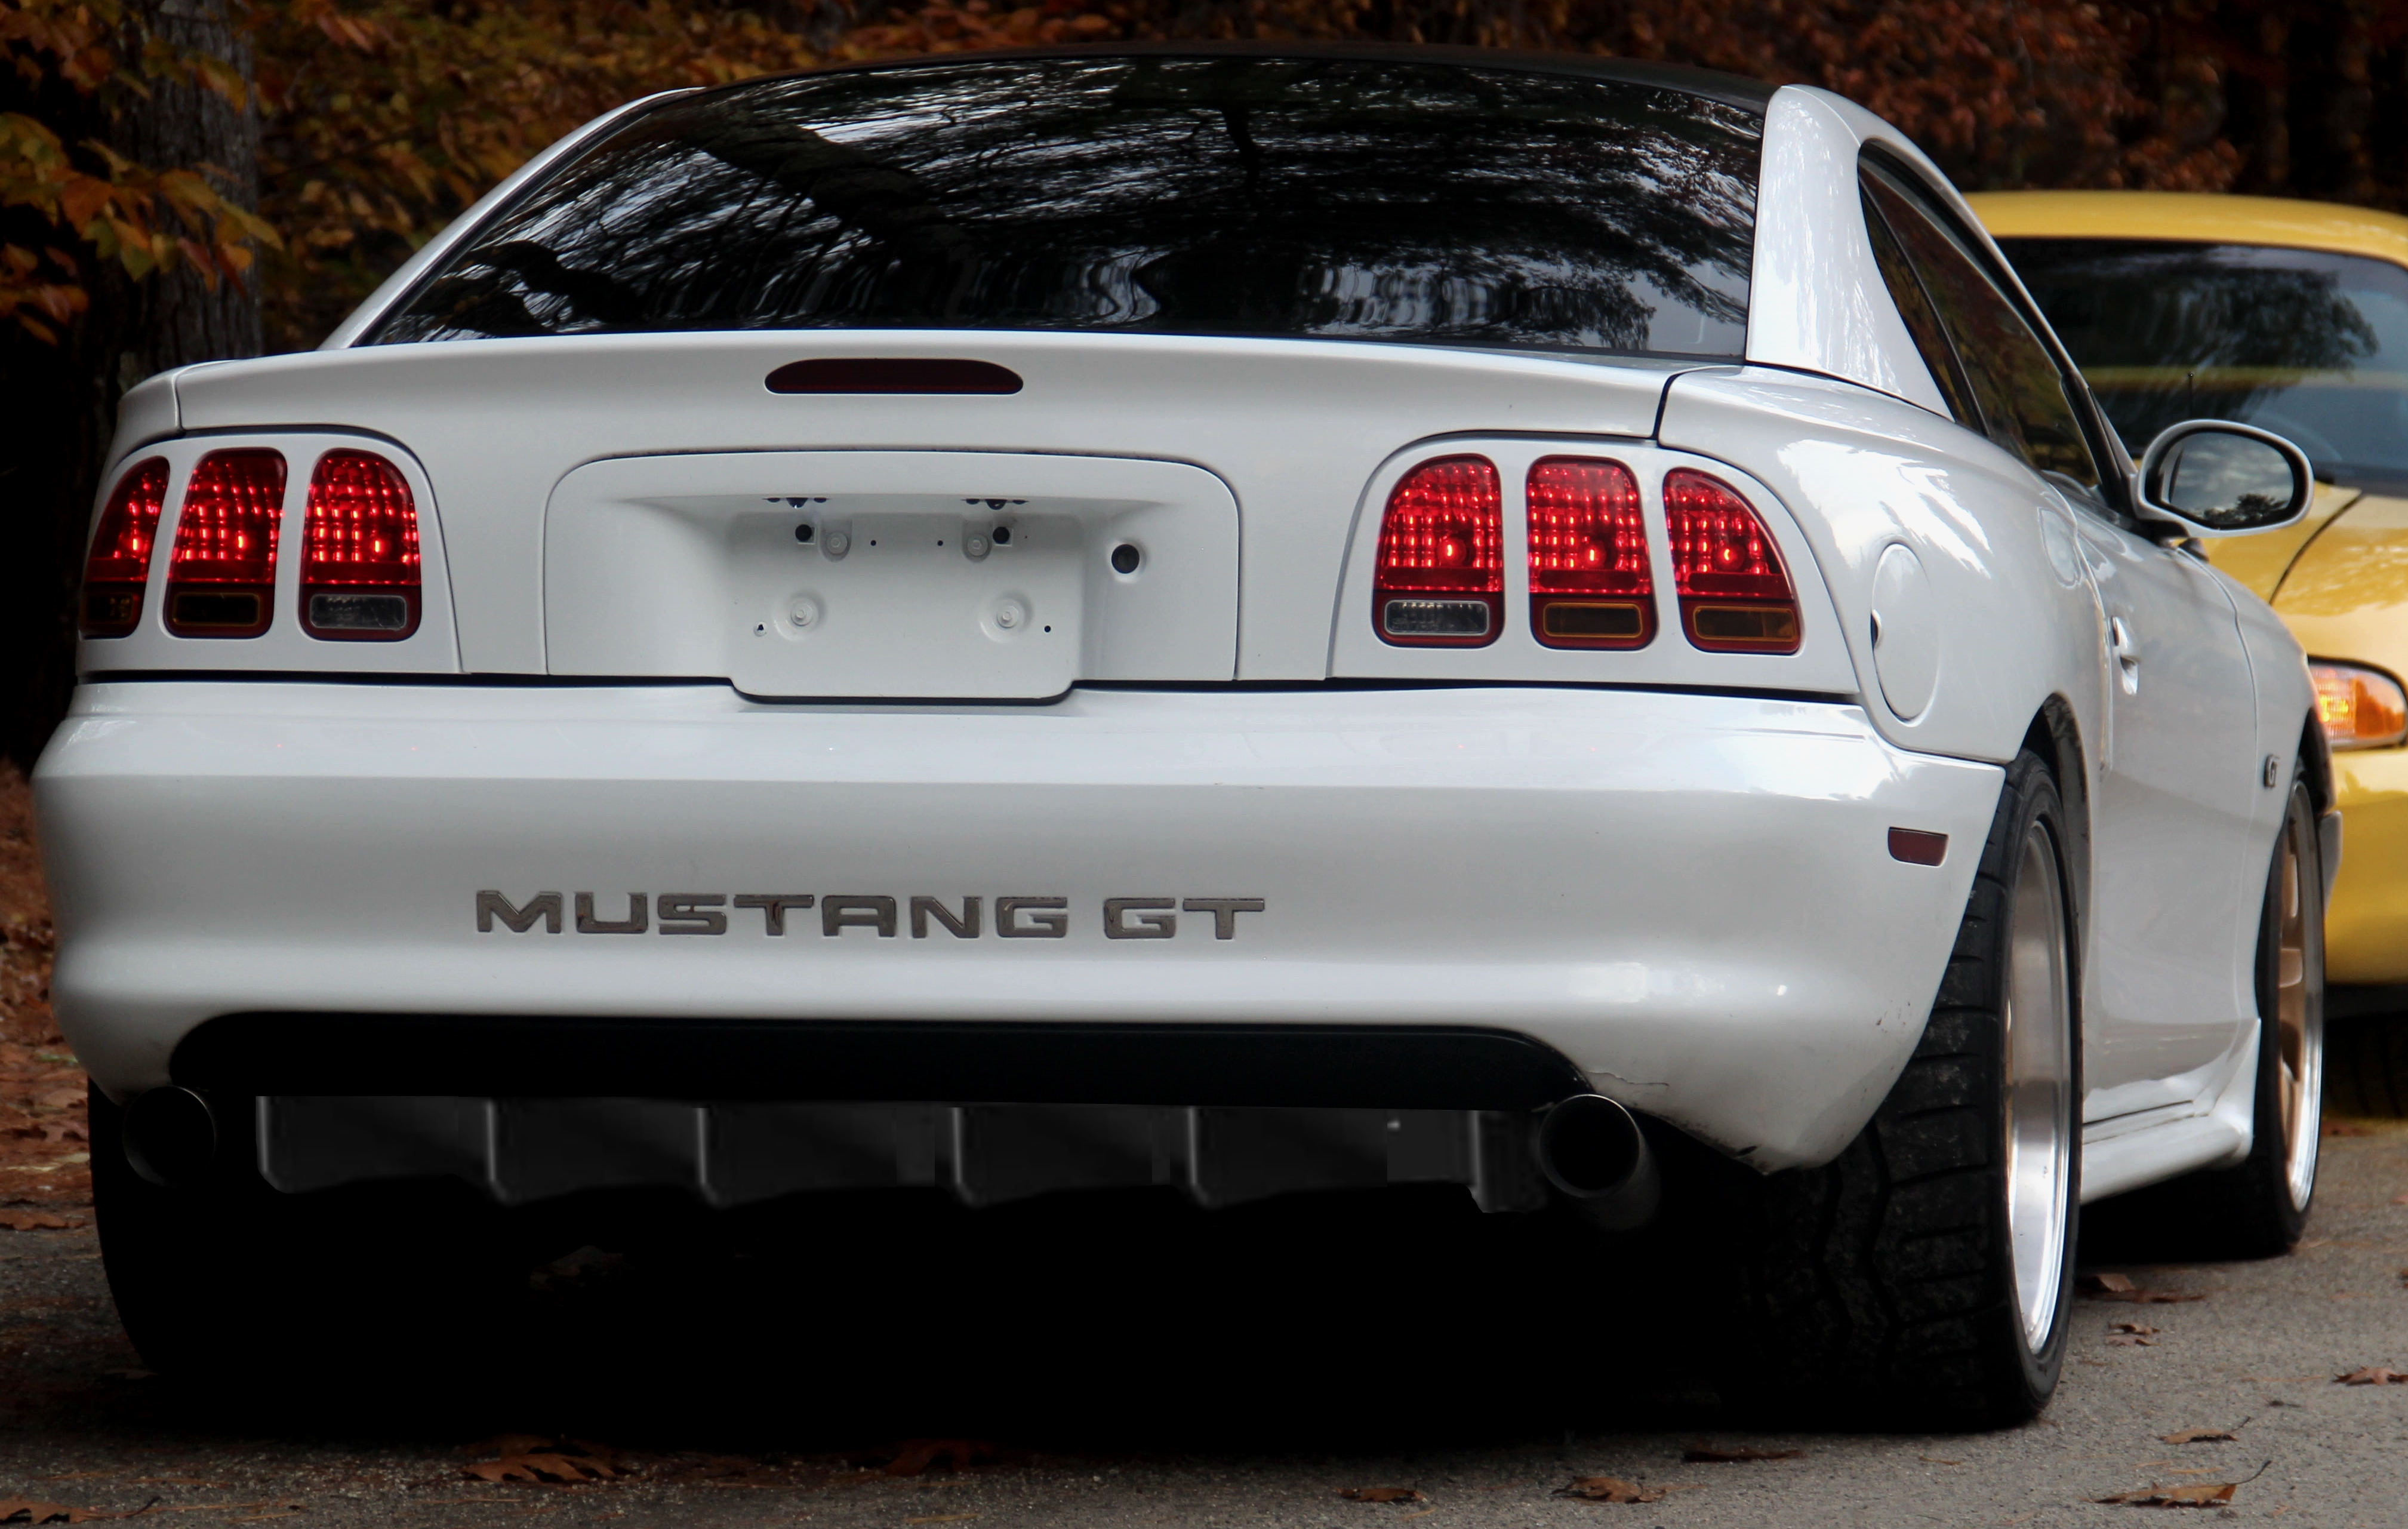
And the saying photoshop never did anything good for my wallet that I like to use comes to mind...
XKaBuhv.jpg
 

evilcw311

Most Evil Member!
SN95 Supporter
Joined
May 9, 2010
Messages
7,456
Reaction score
2,136
Location
Louisville, KY
I think the diffuser looks pimp!!!!! When you gonna build the real thing??


Sent from my iPhone using Tapatalk
 
OP
OP
FivepointSlow

FivepointSlow

Well-Known Member
Joined
Oct 22, 2013
Messages
2,646
Reaction score
60
Location
Enfield, CT, USA
I think the diffuser looks pimp!!!!! When you gonna build the real thing??


Sent from my iPhone using Tapatalk
Thanks, I've always loved the idea of a rear diffuser but a sharp edged diffuser never looked right on these cars imo. Especially on mine being wingless. But just rounding off the edges makes it fit just right.
Currently trying to locate some abs sheets near me. Only thing I can find is 2x4 sheets from the depot or lowes and I really need a 4x8 sheet to make it work. But once i find something it's happening asap
 
OP
OP
FivepointSlow

FivepointSlow

Well-Known Member
Joined
Oct 22, 2013
Messages
2,646
Reaction score
60
Location
Enfield, CT, USA
Got a look at my AC system after letting UV dye run through the system for a few days aaaand my compressor is leaking out of the casing.
So a new compressor and accumulator/drier whatever it's called is in order plus shop labor because I dont have the means to properly discharge, install, oil, and recharge the system.
I'm gonna see how long the system holds pressure, because I was just about to pull the trigger on a bunch of stuff to rebuild my suspension.

That being said I have a set of custom built BCRacing coilovers on the way for a good price thanks to my friend who is friends with a BC rep.
The car still has stock lower control arms and the bushings in them and every other suspension part are pretty shot. So I'm looking into new front lowers, and am trying to decide on a set of rear upper and lower aswell. Also gonna do sway bar bushings and end links and probably do front hubs while everything's apart just for piece of mind. The cars tight but the suspension is noisy as all hell now that we are seeing temps above the 60s here in new England.
 

g36 monkey

Post Whore
SN95 Supporter
Joined
Nov 15, 2008
Messages
14,081
Reaction score
596
Location
Orlando, Fl
Sorry to hear about the A/C - pain in the ass. I know you don't want to, but I'd be tempted to let them discharge it and then you pull and replace the compressor and stuff. I'd even consider pulling the dash to do the evap and heater core at the same time.
 
OP
OP
FivepointSlow

FivepointSlow

Well-Known Member
Joined
Oct 22, 2013
Messages
2,646
Reaction score
60
Location
Enfield, CT, USA
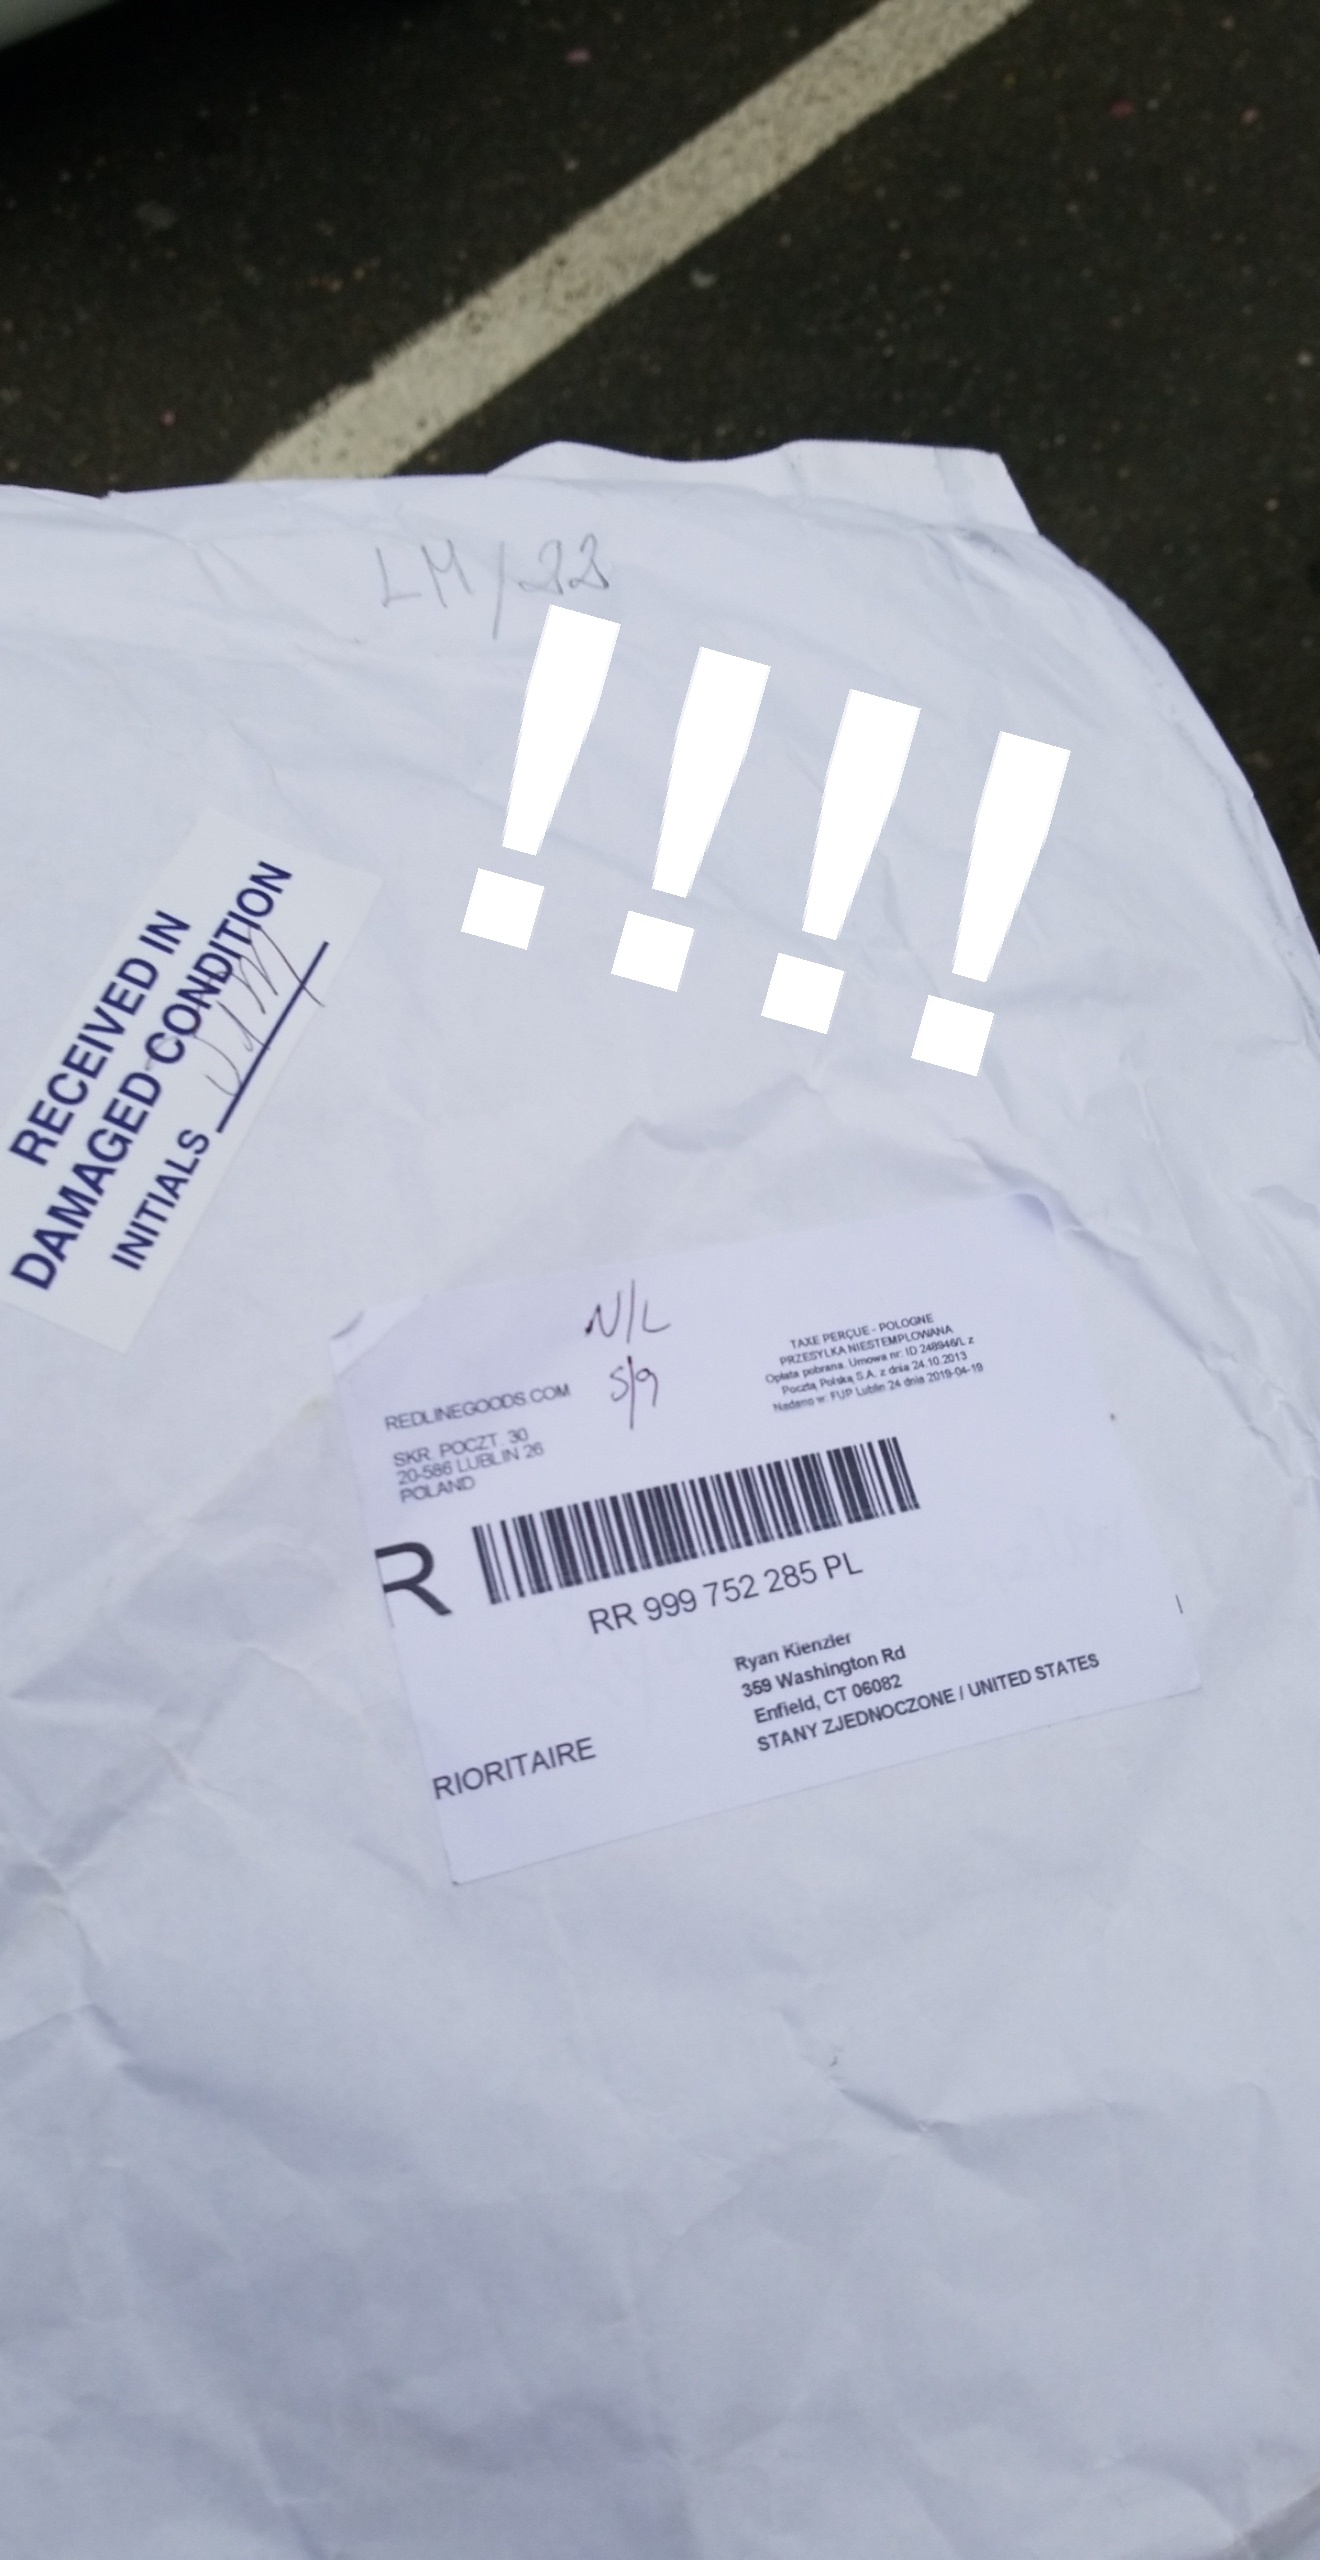
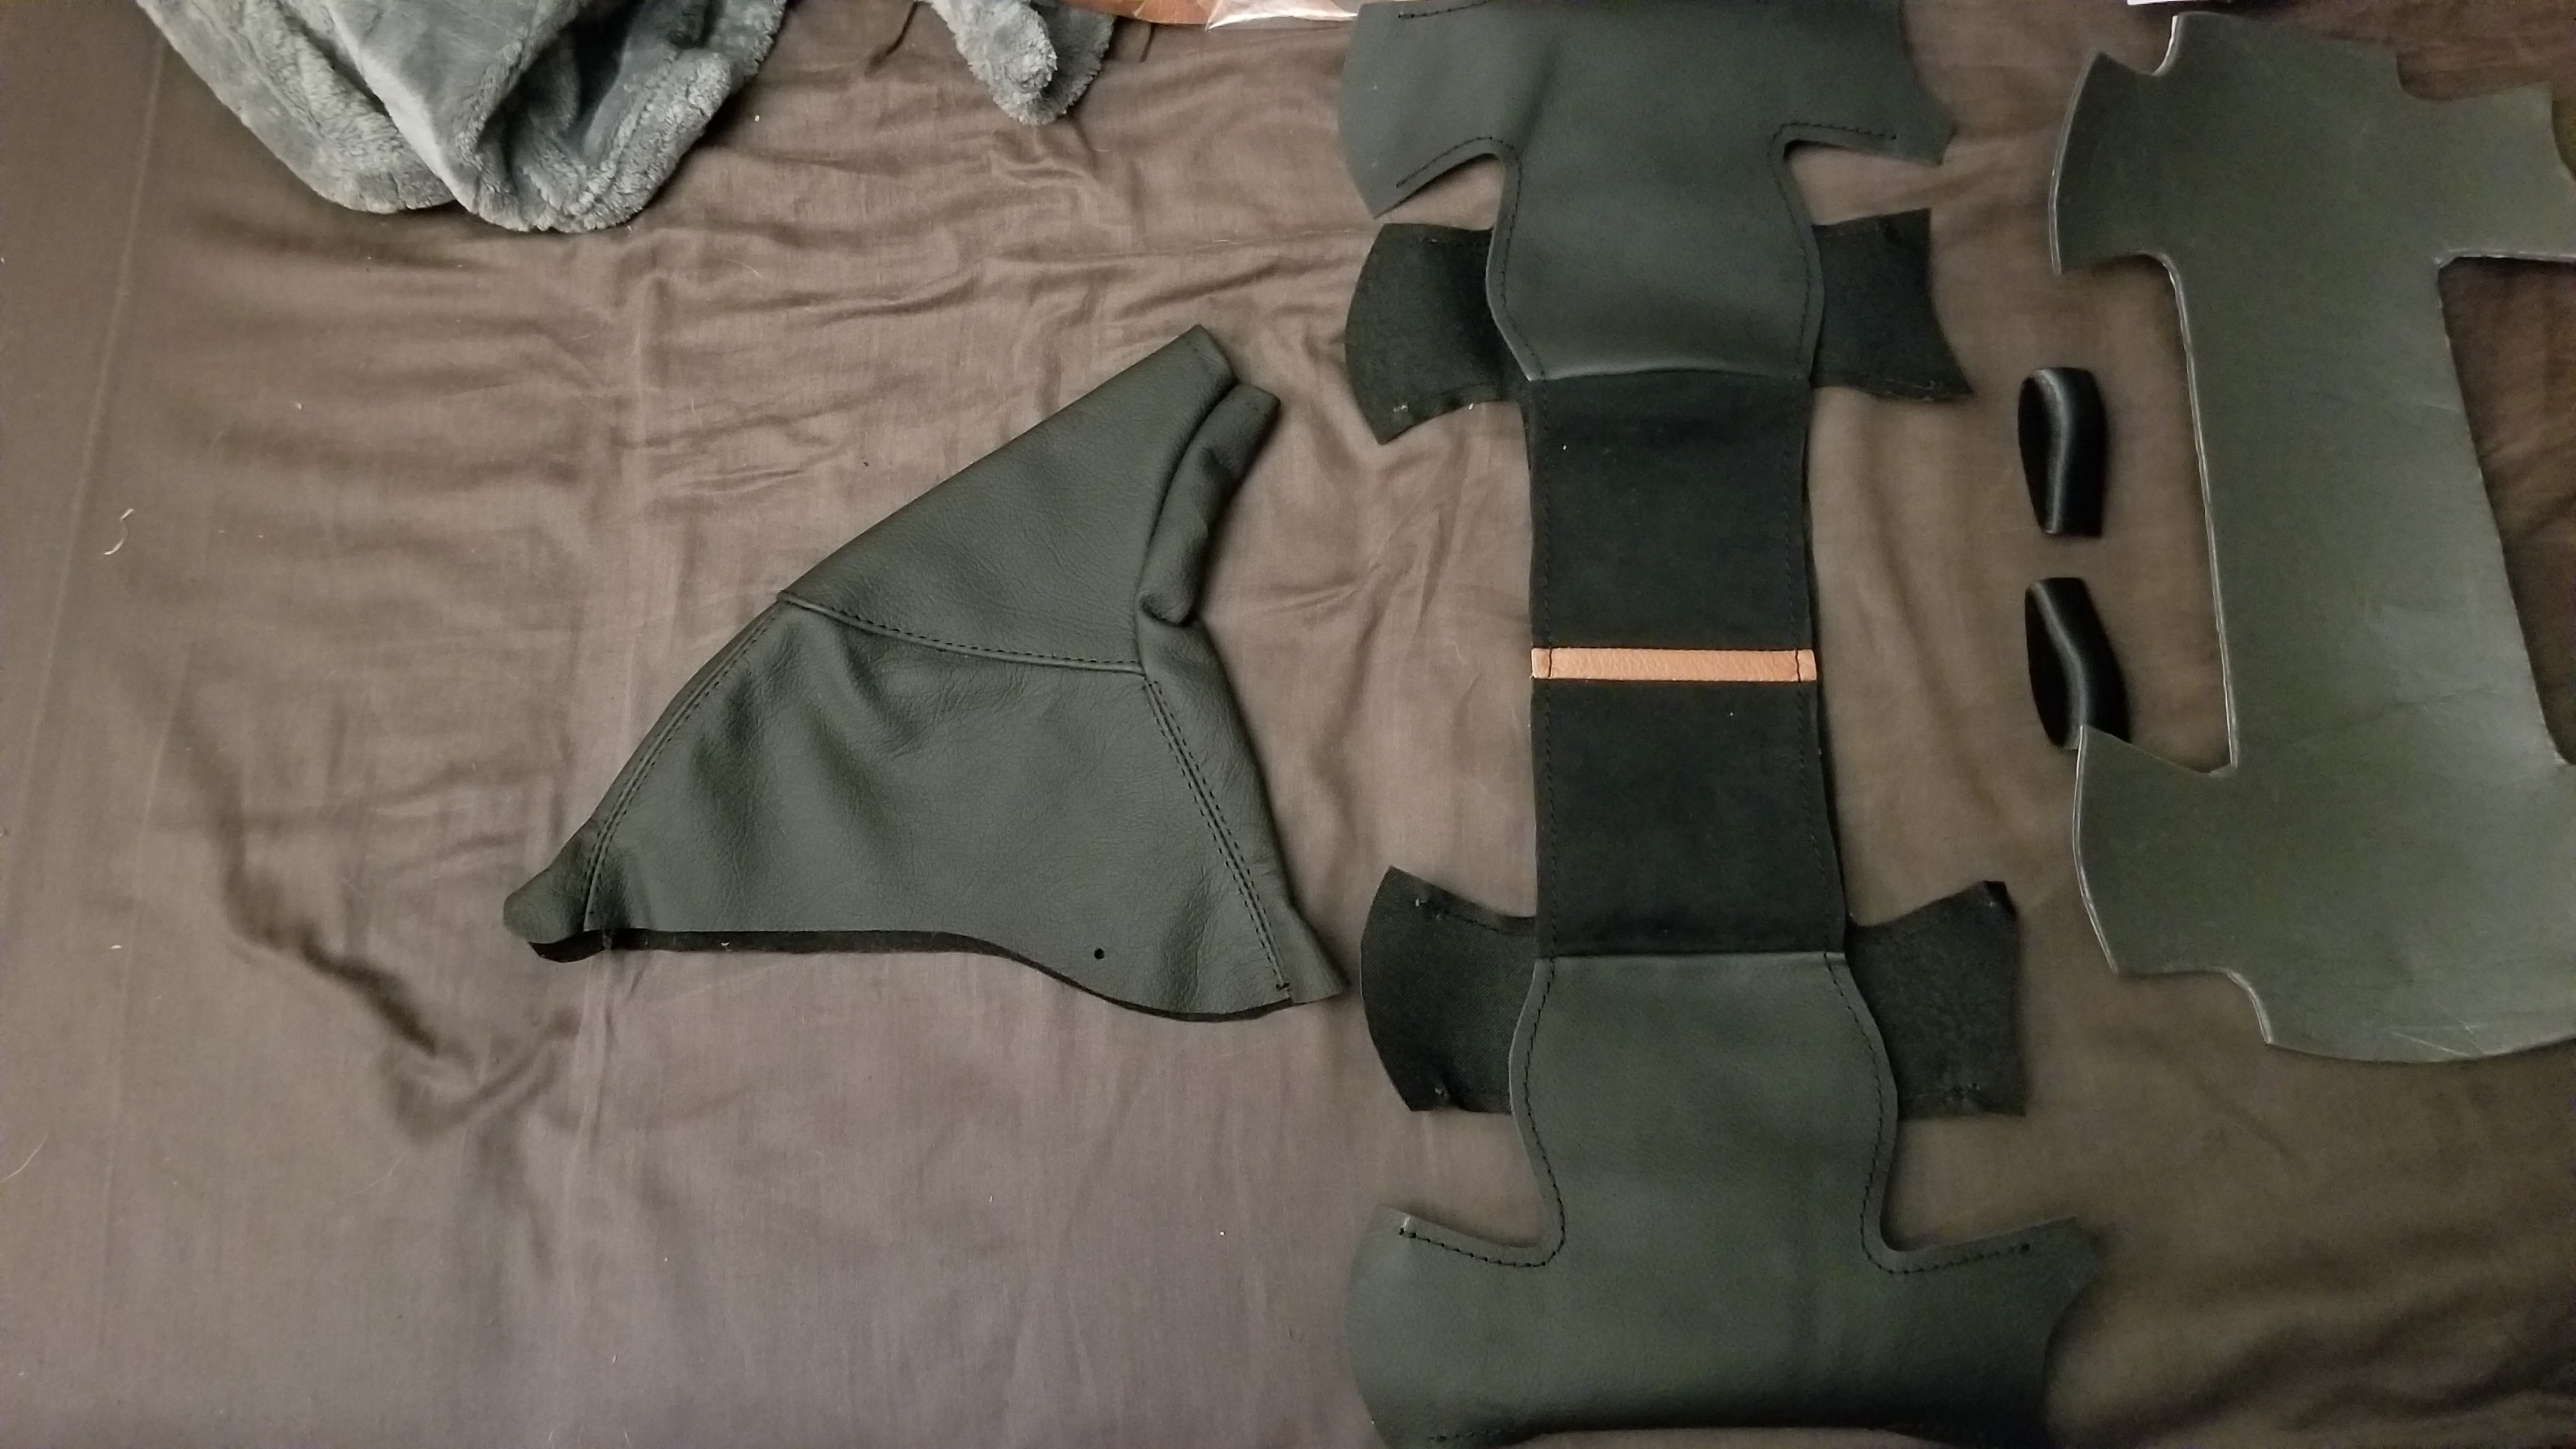
Been waiting on my RedlineGoods order for what feels like forever...
Called the other day and they said it was in customs, so I figured any day now...
Well today I had the day off, hoped it would come but didnt think much of it all day, was out and about all morning/early afternoon. Came home for a bit, took a nap, woke up and found the mail came... and oh look little slip from USPS for a signature required package.. F.
Called them up, said to call back at 4:30 to see if the driver was back. Called and they said he went back to my house and I wasn't there again, when I was down the street at my grandmas cleaning up my car for a car show later.. I was only down there for 20 min when I called them so I mustve just missed him... they said he was still out, they told me where he was, appt complex just down the street, race over, he's not there, call again, he just got back to the post office, its now 4:50... Tell them I am on my way if they can pull the package for me.. They kindly did, get there at 4:57, out the door with it at 4:59. YES.
WsK4tgX.jpg

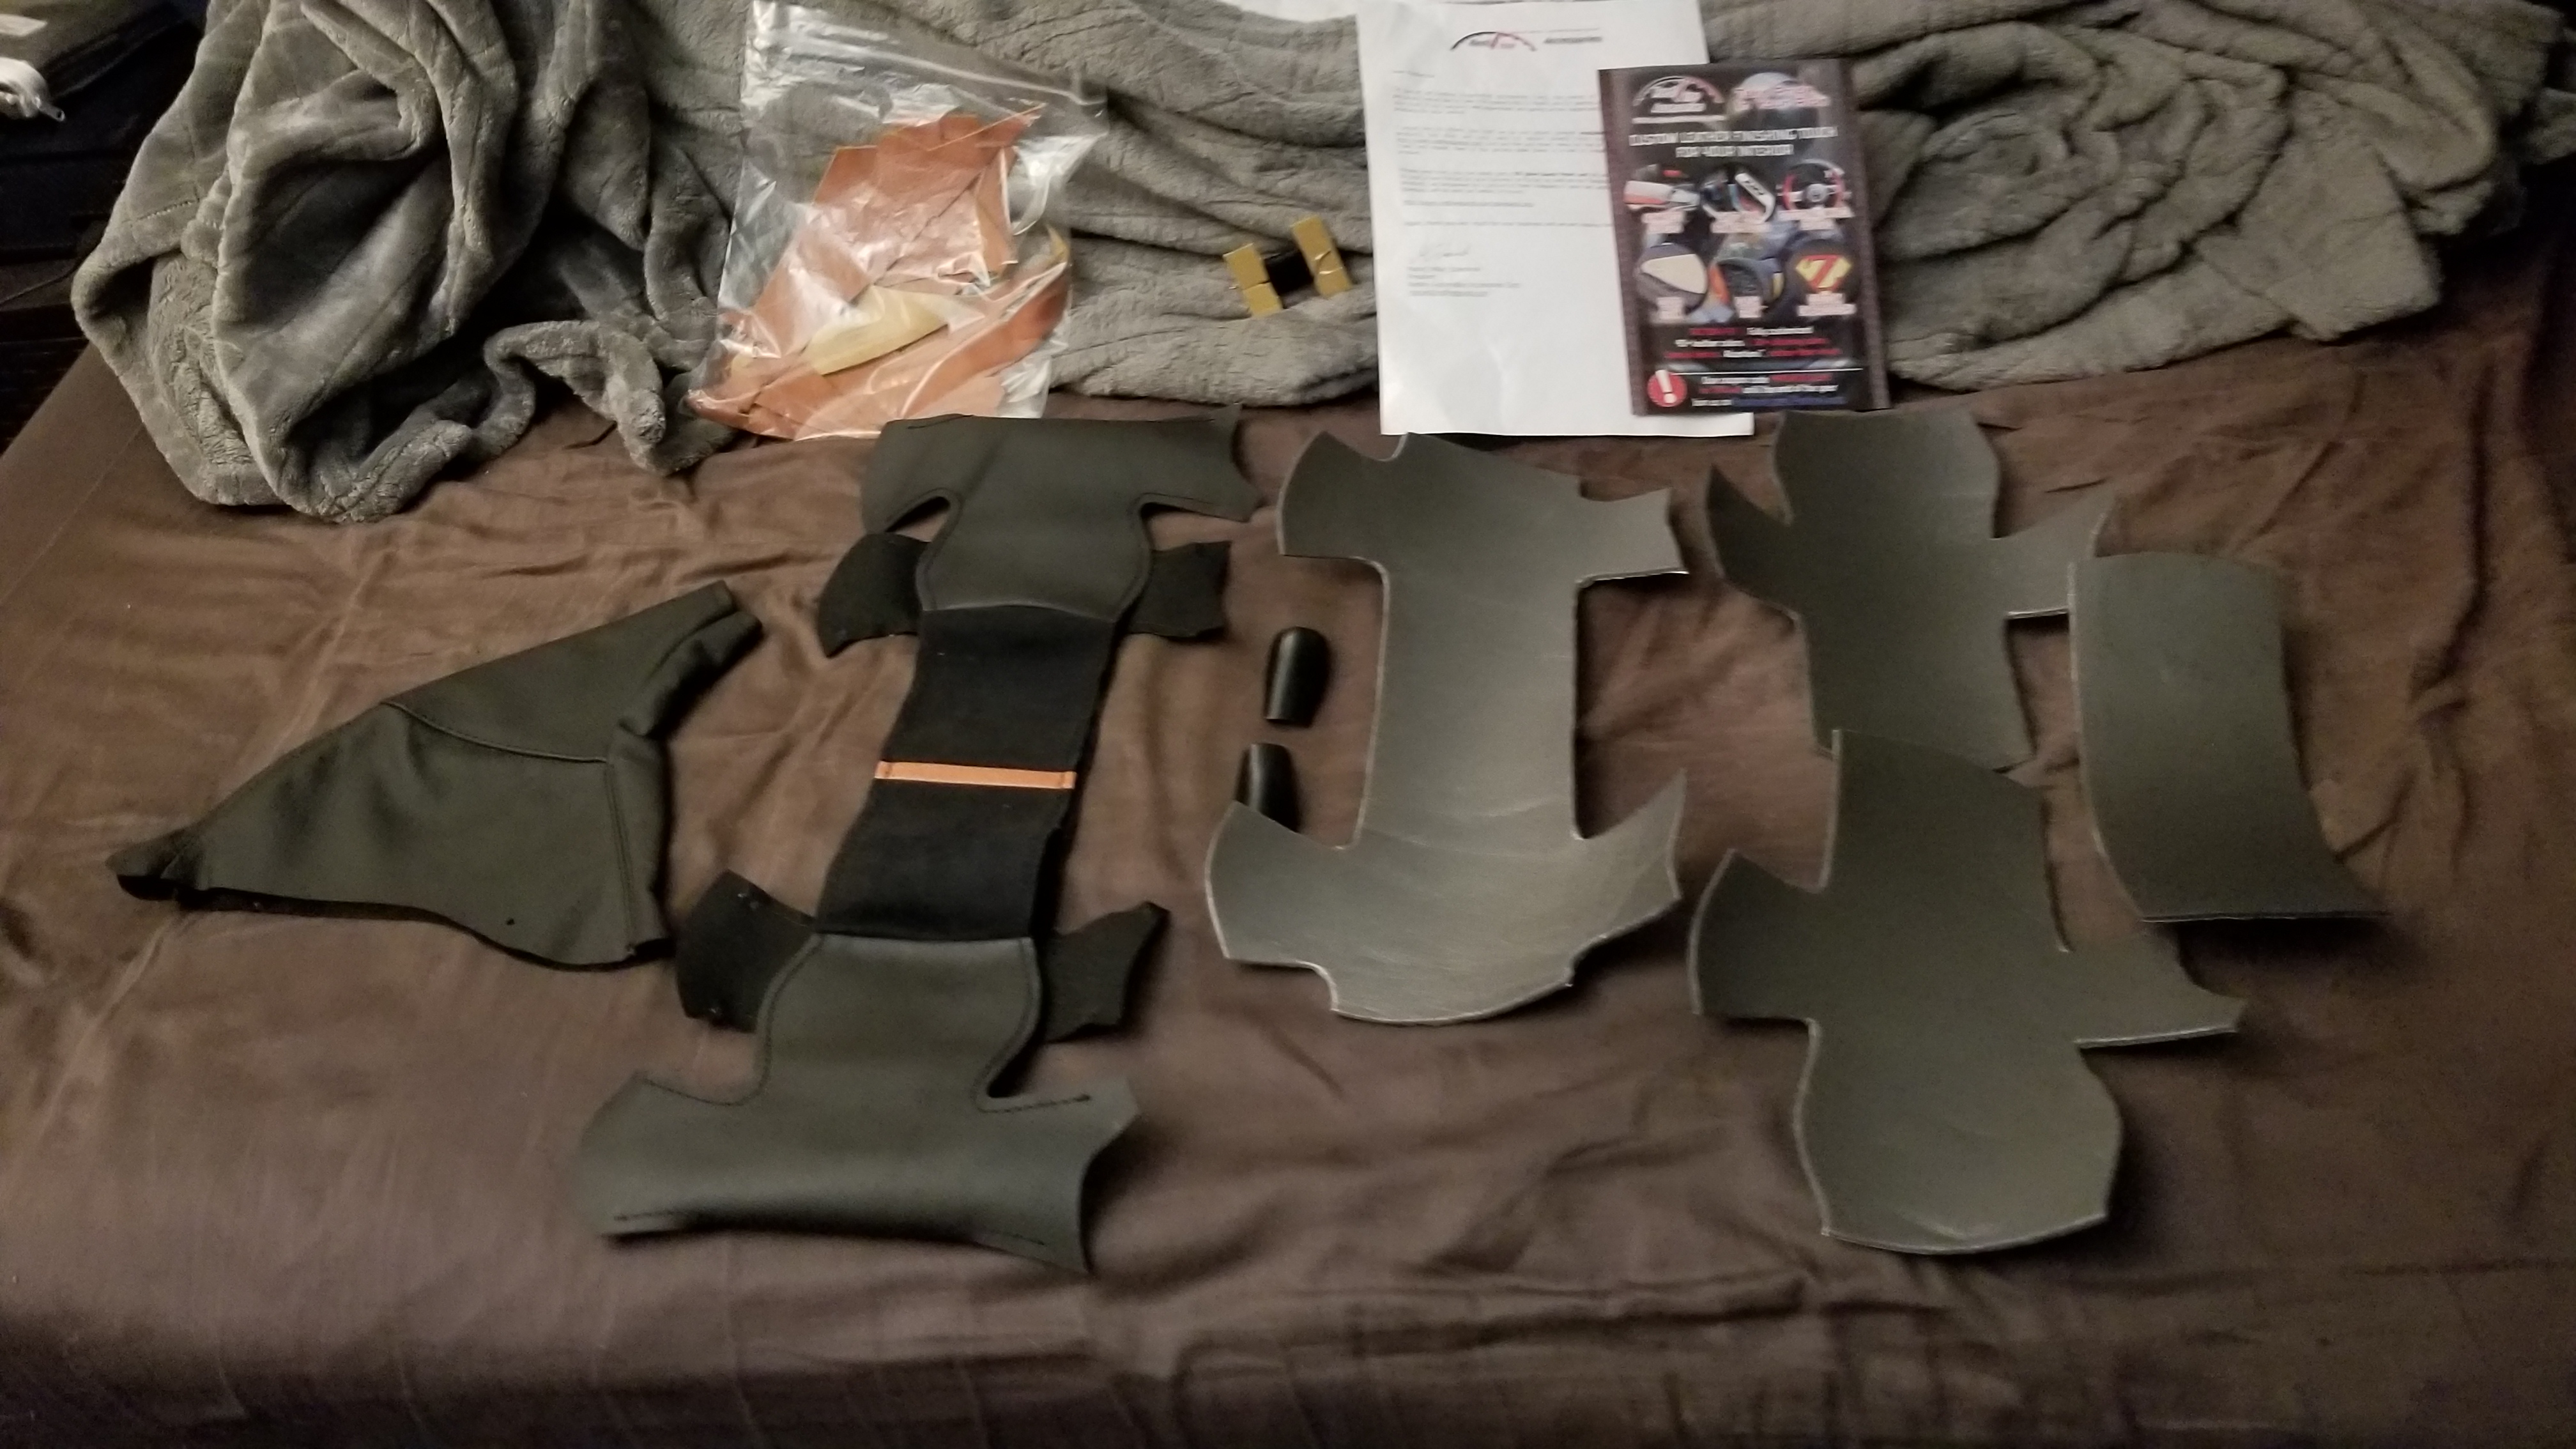
Envelope was damaged in shipping, but everything inside was unharmed!
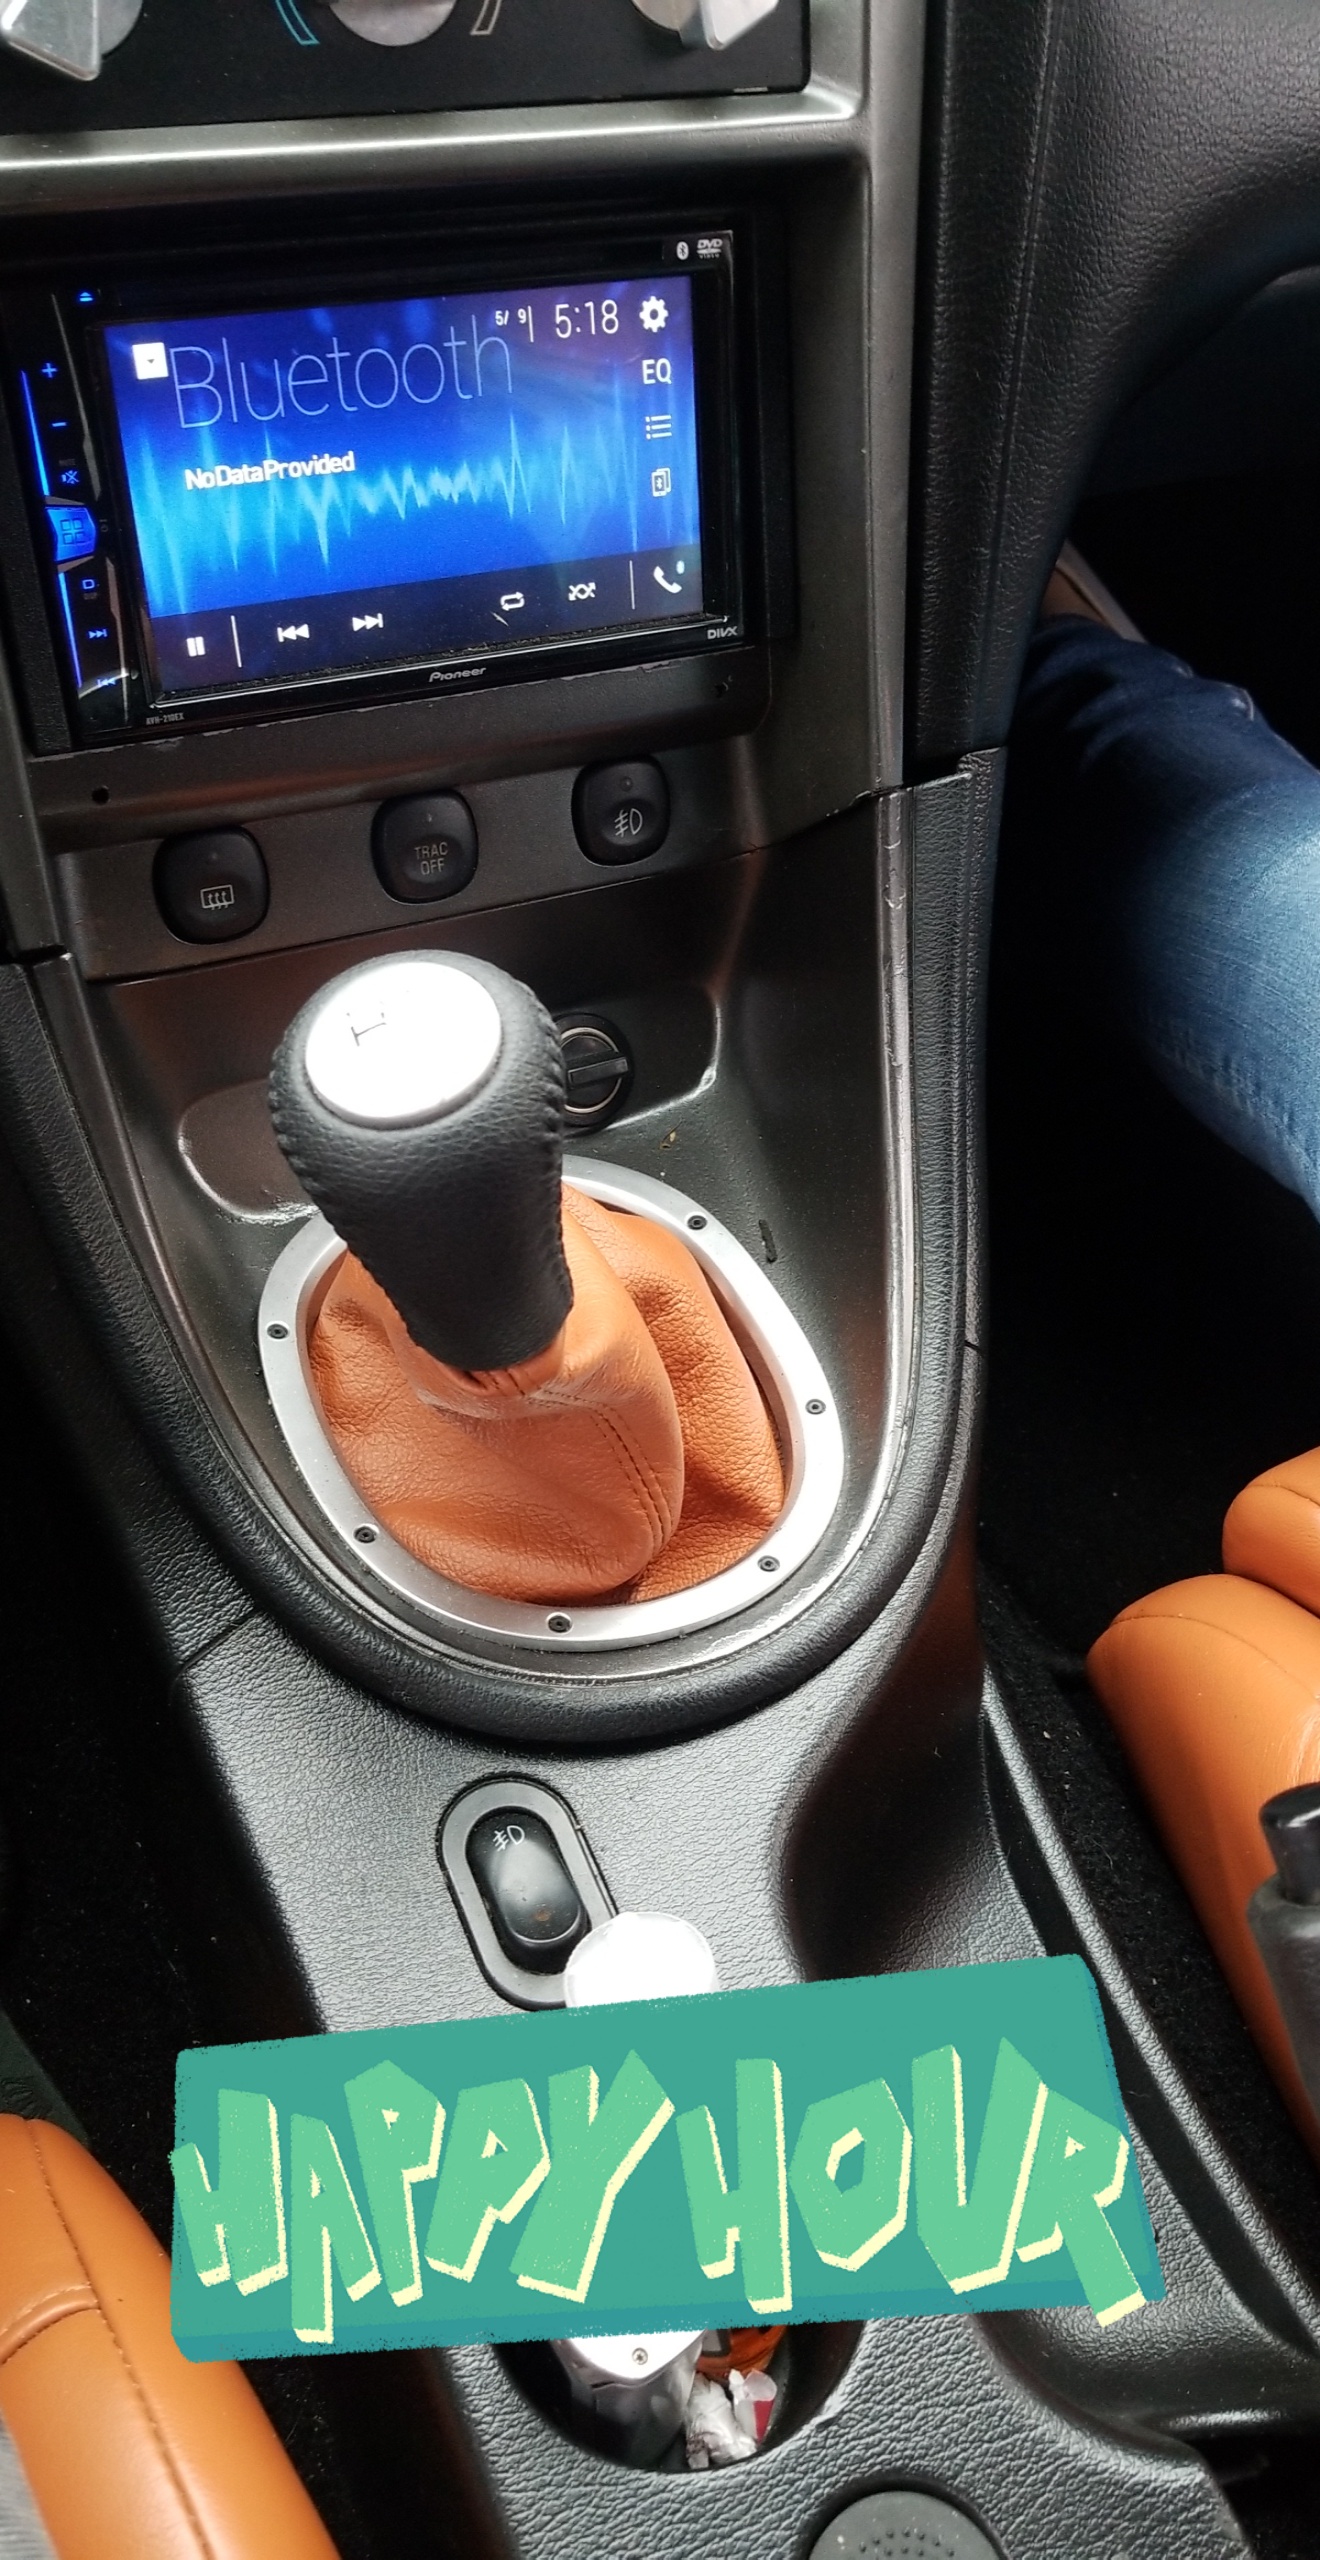
BjaOYyk.jpg

Quickly tossed the shift boot on and headed to the car show!
4biXhSk.jpg

aWRDT1A.jpg

bwT7jbF.jpg

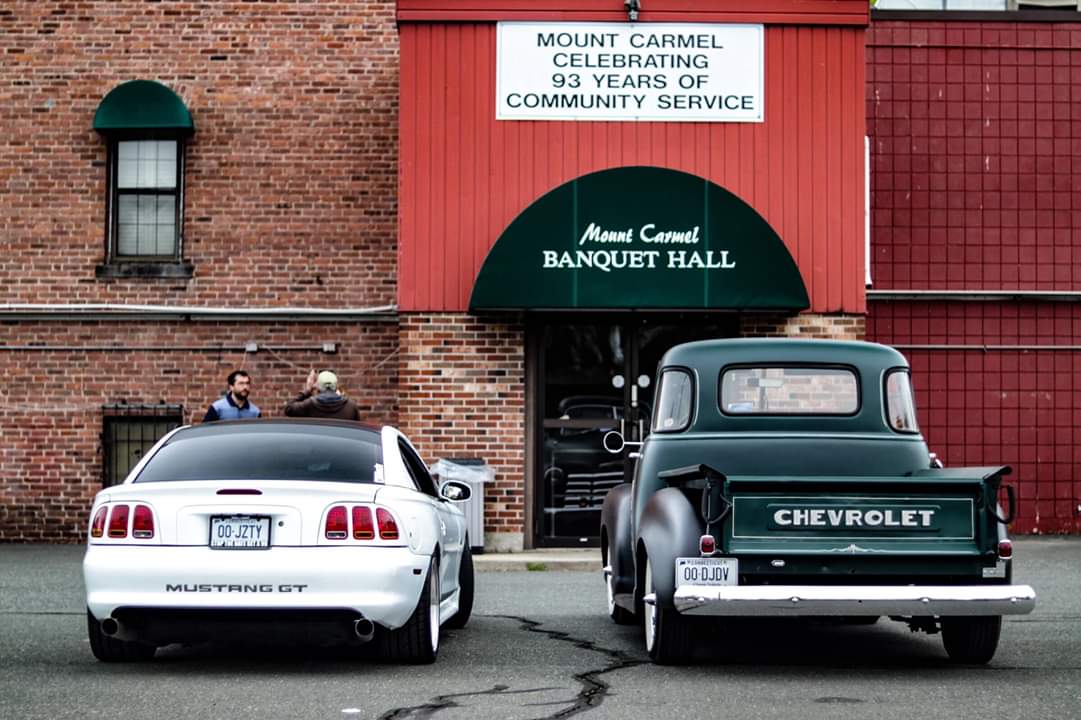
Noticed someone walking around with a camera at the show, didn't think much of it. Was kindly surprised that this show has a FB page and my mom who I took with me saw they posted pictures from the show and well here ya go
mzD3muu.jpg

f8gaUyk.jpg

PM74Xh9.jpg

DBBcnOz.jpg

I need to work on my car show etiquette and make sure my wheels straight after pulling in... lol
It was awesome going to this show, for context before I even had a license my parents had a 2007 windveil blue GT and a 2005 red convertible V6 that I was always washing and detailing and modifying for them, my dad and I started to help out a wed night car show and ended up taking it over and running it ourselves for awhile, but then my dad drove his GT into the ground (this was his only car, daily driver, and he put about 40k a year on it driving around as an insurance salesman) and we kinda stopped going to shows all together. The same group of people who ran the wed night car show before and after my dad and I are also doing this thurs night car show right here in town. So I havent seen any of them since I was 17? I am now 22 and it wa hilarious watching them all slowly realize who I was and remembering me. A few of them thought the 98 was infact the 94 I was always talking about back then and congratulated me and such on getting it on the road.. Had to fill them in a bit on the demise of the 94 LOL
 
OP
OP
FivepointSlow

FivepointSlow

Well-Known Member
Joined
Oct 22, 2013
Messages
2,646
Reaction score
60
Location
Enfield, CT, USA
ANYWAYS
The rest of my goodie bag from Poland
VSdAKwa.jpg

TQtn71k.jpg

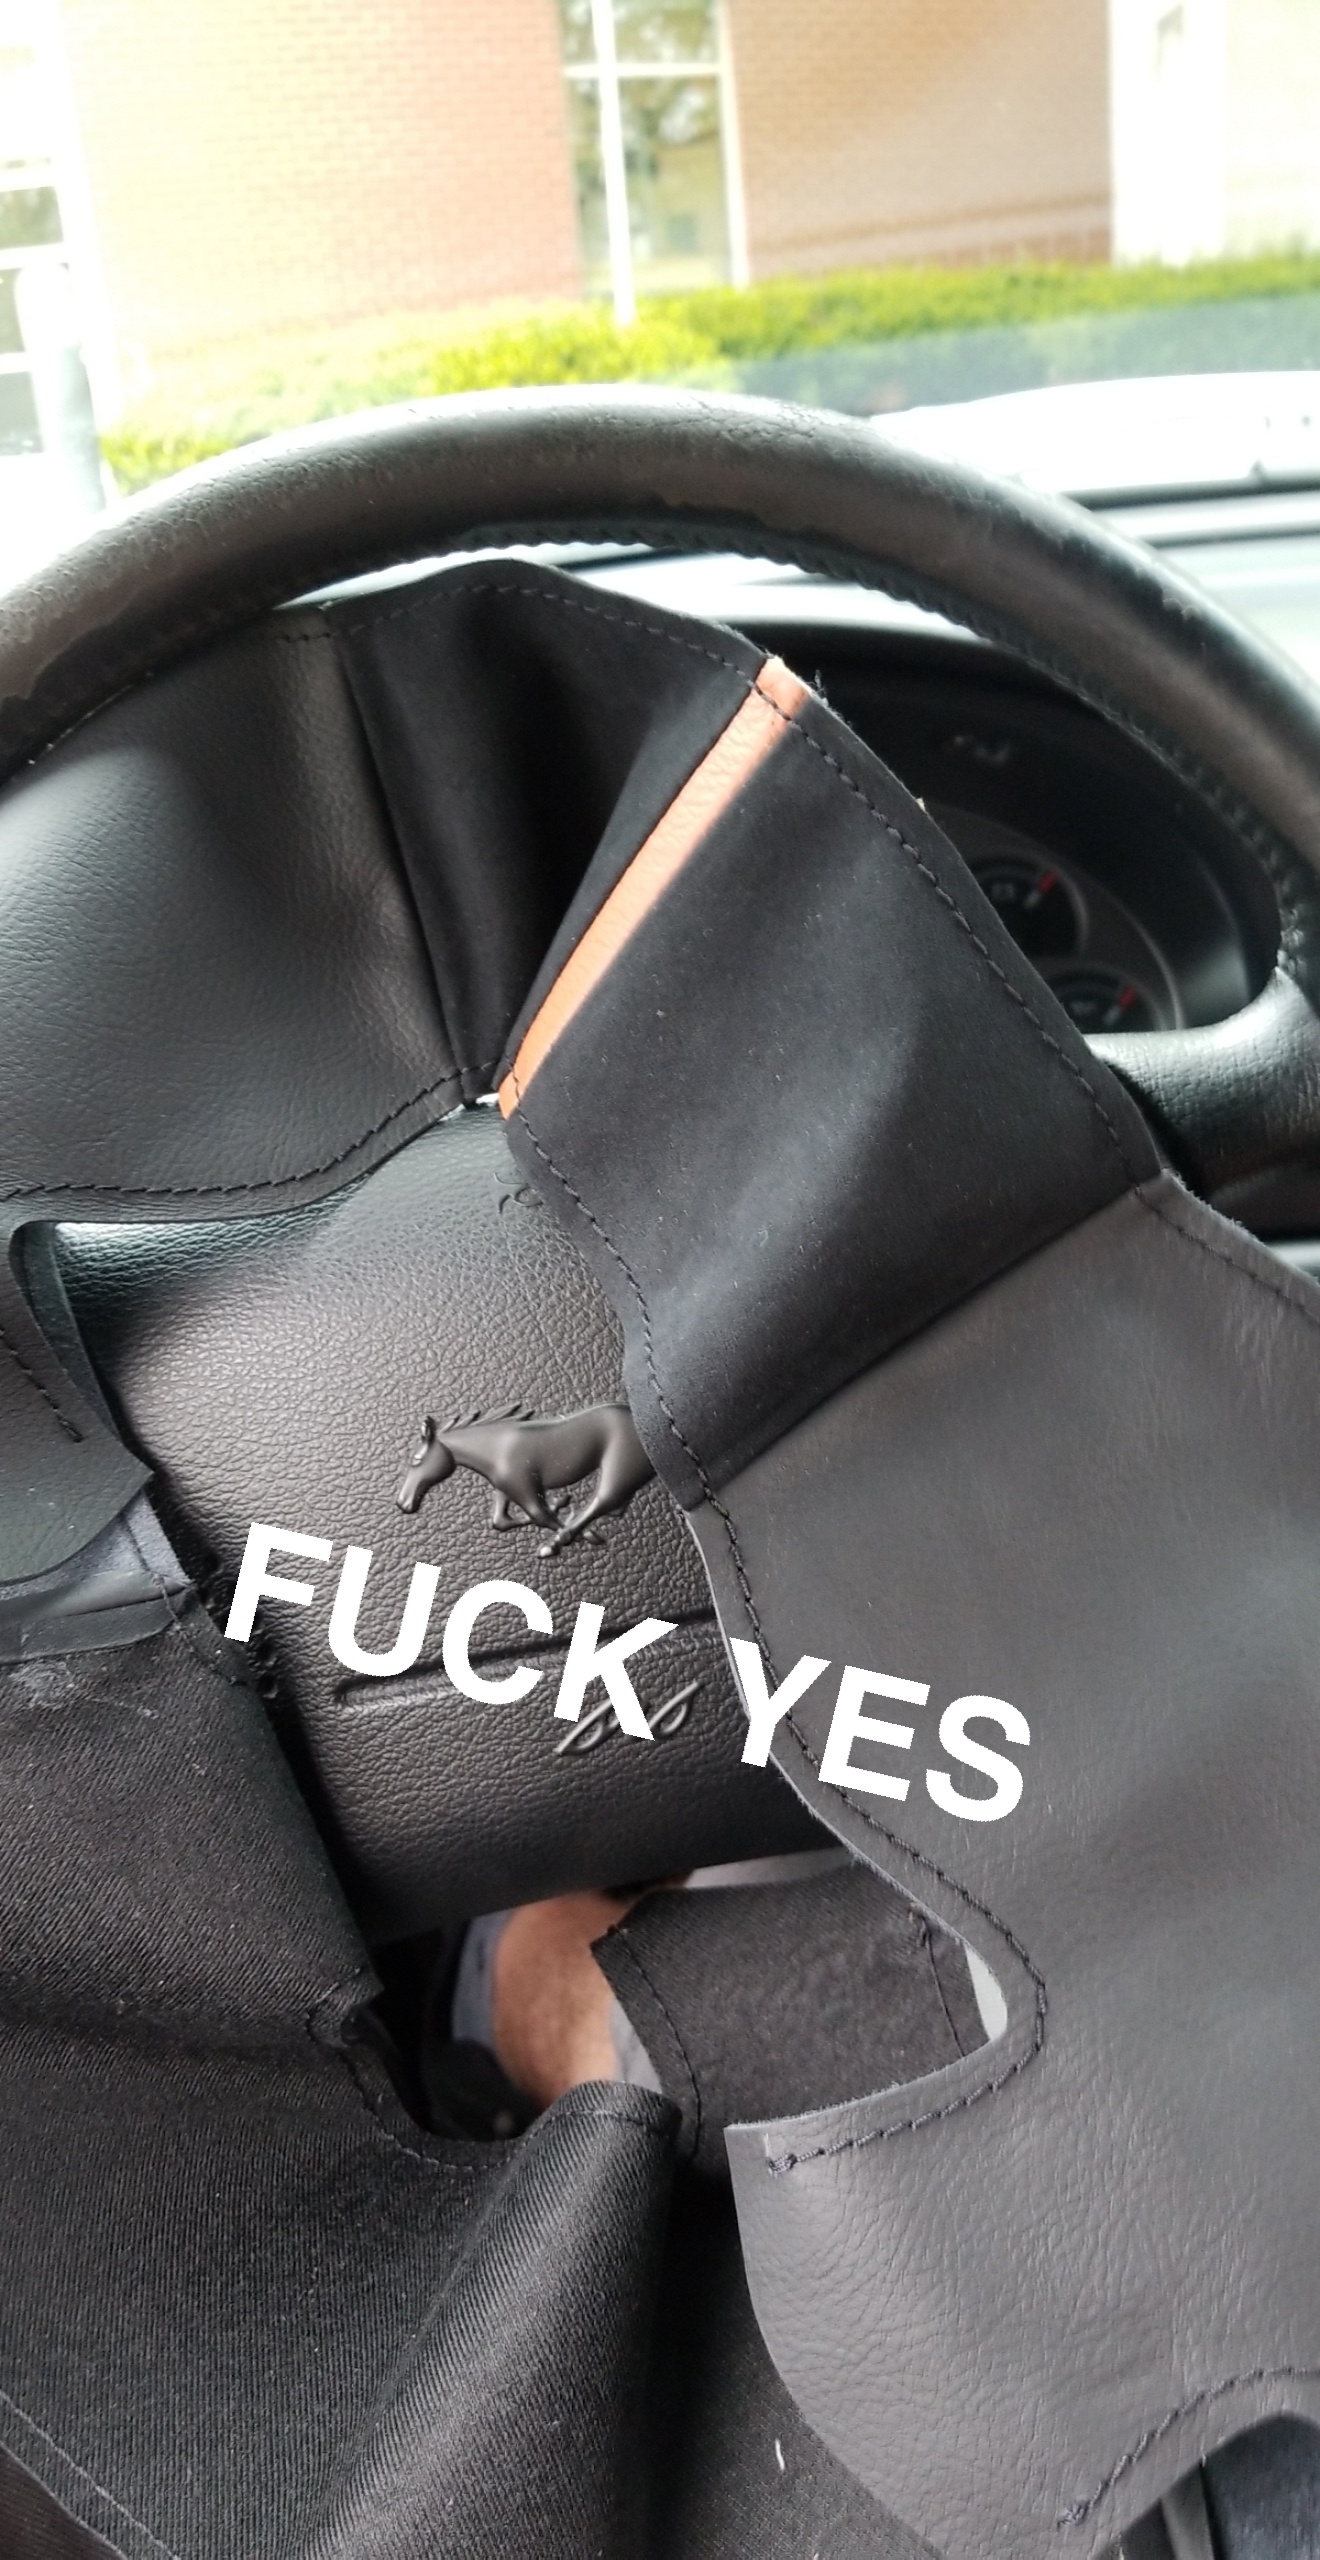
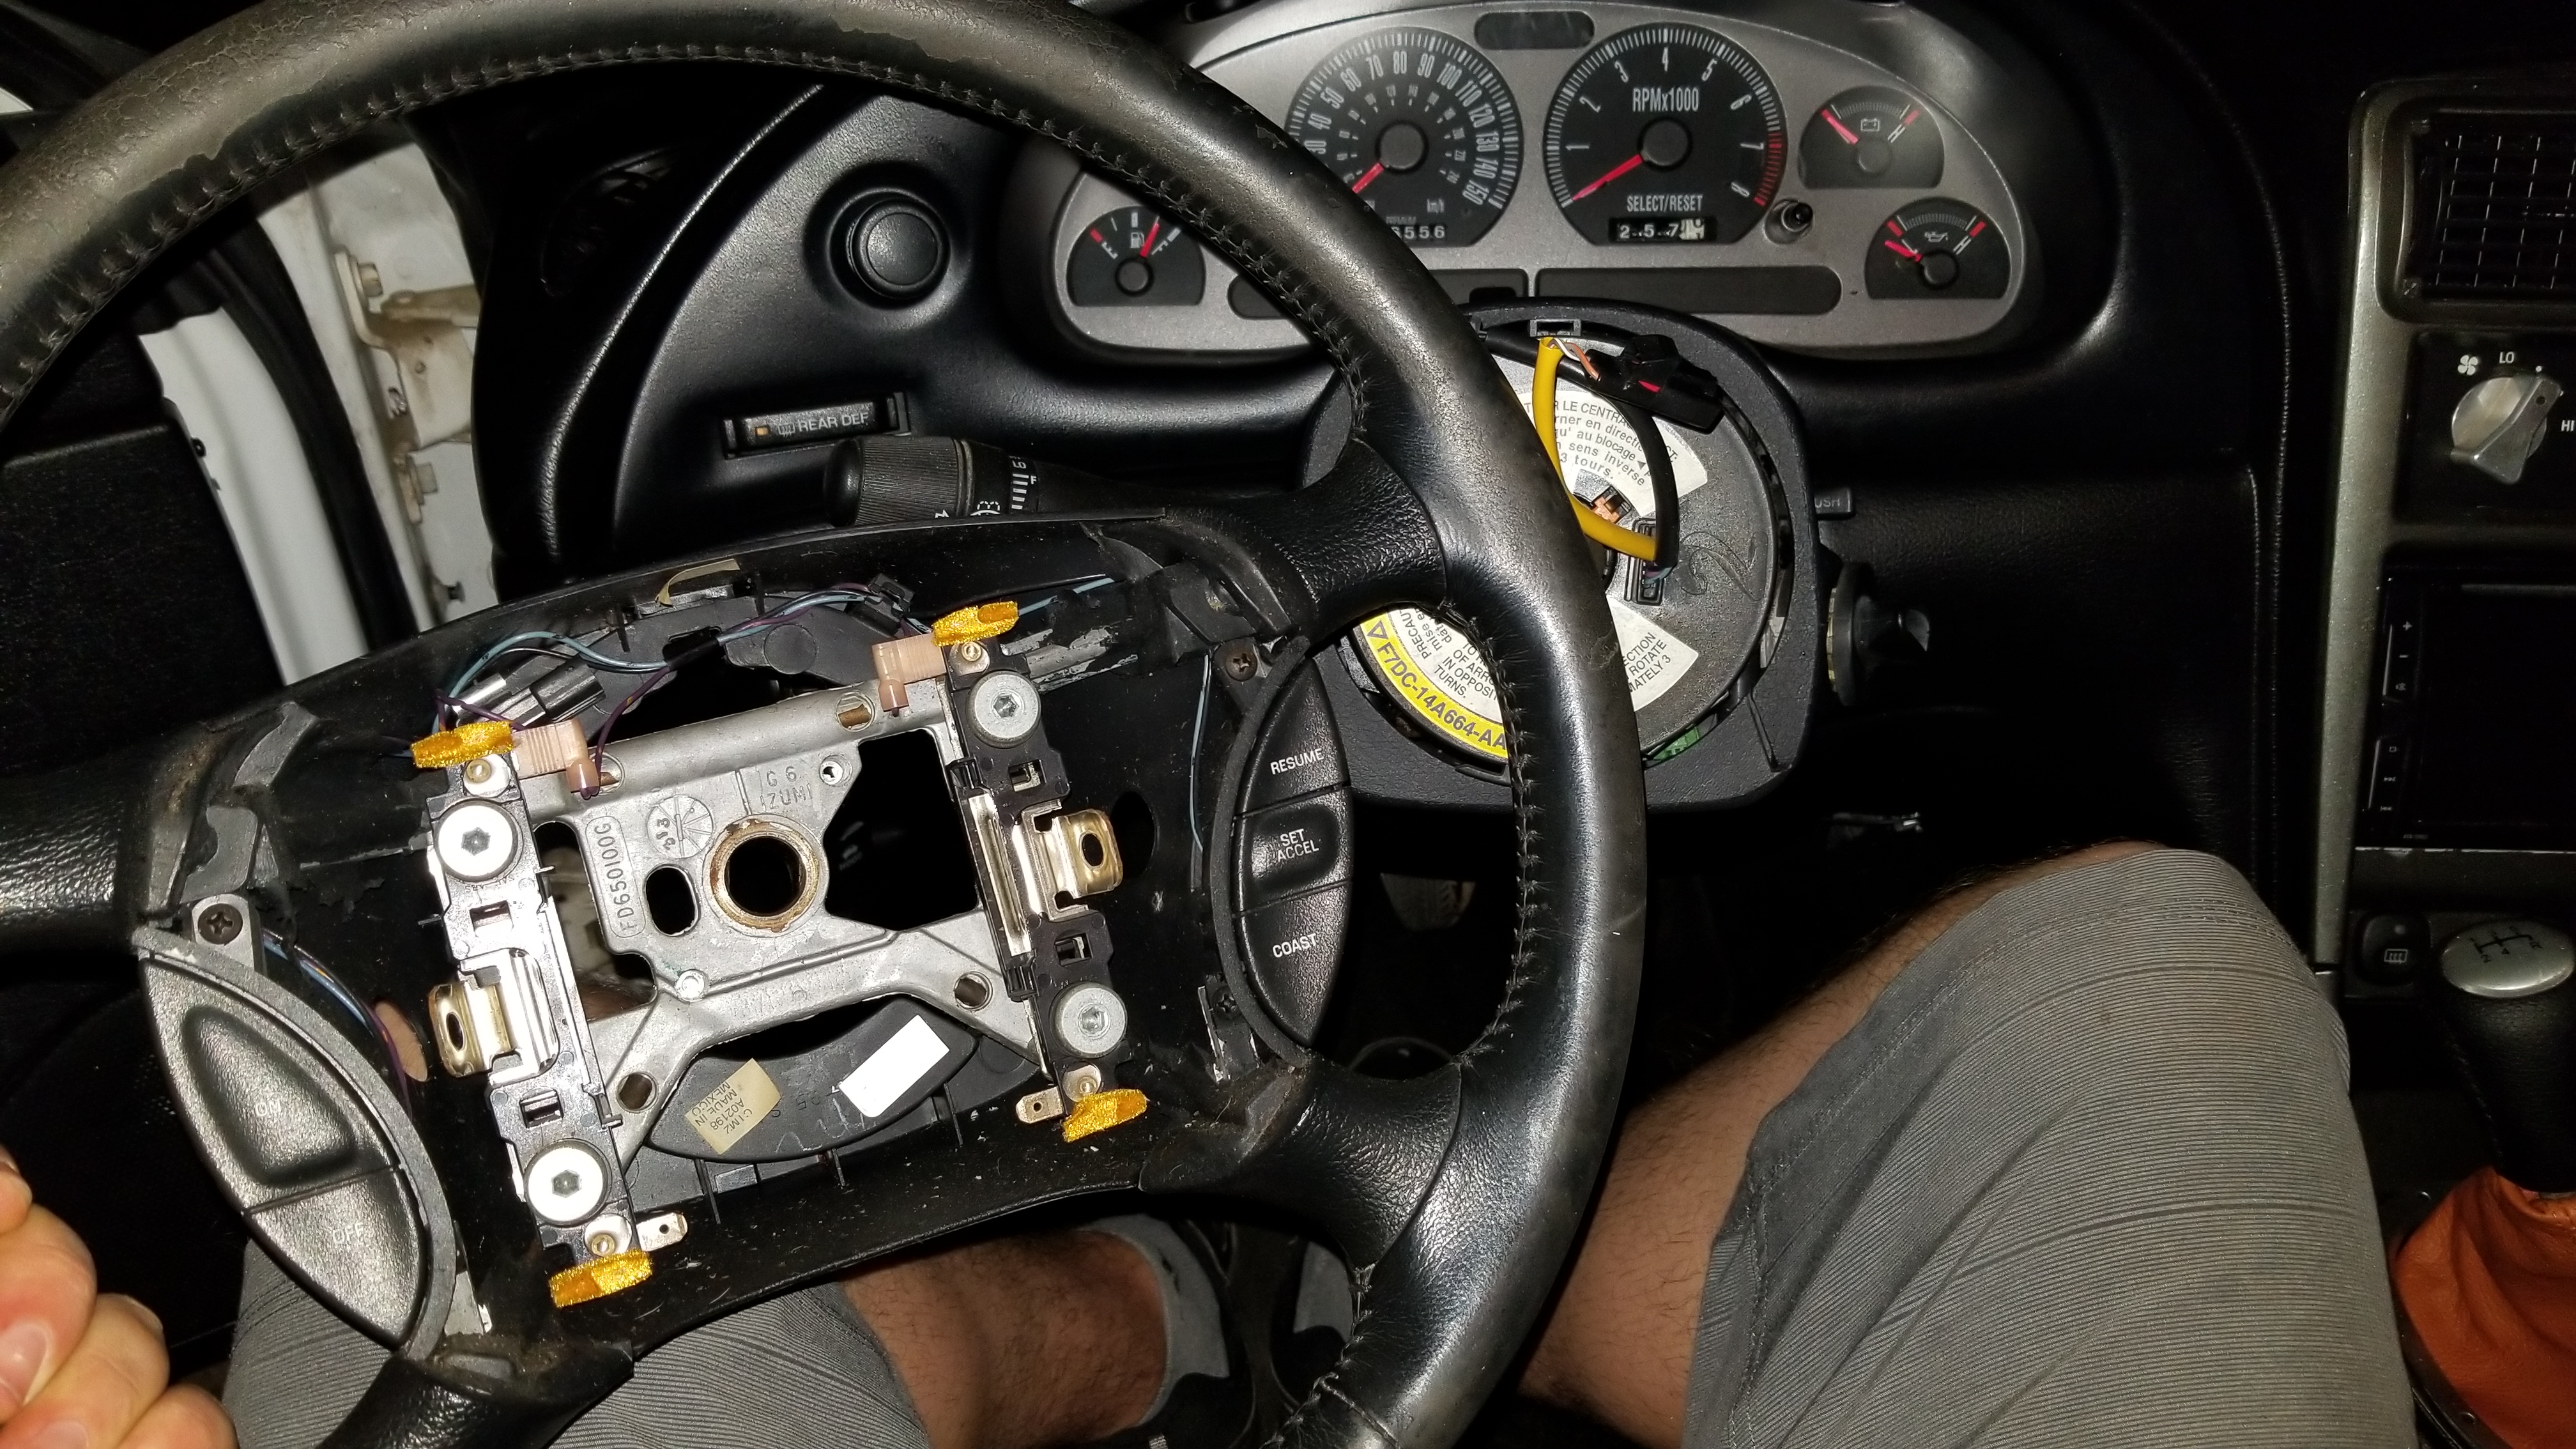
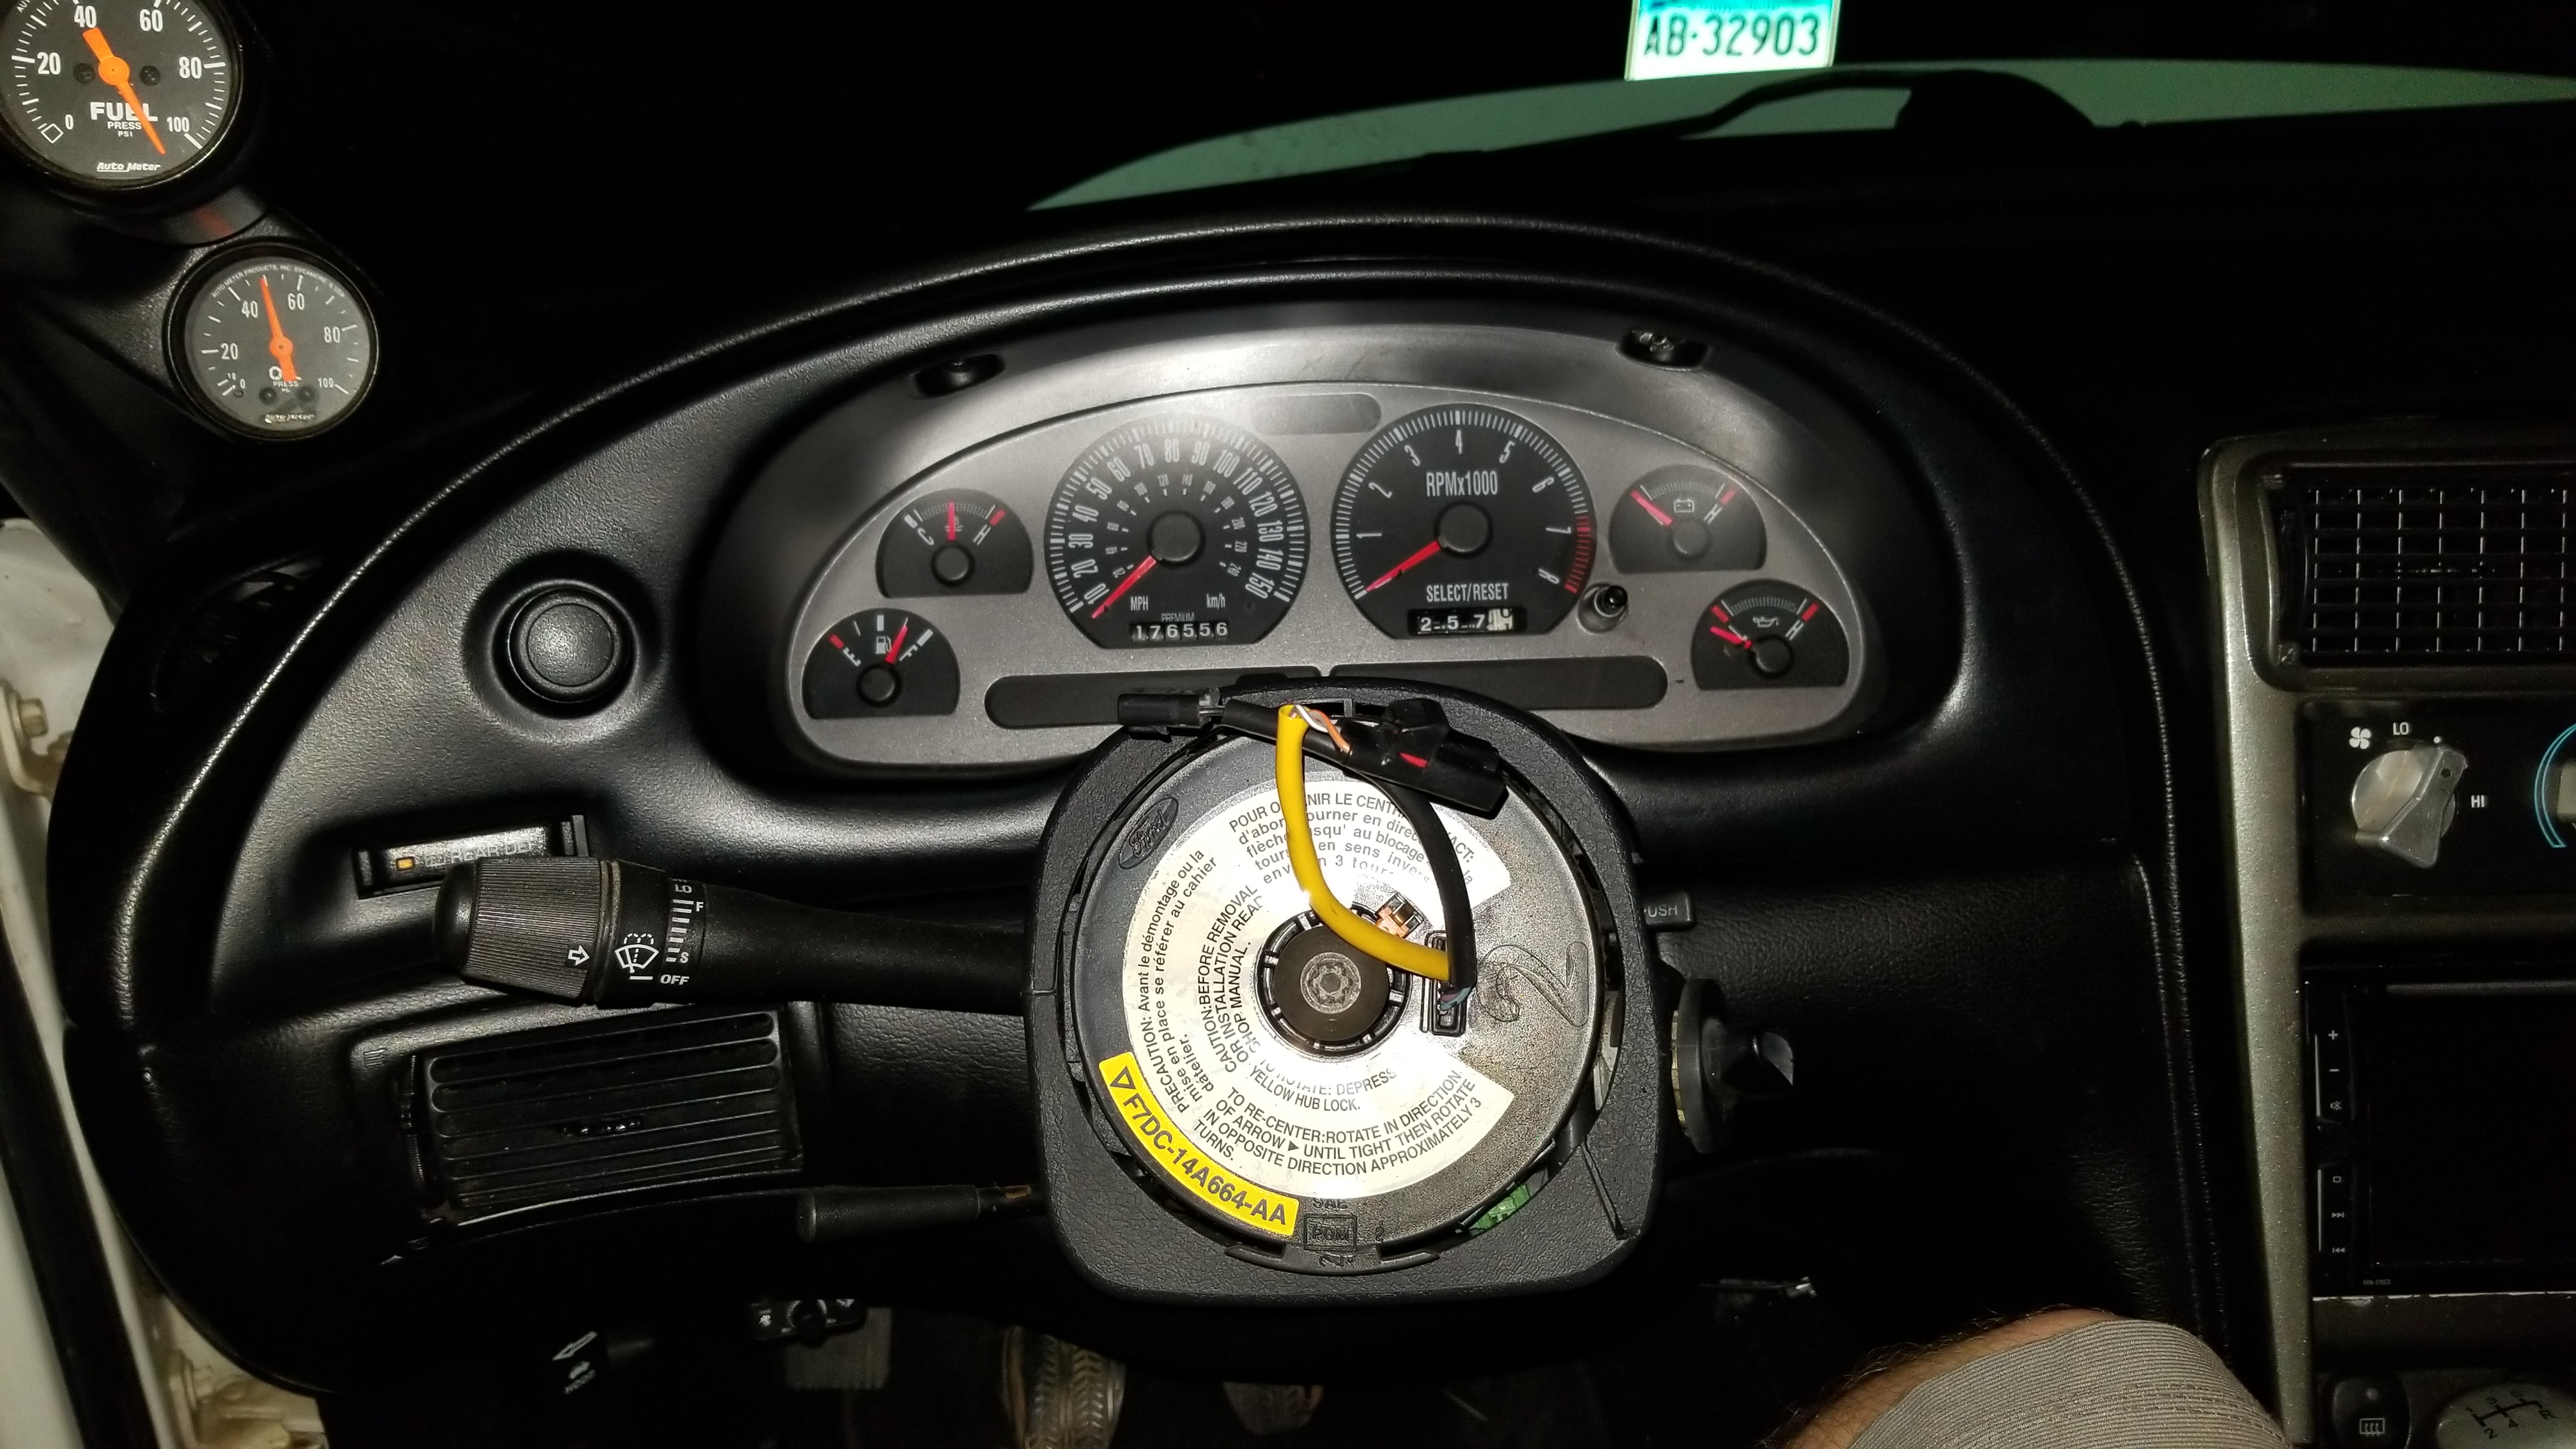
And I just couldnt wait to get this steering wheel cover on, even if it means the Mustang is going to be undrivable tomorrow, which is suppose to be a really nice day. I can always take the truck to work lol
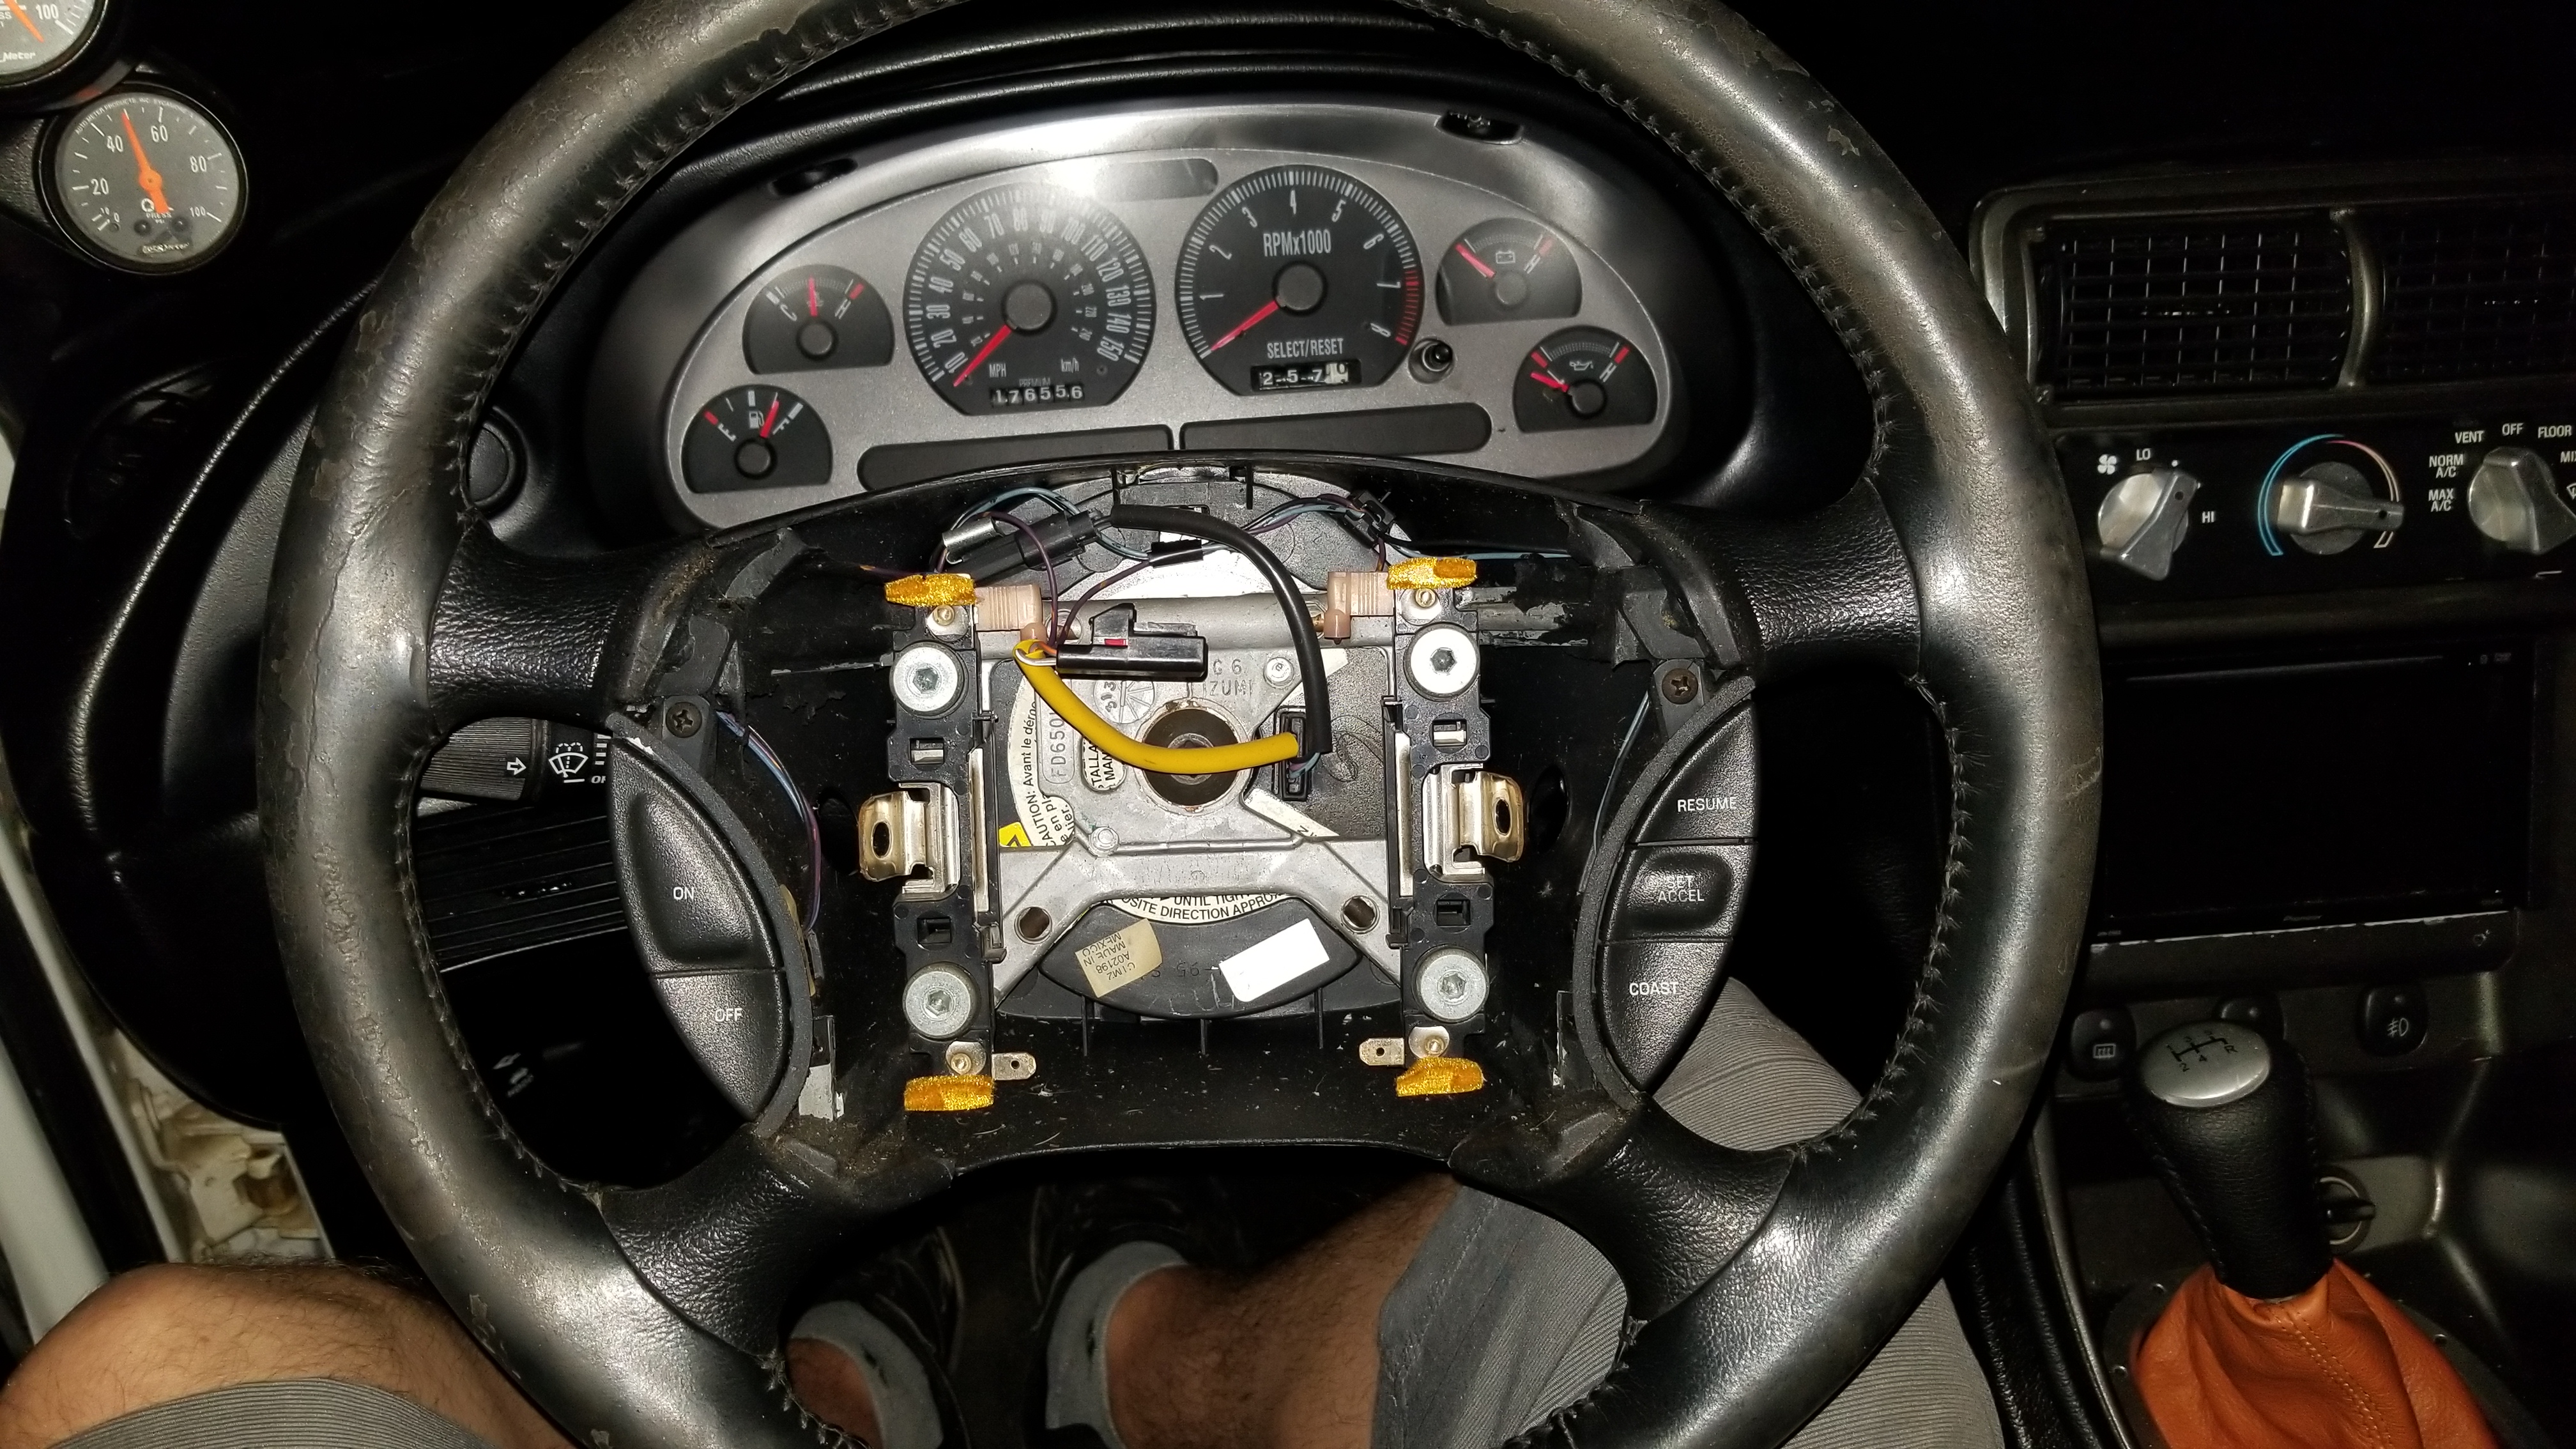
Airbag out
E9XgYdr.jpg

Steering wheel out
eXcQy2U.jpg

This clock spring is the first thing I have uncovered on this car that wasnt absolutely filthy
VcBPUjU.jpg

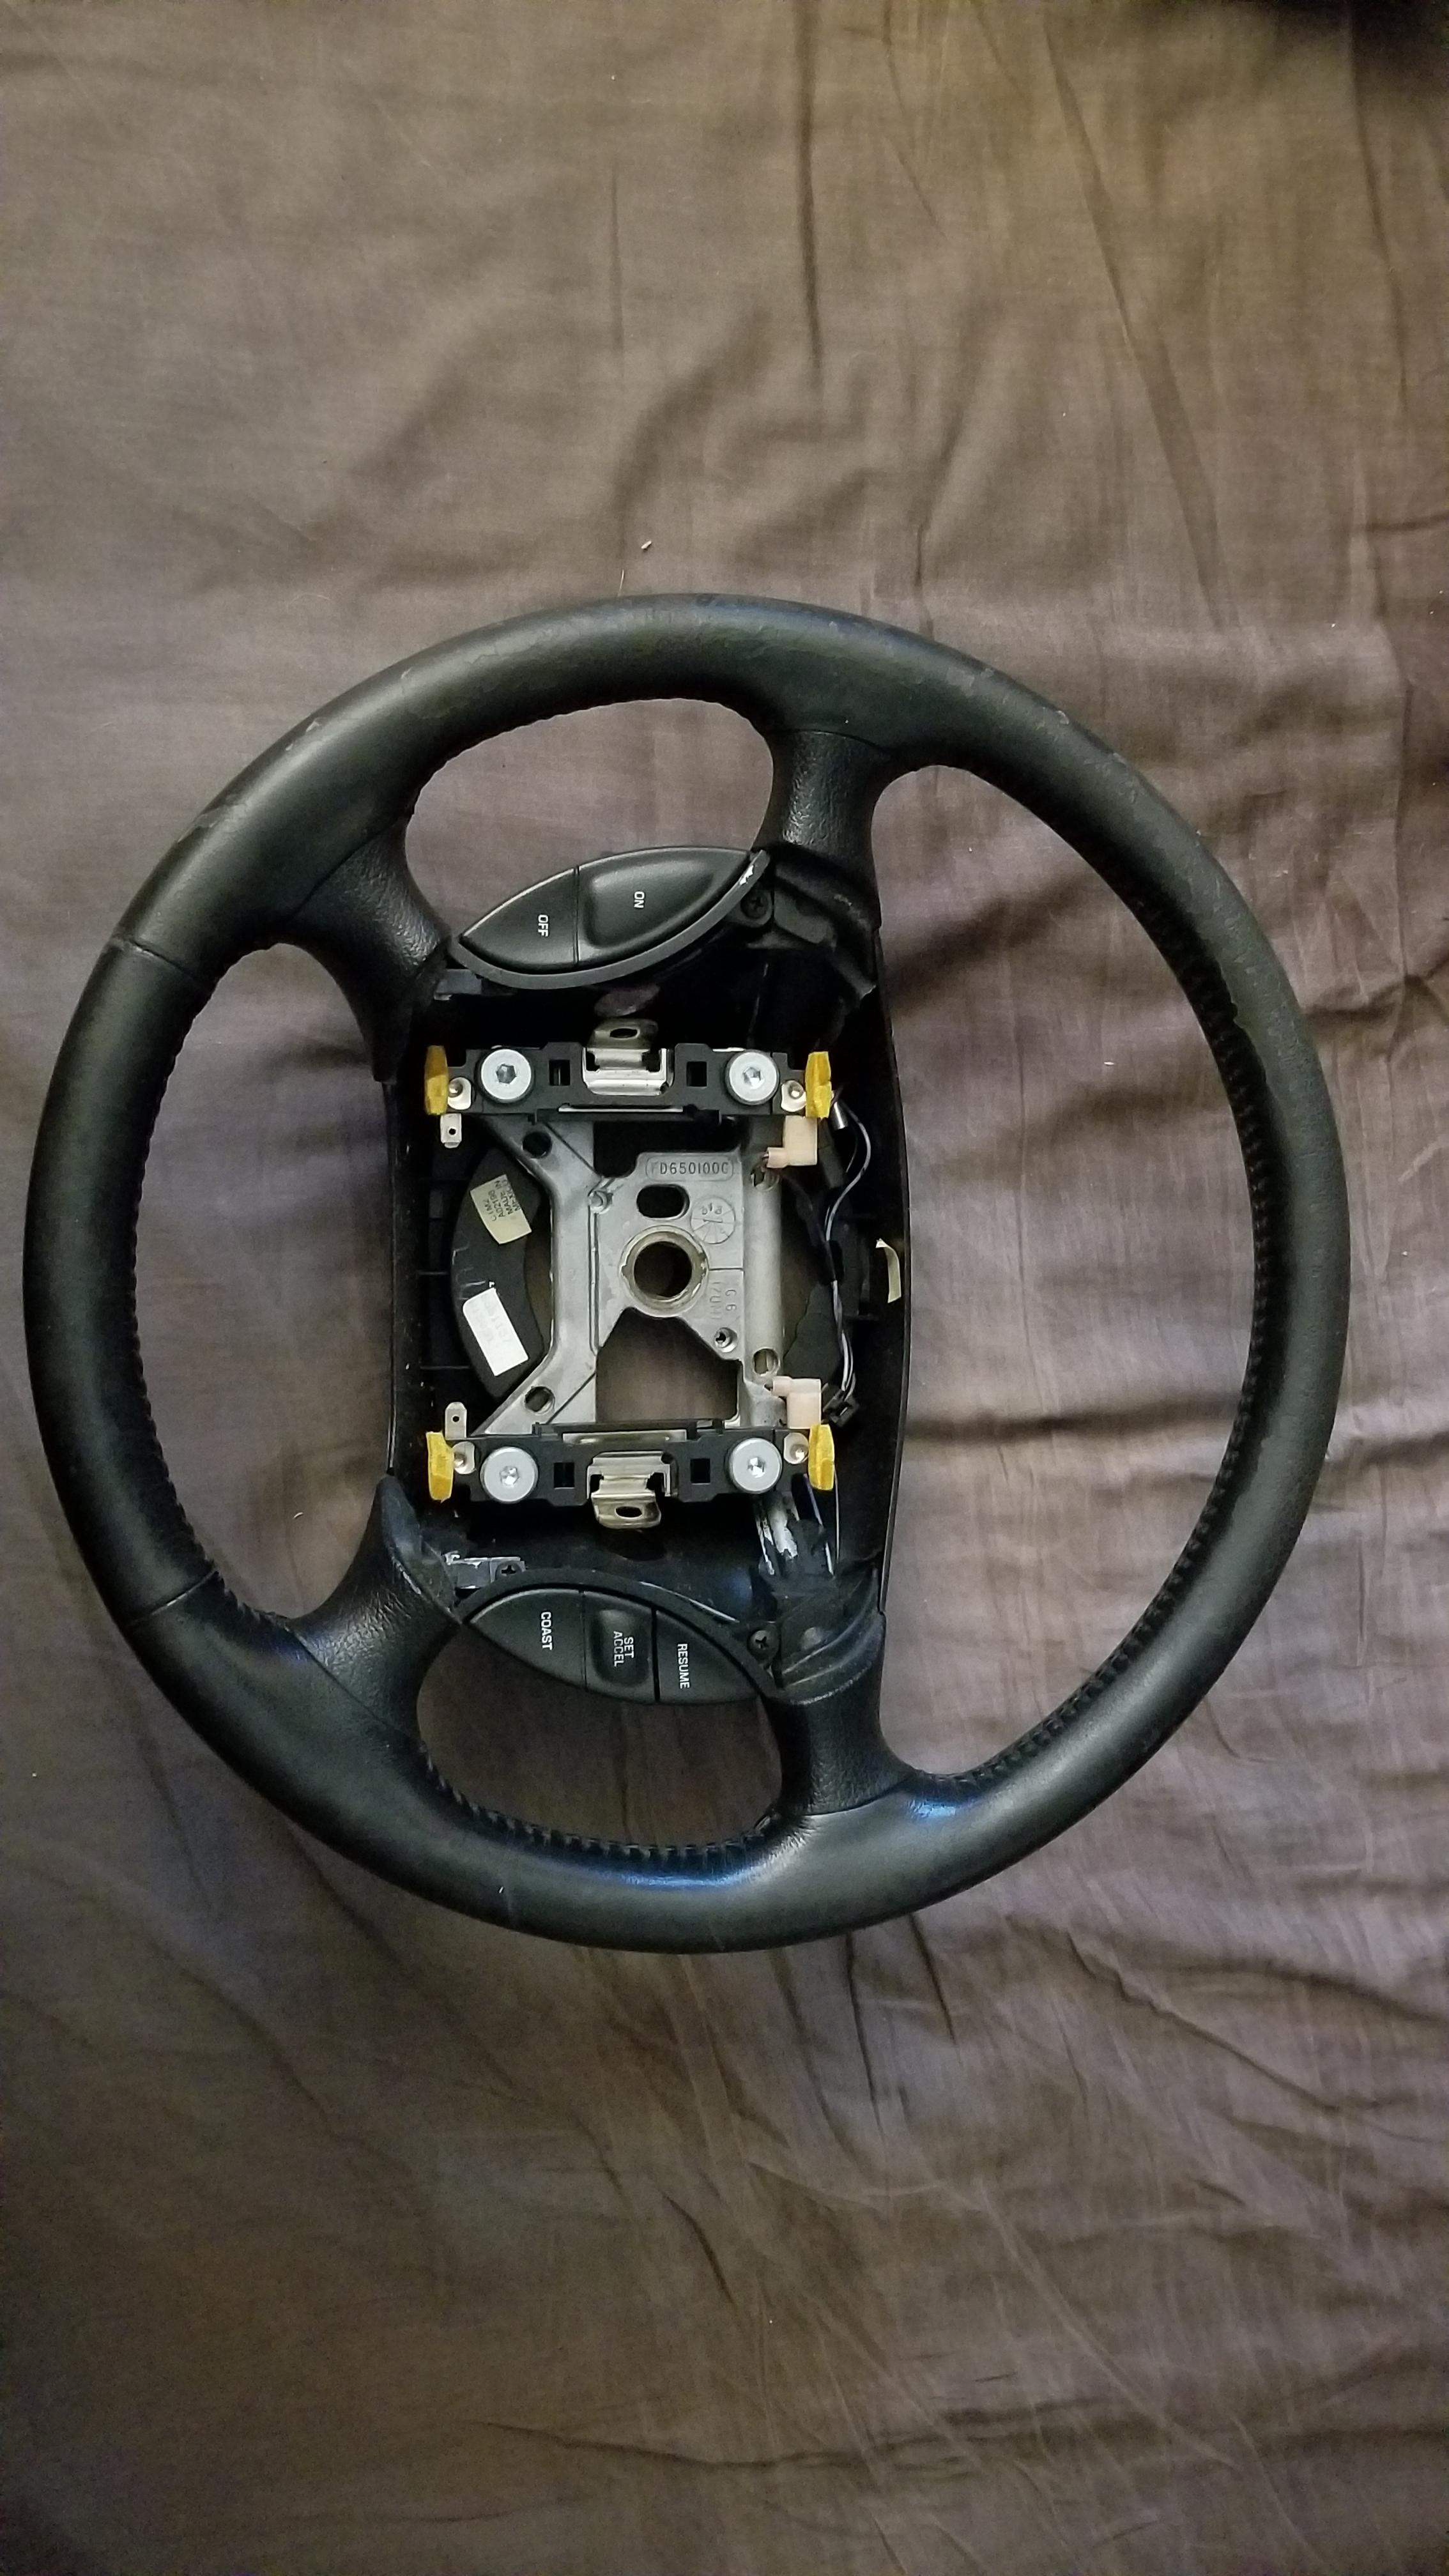
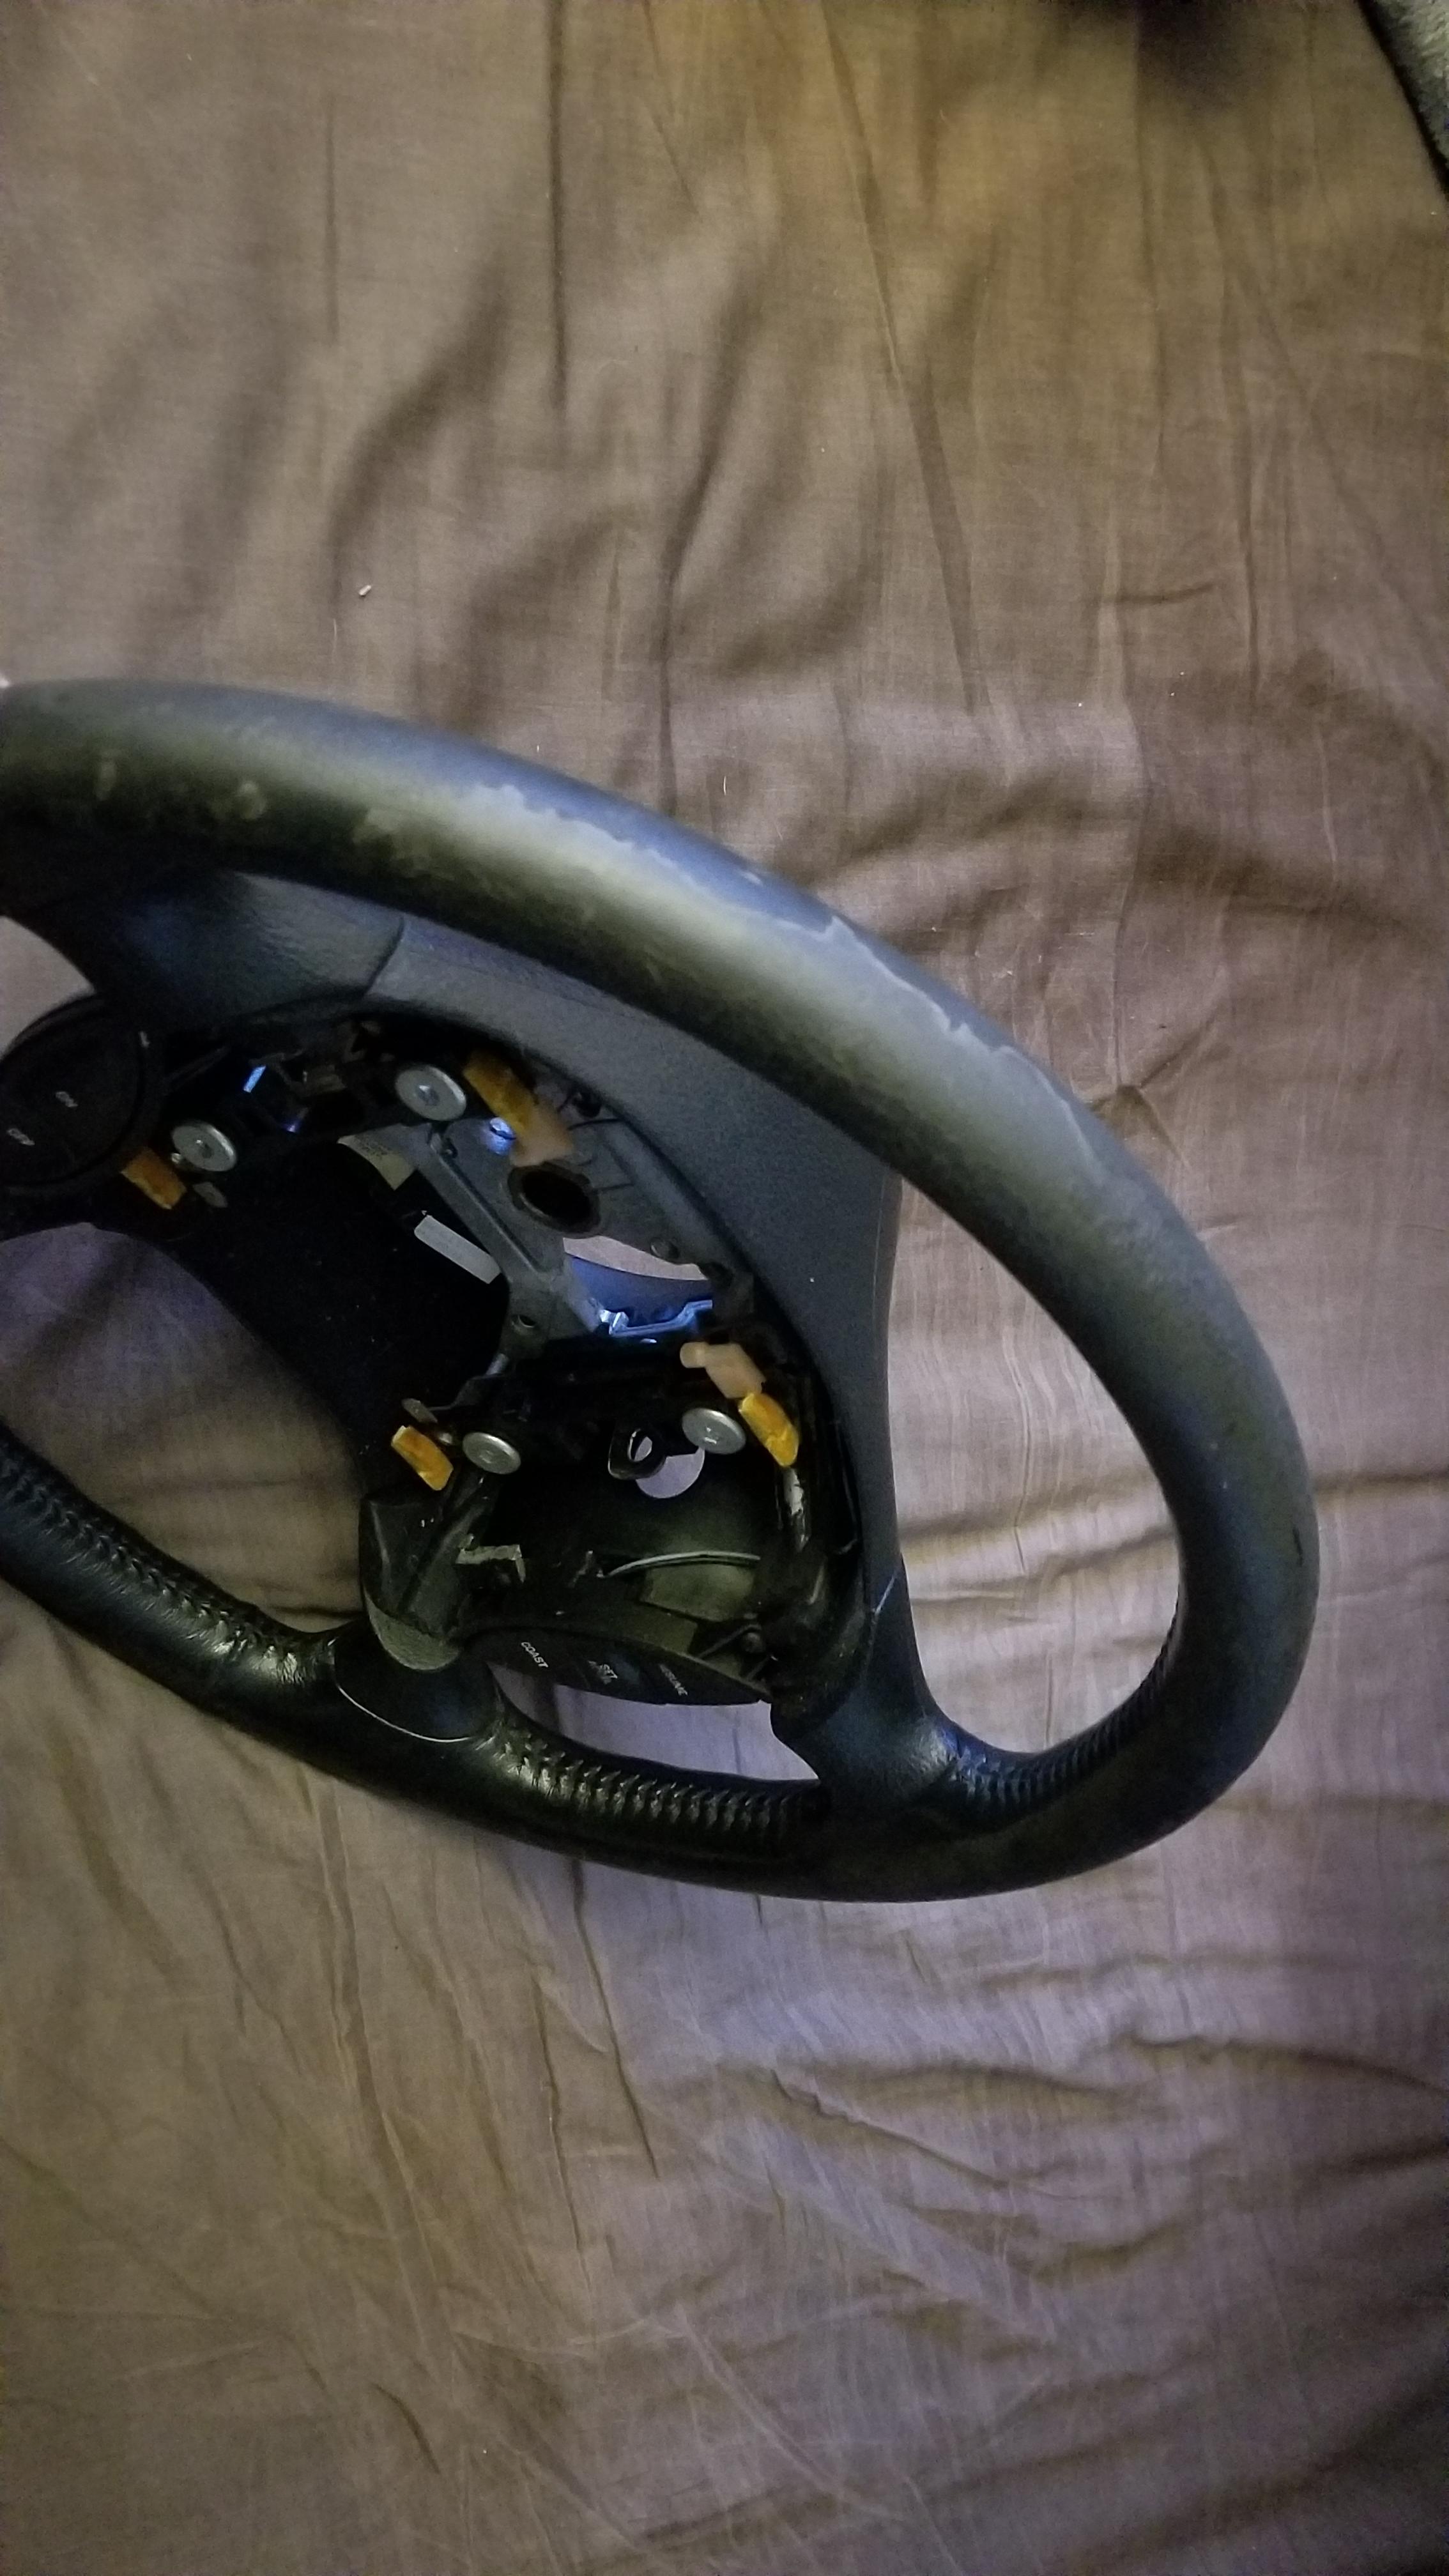
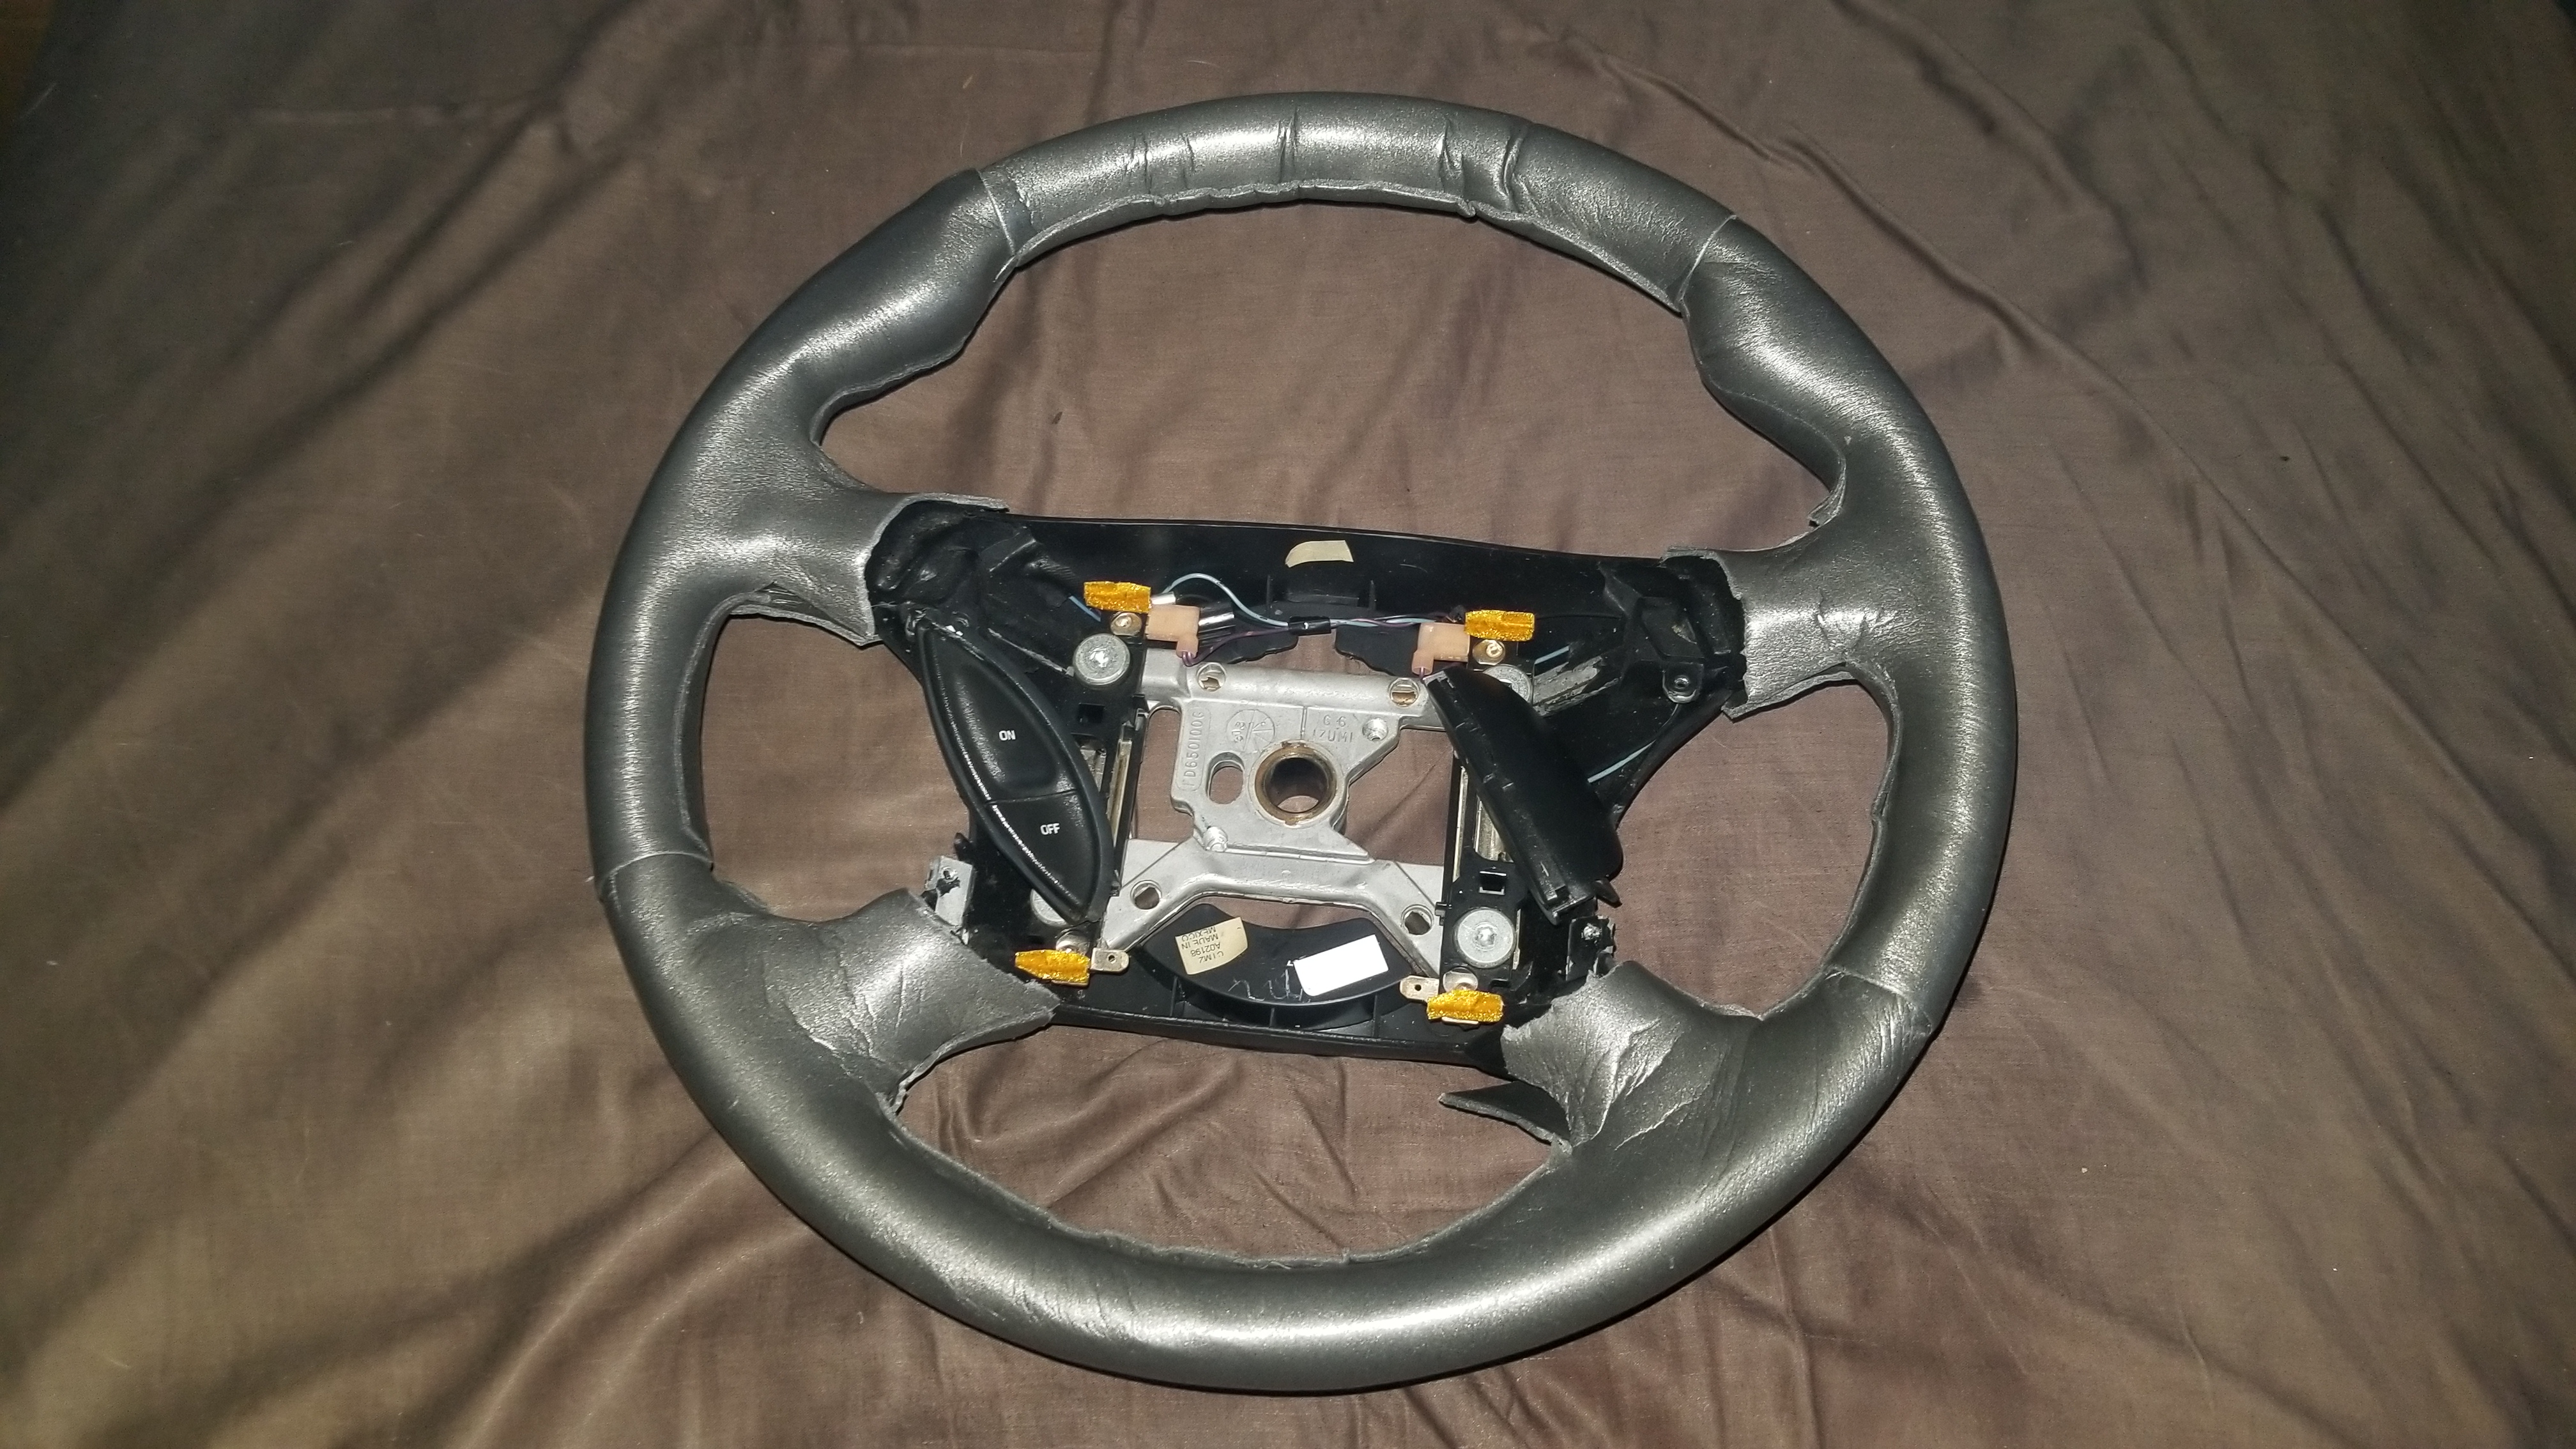
Before pics are always a must
2L3i67z.jpg

ypYsOta.jpg

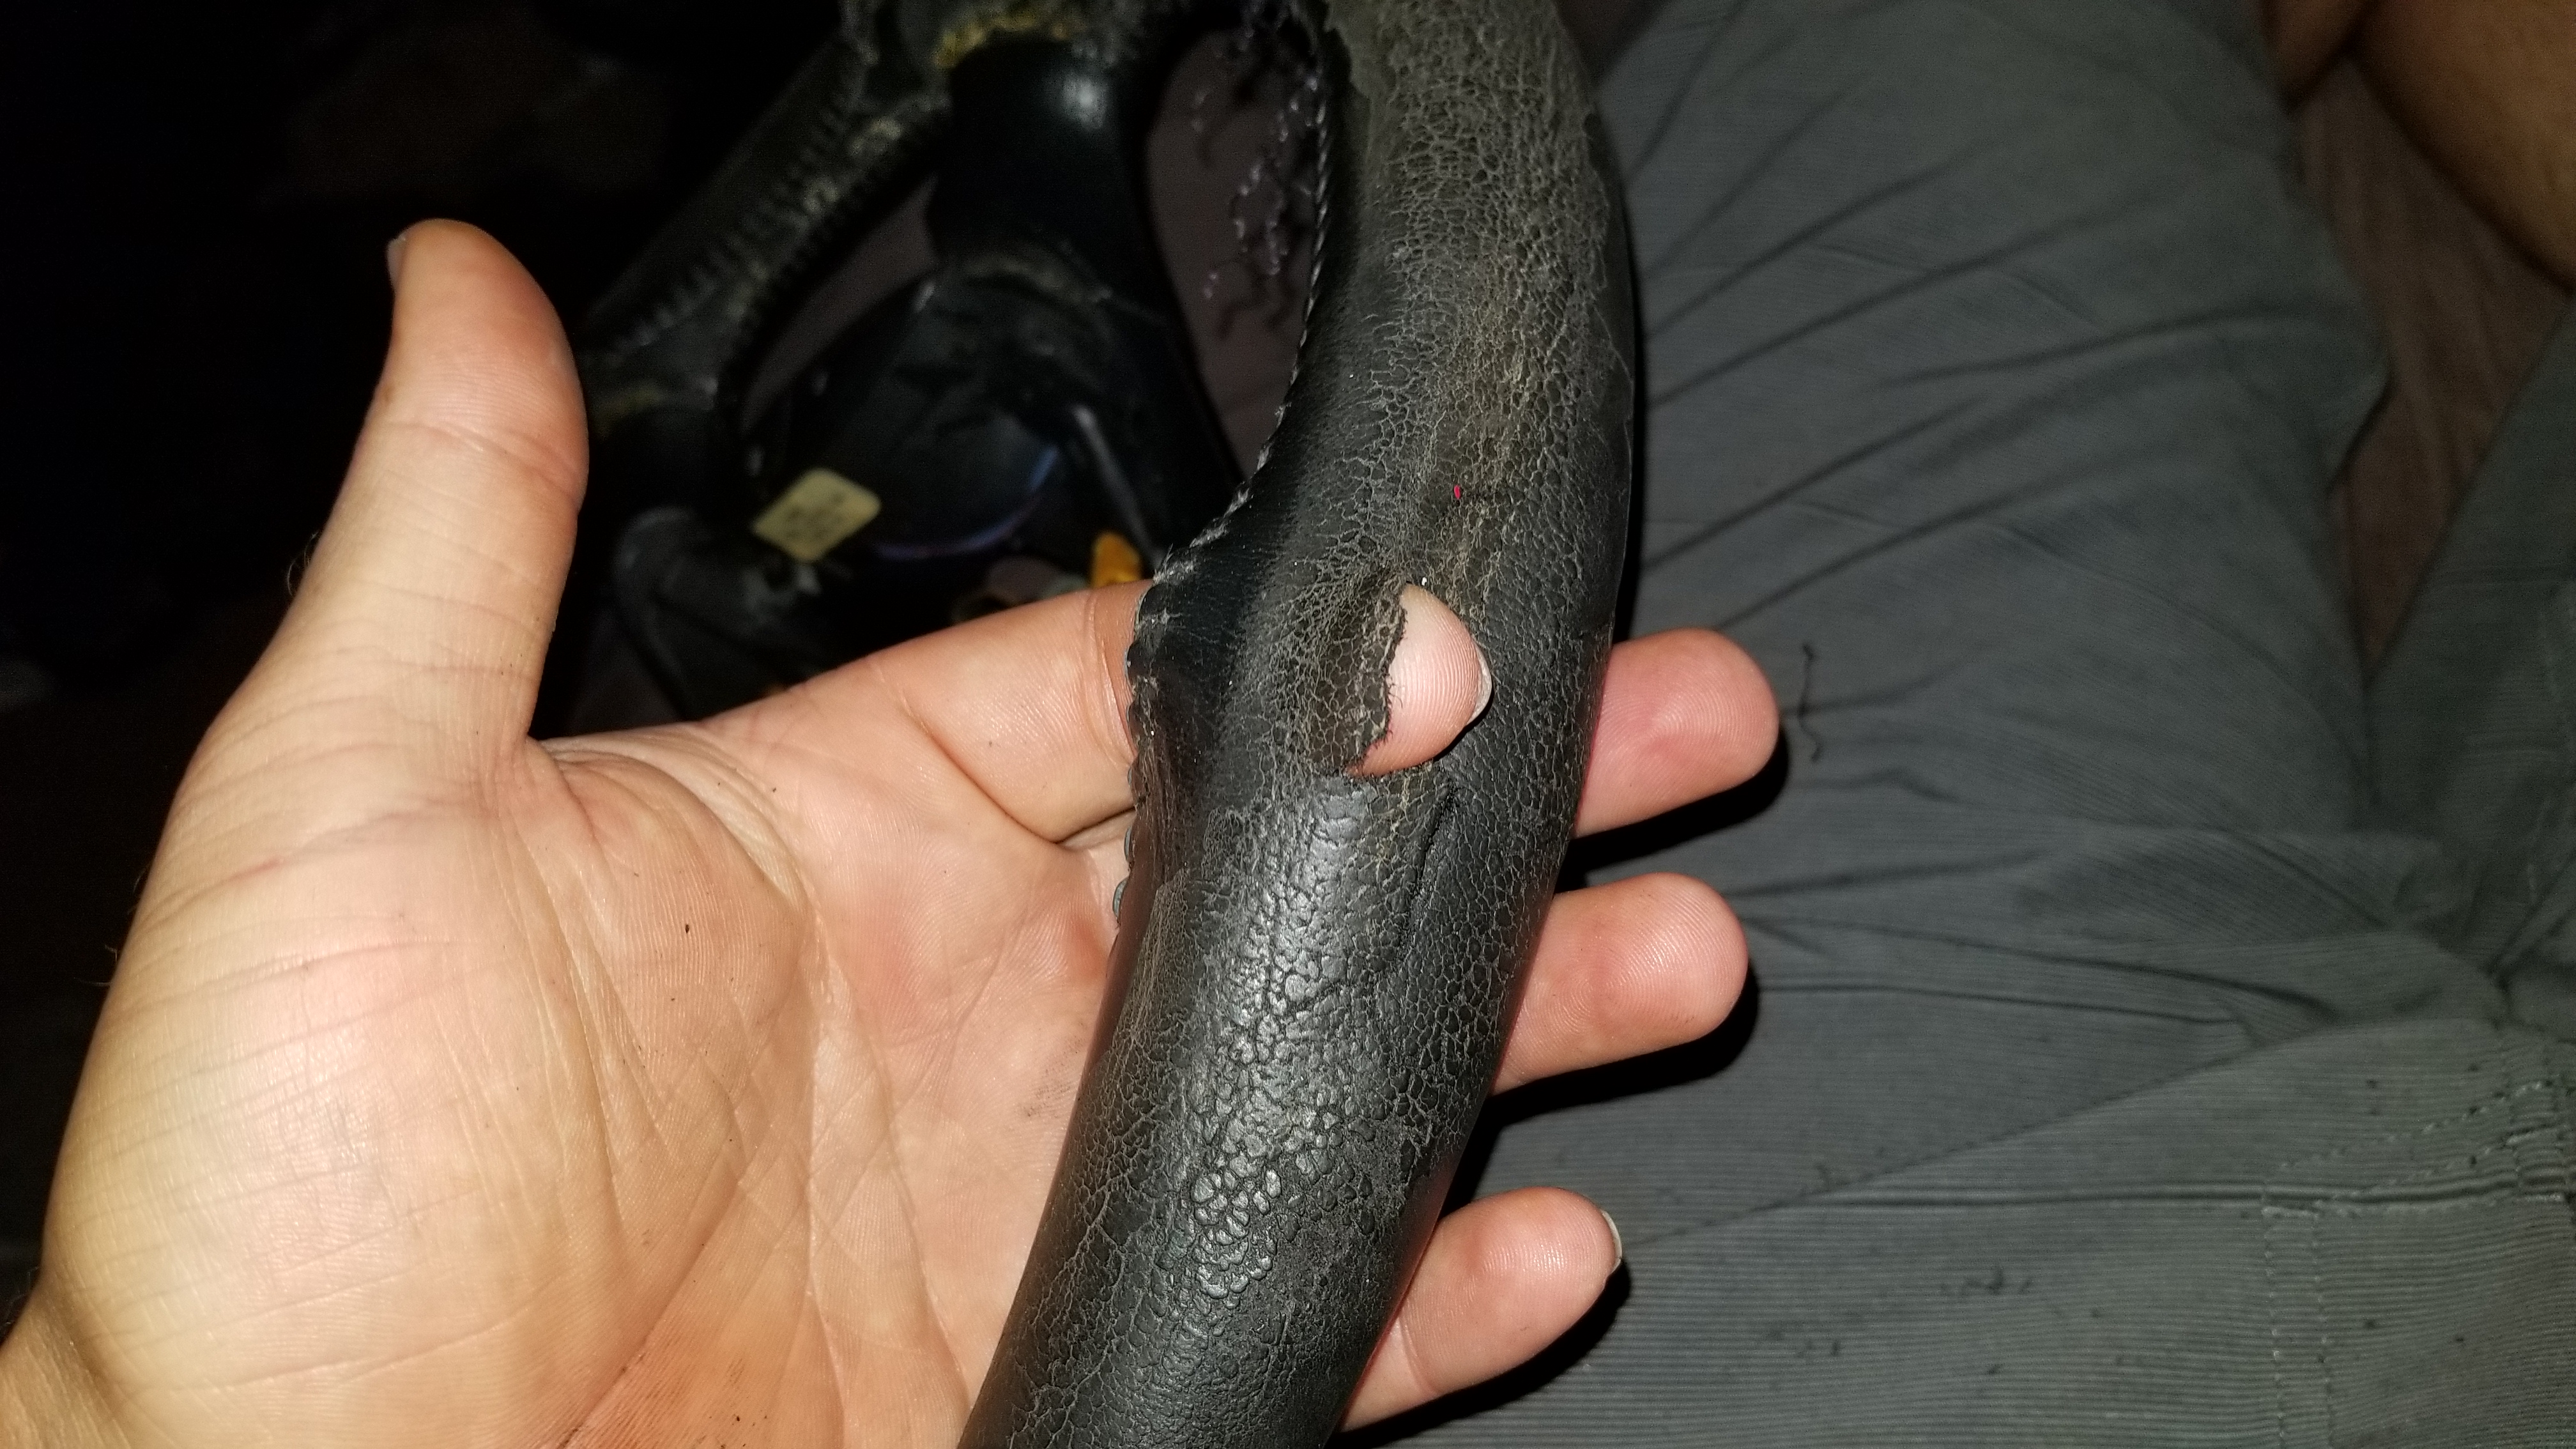
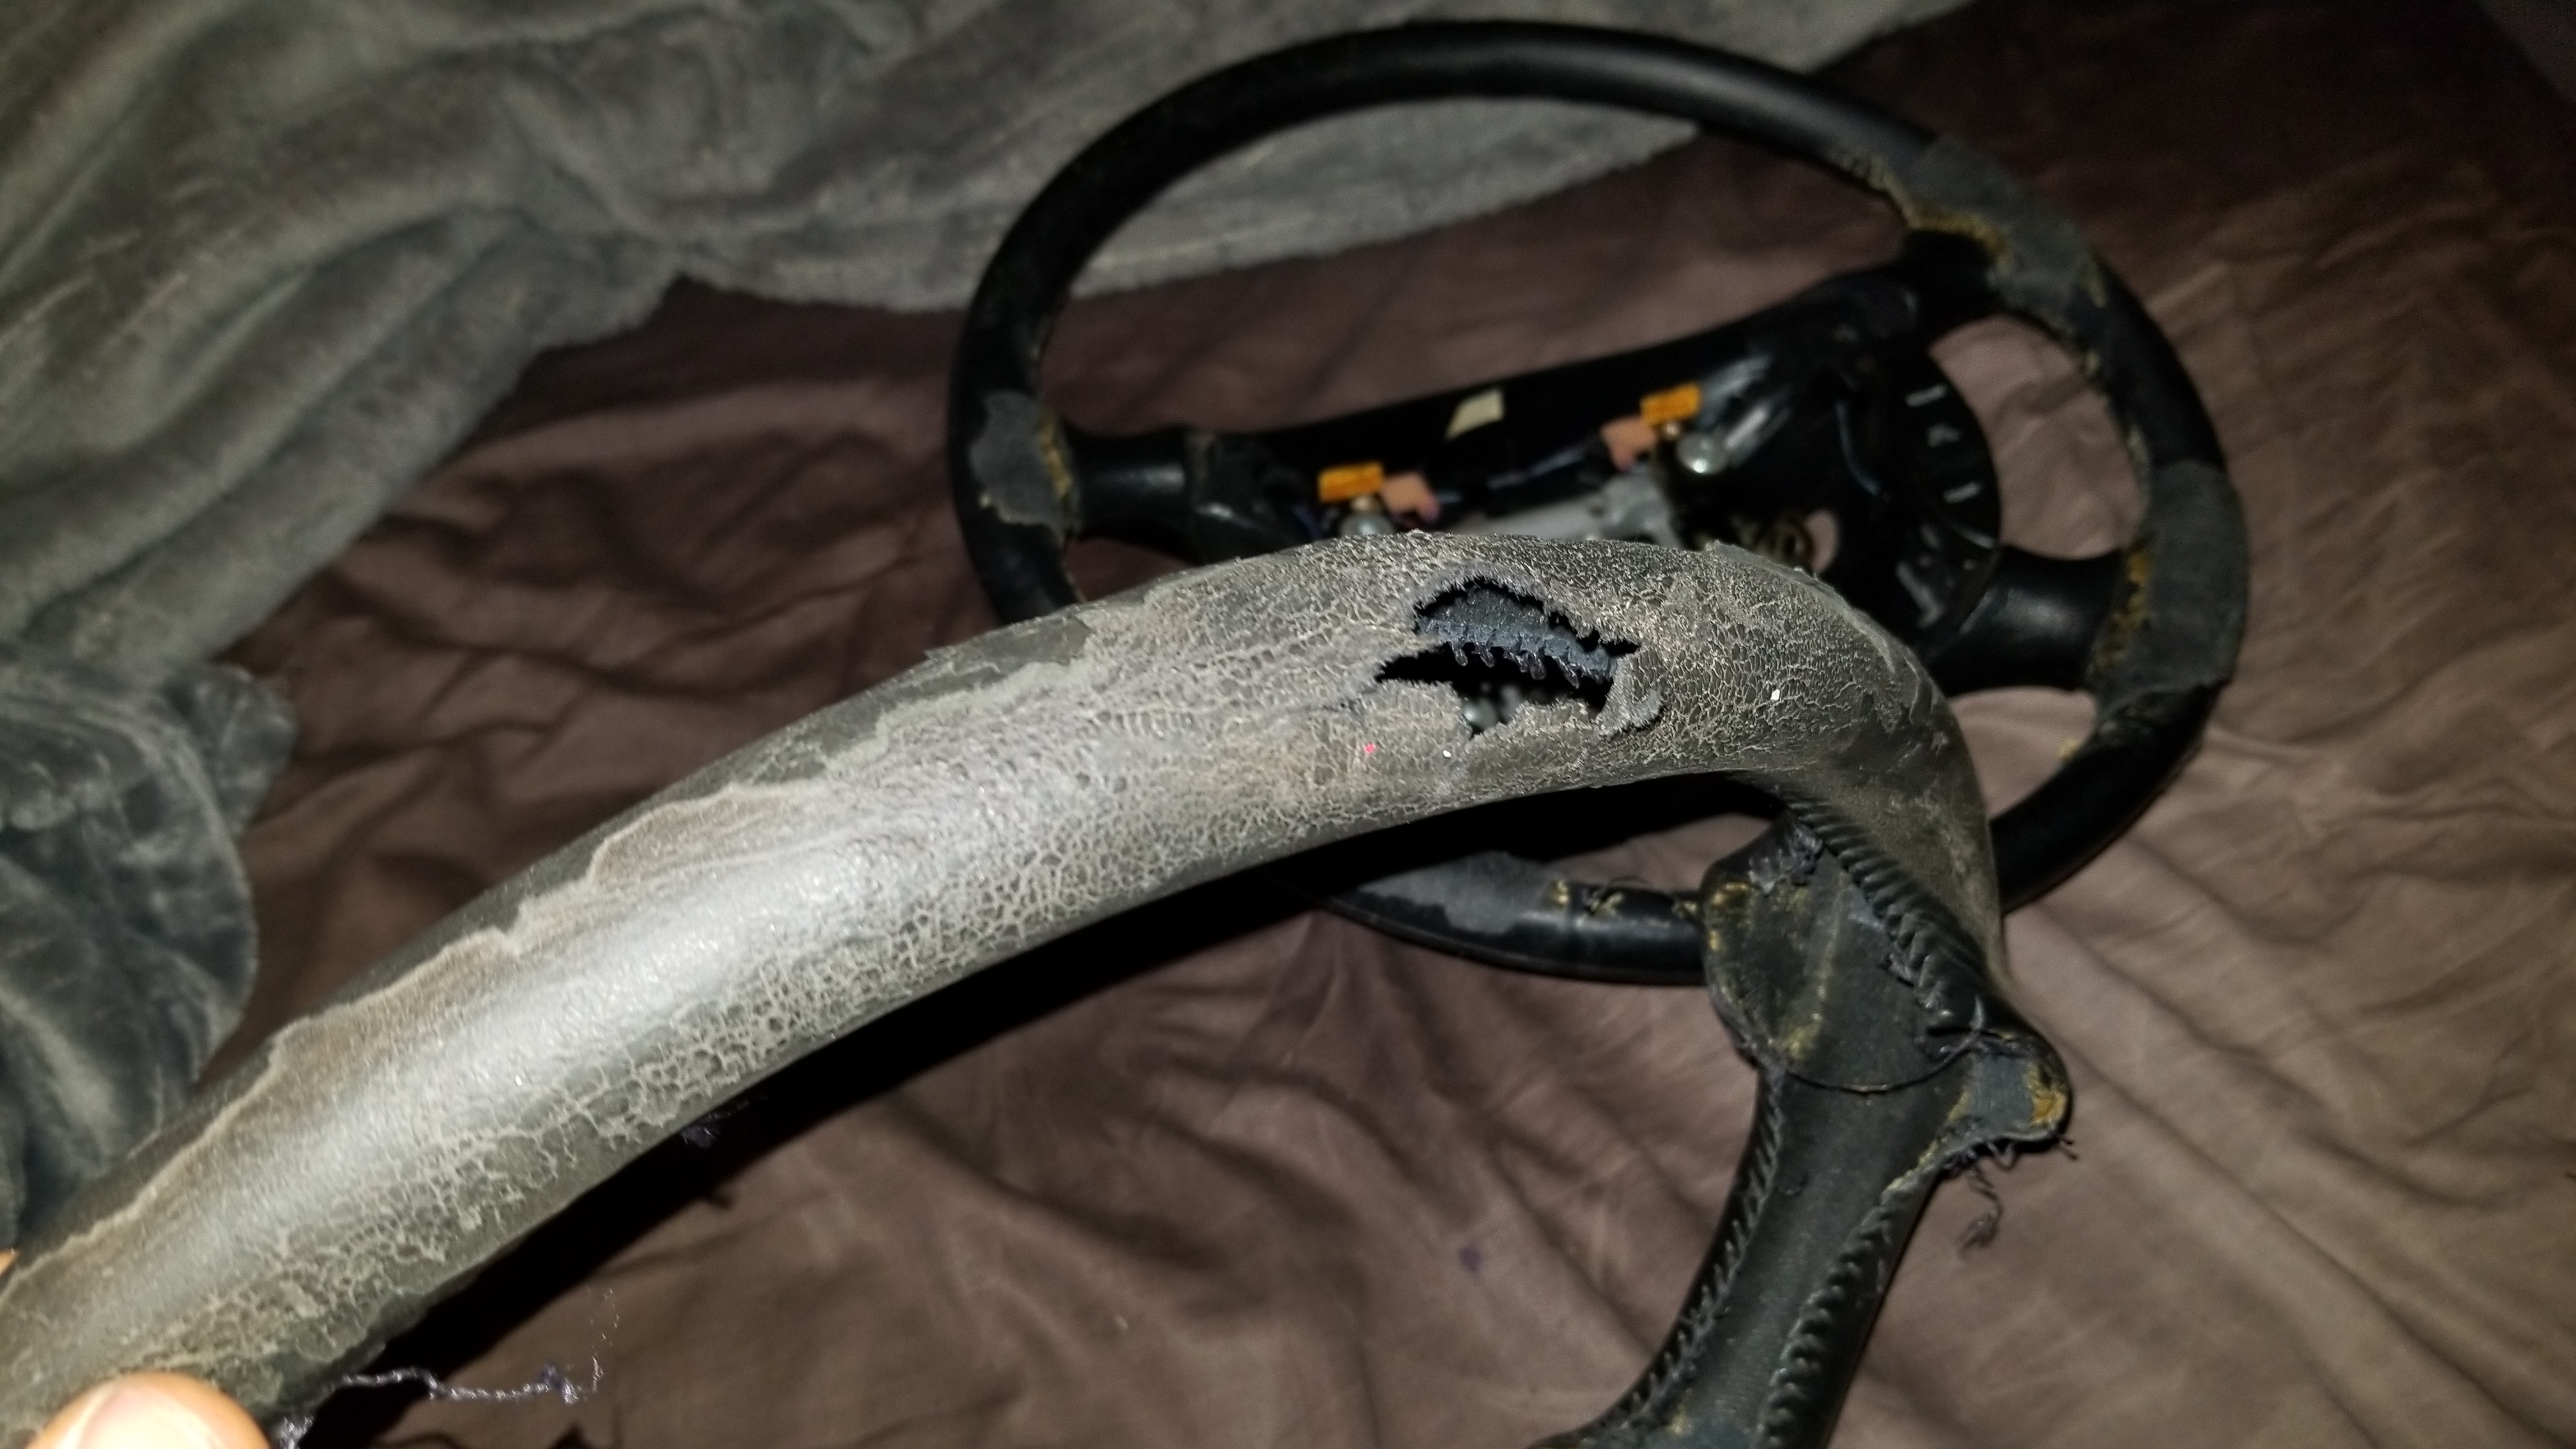
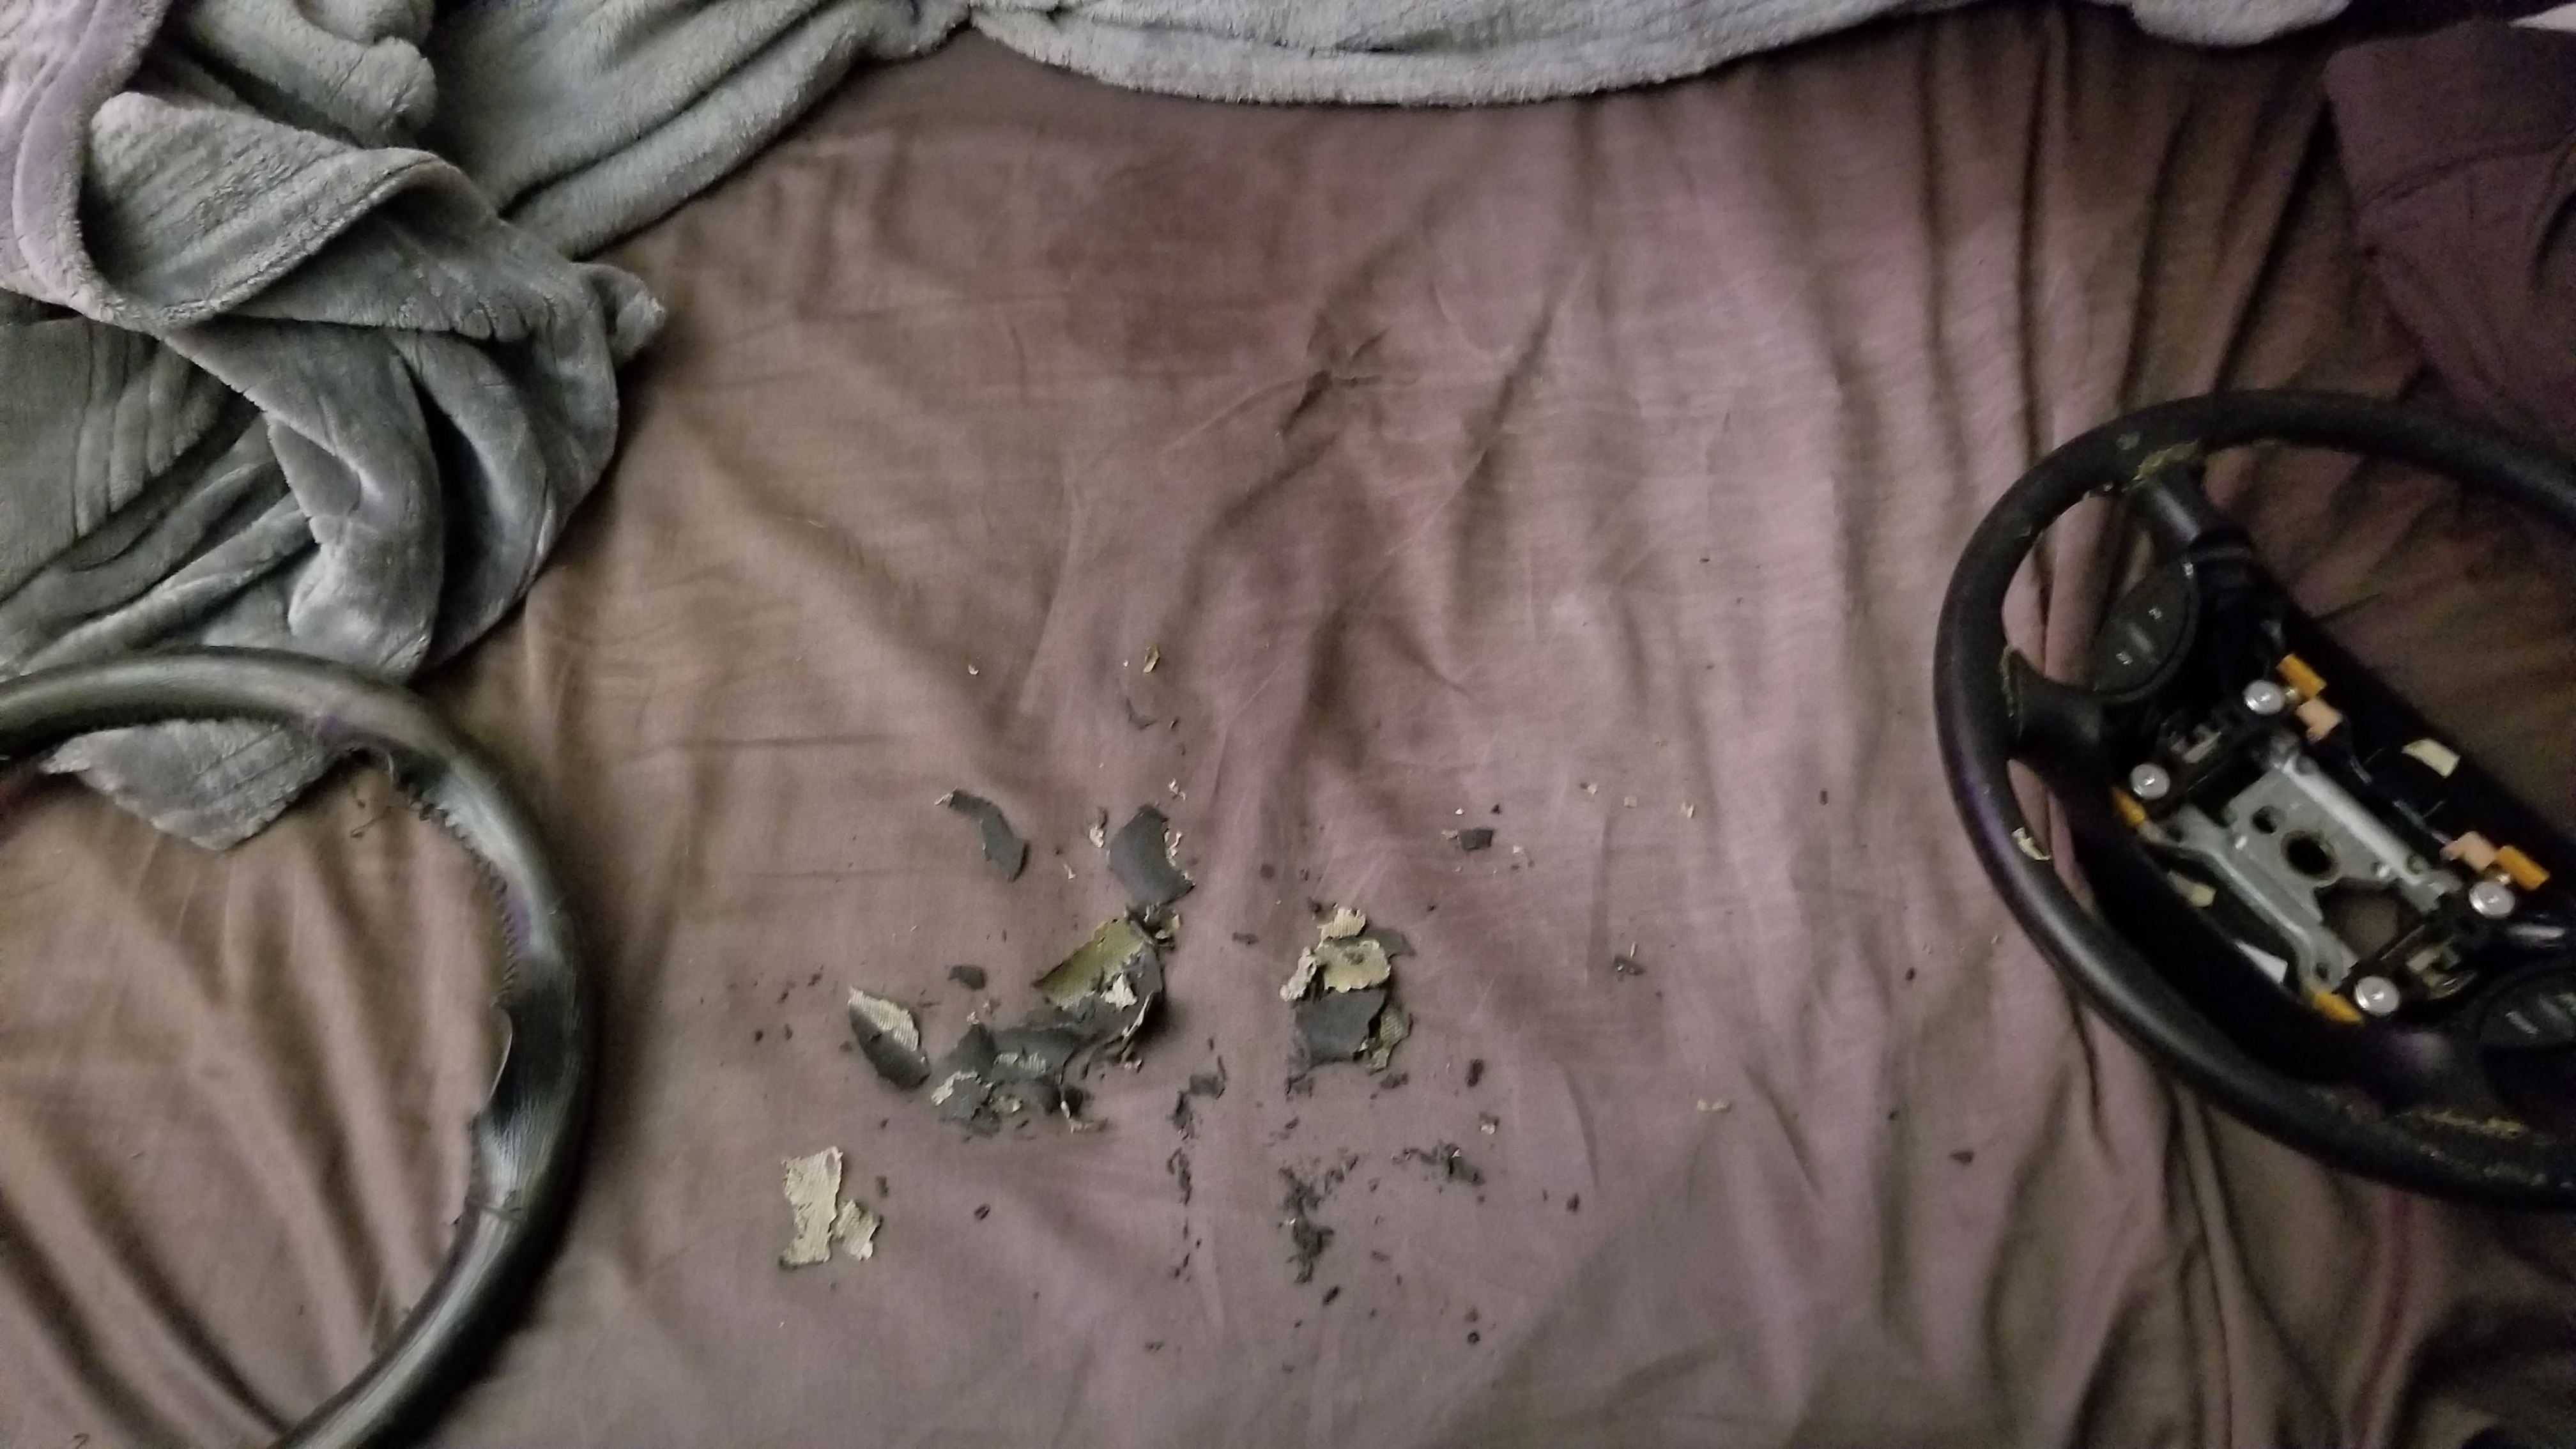
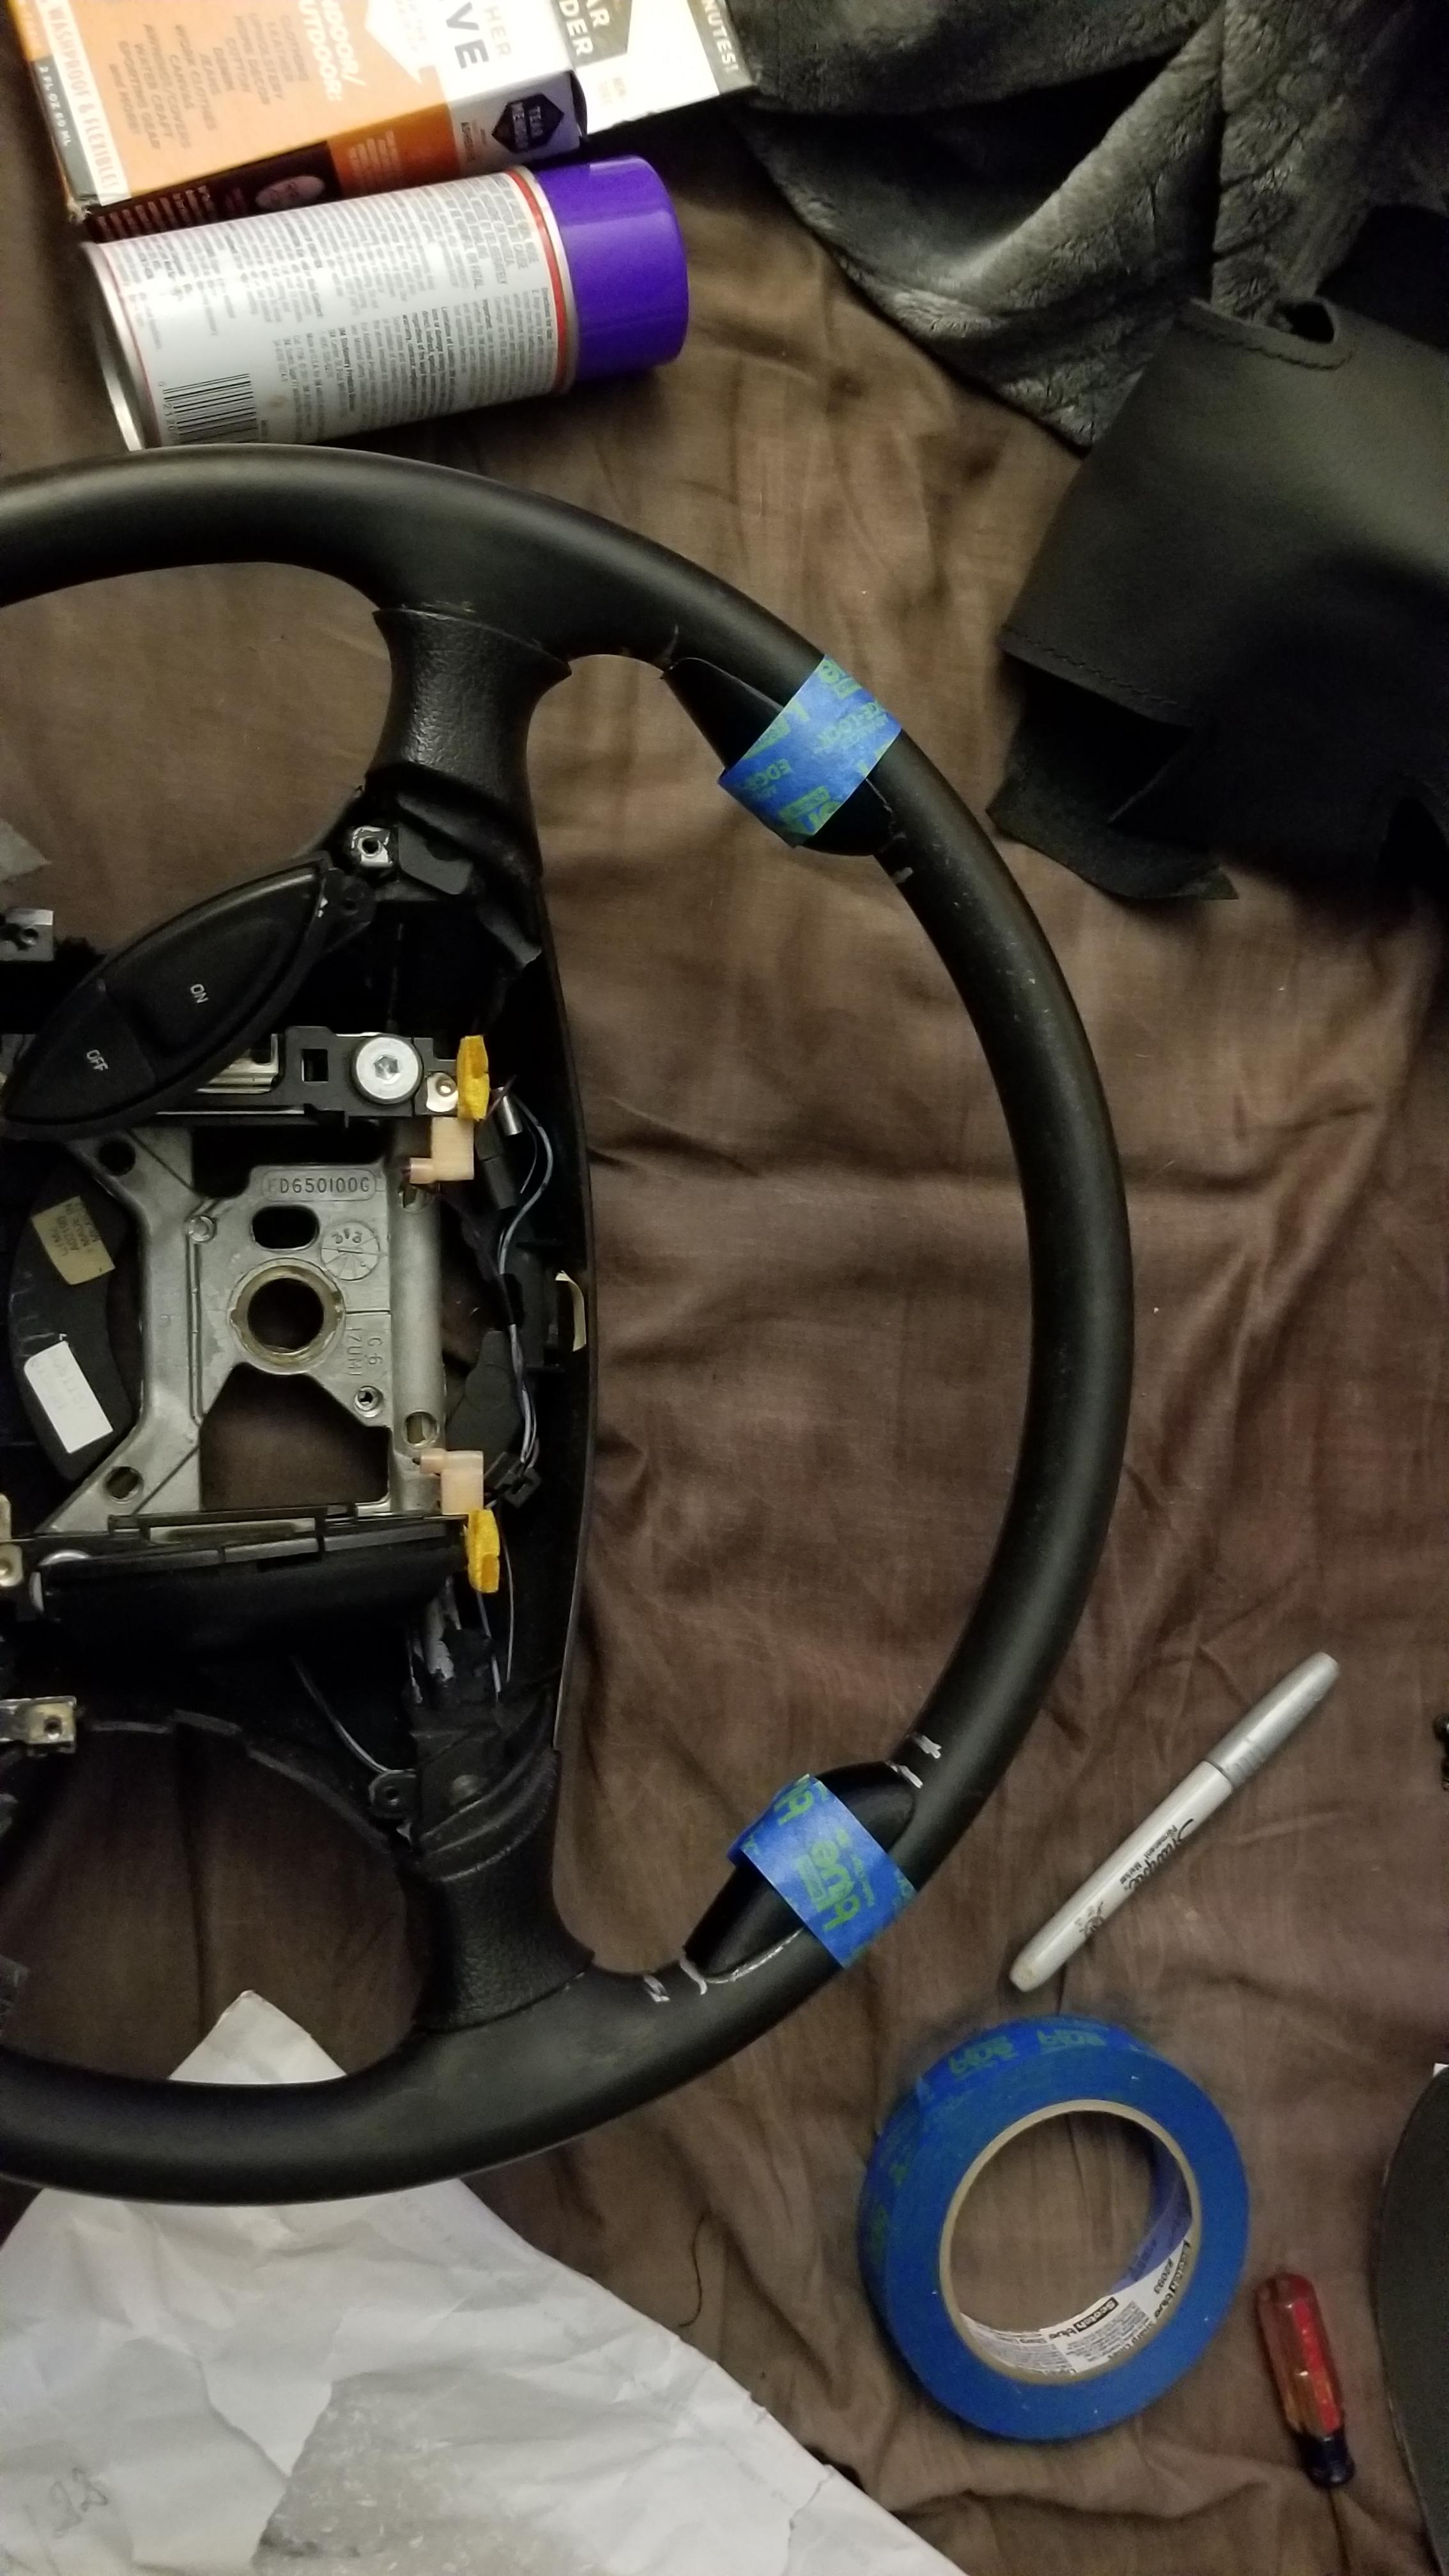
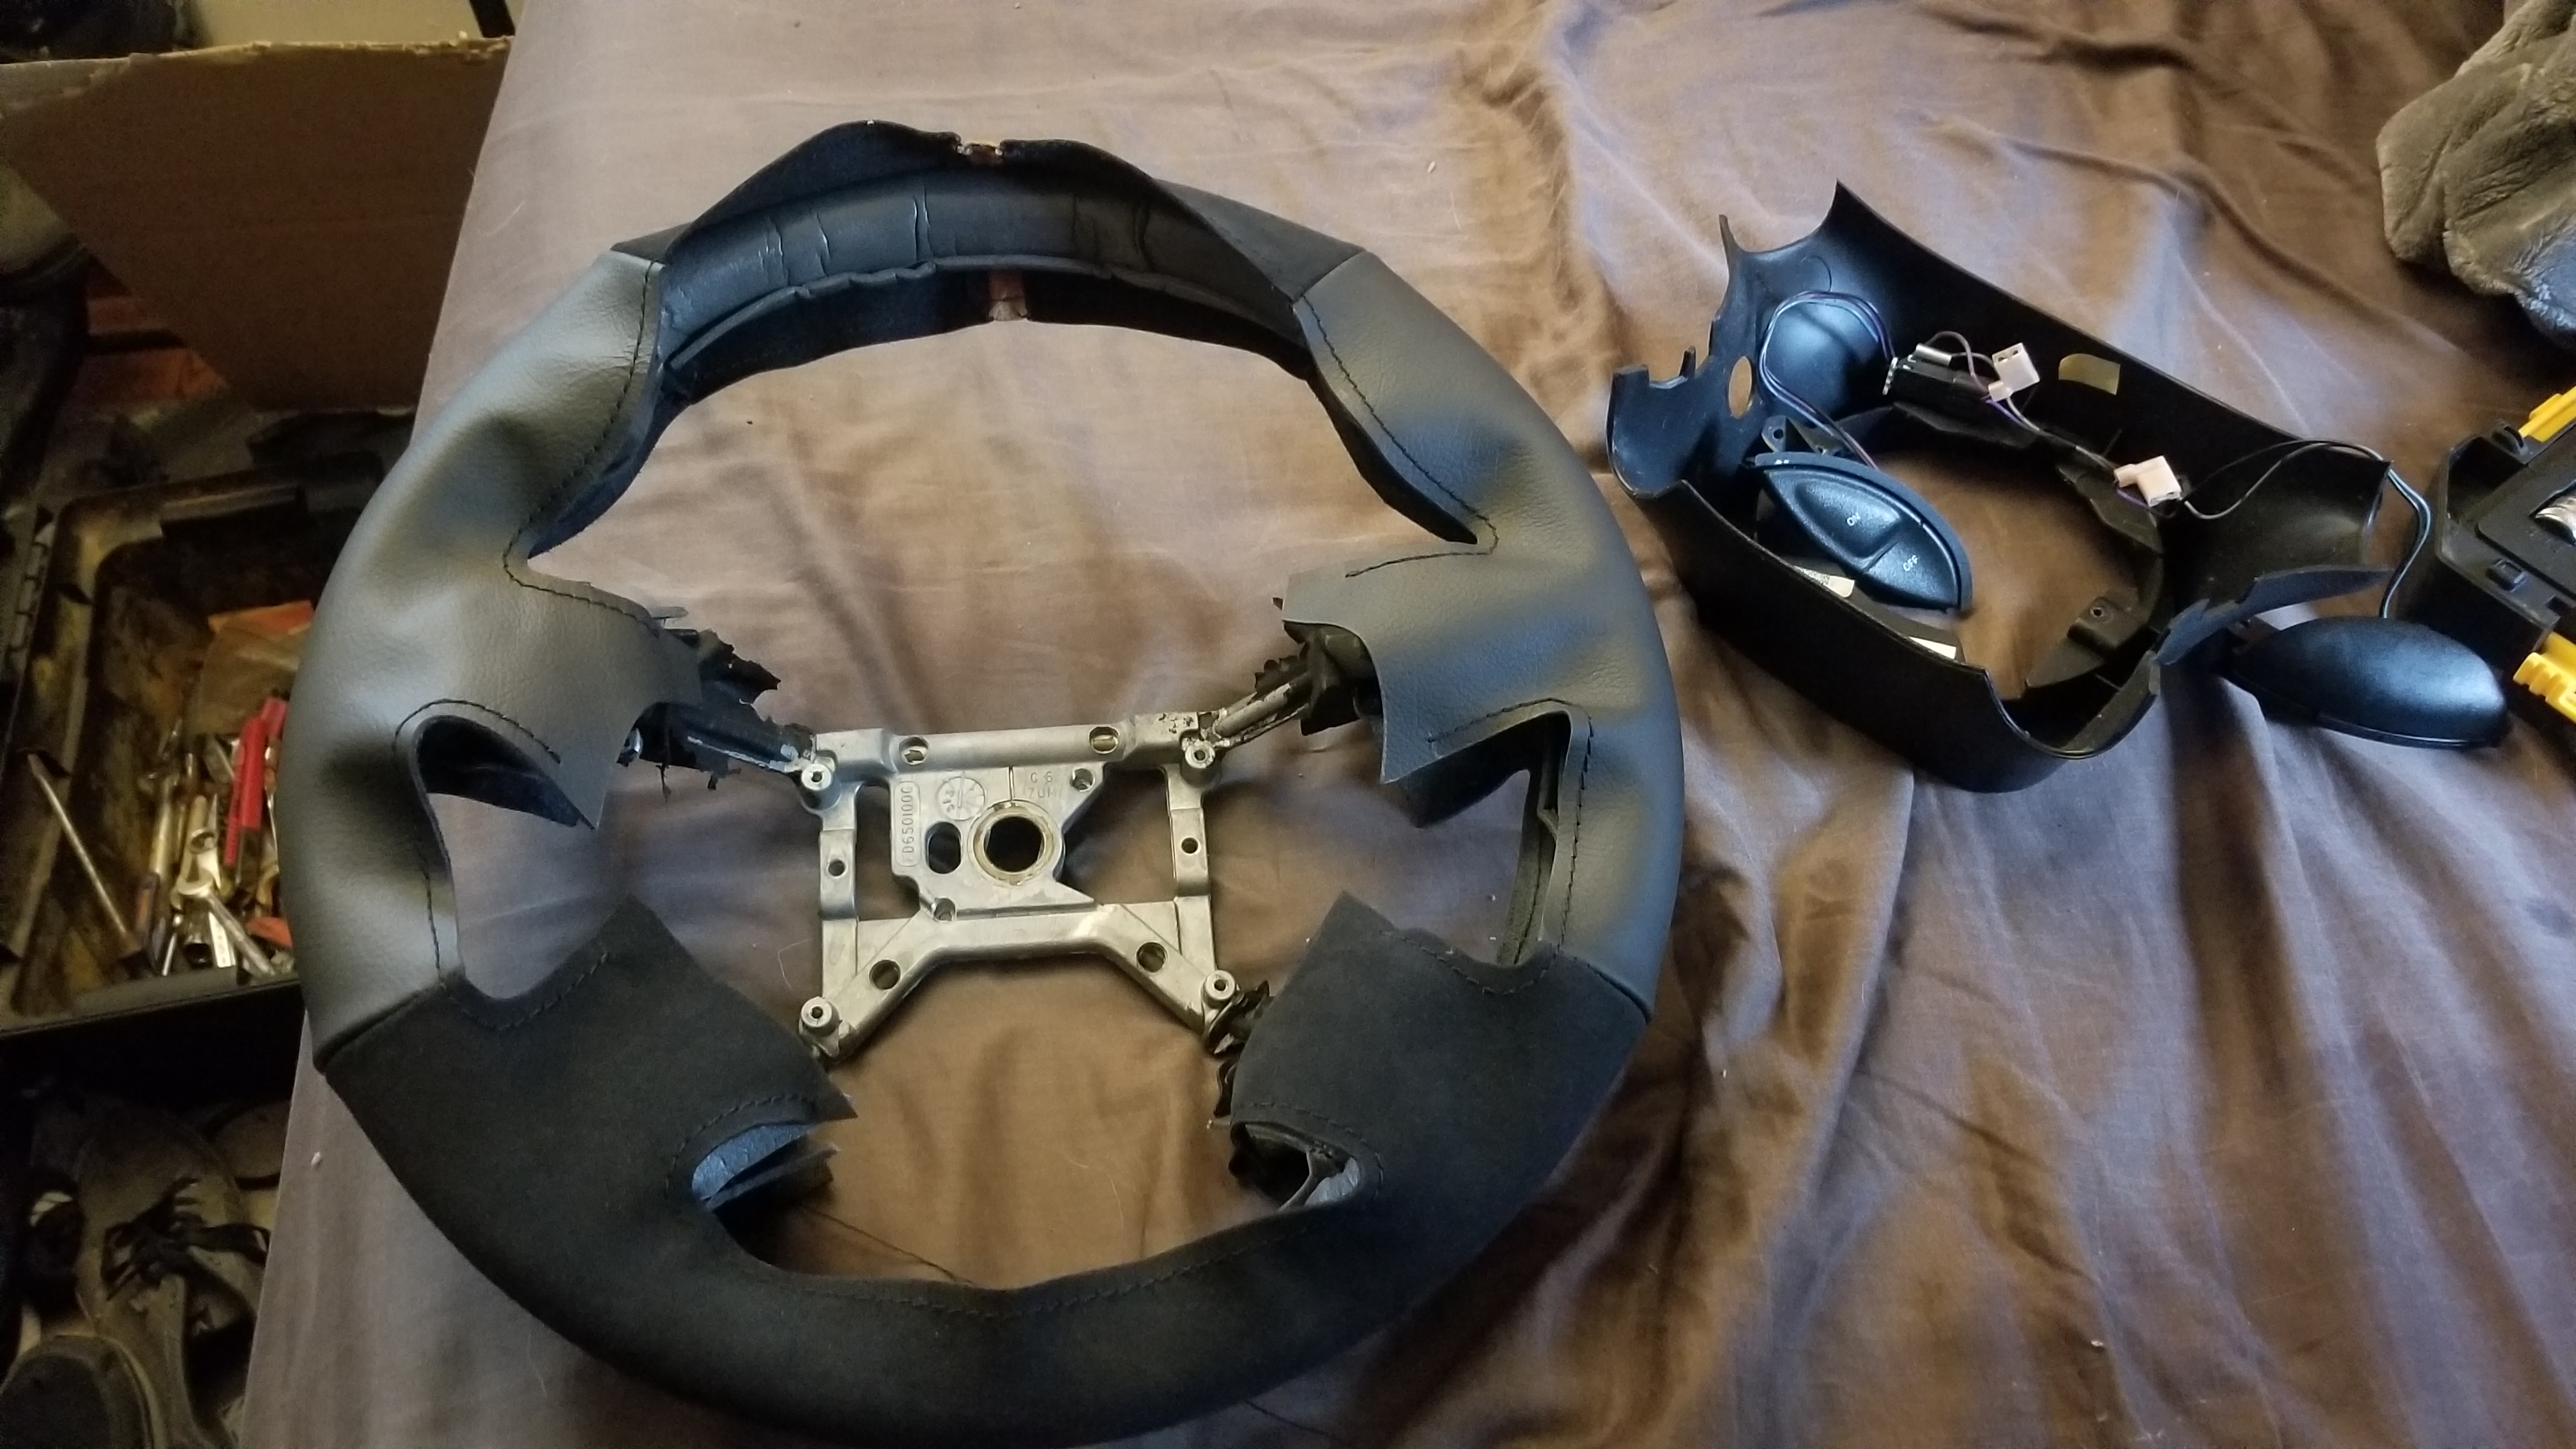
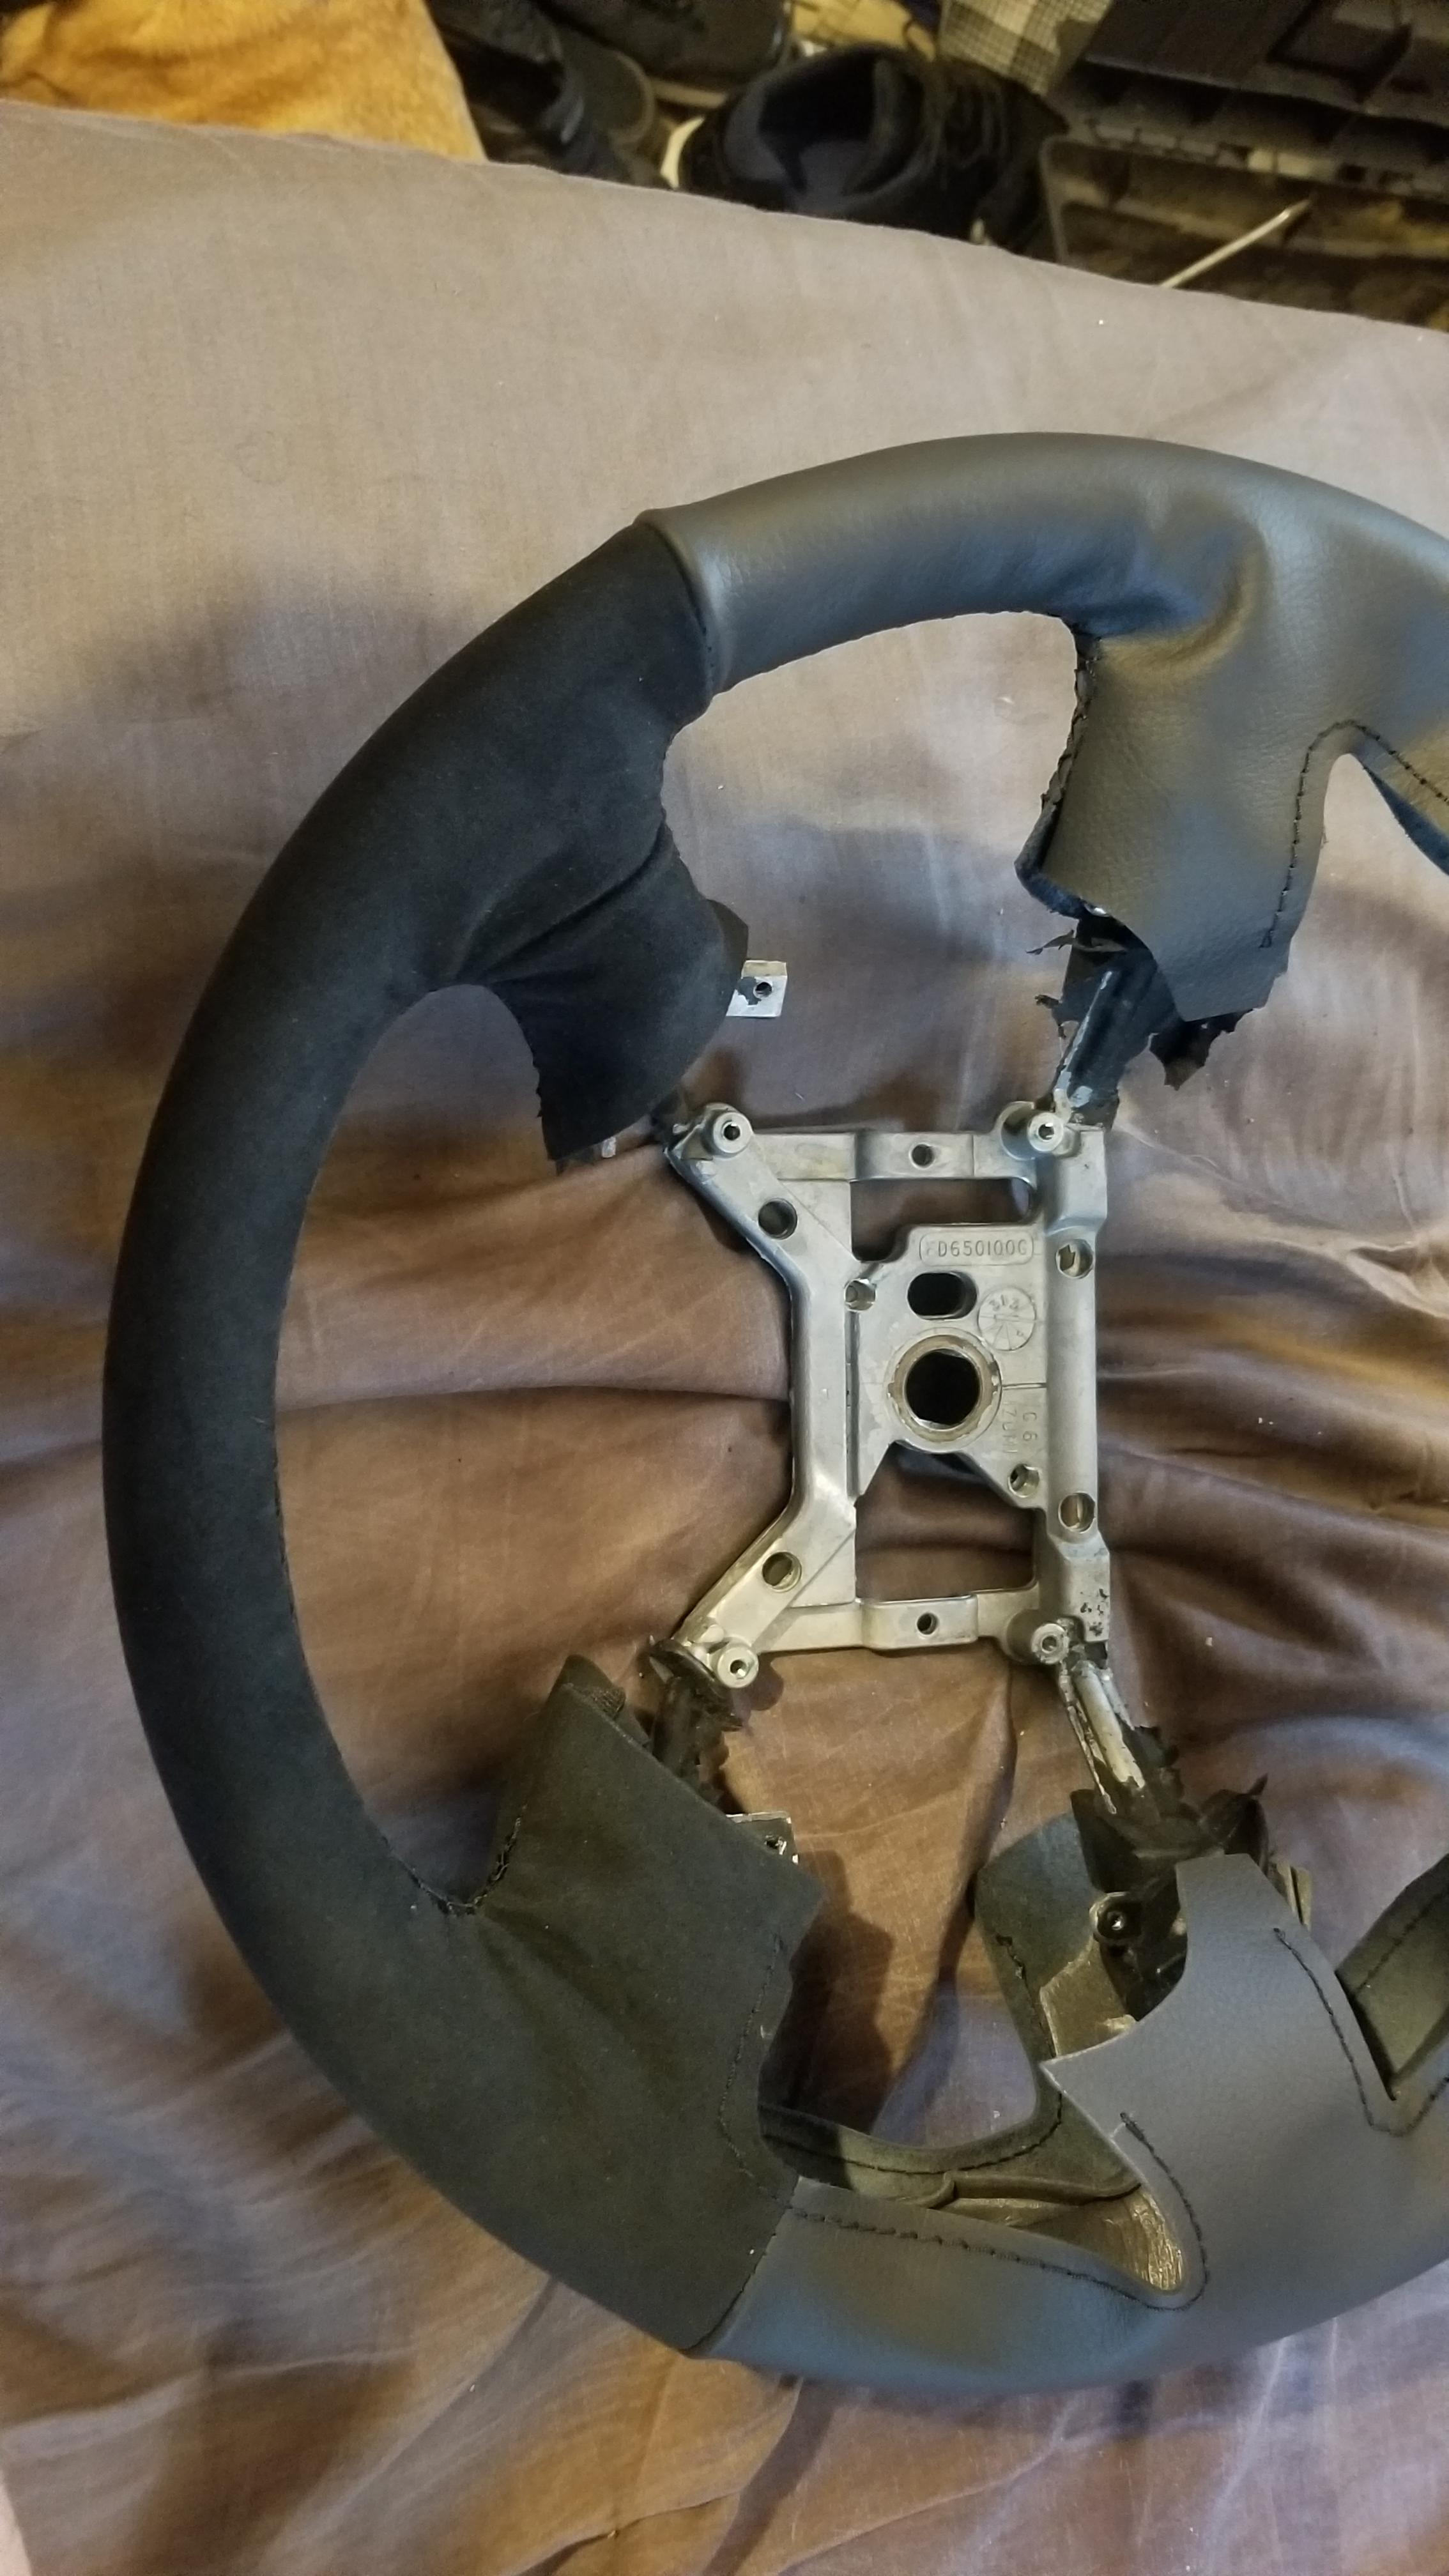
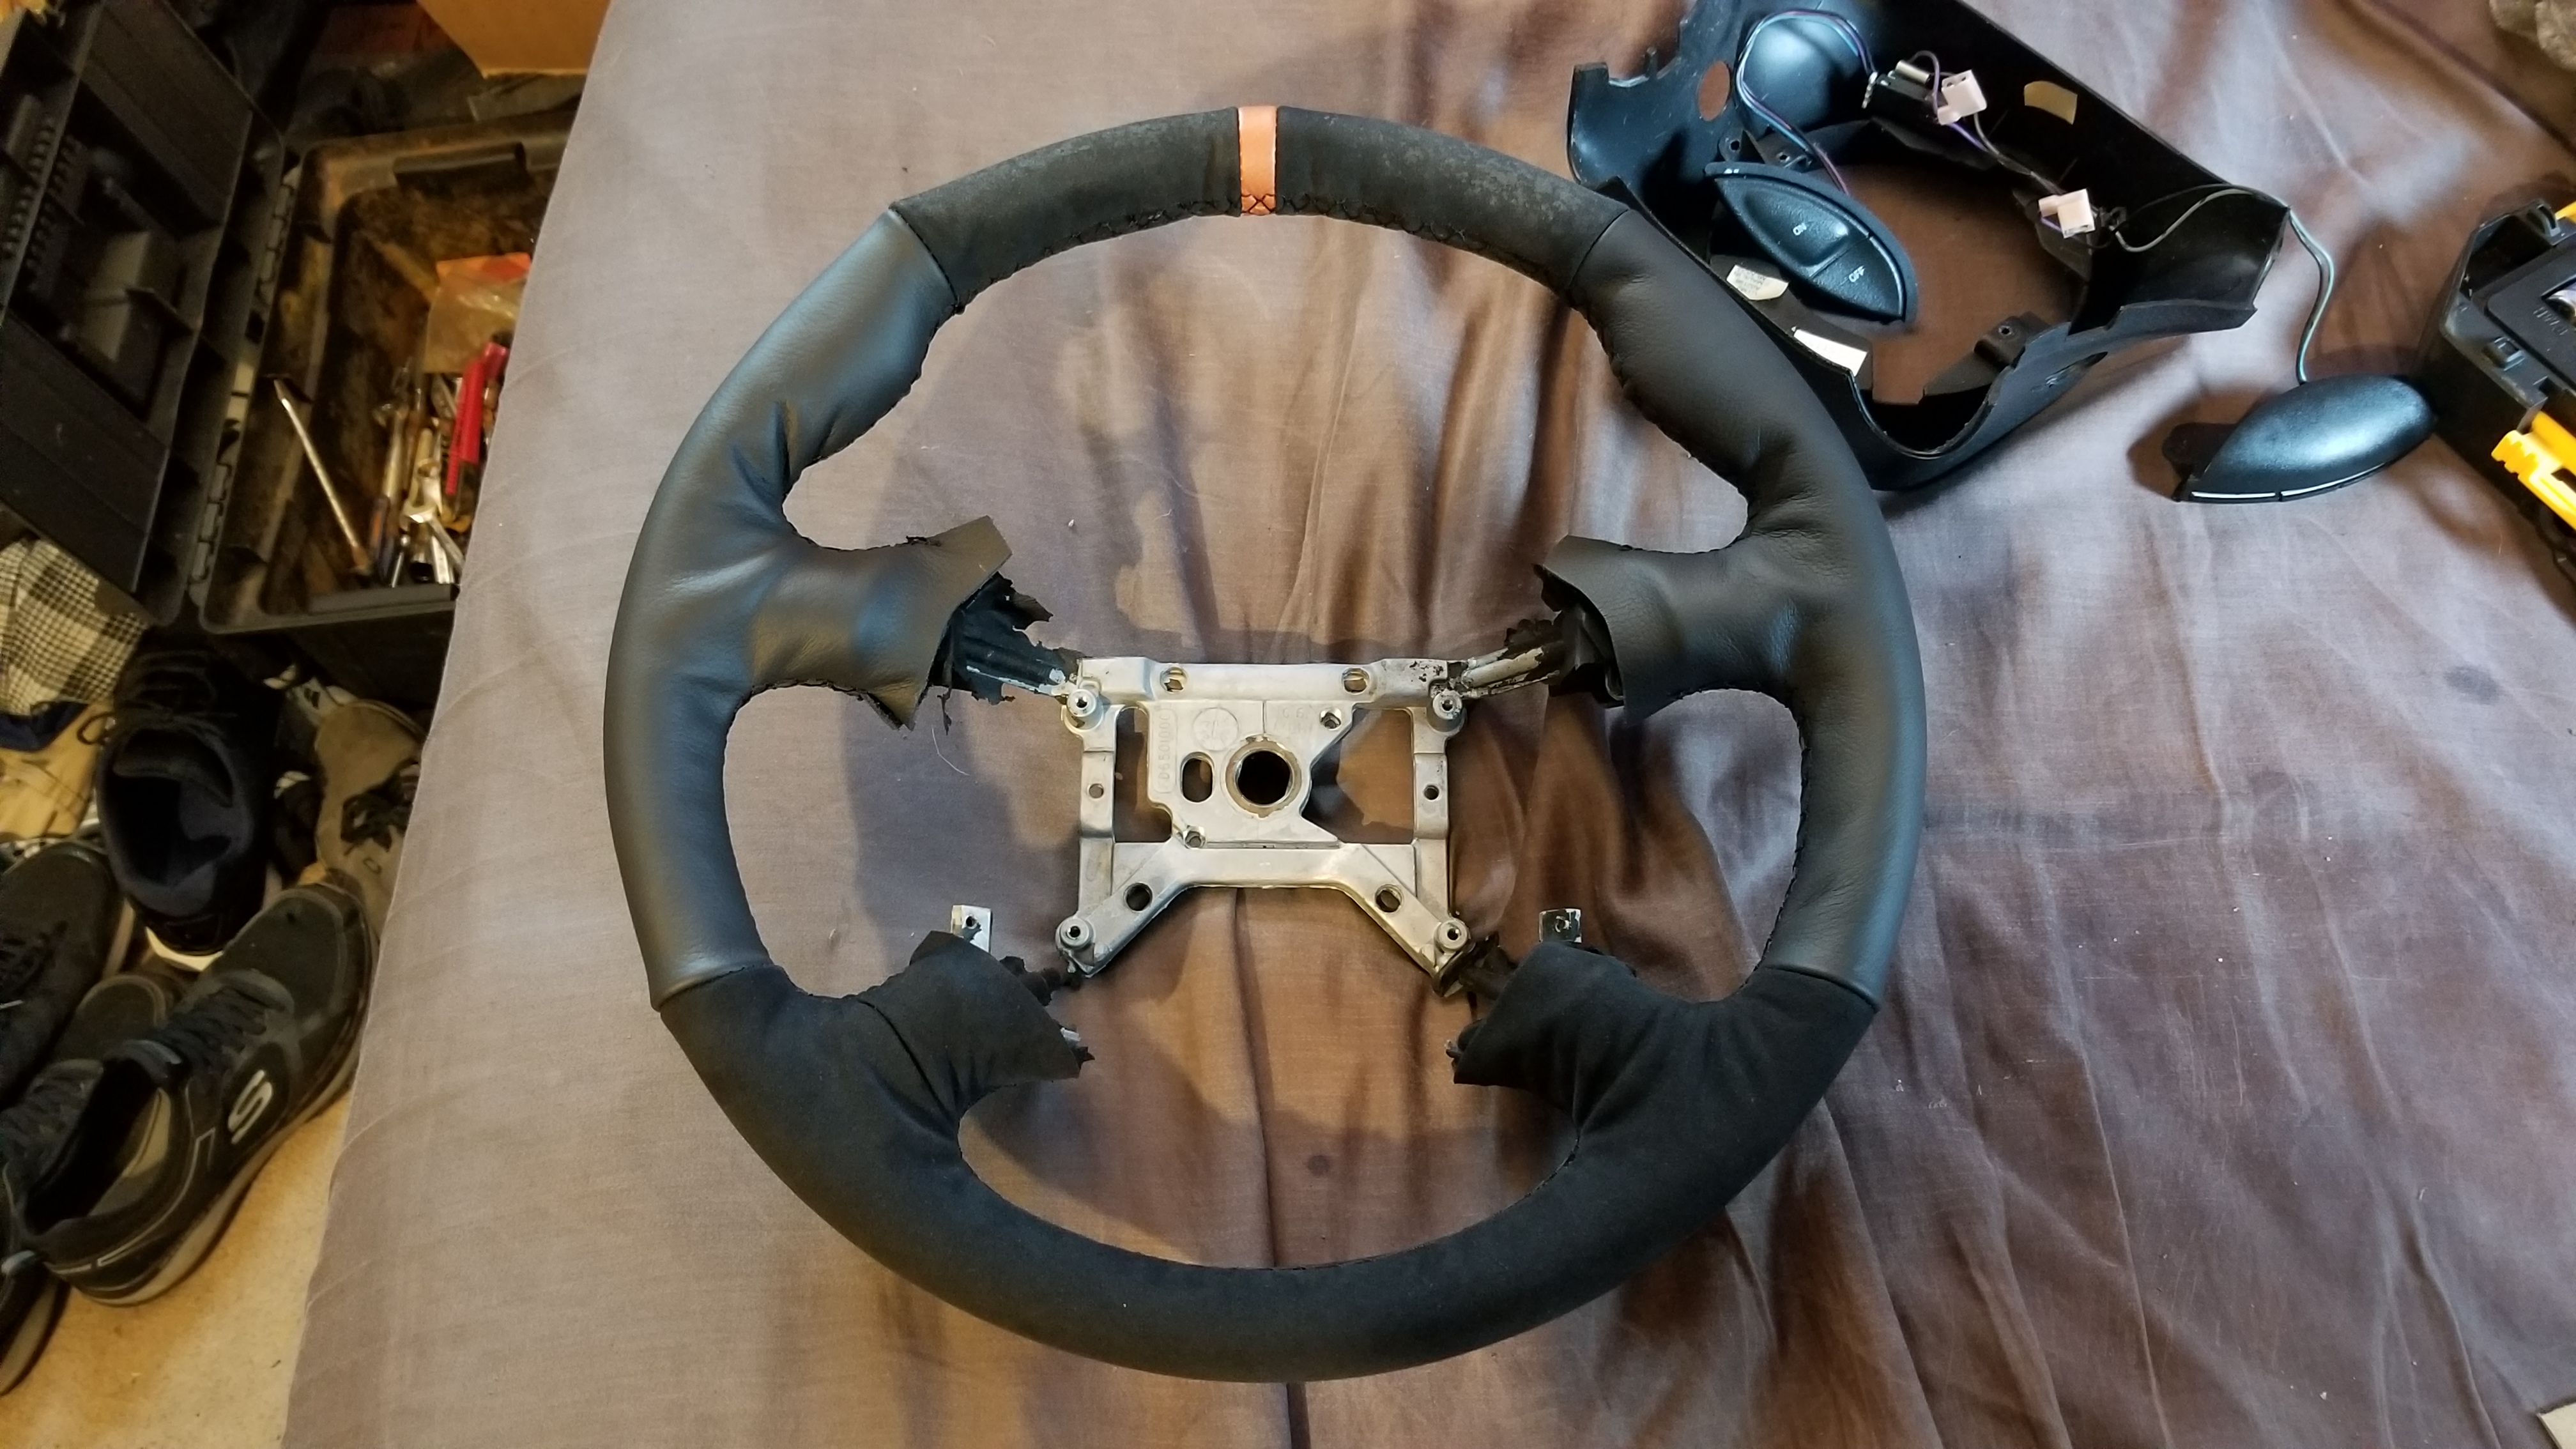
Yikes! Old leather actually fell apart while I removed it, it was crumbling in my hands while driving the past month
JM0nv8N.jpg

QLxvDRo.jpg

EayV1EX.jpg

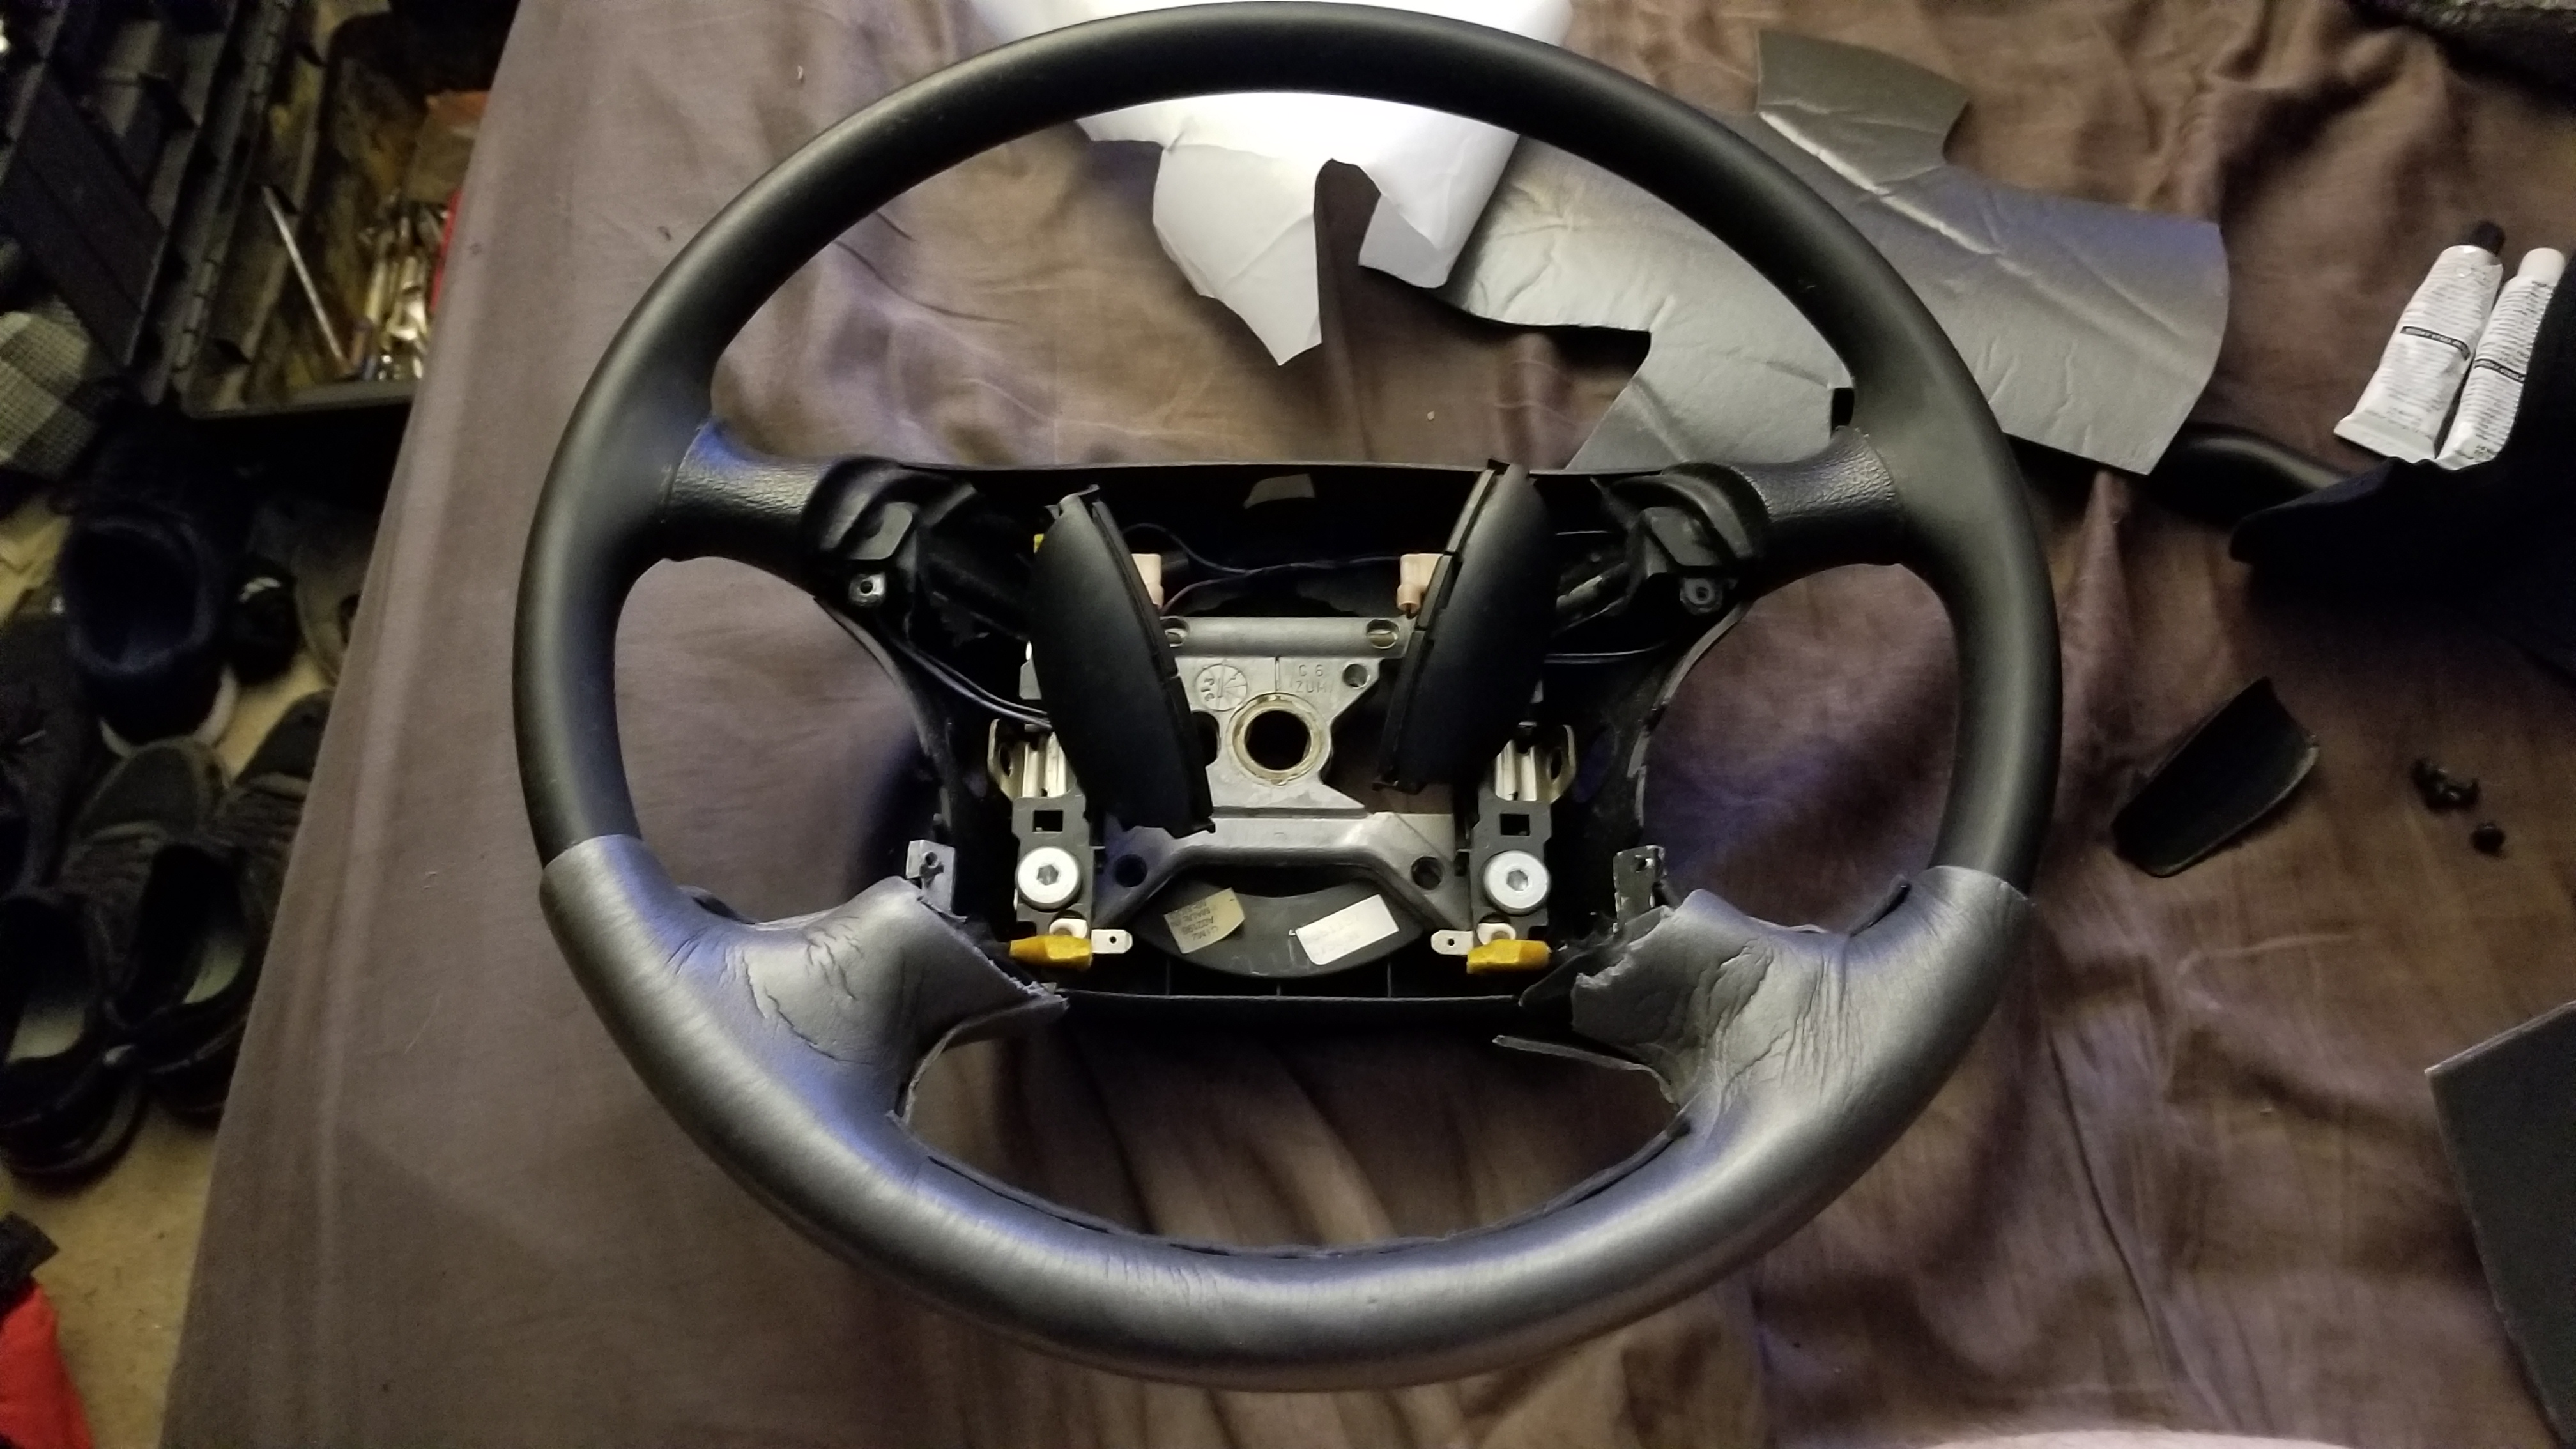
started the bottom padding
jS1RiZN.jpg

Test fit to get the thumb grips alignment
N9KbsTK.jpg

And as I am typing this I am watching epoxy dry in anticipation of being able to finish this up.. The tension is killing me.
RSAd2mJ.jpg


Update will follow as soon as the wrap is installed... Probably going to stay up til its done tonight.
 
OP
OP
FivepointSlow

FivepointSlow

Well-Known Member
Joined
Oct 22, 2013
Messages
2,646
Reaction score
60
Location
Enfield, CT, USA
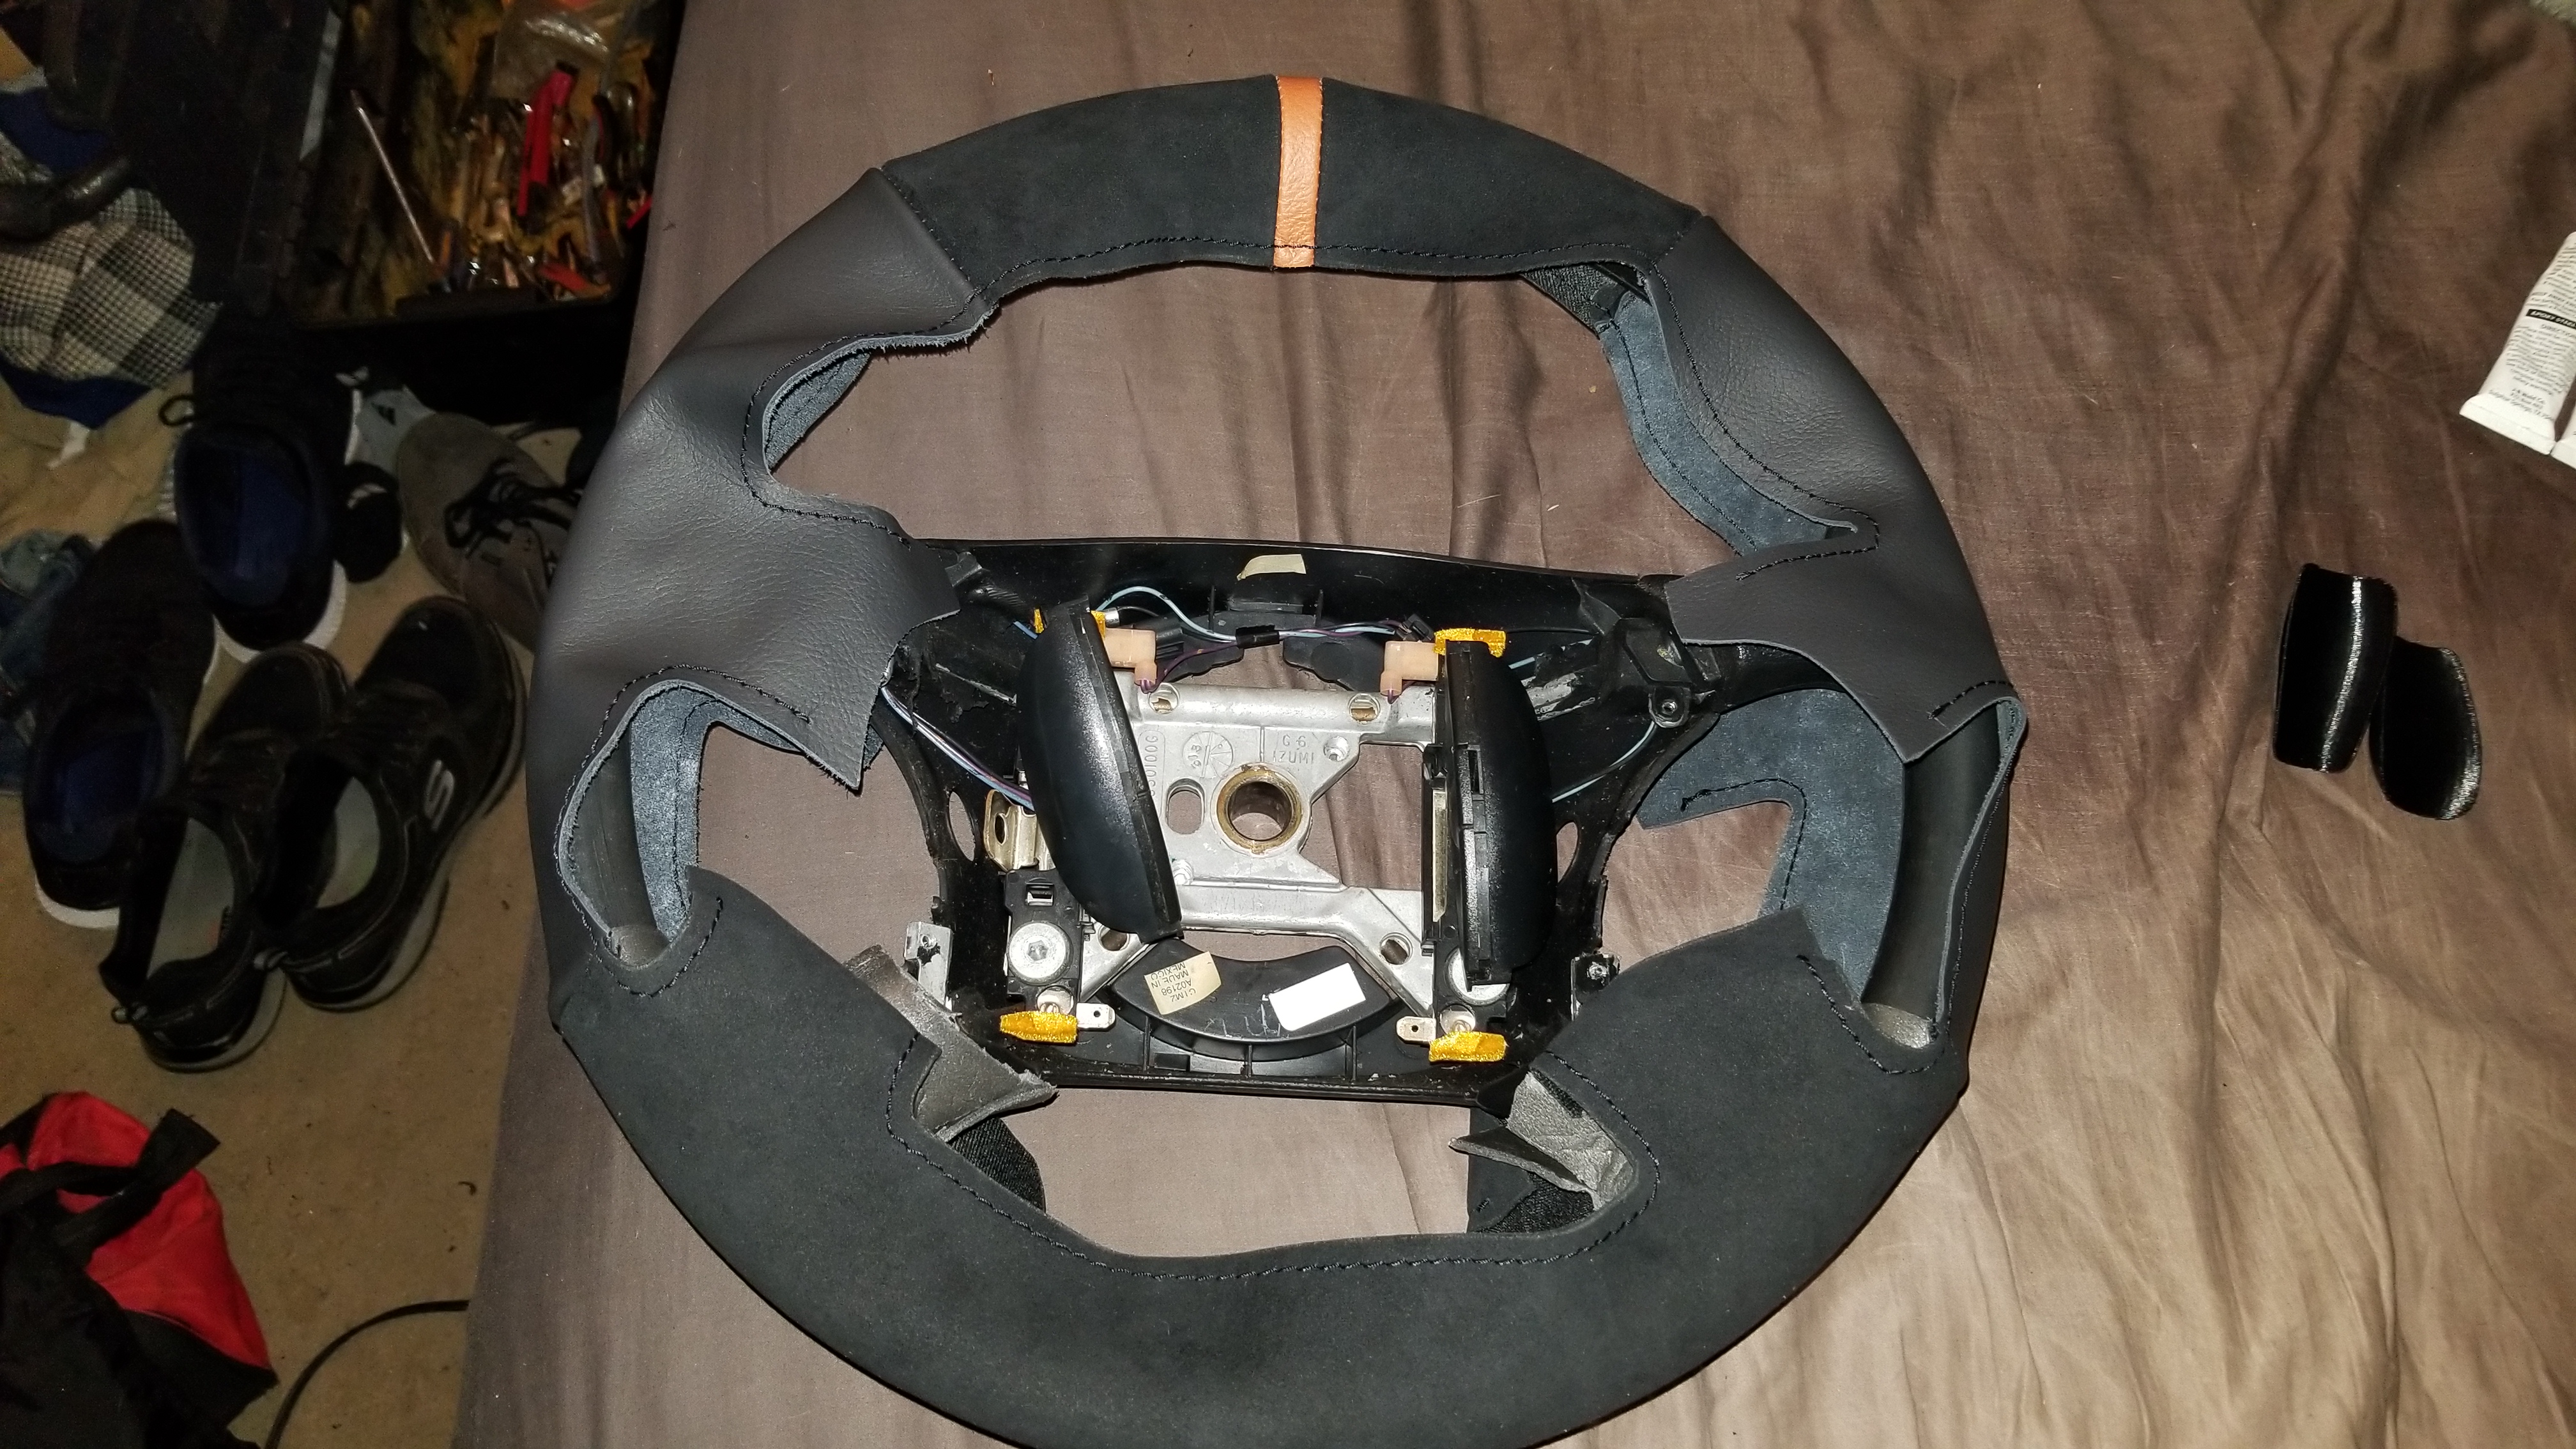
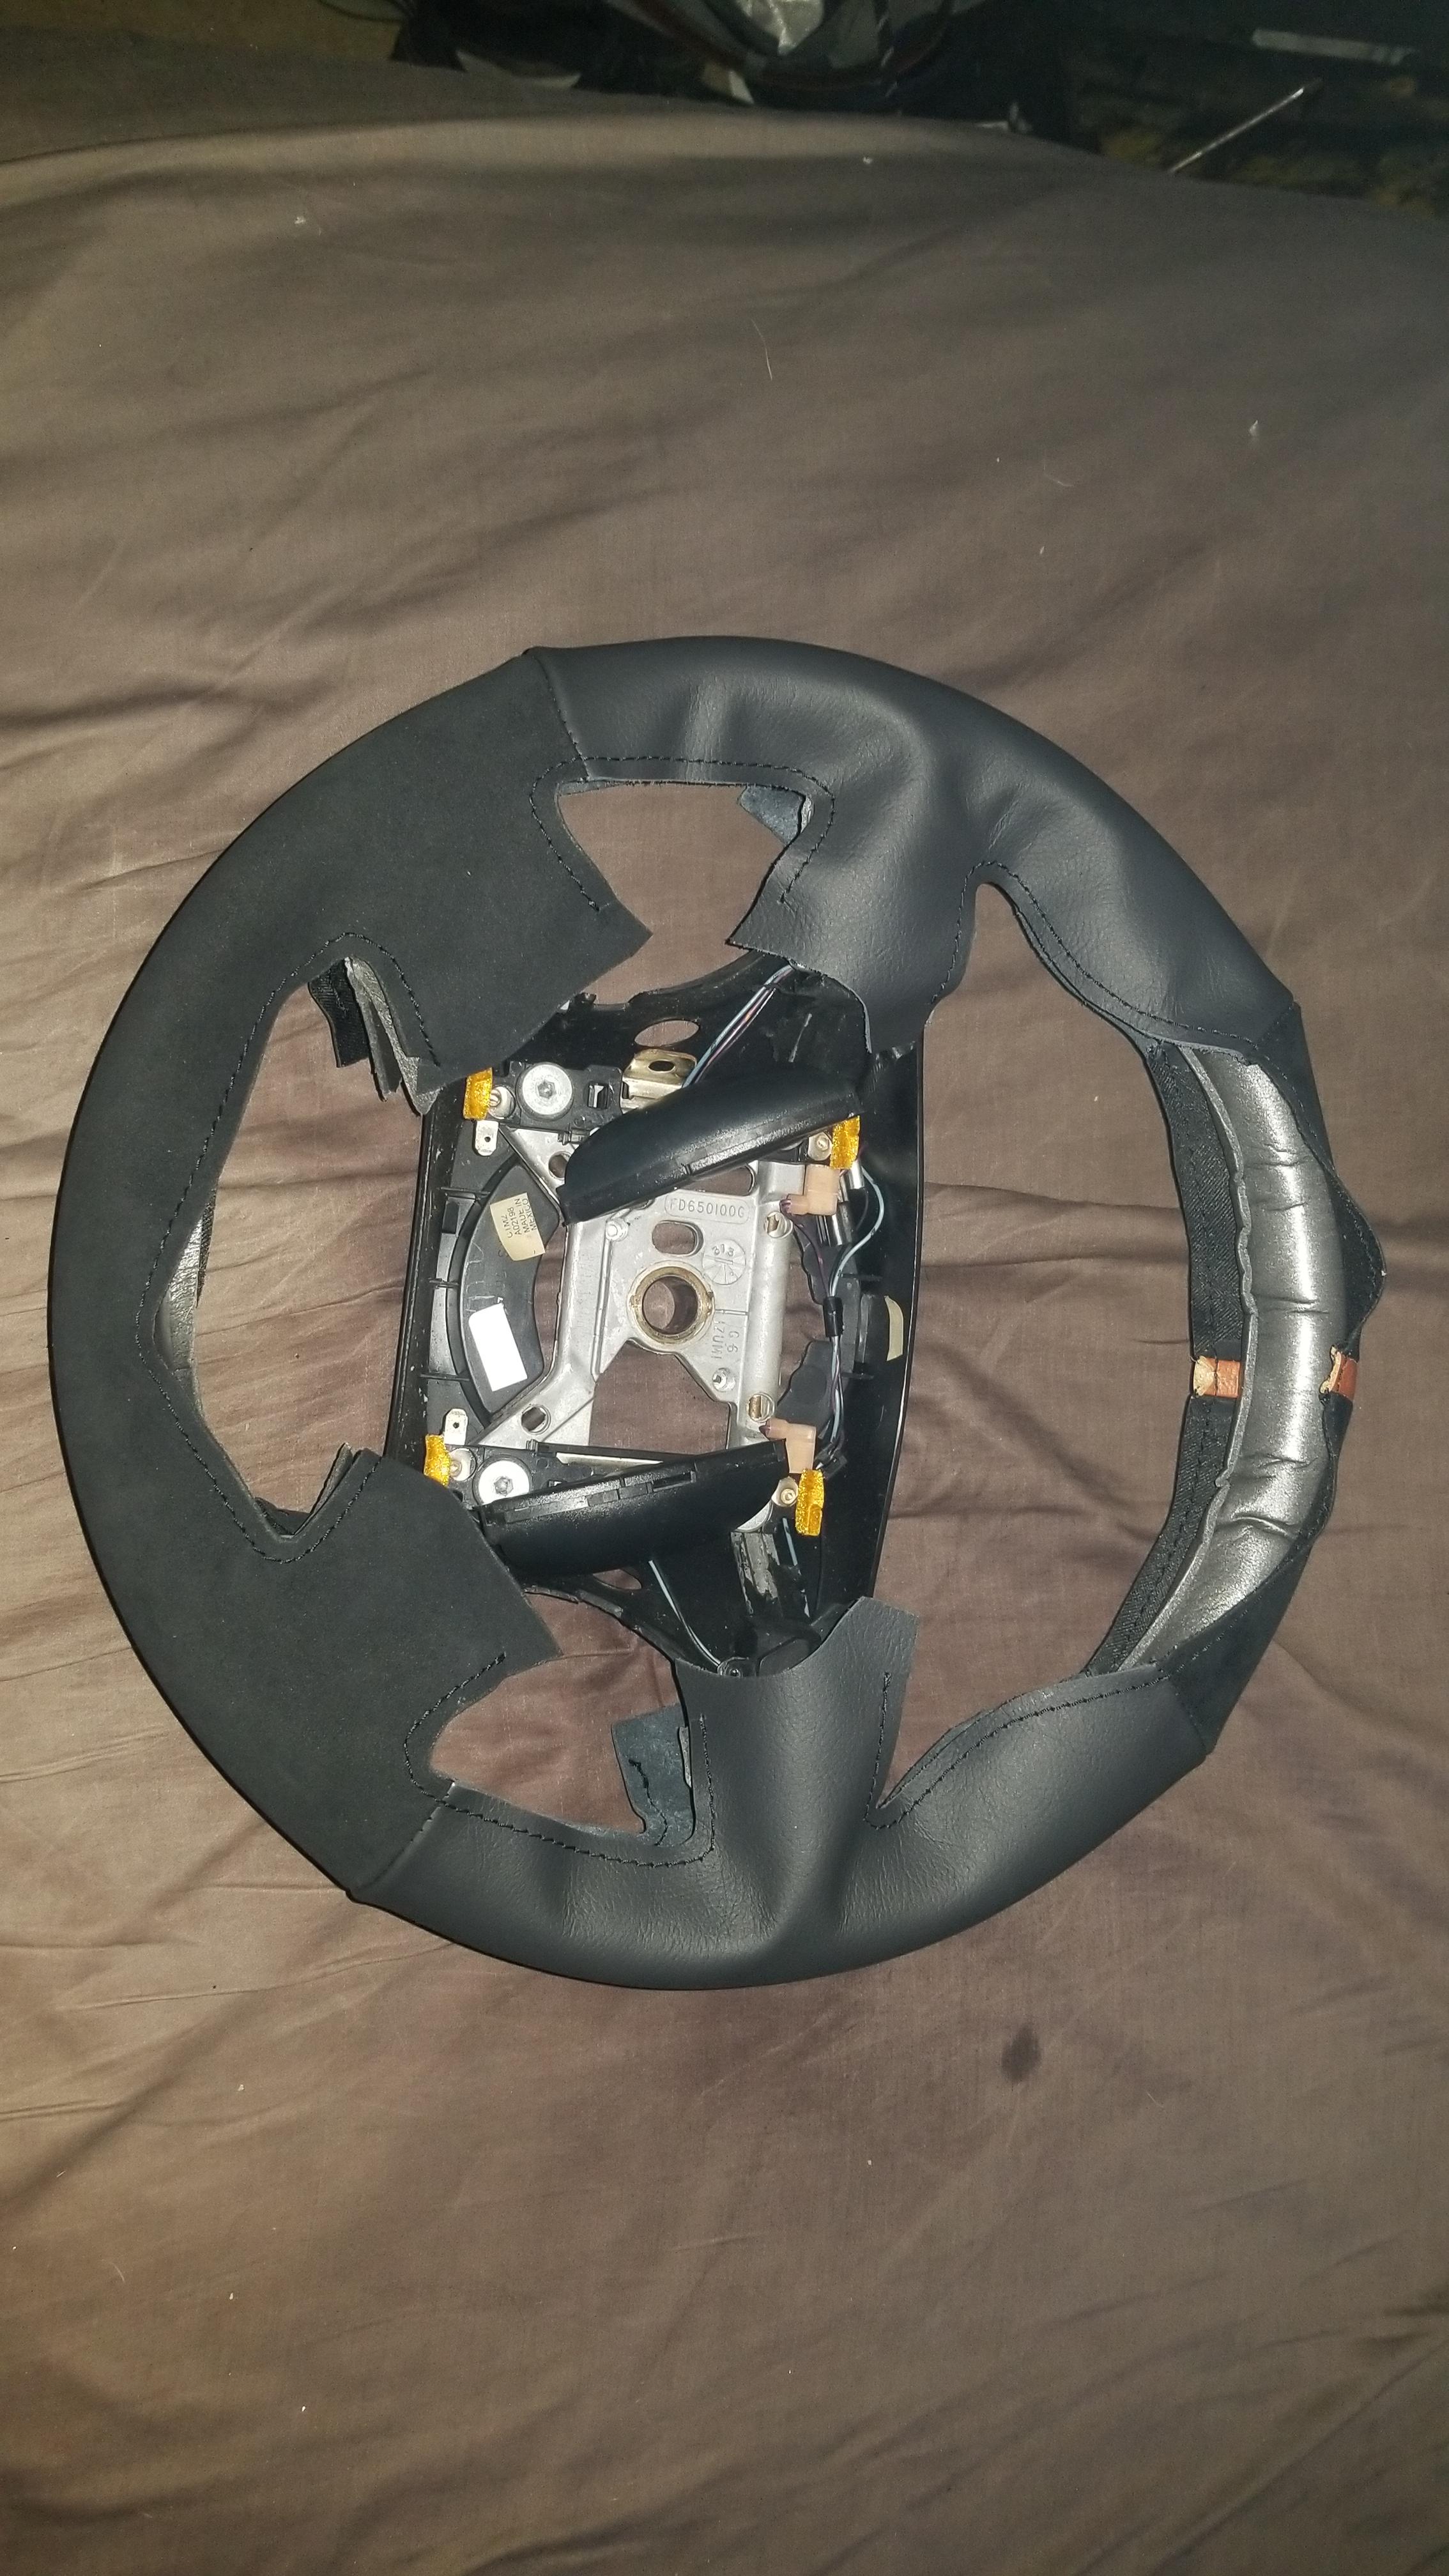
Well definitely ran into my fair share of issues with this steering wheel adventure.

Once the thumb grips had set and dried, I applied the padding
69mUcTa.jpg

Got the cover lined up
cRVIKjh.jpg

Removed the plastic trim on the rear of the wheel
S3lQPmx.jpg

Got the bottom section sewed up
vlQ6fyi.jpg

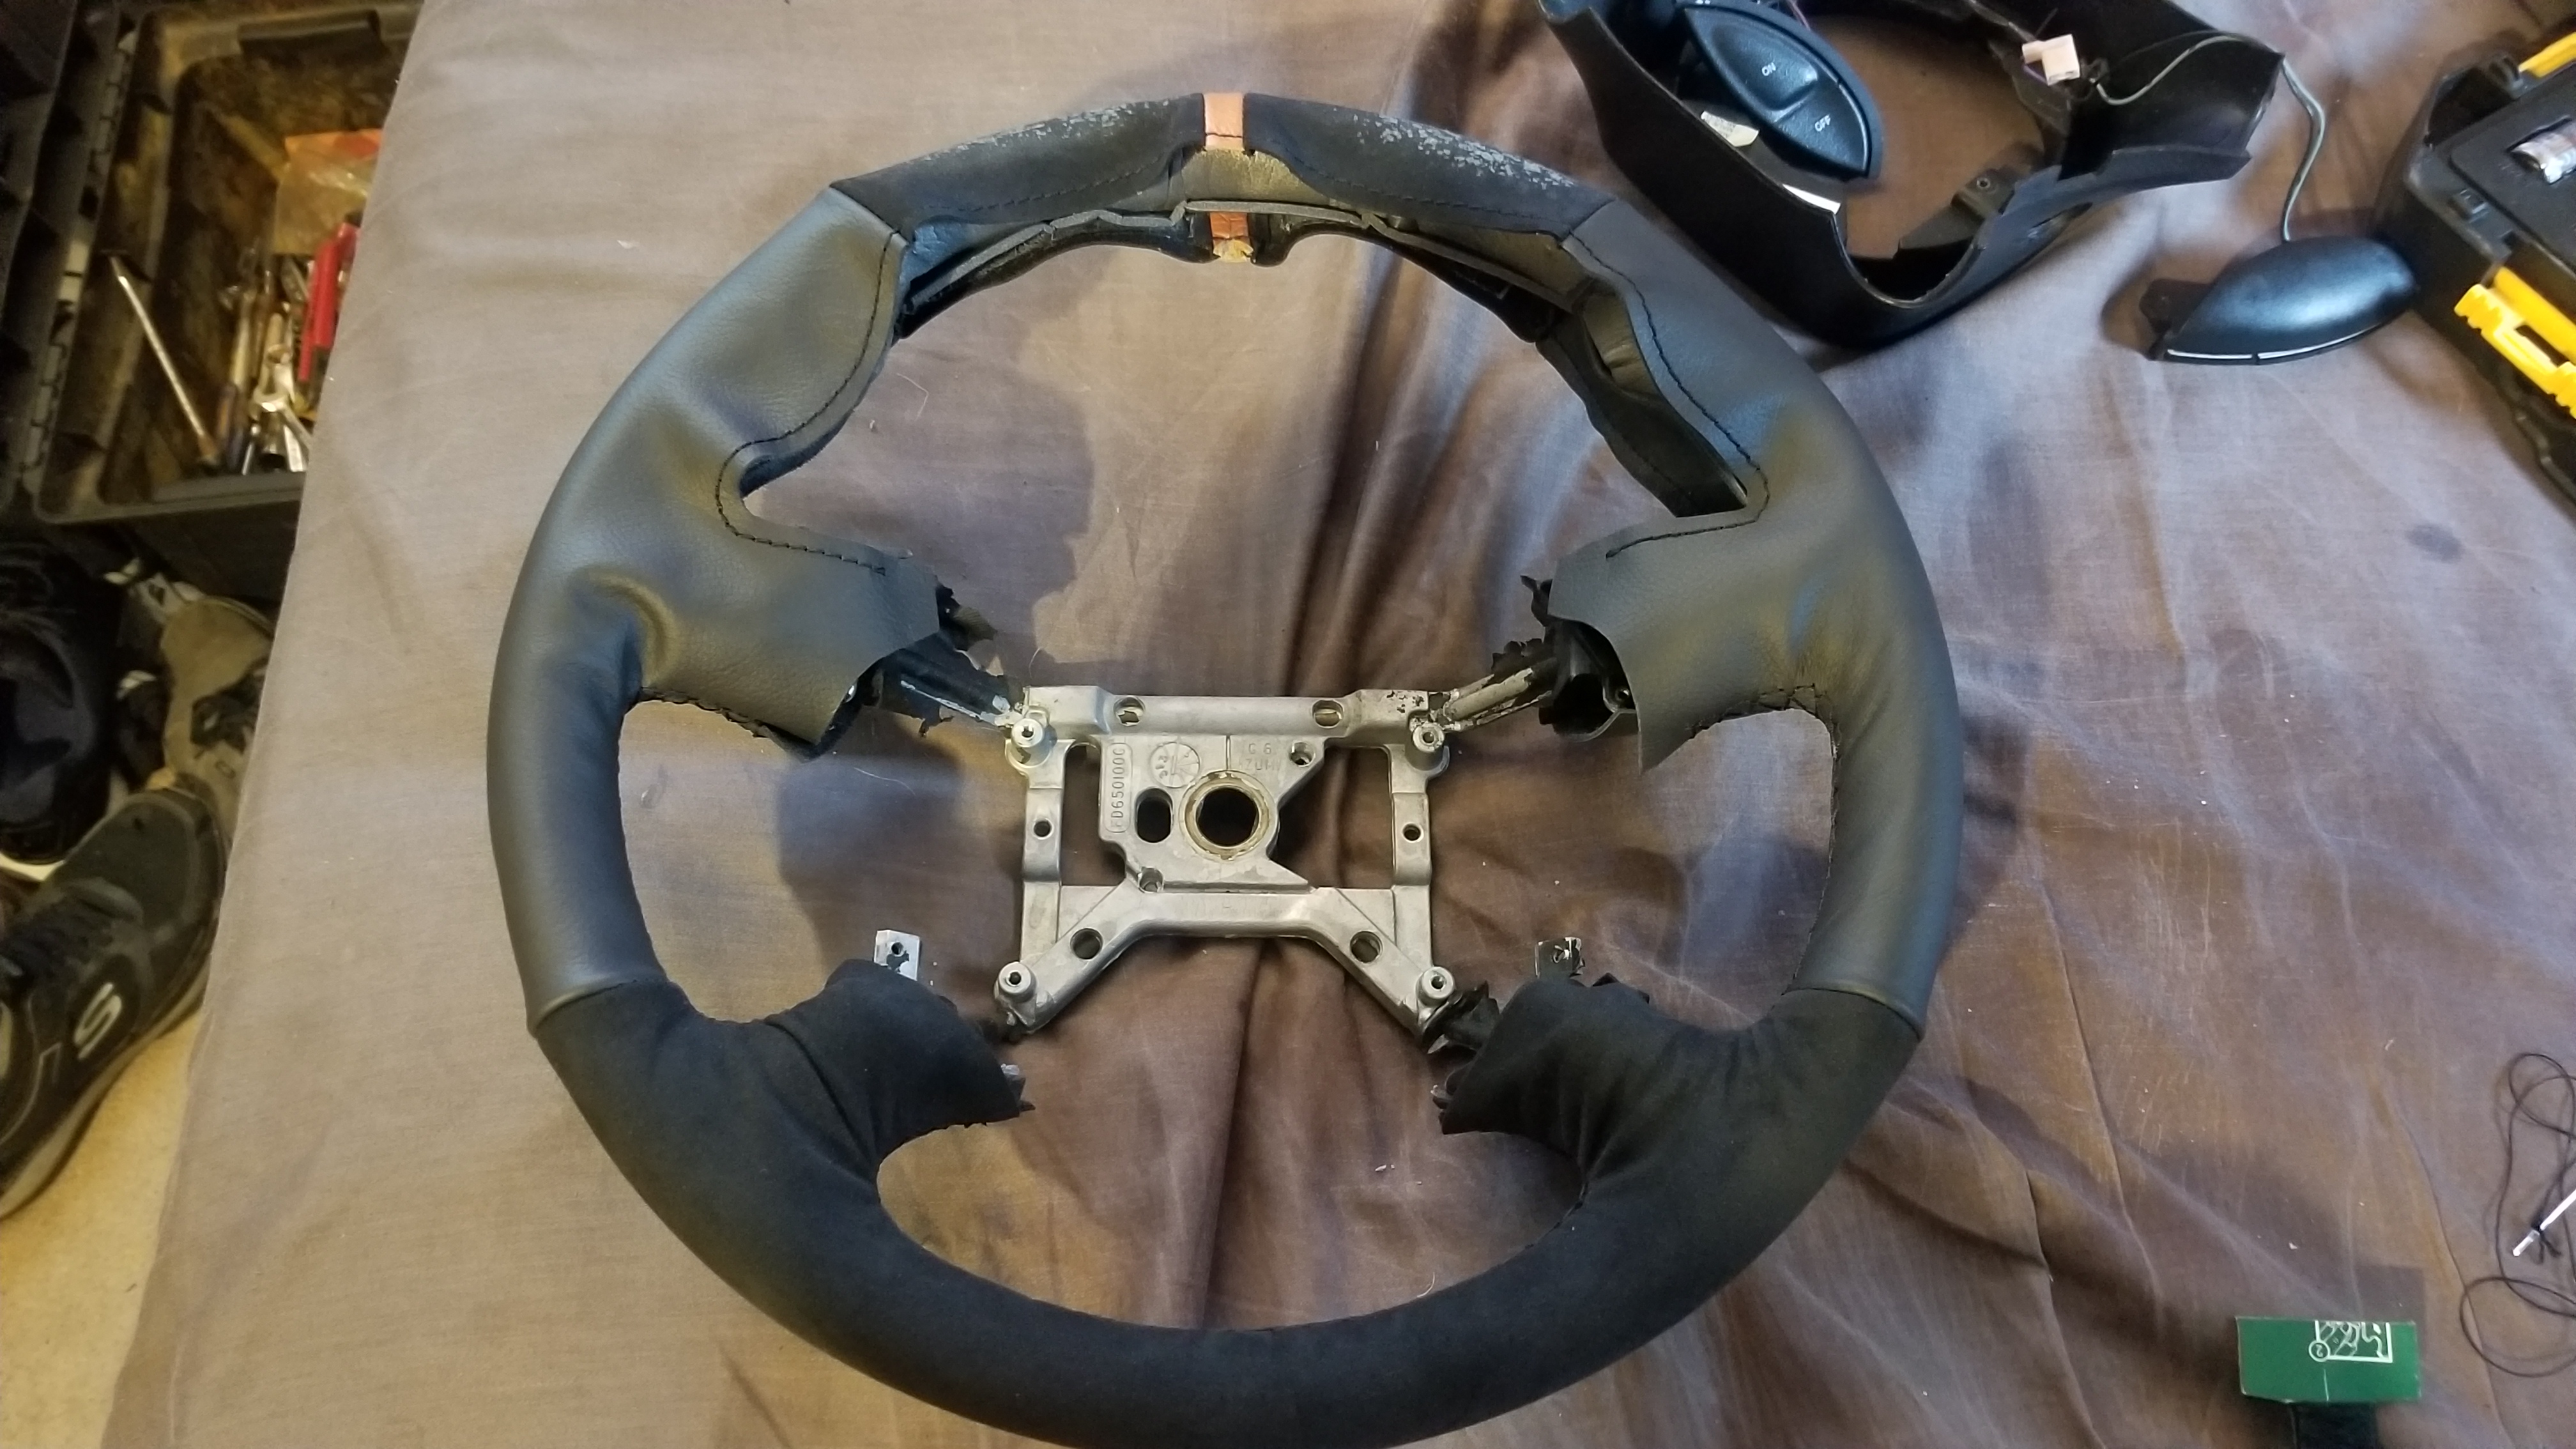
I then applied some fabric glue to the left right and top of the wheel. I didnt want to glue it before sewing the bottom to allow me to shift the cover around as needed to get it perfectly aligned, and I wasnt 100% sure it was perfect until the bottom was together and I did end up having to shift it a bit.
Apparently Alcantara is very porous and the glue being as thin as it was, all pooled up at the top of the wheel as i had it angled top side down when putting the glue on, and as soon as I pressed the cover down to let the glue set the glue made it's way right through the Alcantara on the top as seen in this picture
If anyone has any recommendations 9n how to clean the Alcantara without ruining it further let me know, worst case I can probably swing replacing that section of the wrap using the old piece as a template if I can find matching Alcantara to use, but I'd rather not go that far.
odqJvXv.jpg

The entire top section of the wheel is where things got annoying, with the glue showing through the material and me snapping the thread a whole bunch trying to pull the material tight, I was getting a bit impatient.
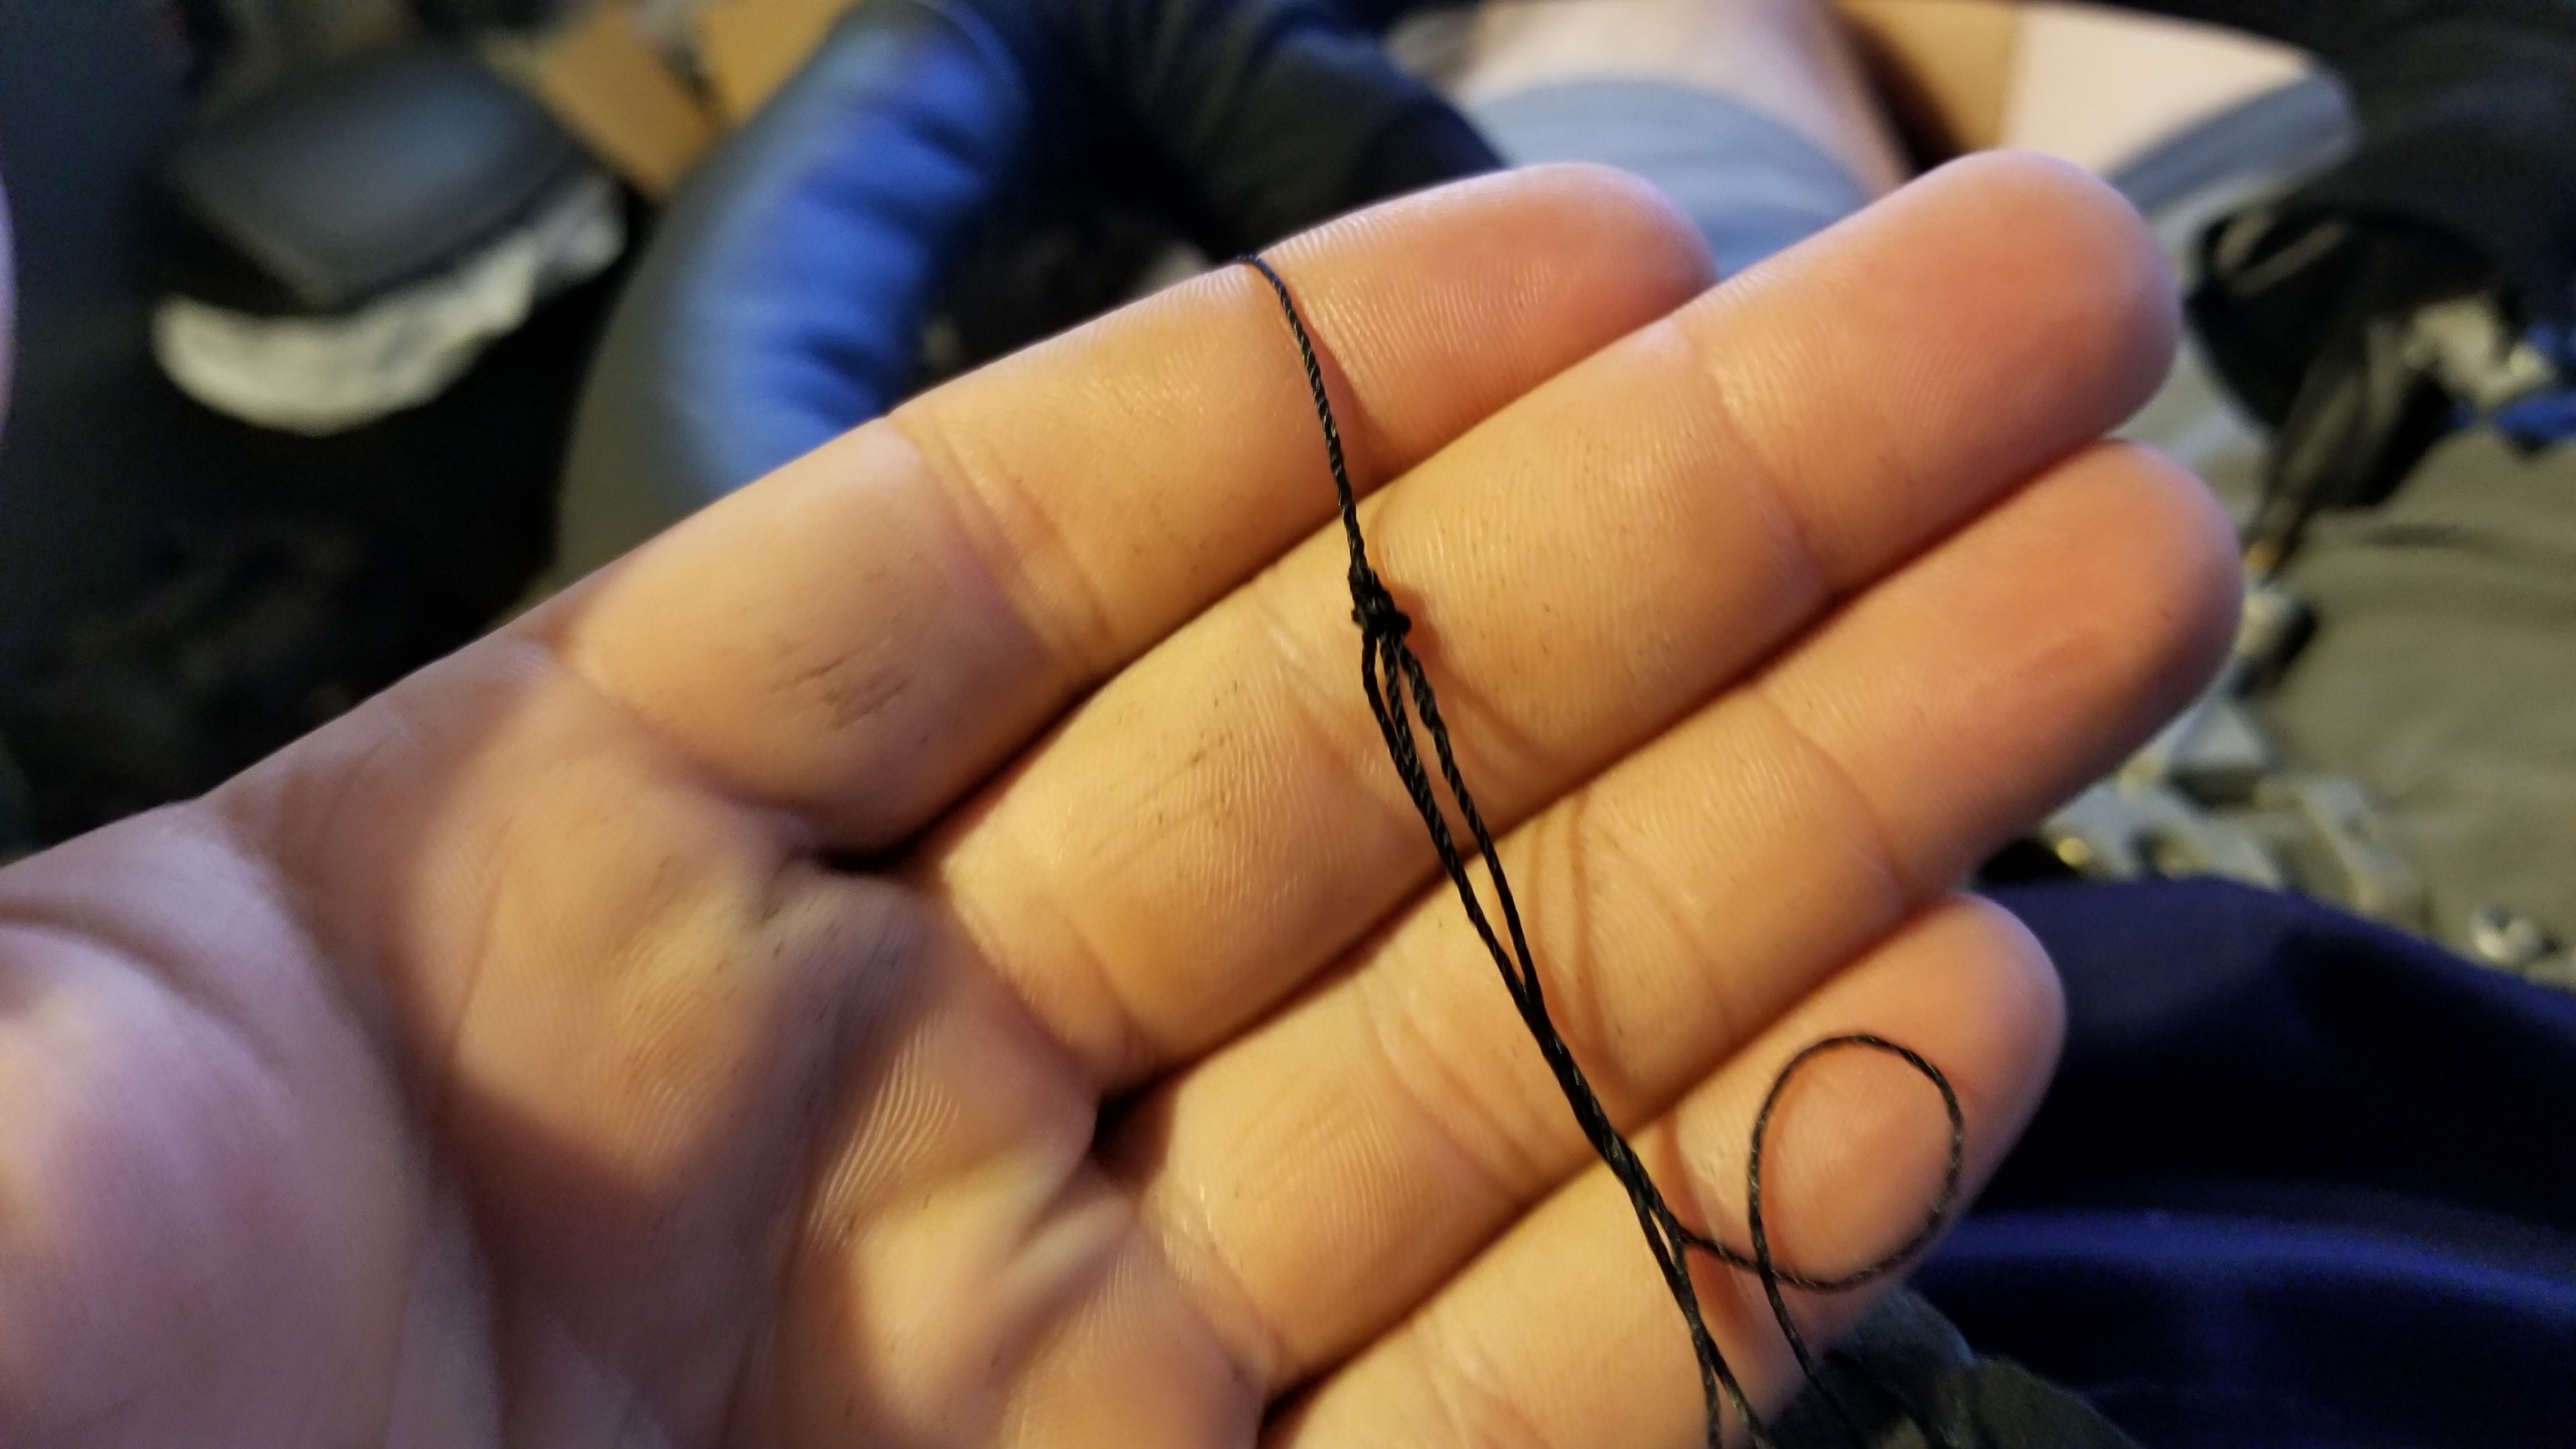
This knot didn't help my sanity either. I'm familiar with sewing, I'm apparently a natural at it because I destroyed the sewing section of my home ed class in HS, so i knew roughly how much thread i needed with the pattern i was doing to make it around, and I had just enough left, and didnt have enough to afford snapping anymore and certainly couldn't cut this knot and start with more thread... so 40 min later I got this damn knot undone
AQu7uFX.jpg

Sewing done, glue on top is way less noticable now that's it's pretty much fully dried, and with the exception of some excessive wrinkling on the left side due to who knows what it's looking pretty spiffy.
E7kGHYi.jpg

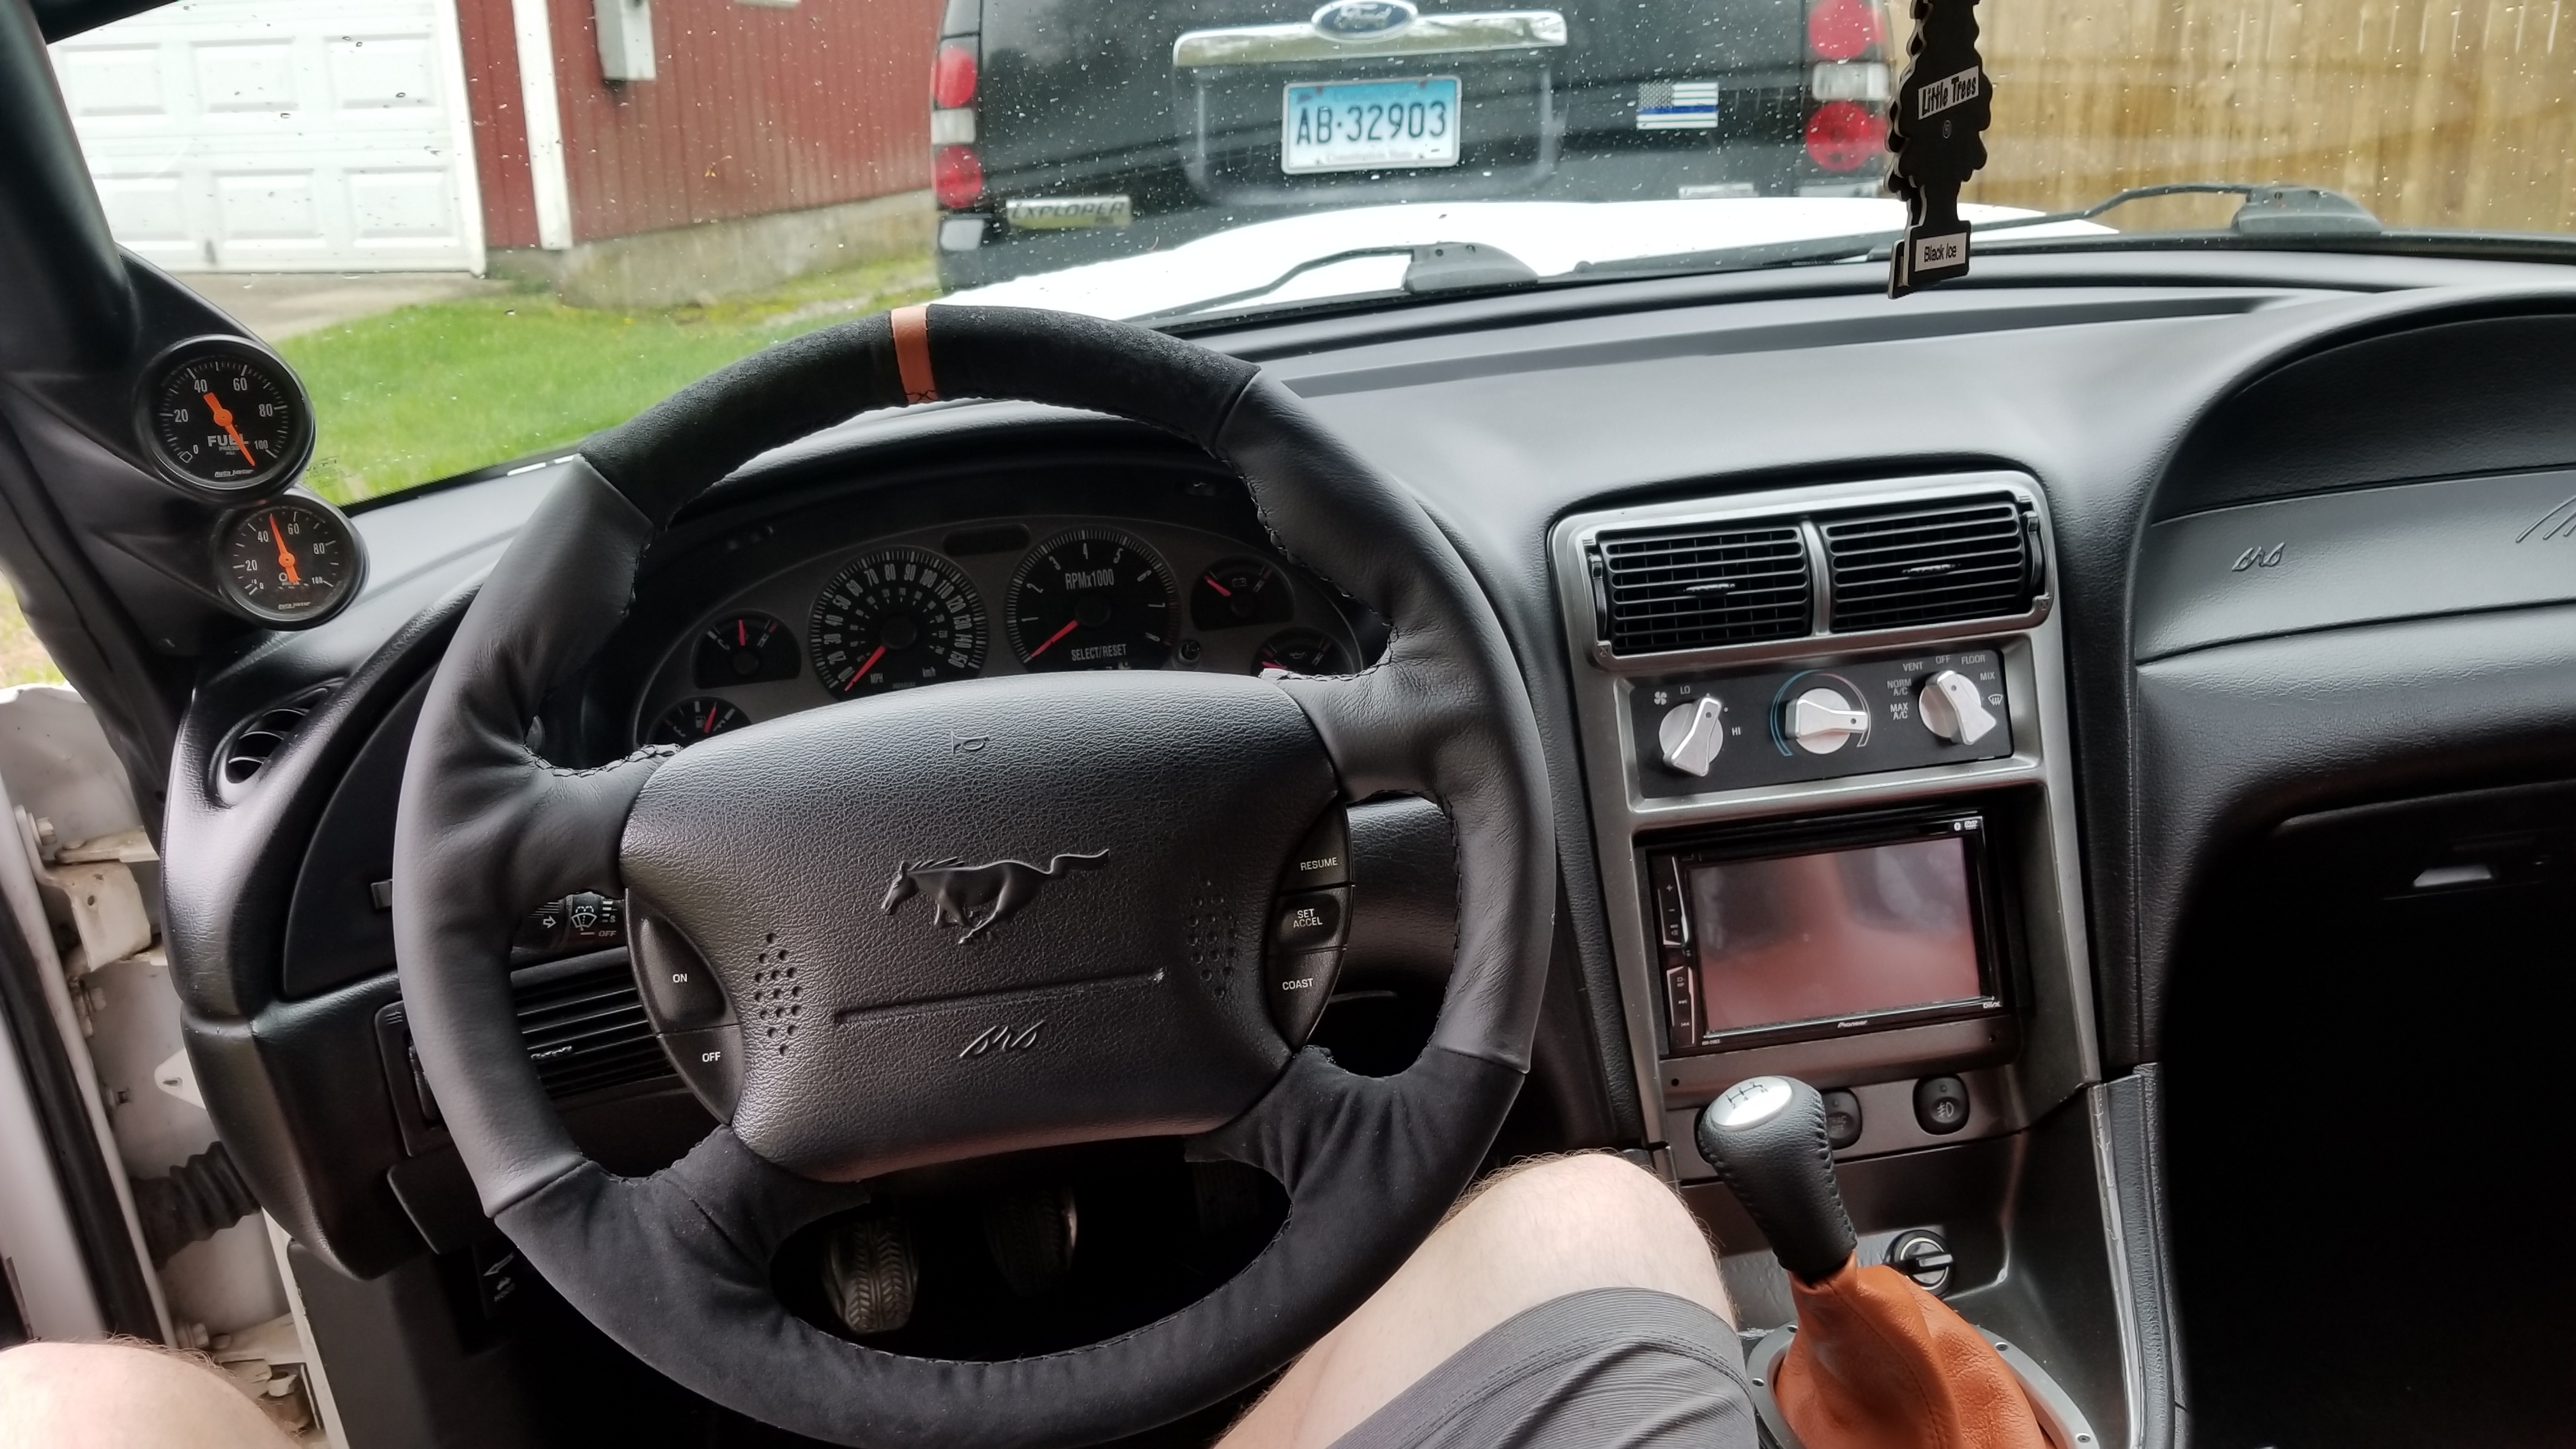
Installed and looking extra jank, however still managed to look 10000x better than the ratty stock leather
HWbOsul.jpg

44nVeKL.jpg

My OCD will eat me alive so I am going to be pulling the wheel back out probably Monday and picking some new thread up and redoing atleast the top stitching, possibly the sides aswell, but the bottom came out perfect so atleast i got that going for me.
I doubled up the bottom stitching and it is extra tight, I'm thinking I wanna try that the rest of the way around, while the stitching pattern I used looks good when it's a single run and a little spread out, the bottom being doubled pulled the leather perfectly tight and looks really clean imo. I dunno. Luckily it's not too hard to restitch and hopefully if it sits in the car the next few days it will start to take the shape of the wheel and be easier to sew next go around

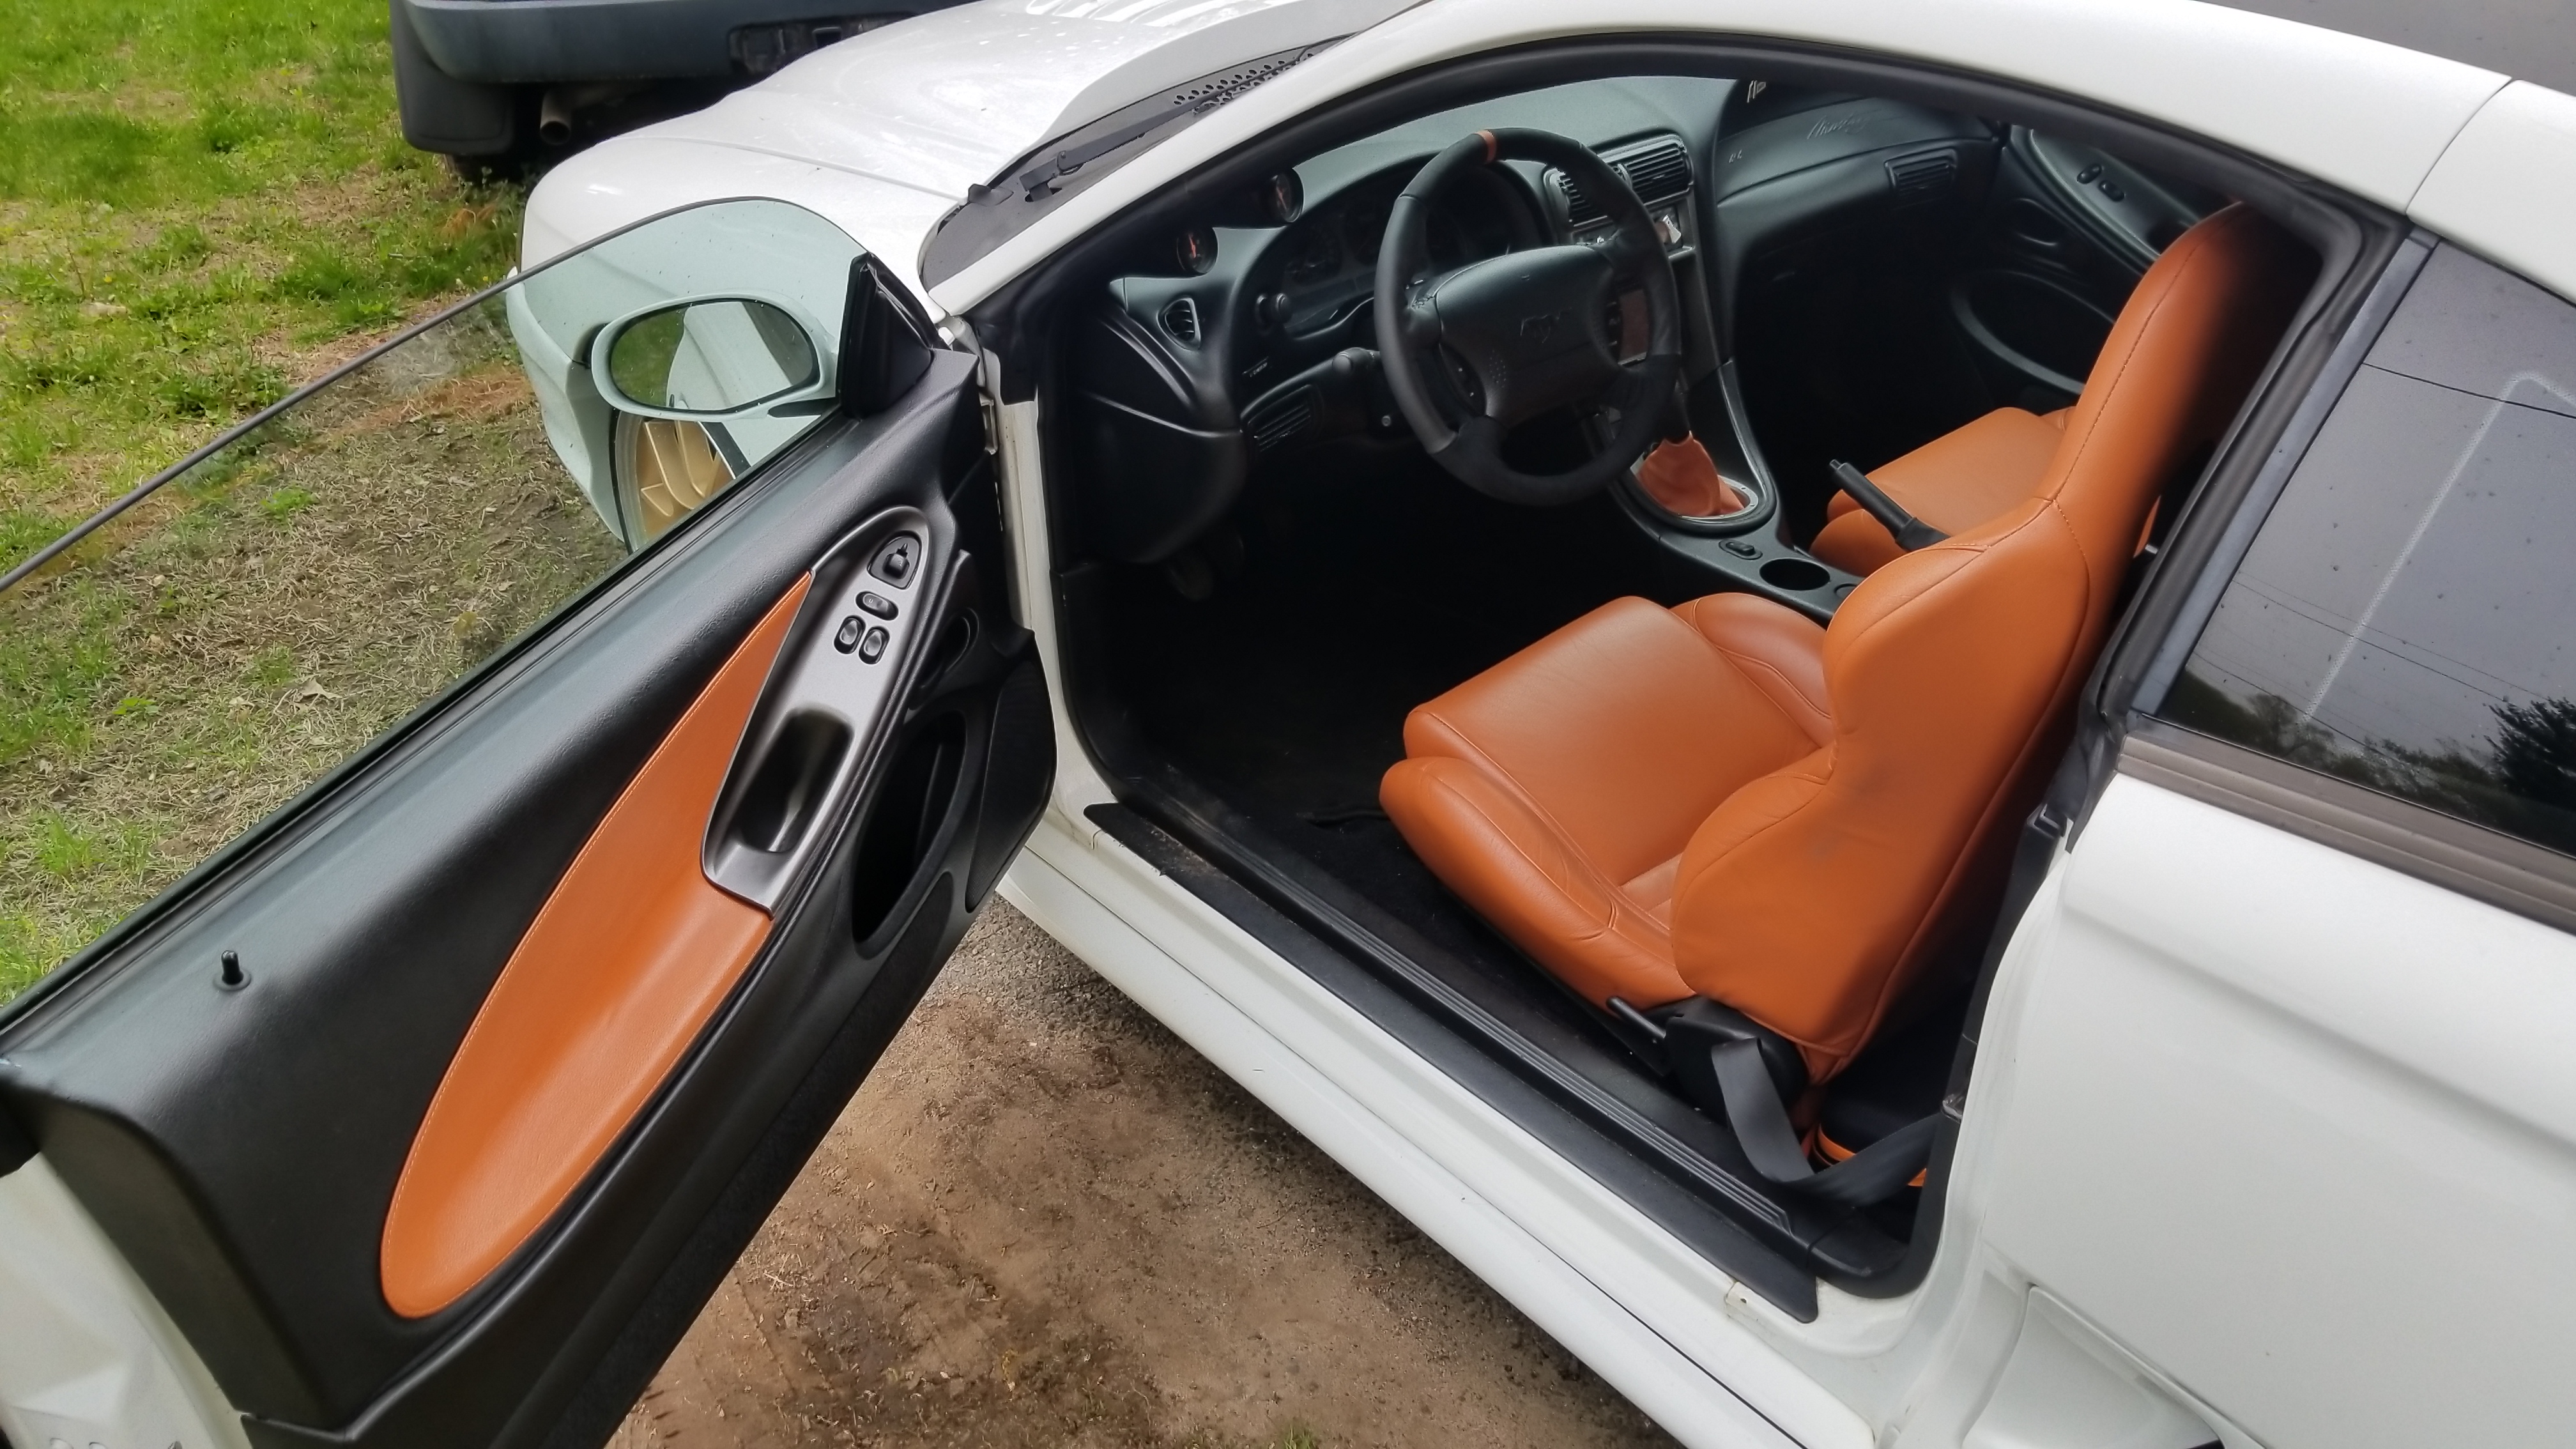
Also tossed on my ebrake boot which looks extra sick but I got to adhere that to the console for it to be picture worth.
 

OLD H2S

Well-Known Member
SN95 Supporter
Joined
Jul 4, 2015
Messages
1,190
Reaction score
232
Location
Silver Spring Maryland
That looks like crap. Who made the new cover? I will try and get a picture of mine and who made it. Your idea and build up looks great. Mine came out very tight in new grey leather but the tan thread they supplied on light grey looks strange and I might redo it because OCD. OCD every day all ways... that and ringing in my ears..what, huh?

OK, Redline? Poland?
You will need a heat gun to stretch and pull the wrinkles out and tape them down with teflon plumbers tape till they cool in the position you want.
 
Last edited:
OP
OP
FivepointSlow

FivepointSlow

Well-Known Member
Joined
Oct 22, 2013
Messages
2,646
Reaction score
60
Location
Enfield, CT, USA
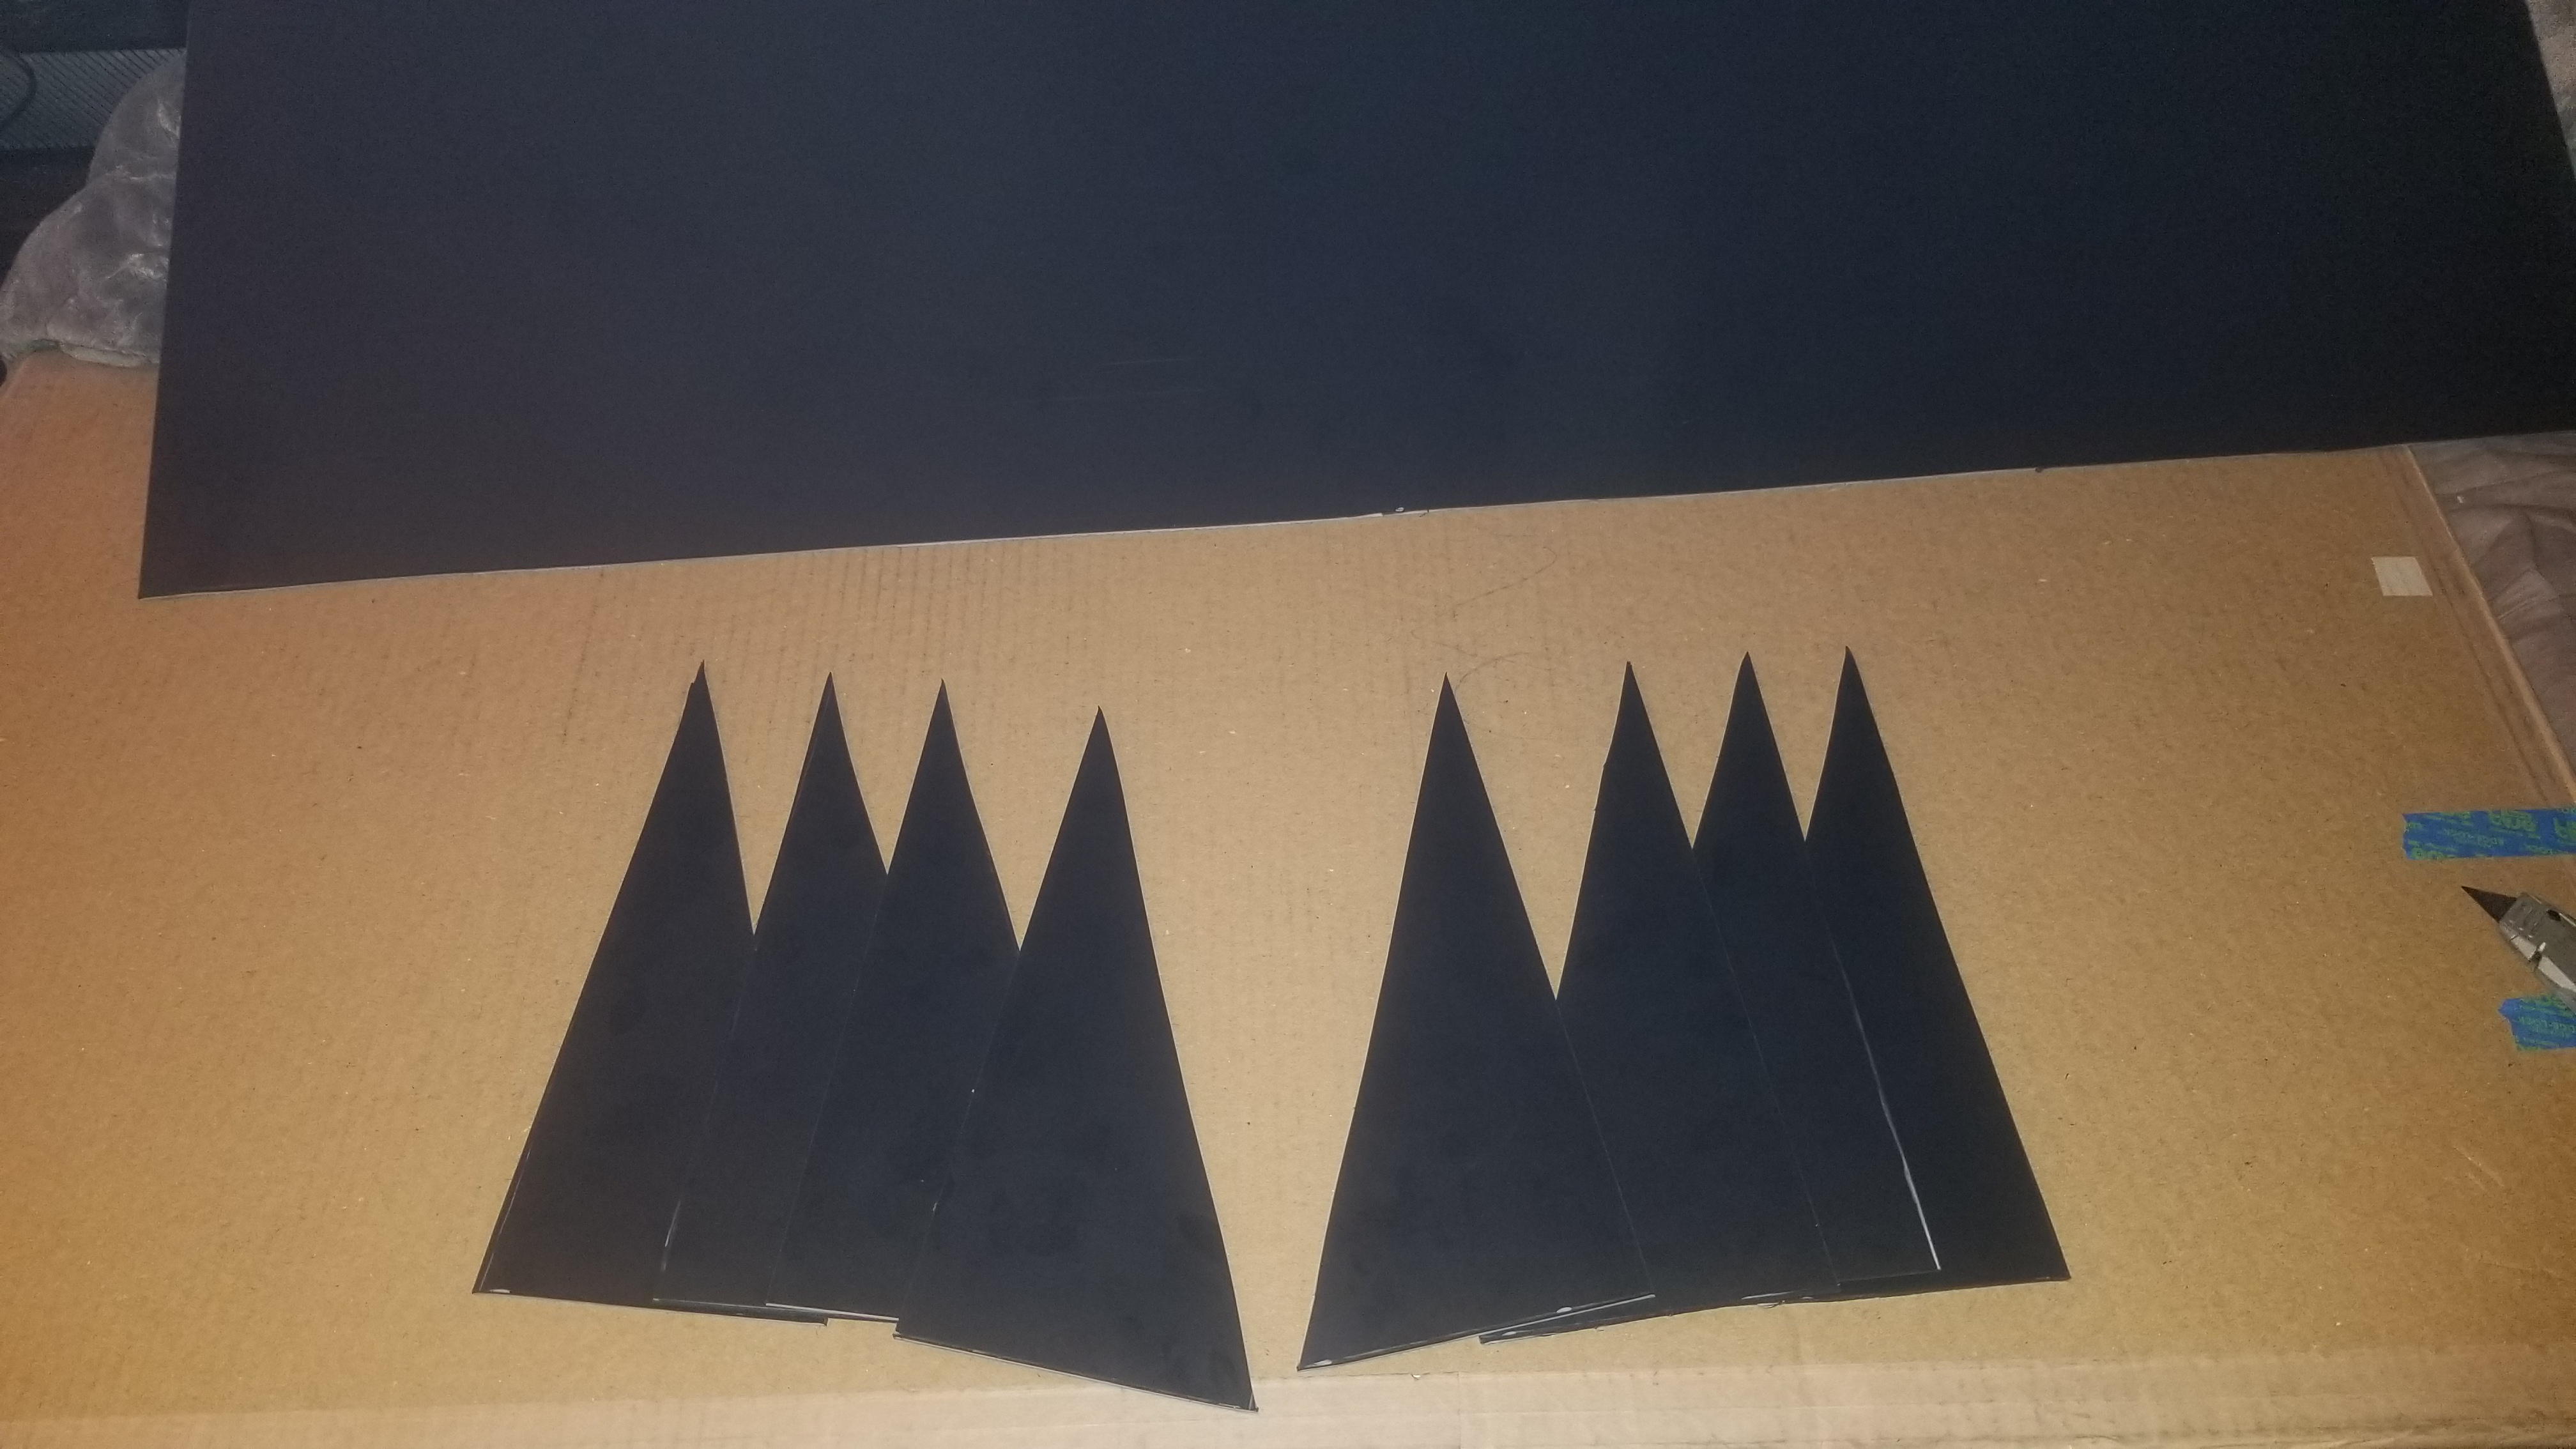
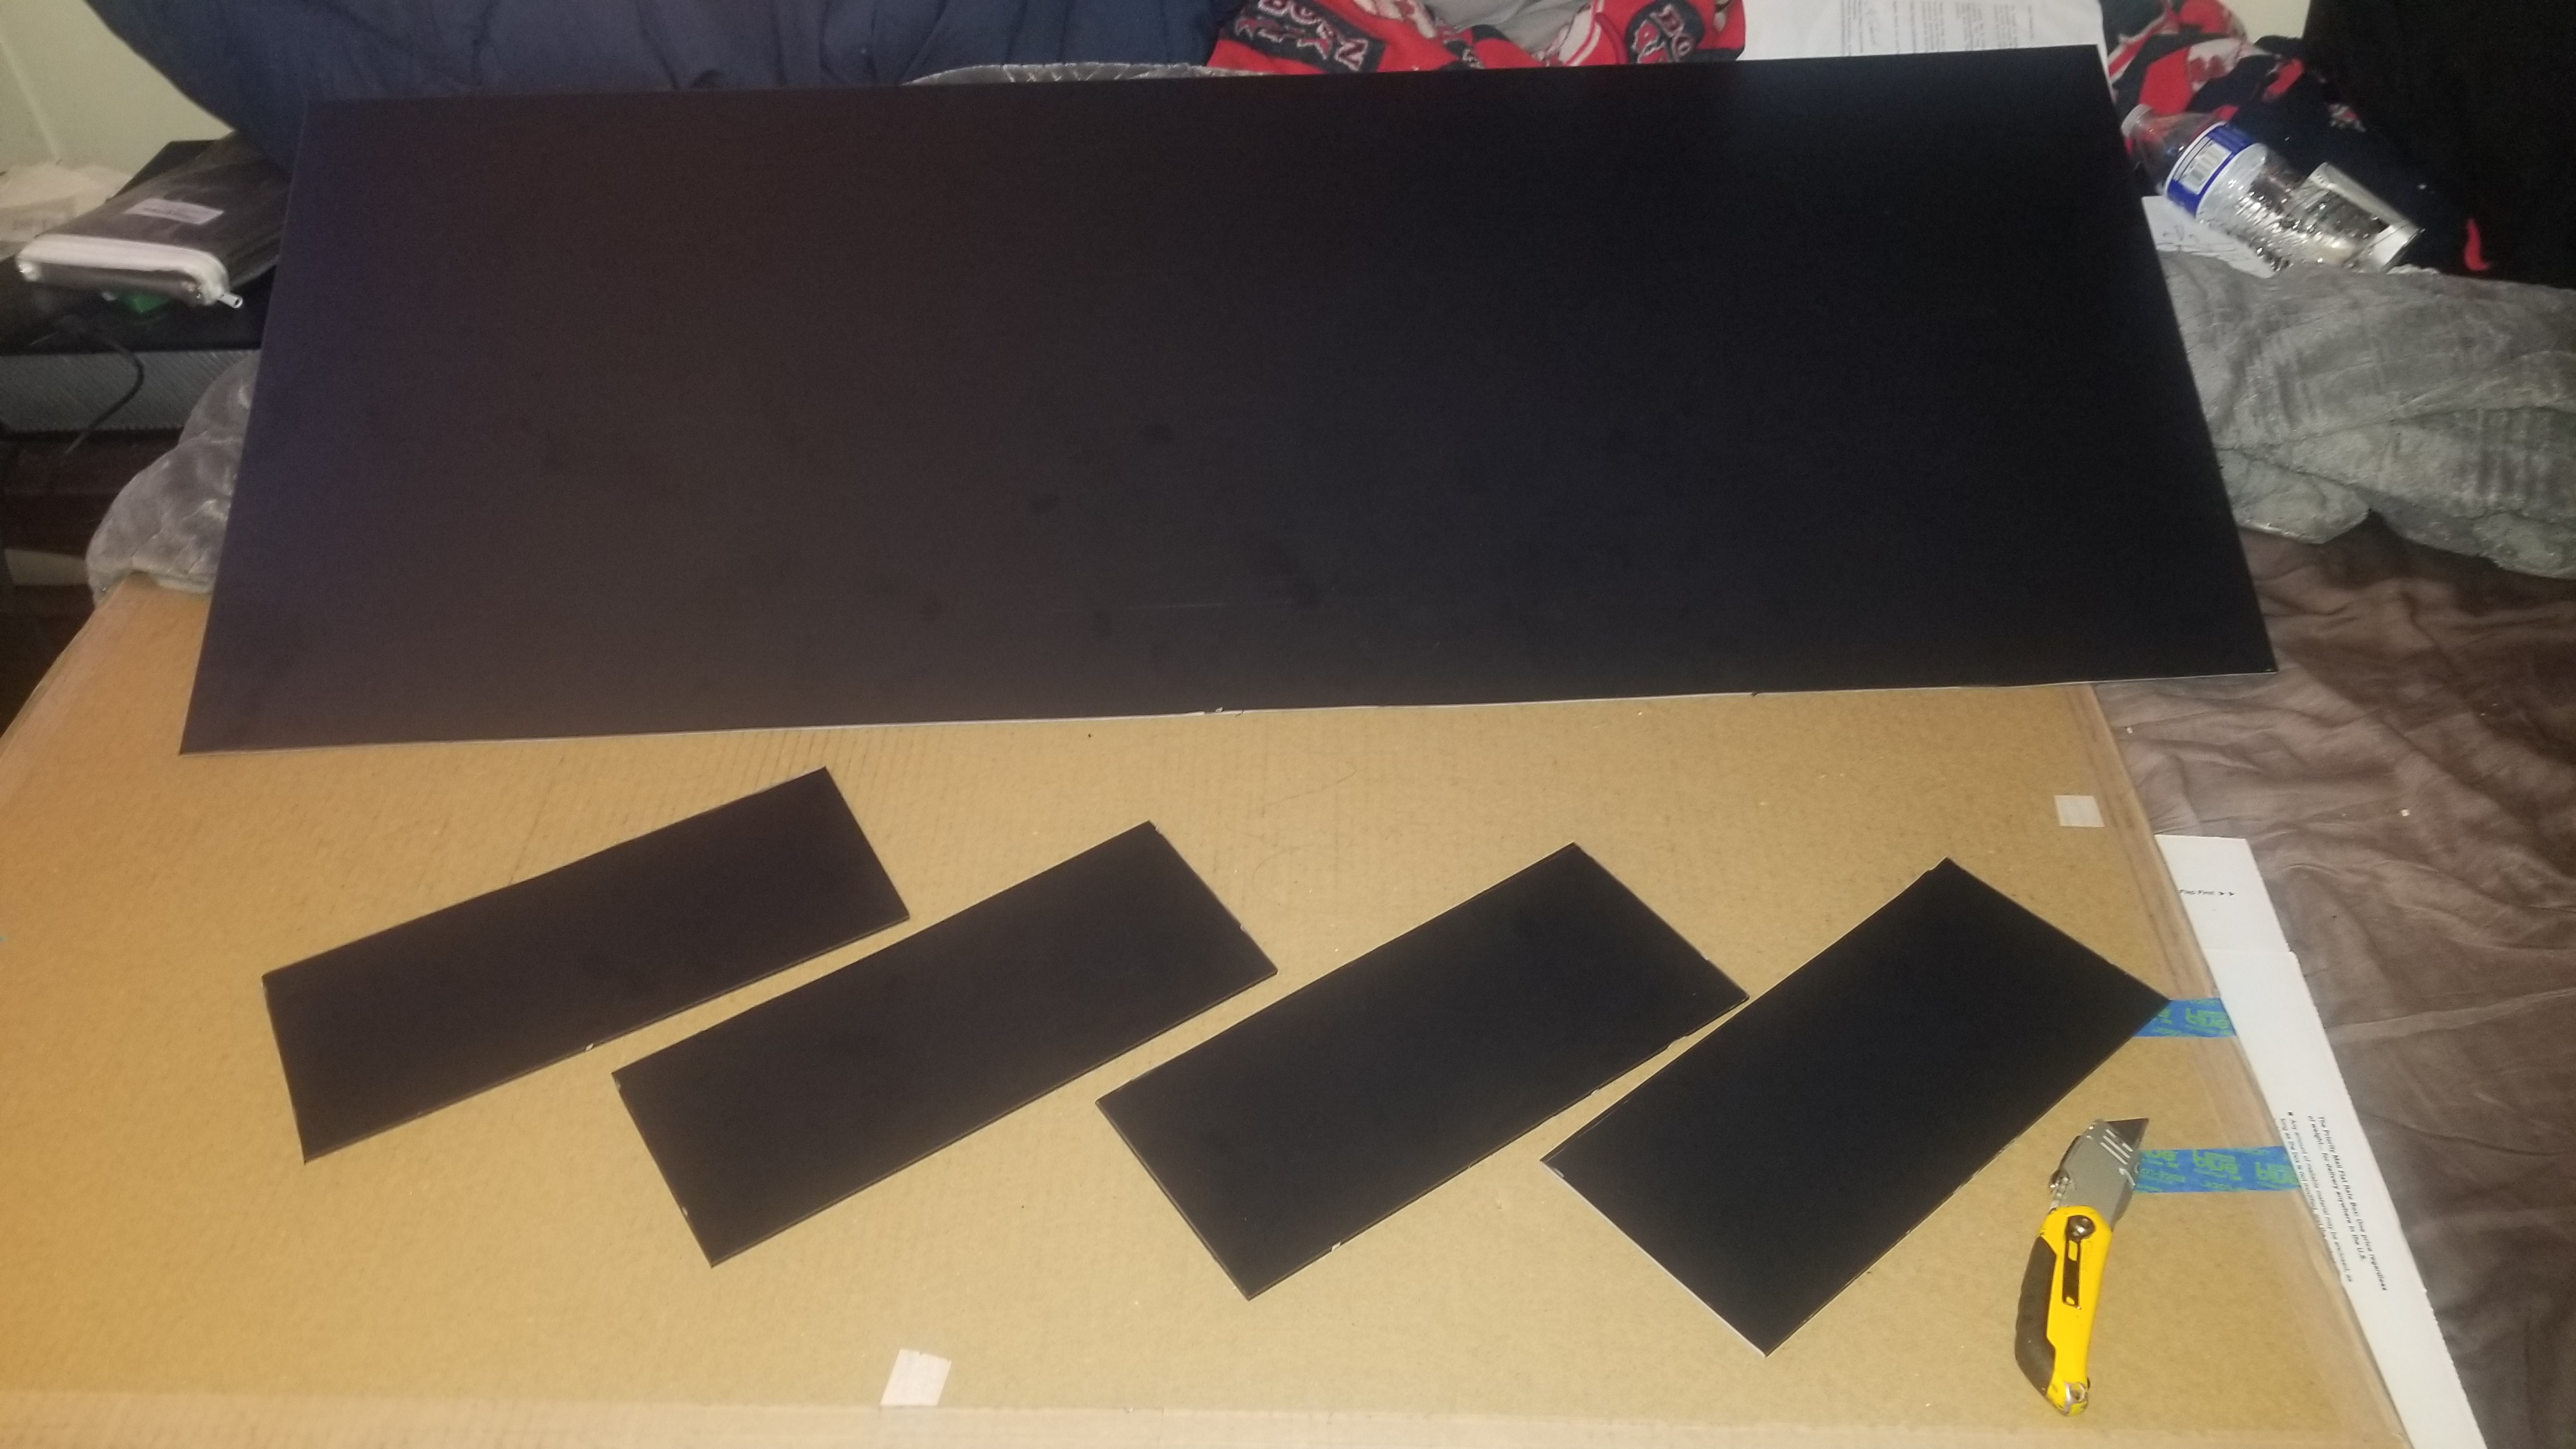
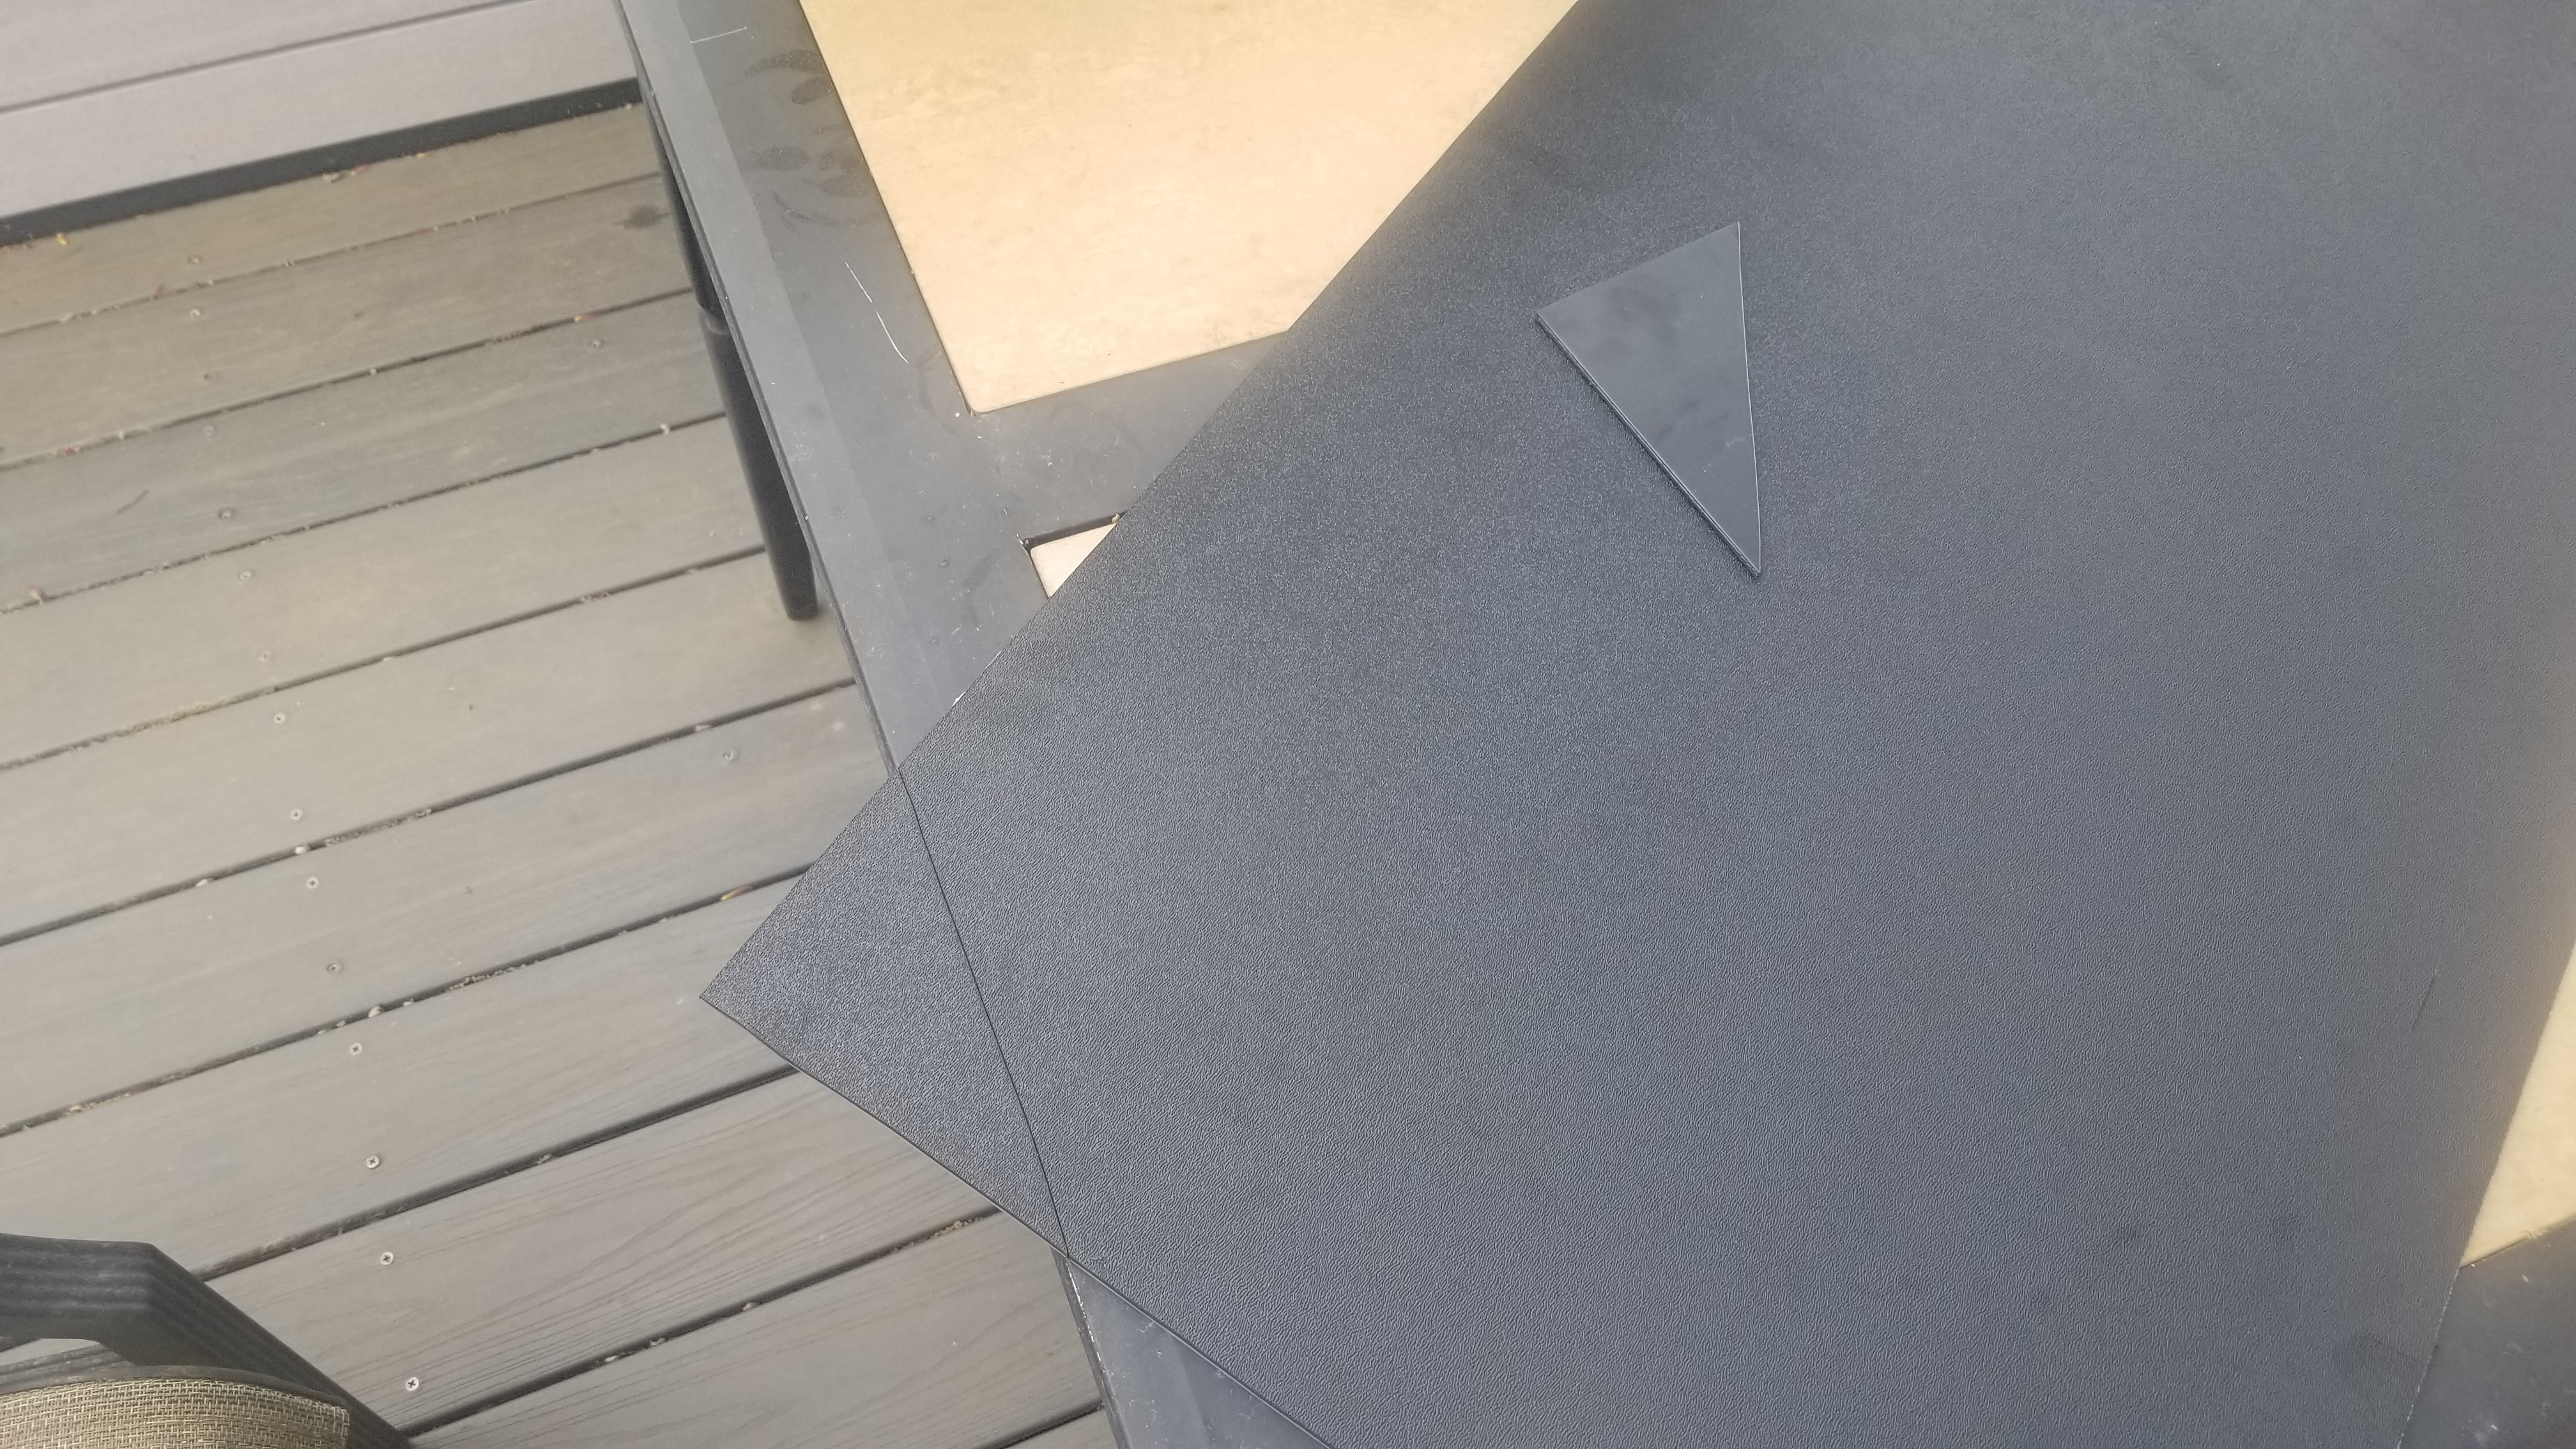
Work schedule got a little wack so the steering wheel fix is on hold but my sheet of overpriced abs plastic came in from Amazon today and I couldn't help but start working on the diffuser.
Probably gonna wake up early tomorrow so I can run to home depot and get some brackets and whip this thing together before work
IqJwJWO.jpg
vVk959c.jpg

Also about to pull the trigger on the rest of my suspension rebuild checklist. Already have coilovers, and sway bar endlinks and strut brace are in route, cant decide what control arms (front and rear) to go with. Need something with no spring perch (front) and I dont need them to be adjustable. I am considering bmr stuff tho, the extended ball joints peaked my curiosity too, gonna look more into those.
Also need to measure my sway bars as I want to replace bushings but I'm unsure if they're stock or not. And I may also order a new power steering rack as I know I have an incredibly slow leak in mine and it just started pissing and moaning the other day and I'm not having any of that.
 

lutter94

Well-Known Member
Joined
Apr 11, 2008
Messages
3,060
Reaction score
172
Location
South Dakota
I bought the 03/04 cobra bumper lip off LMR, now that there is a non-Ford one (cost is mucho less than OEM). I always had this car in the back of my mind, loved the look over the mach 1 lip, its subtle, and most wouldn't even notice it lol.

If you have any other pics of it, or how he had it mounted, let me know!
 
OP
OP
FivepointSlow

FivepointSlow

Well-Known Member
Joined
Oct 22, 2013
Messages
2,646
Reaction score
60
Location
Enfield, CT, USA
I bought the 03/04 cobra bumper lip off LMR, now that there is a non-Ford one (cost is mucho less than OEM). I always had this car in the back of my mind, loved the look over the mach 1 lip, its subtle, and most wouldn't even notice it lol.

If you have any other pics of it, or how he had it mounted, let me know!
I'm definetly going back to the cobra lip at some point, but the mach lip was the cheap easy fix for now.
I dont have any pics other than those I this thread and any that arent dead links that are in Jon's old threads. His build link is in my first post of this thread.
The old cobra lip was bolted into the bumper the same as a mach lip, but the cobra lip I dont beleive came with any holes drilled so jon must've drilled his own holes, very large 1" washers where used too to keep the bolts from getting sucked through the lip.
 
OP
OP
FivepointSlow

FivepointSlow

Well-Known Member
Joined
Oct 22, 2013
Messages
2,646
Reaction score
60
Location
Enfield, CT, USA
Back to the diffuser, I want to finish this little project up asap so I got back to it at the end of the day today.

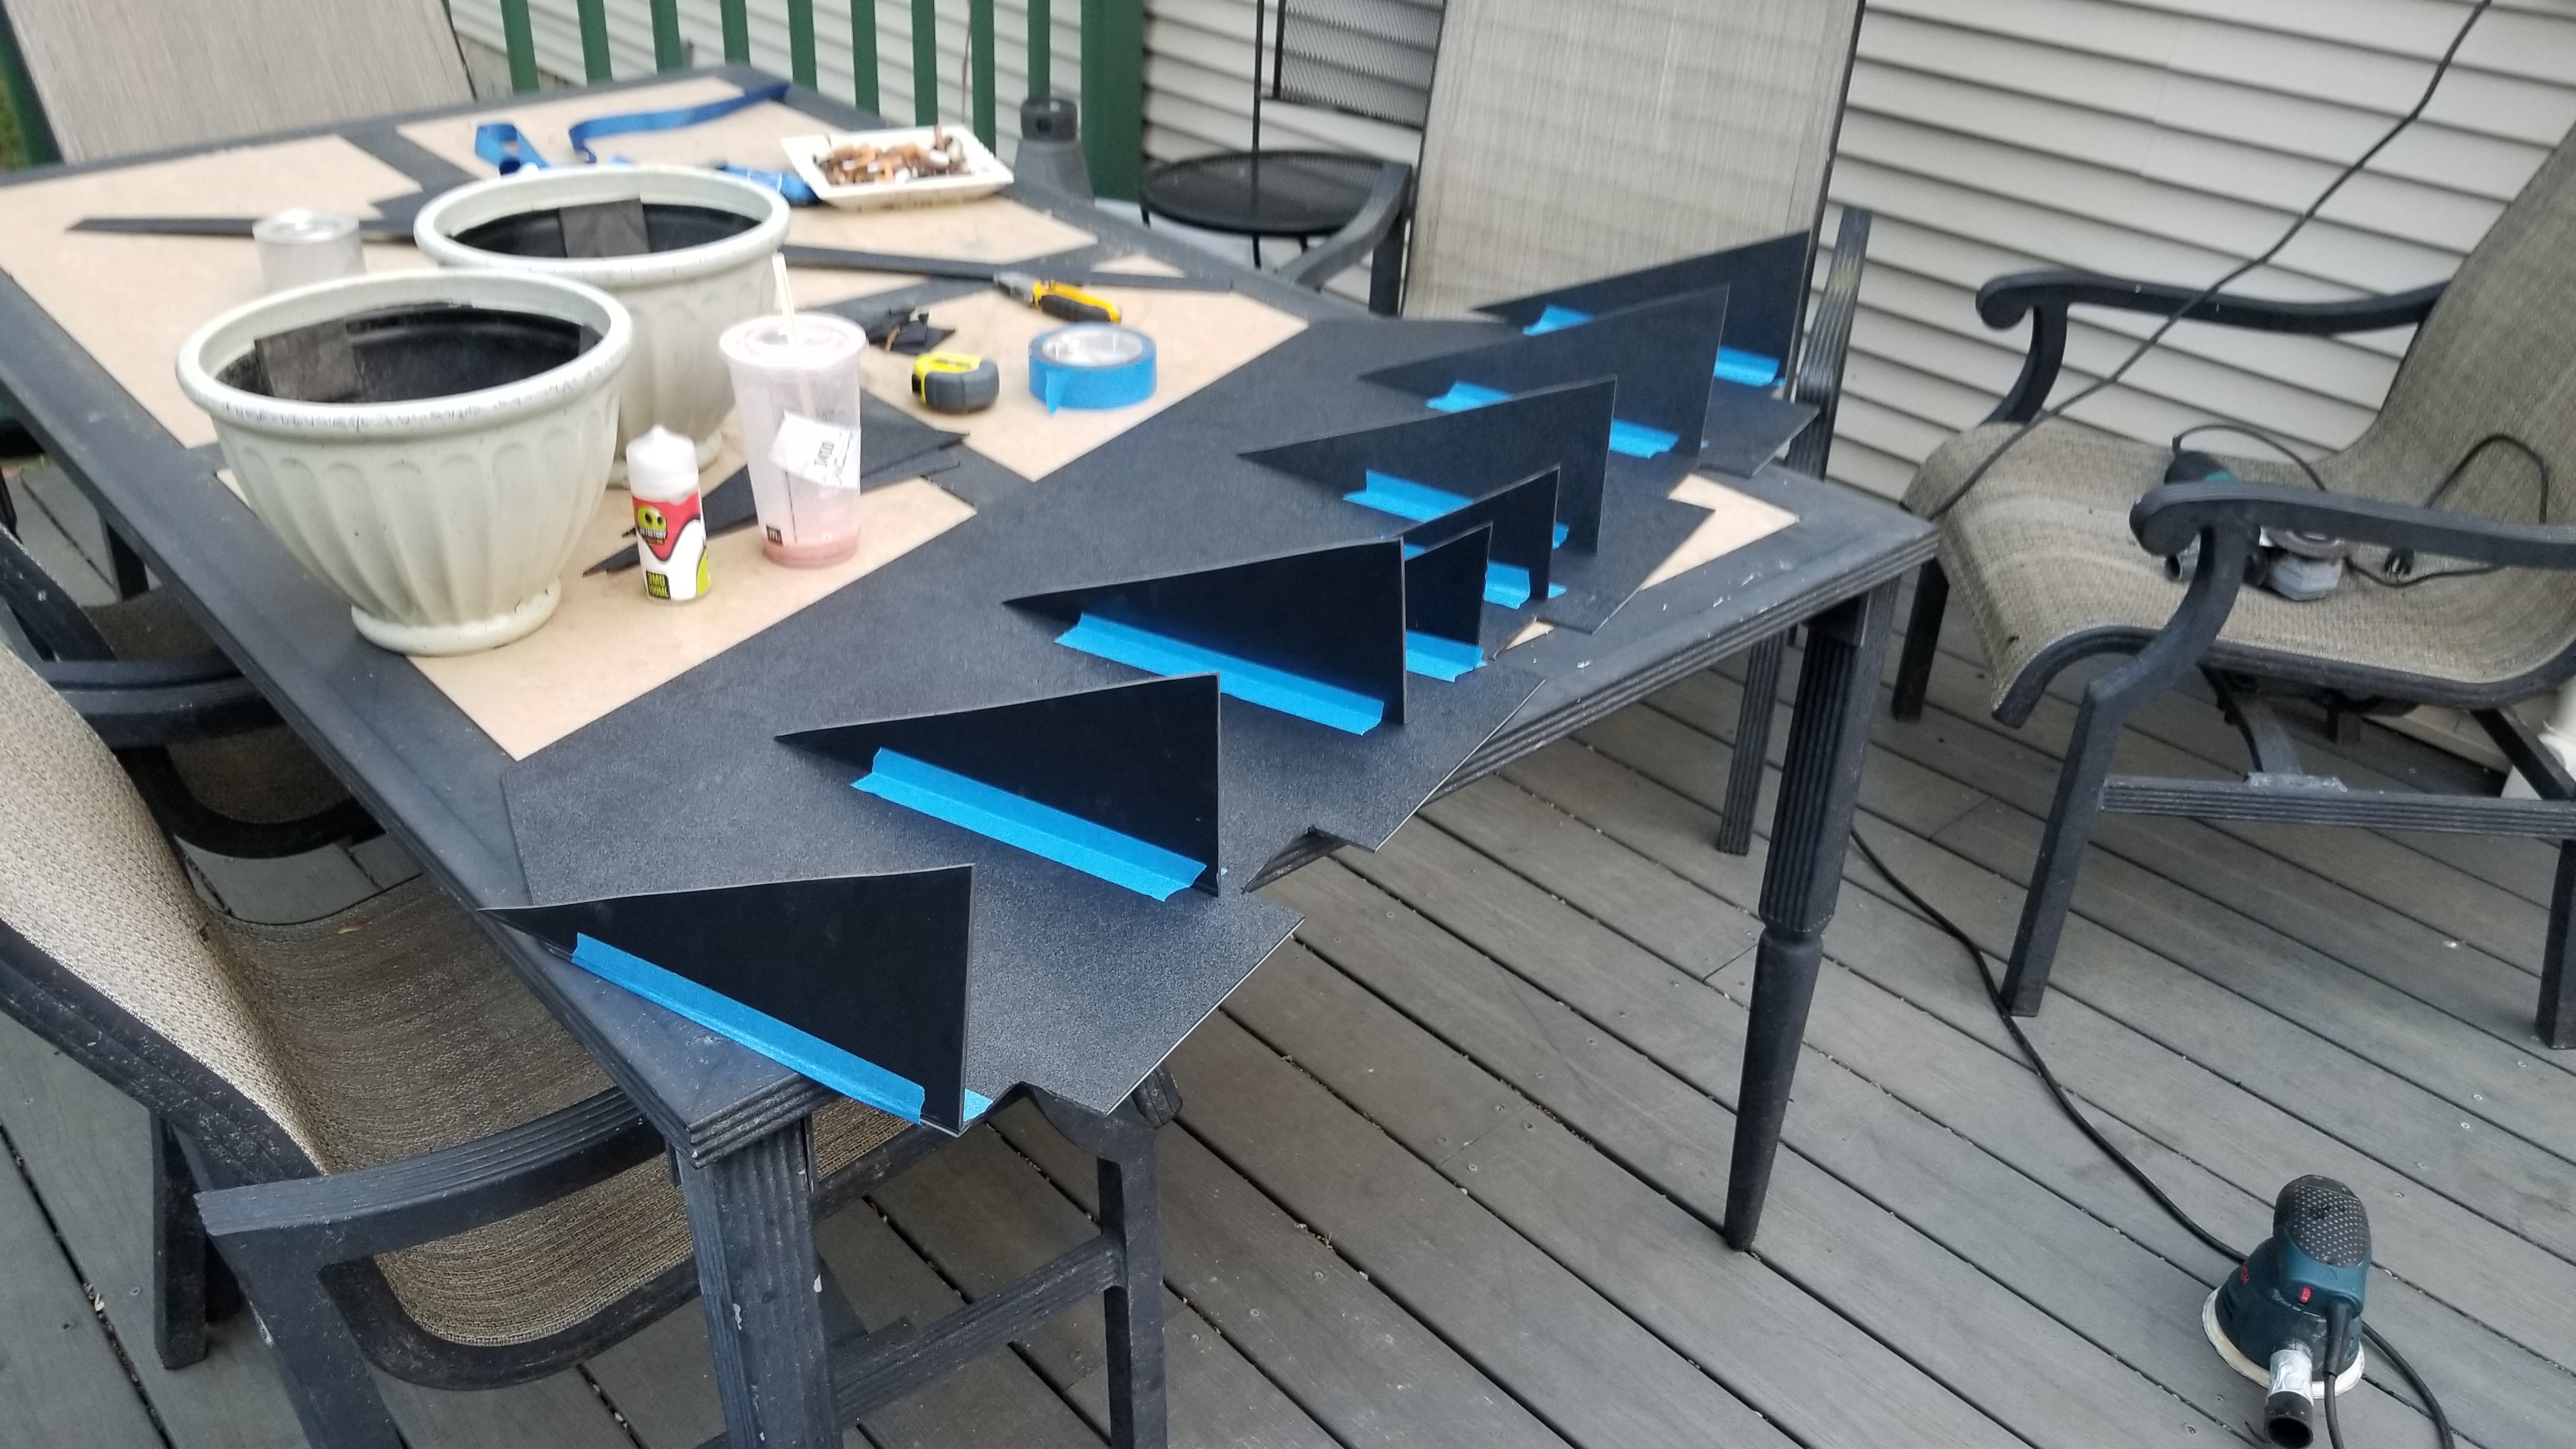
Took some more precise measurements of the space I am working with under the car. This is a little different than most SN95s because of my 99-04 cat back and having more angles tailpipes, so I had to shave the corners off of the base of the diffuser to clear the exhaust.
Ipozavg.jpg

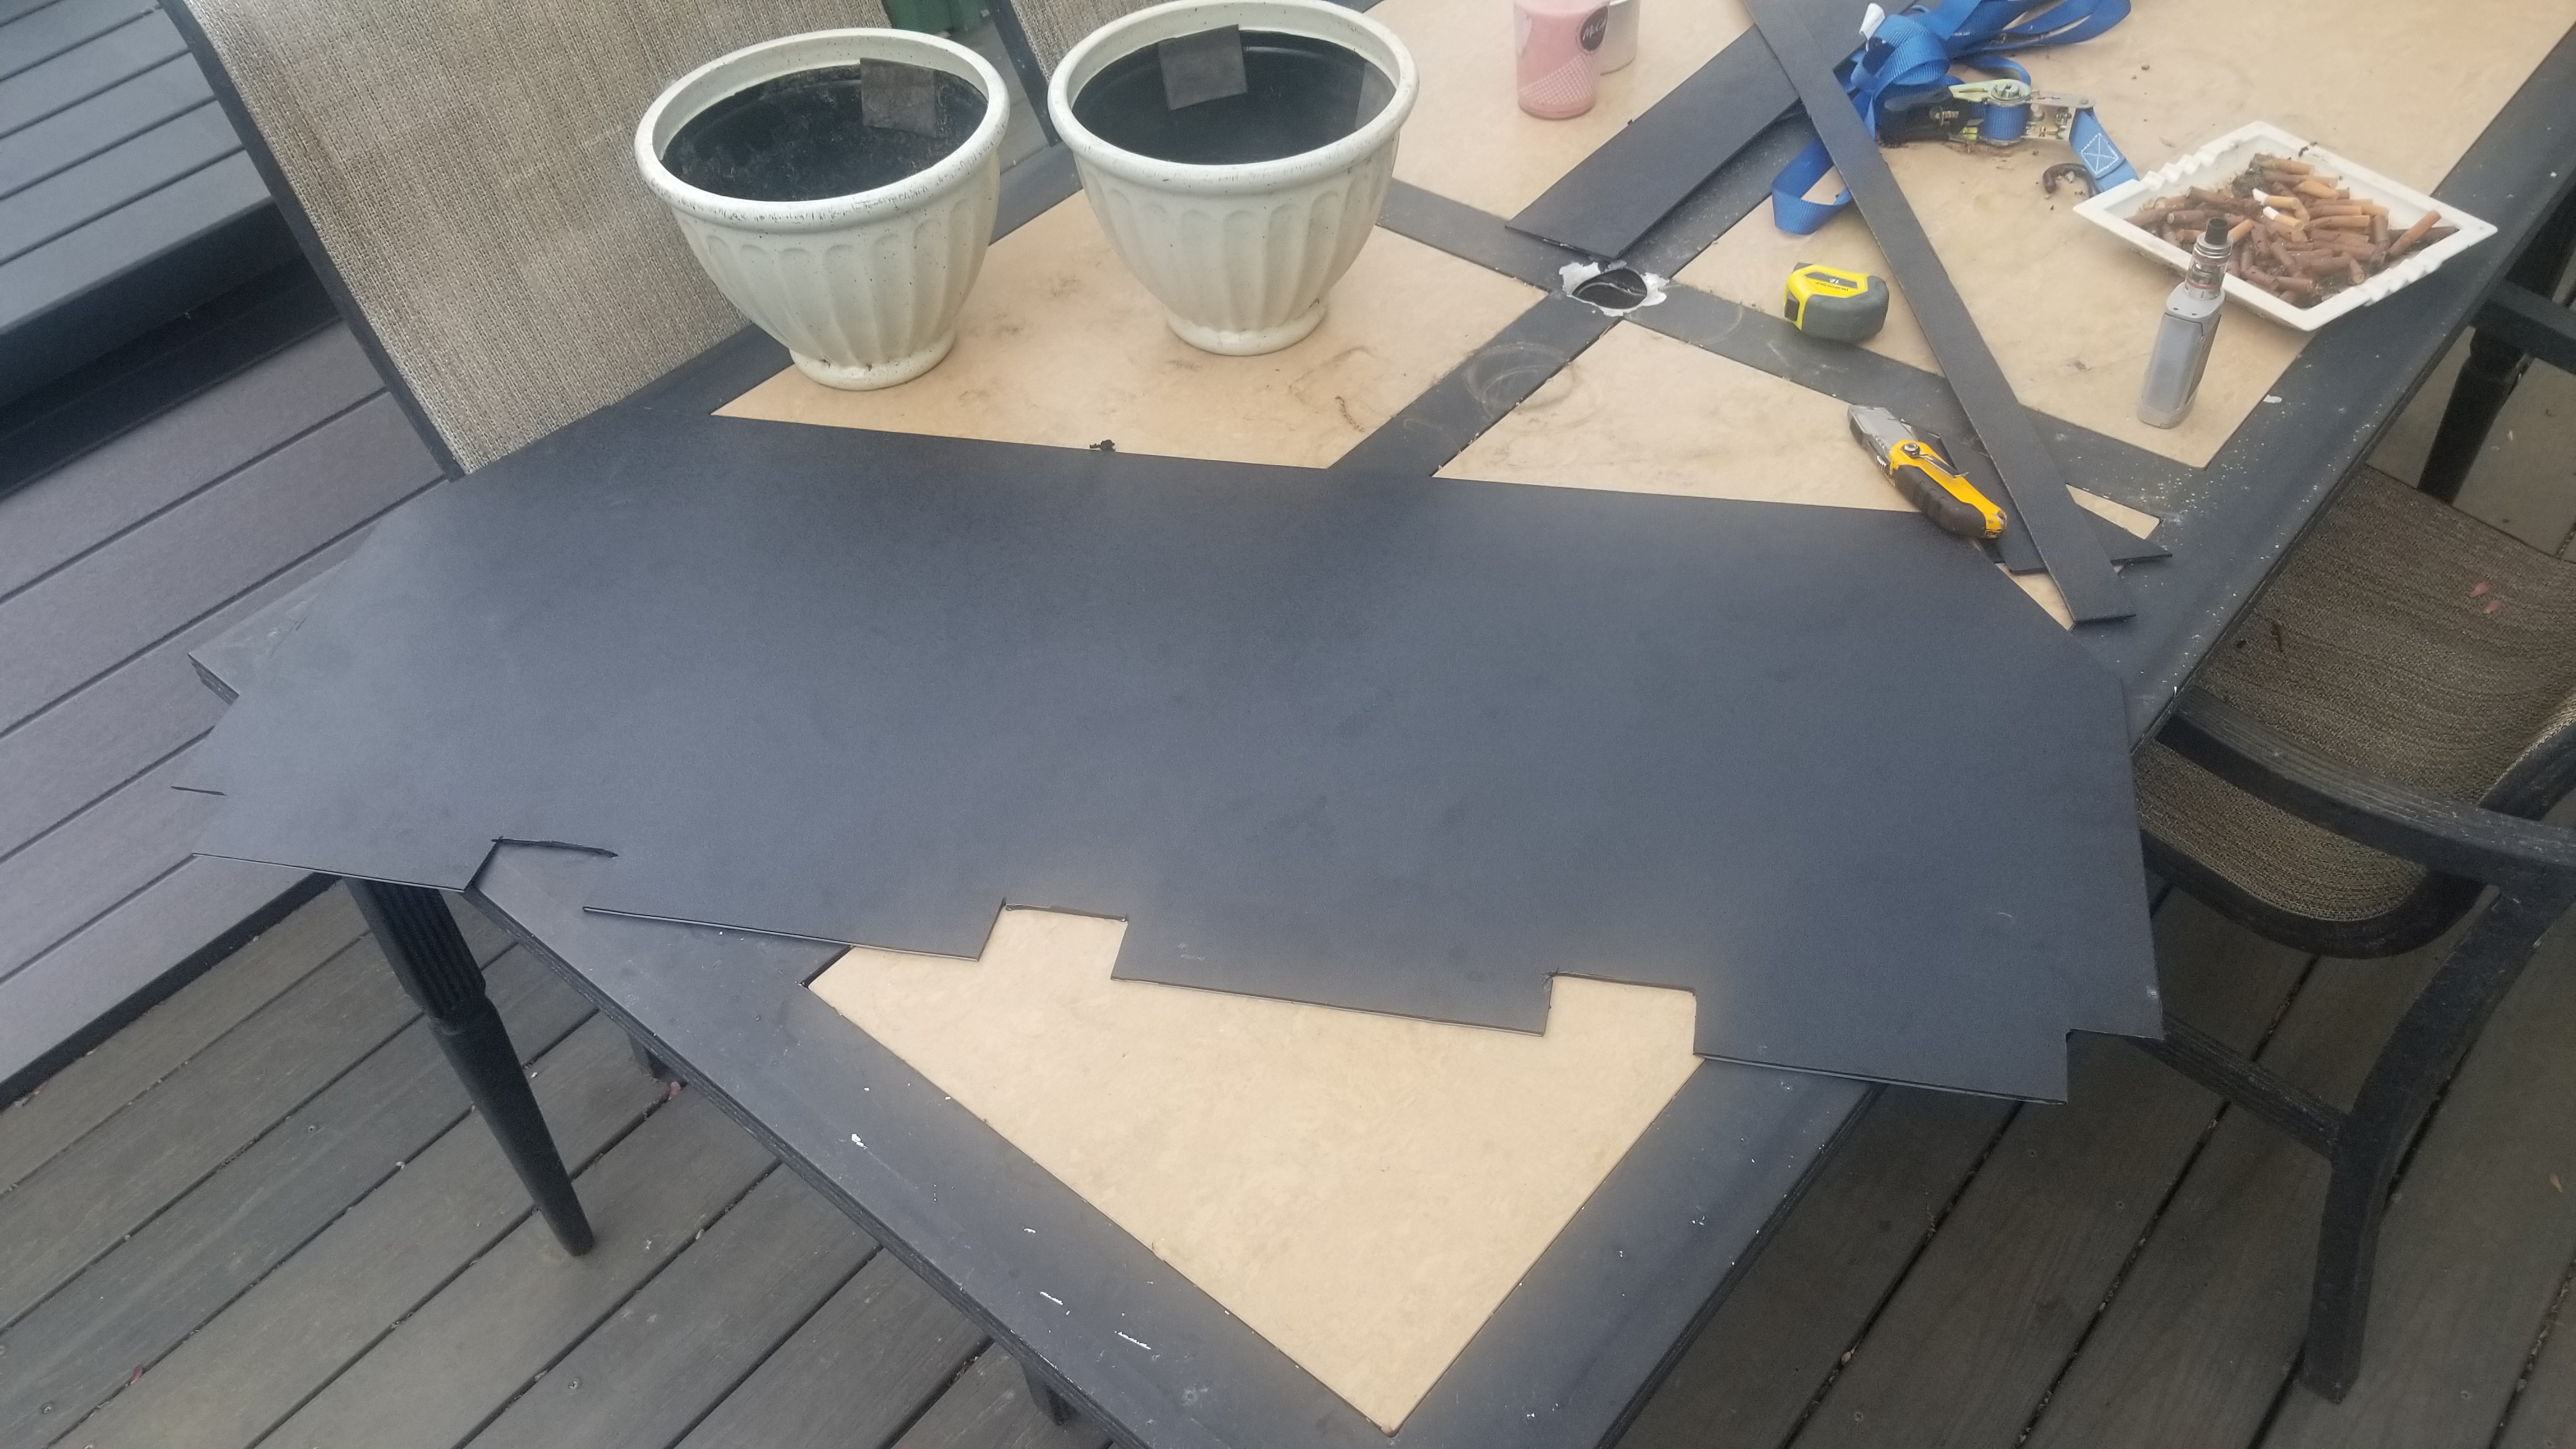
For this whole project, with the exception of the notches you will see later, that I made with an angle grinder, I used a new razor blade in my box cutter and scored the lines good and broke off the pieces. I did this in an attempt to get the straightest cuts I could as I DO NOT have a very steady hand.
piaHFM2.jpg

6ScOf3Z.jpg

9L8Ind3.jpg

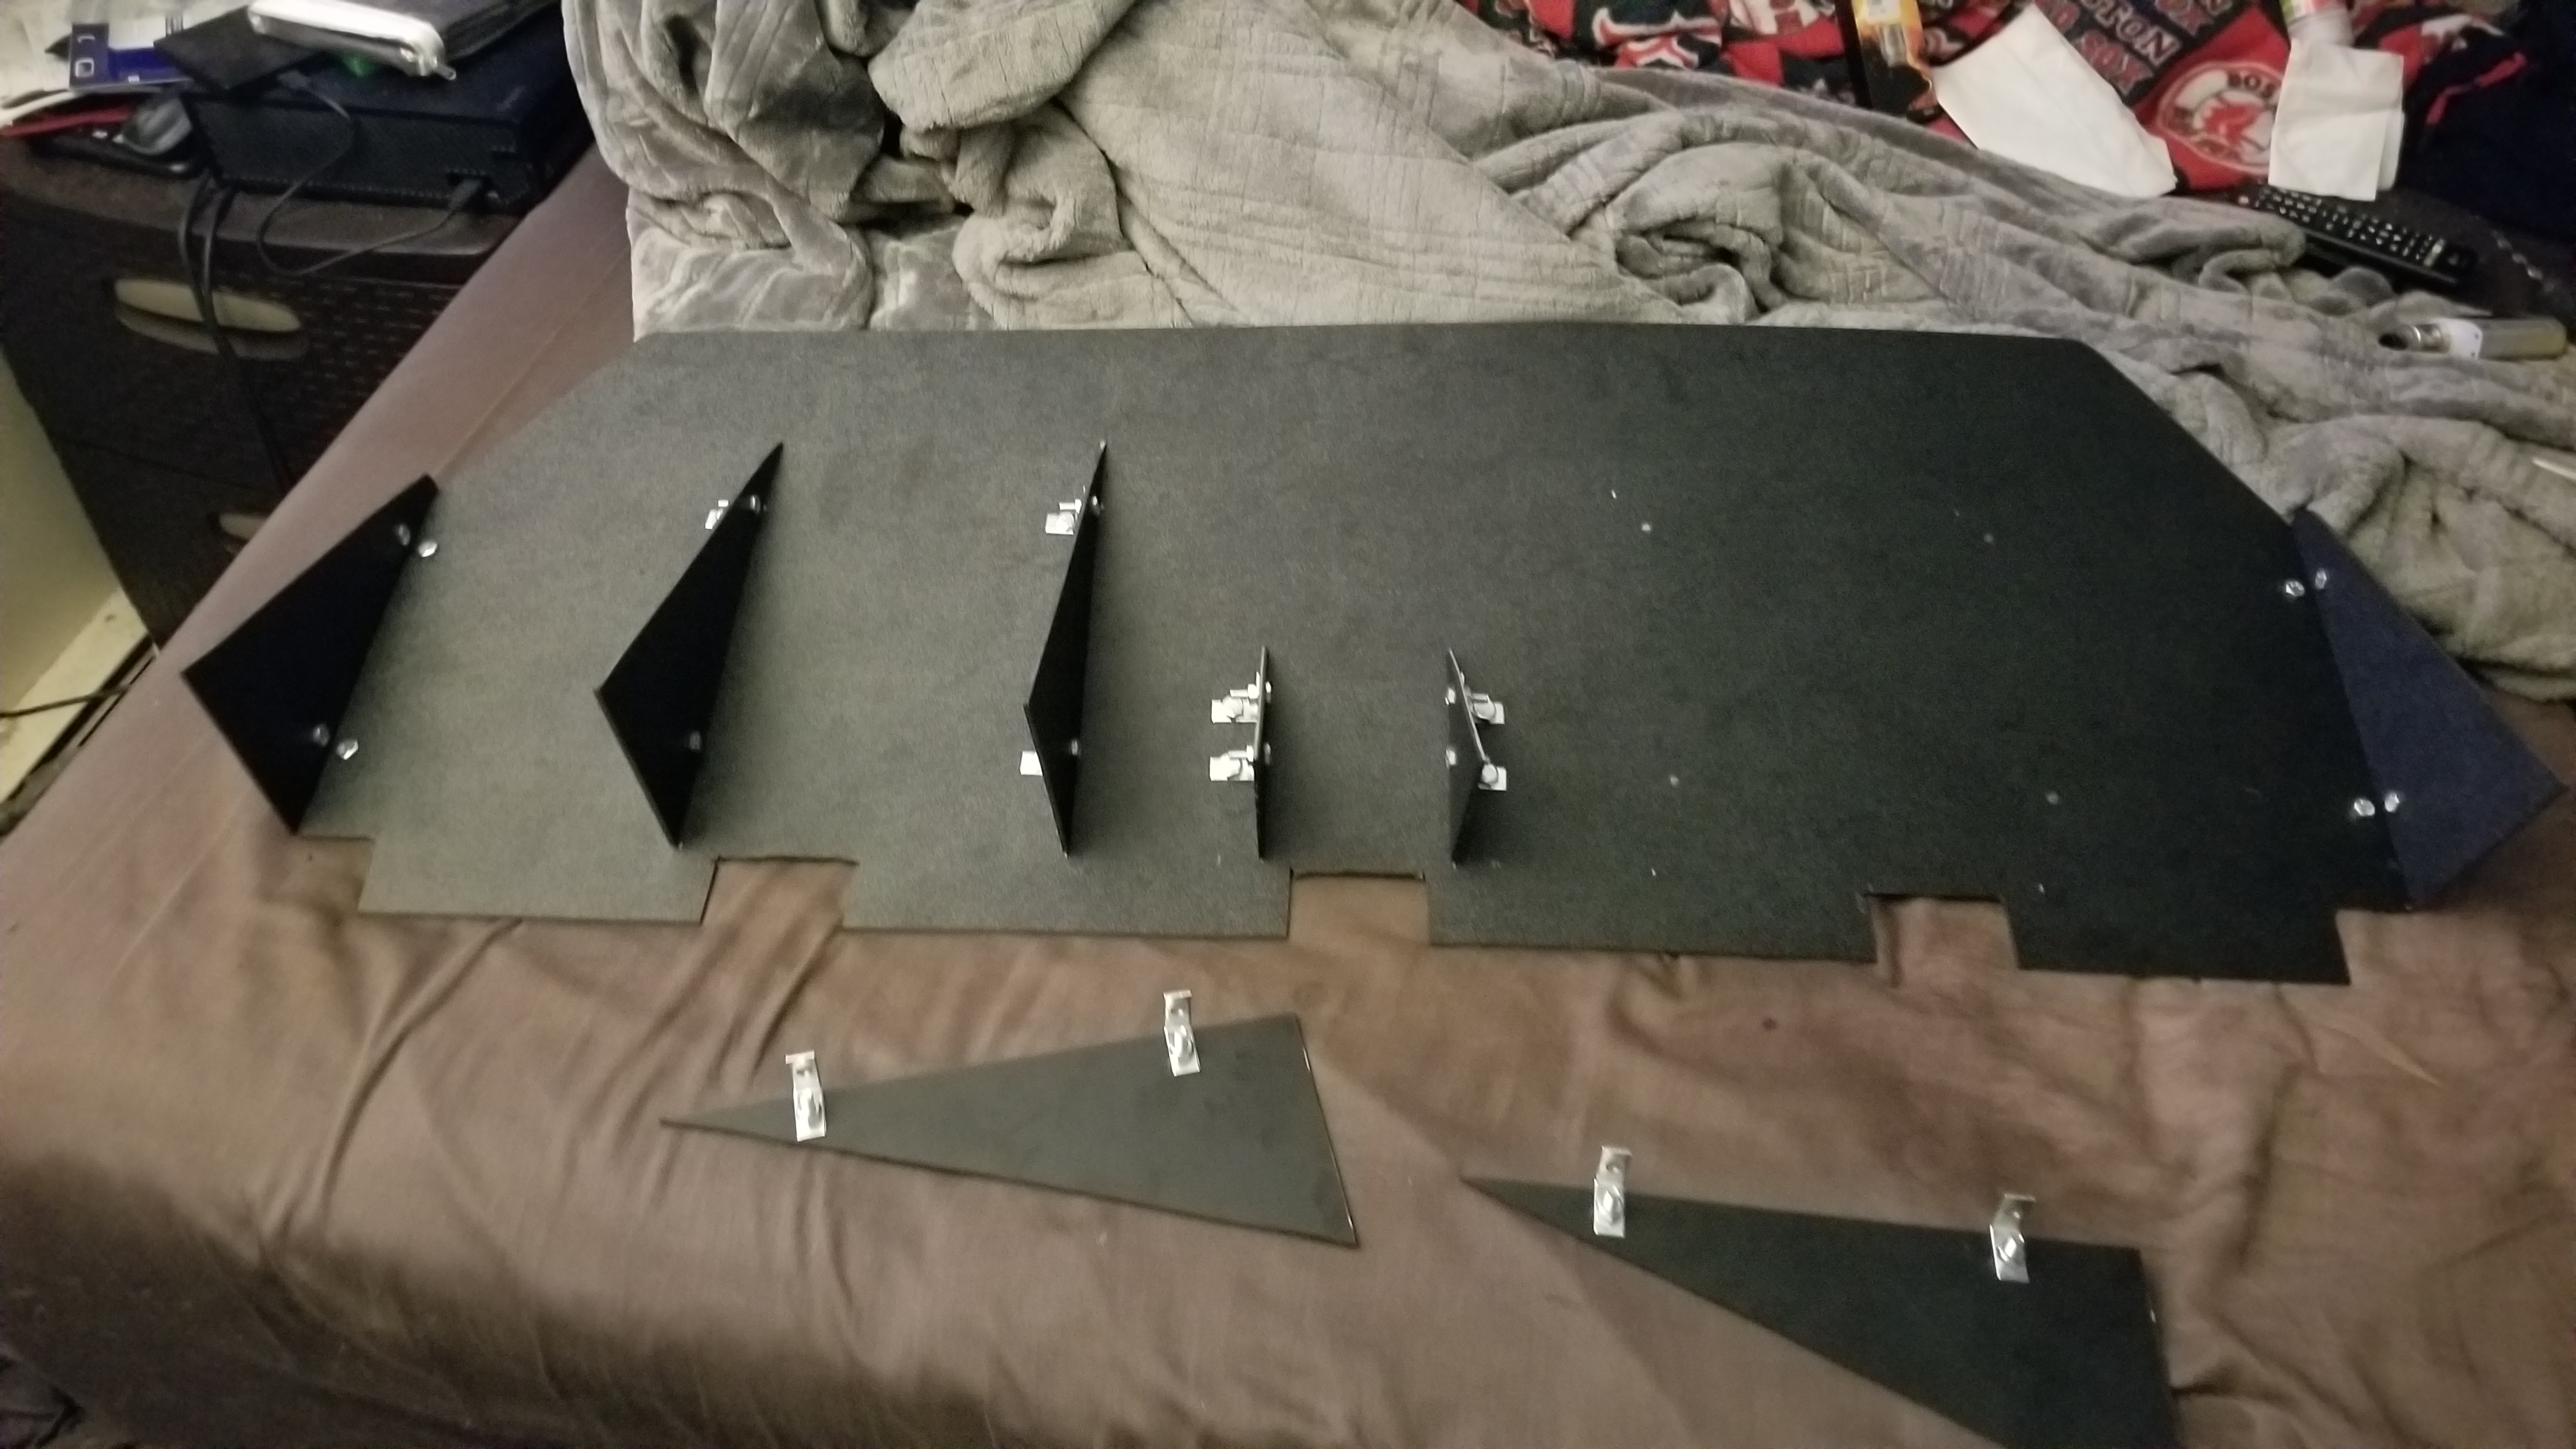
Measured and cut out notches in the base to clear the tabs on the bottom of the bumper and allow the diffuser to sit on the top of the bottom lip of the rear bumper
cDGy7kP.jpg

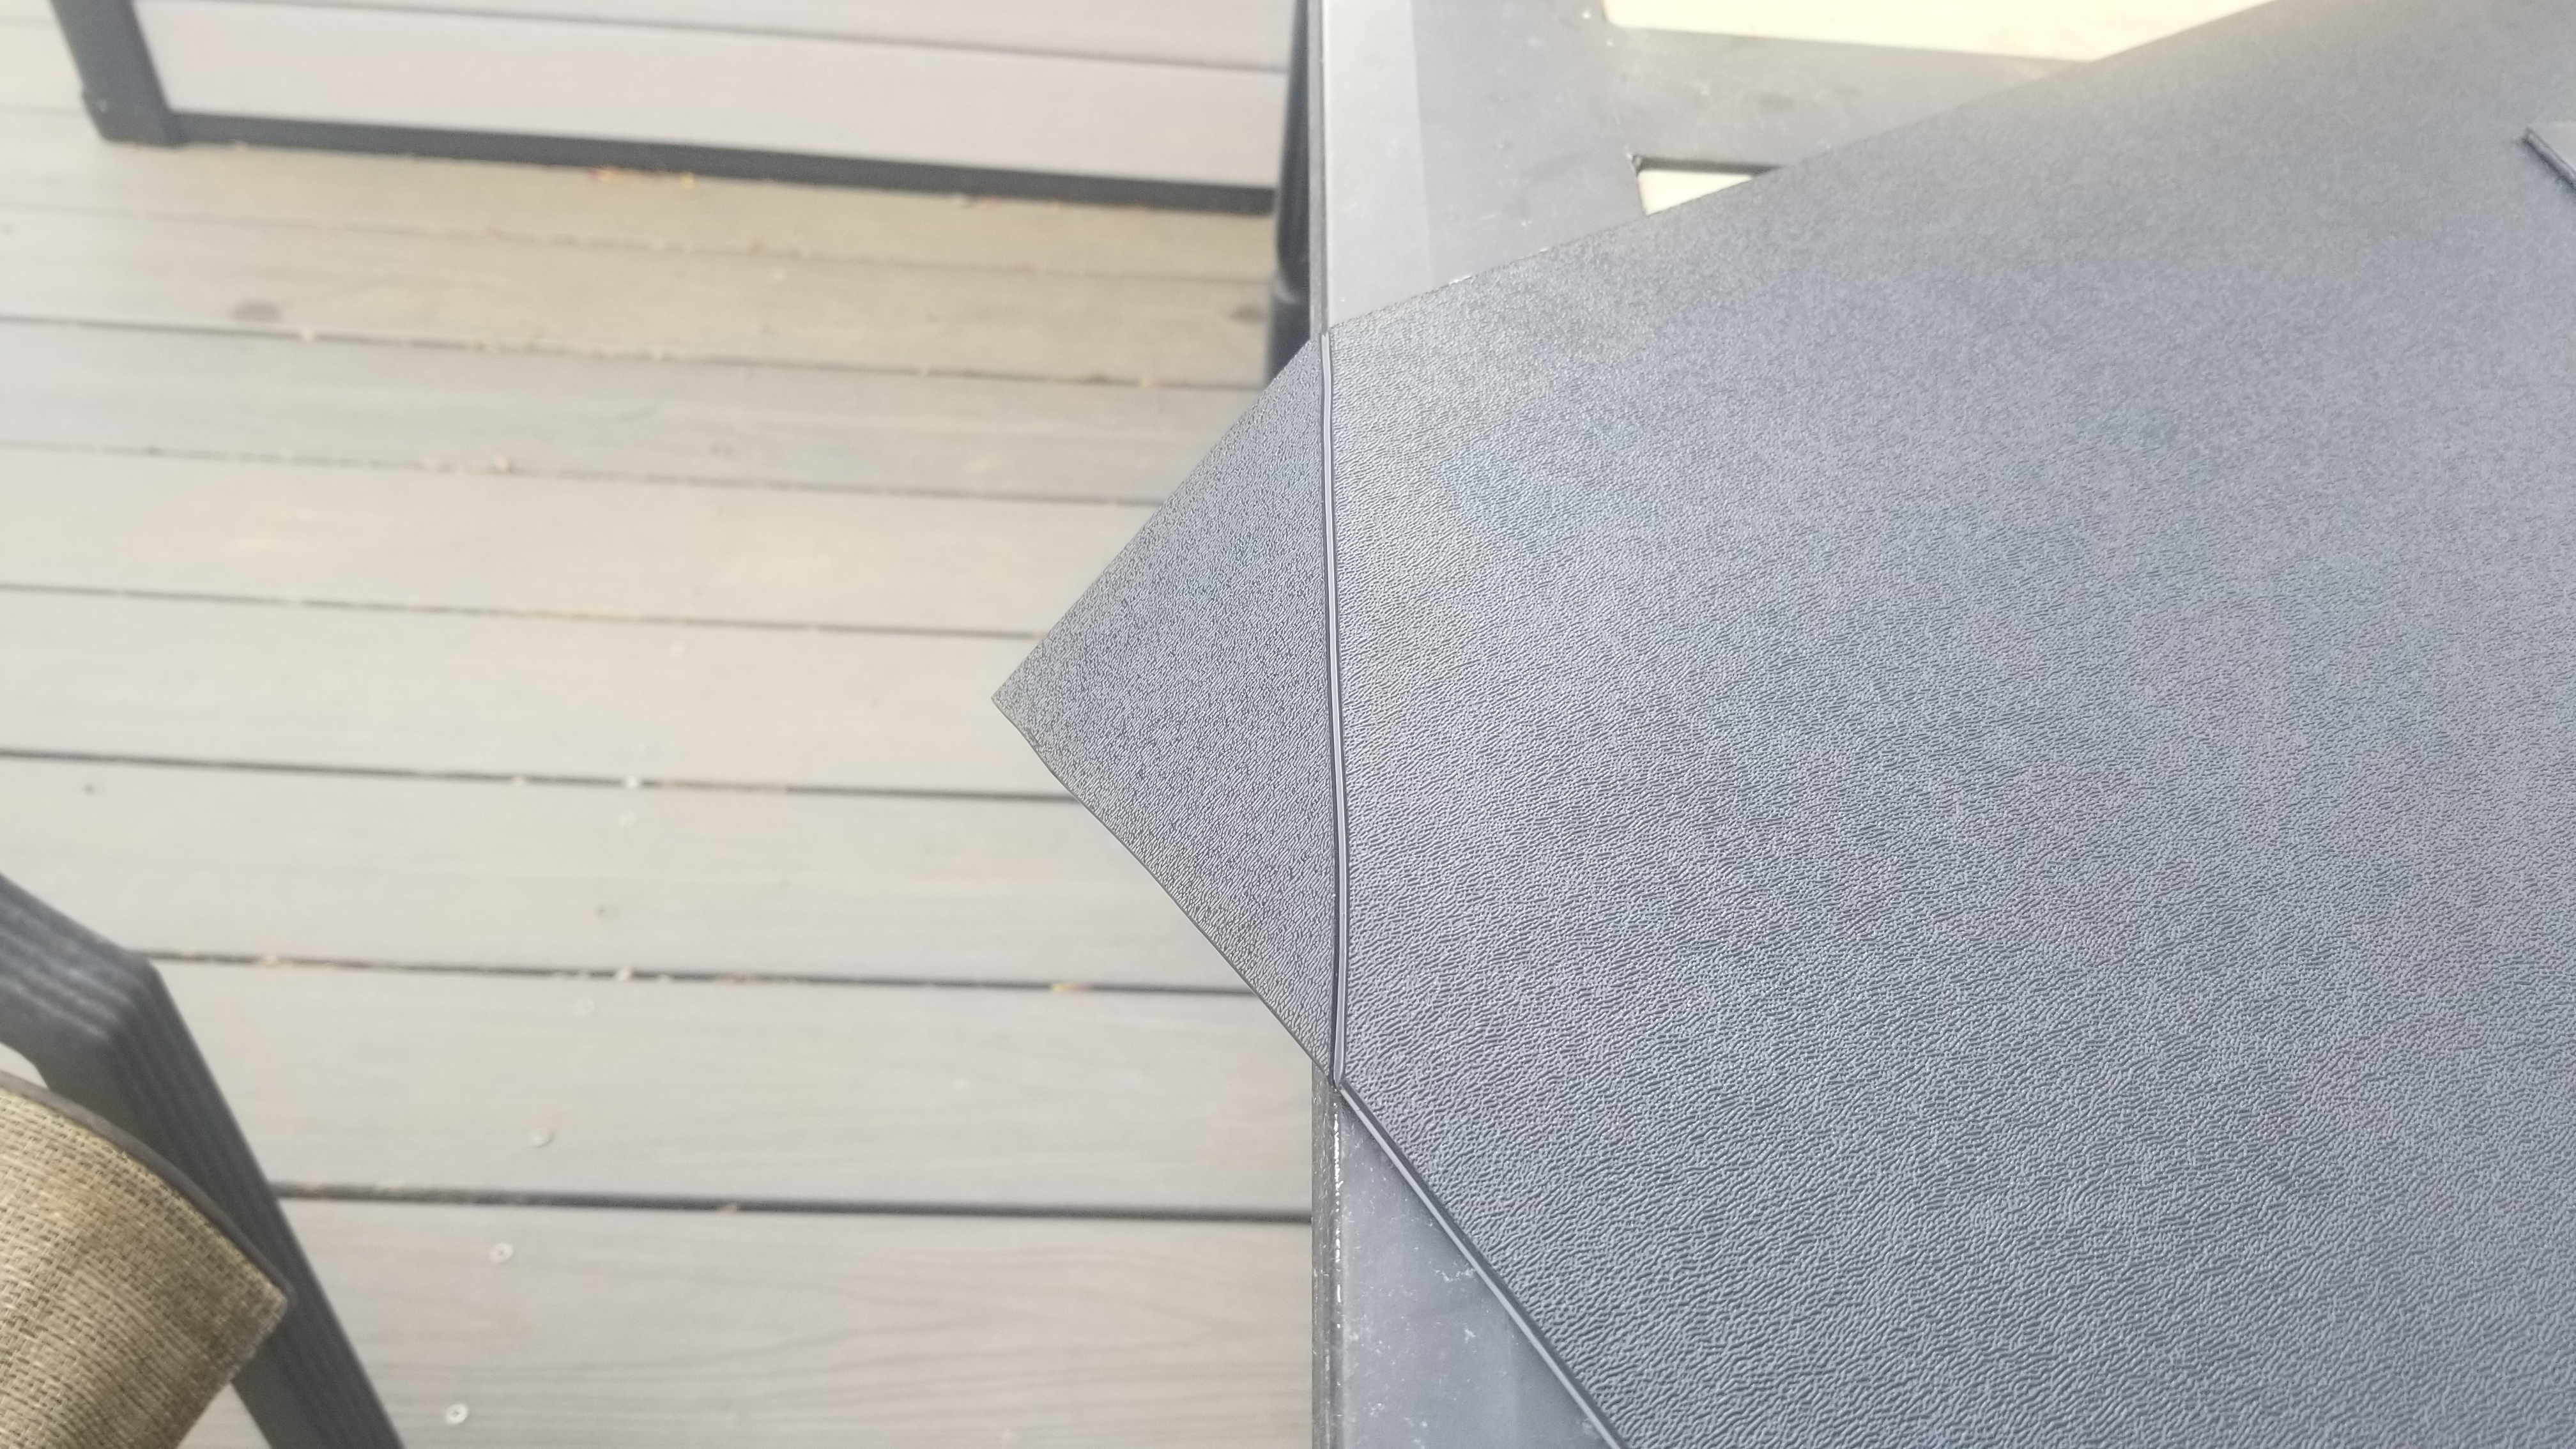
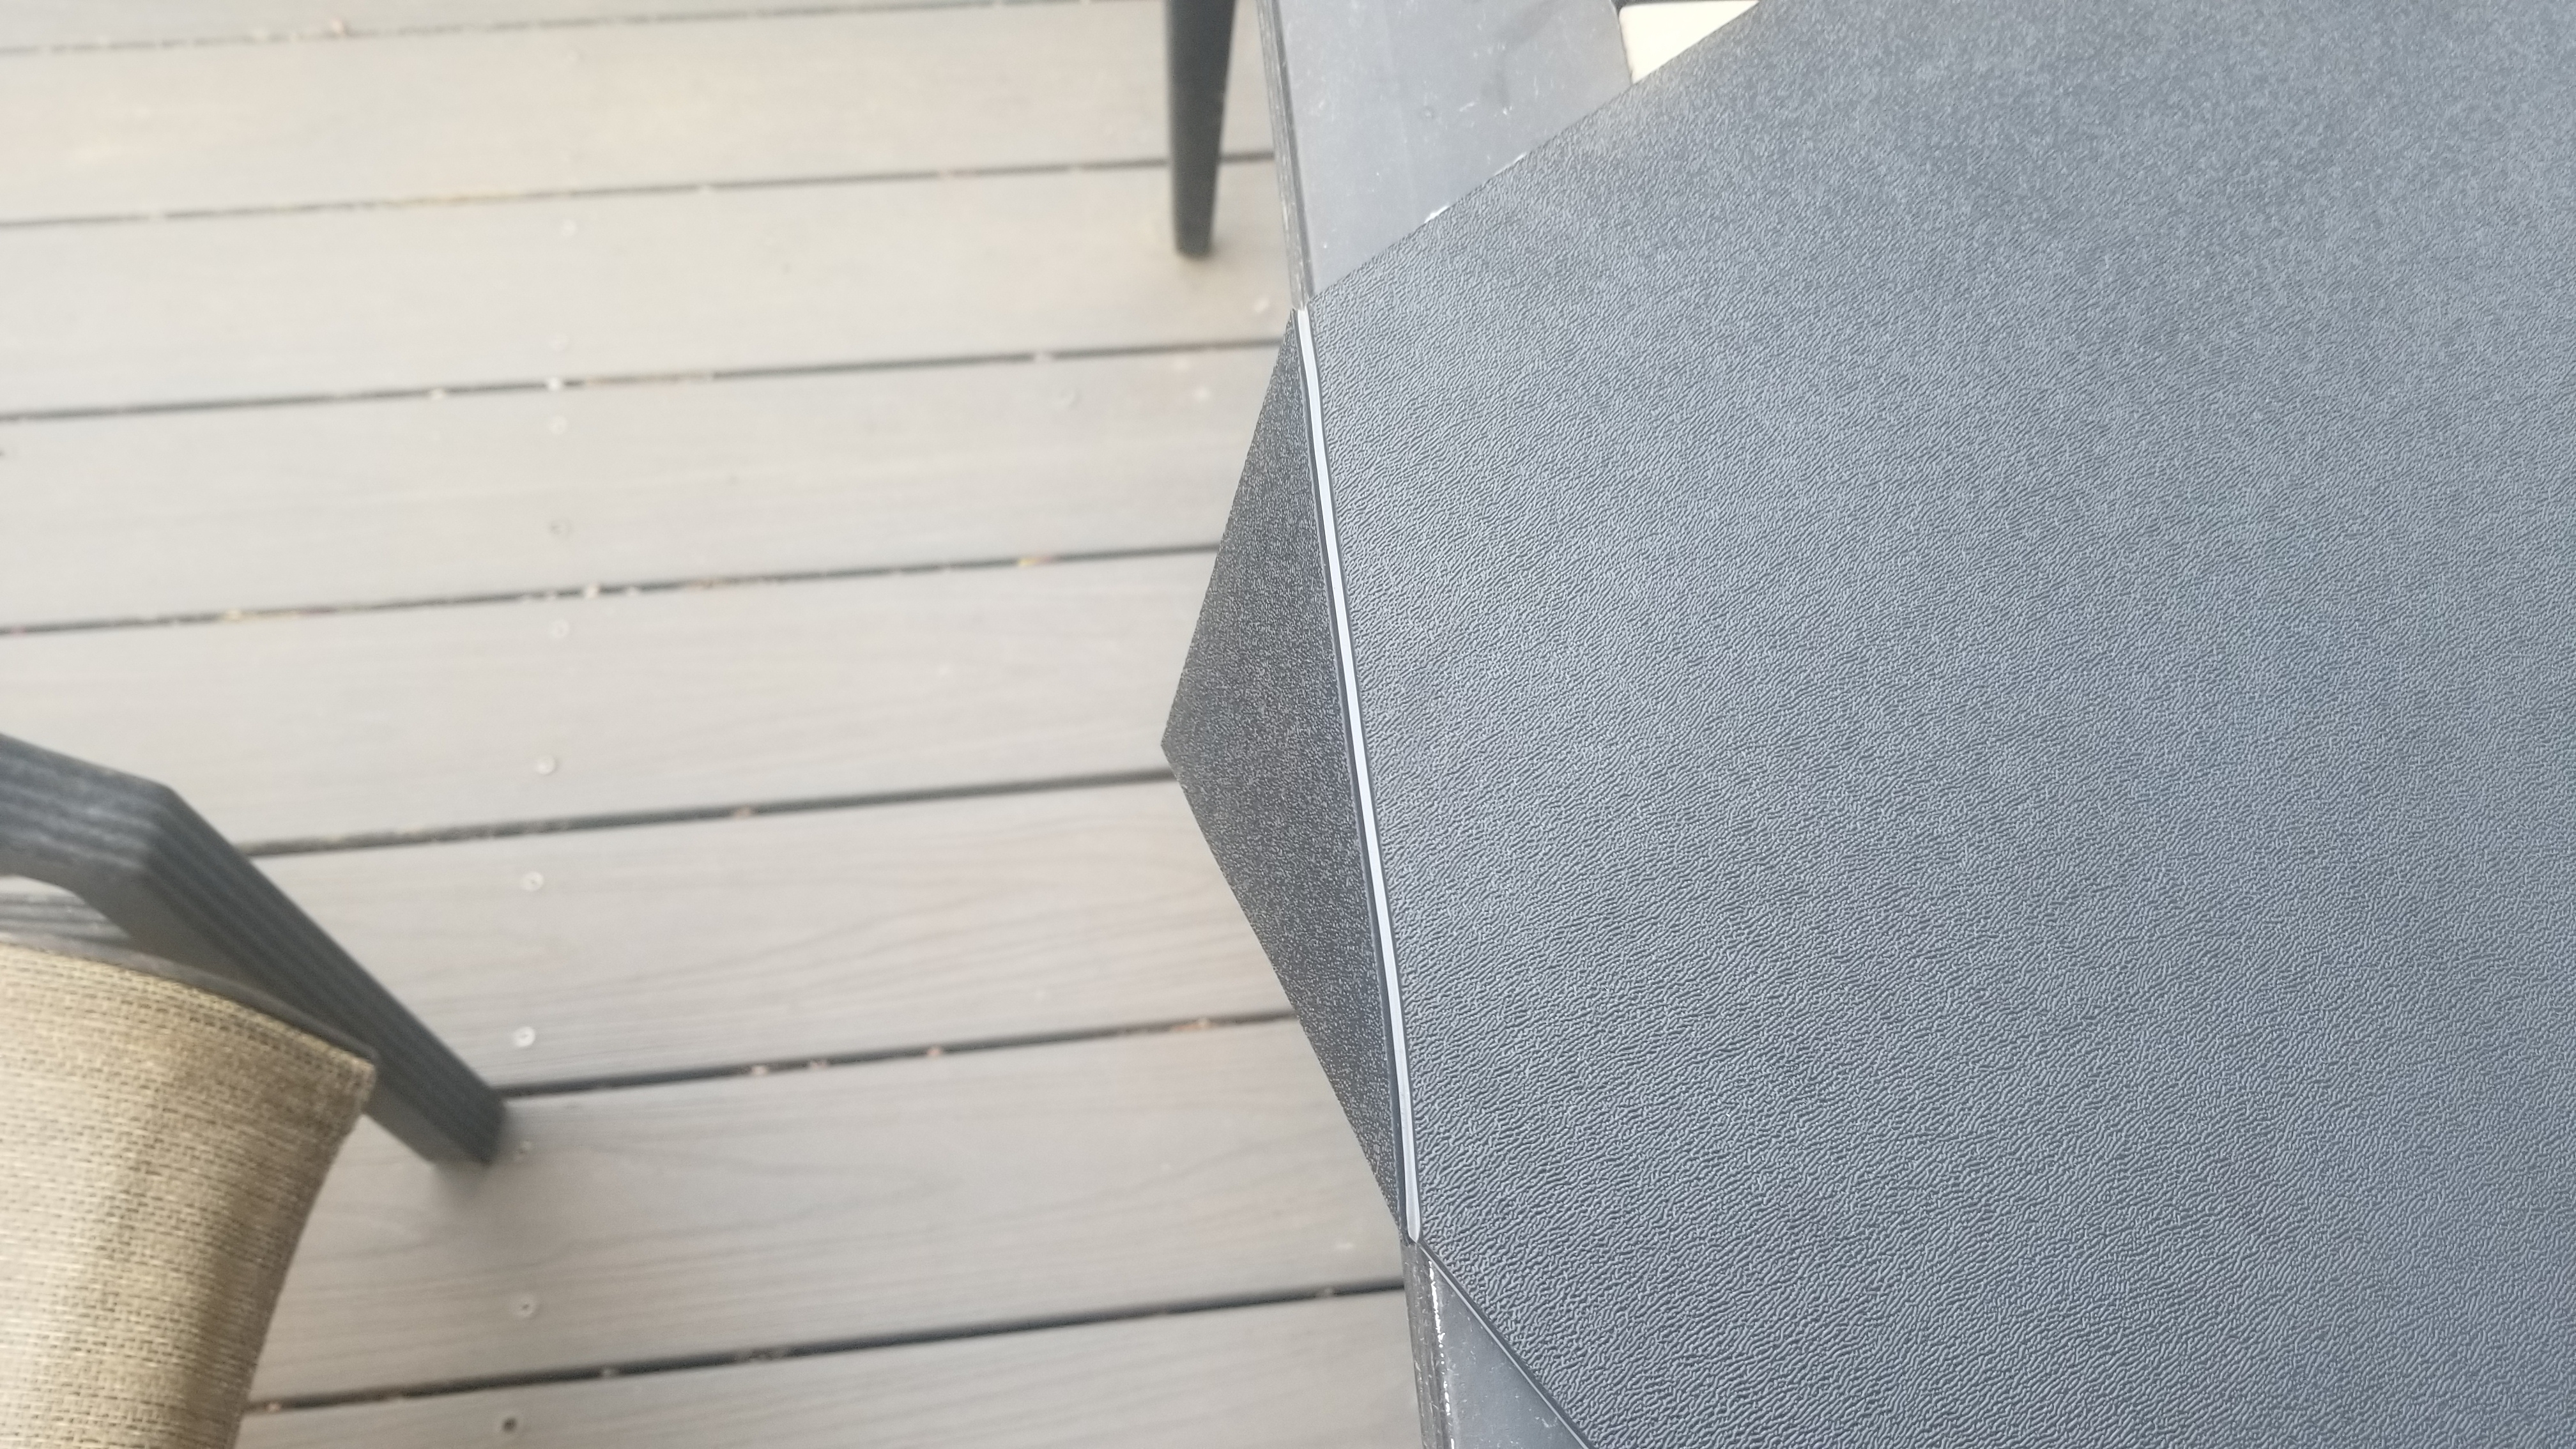
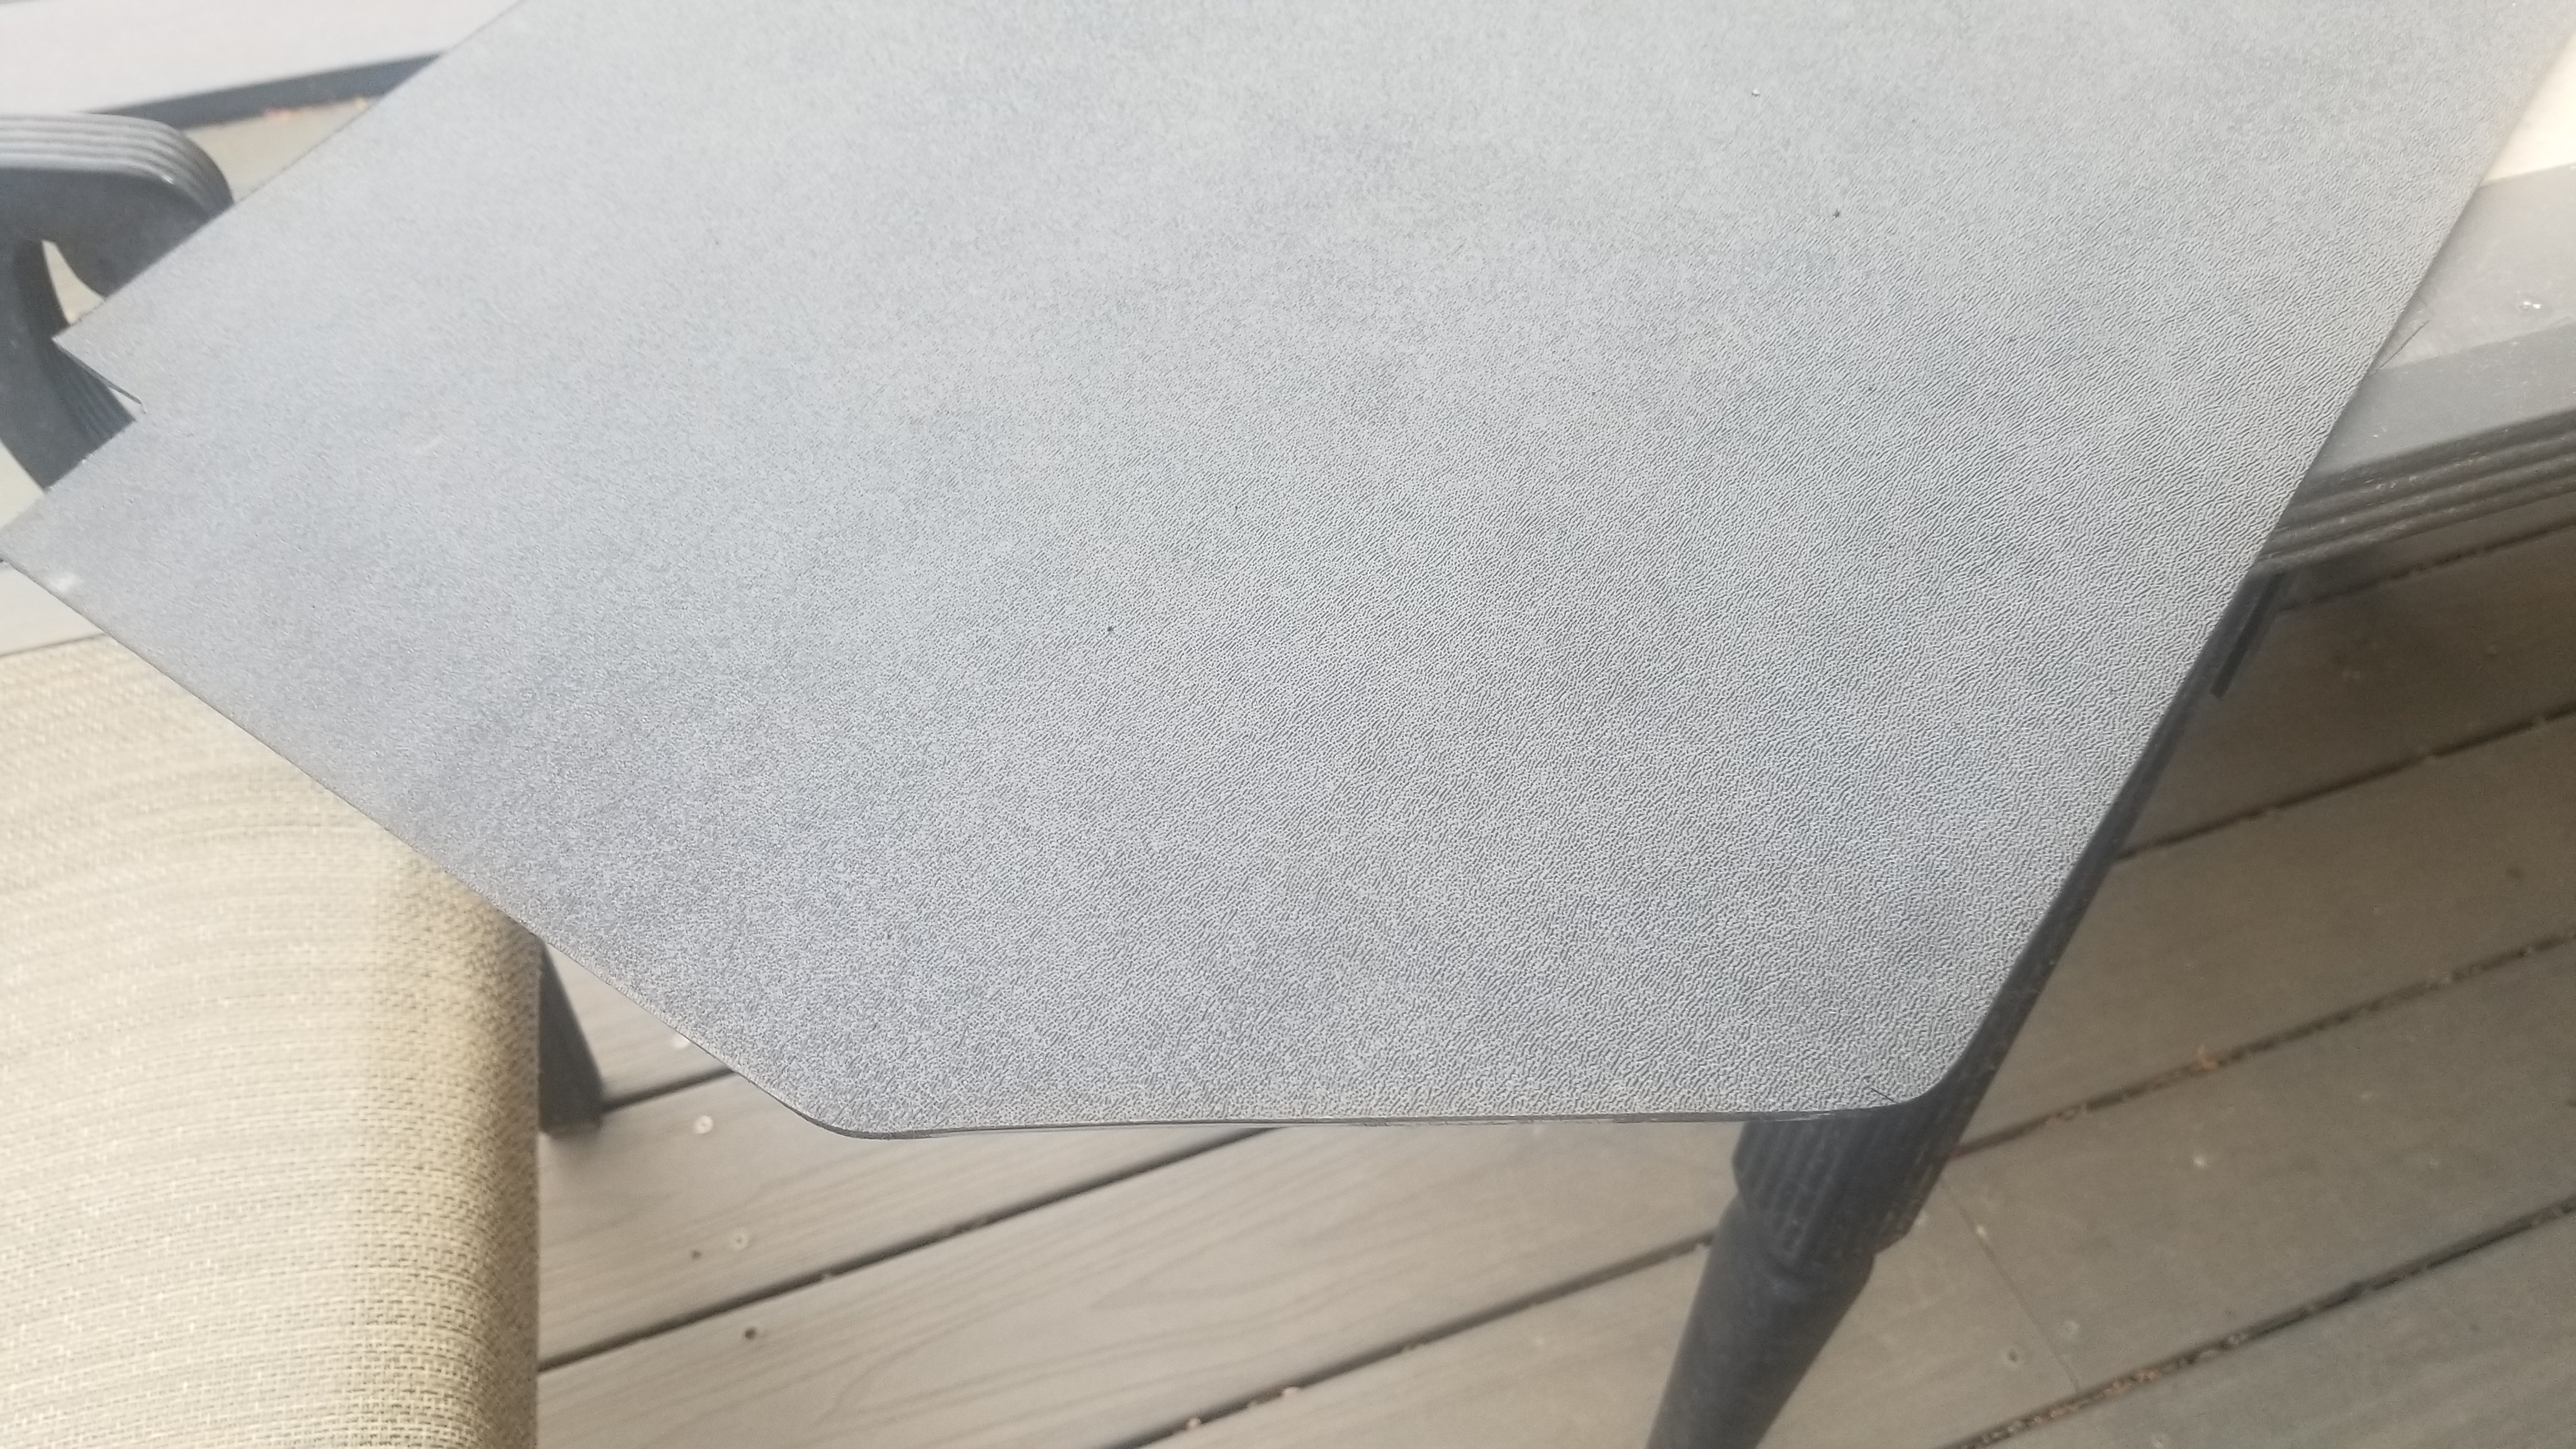
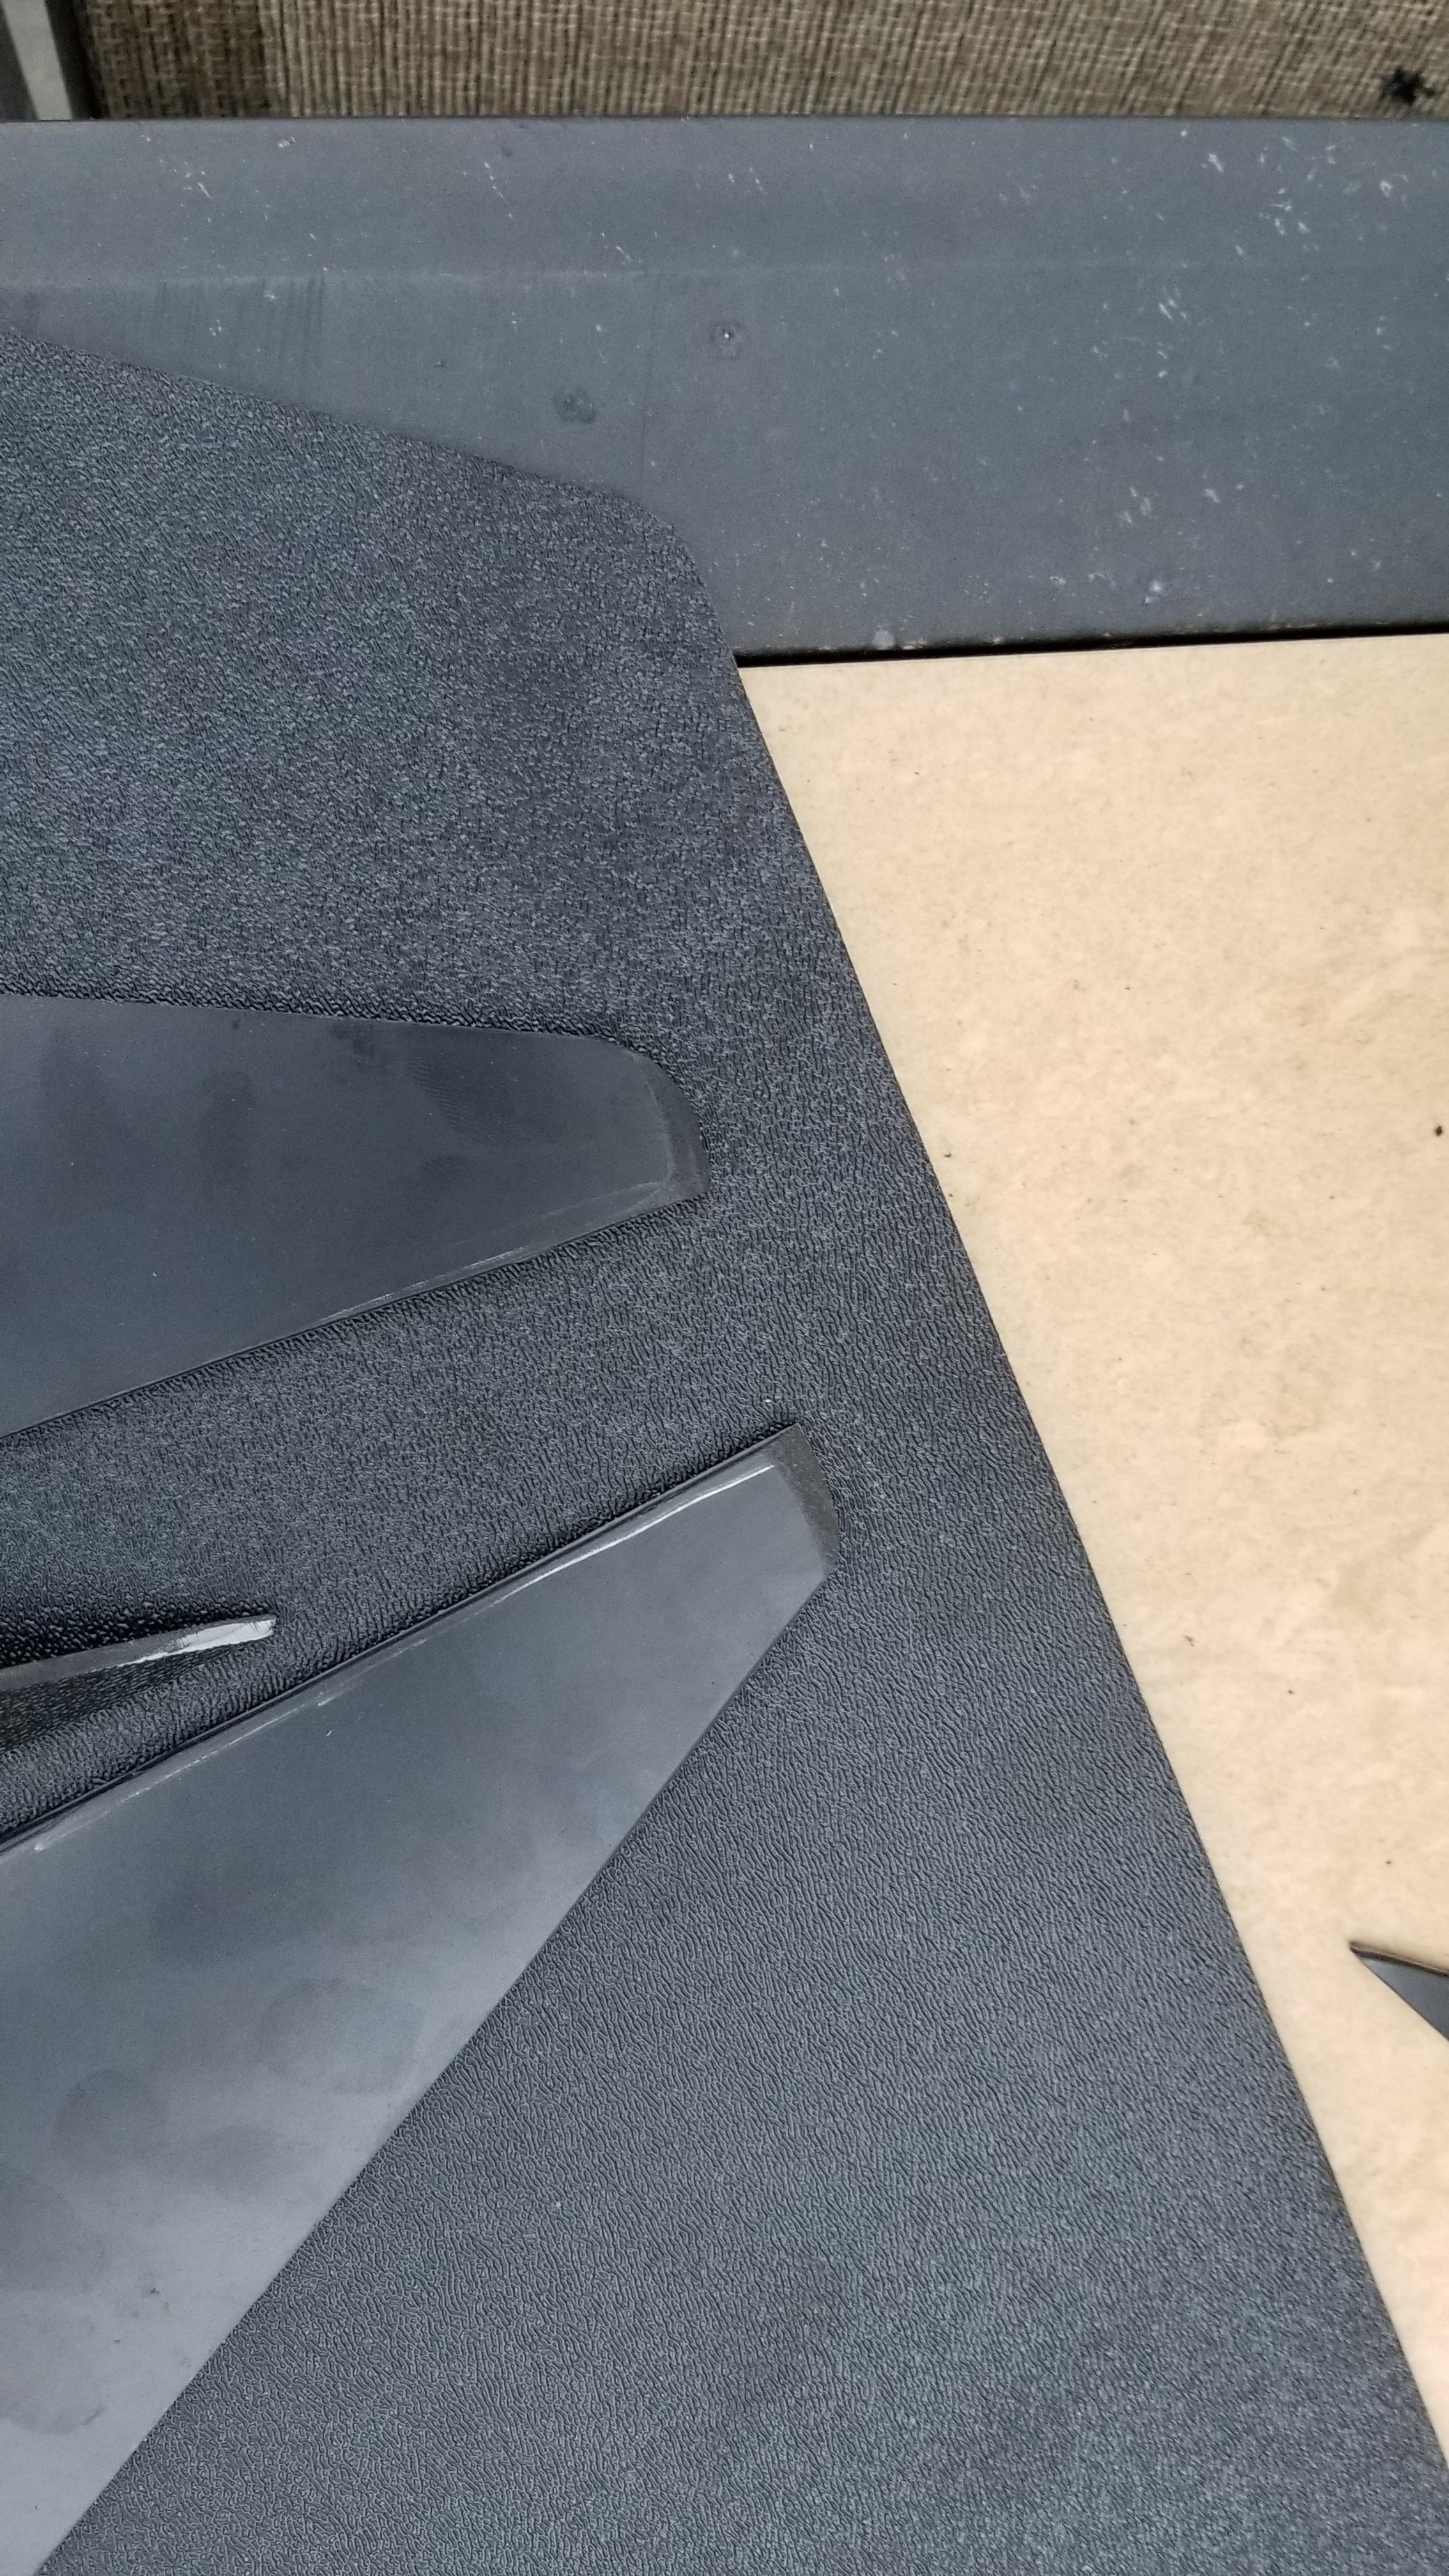
rounded off the corners, while these arent very visible, when you do look at it I want it took look good and the sharp corners on one of my test fits didn't look that great to me.
YopQ0Kk.jpg

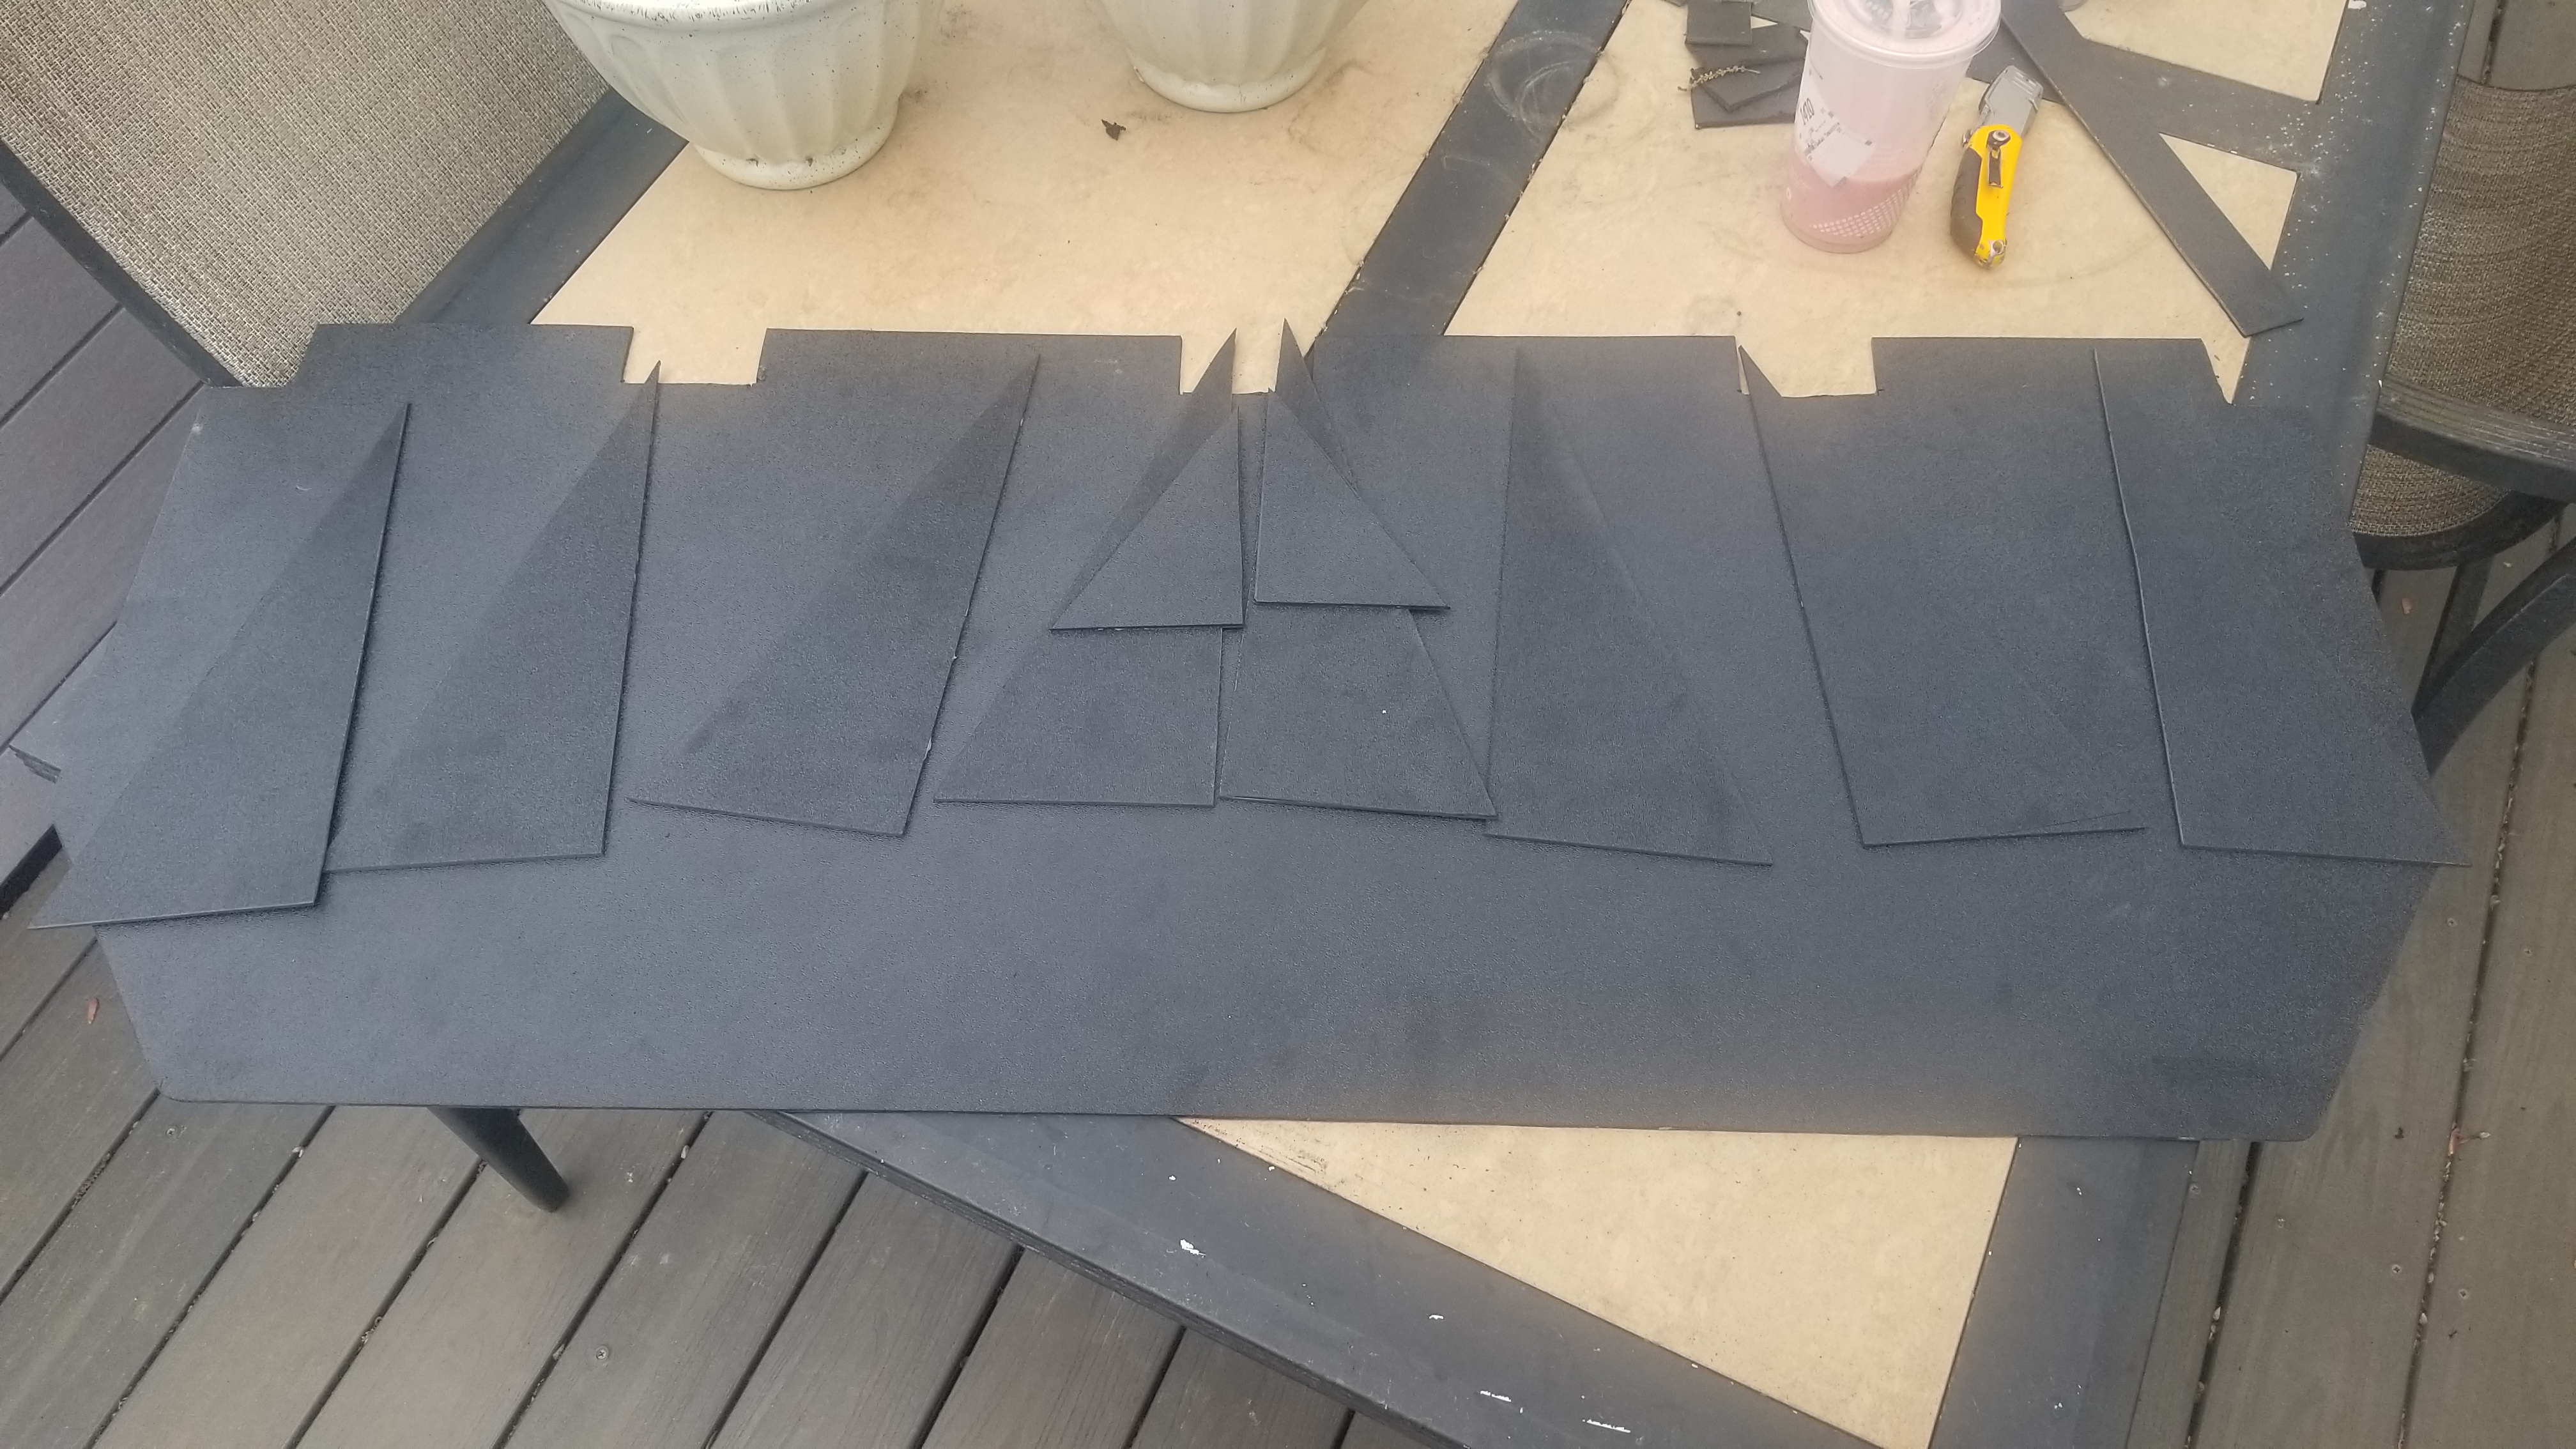
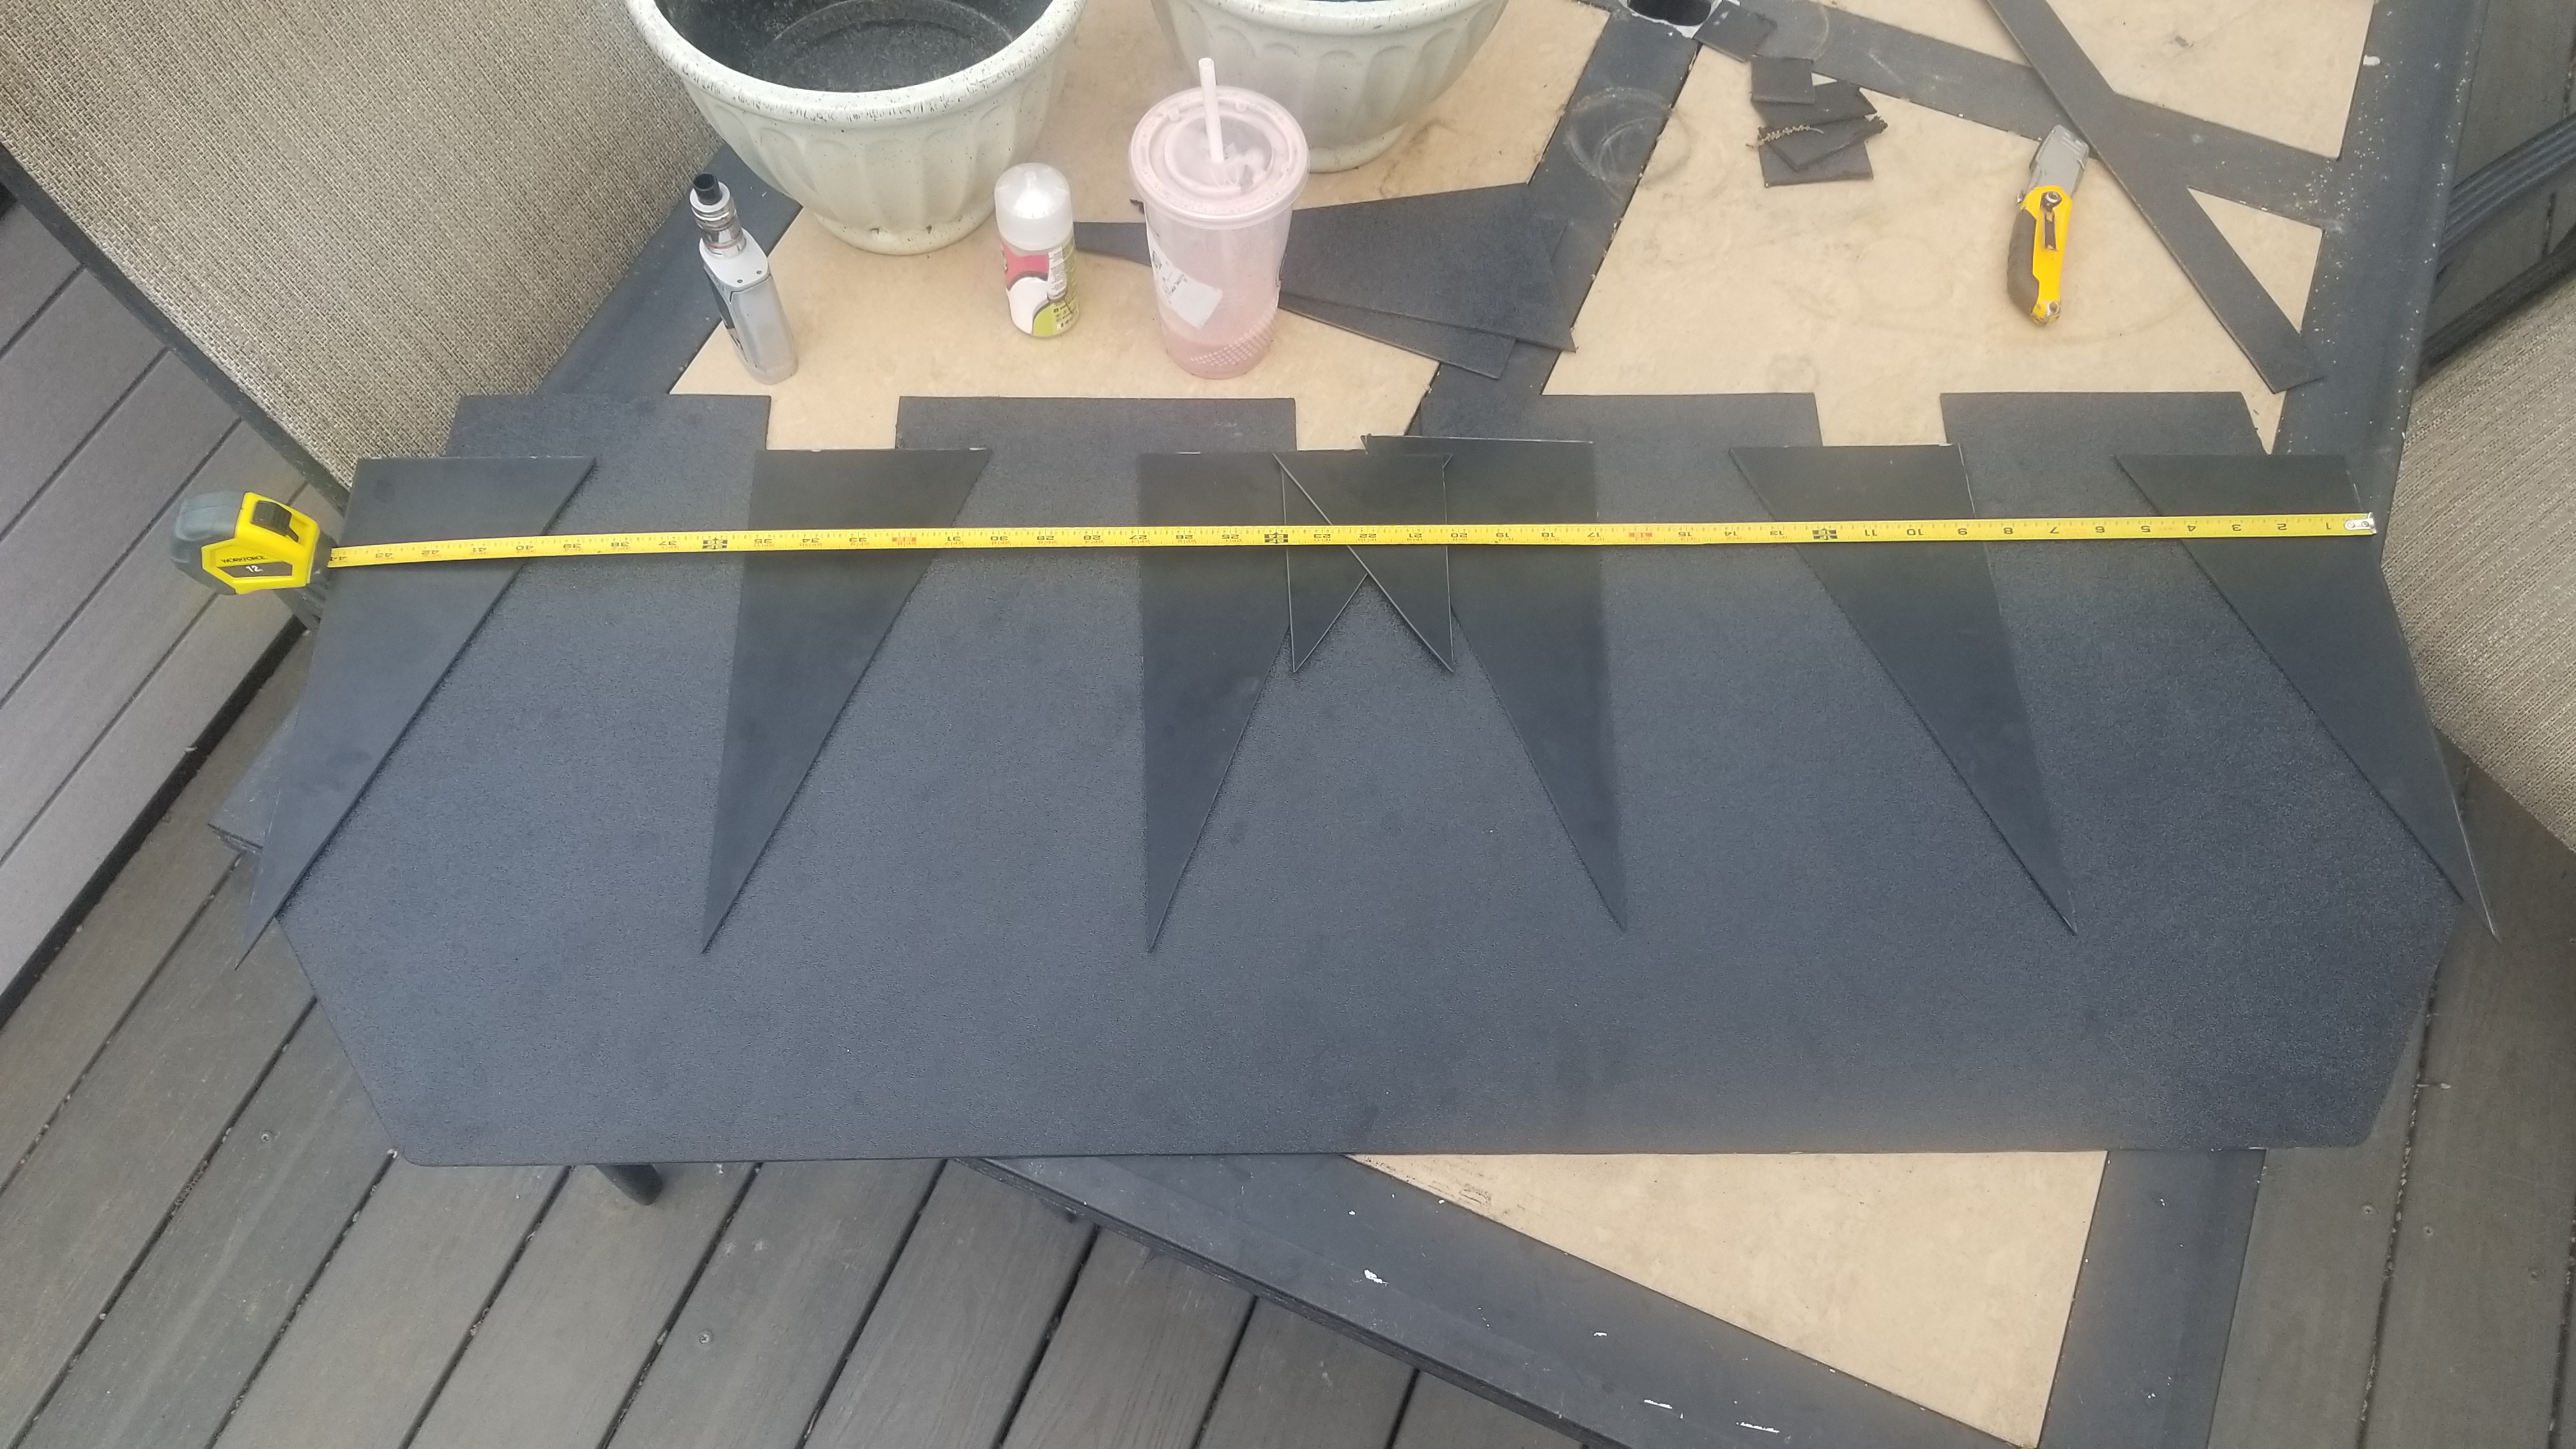
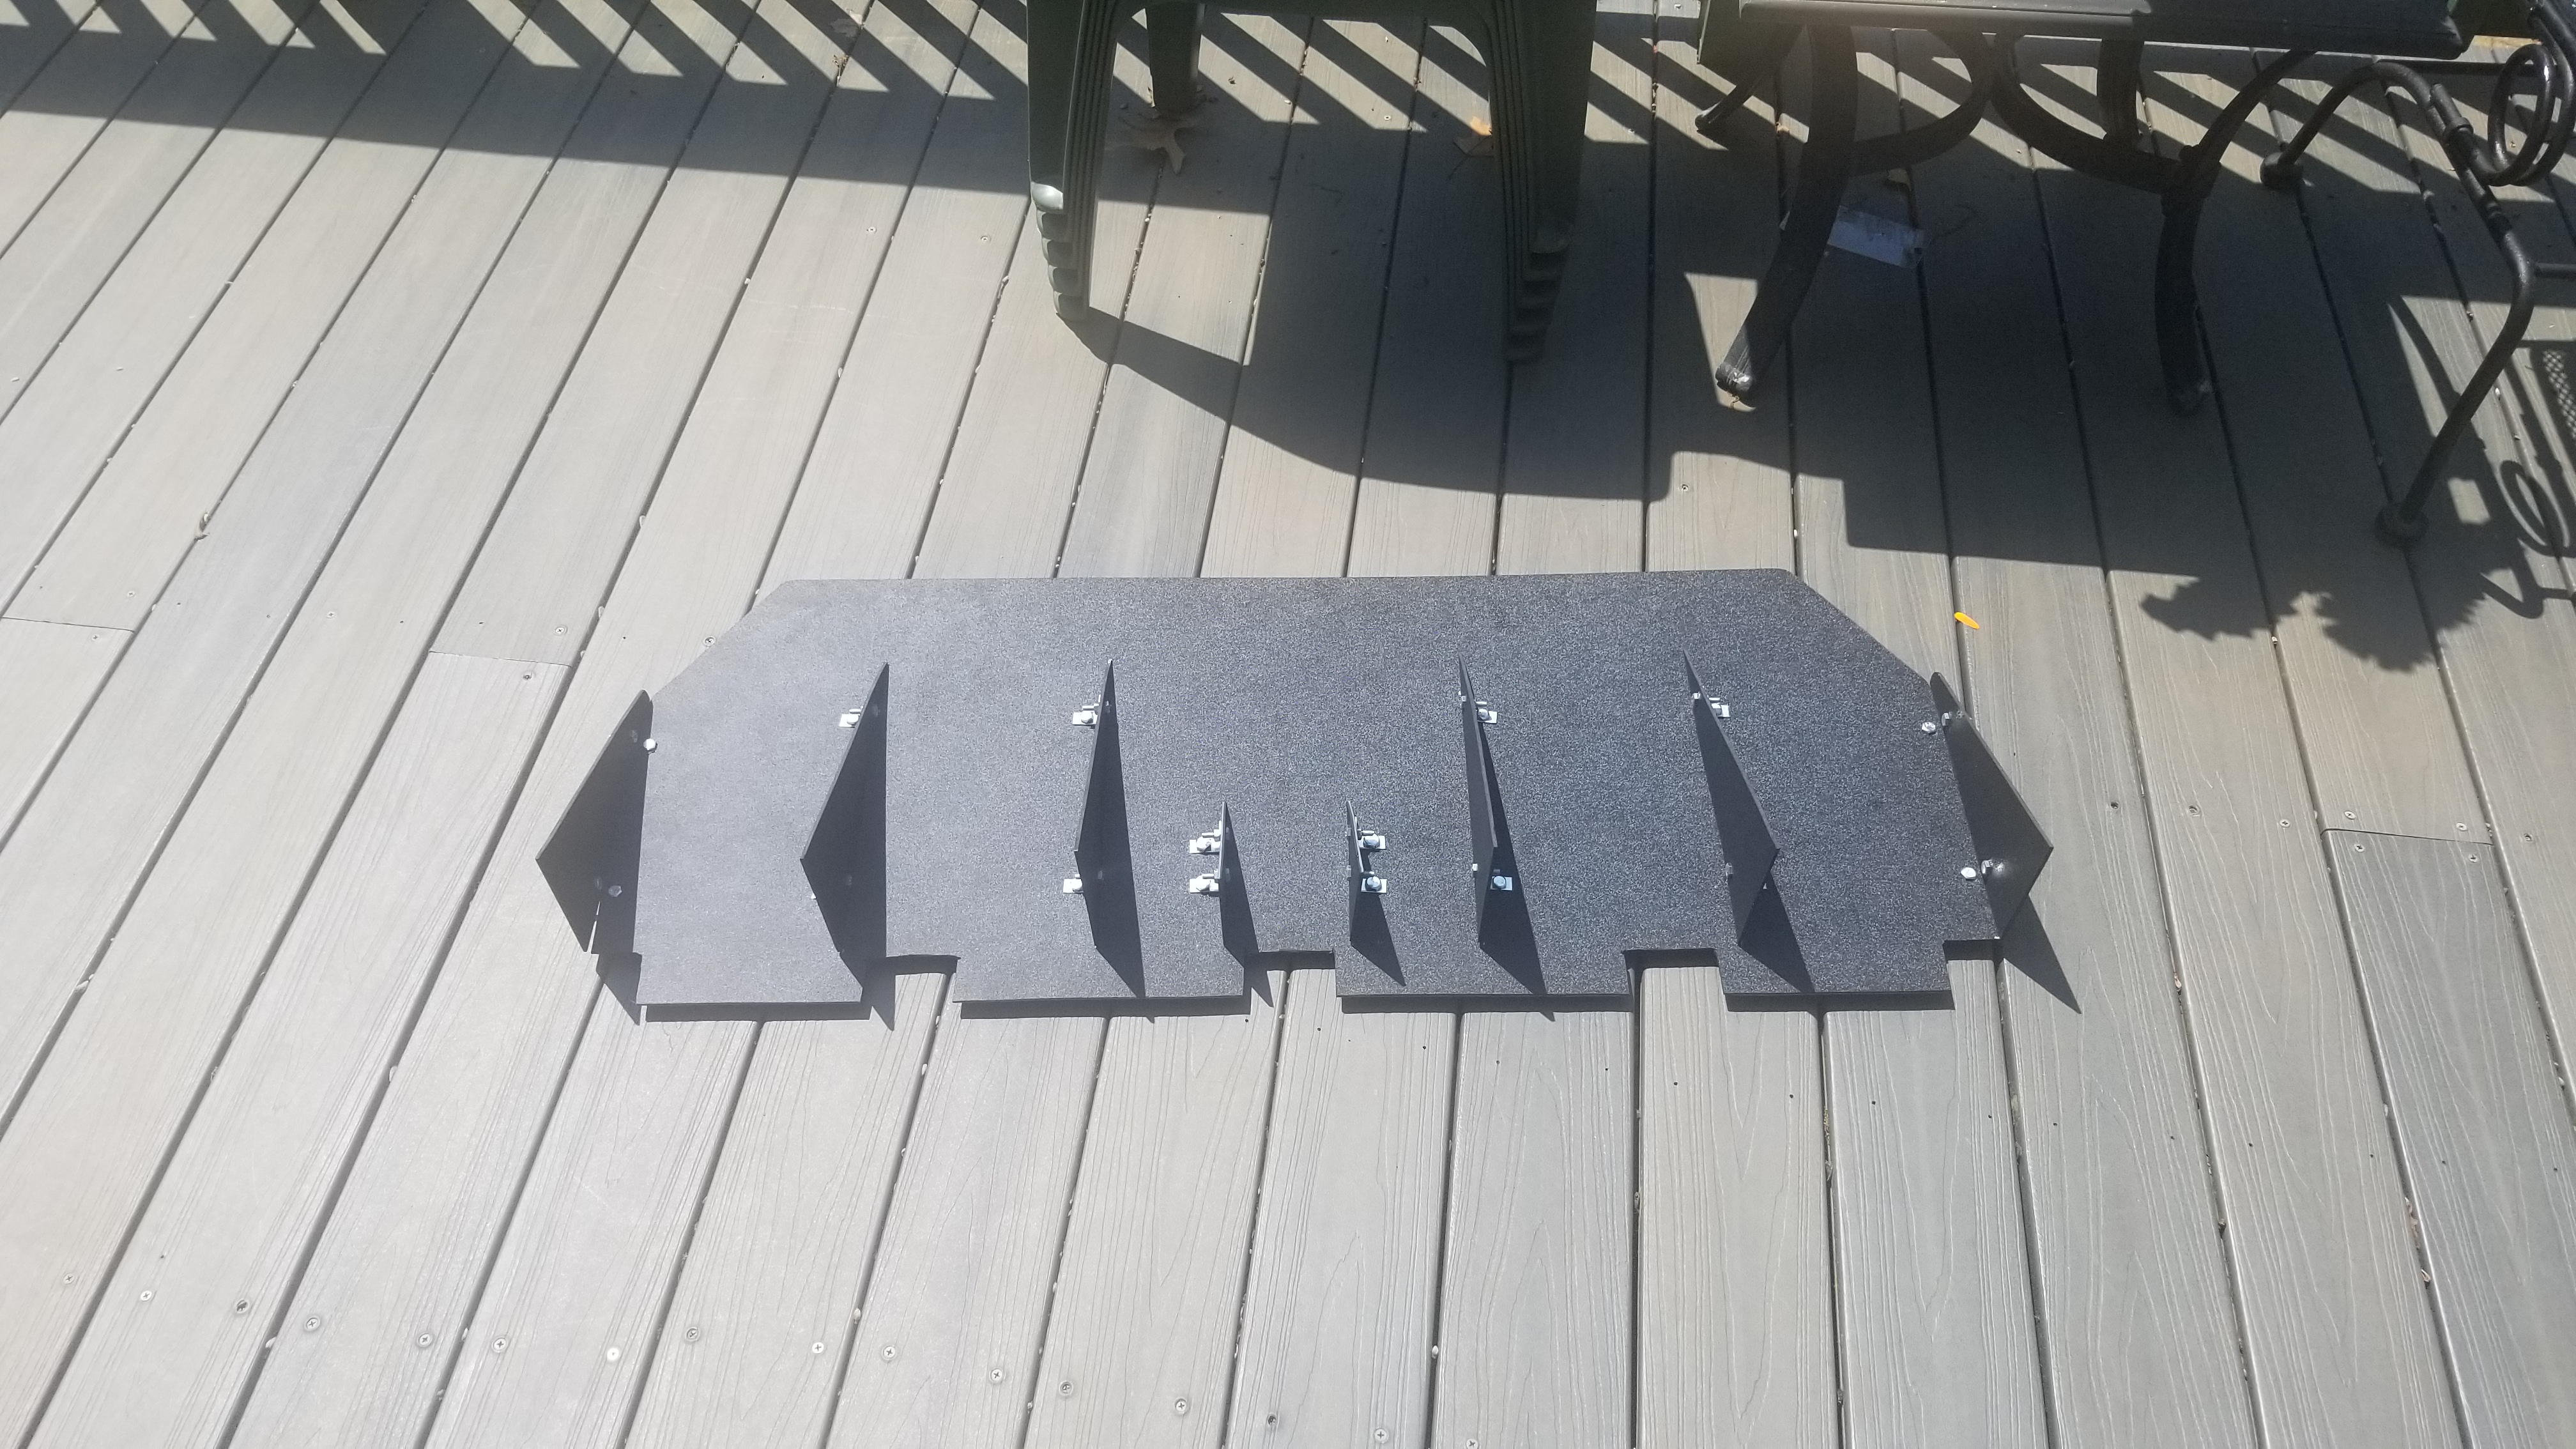
My original plan was to use 8 fins, all the same size. After mowing it over and playing around with it now that it's all cut out, 8 was too crowded and wouldn't look right. Maybe if I didn't have tailpipes but for my case I do so 8 was too many.
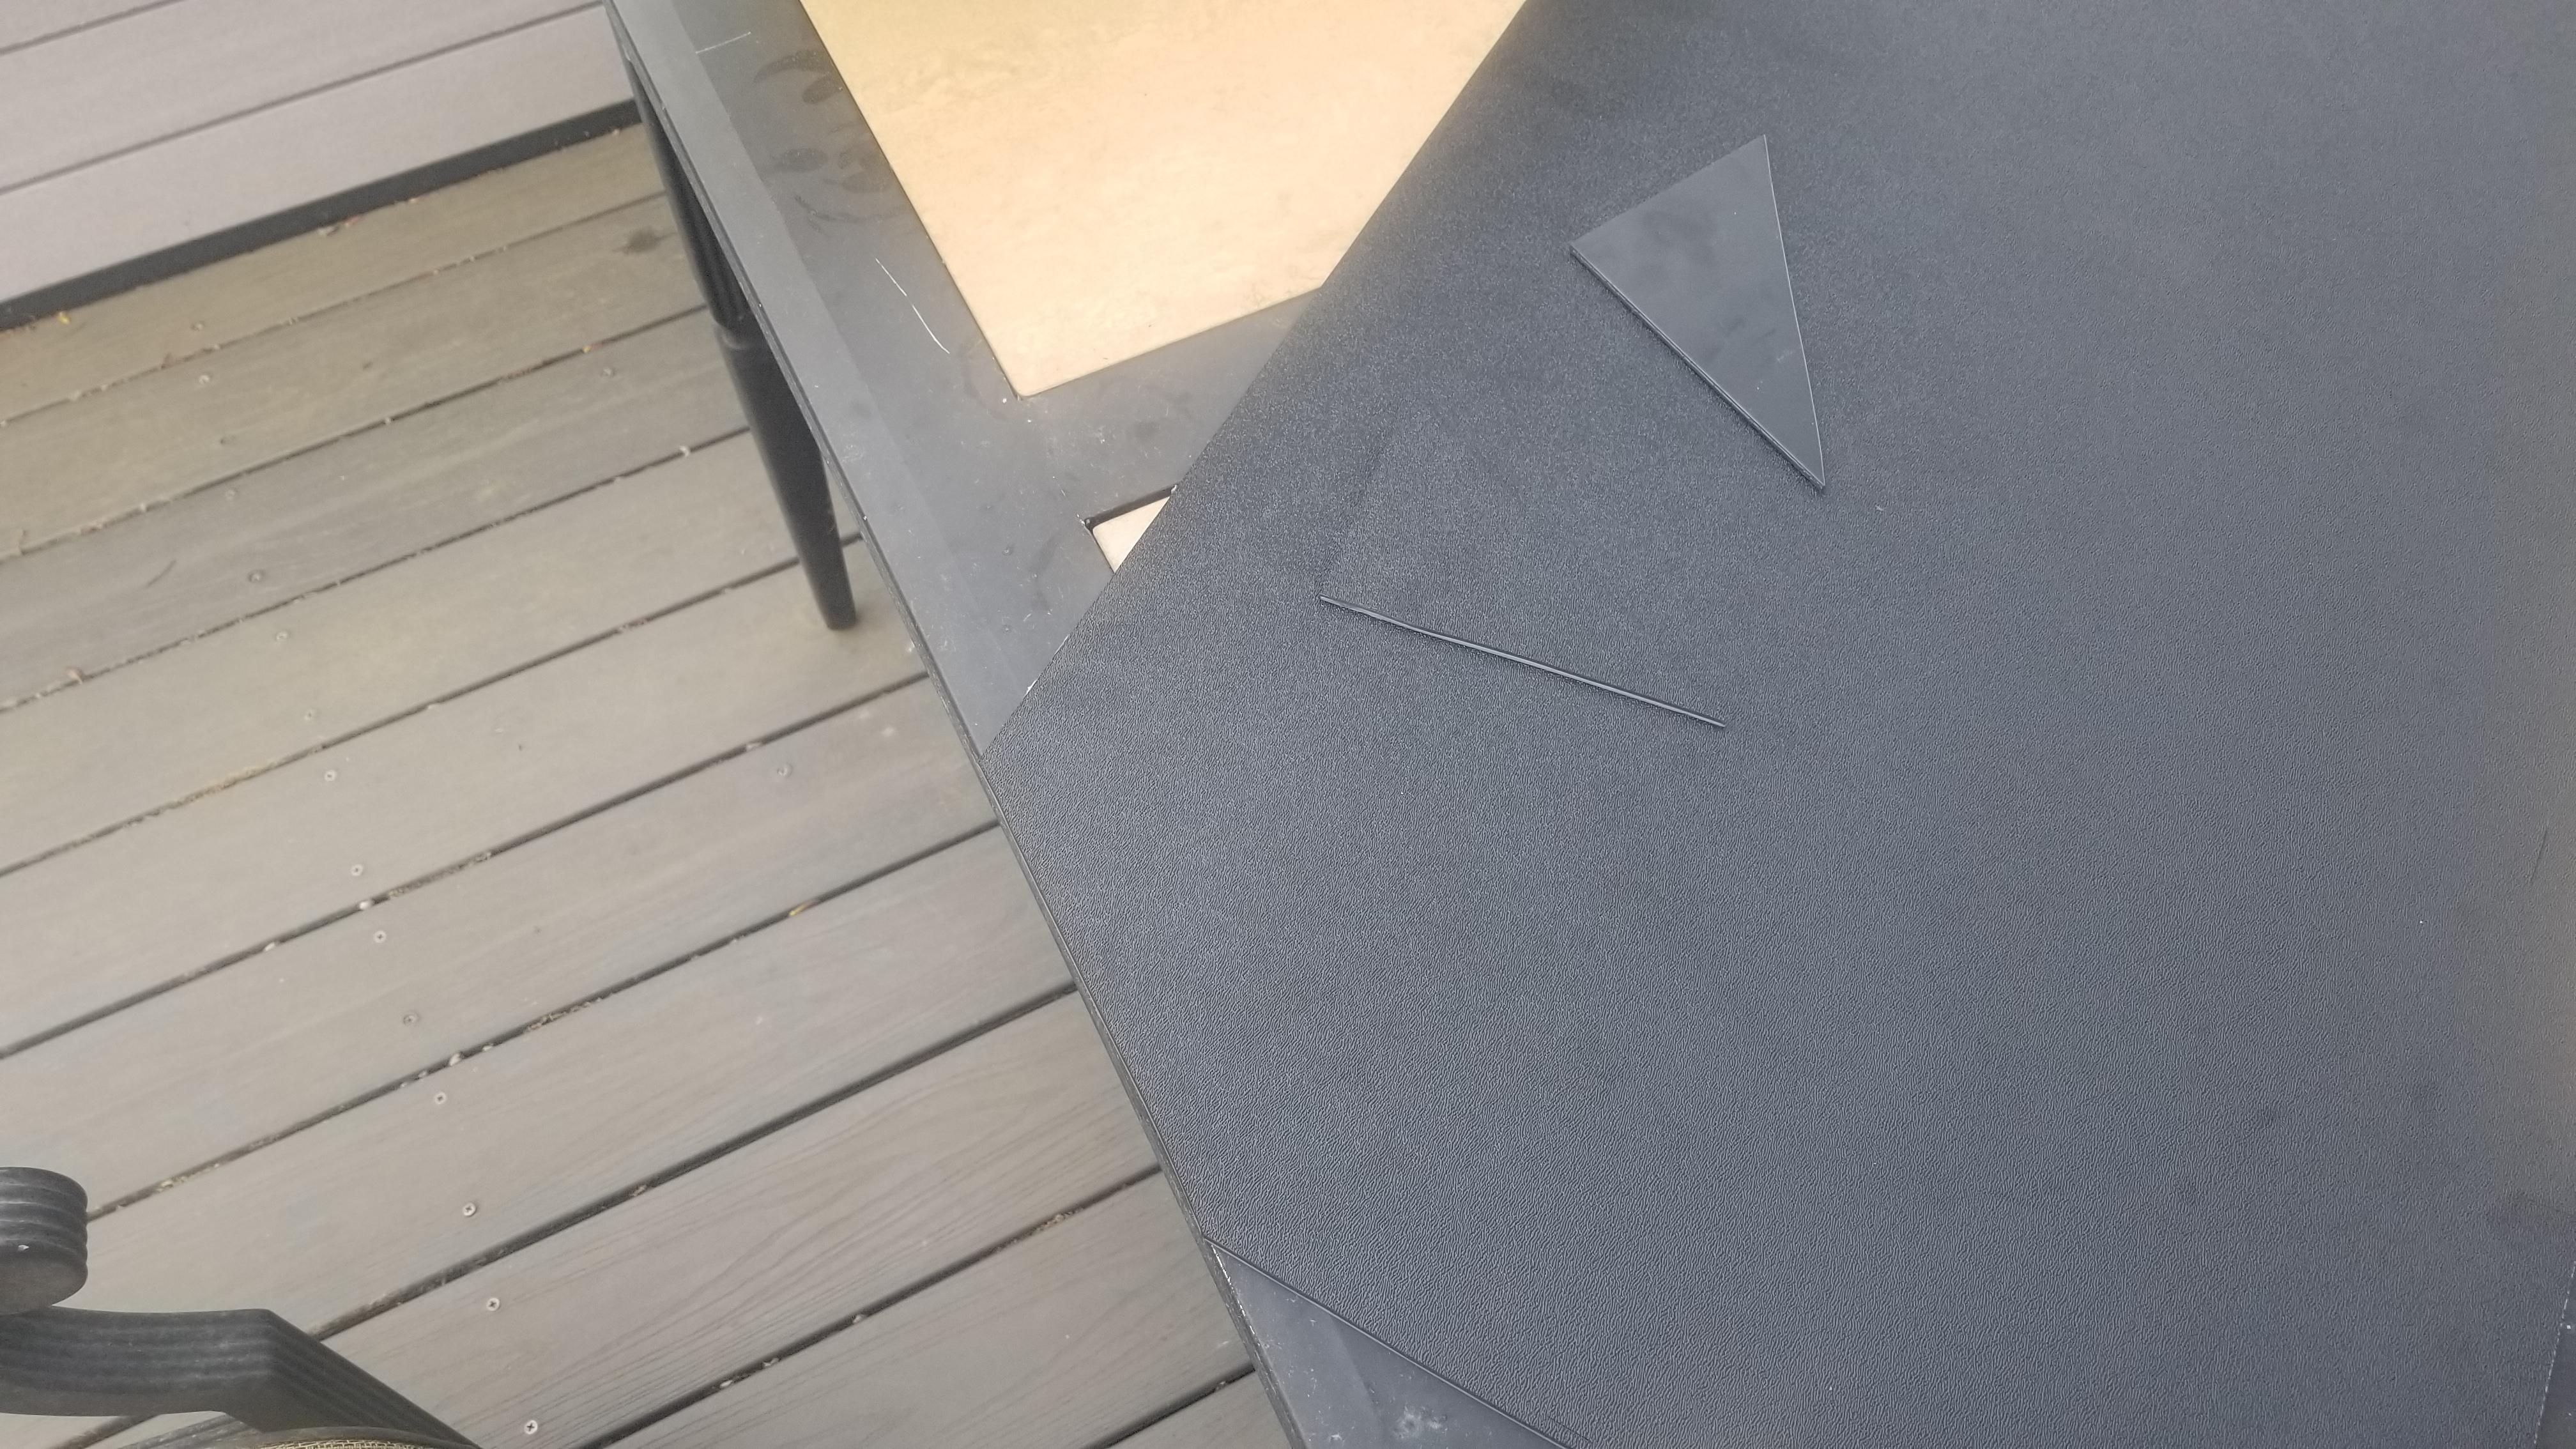
Than I noticed I had those 2 corners I cut off in my little scrap pile, and I got to thinking, and googling, and decided to reuse those 2 small corners as smaller fins, and keep the 8 fin idea but have the 2 middle ones be smaller, which will also help when I sneak a jack under the rear to jack up the rear end. So hey, its functional! lol
Dgk8Z0t.jpg

sEGLekG.jpg

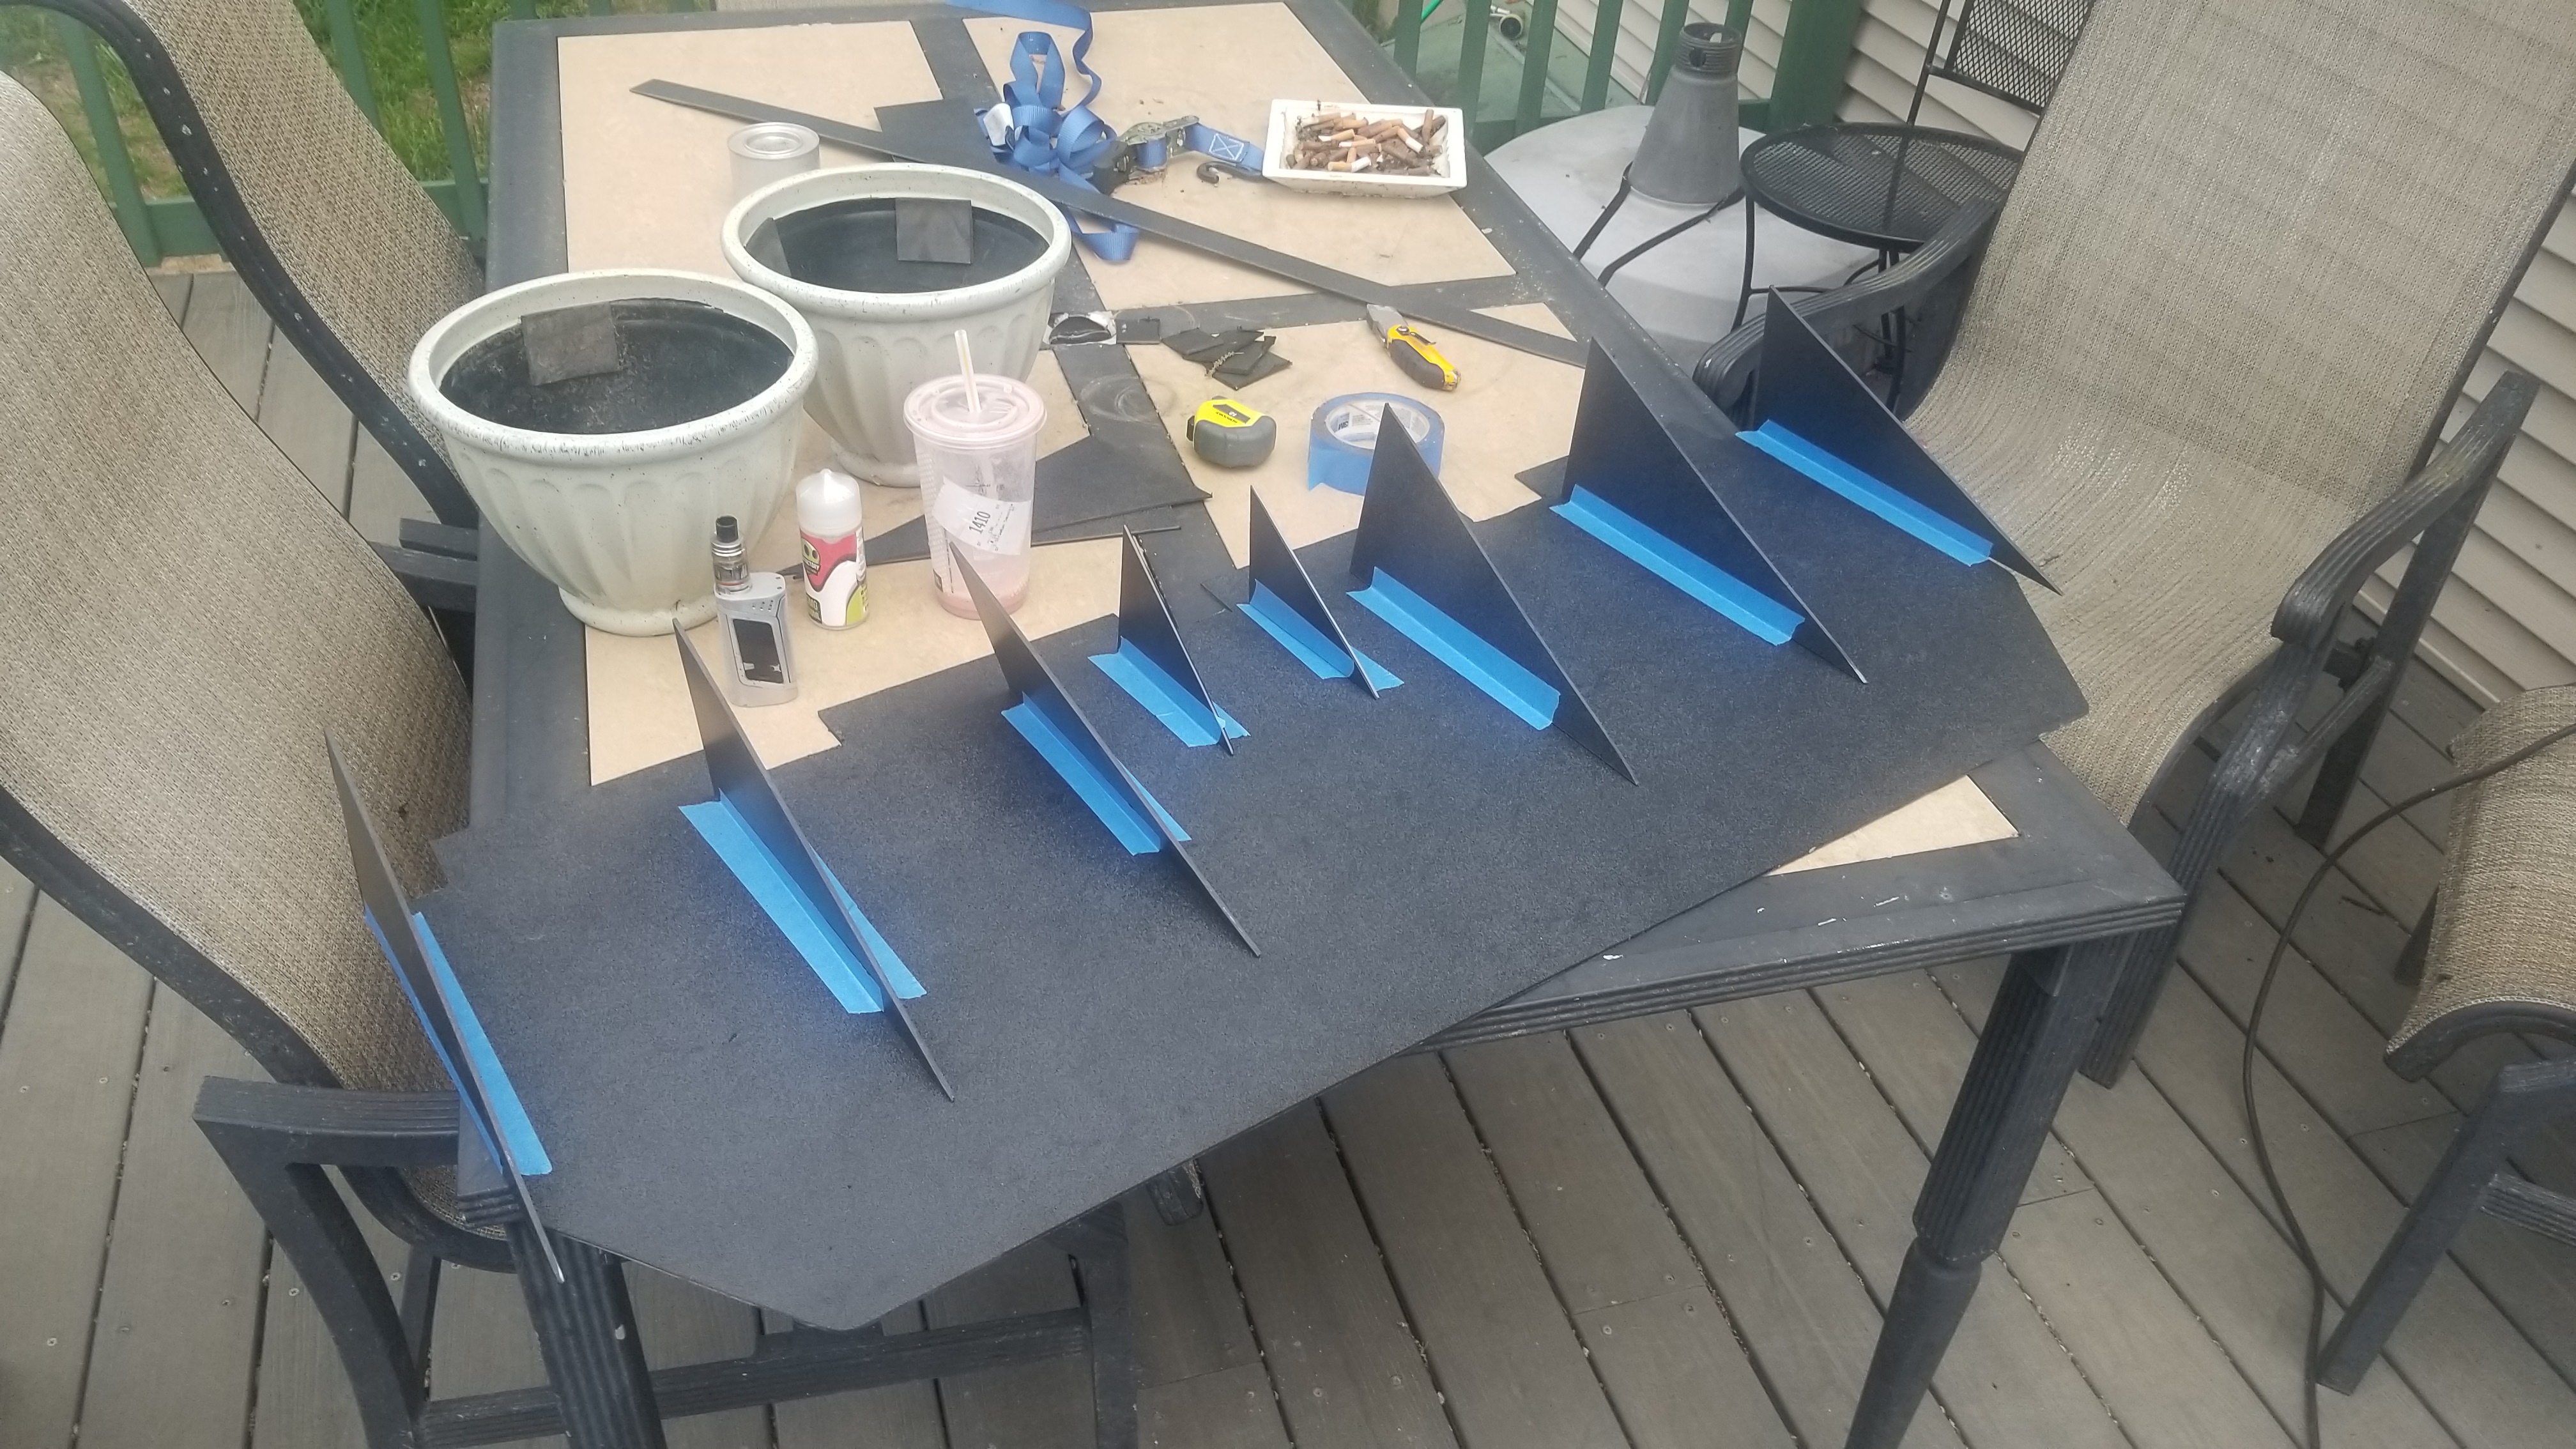
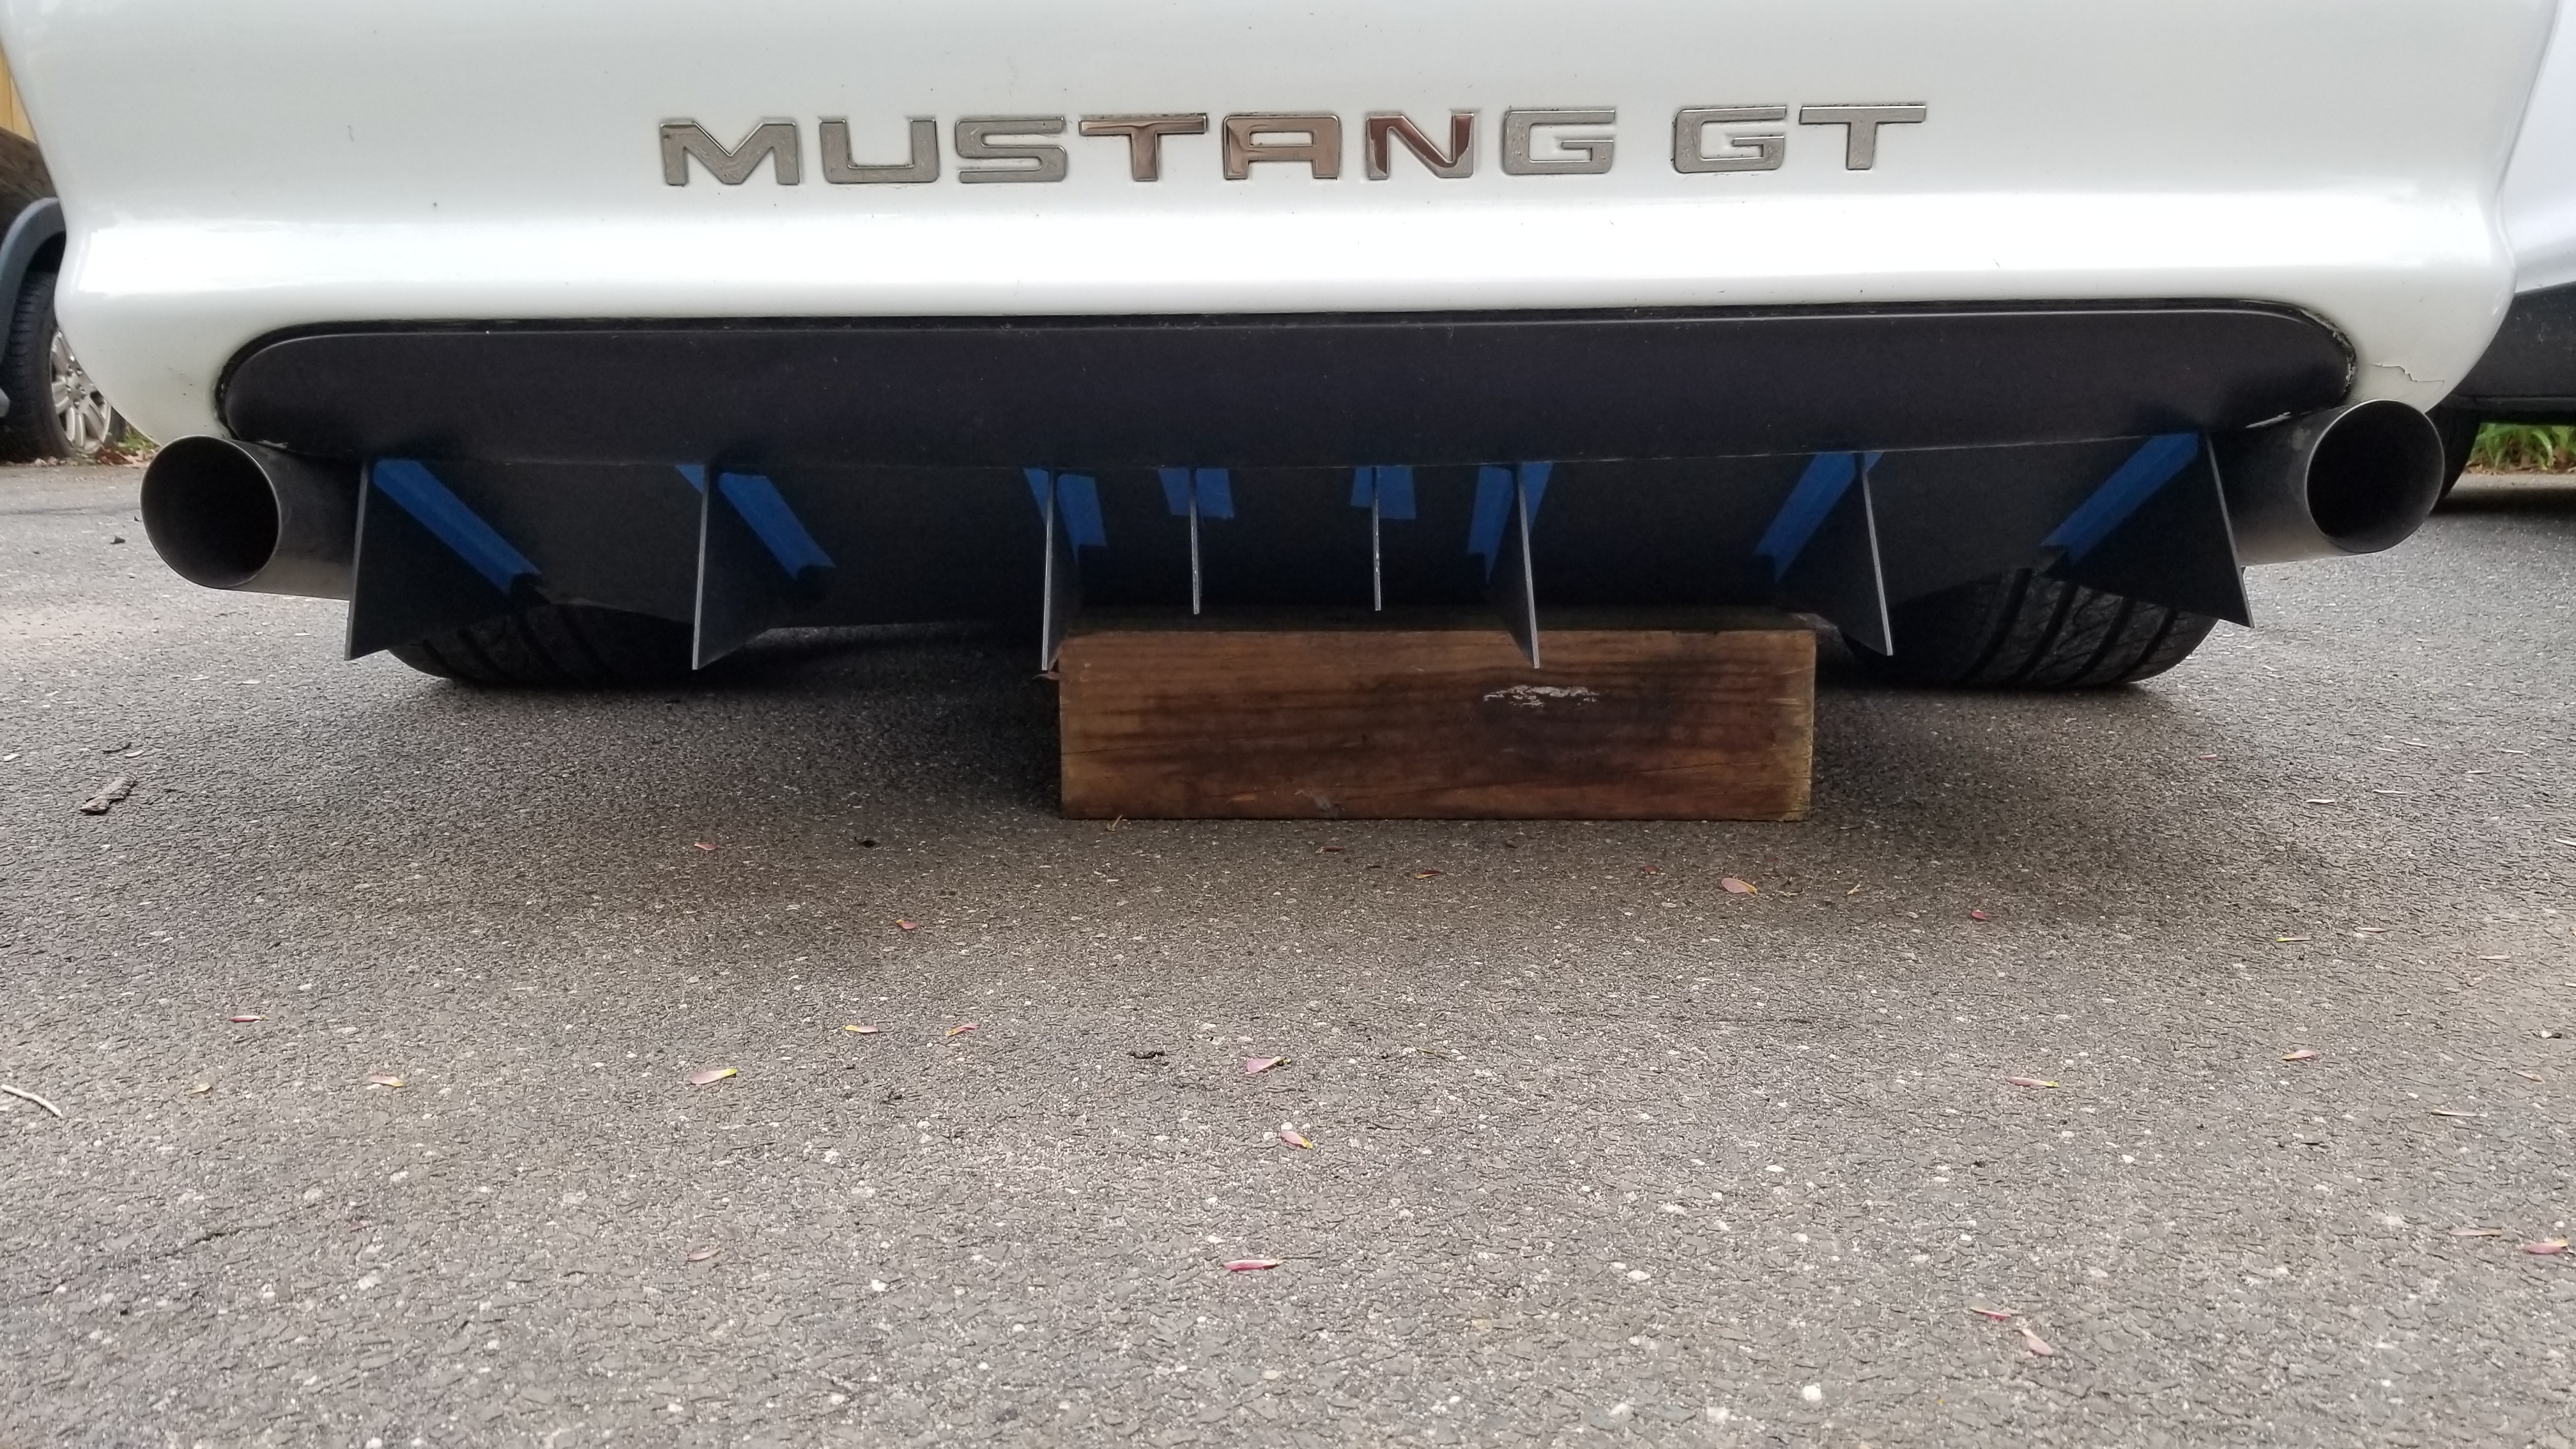
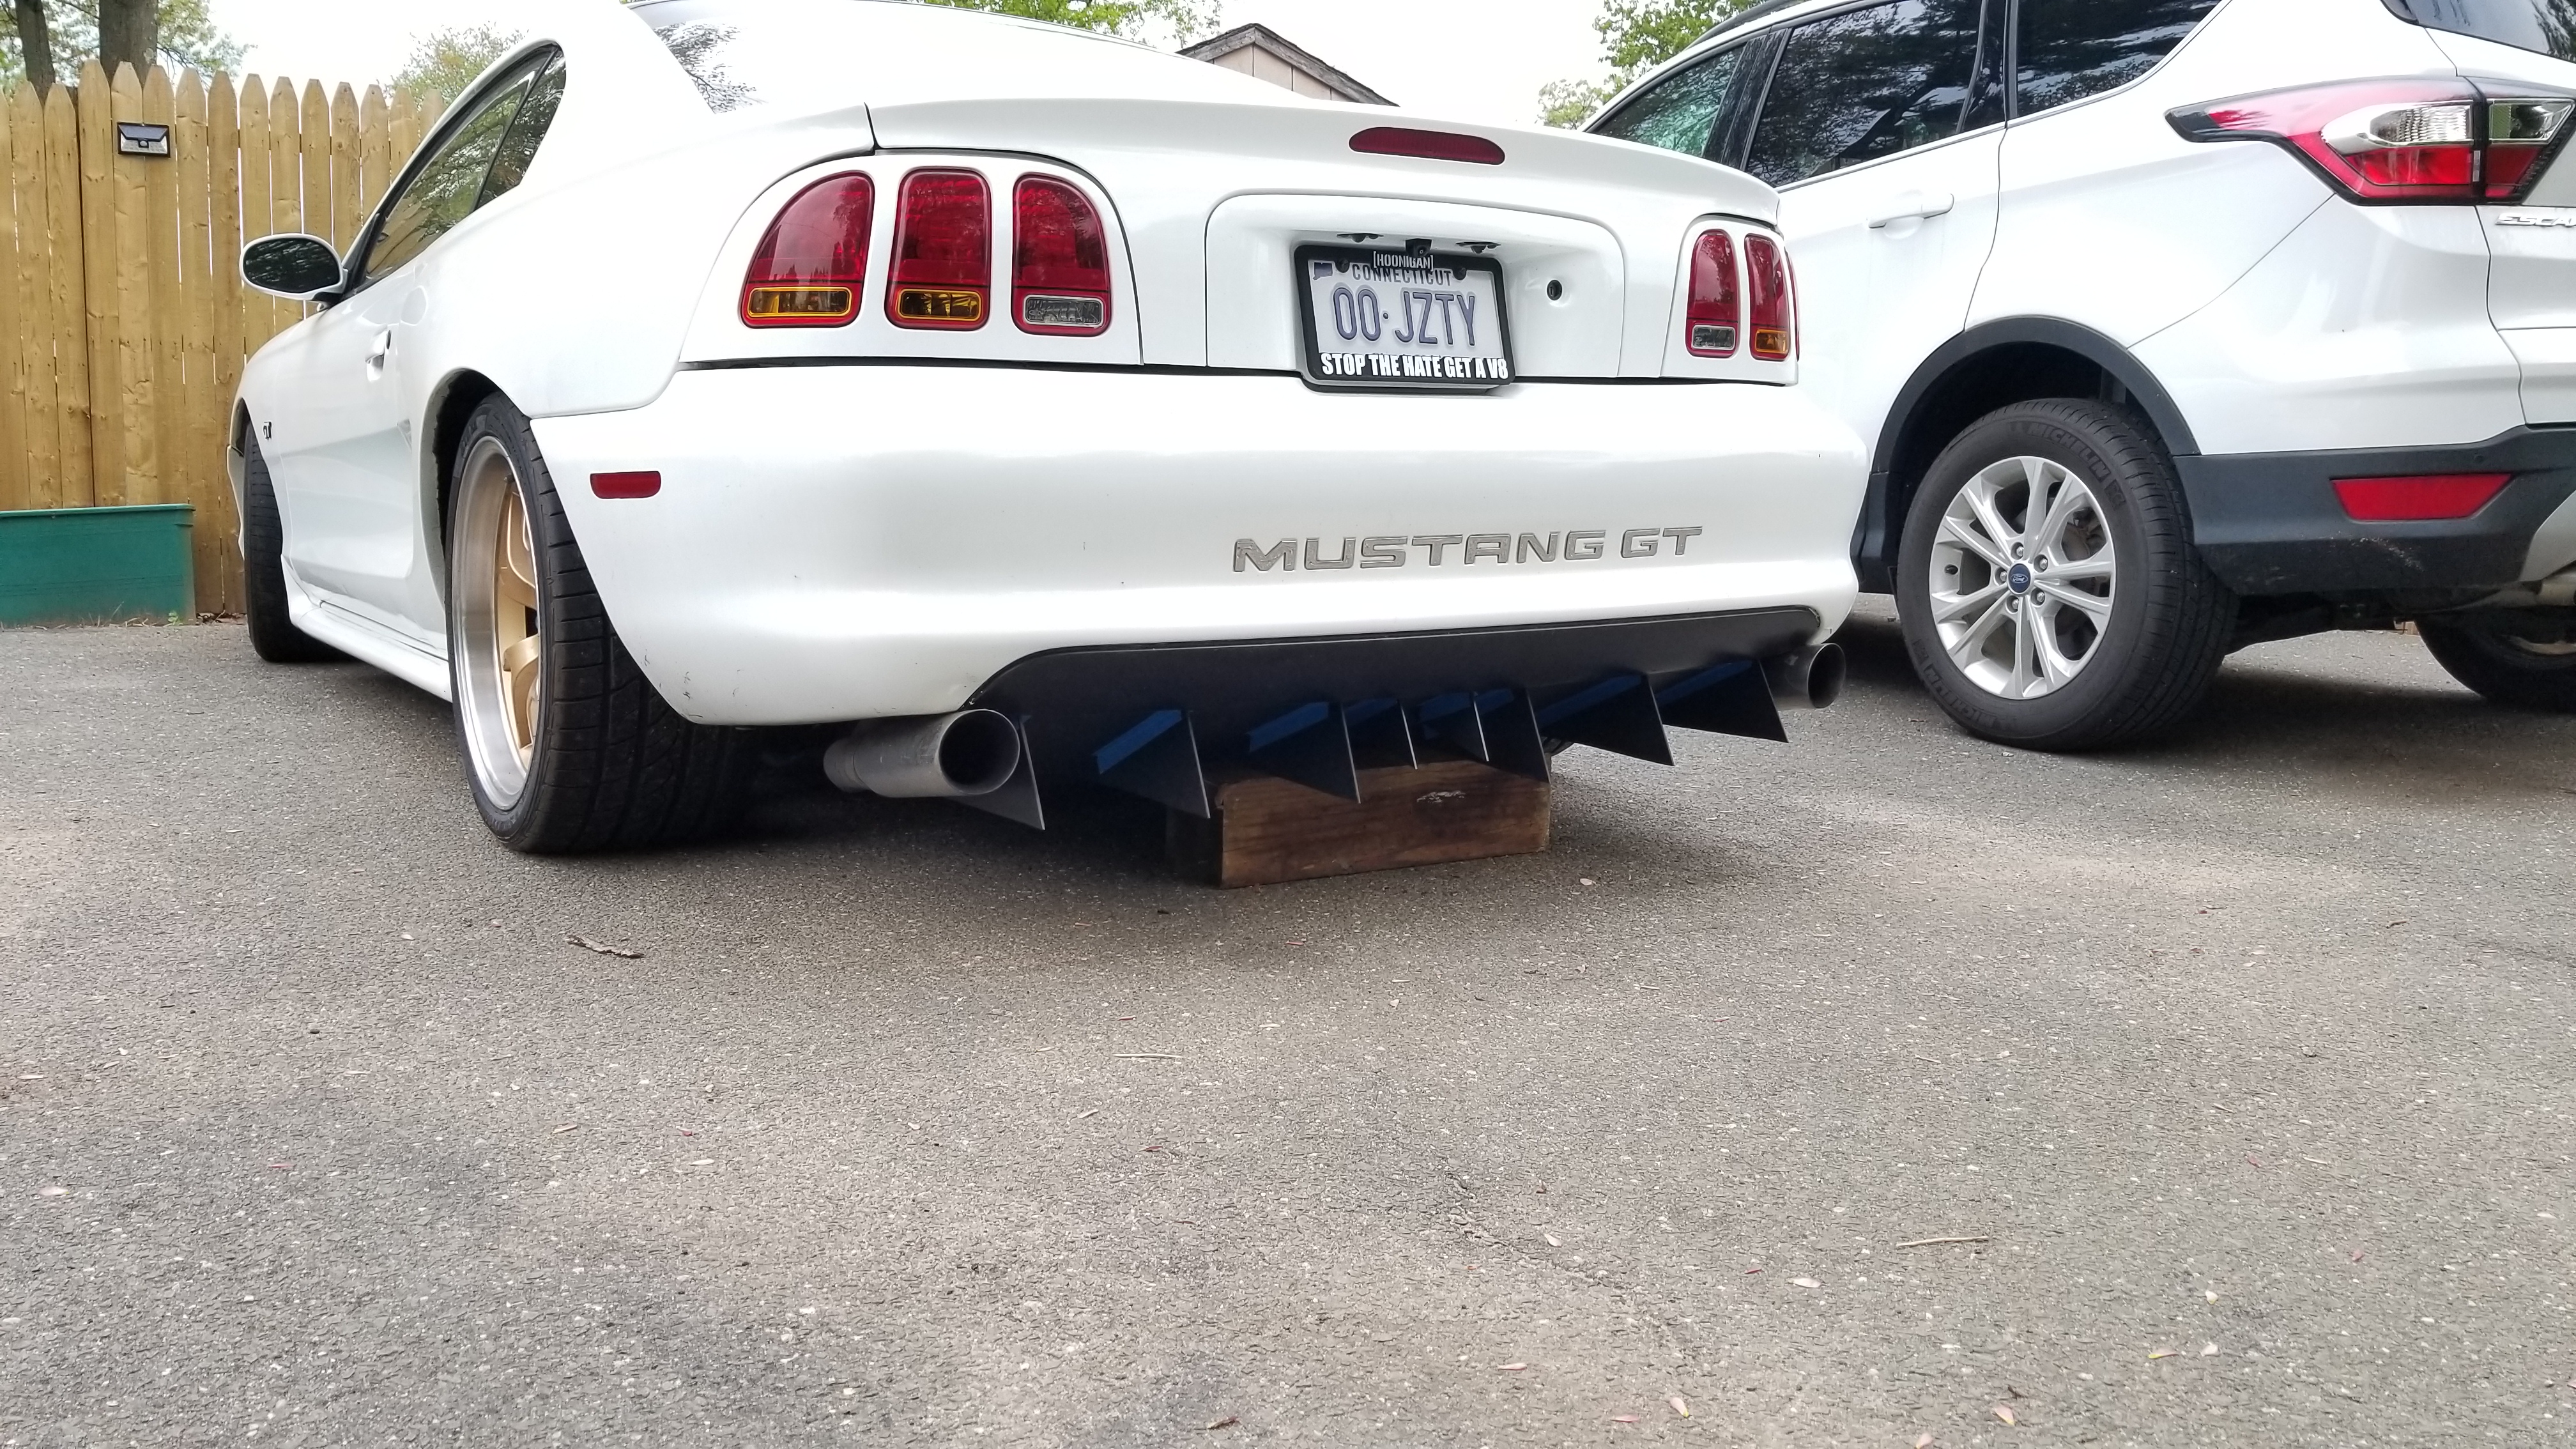
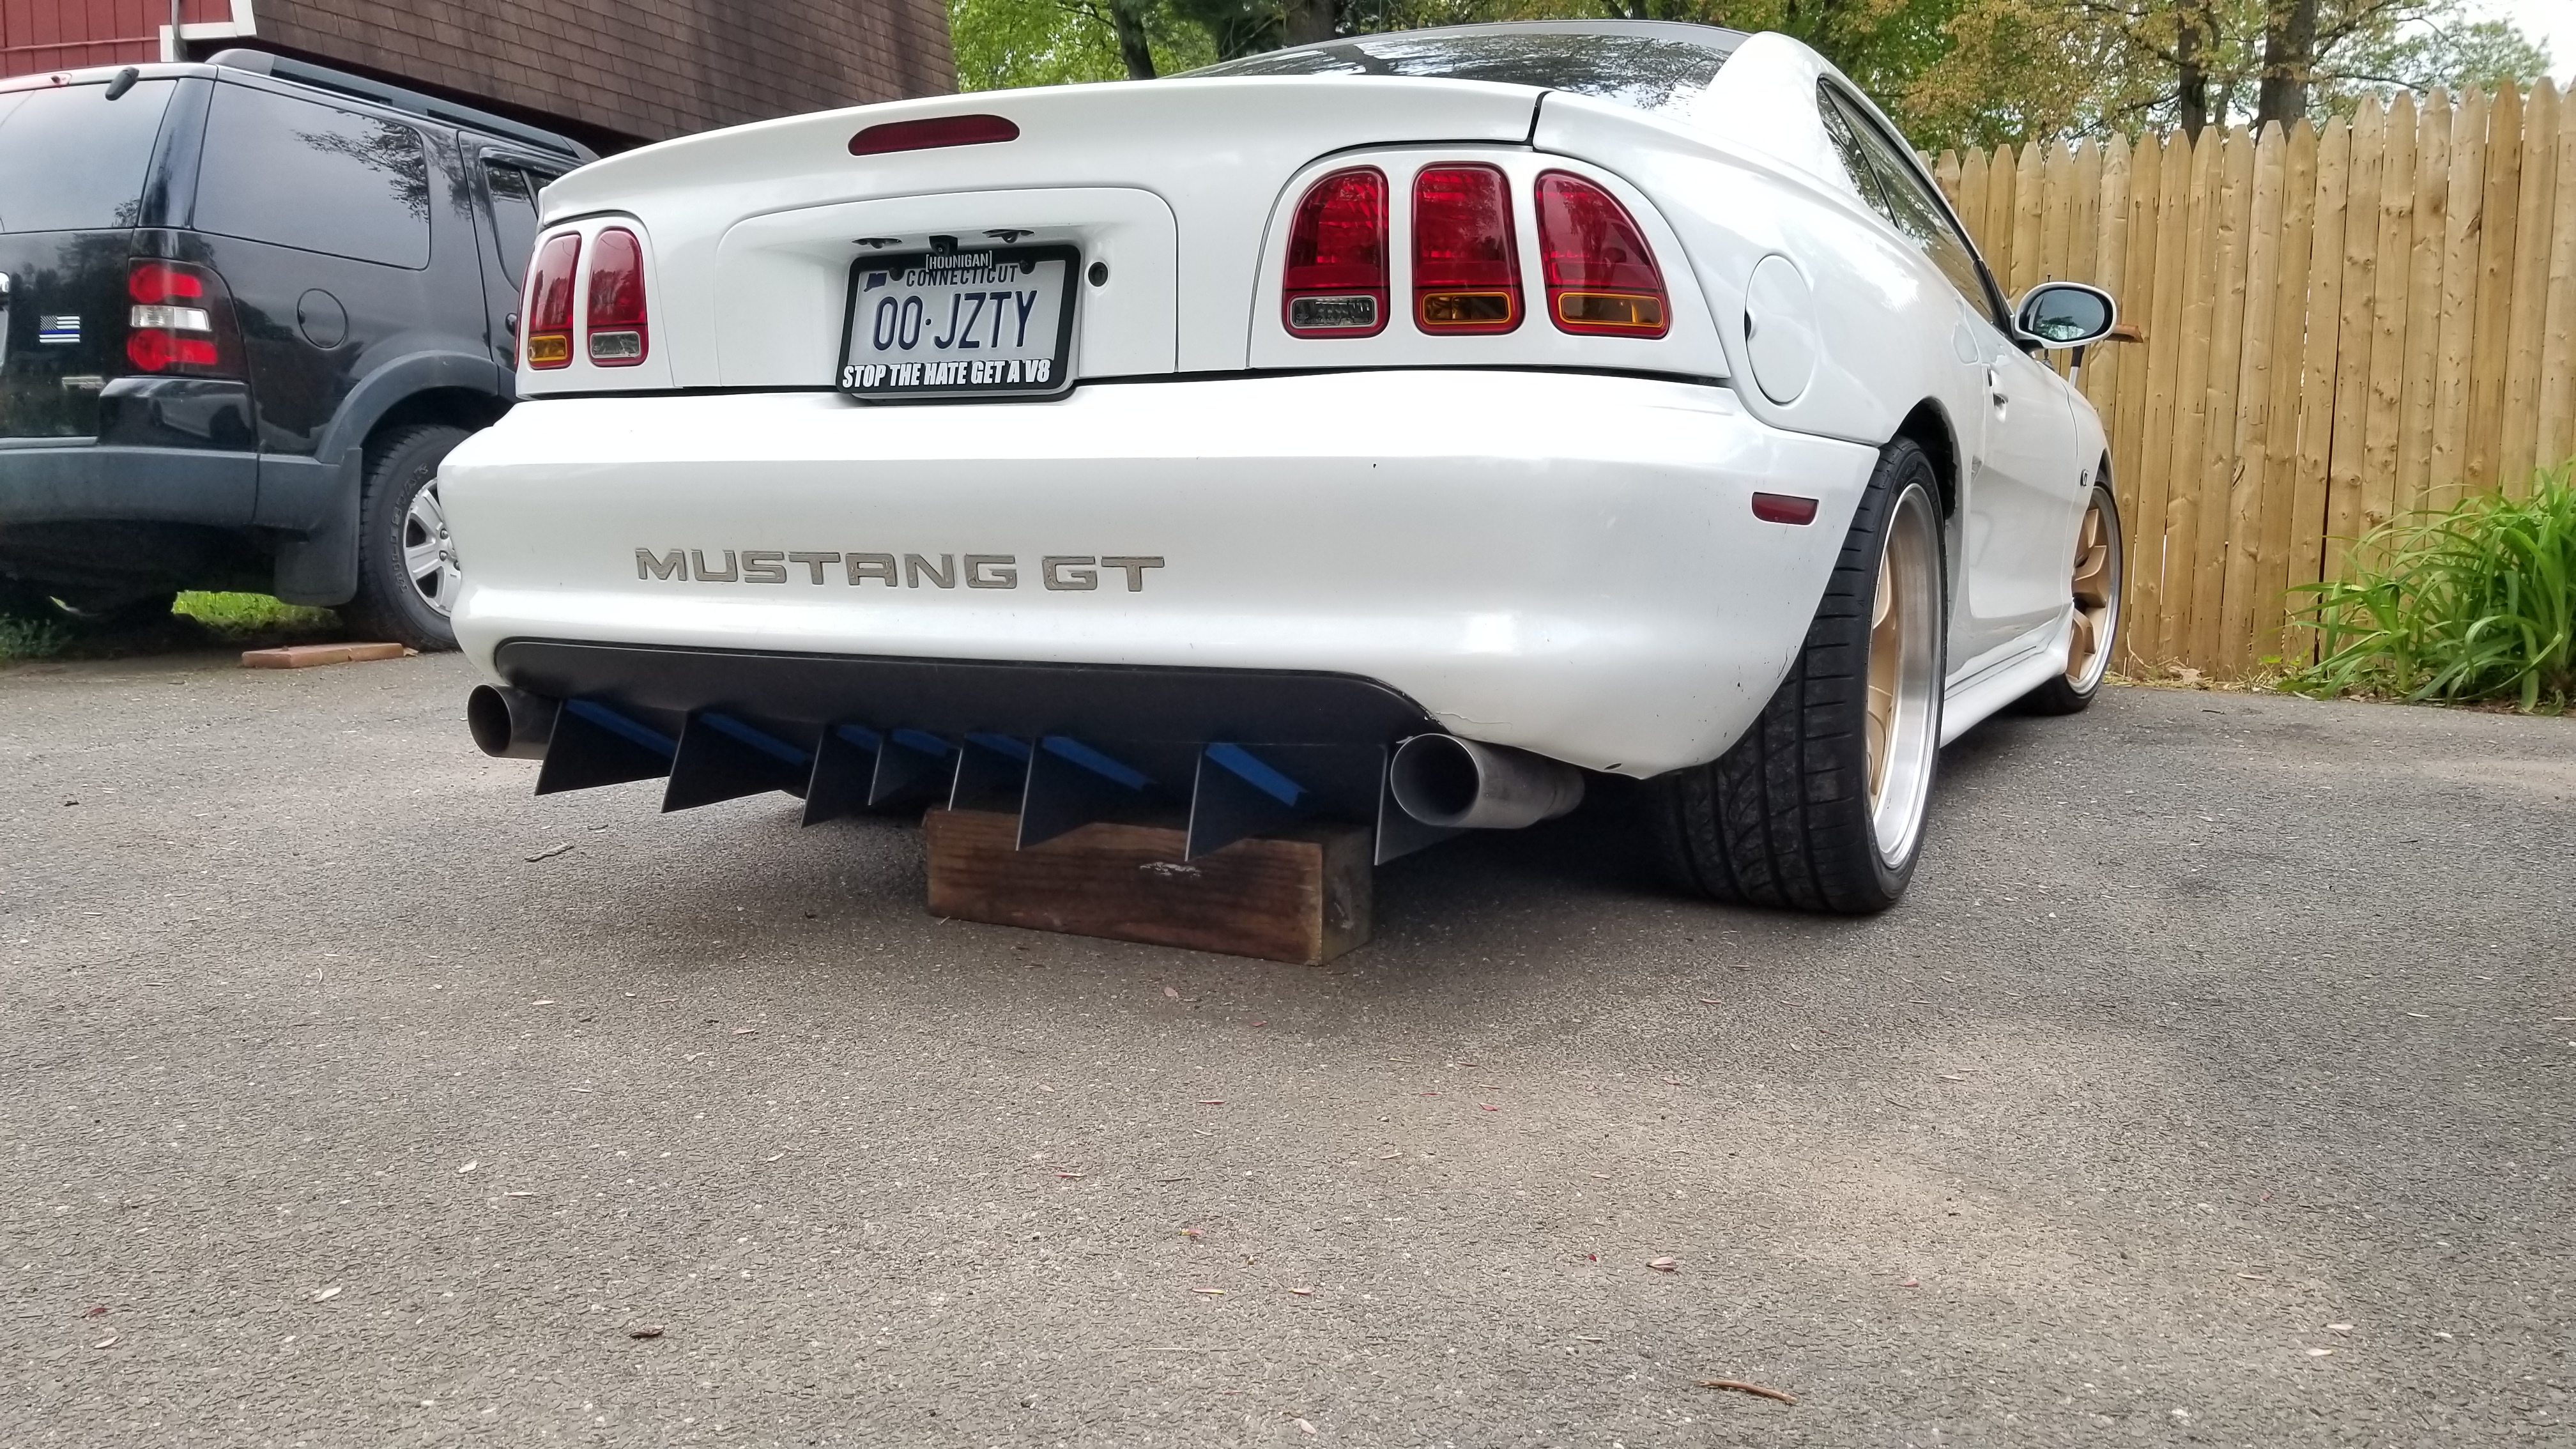
Taped up the fins and now its ready for its hopefully last test fit, just so I can confirm the spacing and fin size looks good.
g2mR3x5.jpg

R6Vj8Xe.jpg

Test fit!
nQVqZL5.jpg

VyWMbdT.jpg

QRG6hXL.jpg

AB0Za88.jpg

0XUGt5w.jpg

OwmO1iL.jpg

68xQ6Mq.jpg

TUfmwcC.jpg

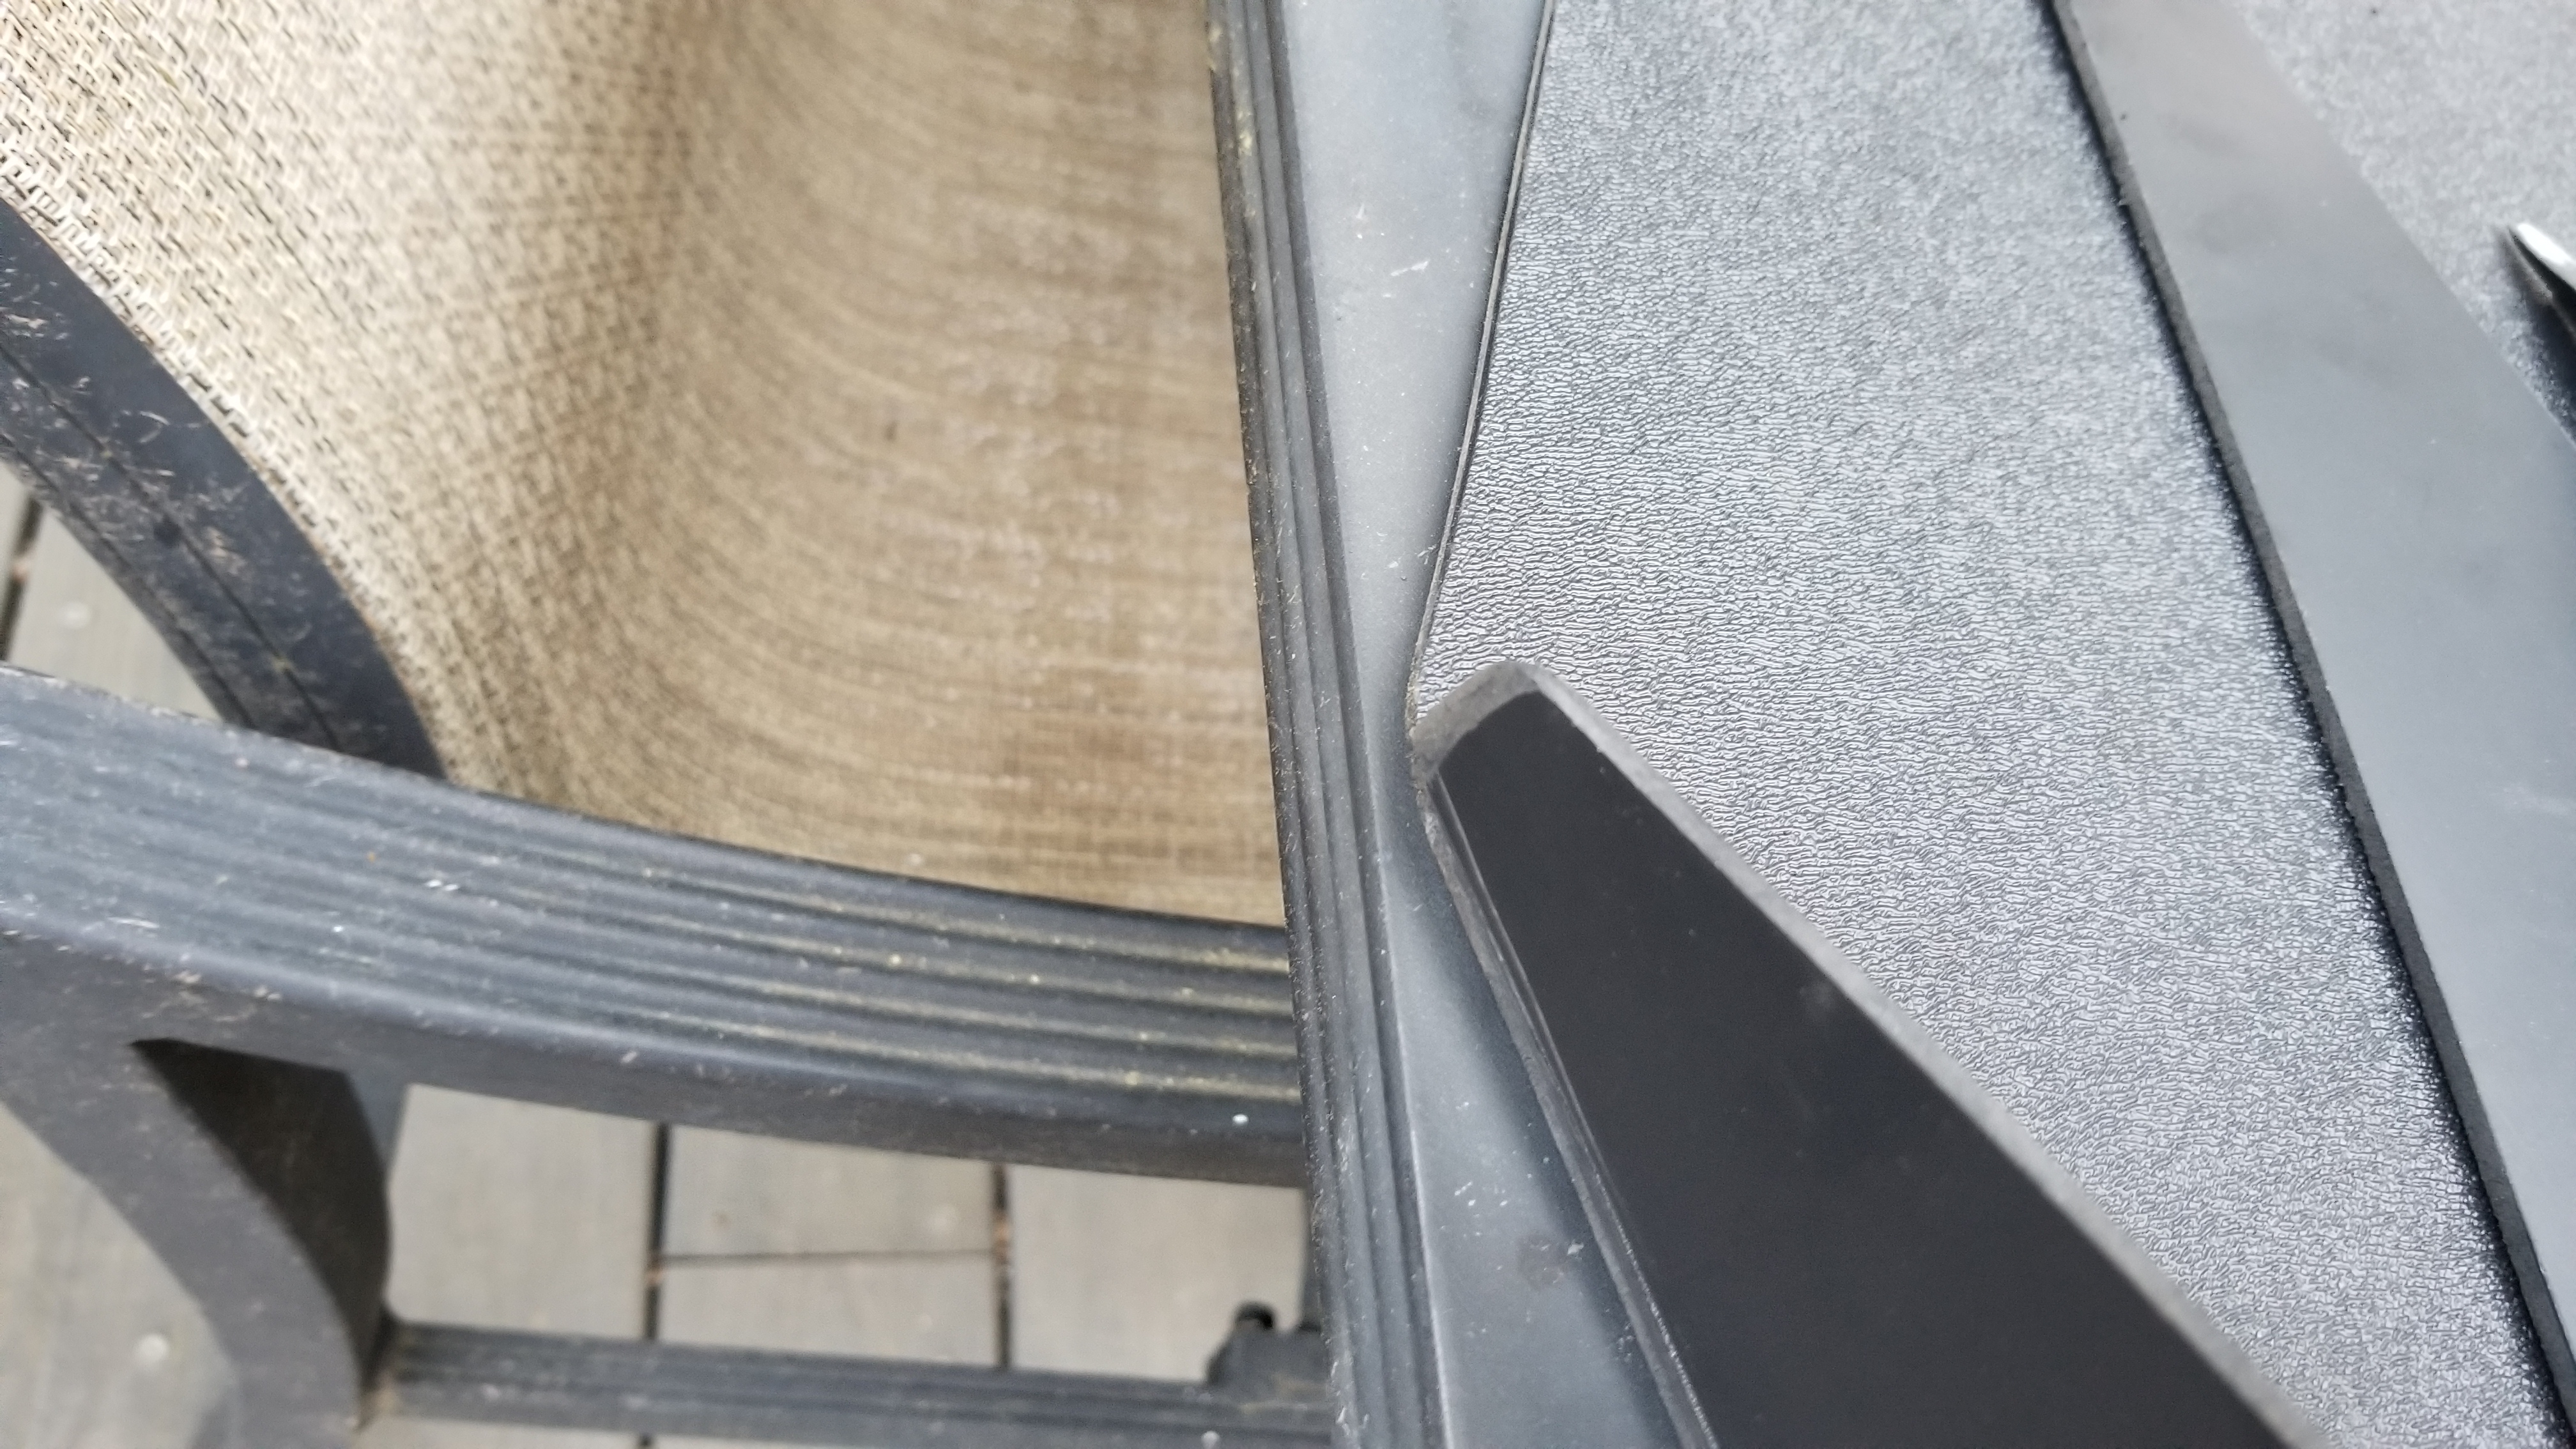
After being extremely pleased with the fin size and spacing, I went back and cut down the outer 2 fins that are now overhanging where the corners got trimmed down. and rounded the edges a bit to match up with the base as best as possible.
JOnrE7h.jpg

Rki6X83.jpg

I still am unsure if I want to leave the fins pointed as they are, or if I want to round them or even cut the corners off (maybe 1/2-3/4 inch) and then round them off...
But for now I am going to throw it together and get it on, and I can always unbolt them and modify them further.
 
OP
OP
FivepointSlow

FivepointSlow

Well-Known Member
Joined
Oct 22, 2013
Messages
2,646
Reaction score
60
Location
Enfield, CT, USA
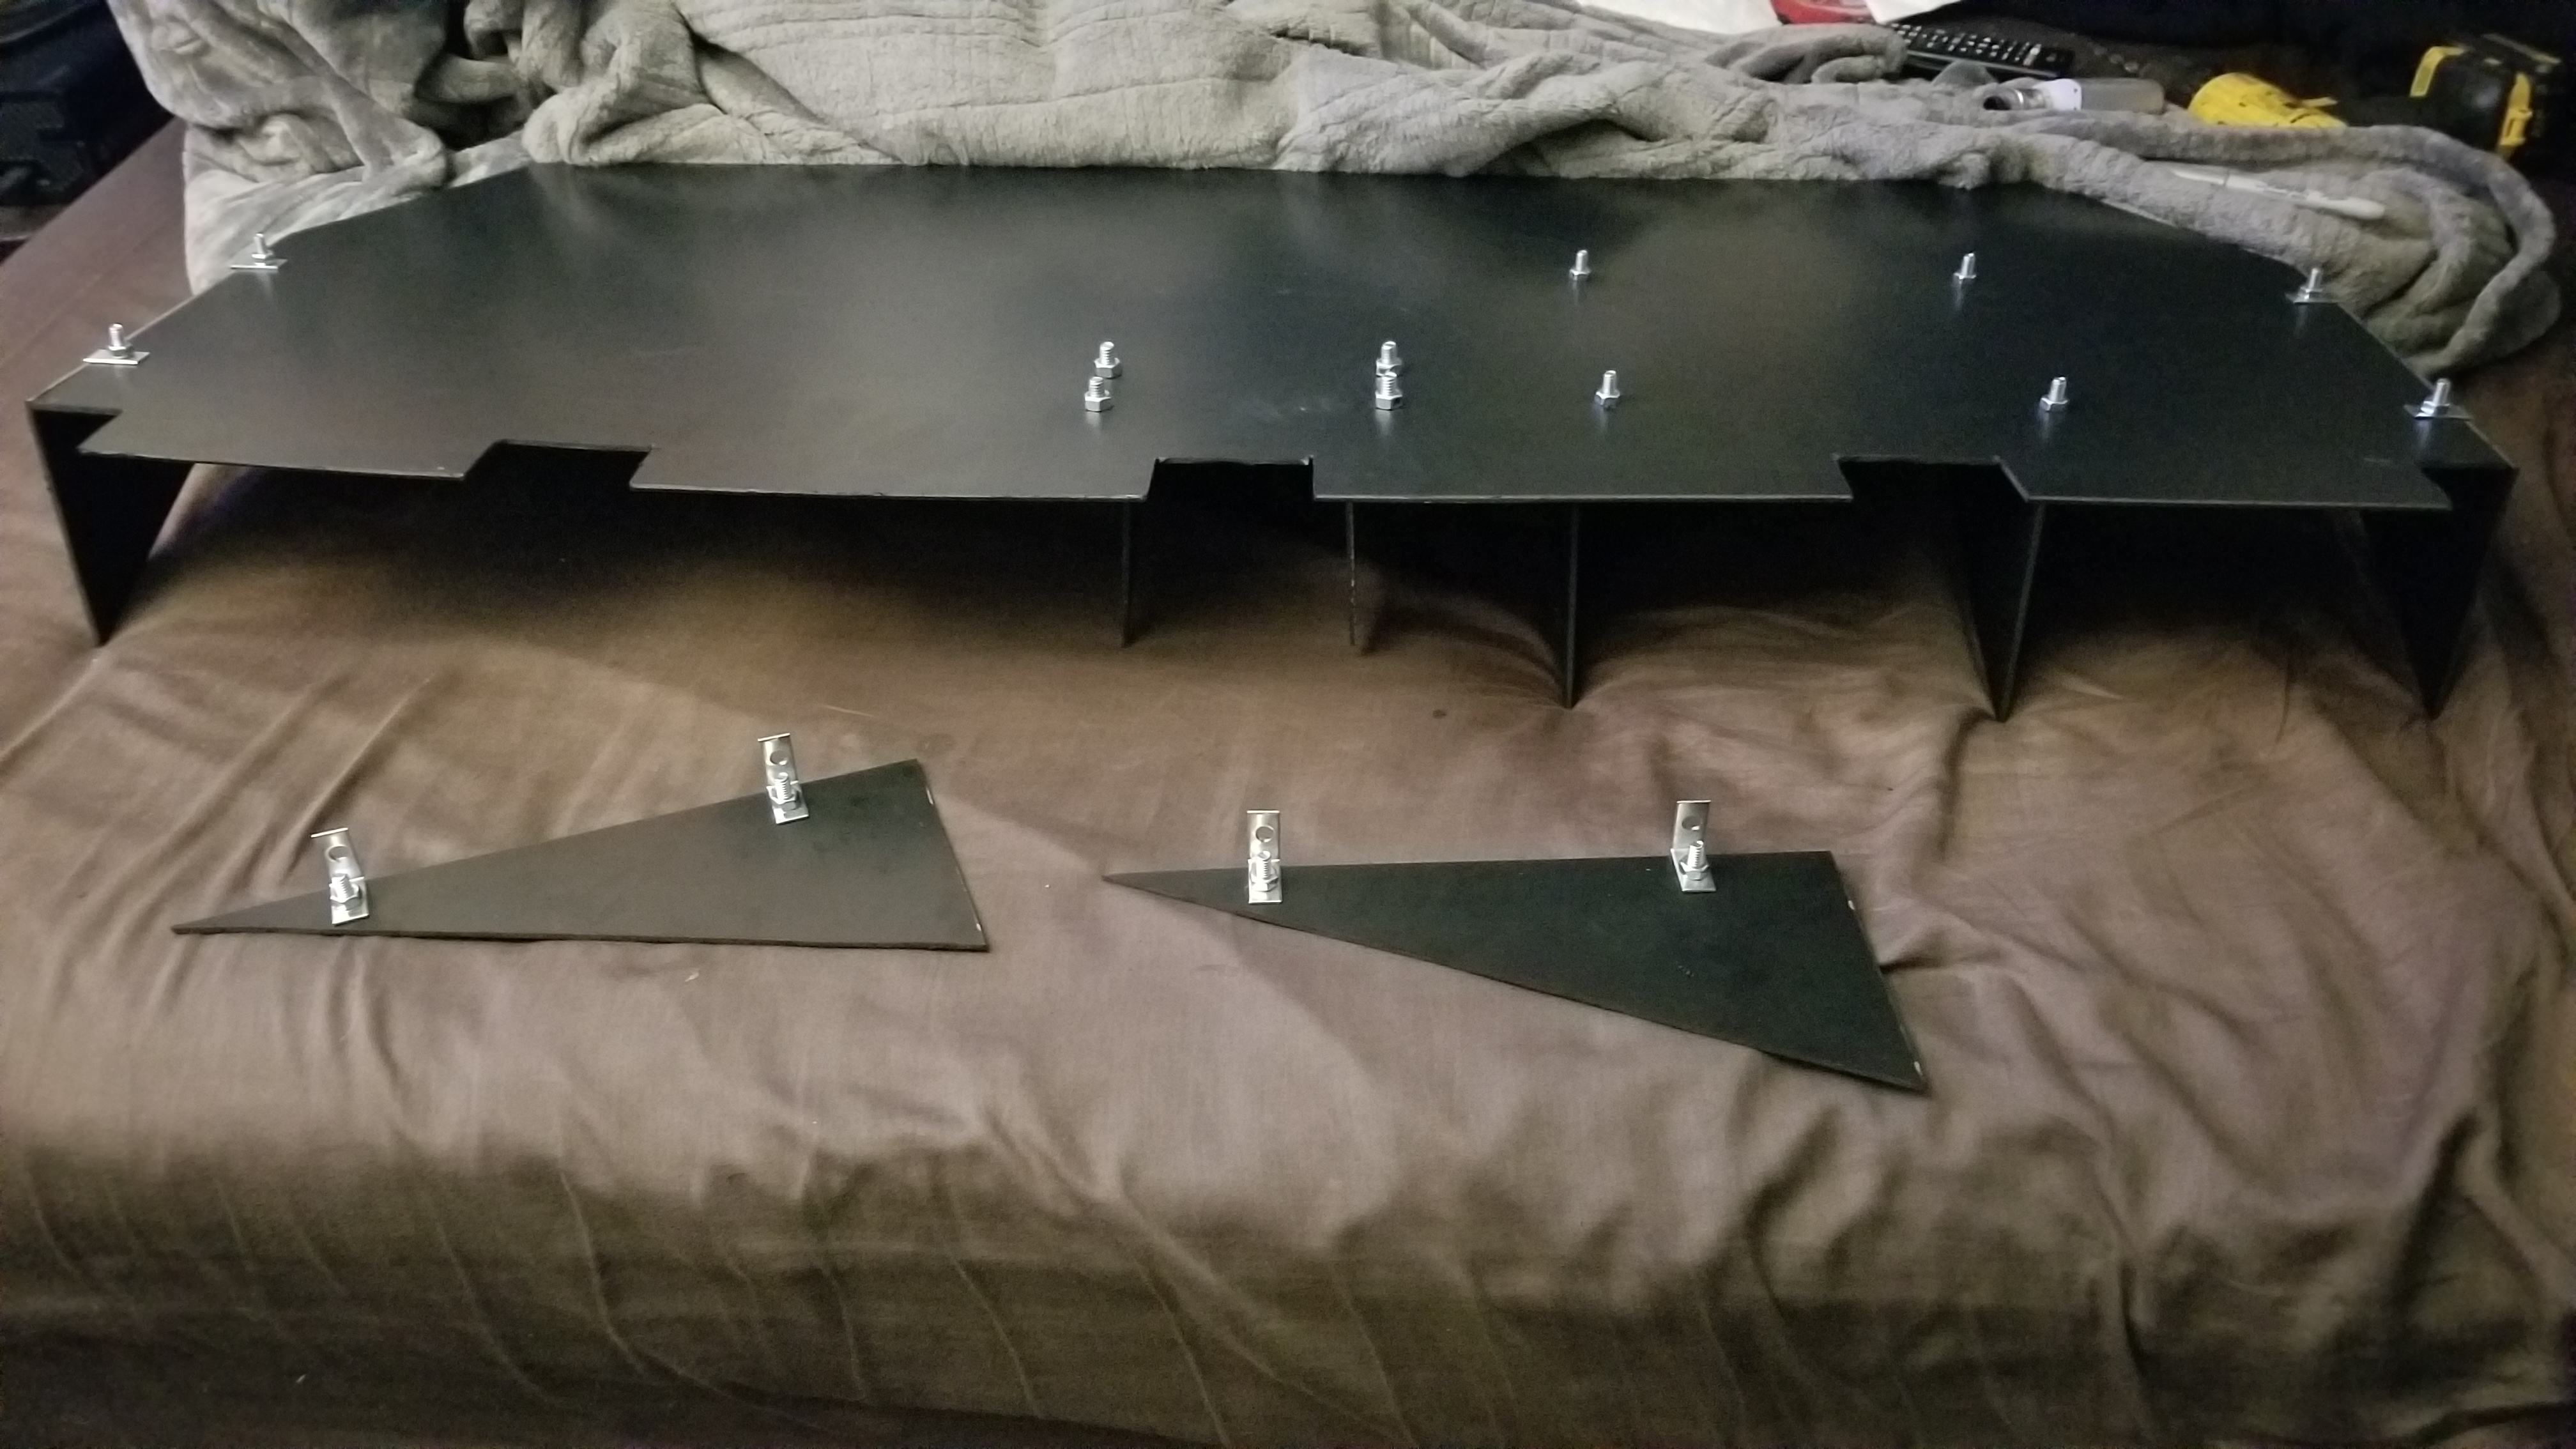
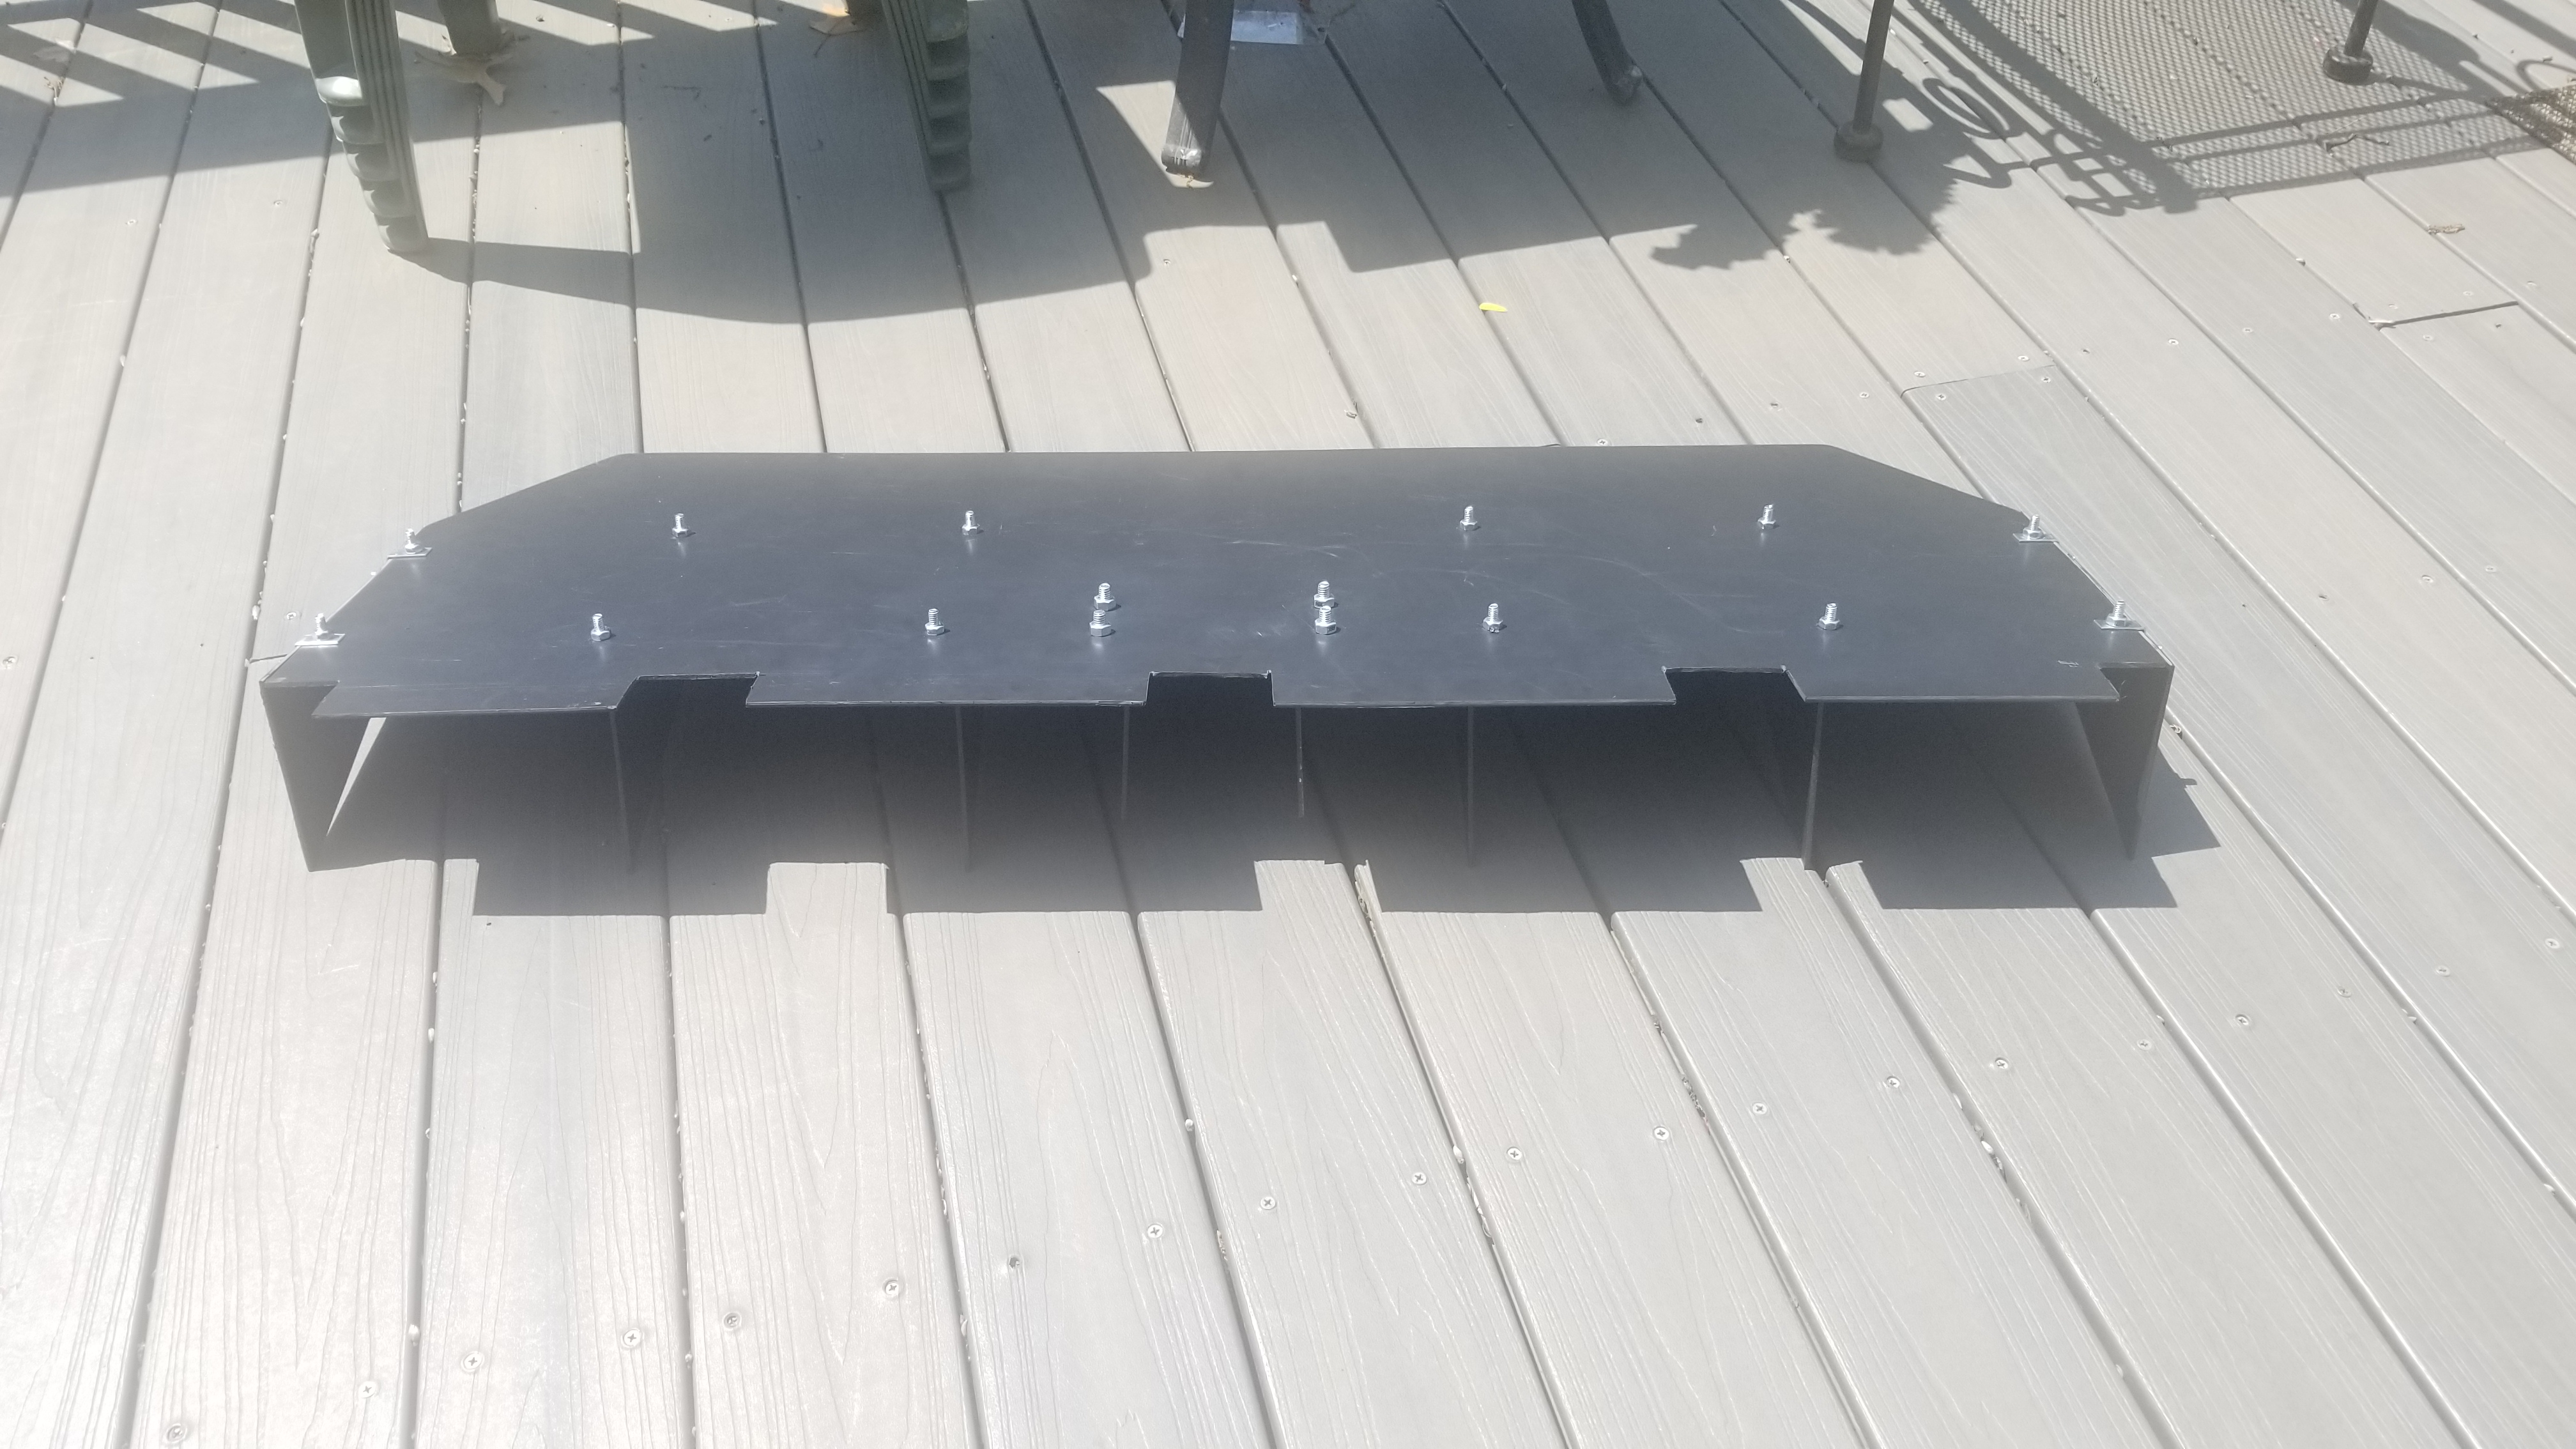
Stopping point for tonight until home depot opens and i can pickup 4 more bolts because i cant count and am short bolts...
I definitely plan to paint the hardware black too but its turning out great thus far
ad7UE7c.jpg

3IMVknz.jpg
 
OP
OP
FivepointSlow

FivepointSlow

Well-Known Member
Joined
Oct 22, 2013
Messages
2,646
Reaction score
60
Location
Enfield, CT, USA
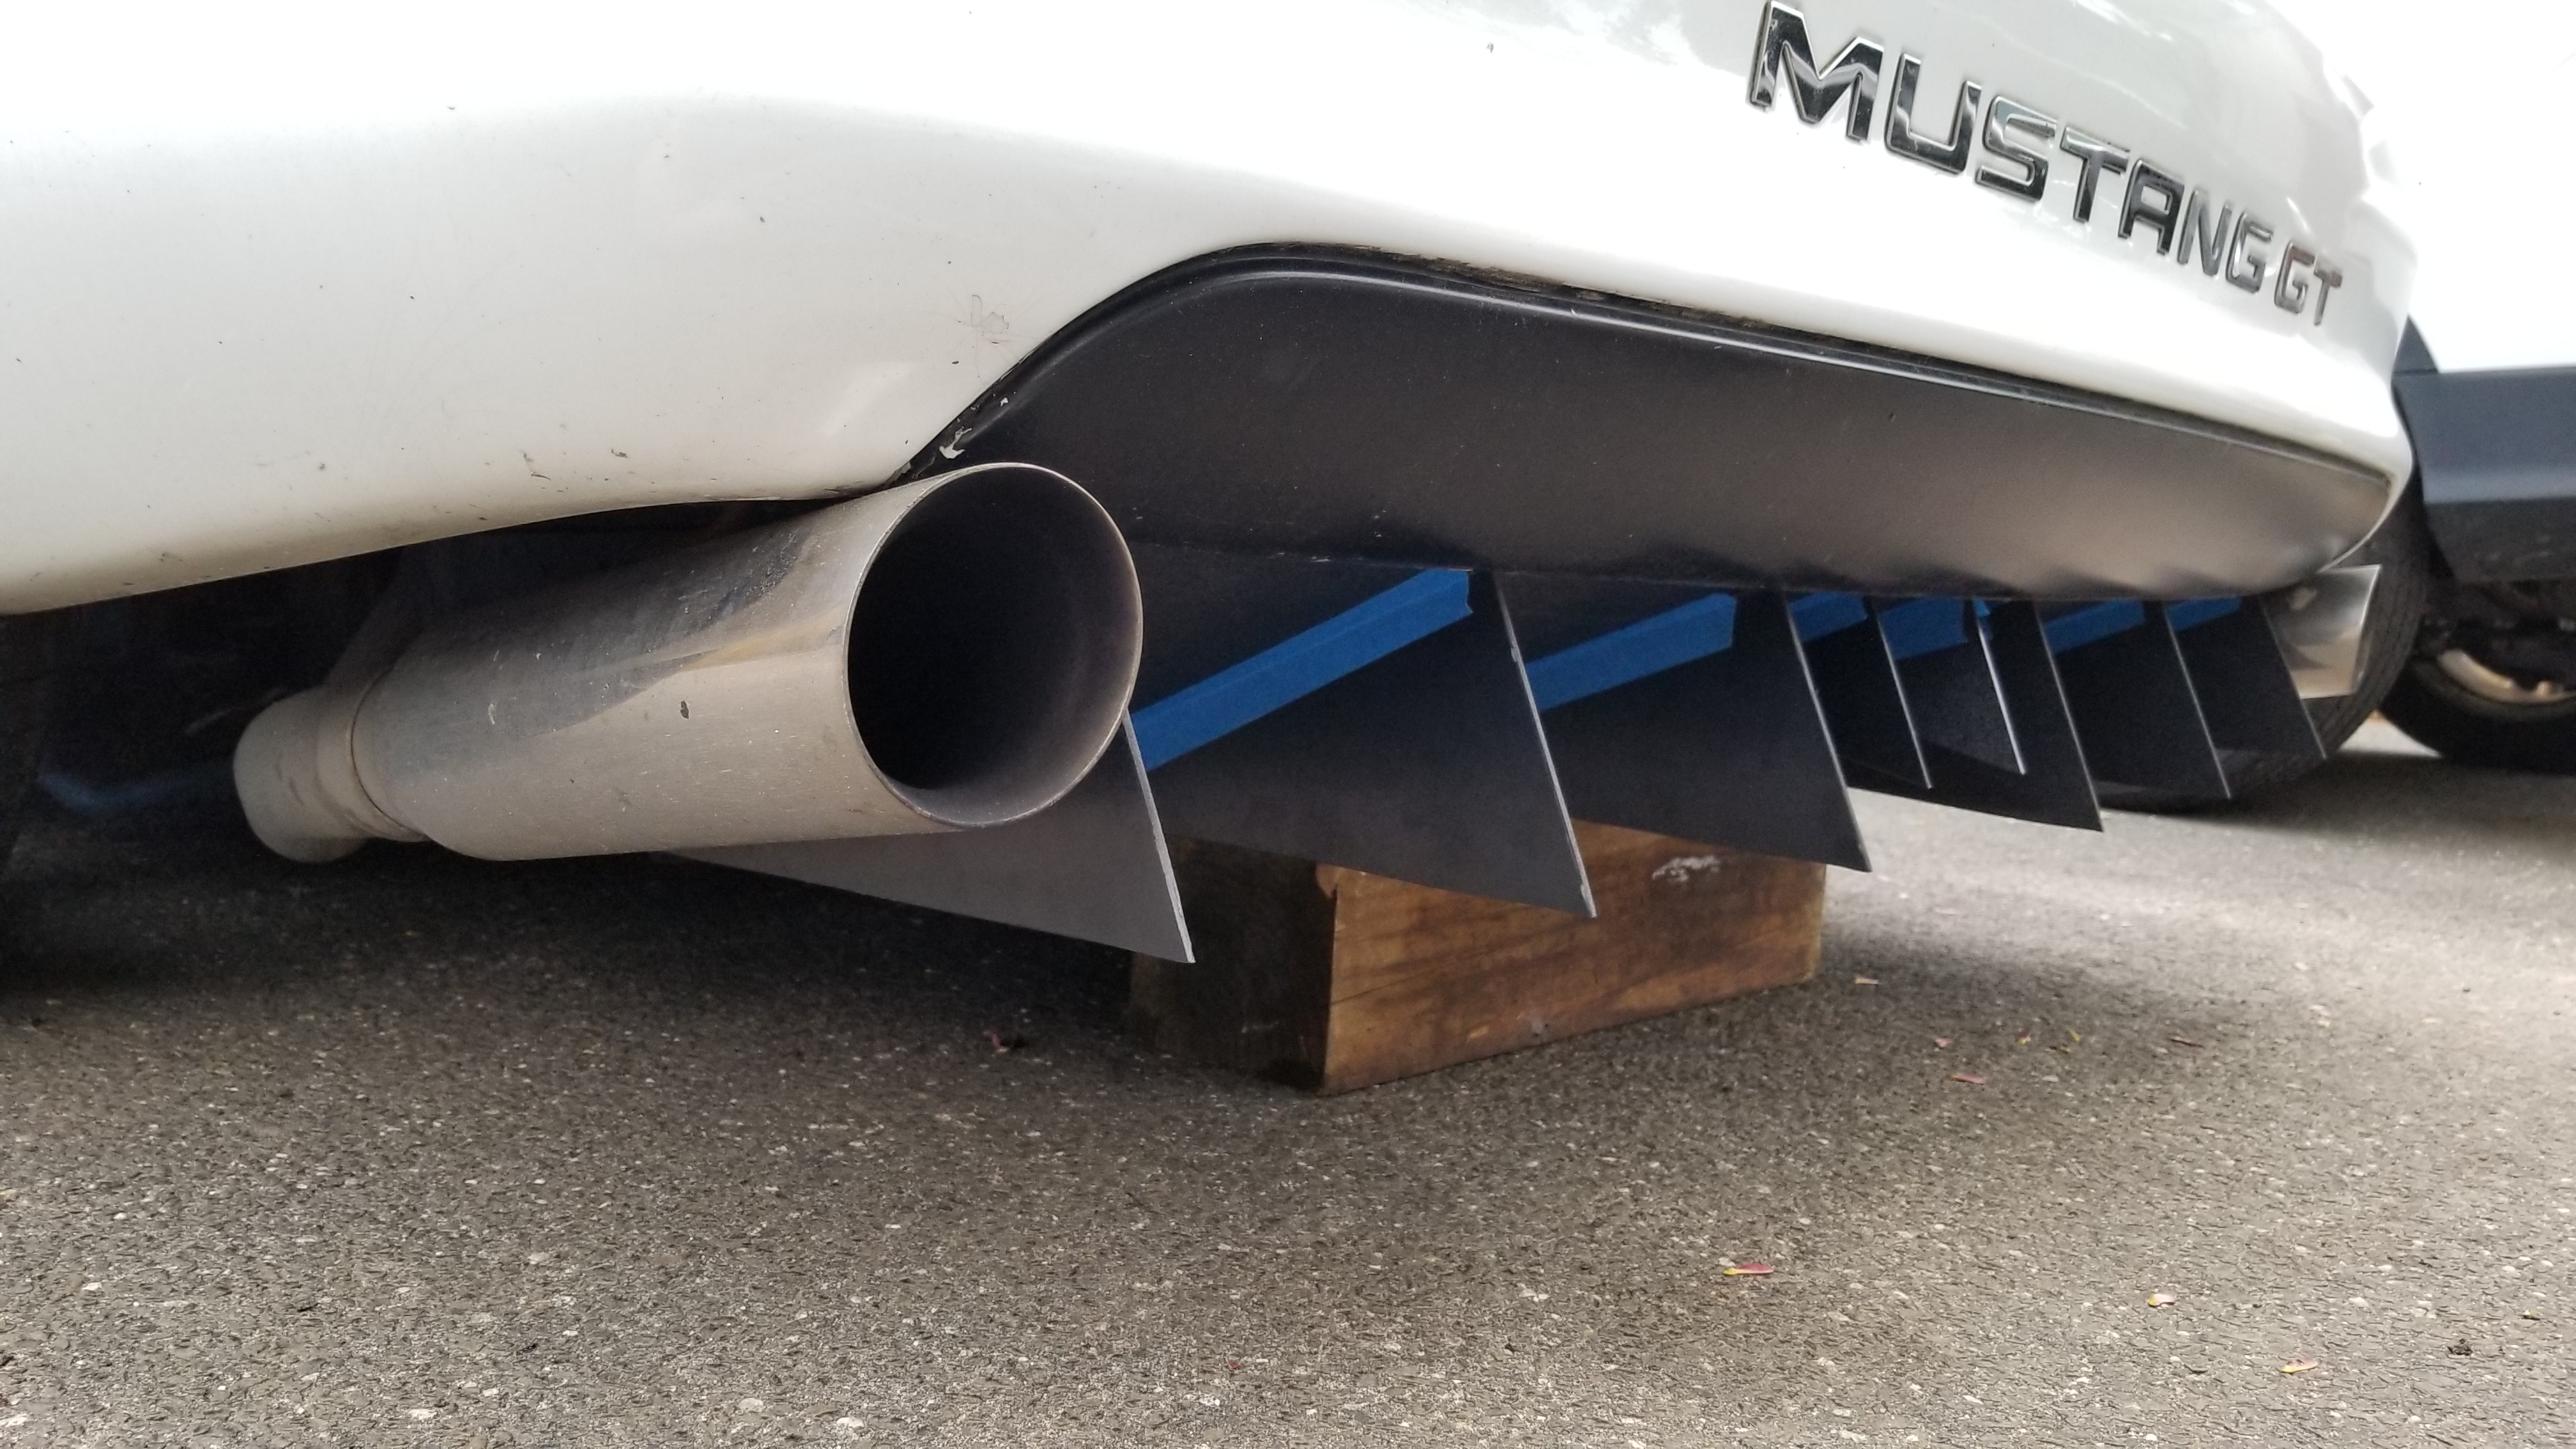
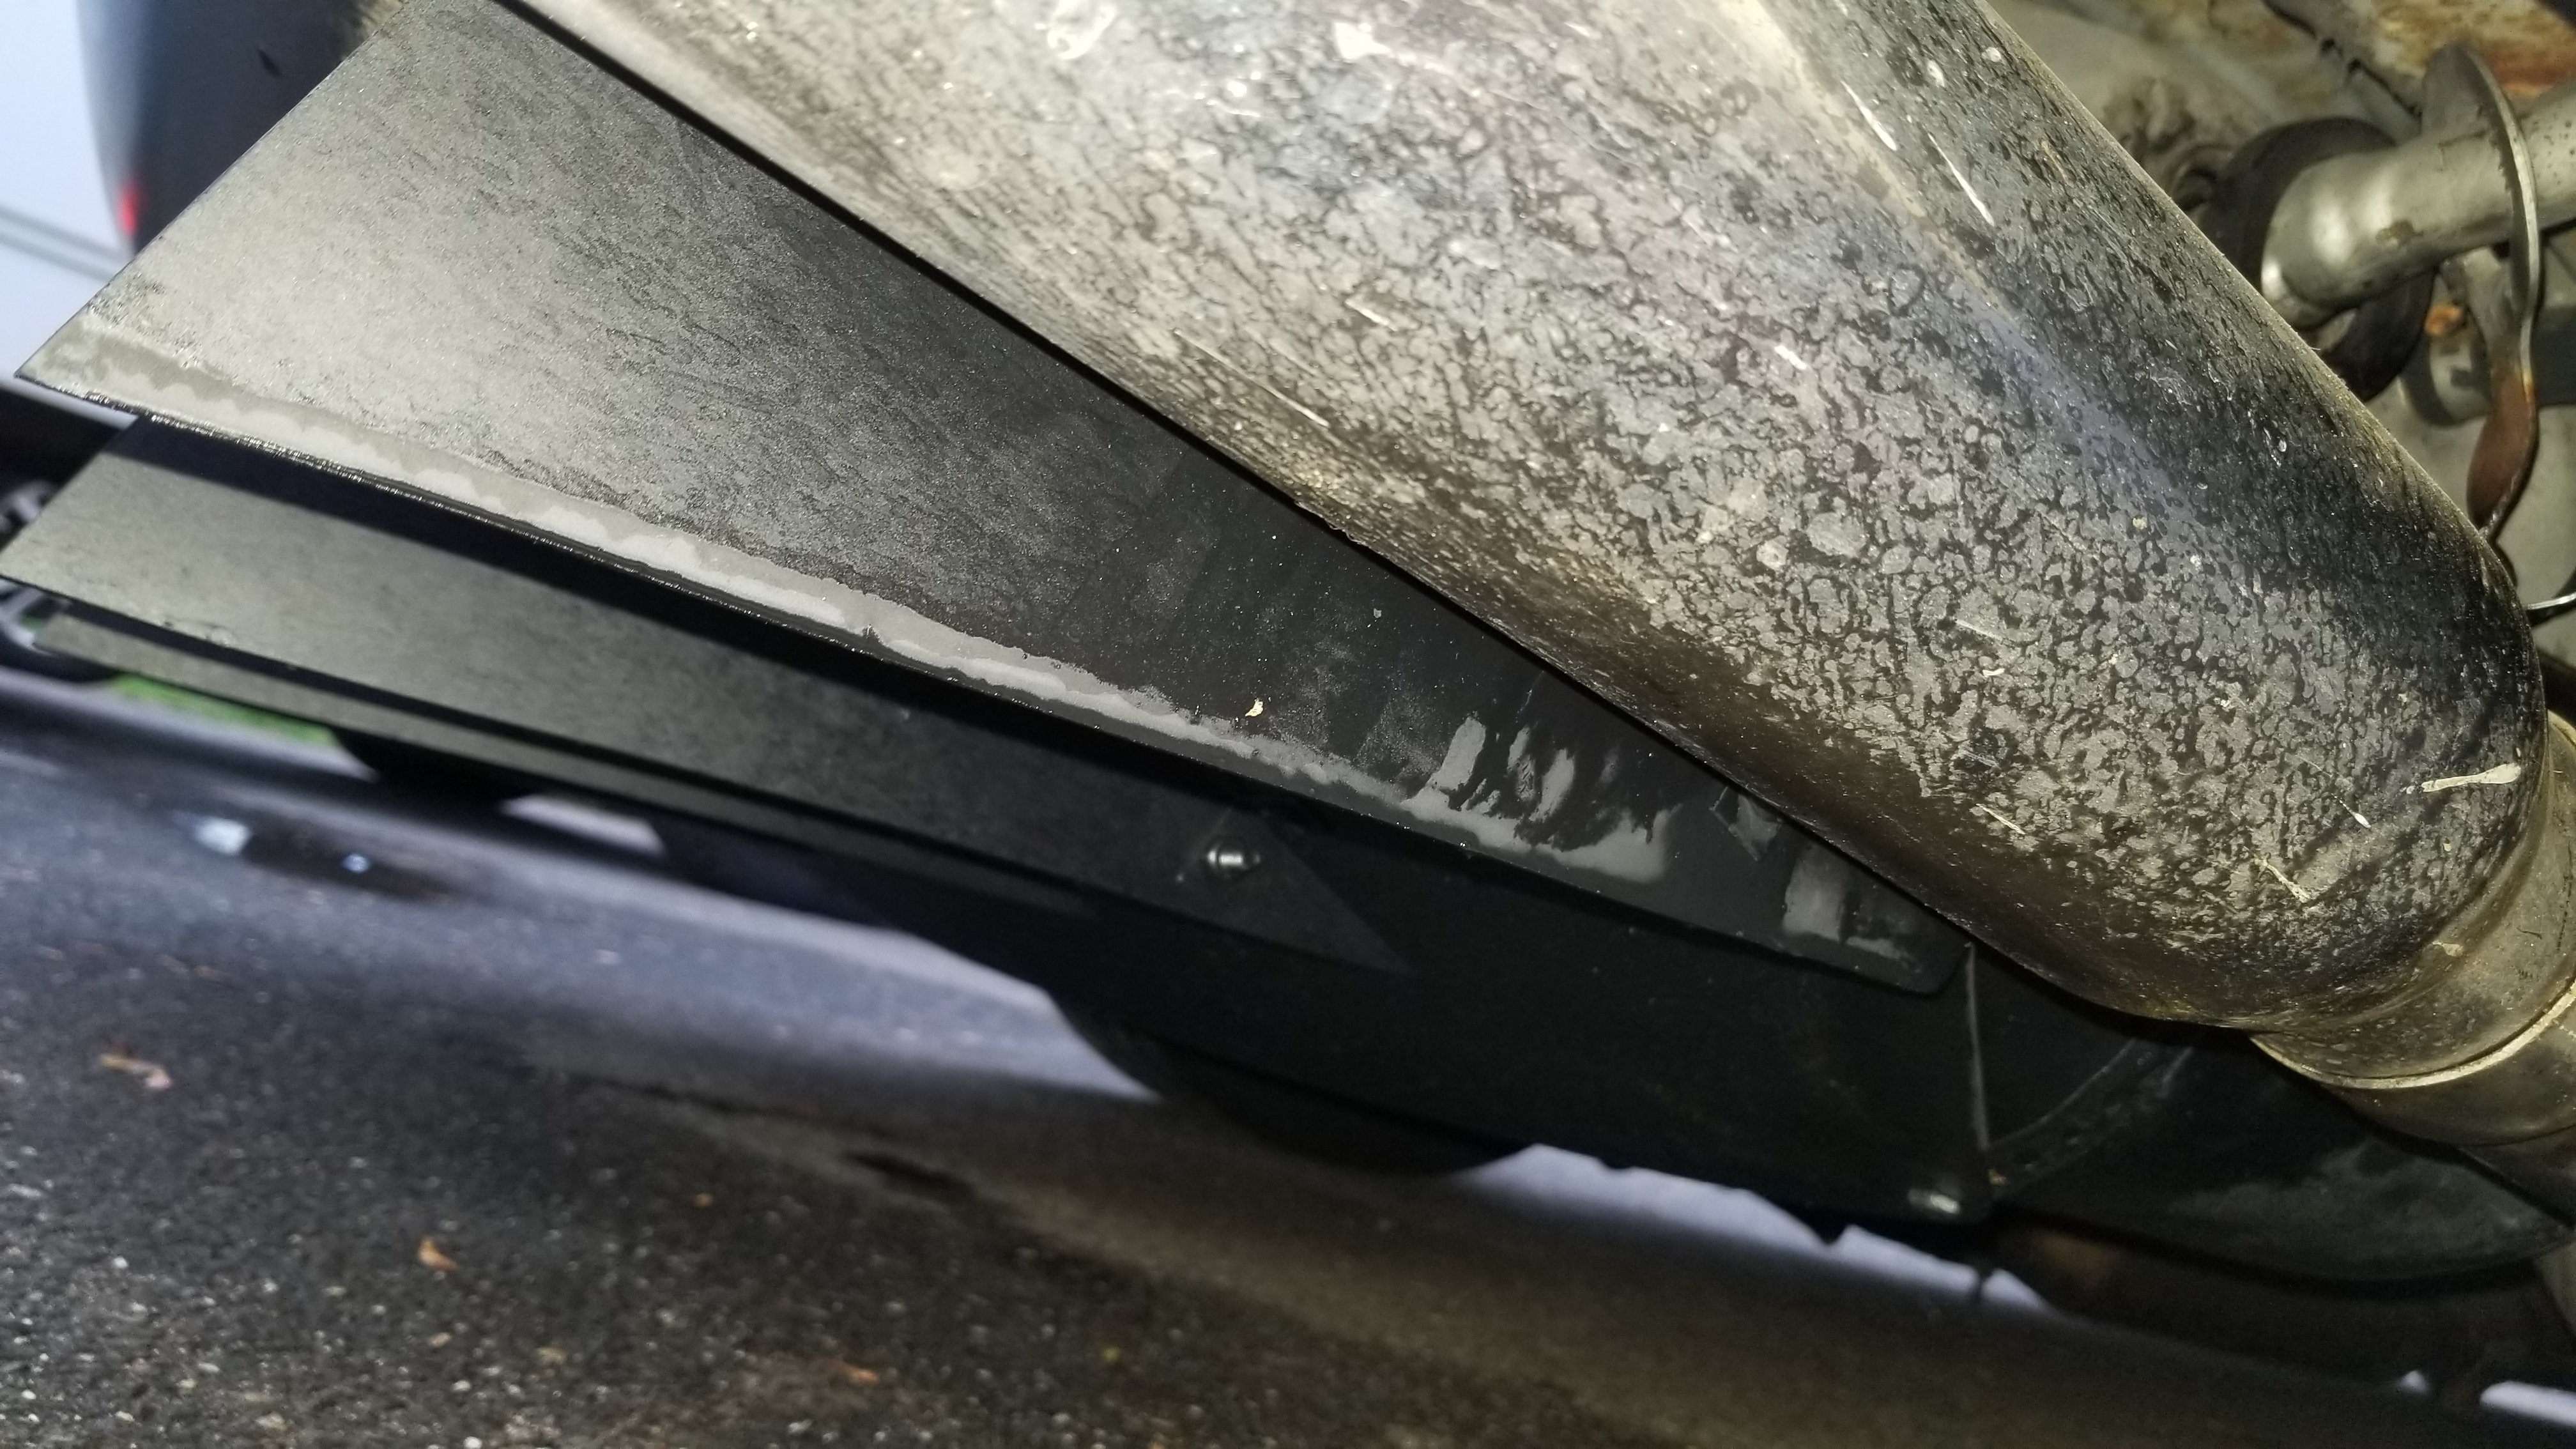
my only concern is abs right next to a hot exhaust tip could get ugly.
I have about 1/4" of clearance at the rear corners of the diffuser and about 3/4" along the sides. My only concern is going to be the back corners, but I am going to be playing with the tips shortly to get them to sit a little bit lower because currently they are jammed up into the rear bumper. So that will help space it out a bit more. That being said the tips being jammed up against the rear bumper hasnt seemed to done any serious damage to it. Other than being indented the bumper hasnt melted or anything so I don't think the exhaust tips get too too hot. We will see. This is a first for me so we'll see and I'll learn. I wanted ABS to give me flex without bending and creasing like metal would.

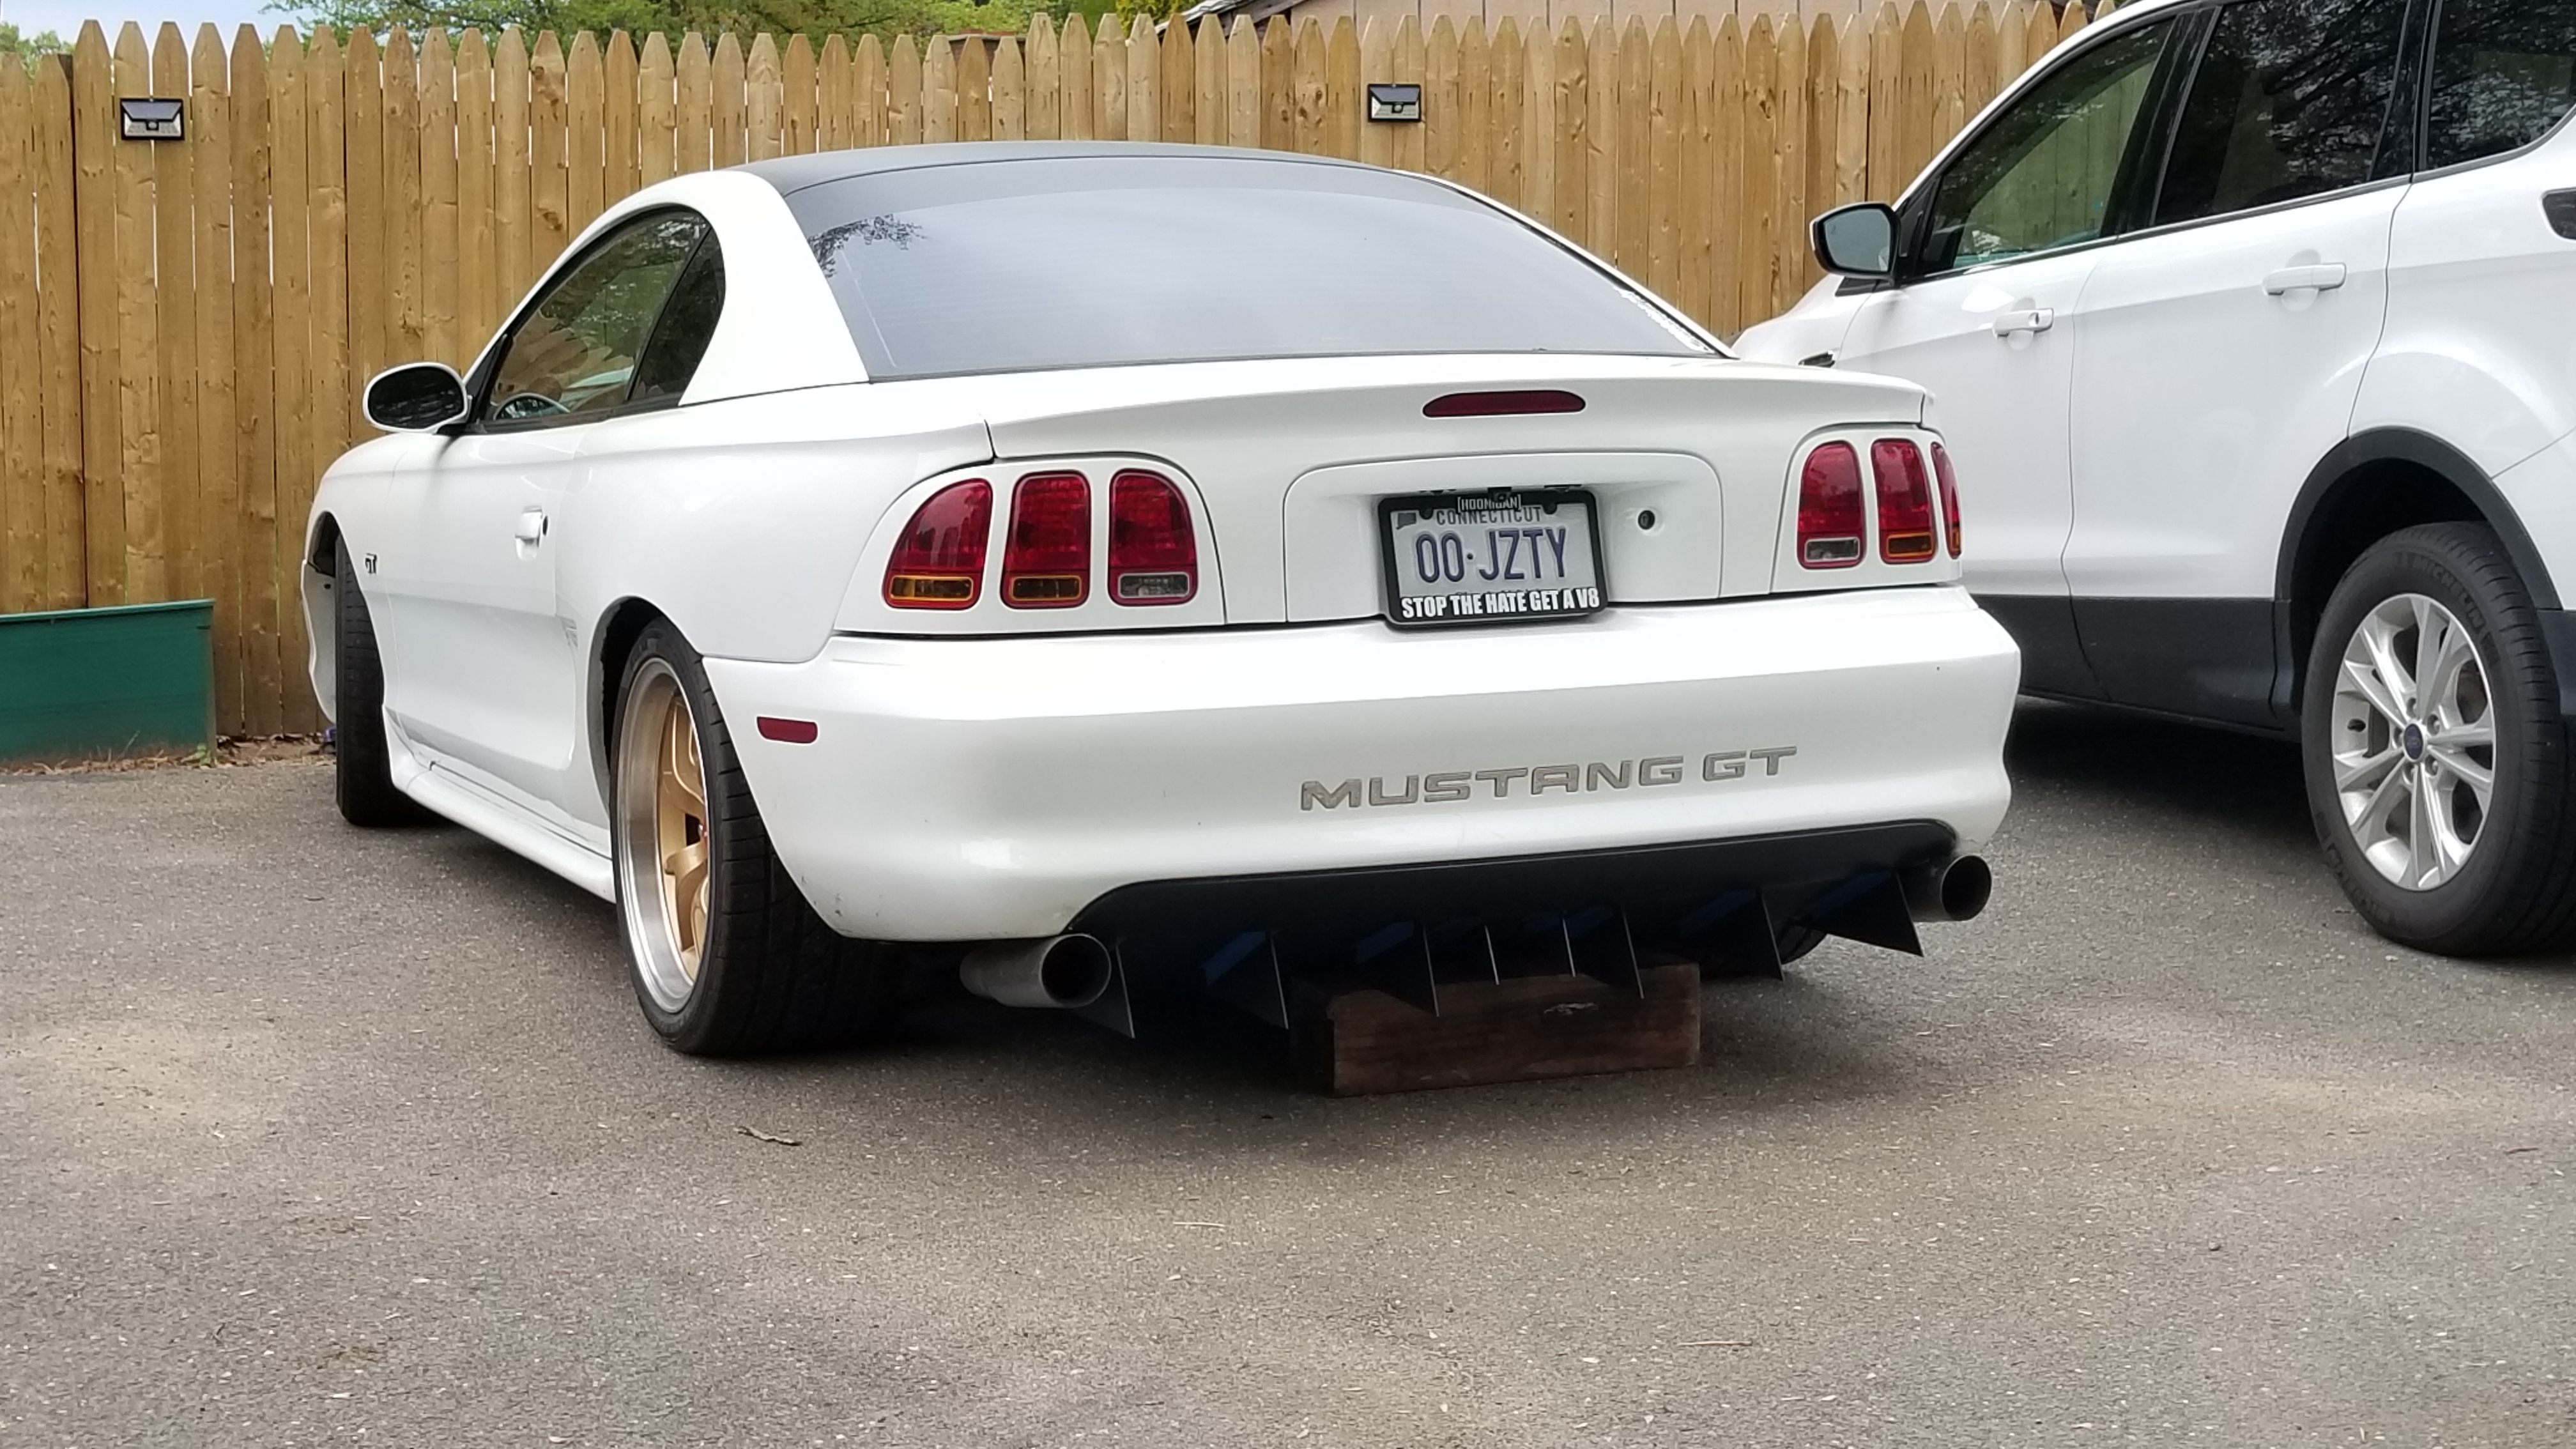
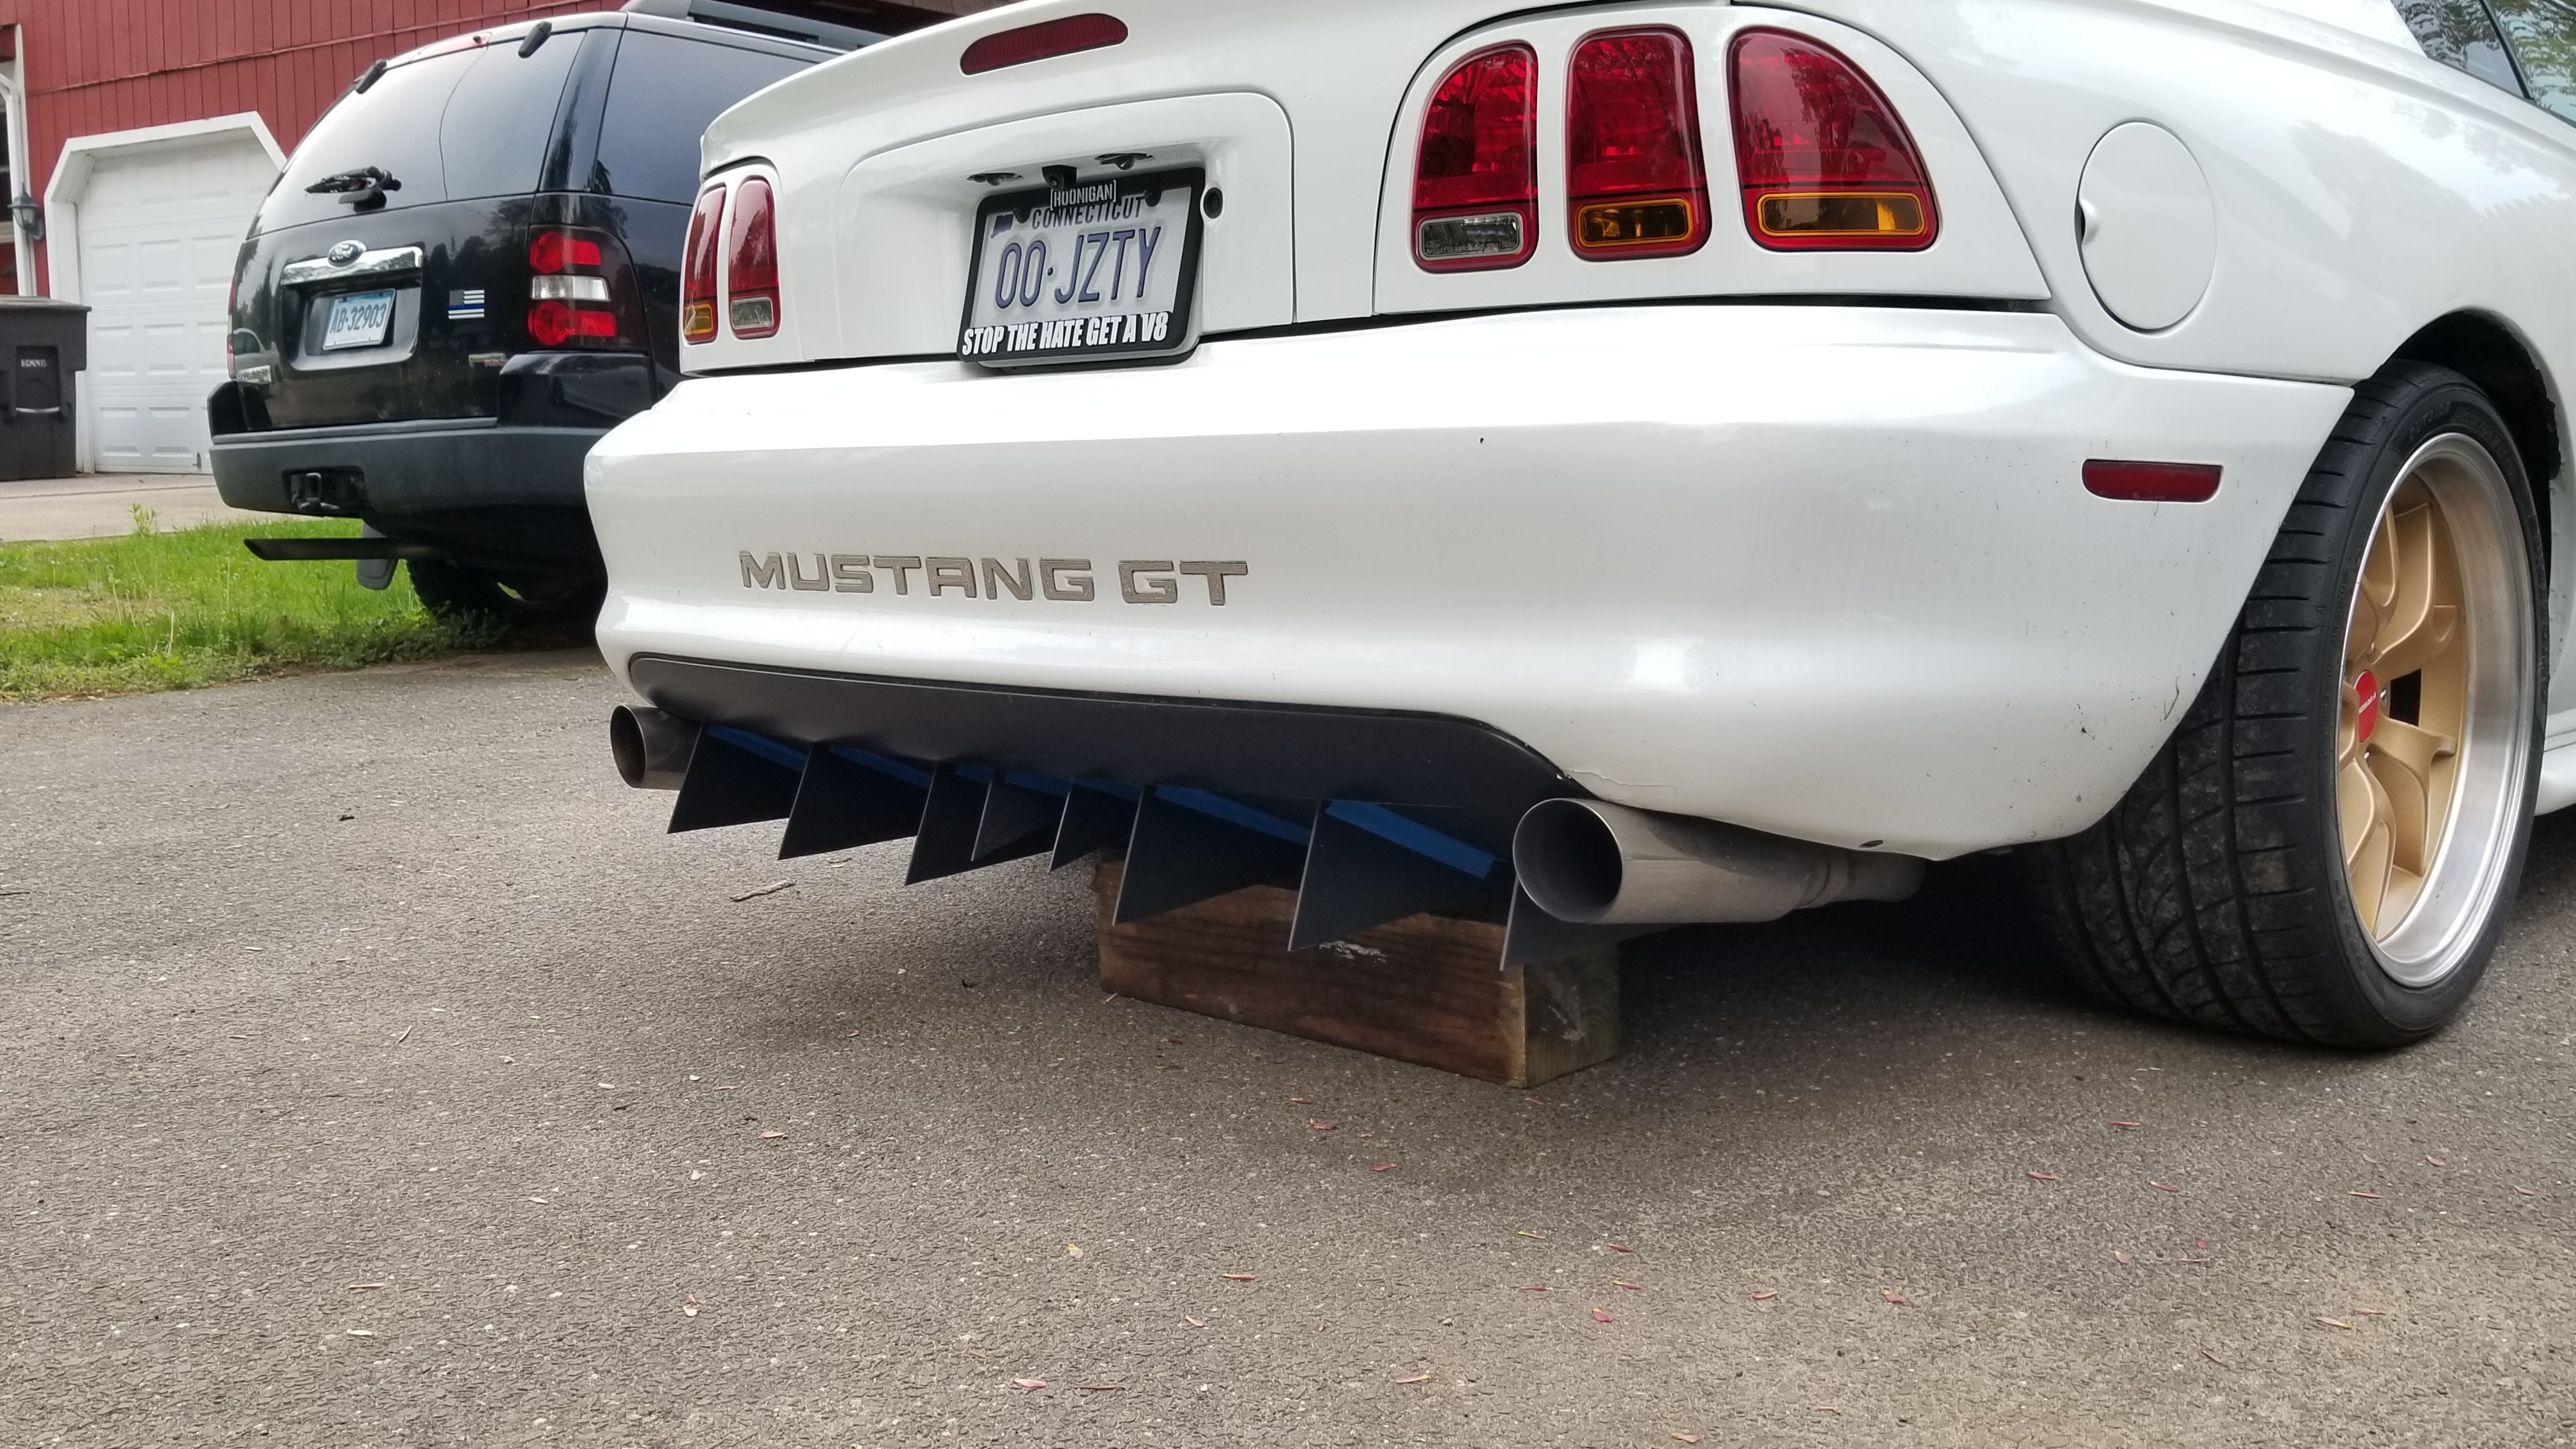
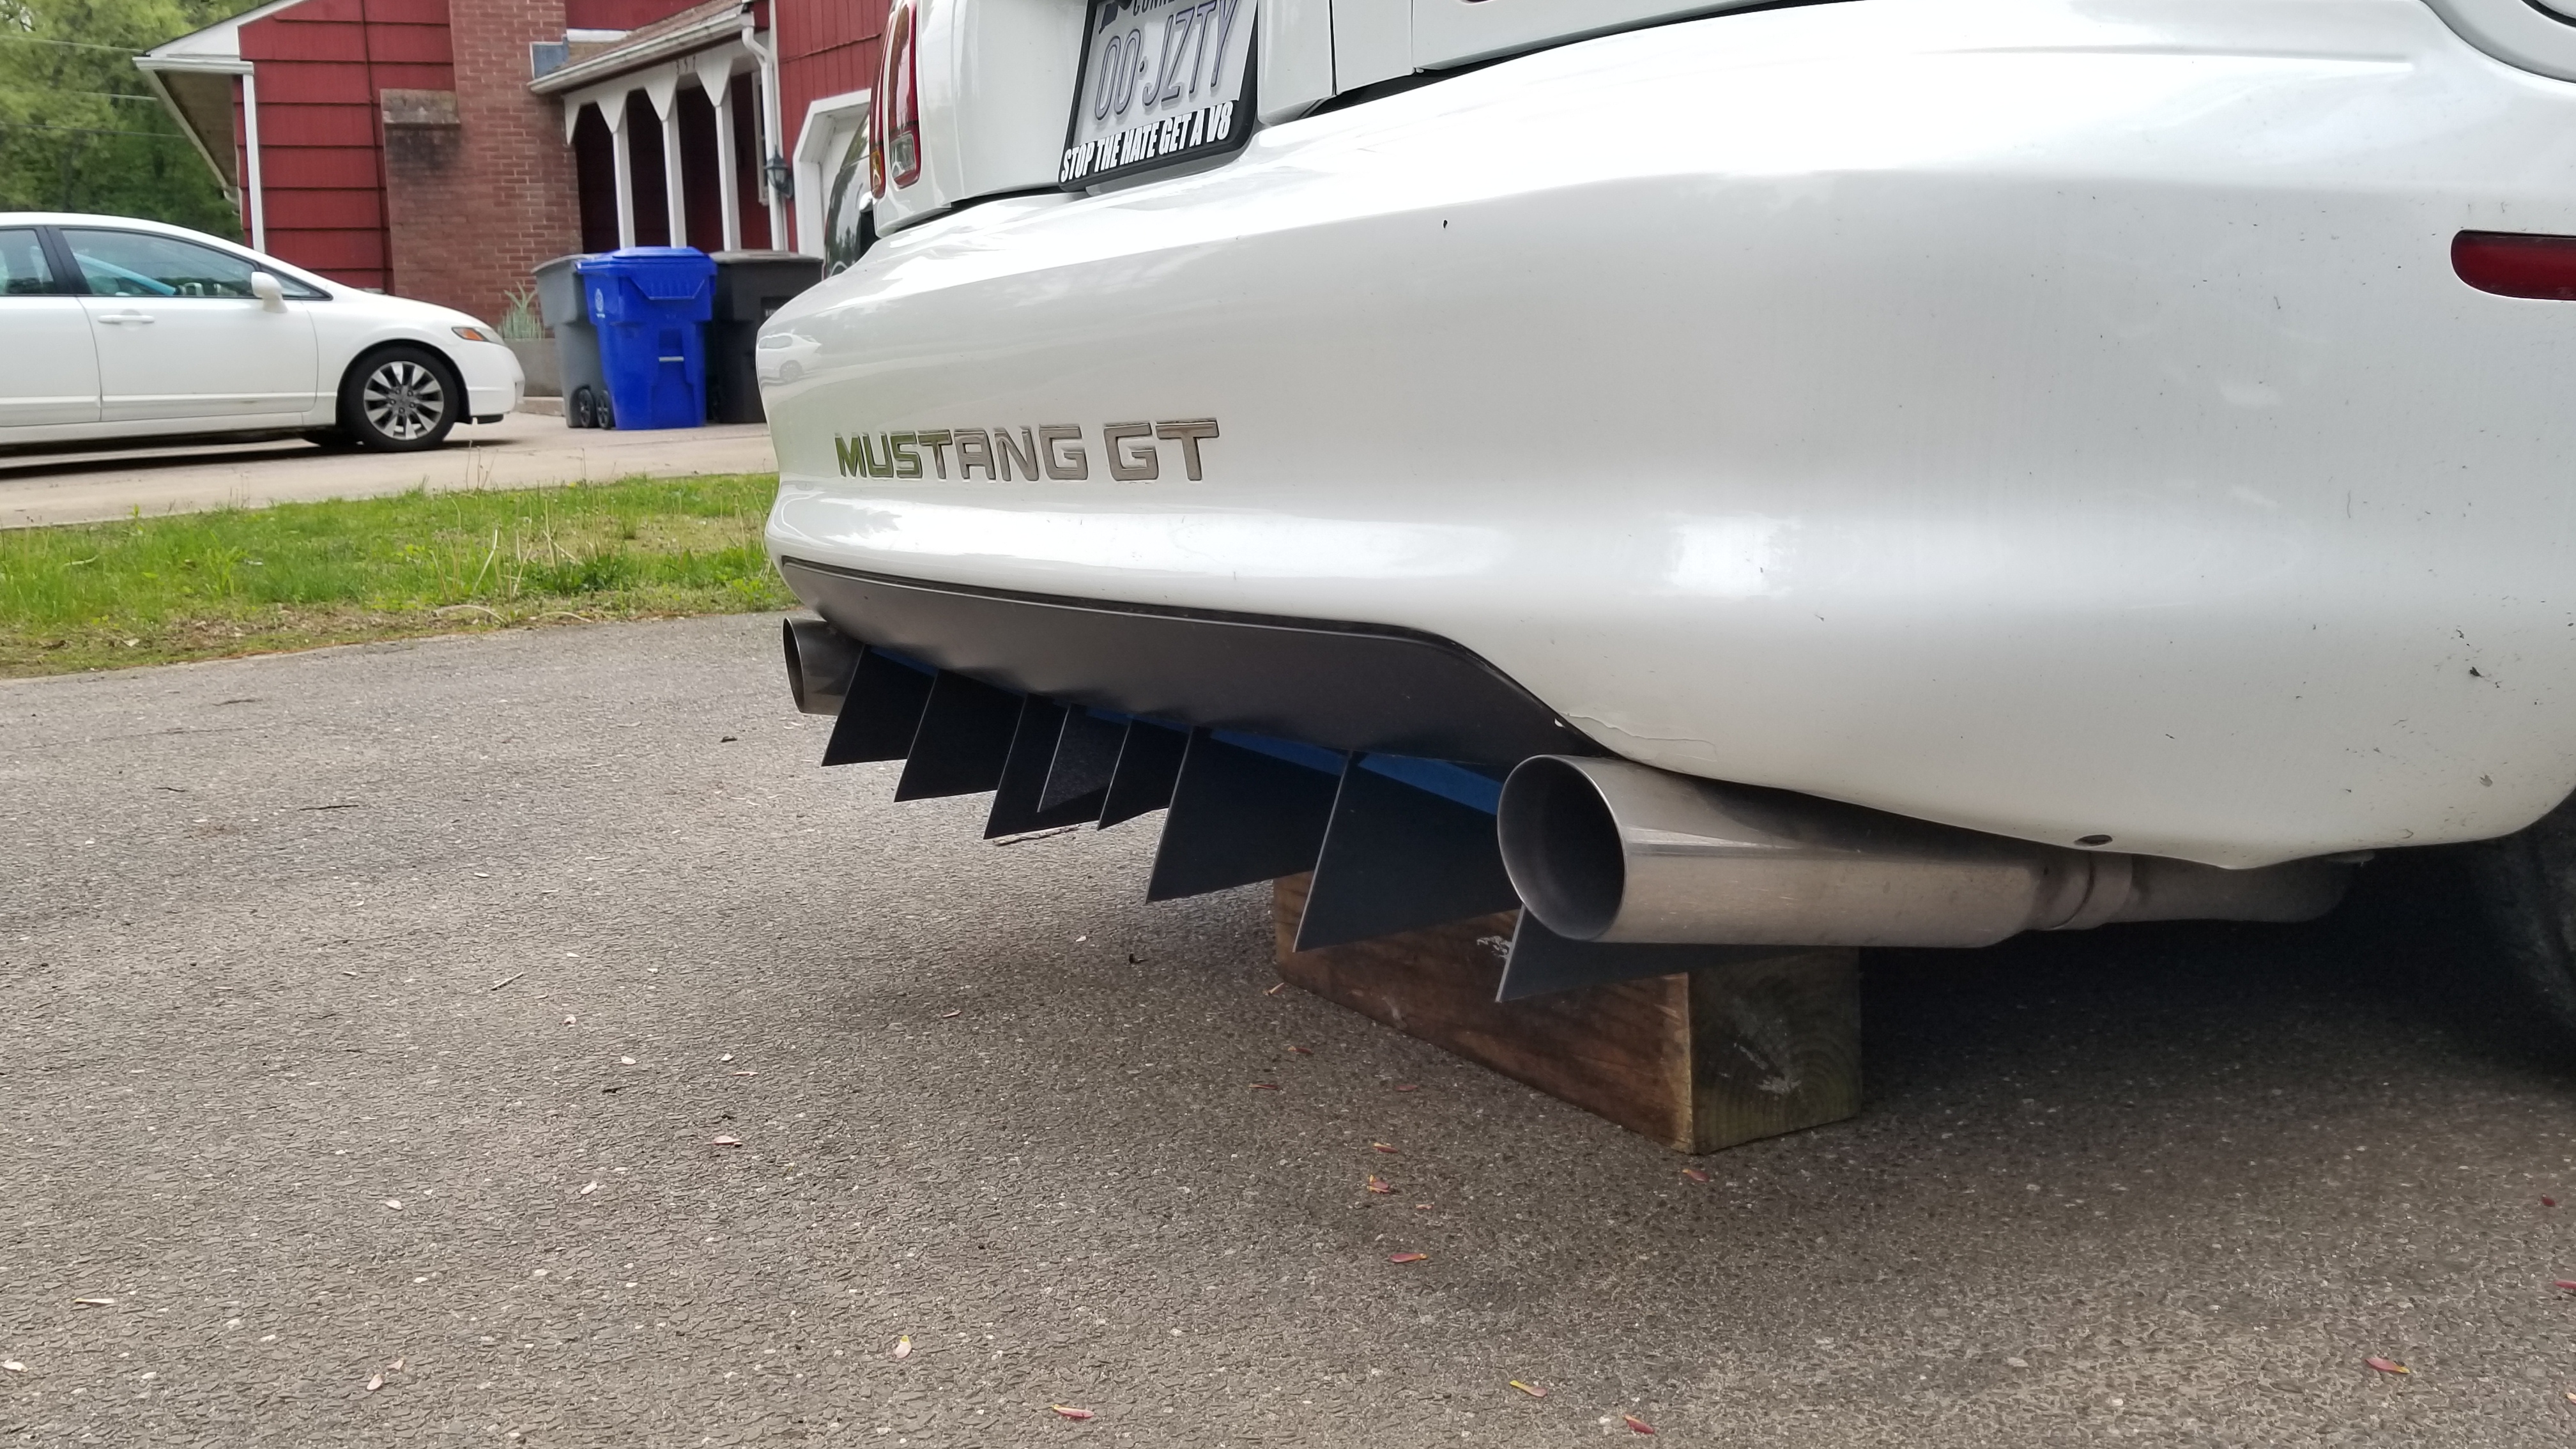
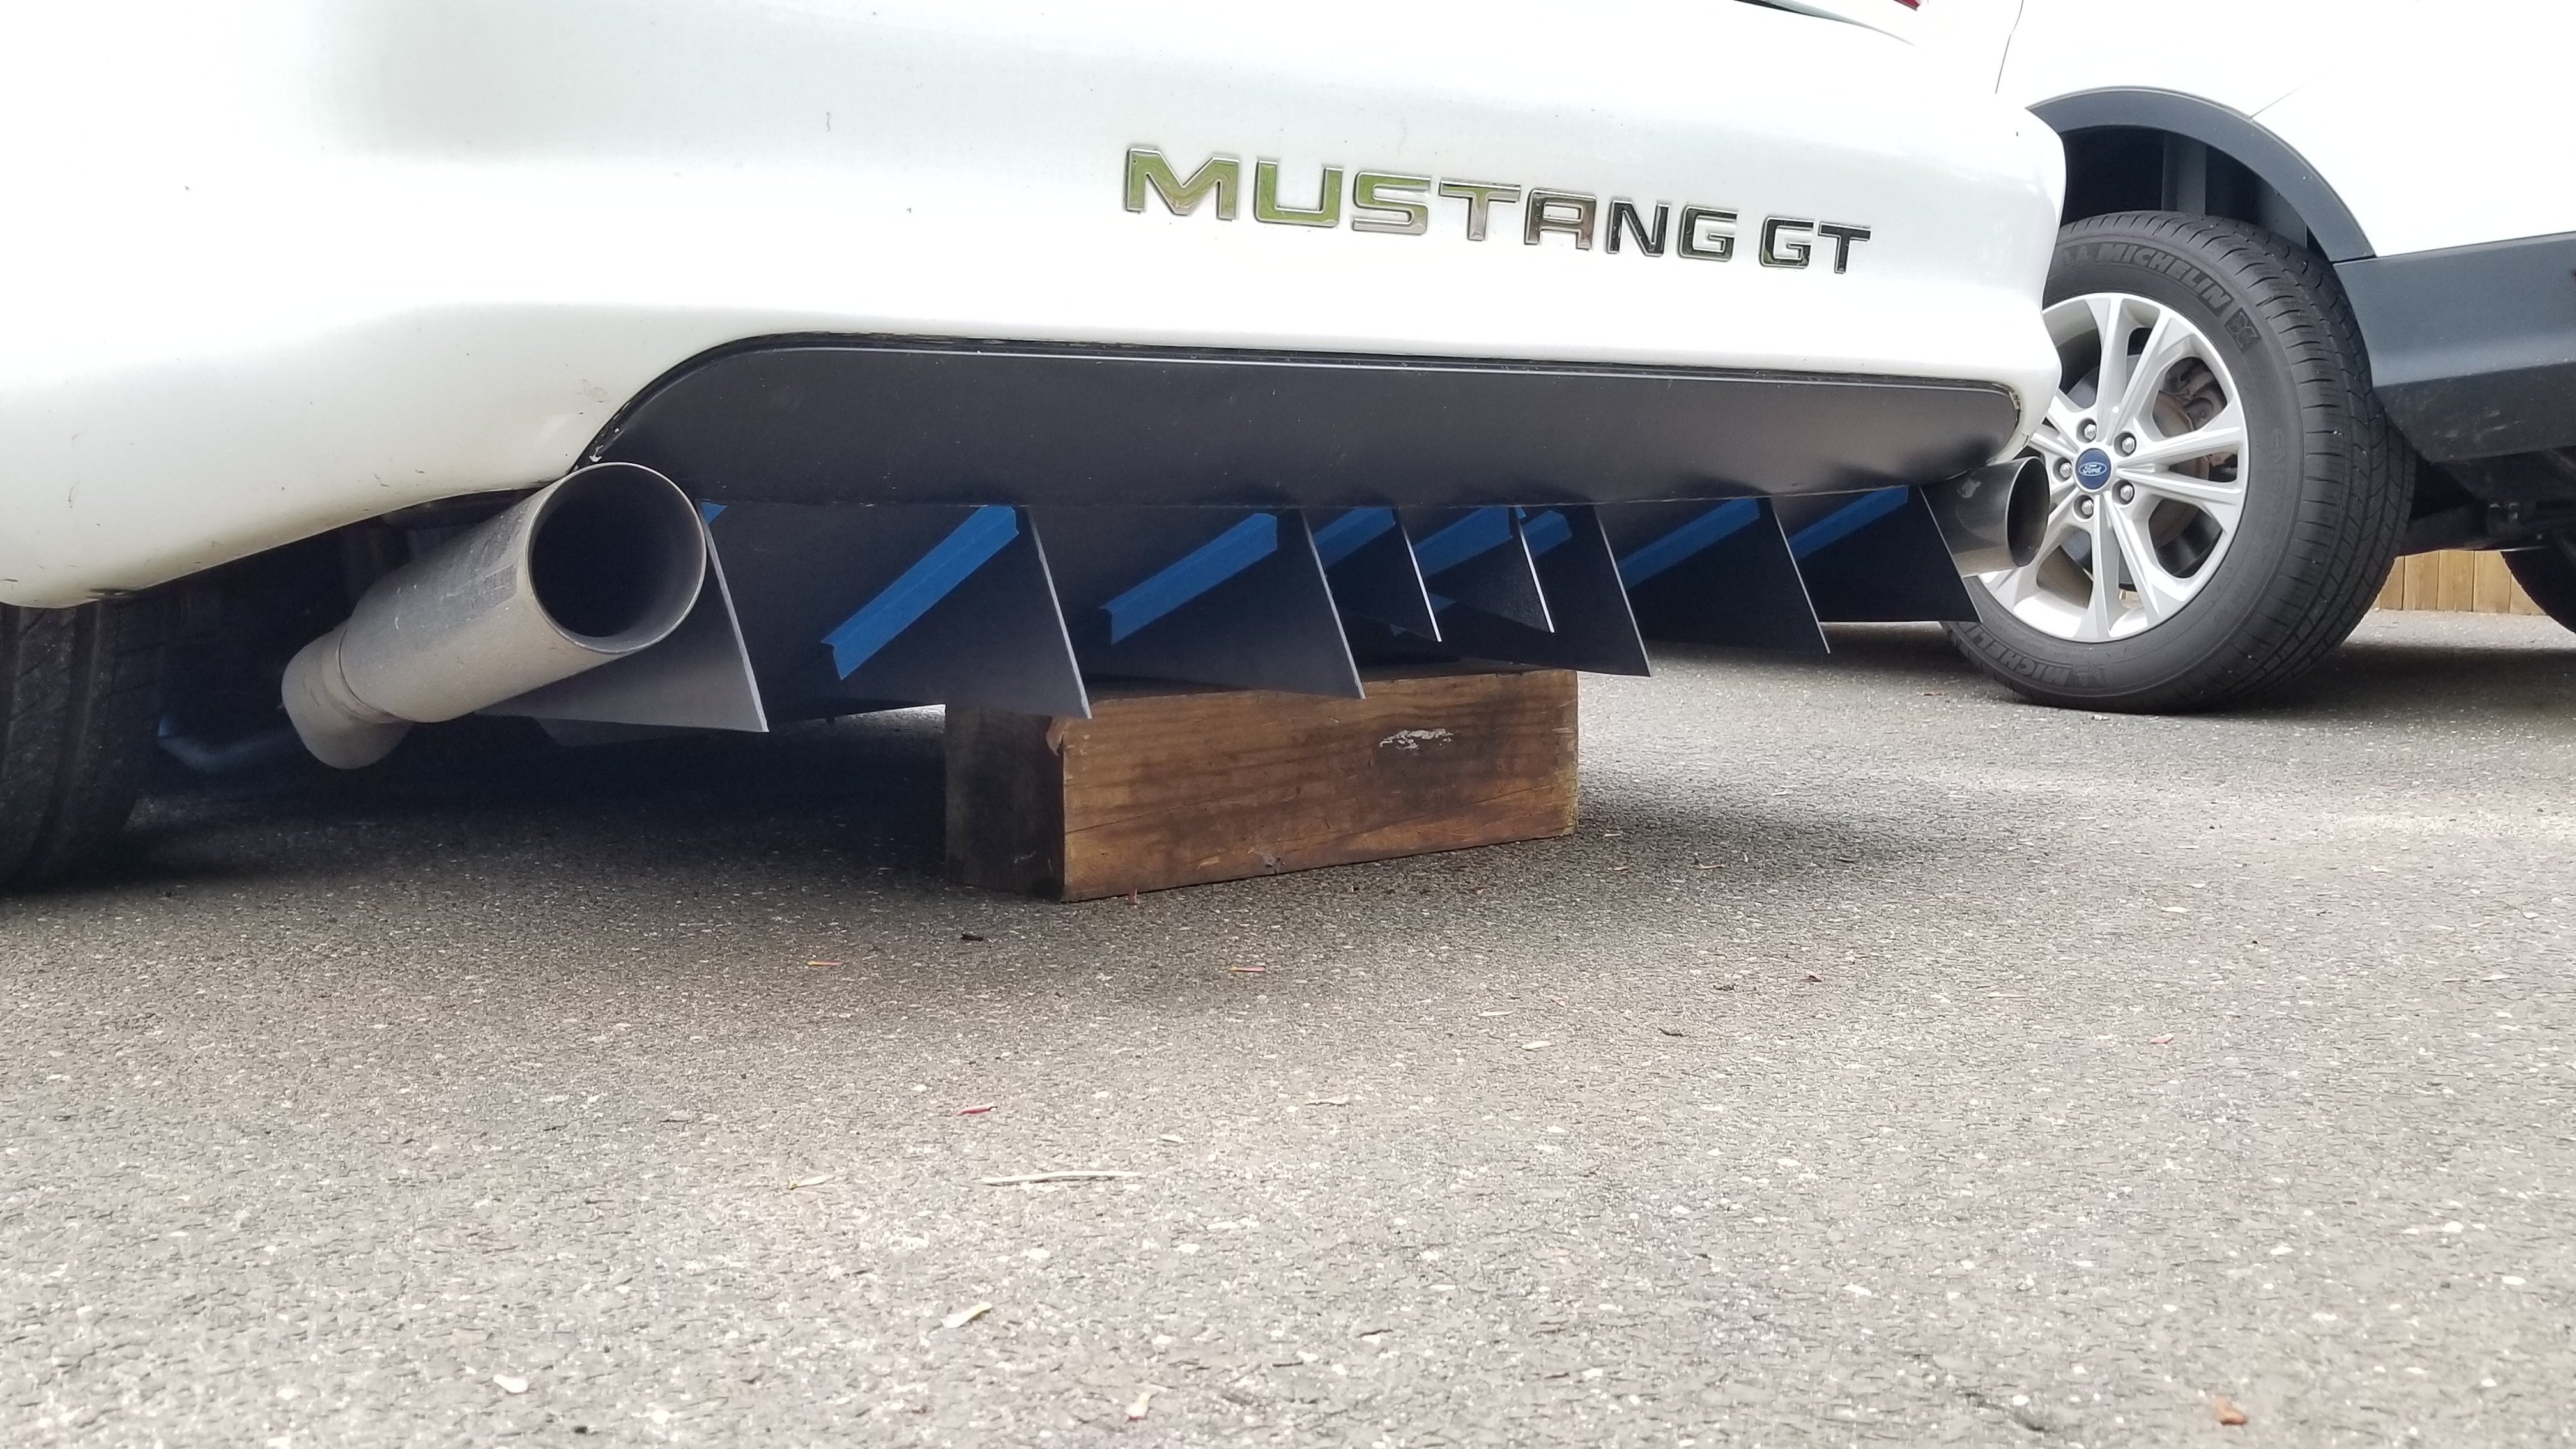
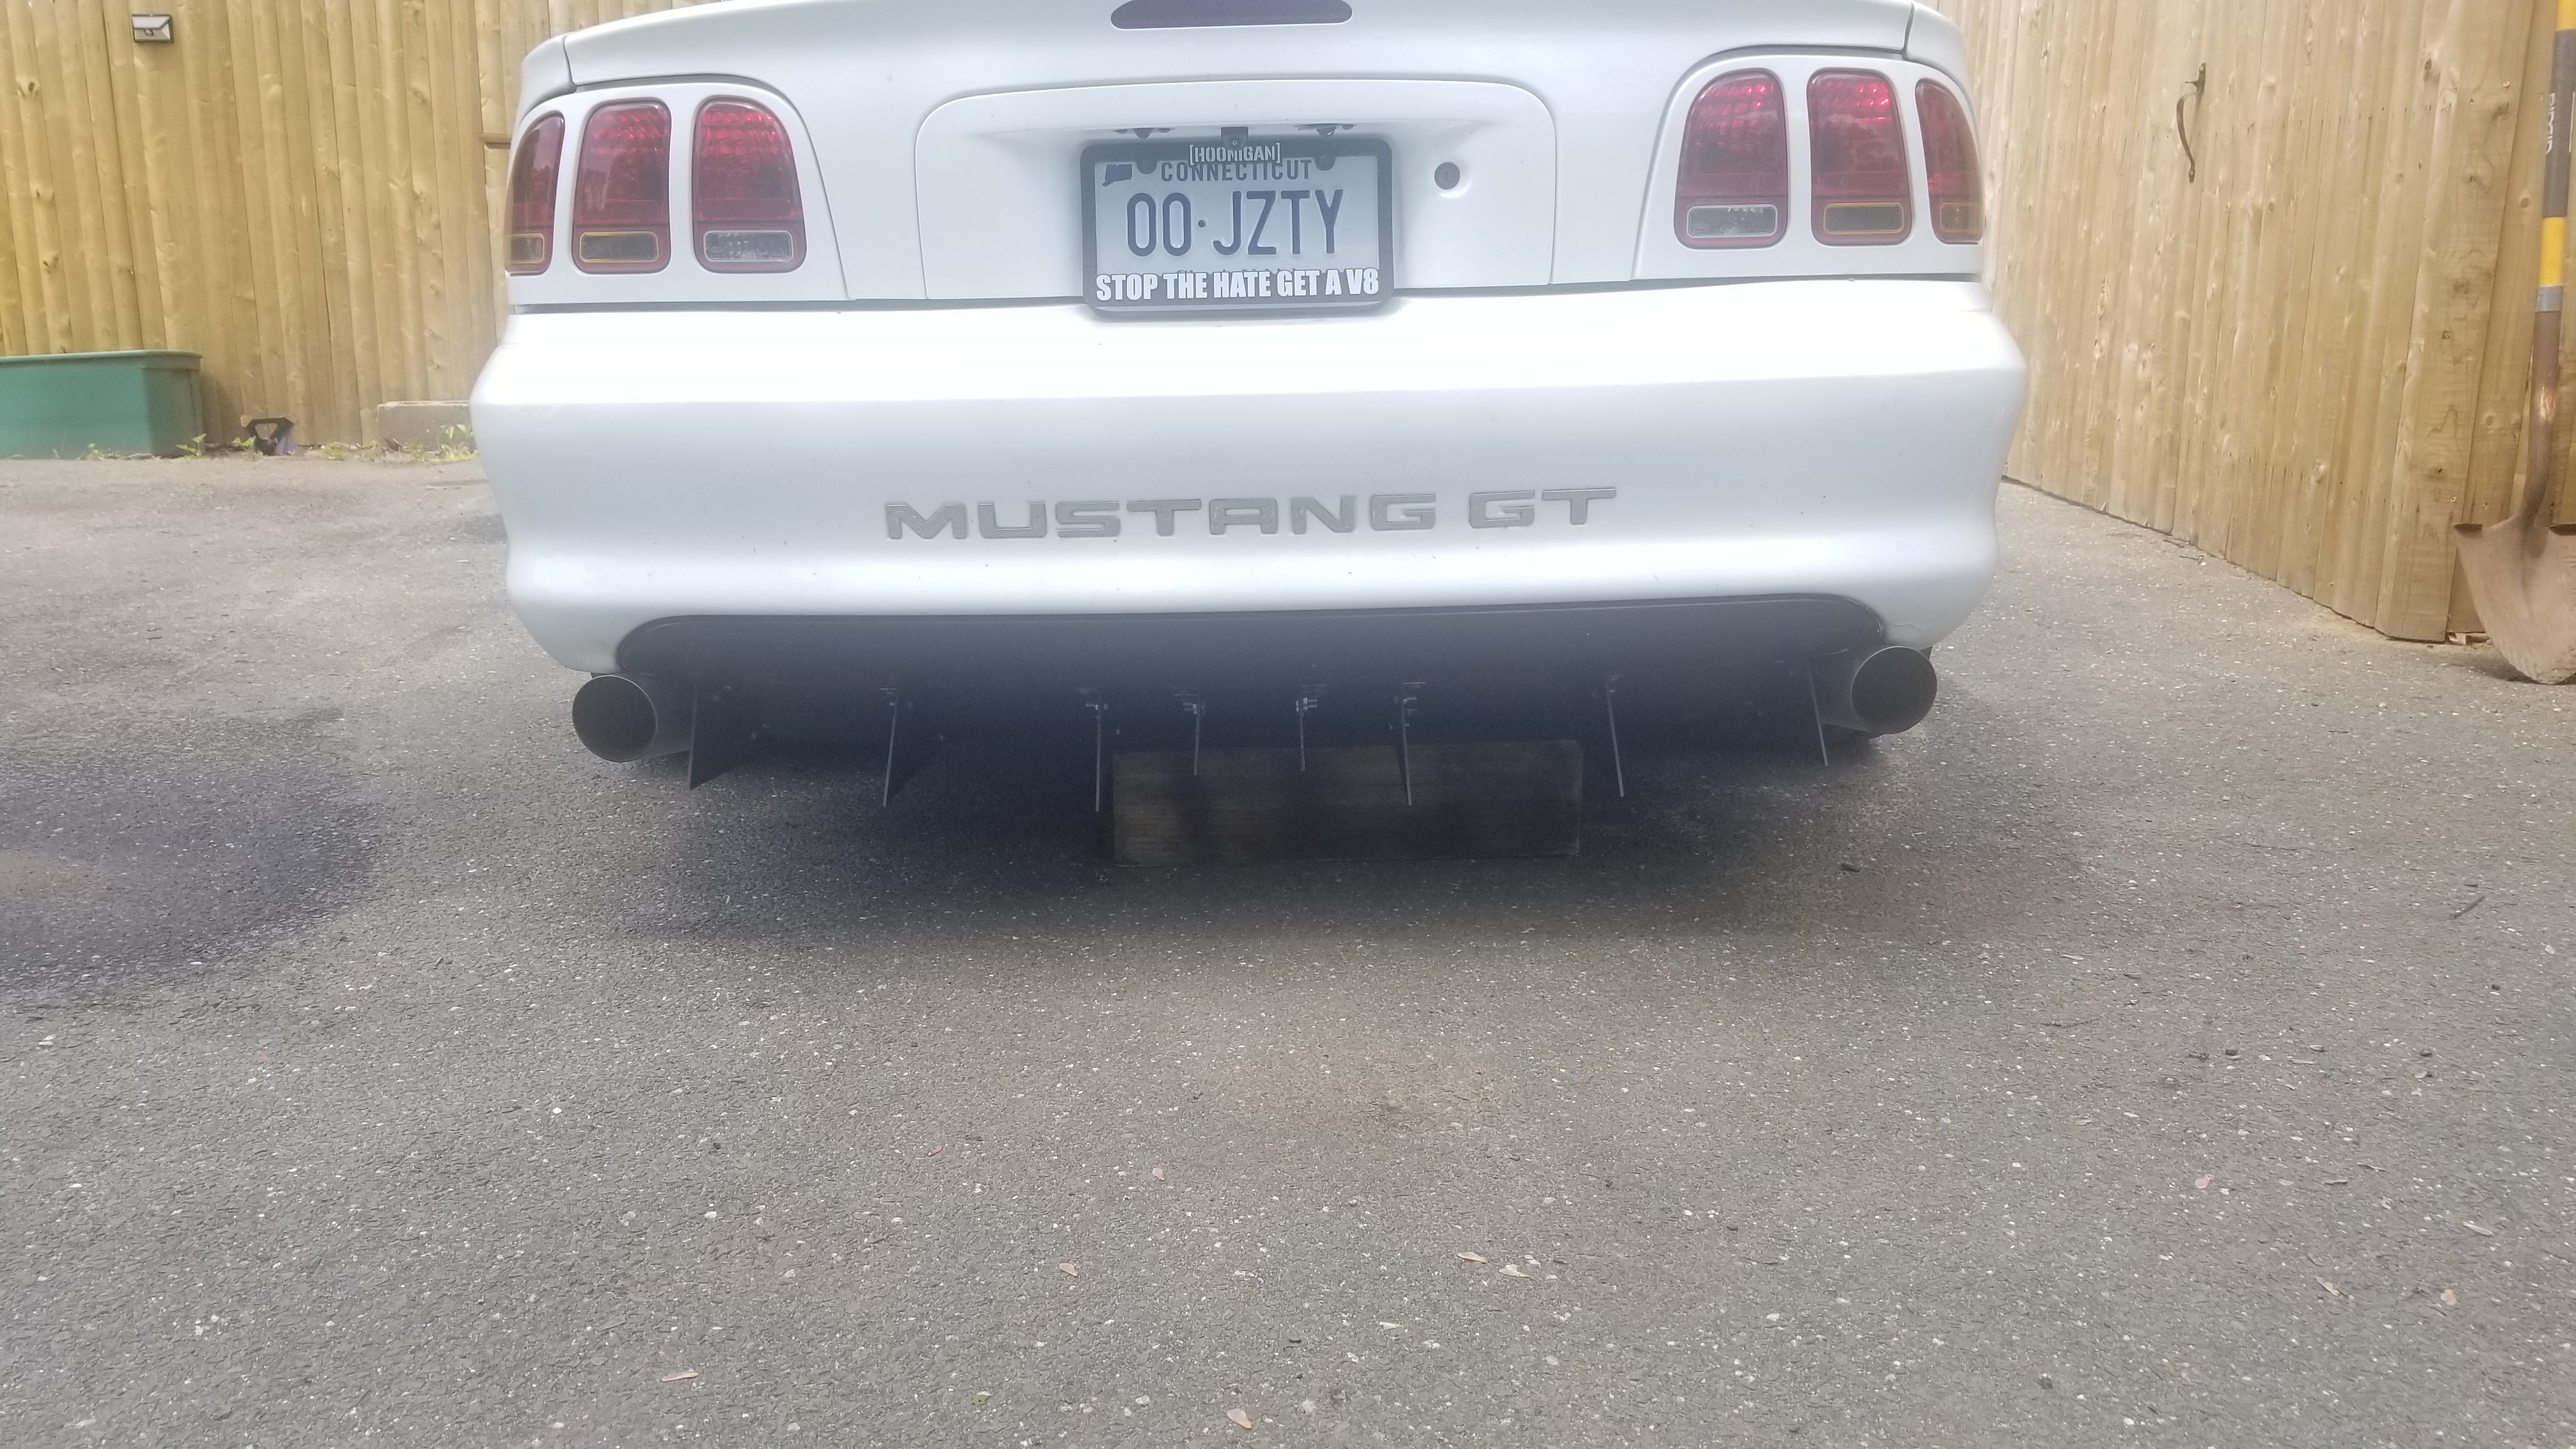
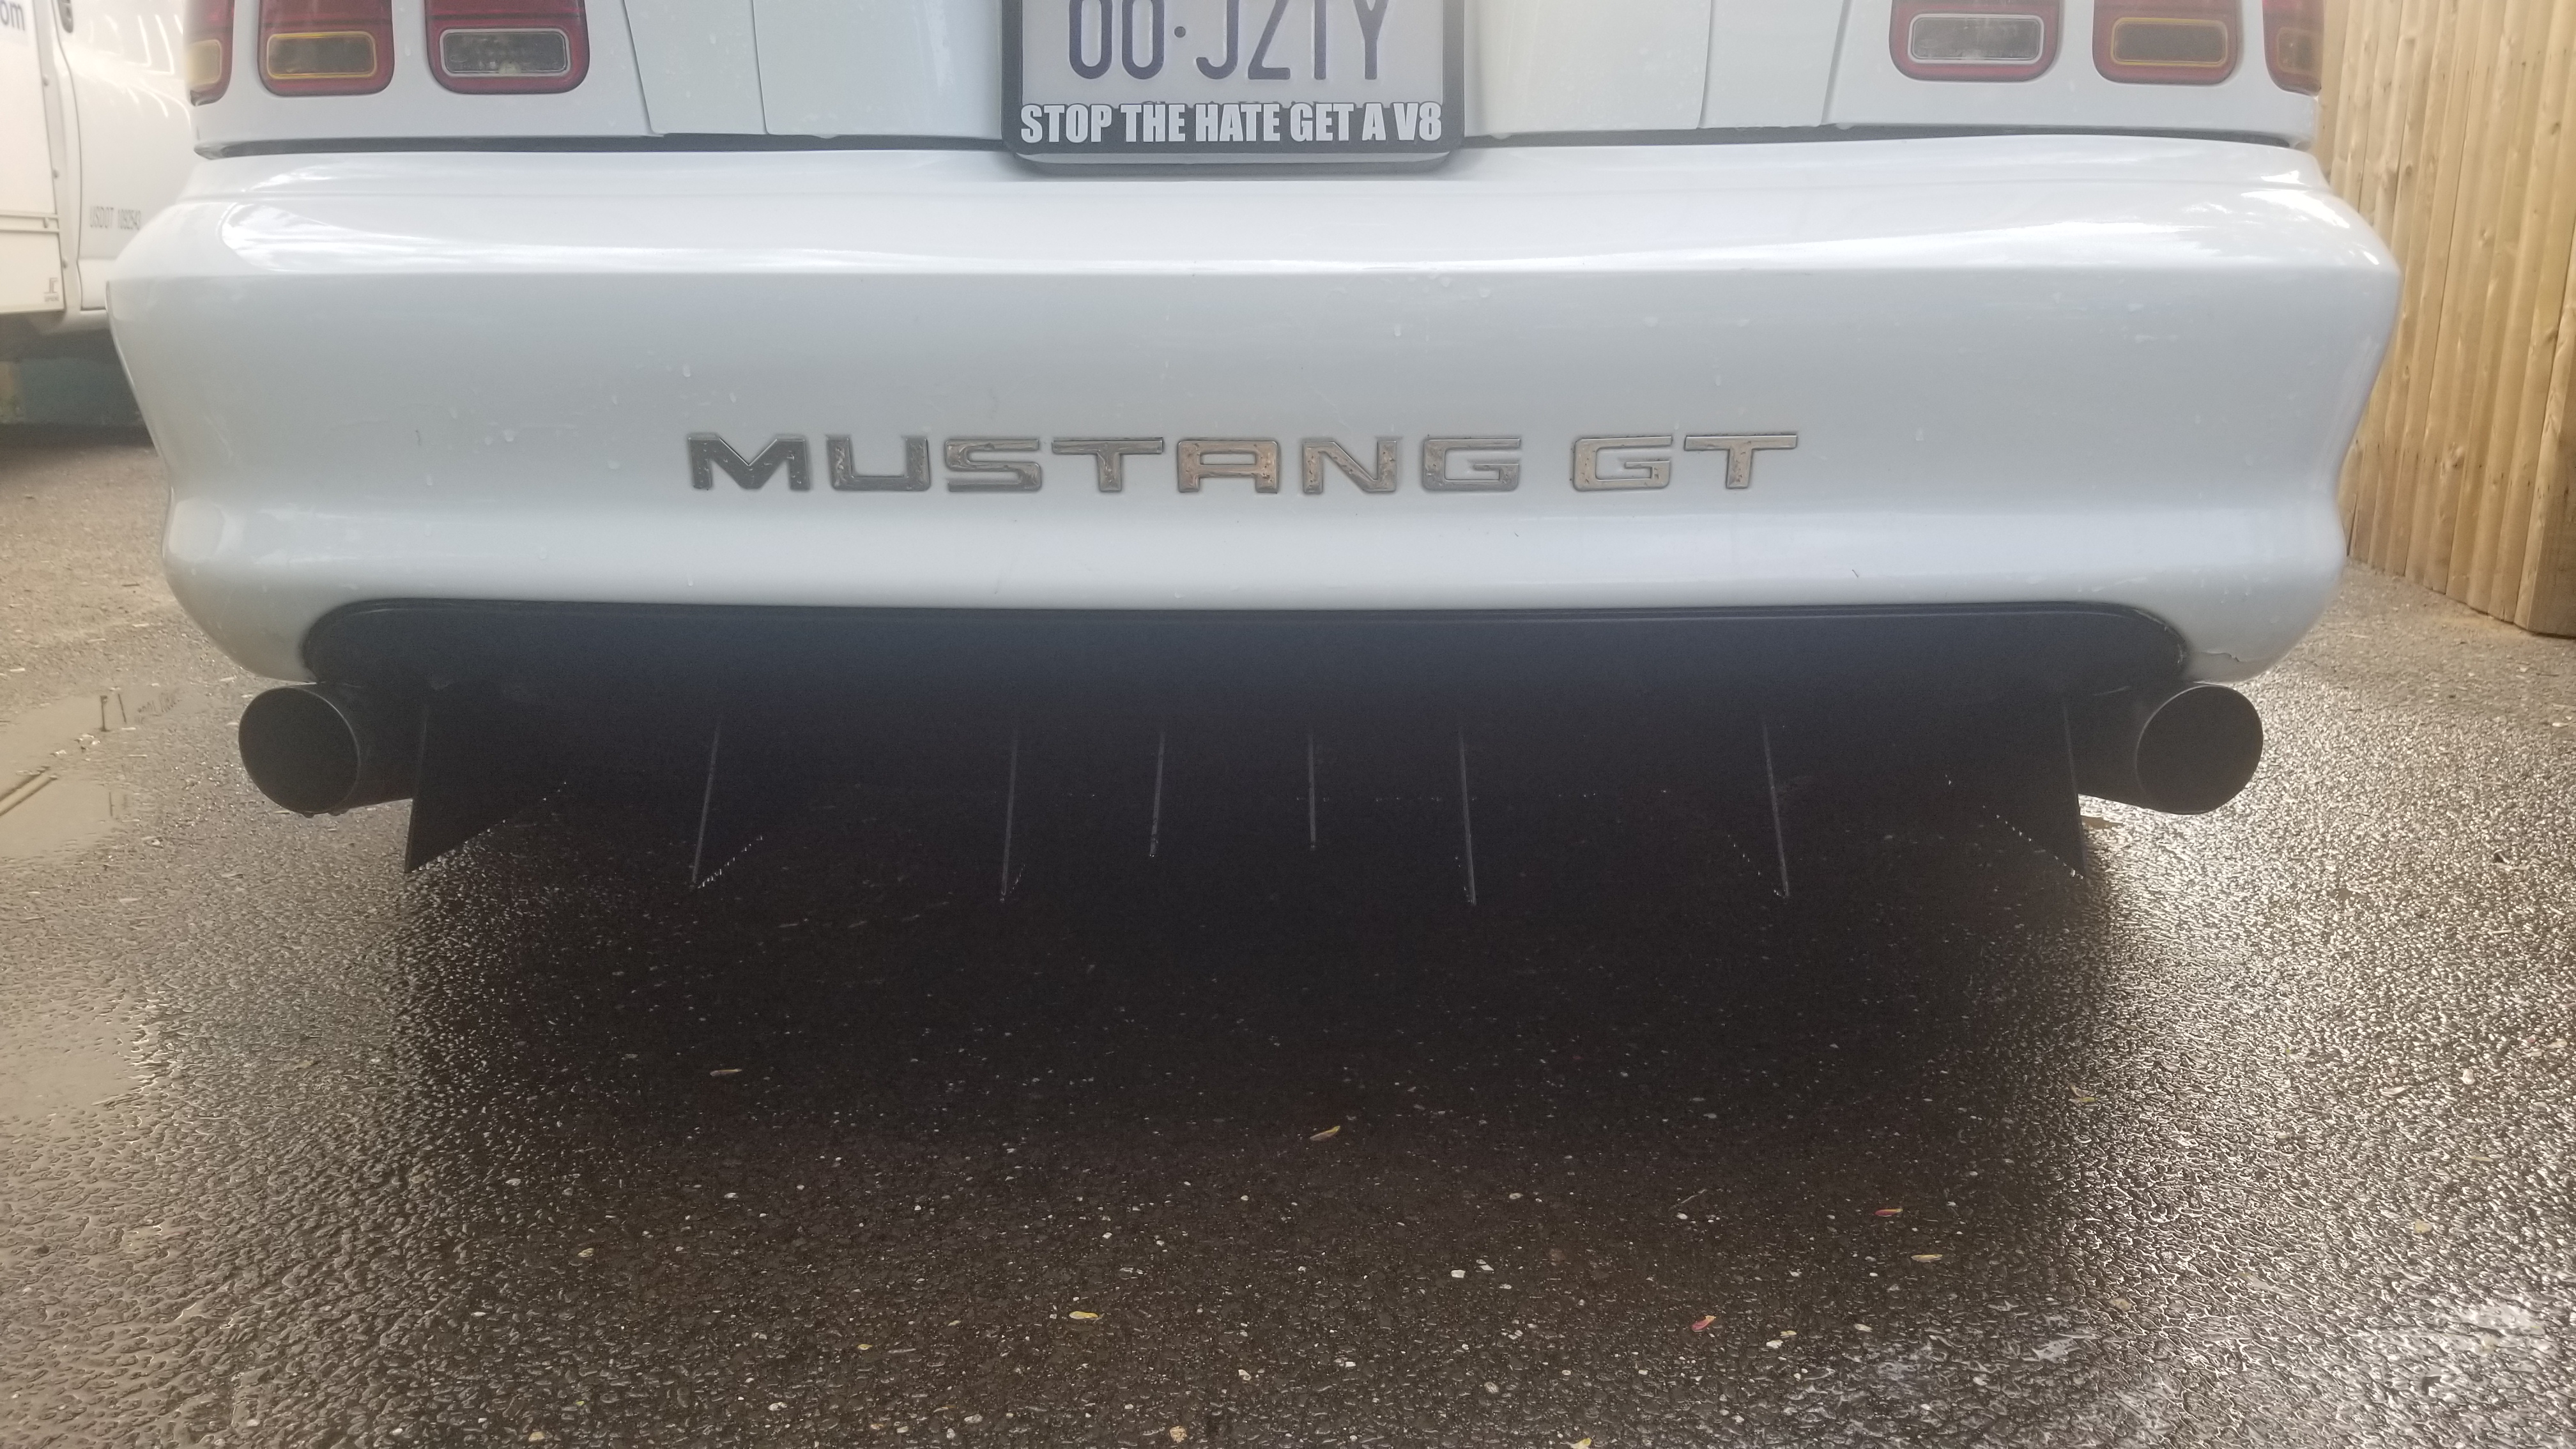
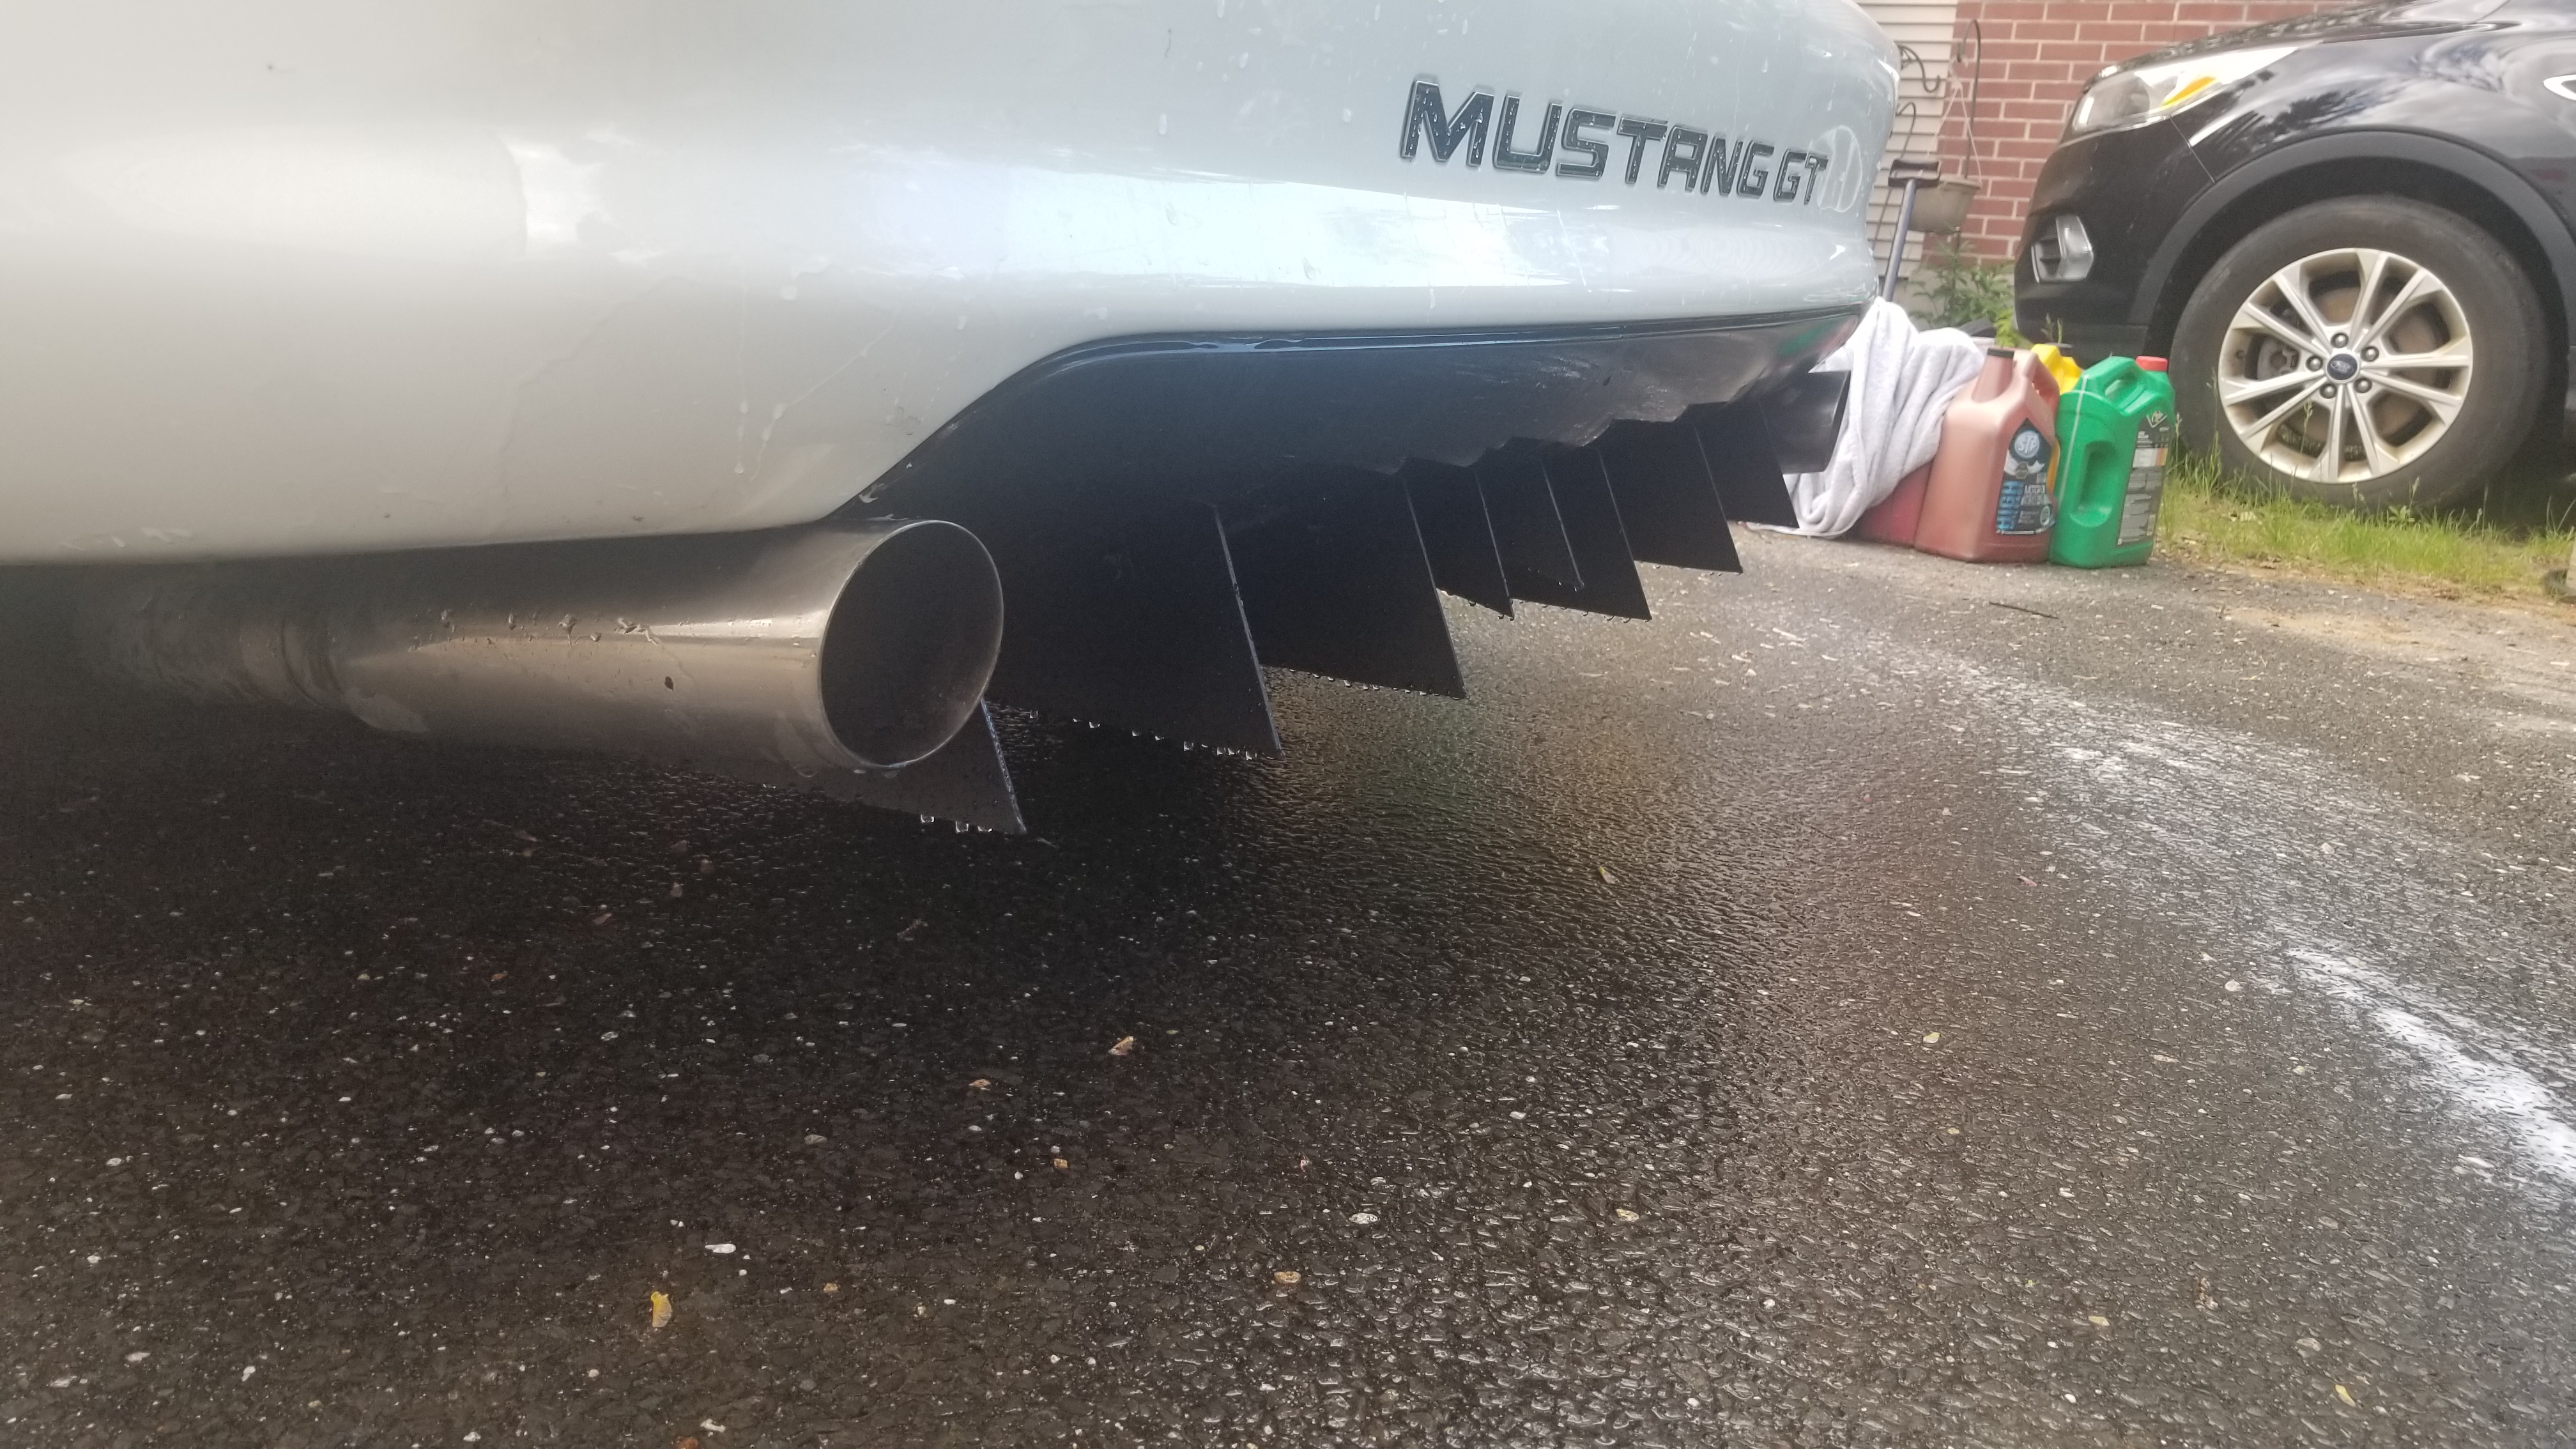
Finished it up and got it installed today. Came out great!
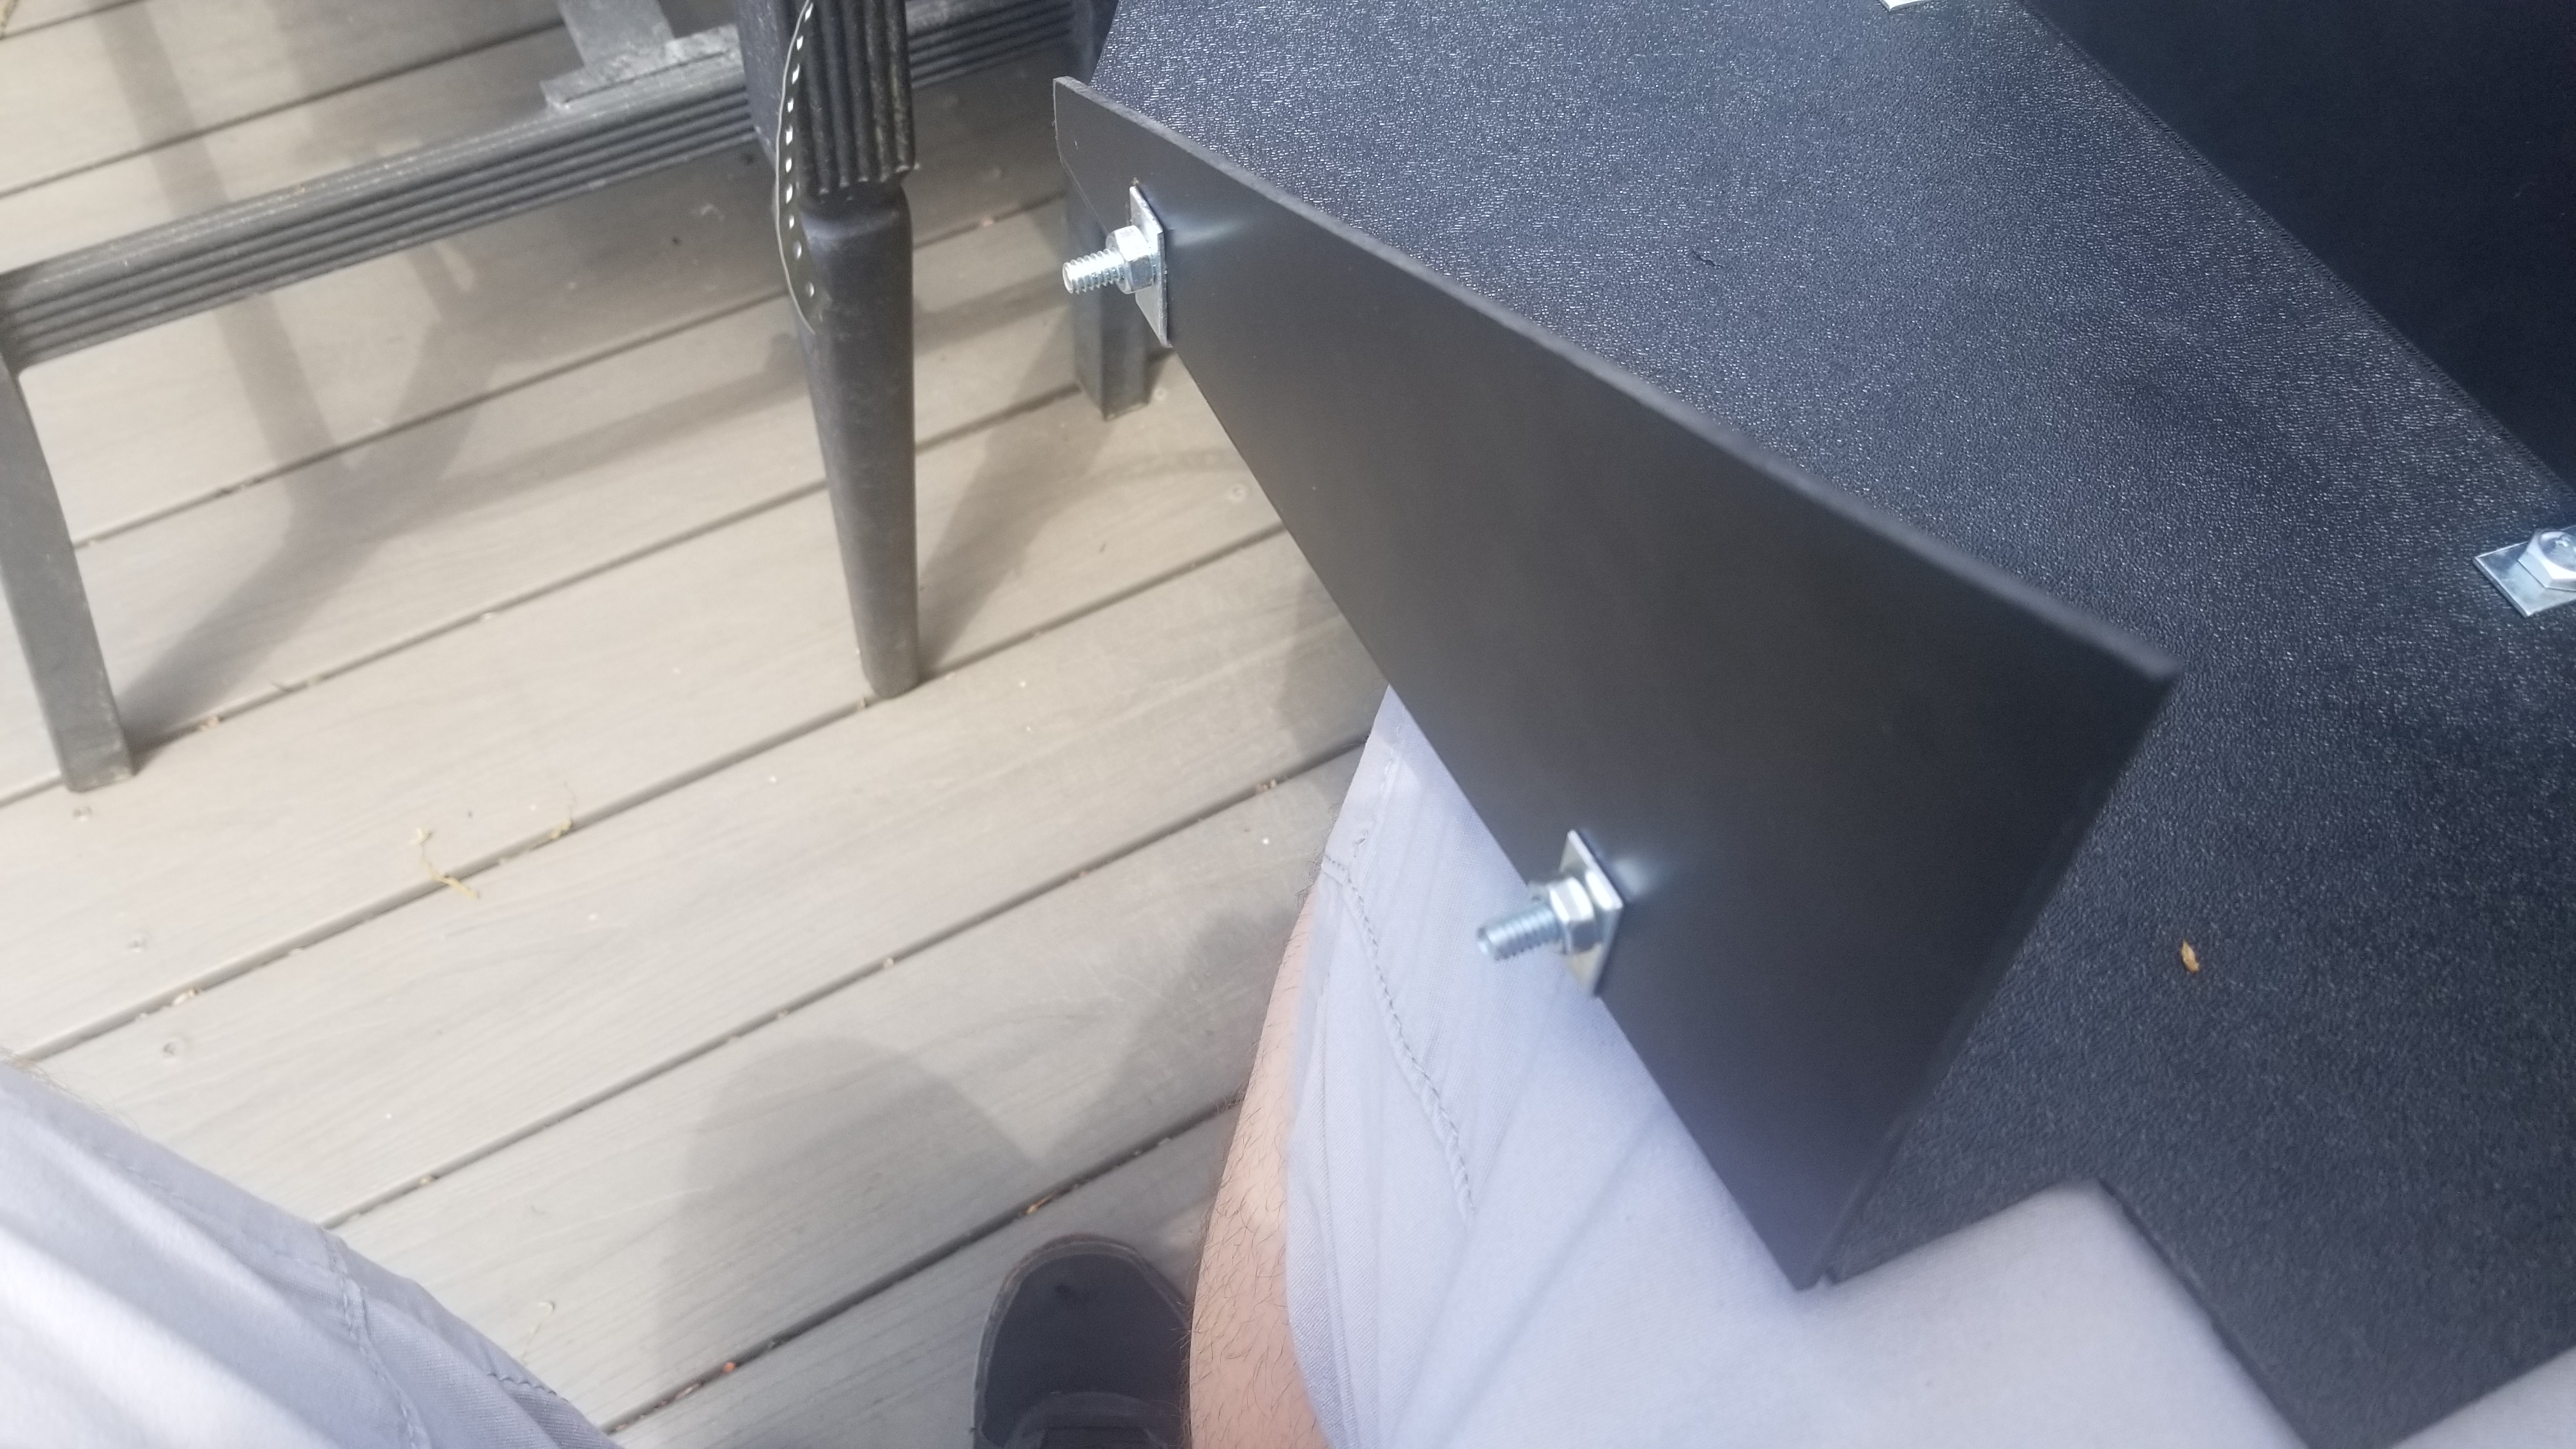
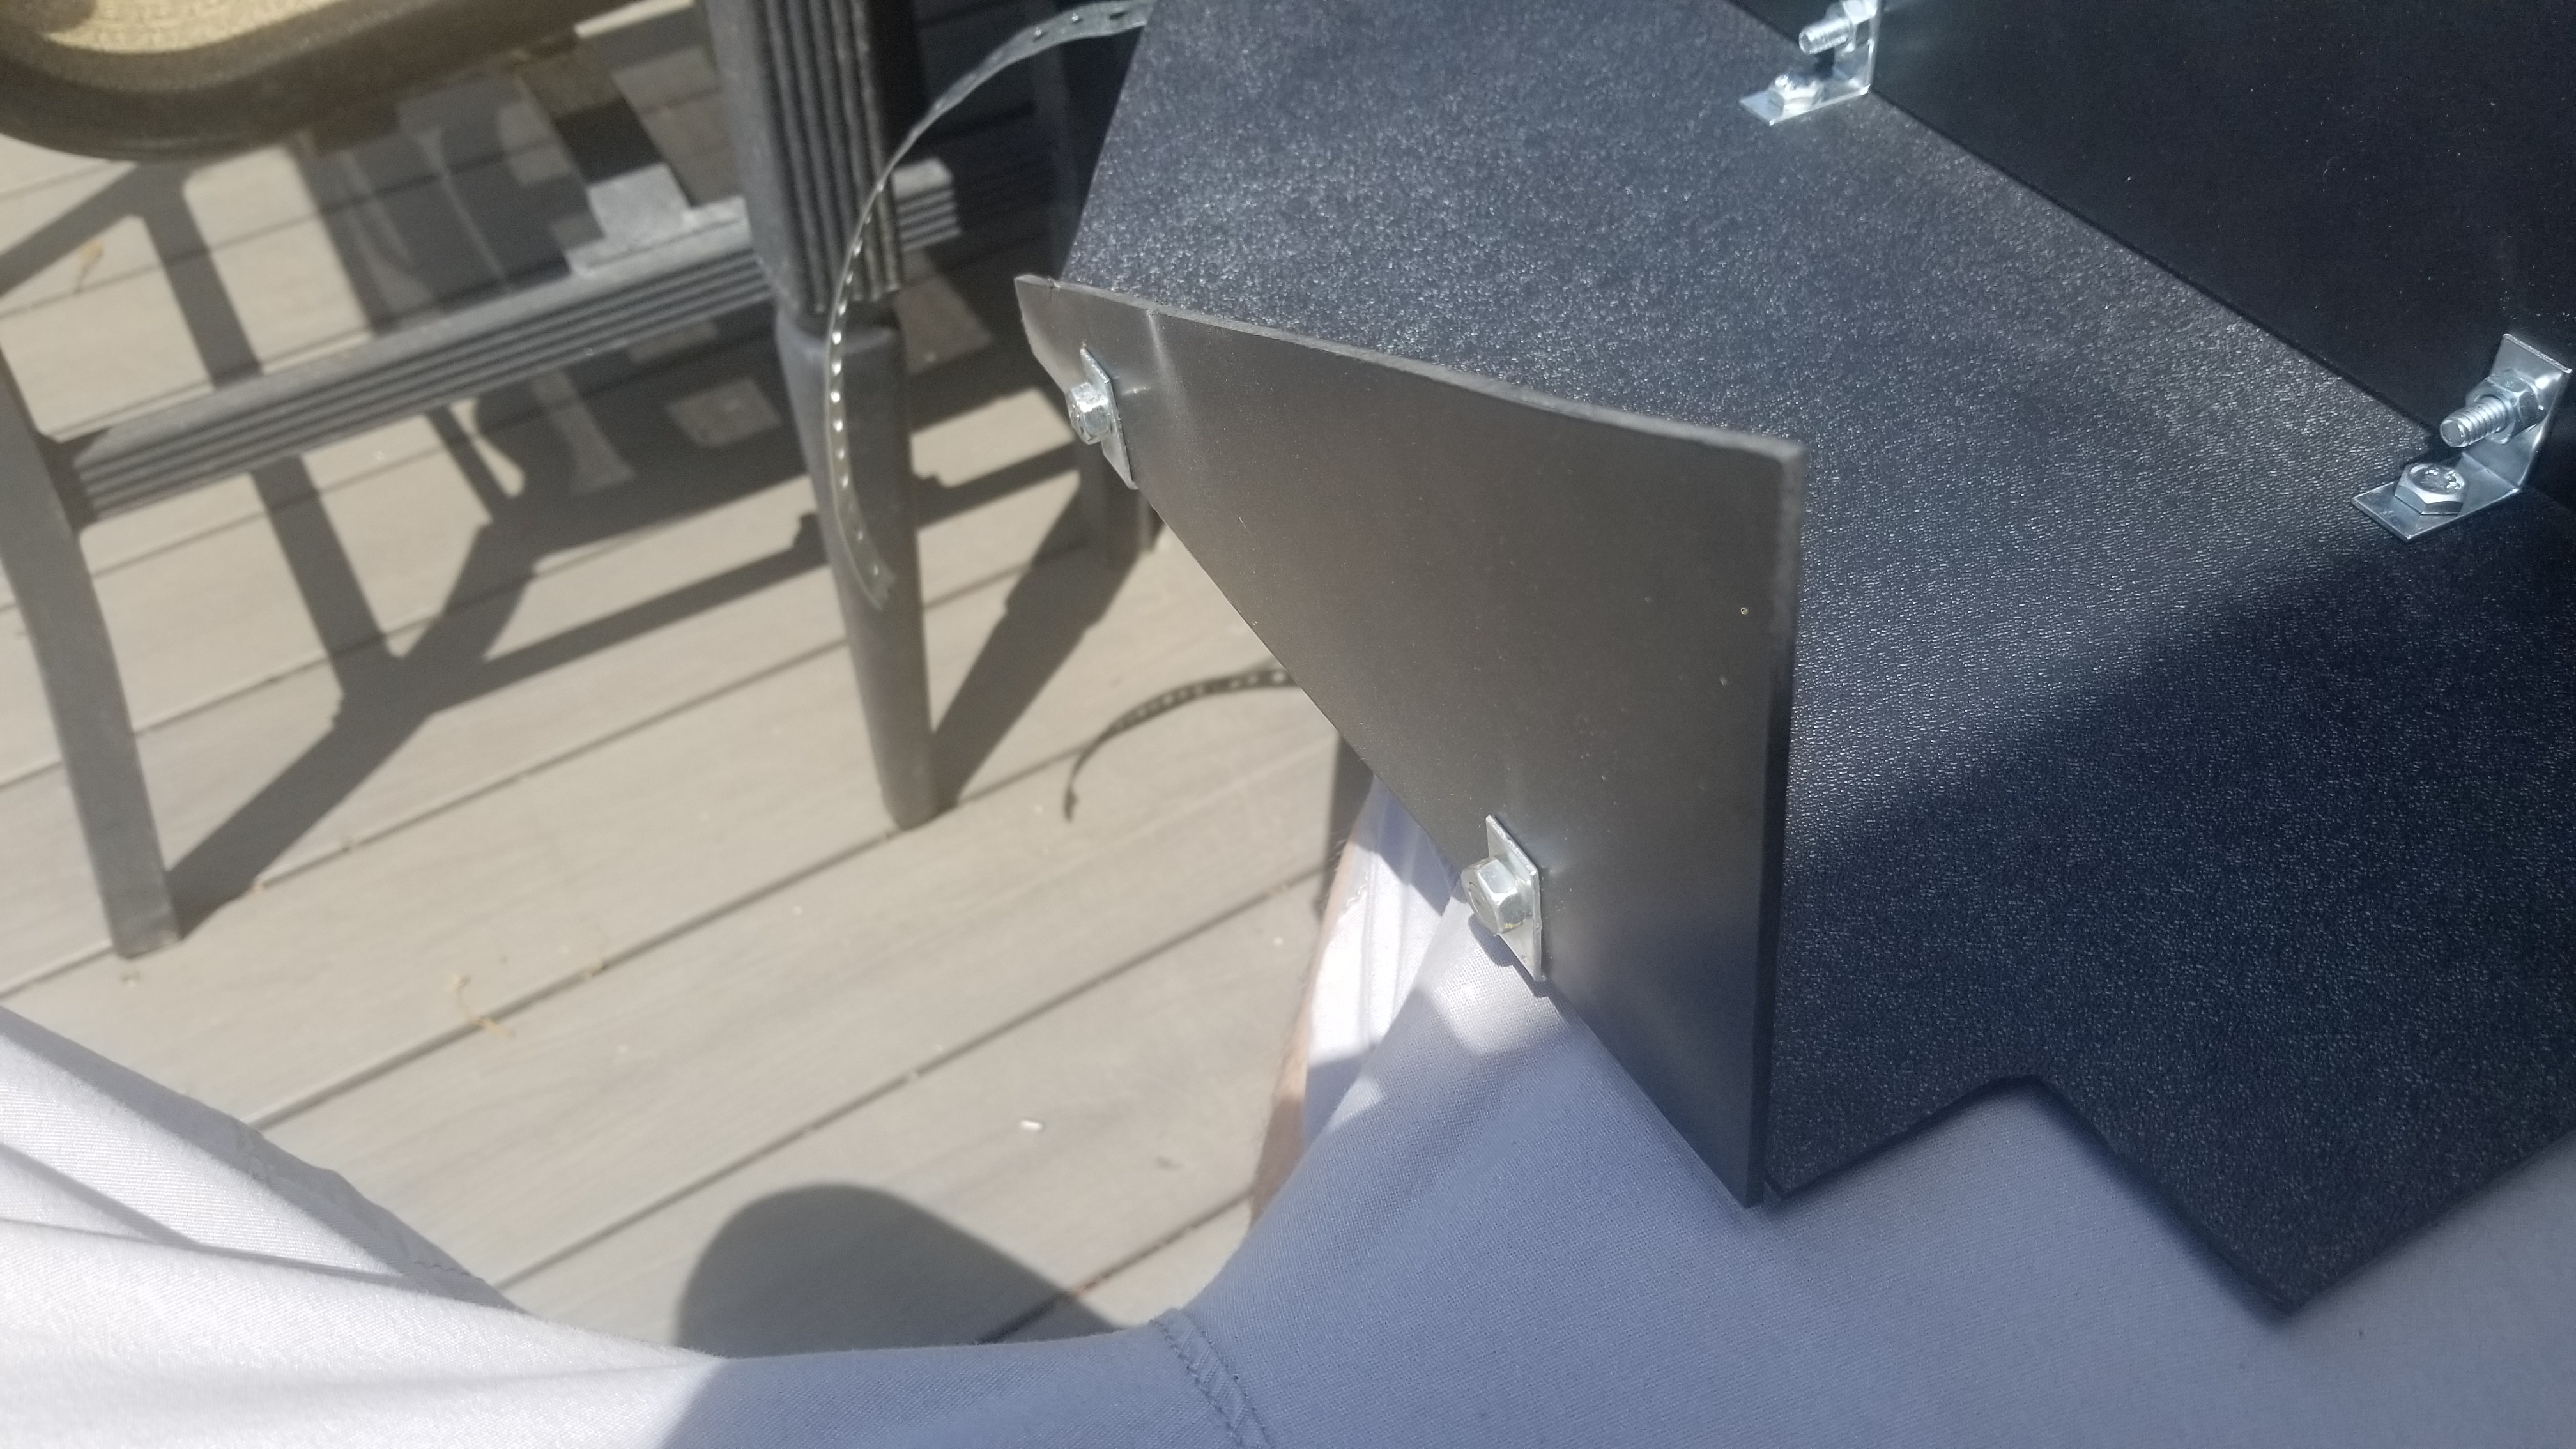
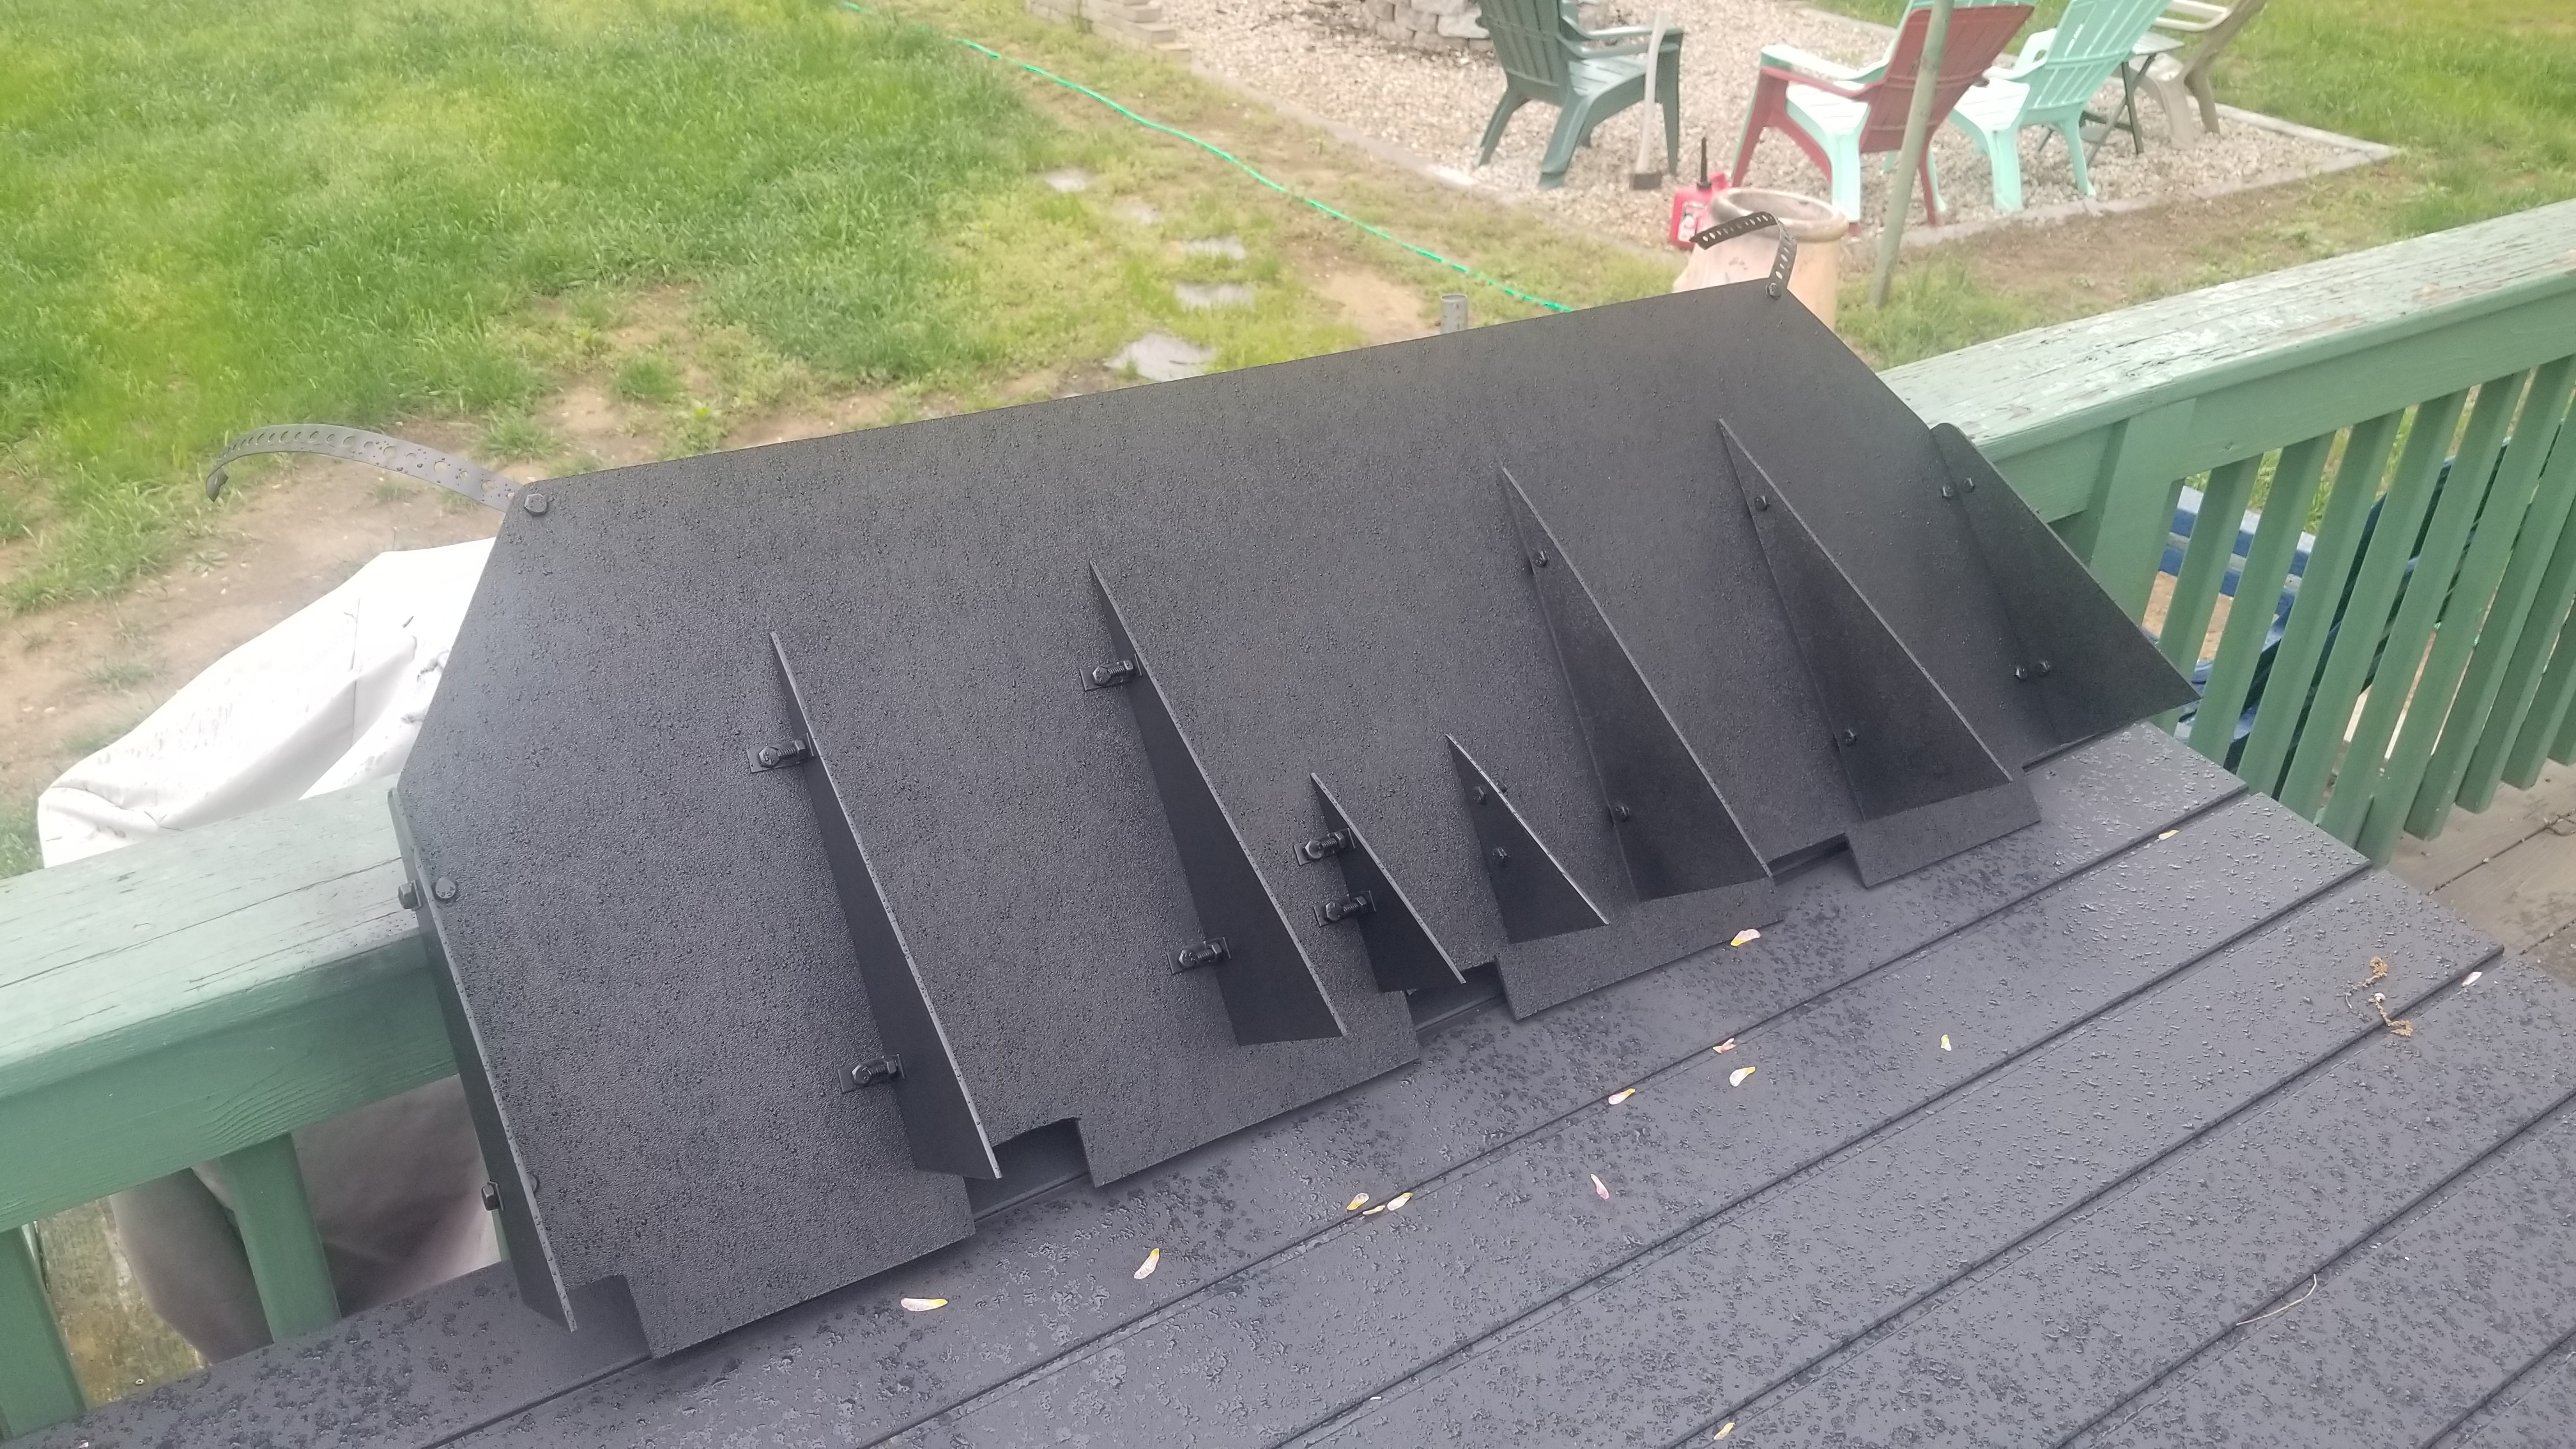
All bolted together
NgfoxSG.jpg

OueqBga.jpg

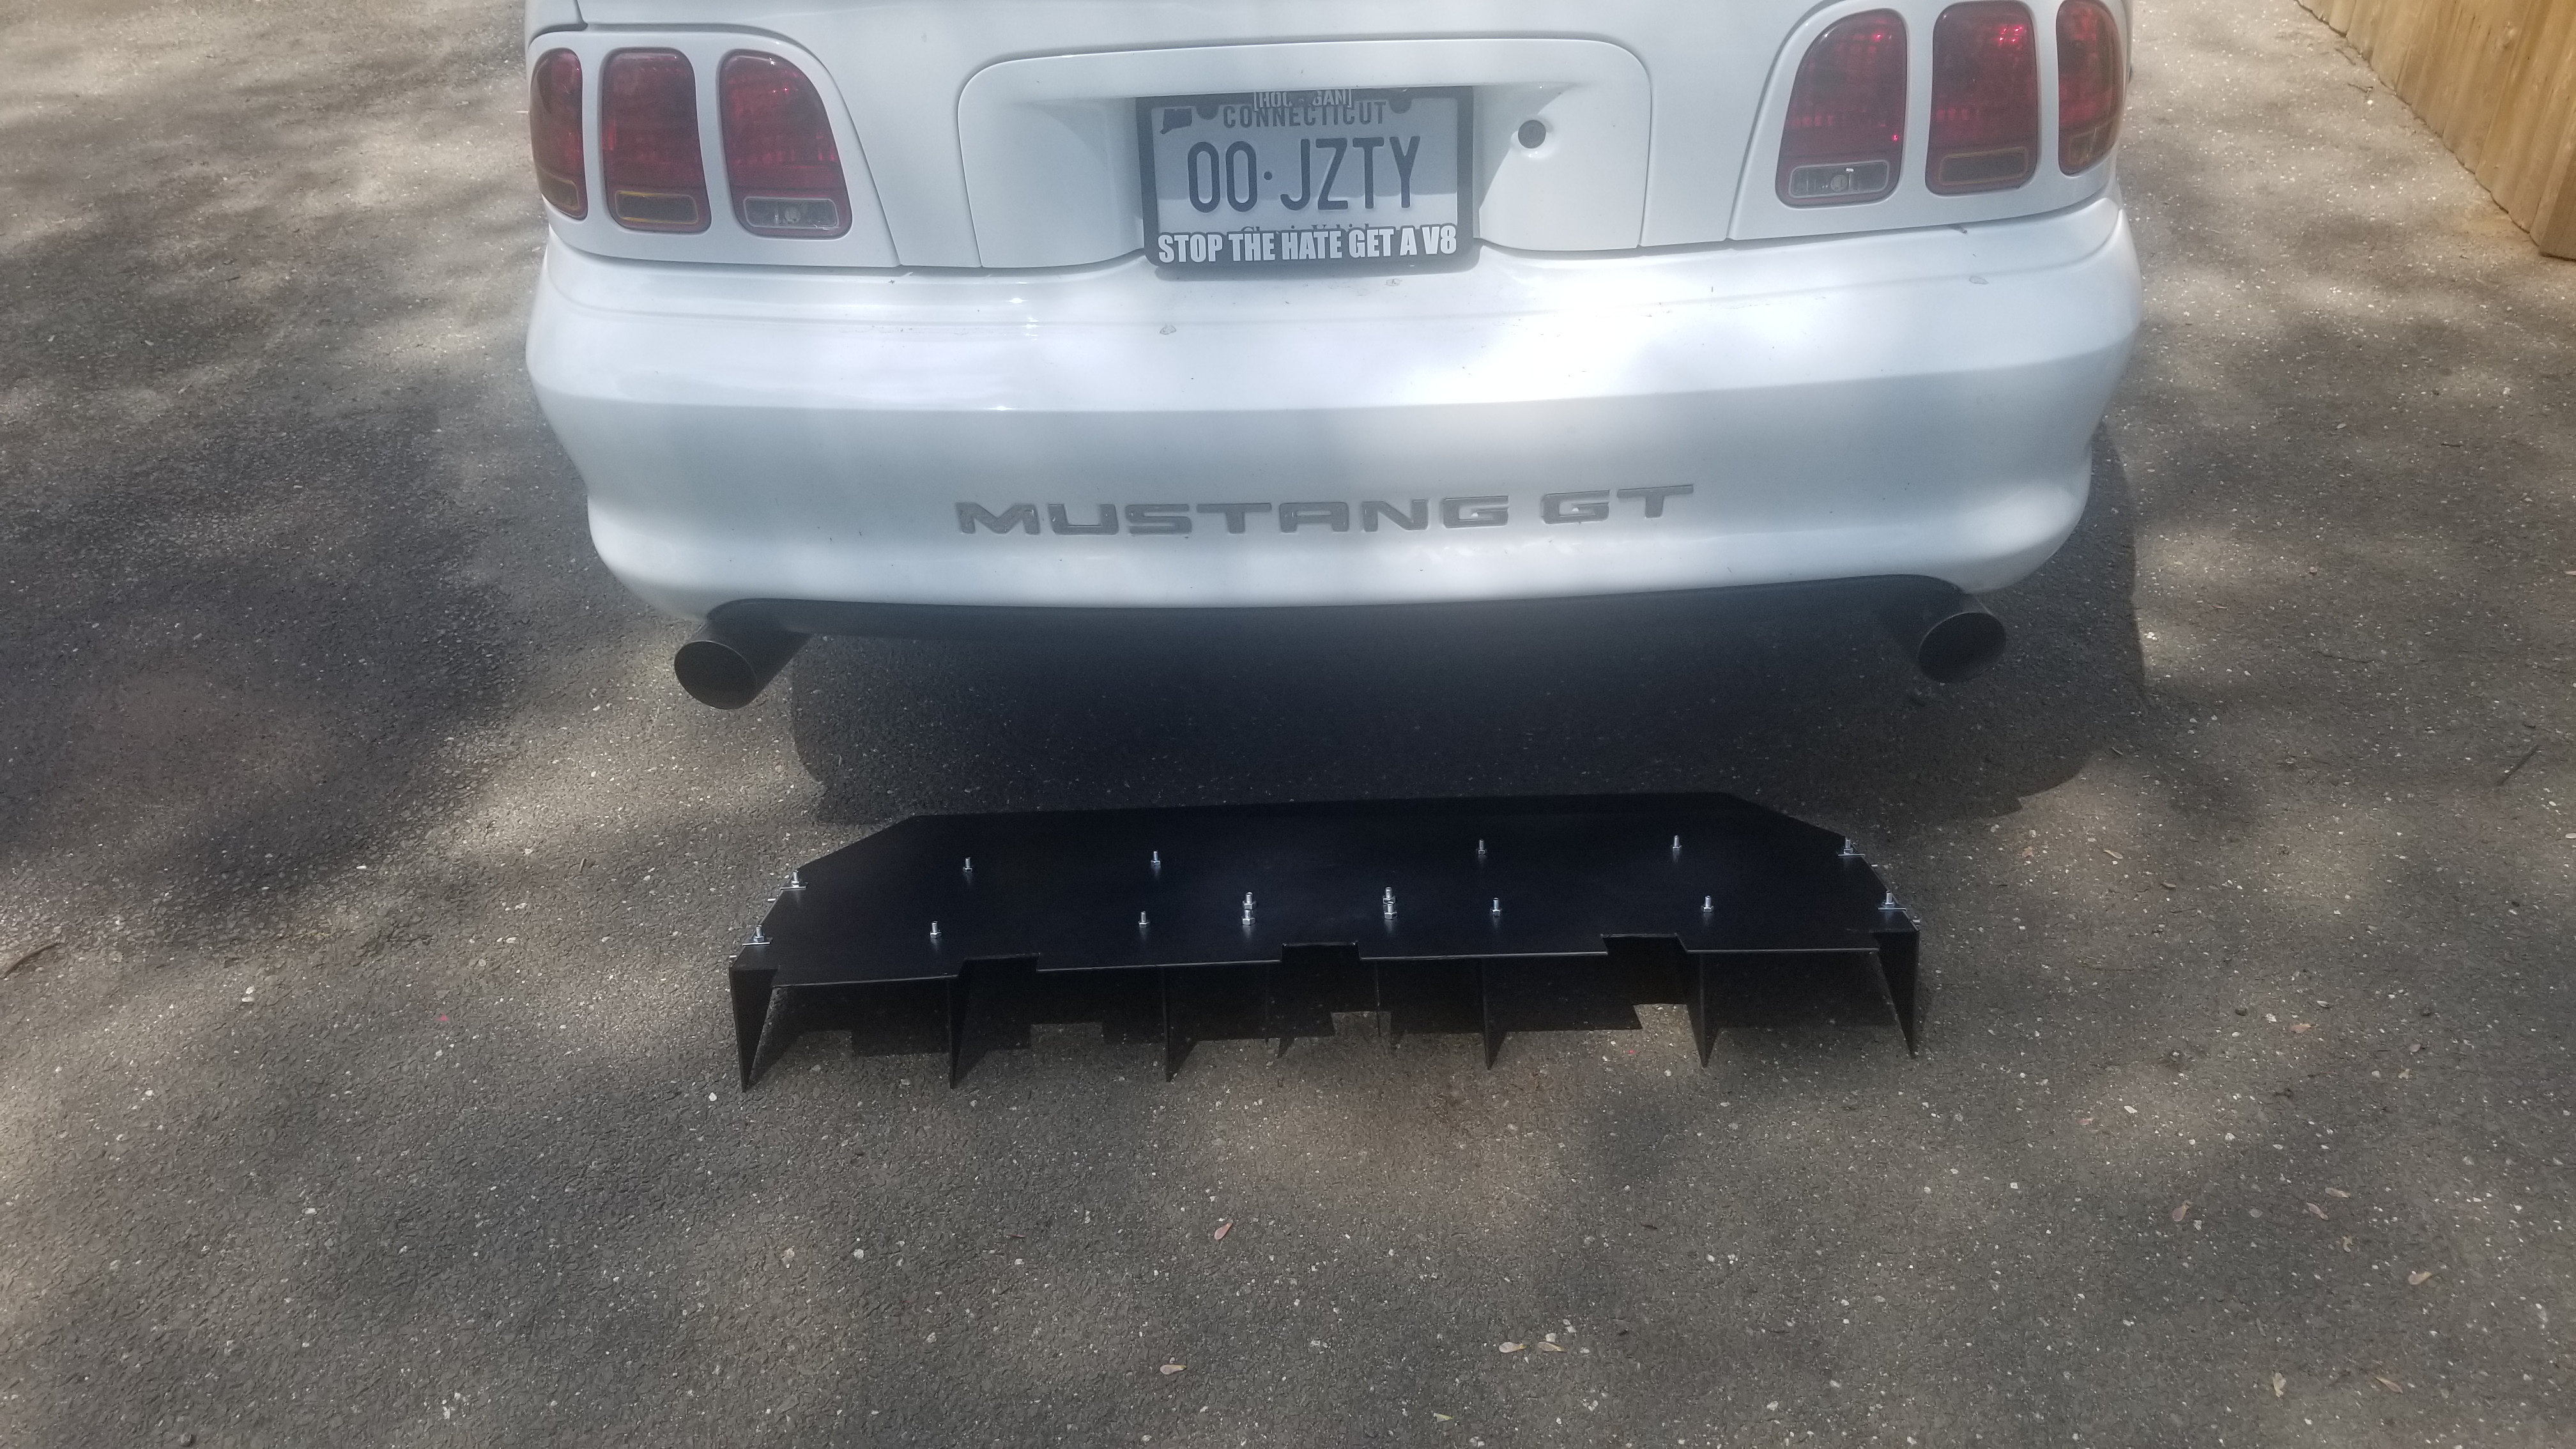
Final test fit before paint
EjaHGo9.jpg

15wZfkb.jpg


Unfortunately these bolts on the side fins won't clear the exhaust tips, lets fix that..
HMdqvkX.jpg

Ground down the ends of the bolts
mUWseIB.jpg

Painted hardware
O7vp5Ik.jpg

Final install
i1UvPGF.jpg

OuA6m6o.jpg

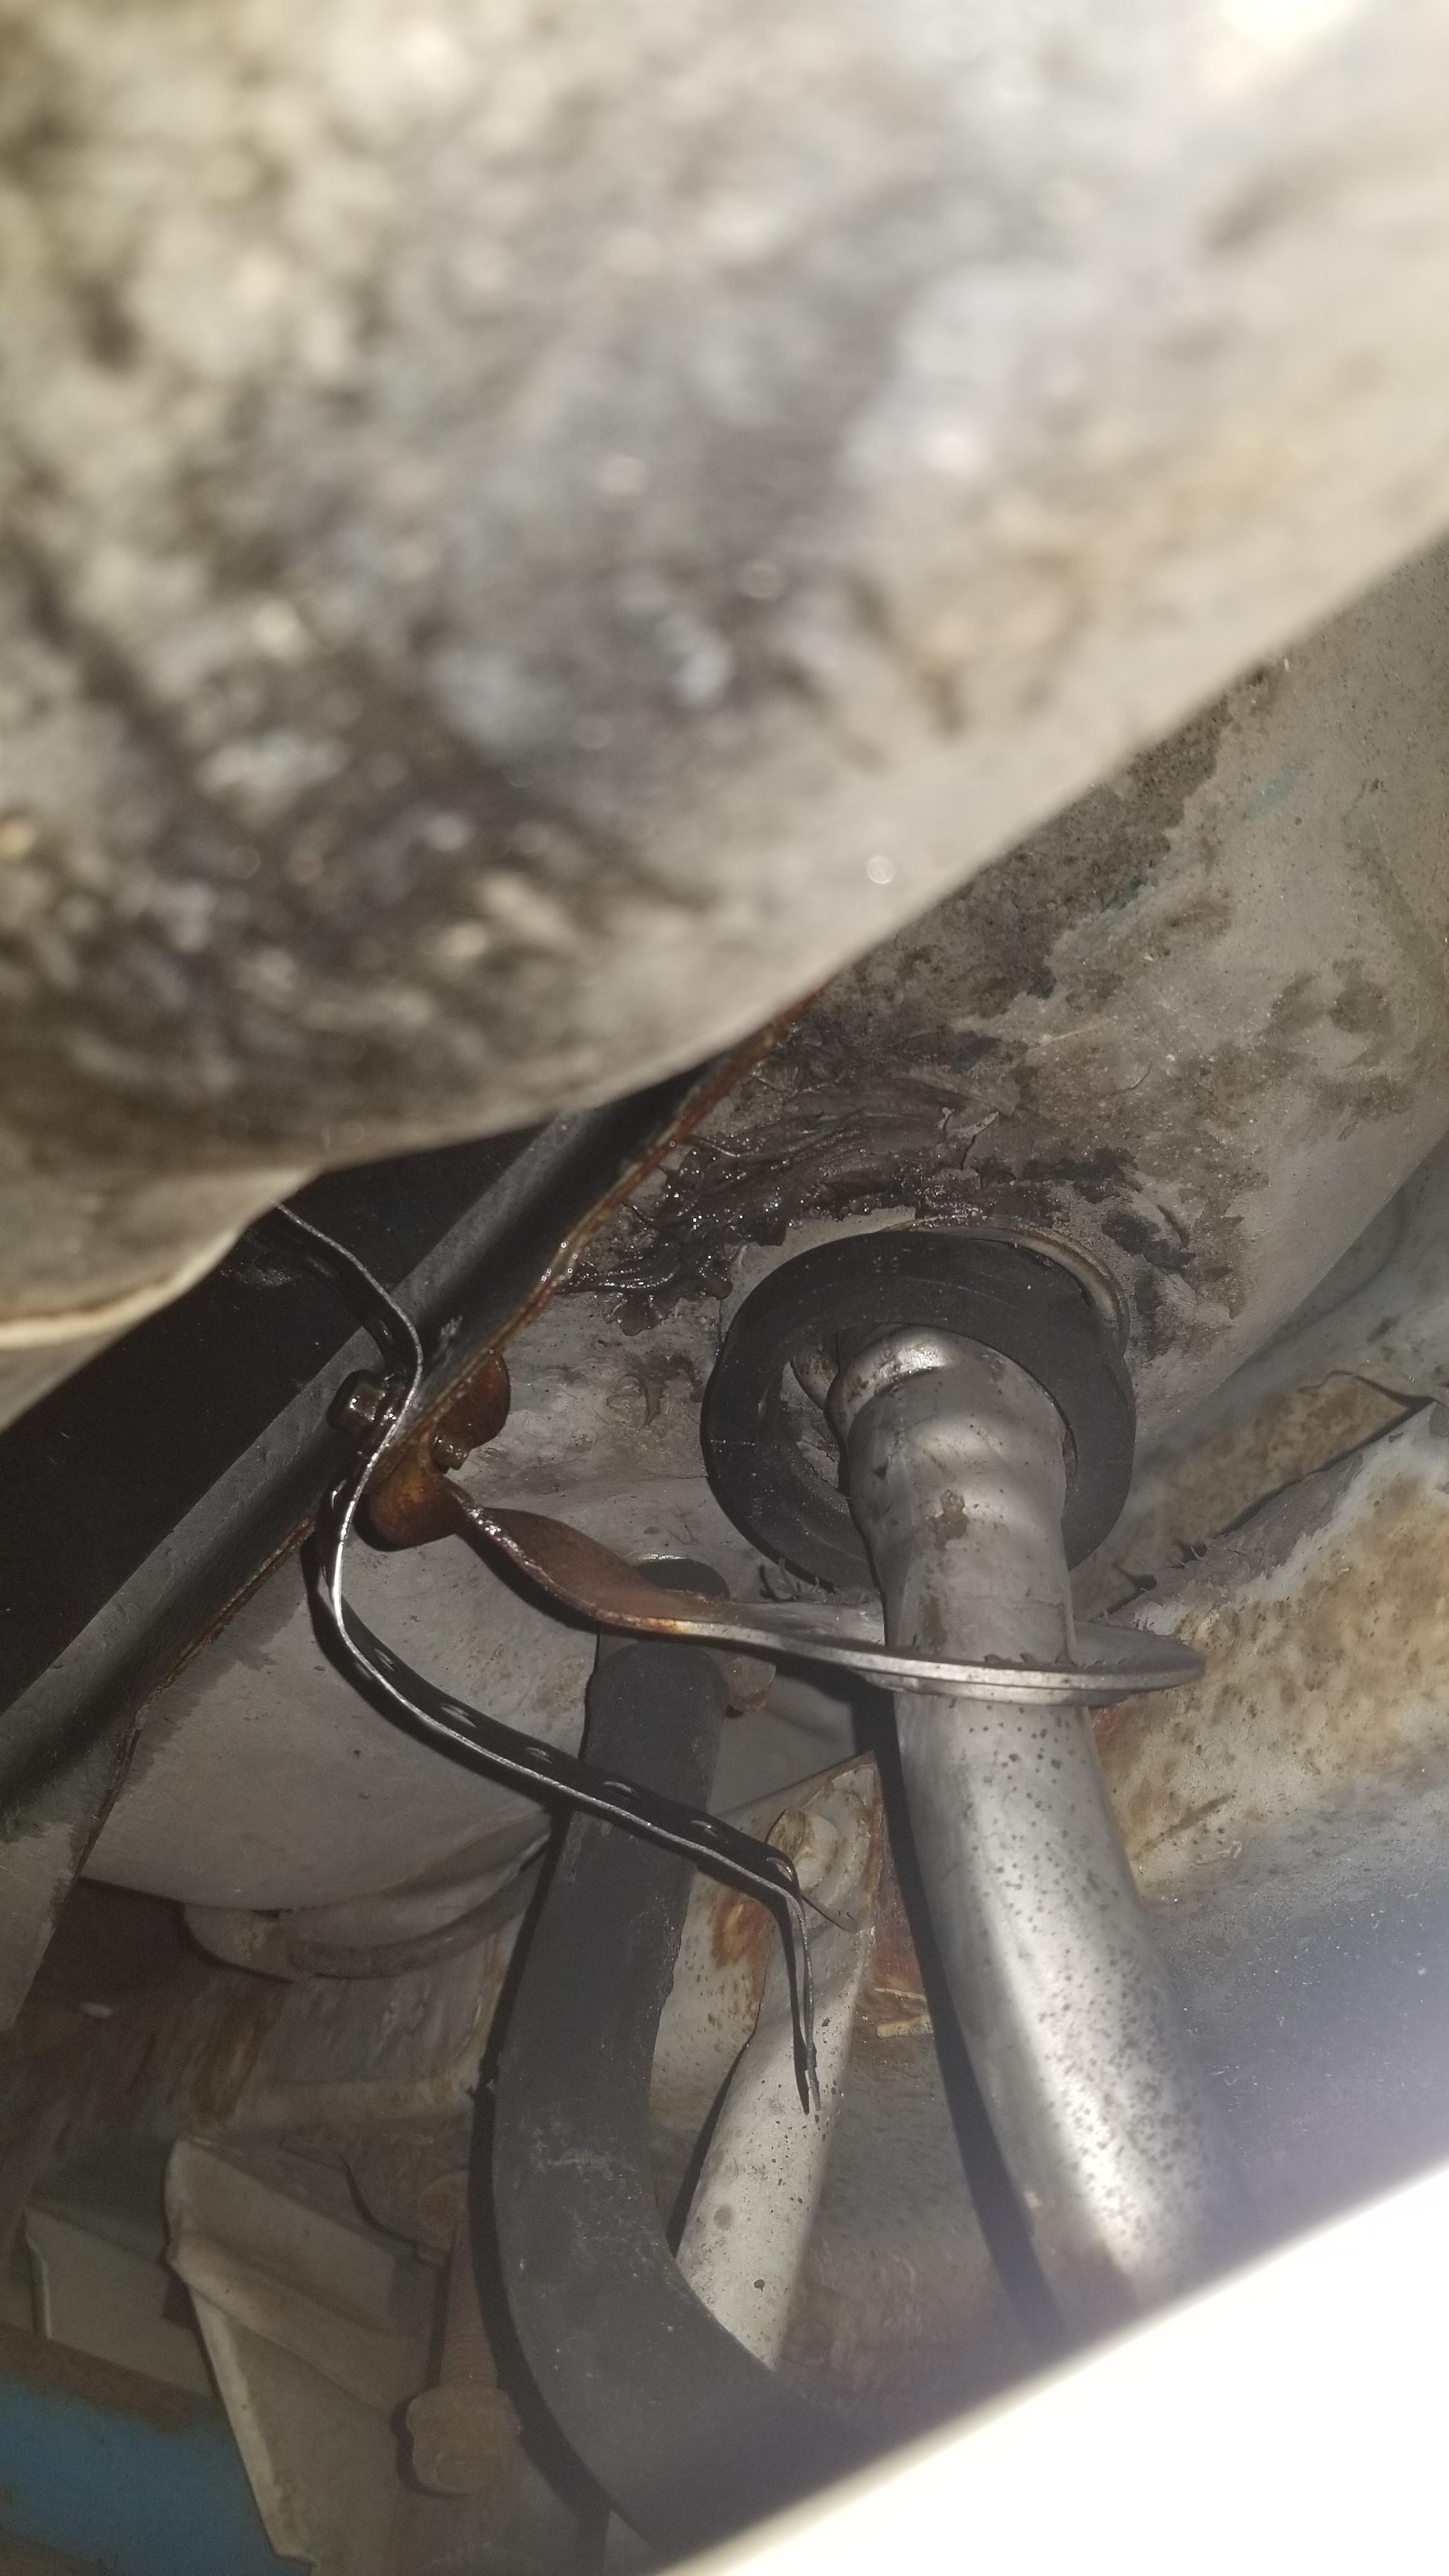
I used the fuel filler neck bracket bolt to hold one of the straps in place, the bracket was already bent up before I touched it, but I guess I moved it around enough to push the filler neck around enough to make the gasket finally let go, however I did not notice this until I went to the gas station to fill up and started to hear gas pour onto the ground after putting about 15 gallons in...
cU6xKlA.jpg

And of course gas made its way onto the diffuser...
yegmFU1.jpg

Should be able to spray the end fin matte black and make it look fine.. but first I am gonna have to replace that gasket... yay. Always something.
 

evilcw311

Most Evil Member!
SN95 Supporter
Joined
May 9, 2010
Messages
7,456
Reaction score
2,136
Location
Louisville, KY
Yeah in hindsight, probably never a good idea to use anything involving fuel for a bracket or bracing.

[emoji1787]


Sent from my iPhone using Tapatalk
 

Latest posts

Forum statistics

Threads
77,508
Messages
1,504,013
Members
14,979
Latest member
TN95gt

Members online

Top