OP
OP
Deceptive GT
Active Member
My plan to prime and run my first pump is through the trigger wire for the FPDM.
The second pump will be on a Hobbs Switch. Going to run it all through the FC3.
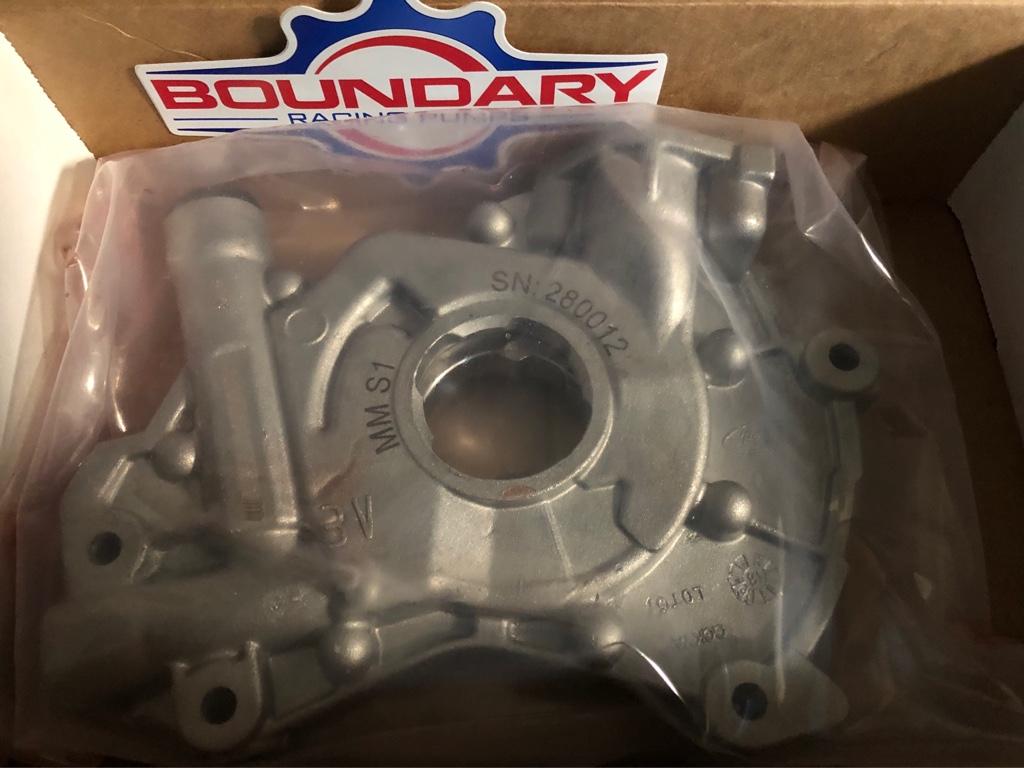
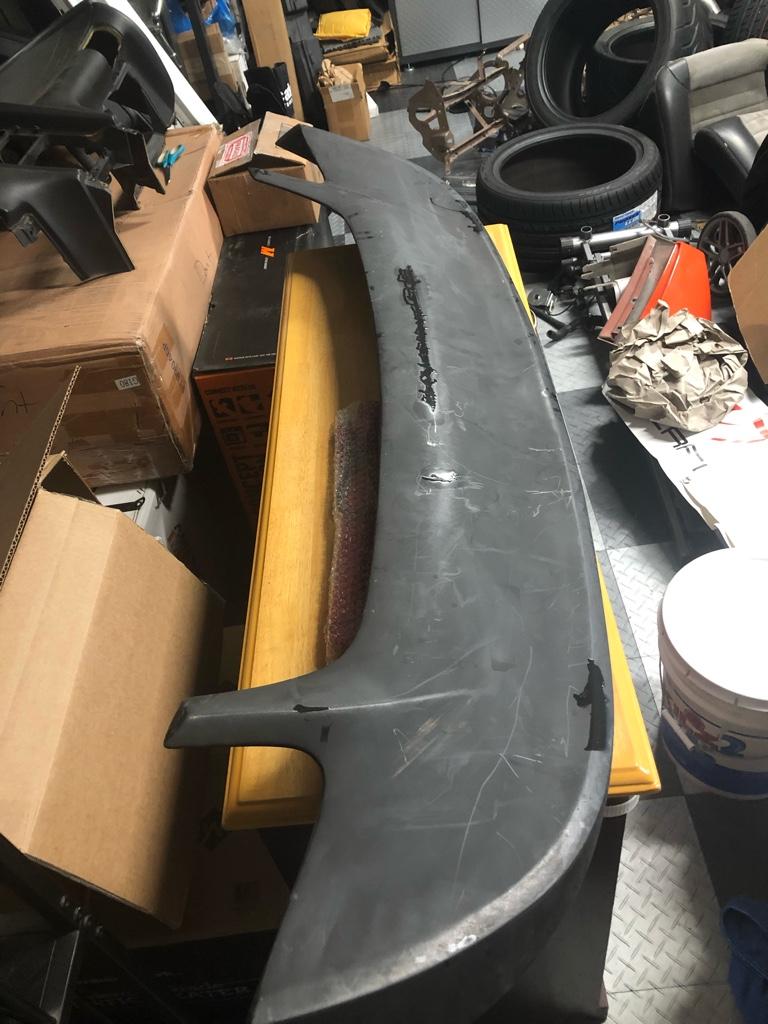
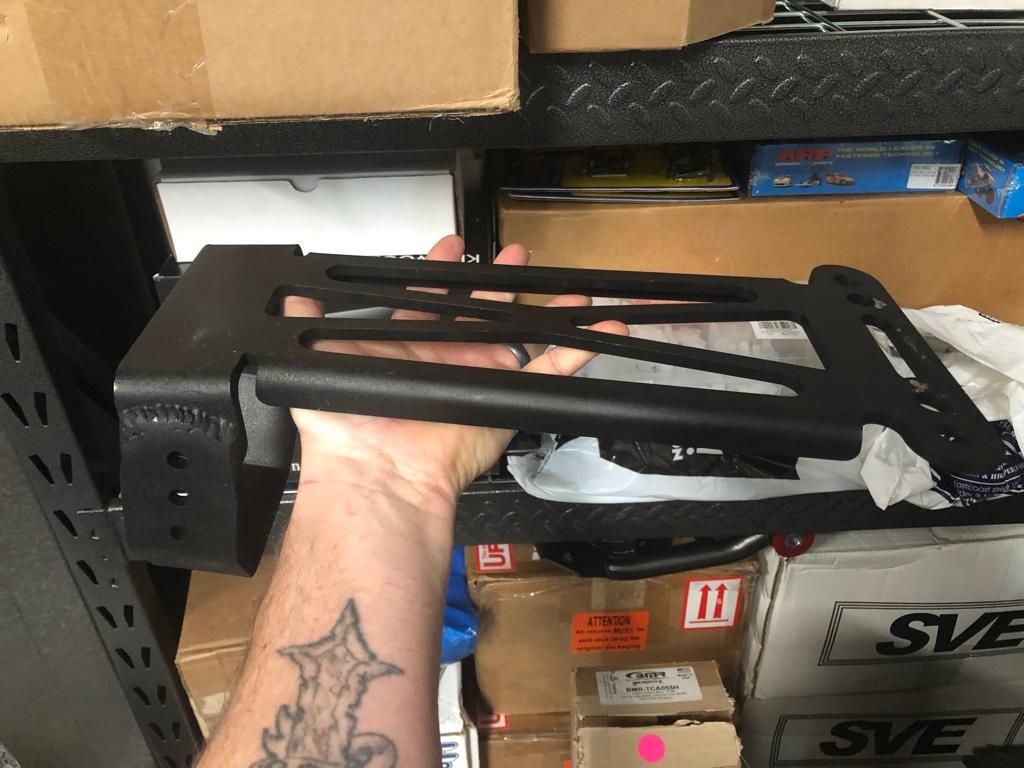
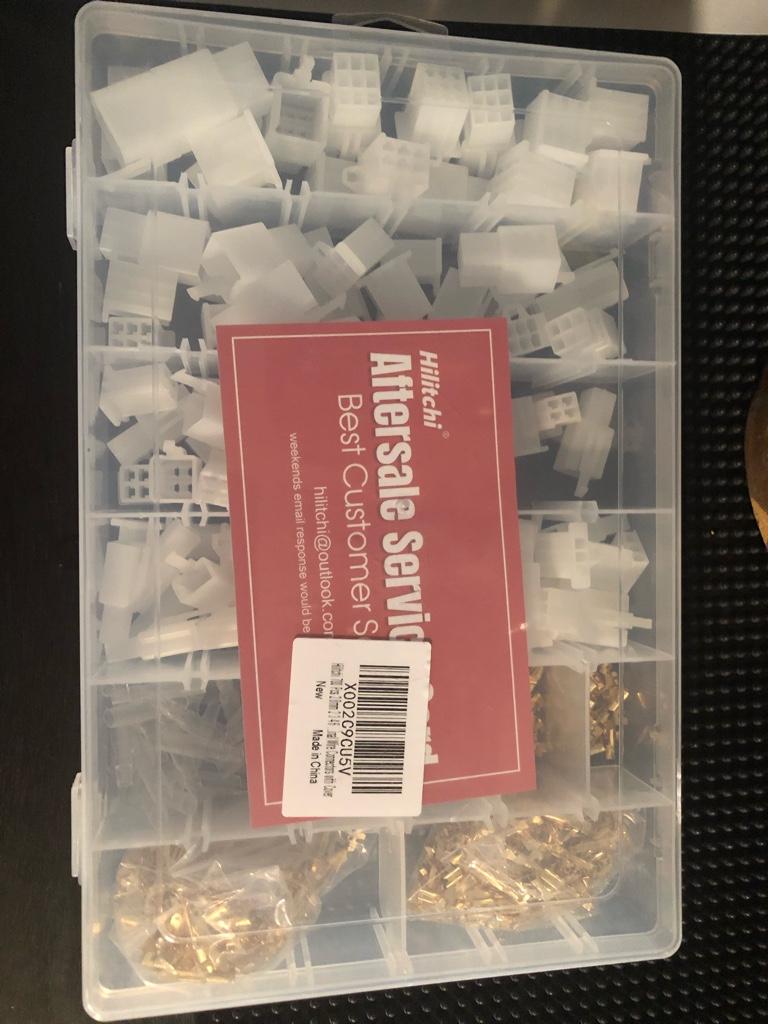
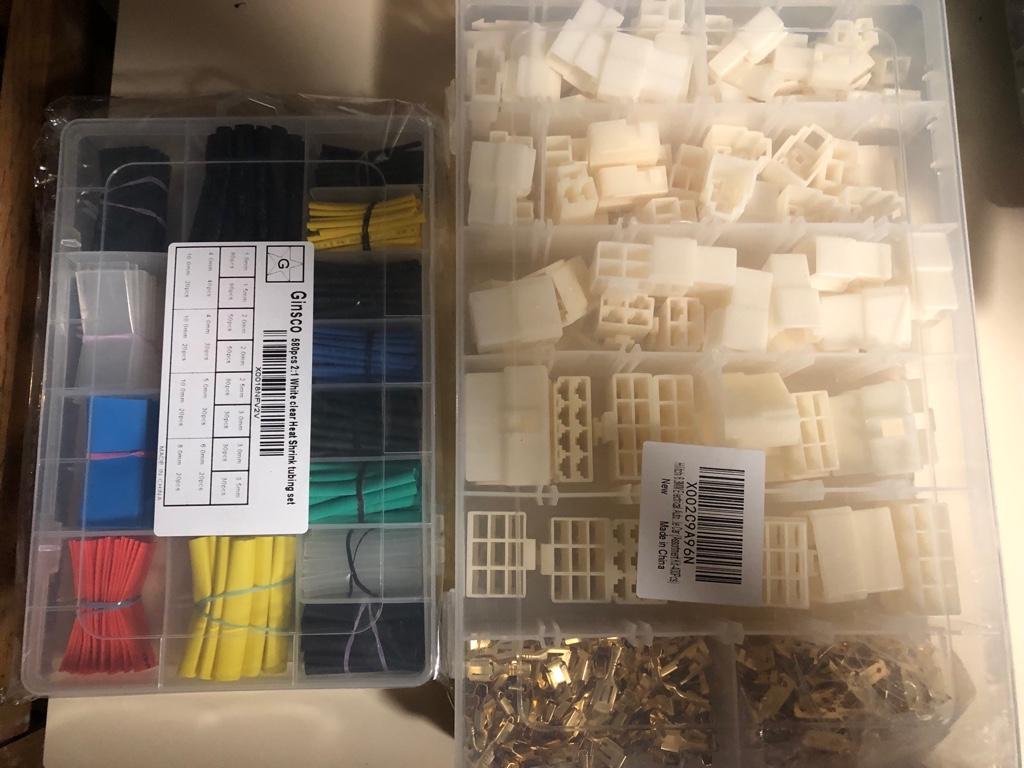
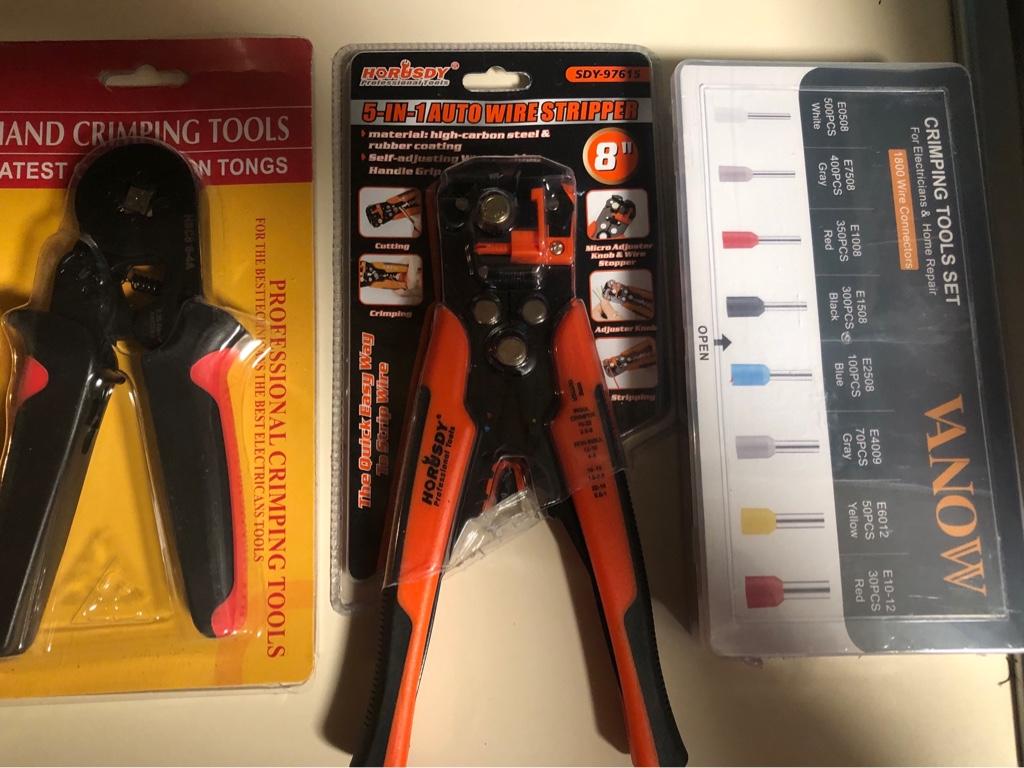
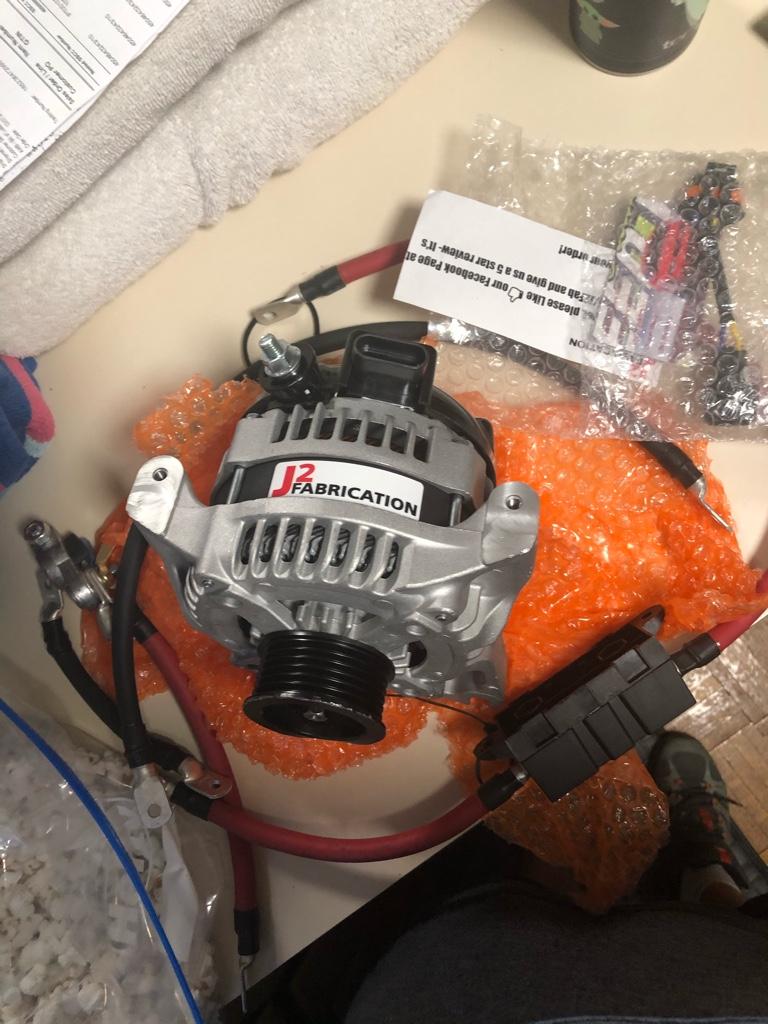
Anyway, more pieces to the puzzle arrived.
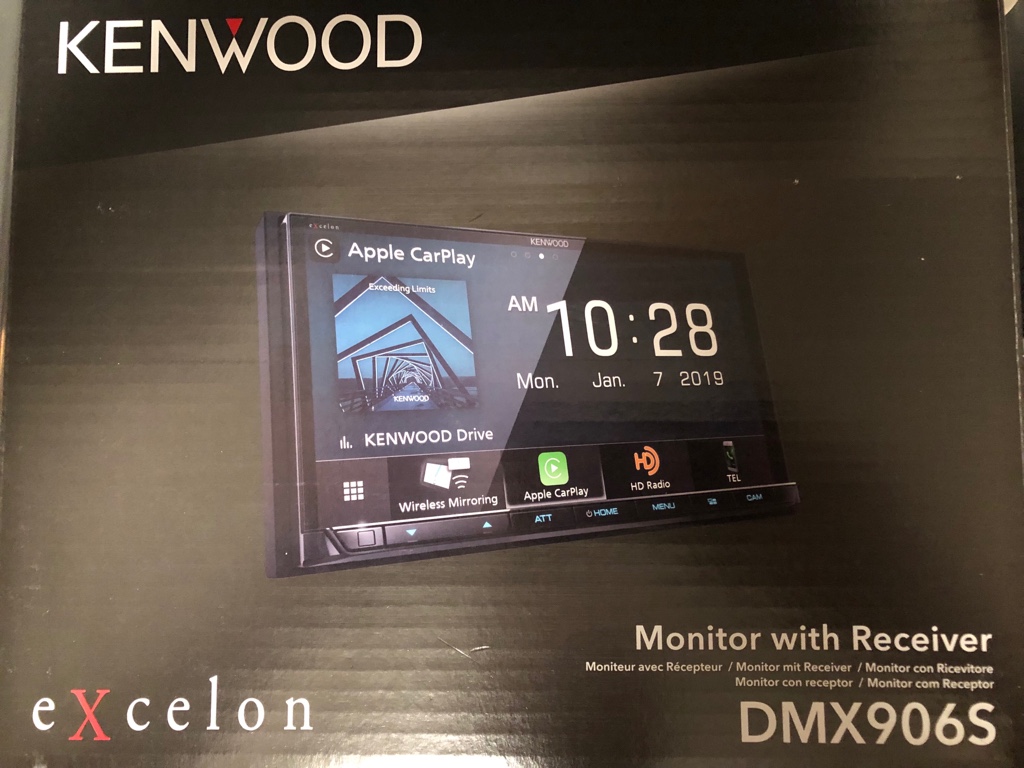
Kenwood Excelon DMX906S
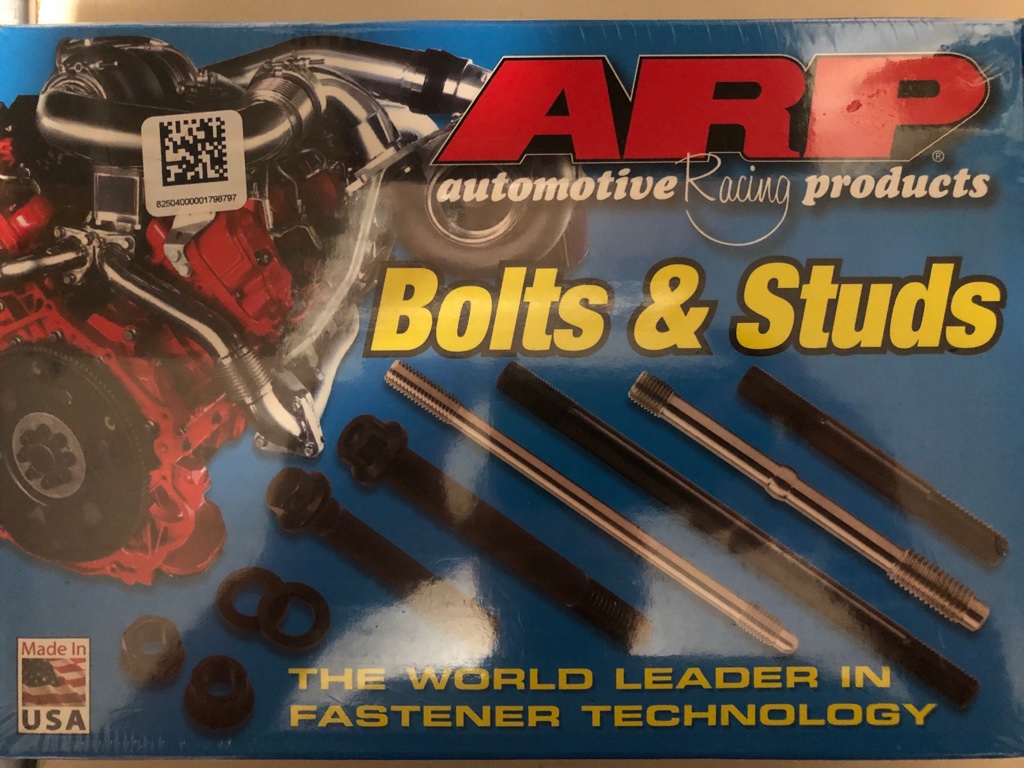
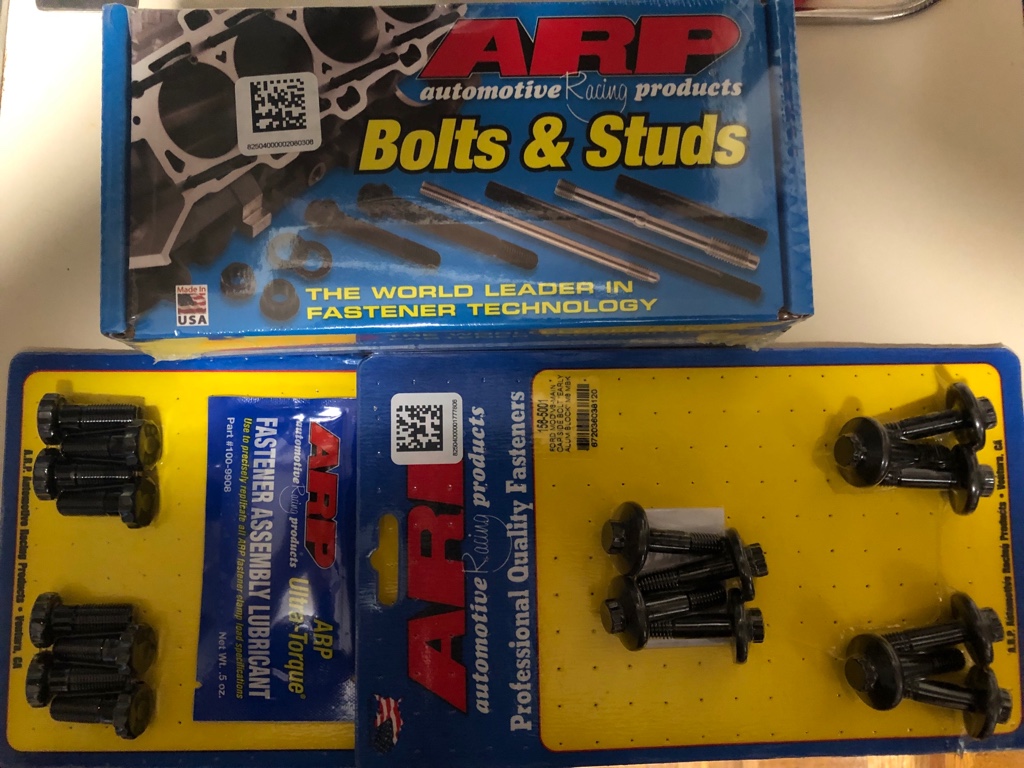
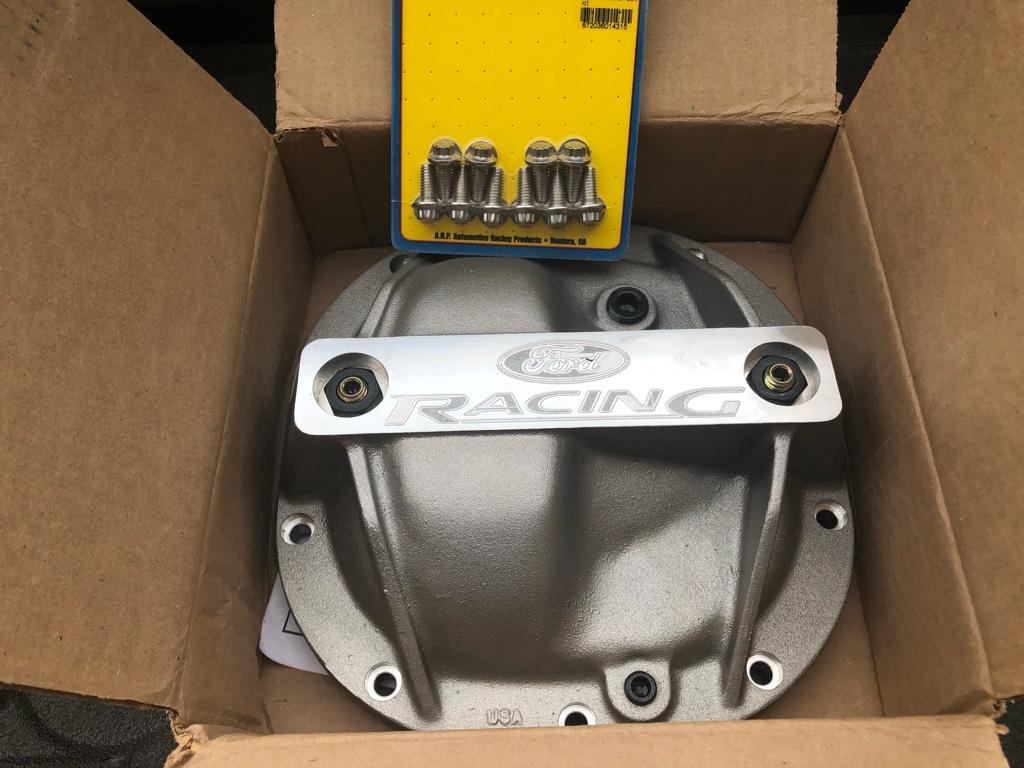
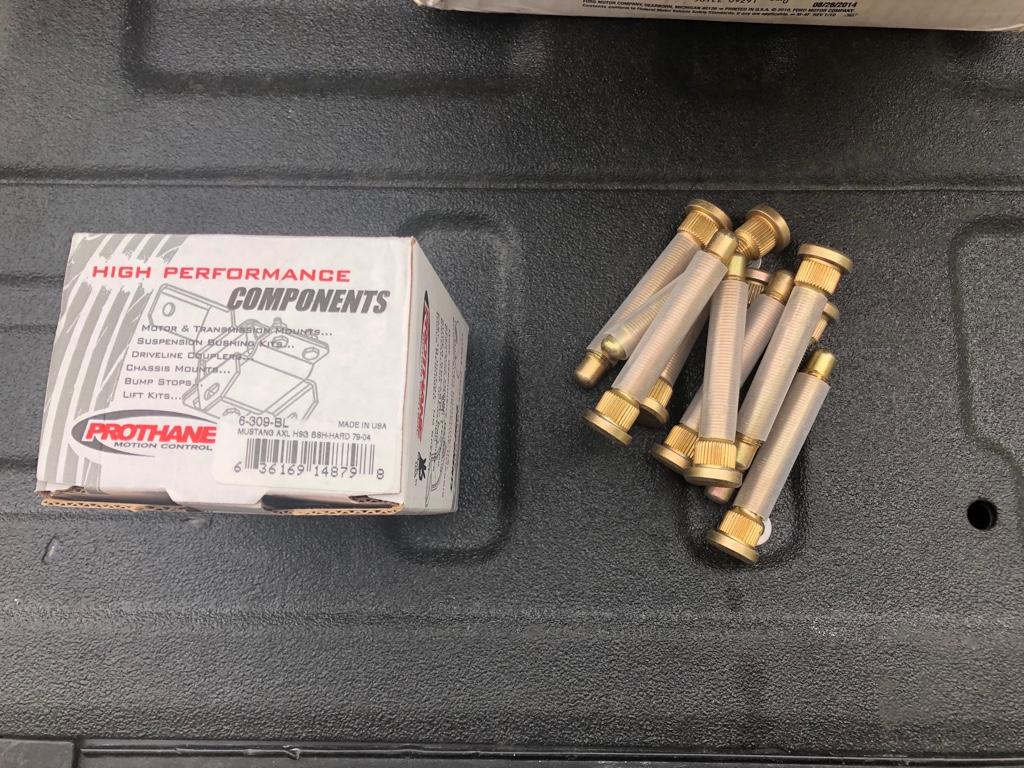
ARP Hardware
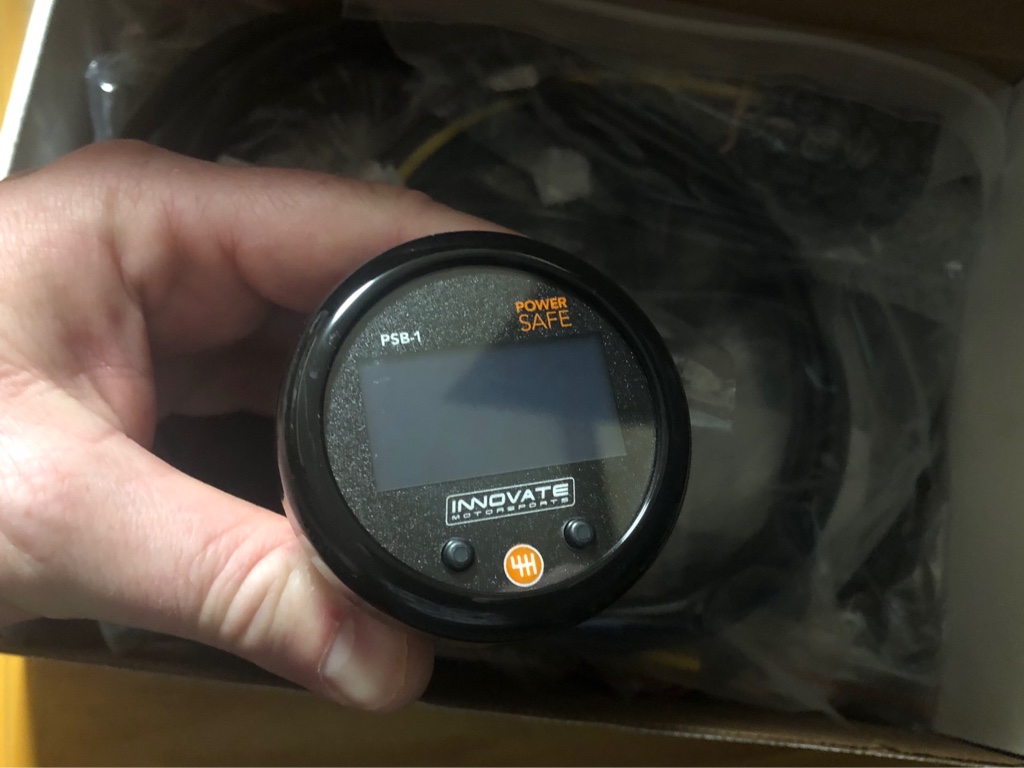
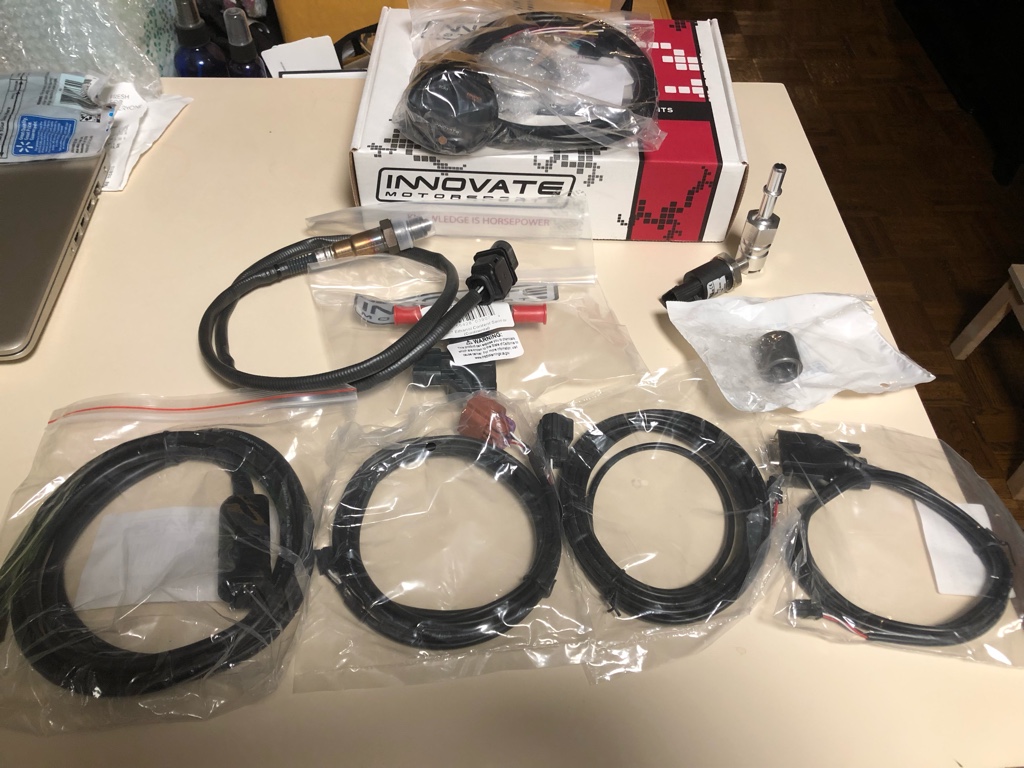
Innovate PSB-1
Sent from my iPhone using Tapatalk
The second pump will be on a Hobbs Switch. Going to run it all through the FC3.
Anyway, more pieces to the puzzle arrived.
Kenwood Excelon DMX906S
ARP Hardware
Innovate PSB-1
Sent from my iPhone using Tapatalk