bhorne89
Member
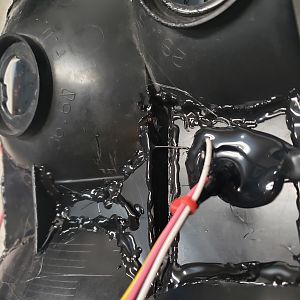
Car is fighting me.... don't they all. Got the fuel system done, and brakes as well. Went to mount the upper intake, it hit the aeromotive fuel rails. So I bought a phenolic spacer, and thought I had it! NOPE, the hood hits and will not close! Damn-it. SO I shaved a bulky part on the underside of the upper plenum, and made it clear the rail, then I was able to get it to fit without the spacer. Still hits the hood.
How the hell do people get 351W under factory hoods??? It looks to me like the AJE K-Member raised the engine. I called AJE< and they just started making engine mounts for DART blocks that lower the engine 5/8", and the EGR tube on the BBK intake has been removed and tapped and plugged. This gets me about 1-1/2"s more room under there, I will keep you posted if this works when i get the mounts in. Hopefully I can save someone the headaches!
As soon as the hood clears, I will mock up the intercooler, and plumbing to it, get the belts on the serpentine set up, and the powersteering hoses. I just want to hear this thing start up!!!
One Day!
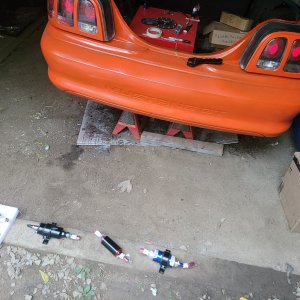
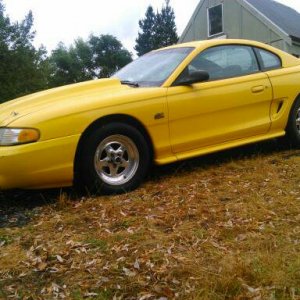
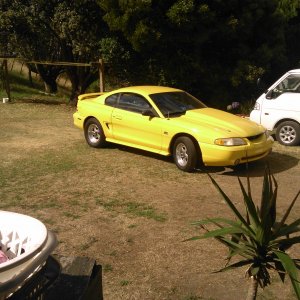
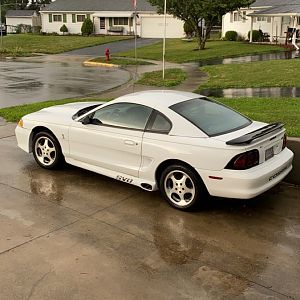
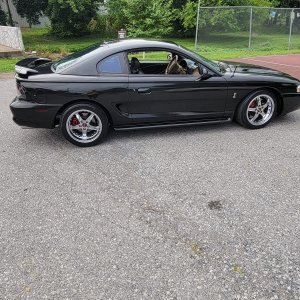
") I will be posting pics soon.
I will be posting pics soon.