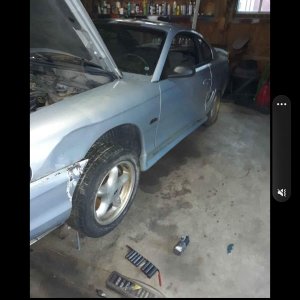
How to repair some curb rash.
If you've rubbed your wheels up against a curb, or you got some new wheels at a discount because of some minor damage, here's an easy way to fix it, and save yourself a bunch of money.
Yes the wheel can still be balanced as normal, the amount of material removed is minimal.
What you will need:
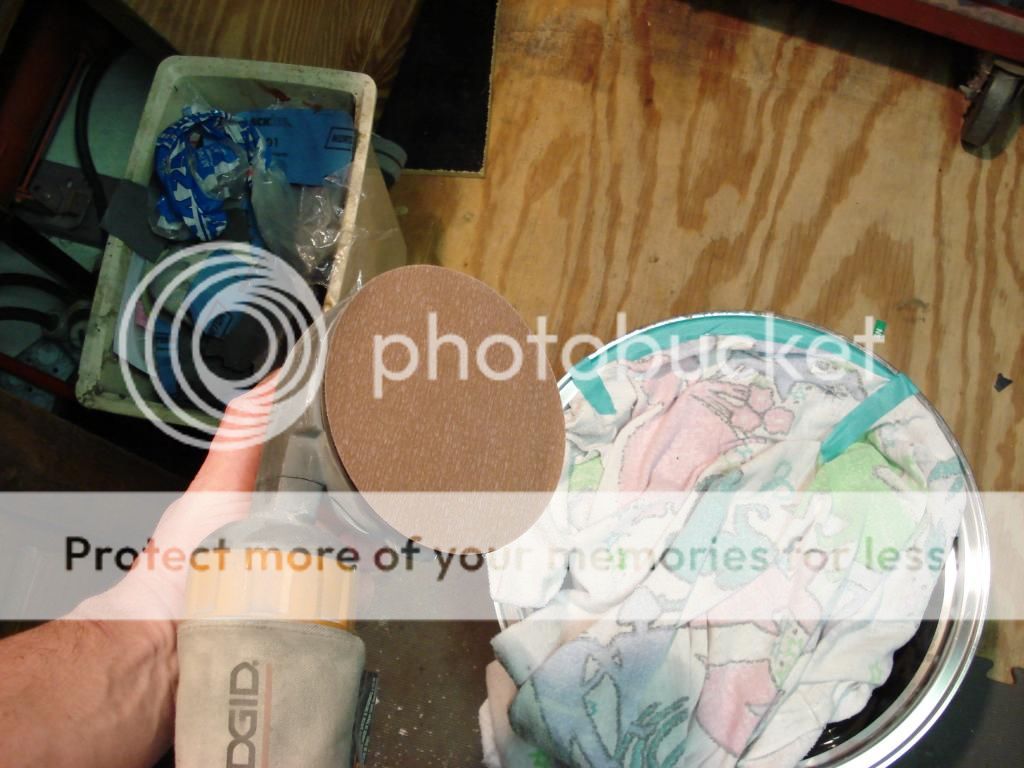
- Sand paper, varying in grits, based on the job.
- A dual action sander will help a lot.
- Some of your favorite metal polish and a buffing wheel if you have one.
What I used:
- Sandpaper
- 80 Grit
- 100 grit
- 220 grit
- 320 Grit
- 400 Grit
- 500 Grit
- 600 Grit (used by hand, not on the D.A.)
- 800 Grit
- 1200 Grit
- 1500 Grit (By hand)
- 2000 Grit (By hand)
- Mothers Mag and Aluminum Polish With a terry cloth
- About an hour of time
Please note, you don't need to use all those different grits, I just did because I had them. It makes going to the next step a bit easier to remove all the old scratches, however, it can be done with other variations.
Anyways, here goes:
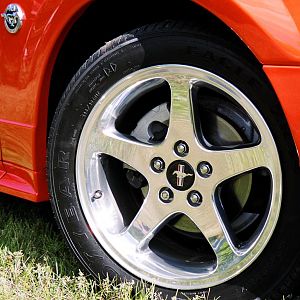
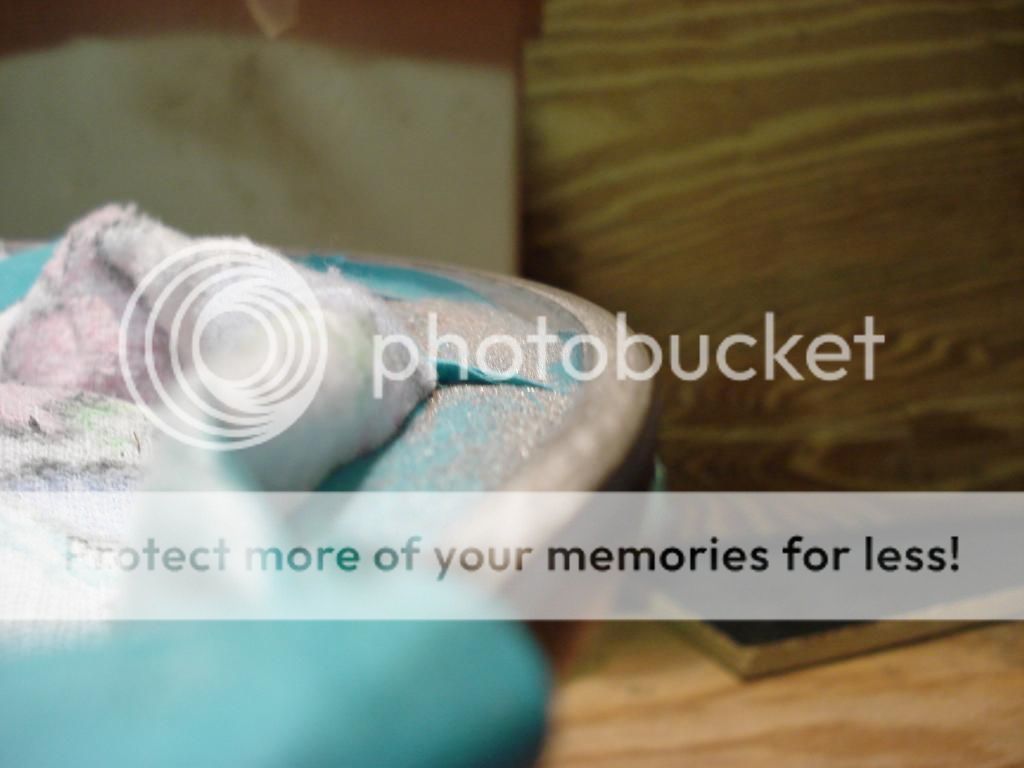
Start off by assessing your damage.
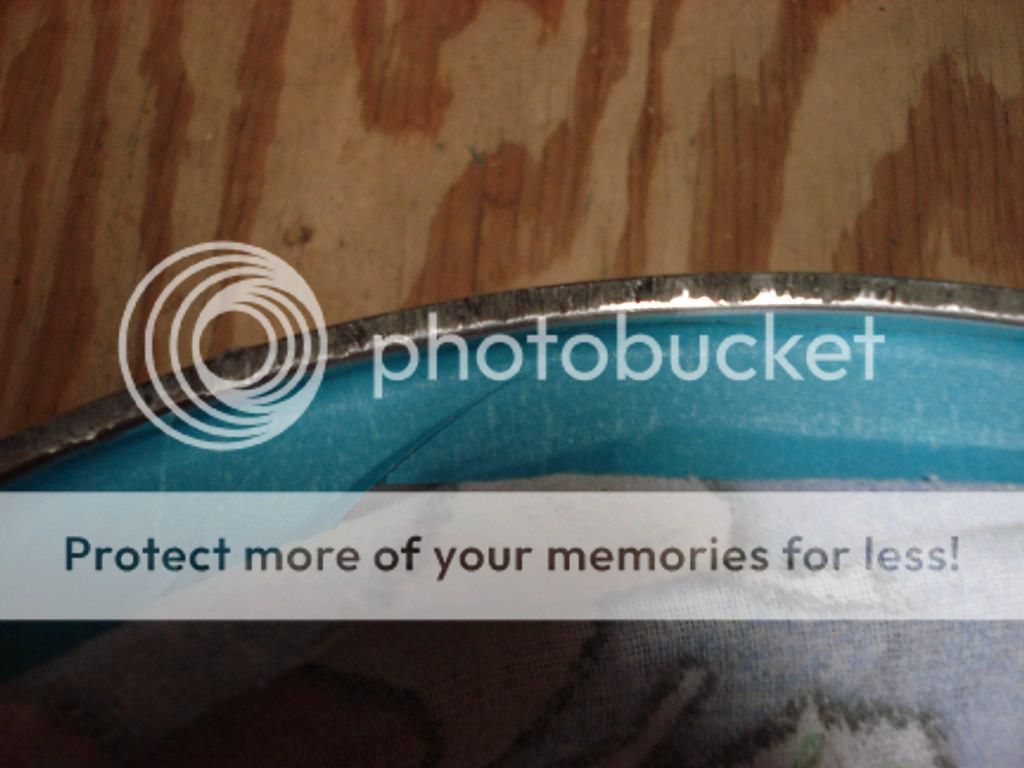
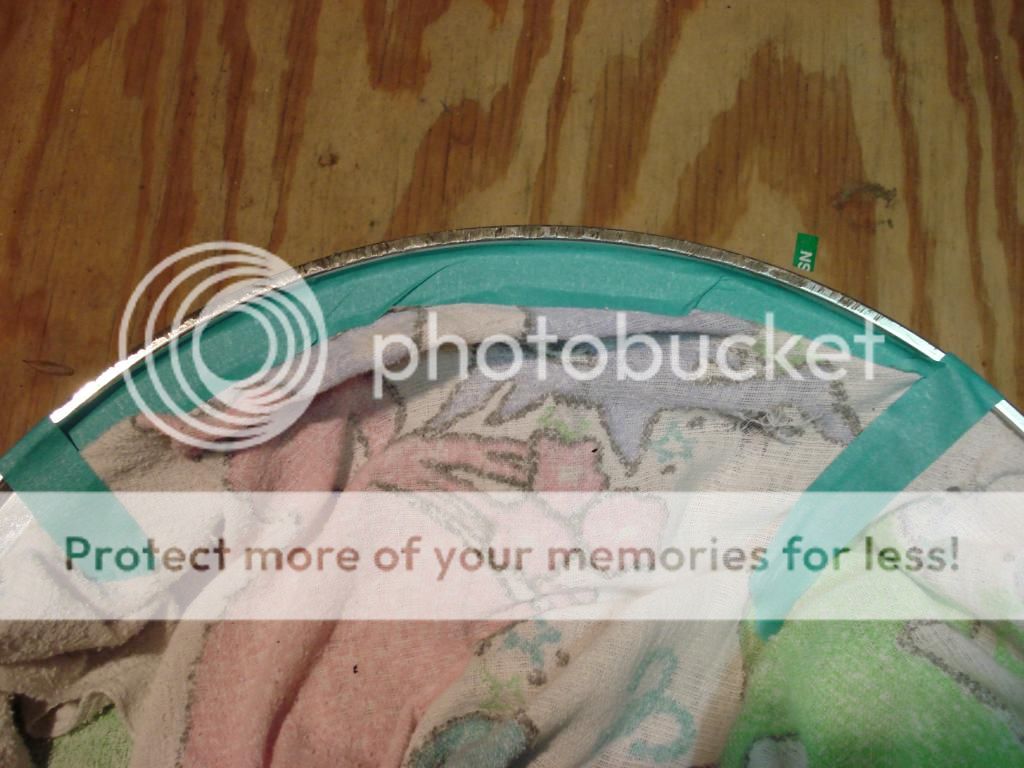
As you can see, there's a pretty ugly rash here. I already taped up the damaged area to separate it from the rest of the wheel, and covered the face, just to be careful.
Let the tool do the work")
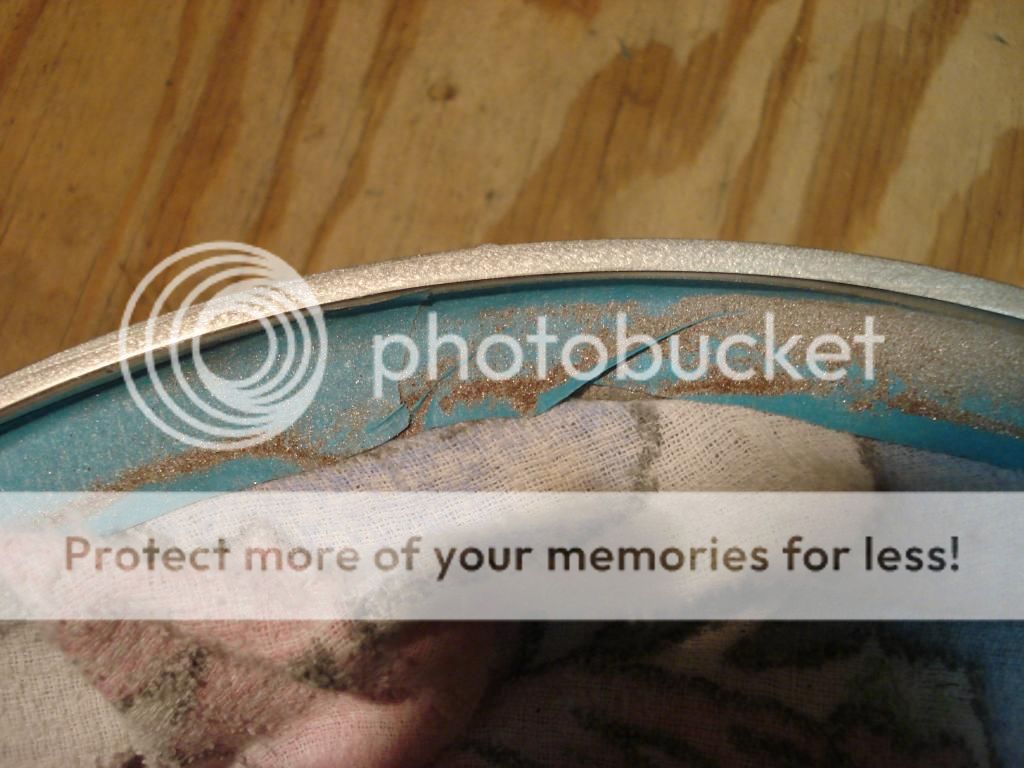
After being knocked down with some 80 grit.
Working up the grit
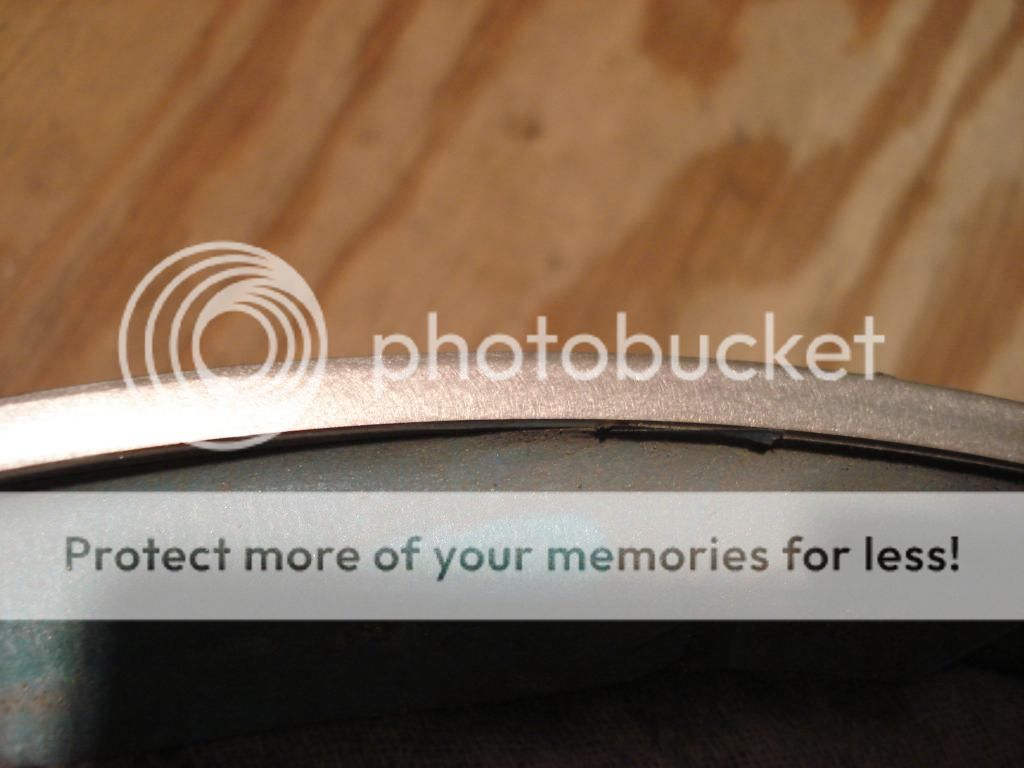
This was 600 grit. It looks smoother now because it's done by hand. It took out all the swirls created by the D.A.

It's ok if you get into your tape line just a bit. It's going to polish out anyhow.
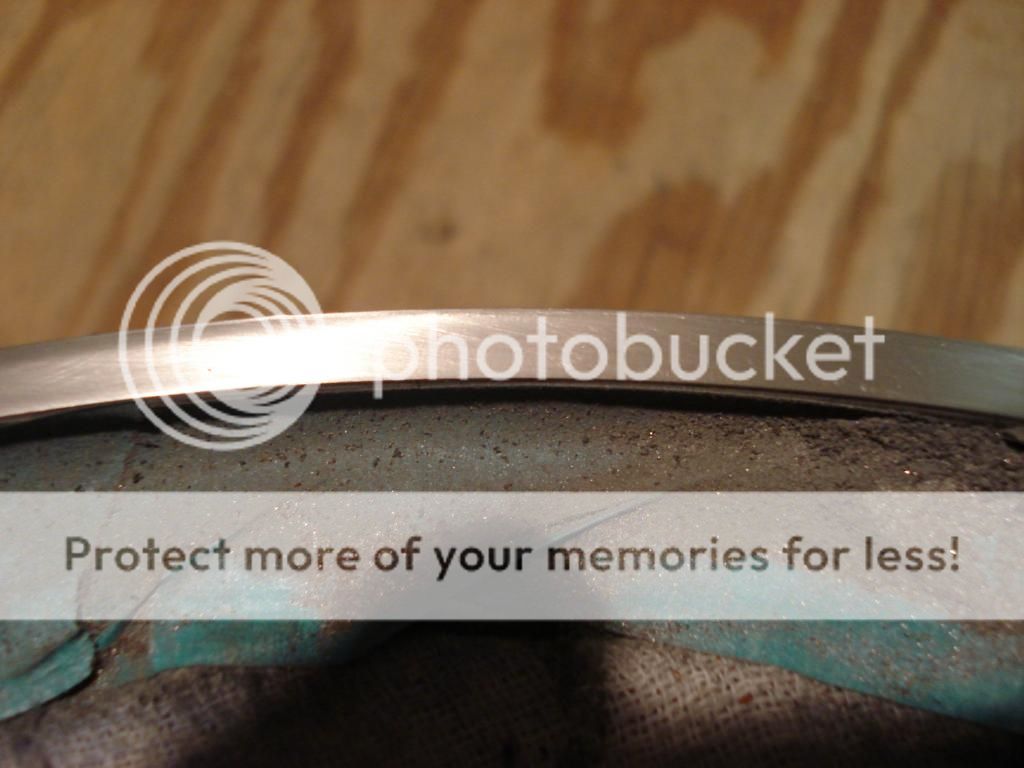
That's after 2000 grit by hand.
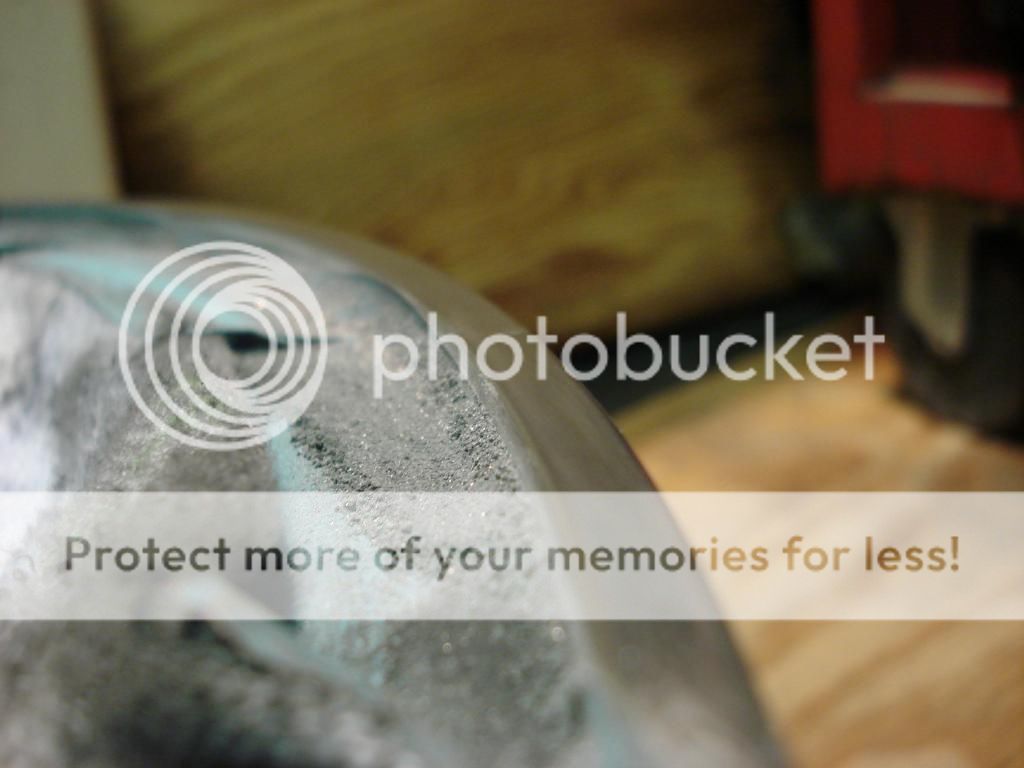
Here you can see the difference in the damaged area, and the factory.
Now the rest of the rim needs to be polished, however, in person you can't really tell the difference. This is good enough to fix the little rashes that bug the heck out of you. Will look worlds better than the rash mess.
I'll be finishing the wheels up later. After this I would do sealant, etc. However, this is just how to fix the rash. I'll be sealing them up sometime soon.
If you've rubbed your wheels up against a curb, or you got some new wheels at a discount because of some minor damage, here's an easy way to fix it, and save yourself a bunch of money.
Yes the wheel can still be balanced as normal, the amount of material removed is minimal.
What you will need:
- Sand paper, varying in grits, based on the job.
- A dual action sander will help a lot.
- Some of your favorite metal polish and a buffing wheel if you have one.
What I used:
- Sandpaper
- 80 Grit
- 100 grit
- 220 grit
- 320 Grit
- 400 Grit
- 500 Grit
- 600 Grit (used by hand, not on the D.A.)
- 800 Grit
- 1200 Grit
- 1500 Grit (By hand)
- 2000 Grit (By hand)
- Mothers Mag and Aluminum Polish With a terry cloth
- About an hour of time
Please note, you don't need to use all those different grits, I just did because I had them. It makes going to the next step a bit easier to remove all the old scratches, however, it can be done with other variations.
Anyways, here goes:
Start off by assessing your damage.
As you can see, there's a pretty ugly rash here. I already taped up the damaged area to separate it from the rest of the wheel, and covered the face, just to be careful.
Let the tool do the work
After being knocked down with some 80 grit.
Working up the grit
This was 600 grit. It looks smoother now because it's done by hand. It took out all the swirls created by the D.A.
It's ok if you get into your tape line just a bit. It's going to polish out anyhow.
That's after 2000 grit by hand.
Here you can see the difference in the damaged area, and the factory.
Now the rest of the rim needs to be polished, however, in person you can't really tell the difference. This is good enough to fix the little rashes that bug the heck out of you. Will look worlds better than the rash mess.
I'll be finishing the wheels up later. After this I would do sealant, etc. However, this is just how to fix the rash. I'll be sealing them up sometime soon.


![IMG_20140524_152057360_HDR[1]](/data/xfmg/thumbnail/0/66-1b90088565df25d76ff5bd73b7f47142.jpg?1623783787)