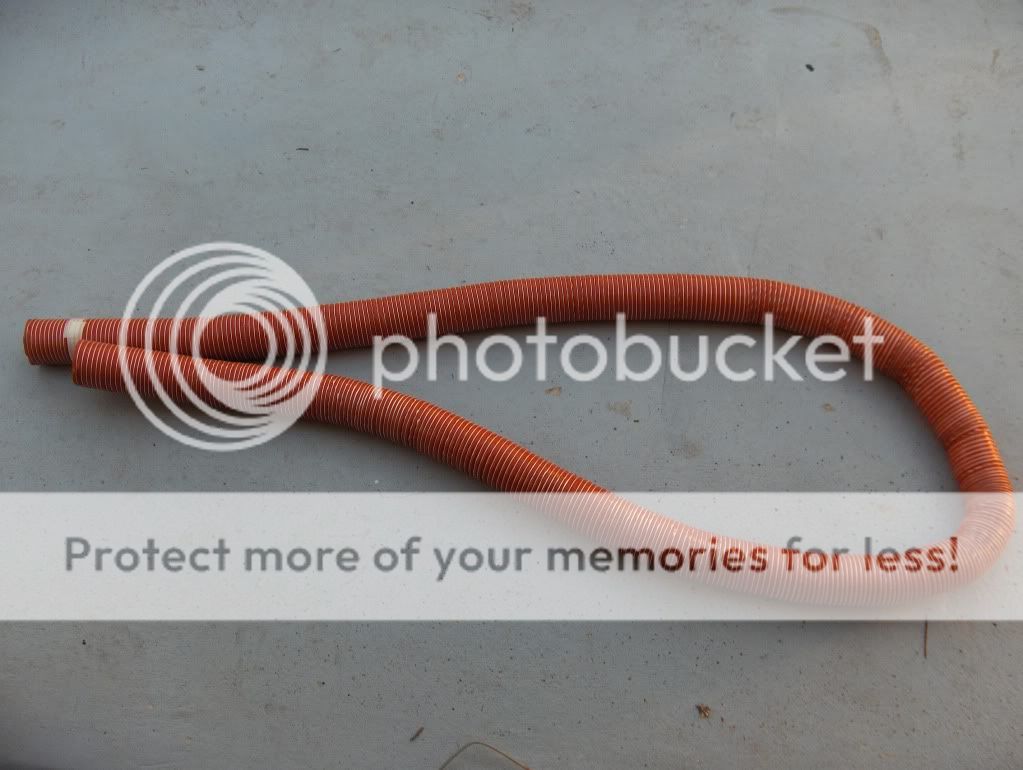
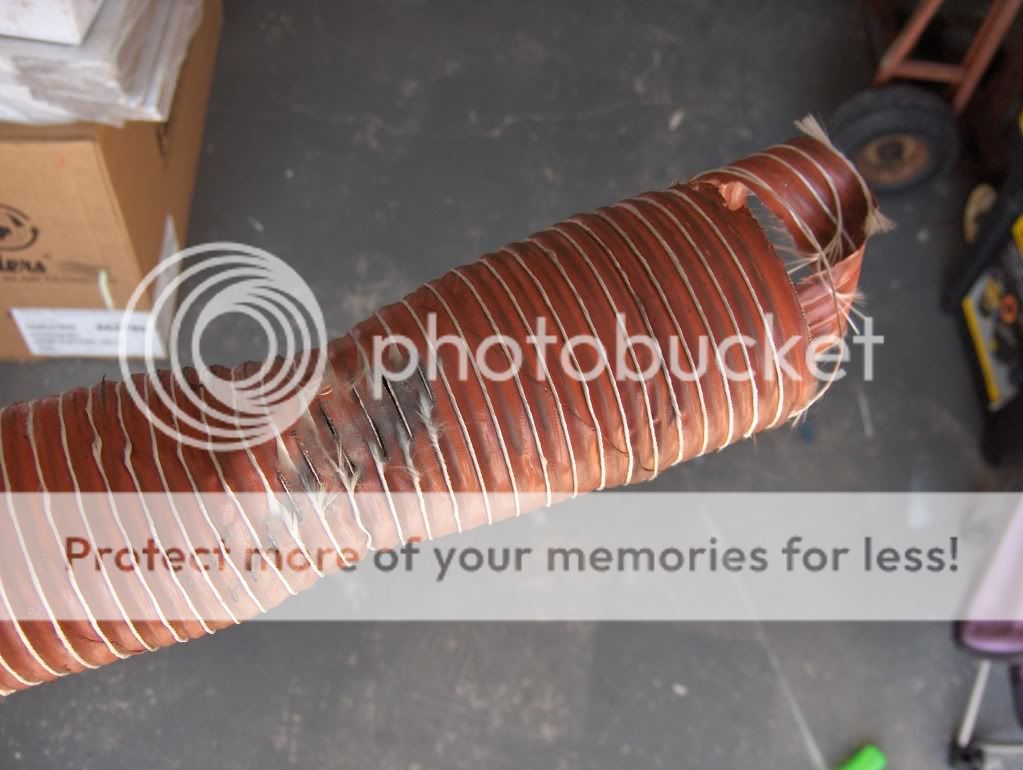
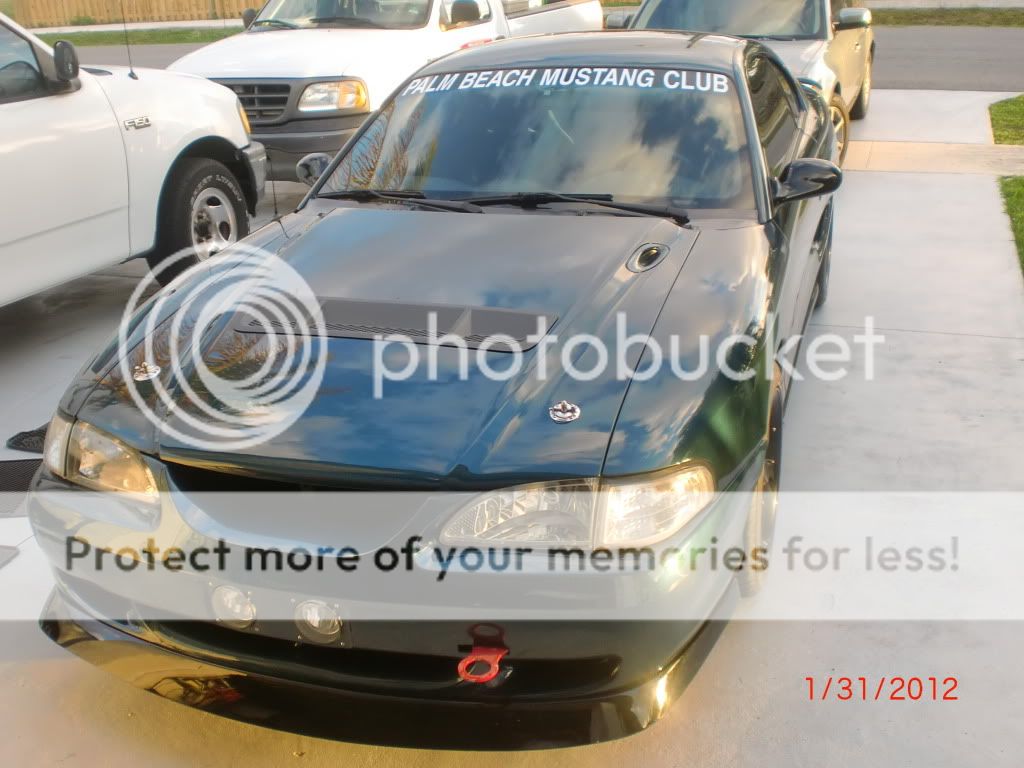
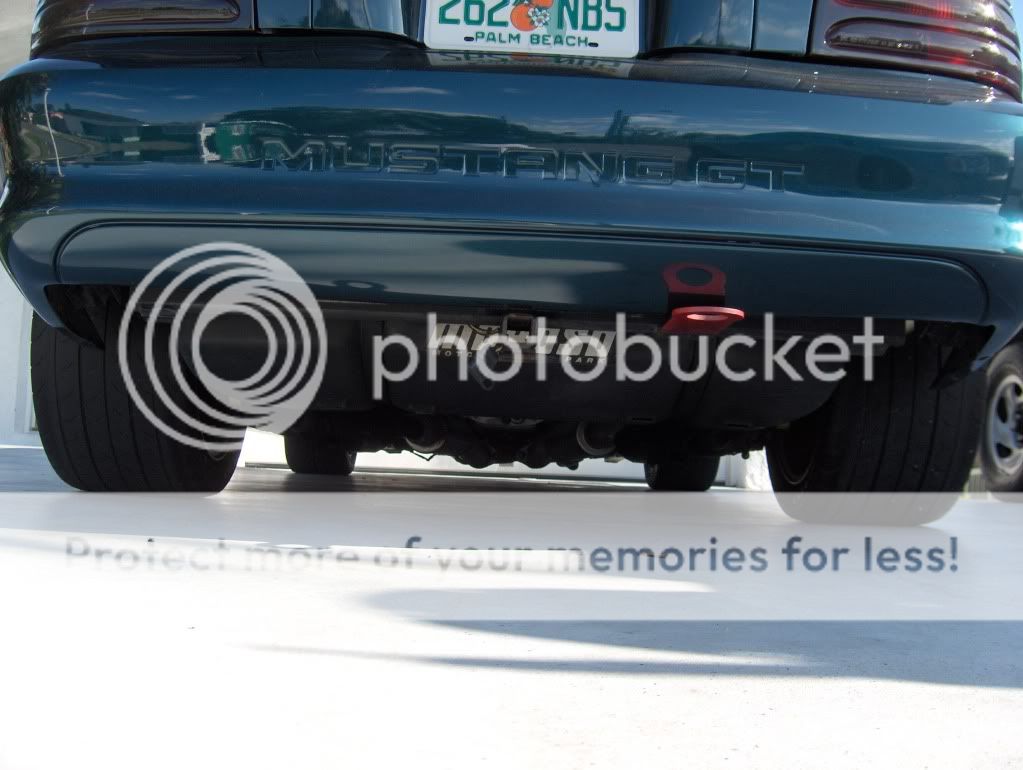
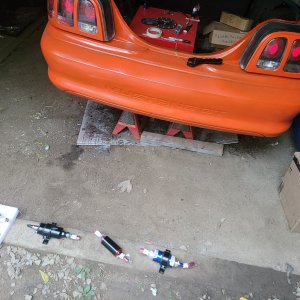
So about a day after the install of the new brake ducts they got destroyed. Seems because of their large 3.5" size they came to much into contact with the inside rim and got ripped apart. Also there was a sticky weight on the inside edge of the rims that helped rip them before they too were torn off never to be seen again. Good thing I got those free years ago. That stuffs not cheap. The fix, buy new smaller 3" duct and rework the fog light scoops. I found 12' feet of it on Ebay for real cheap, $30 shipping included. Got it all in today with extra zip ties to keep it away from the inside of the wheel. I had to buy 2 reducer's from 4" to 3" and rework them into my home made fog light scoops.
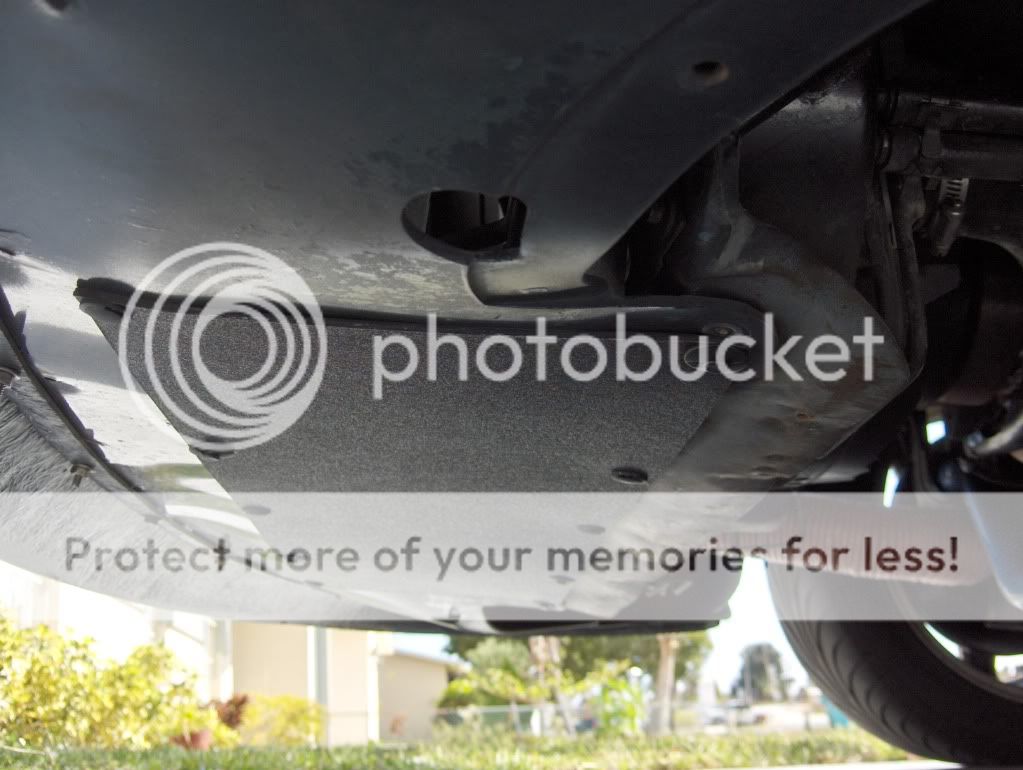
The day I finished the brake ducts I also replaced the sheet metal I was using under the bumper to cover up the big hole with a 1/8" sheet of PVC. It's the same stuff you can get to use for audio in the interior of cars. I got this from a shop in WPB who mainly deal with boats. It's lighter and looks better then the rusted up piece I had under there and it allowed me to use quick connect plugs to secure it. This way when I have to take the bumper off all I have to do is pop the plugs off for a quick and easy removal.
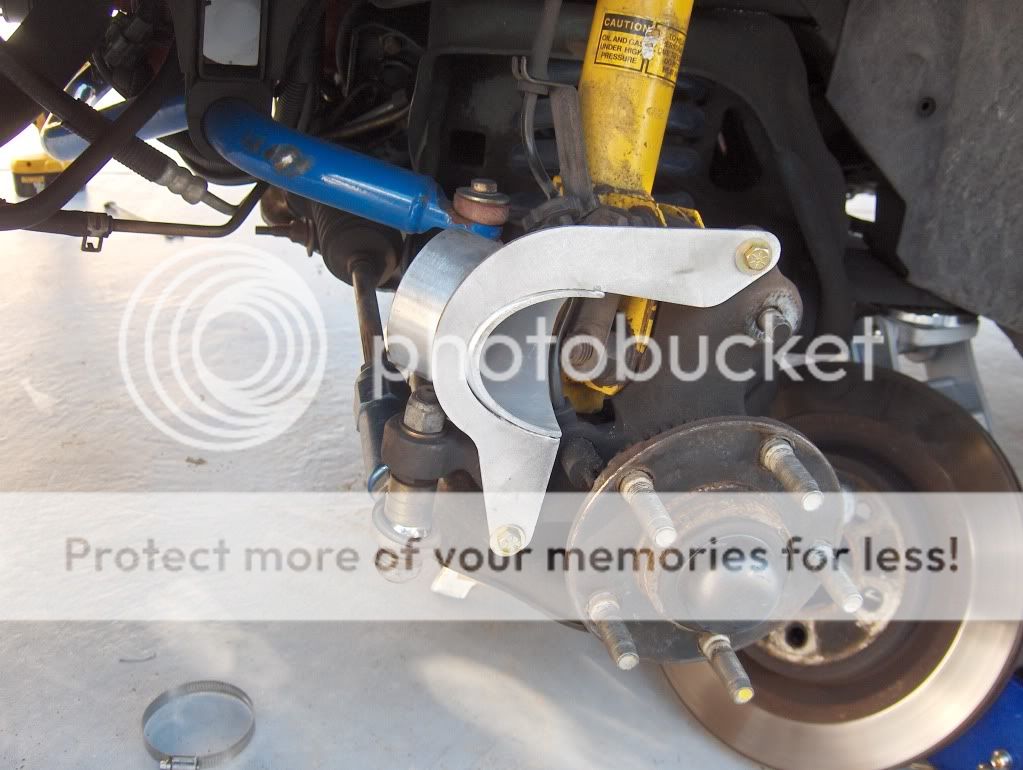
My review of the Quantum Motorsports brake cooling brackets.
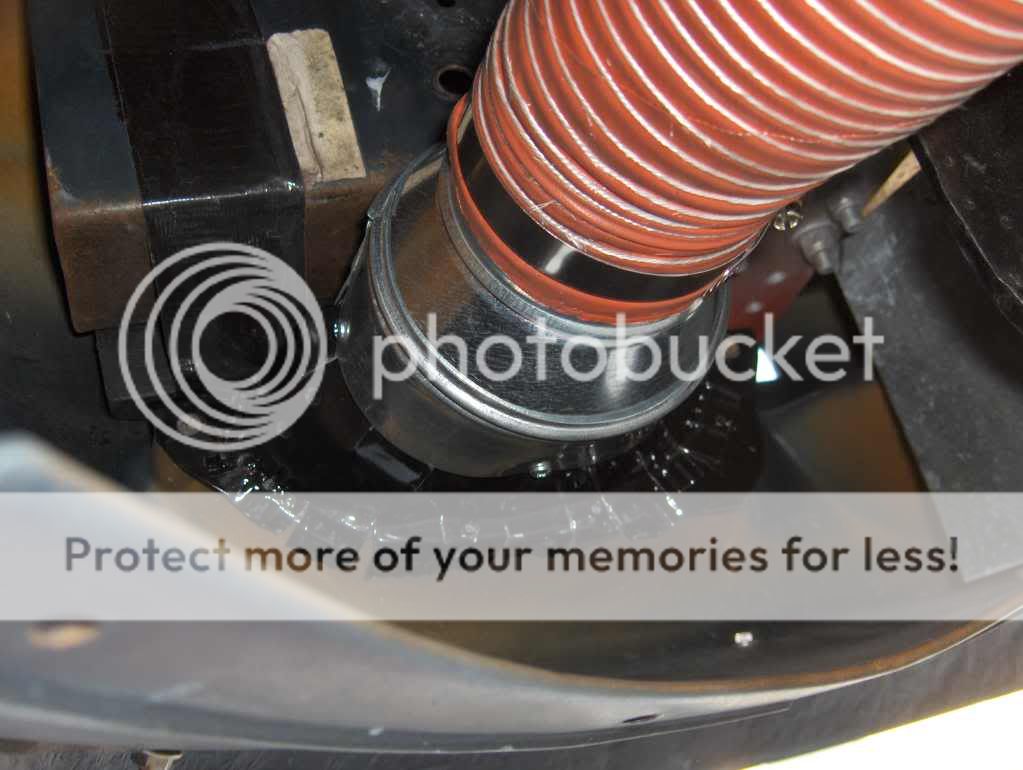
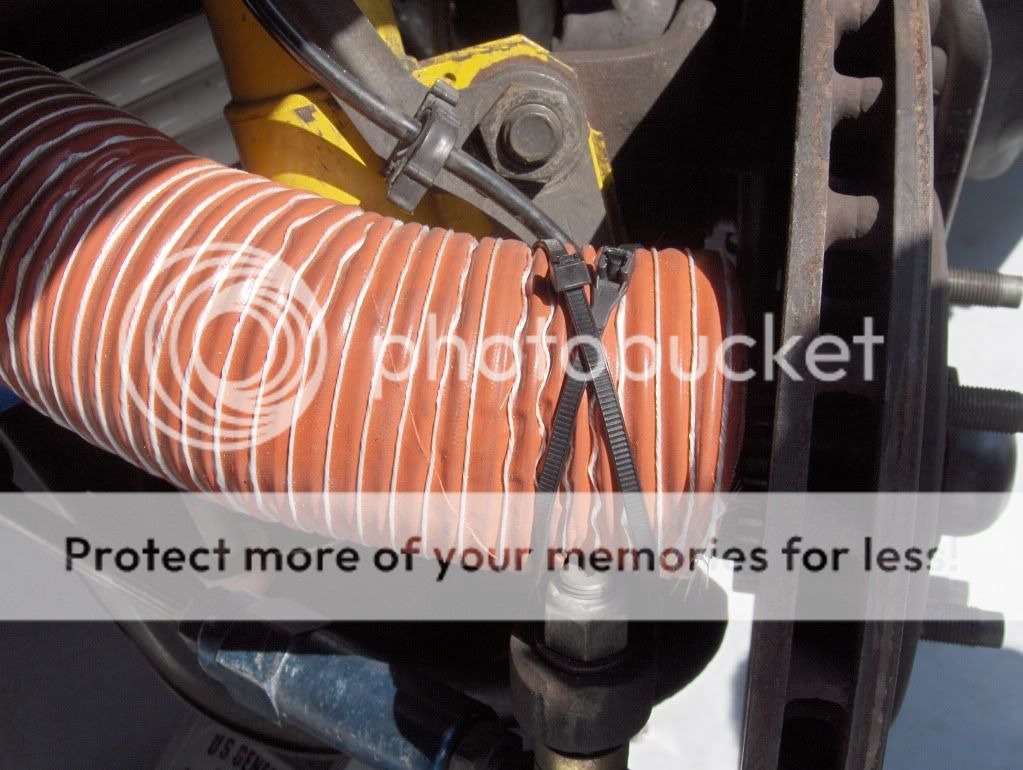
Well, not everything works like it's supposed to. These brake cooling bracket's from Quantum suck ass. Their design is $$$$. The tube is angled to forward that it forces the duct to come into contact with the inside of the rim unless you pull it away enough but all this does is put stress on the duct and eventually in time they rip open. Today I saw the driver side half way off. And I took great care on how I ran the duct not to come into contact with anything too. I'm gonna have to modify these by cutting the tubes off and rewelding them in a more straight angle to take the stress out of the duct and give it much more clearance away from the inside rim. I've seen another kit made like this, Mitch has it. It was sold by a guy on SVTPerformance for a few years but he retired before I could get a set.
Here in this pic you can see the angle in which the tube faces. This brings the duct rite into contact with the wheel unless you force it out of the way. This design directs the incoming air to blow rite at the center of the rotor. The other bracket I've seen, because of it's more straight placement, directs the incoming air more on the outer edge of the rotor. Think what I might do first is cut back the tube to allow more room for the duct to have a more natural curve and this would take allot of the stress out of it. If that don't work then it's the welder for him.
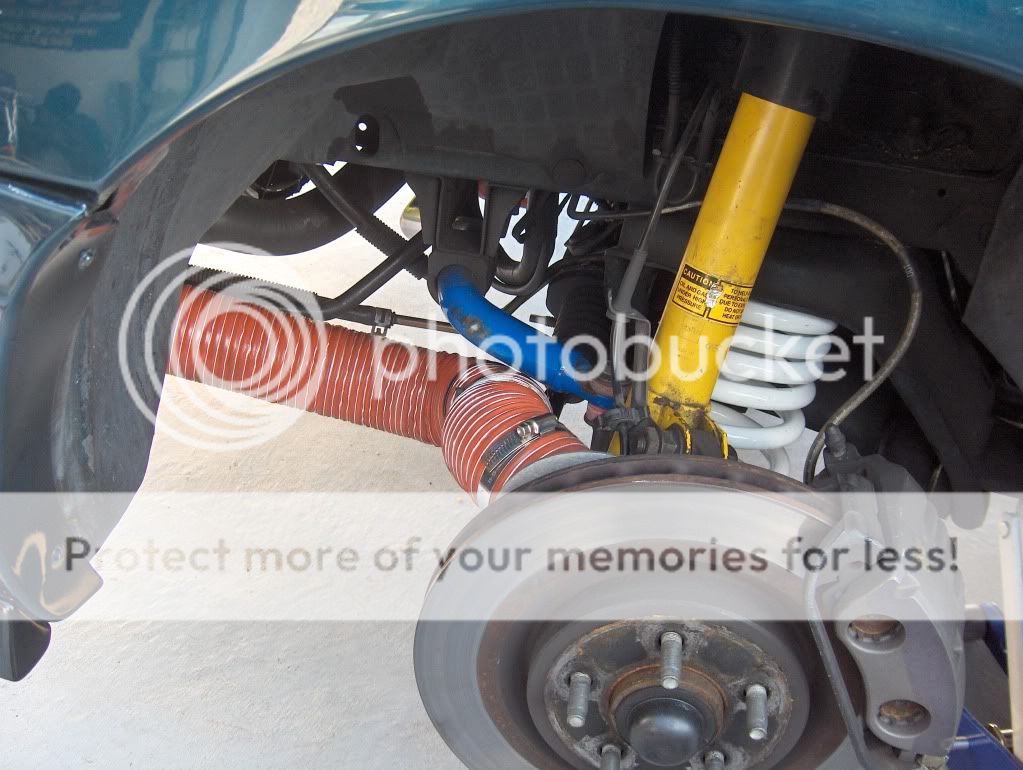
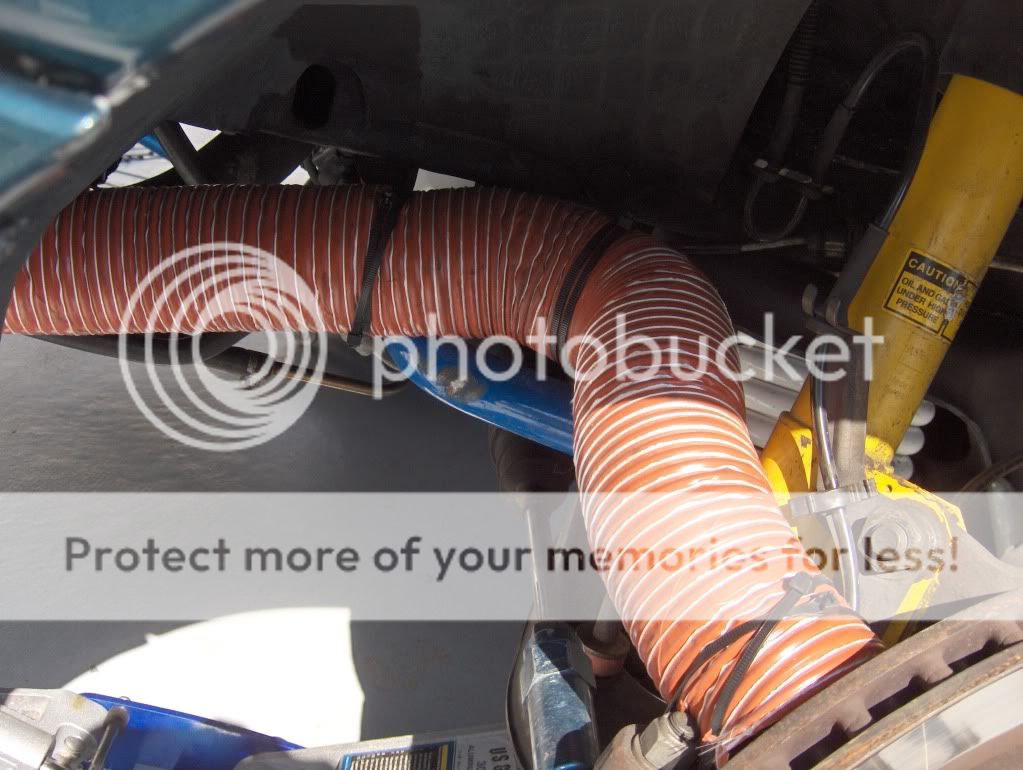
So today I decided not to throw more money at those damn brake cooling kits so I took them off. The 45 or 90 degree elbows I would've bought are not cheap and I wouldn't like the looks of it or more importantly how it would work. The ducts on both sides got ripped up, driver side being worse and had to be replaced.
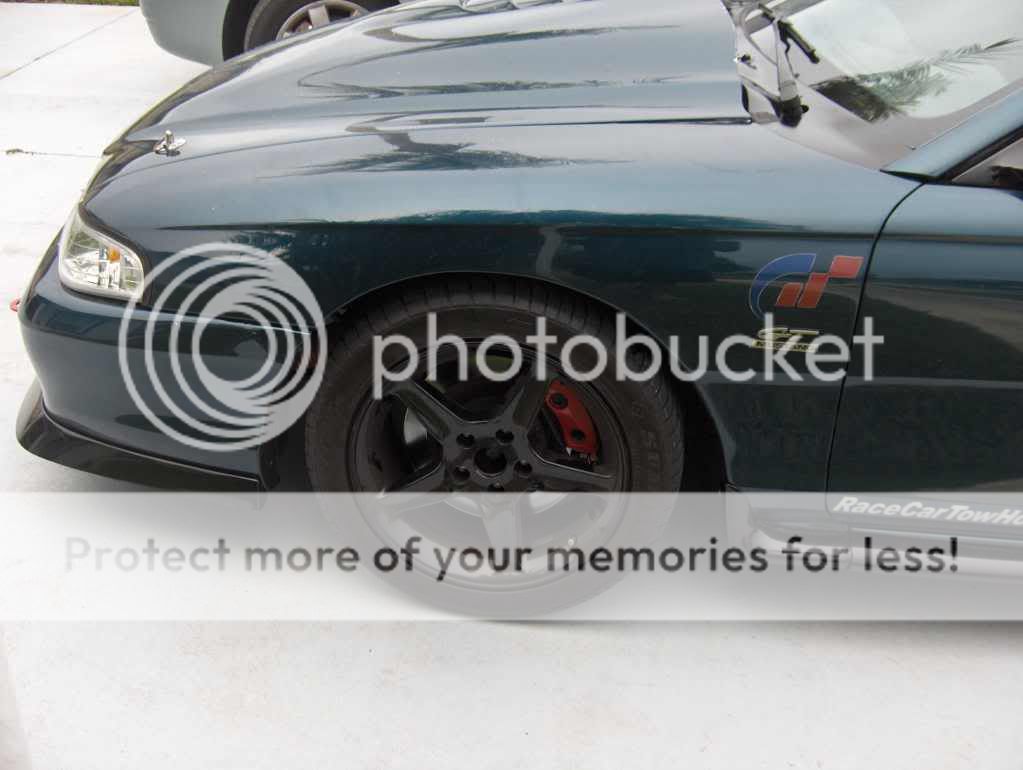
Luckily I had a good amount left. I rerouted both ducts for a more straight and smooth flow and out of the way of anything that might destroy them. If they can't survive for street use then much less race conditions. I pointed the ends of the ducts as close to the center of the rotors as possible. It's half between the center and outer edge. I used allot of zip ties and jacked the car up from under the A arms to put load on the suspension and turned the wheels from left to right all the way to make sure there was no clearance issues with the tires and ducts. Also I've decided to I want a set of those steering limiters to keep the inside rim from rubbing into the sway bar and at the same time give me more room between the tires and sway bar. I have 255's on there now for street use so the 275 NT-05's would be worse. You can see in the pic below where the inside rim rubes into the sway bar when doing a U-turn.
Installed my new HID's today. Much, much better then before. Very simple to install. These are the 35w high/low in 5000k. I didn't want any blue, just pure white. I originally ordered the 55w but they were on back order so I opted for the 35's. I may do the fog's too.
I forgot to post that in antisapation for the HID's I went and got myself new Cobra clear headlights for the brightest results. These are the same type of lights I had when I first got the car.
So this past Sat I blew the engine @ PBIR during a HOD event in the first session. Car felt great during the run. I gutted it for the first time and was running the DTC 70's on all for corners. It felt real light and I was determined to really put the brakes to the test. I usually don't push the car 100%. It scares me because it still is a DD and I have to drive it home after the event. This is always on the back of my mind so it affects how hard I push the car. Sooner more then later I'll have to get myself a trailer so I wont have to worry about breaking down and having to scramble to get the car home. Makes it more difficult having the little trailer if I break down cause then I have to get that home too. Thank god for Rodney for going all the way back home and getting his rig to tow my ass all the way home.
SO, the cause of the engine failure....
It's all my fault what happened. My car, just like many, has a low oil sensor. Every time that light comes on it's a warning that the oil is low and usually one quart does the trick. I haven't seen the light for a while. With all the prep that goes into a car before an event, I never checked the oil level. Didn't cross my mind at all. Today after we pulled the engine I noticed that this sensor was broken. The wire was bent and looked loose. Looks like the car was very low on oil and I ran it that way. I was expecting to see a broken oil shaft or maybe the bottom of the dizzy stripped but no, all that was good. We removed the crank to inspect all the bearings. As expected most were damaged and some were really bad with copper showing. This was all my fault for not doing one of the most important things before an event, CHECK THE OIL. Already got half the stuff I need to rebuild. Need to source out some parts. Should have her running again real soon.
Saturday evening after the event: The engine is disconnected from the tranny and the motor mounts are loose. Also the headers are off and wire harness disconnected.
Today, Manny in the background: __________________
Today we finished up the engine. I took a cutting wheel to the brackets that once held the smog pump and ac just to clean up the front a little. I also decided to use new chrome valve covers that my Brother gave me to try out. Because they are shorter in height they will allow me to not have to use my 1" spacer anymore that was needed when using my tall aluminum covers to clear the IAC and TPS sensors. Also because of their shorter height the upper intake will no longer come into contact with the back of the hood. The only thing left is to fill the engine with fluids, prime the pump, and install the upper intake and then the hood. Tomorrow I plan to start it up and take it home. We'll see.
Motor was finished up today. Fired up on the first try. We let it warm up first before adjusting the timing. It was a little off that why it sounds weird in the video. After that she was purring. Put the hood back on and parked it until tomorrow when I bring it home.
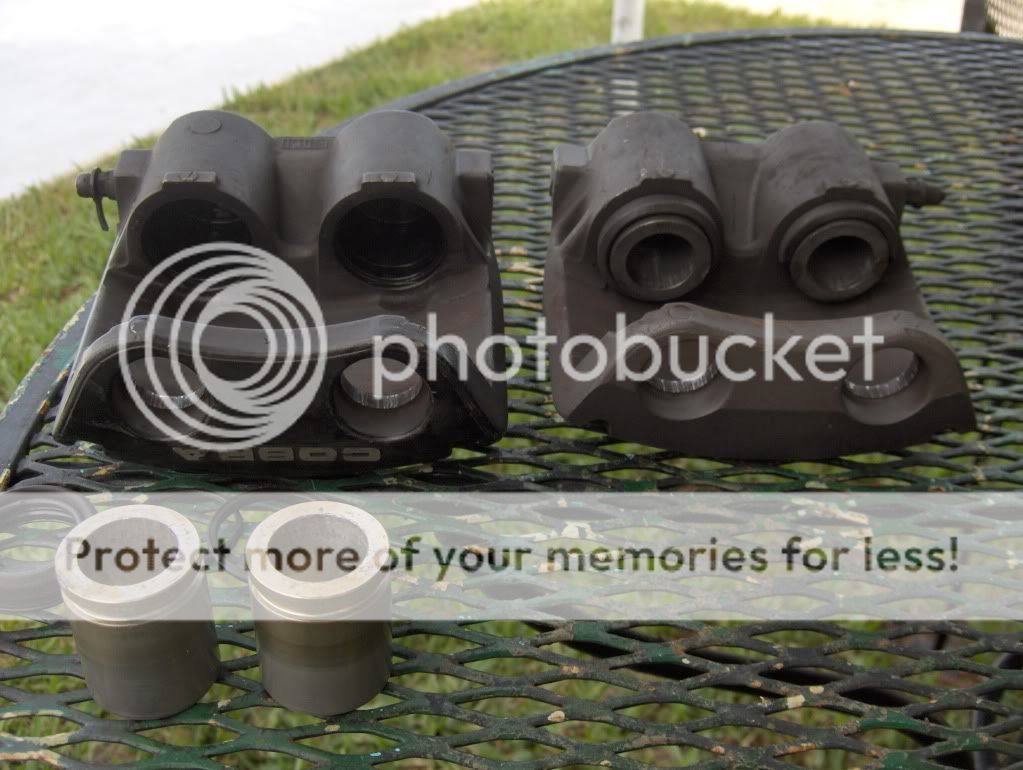
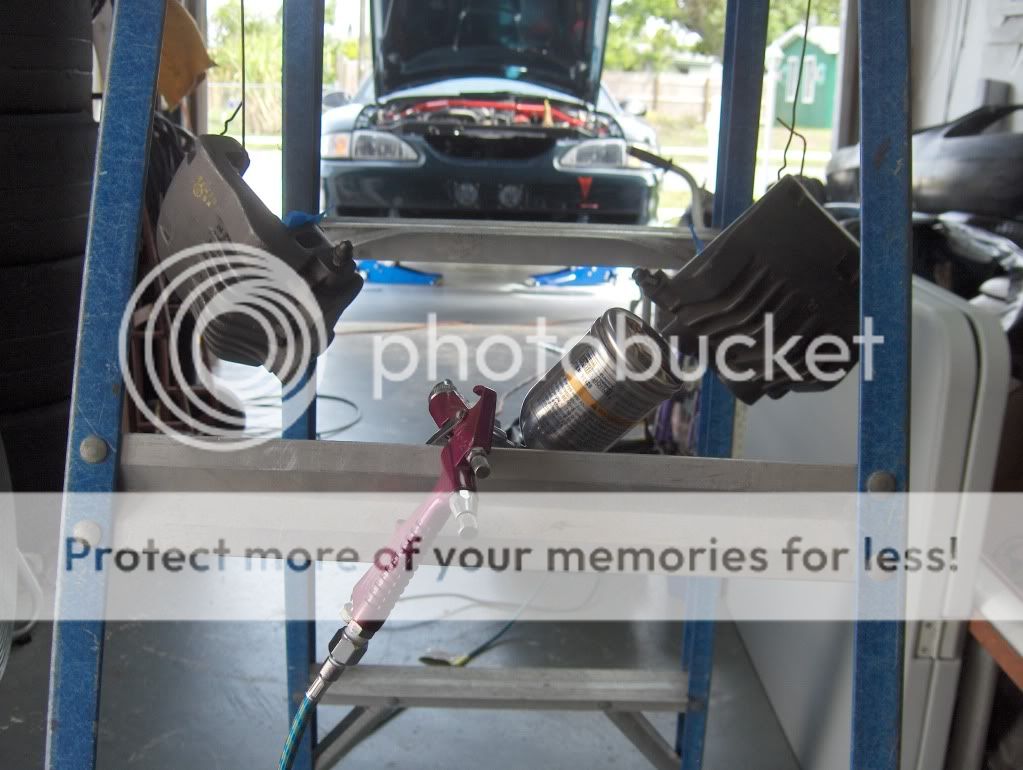
This has been long overdue. I've had the rebuild kit sitting in my garage for over a year. A while back I had the rears upgraded to Cobra spec and they came in red so I wanted to paint the fronts the same. My Brother let me borrow his small air compressor and paint gun along with some left over Duplicolor red caliper paint.
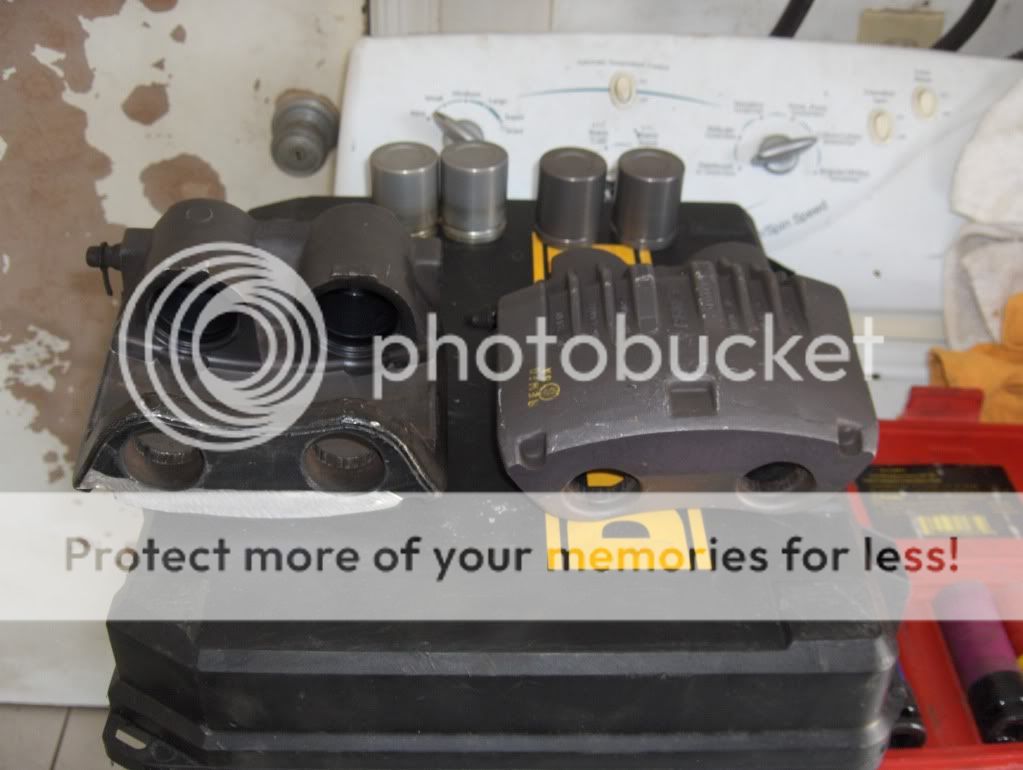
First I started by jacking the front end of the car and removing both wheels. I then removed the bolt that holds the brake line to the caliper and set it aside facing upward so that no air gets into the lines. Removed both calipers and placed them on a table to work with. With the small compressor set to only 40 psi I used the blower that has that rubber tip and forced air into the caliper from the same bolt hole that the brake line attach's to. I made sure to first have a piece of wood like a 1x4 in front of the caliper pistons because they'd be shooting out of their slots real quick. Here's one of them with the pistons removed.
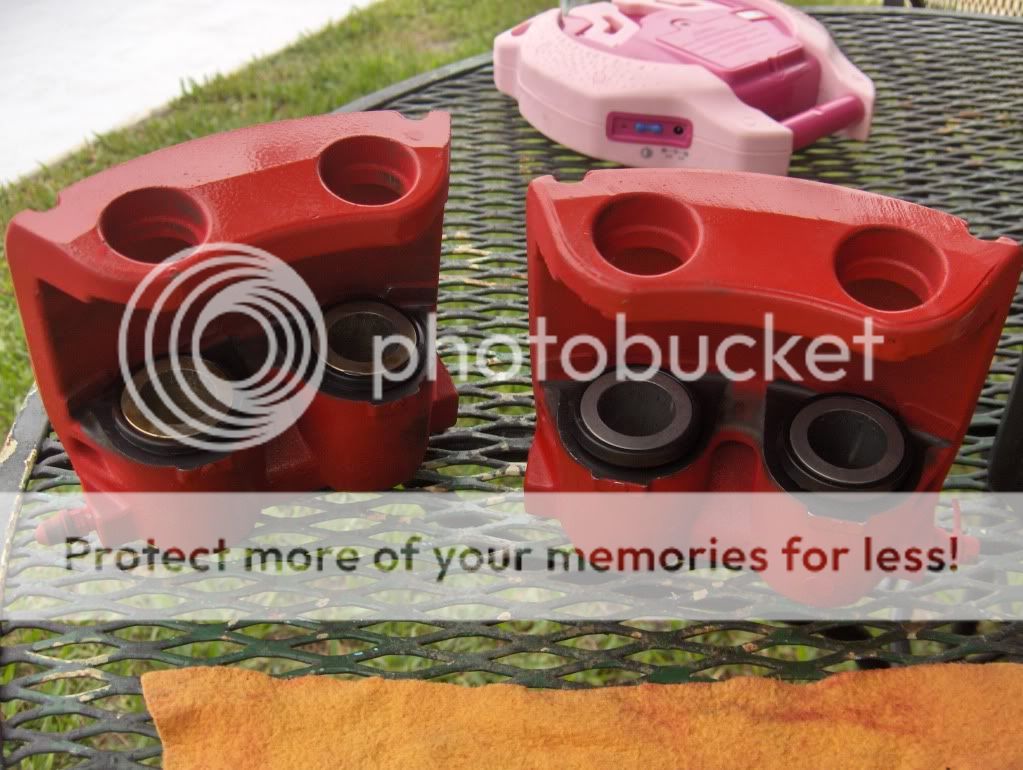
After removing all four pistons I grounded down the Cobra logo on the pass side caliper. Years ago I stripped the air bleeder on the driver side caliper and when the replacement one came it had the logo ground off. Something about the parts store not being allowed to sell them with the Cobra logo on them. Never bothered me but now was the time to make them match.
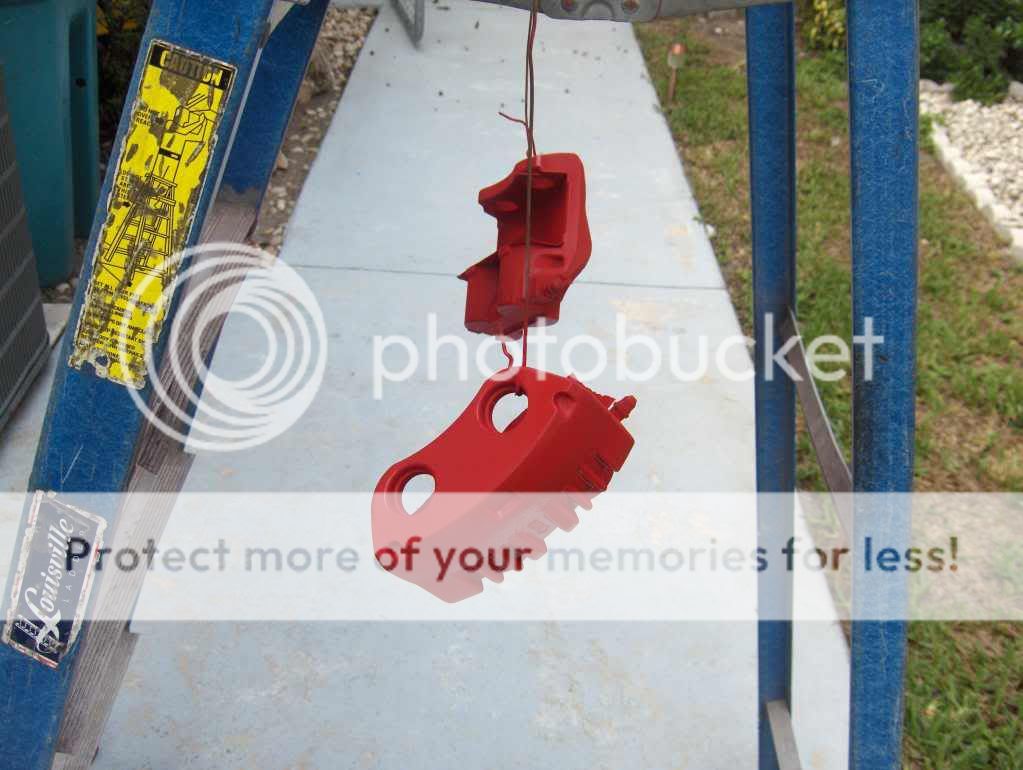
After a real good cleaning and taking some 2000 grit sandpaper to each piston I set up the calipers on a ladder for paint. The reason for sanding the pistons is to just clean them and leave a smooth surface.
Here they are after paint. After a few hours they were dry to the touch.
After wiping them down with a damp cloth to remove any over spray I reassembled them. The rebuild kit comes with all the new rubber boots and O rings needed for the job. It was kinda tricky to get the pistons back in with the boots on them but after doing one the rest were simple.
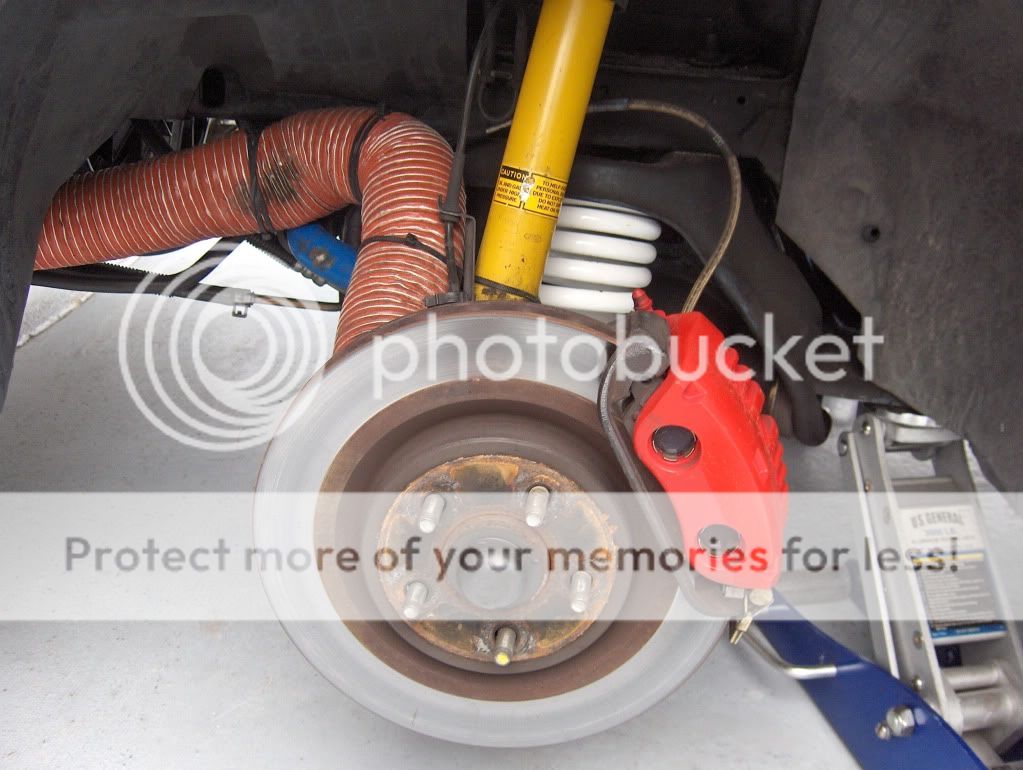
Here they are mounted on the car and ready to be bled.
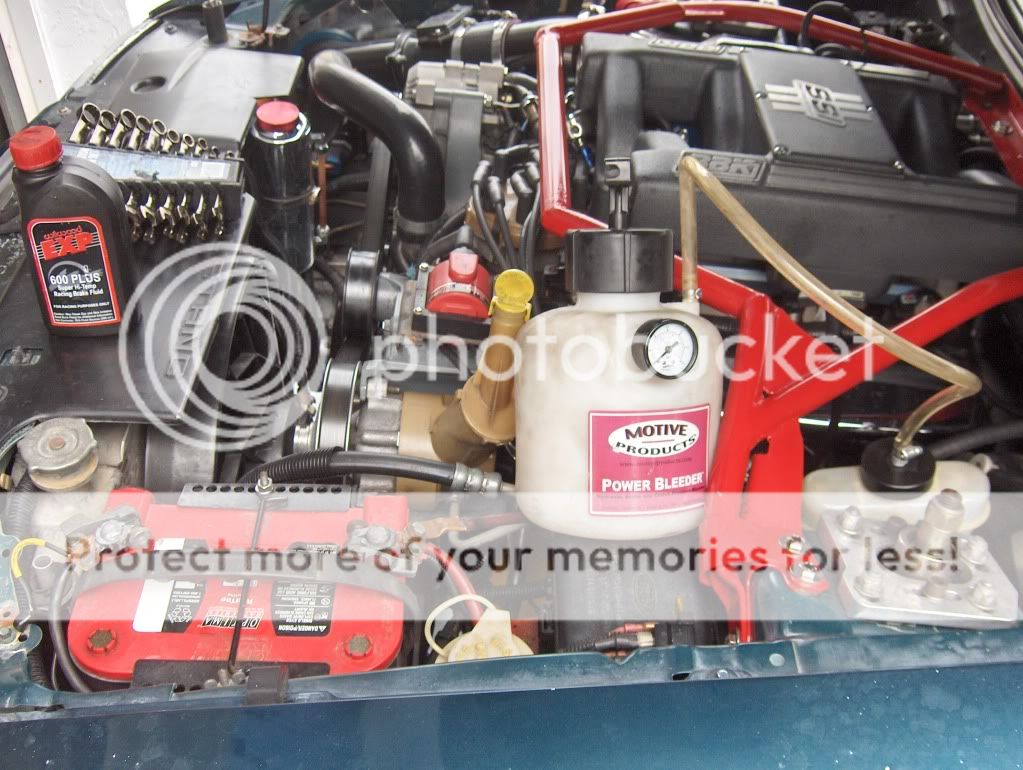
I used my Motive brake bleeder for this. Is screws onto the top of your reservoir. For small jobs I just fill the reservoir to the top and screw the cap on, pressurize the tank to 20 psi and bleed both fronts. For big jobs like bleeding the entire system you can fill the tank itself.
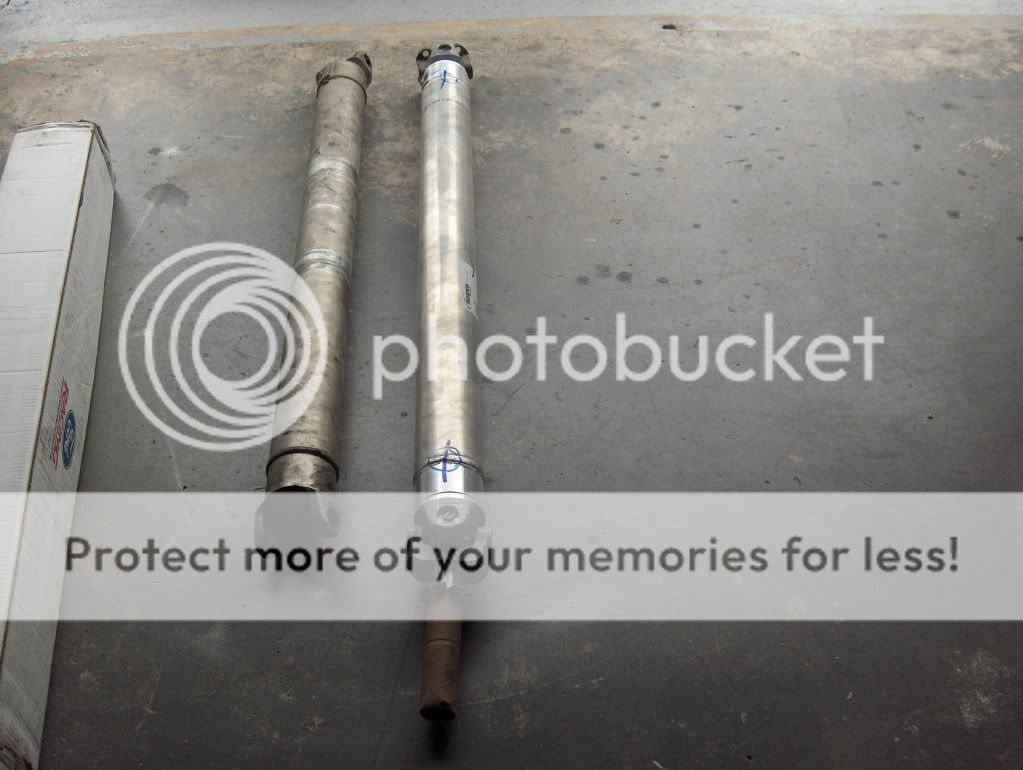
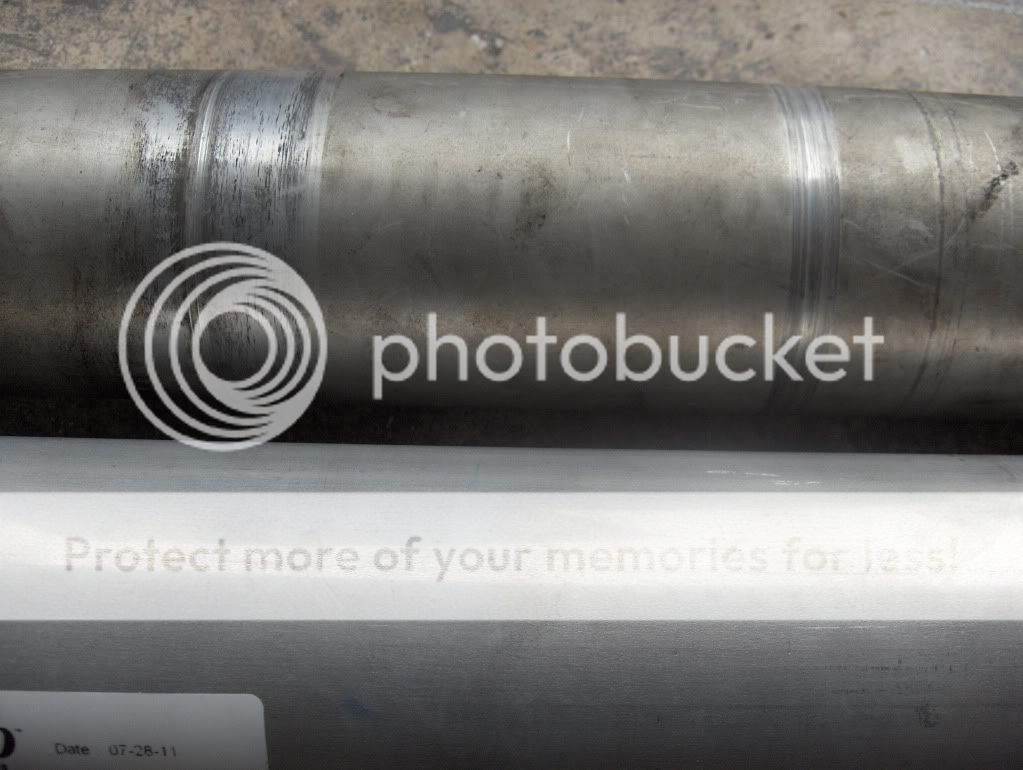
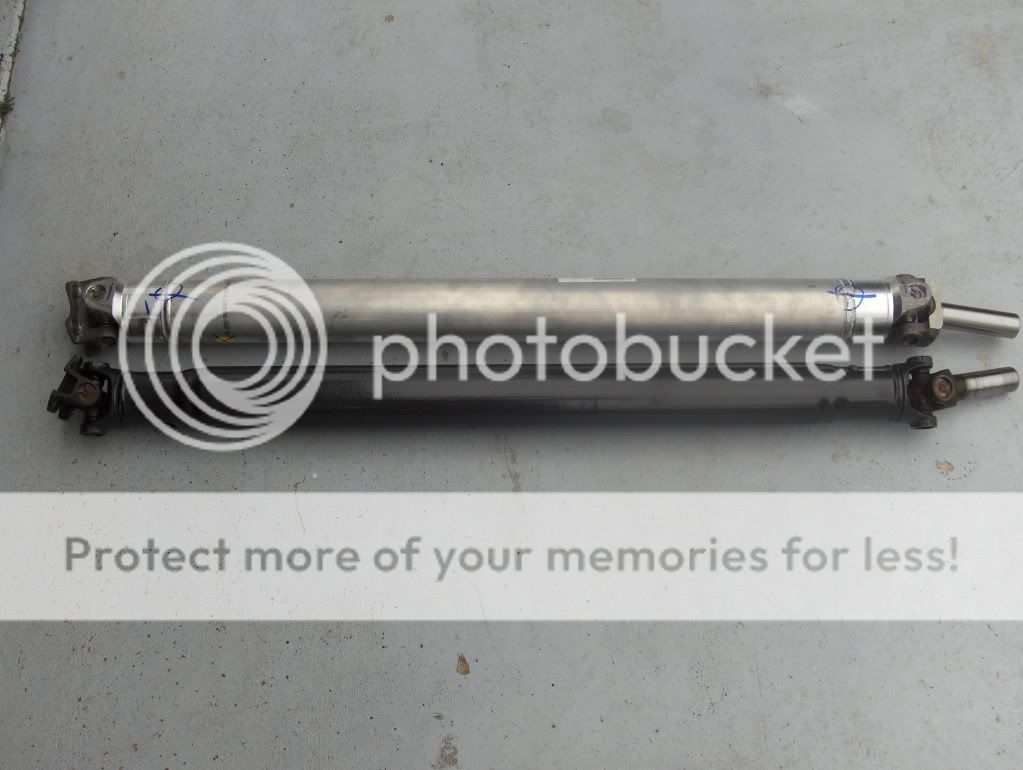
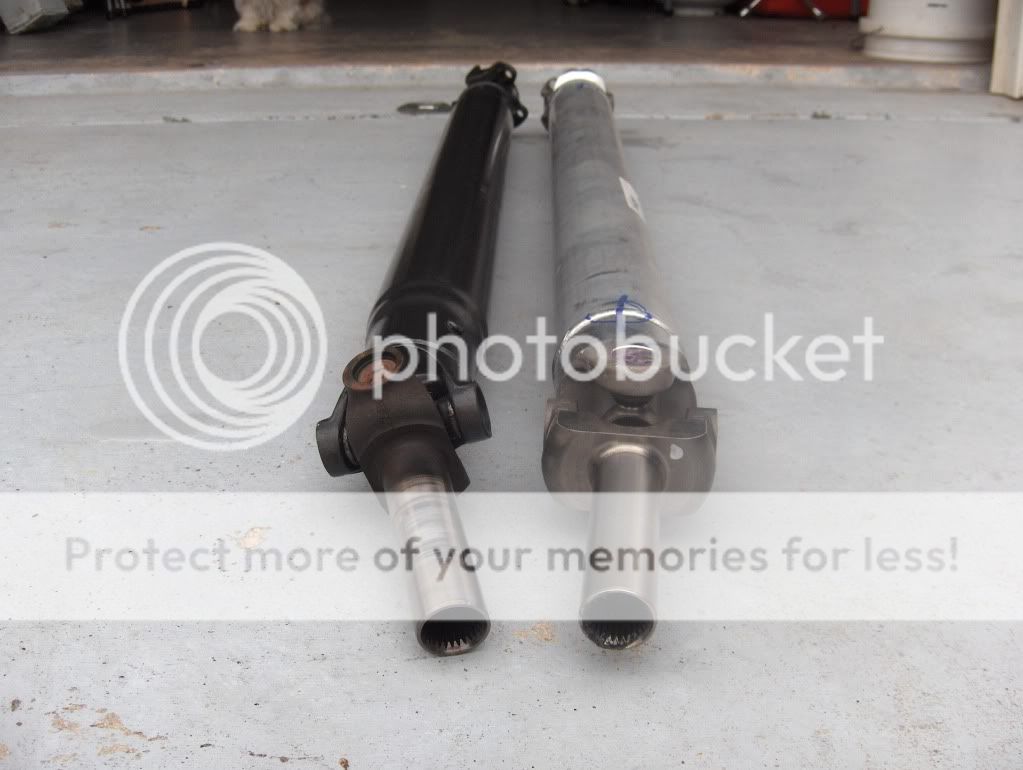
Lately the car had a vibration that seemed to get worse over time. I feared it might be my old FRPP aluminum DS I had. For years it had rubbed bad on the E-brake bracket under the car when I'd hit a bump. Wasn't until finally when I upgraded to stiffer springs and way better shocks/struts it stopped rubbing. I thought the DS might have had a grove worn into it so bad that it might've bent itself so I purchased a used stock DS from a guy. Vibration got worse so I knew there was something wrong there. Maybe the U joints were bad or both the aluminum and stock DS were bent? One way to eliminate that problem would be to order a new FRPP DS since they also come with new high performance U joints. Today I got the new DS and installed it. While taking out the stock DS I noticed there was some play in the U joint on the pumpkin side. This had to be the problem. Turned out it was. Car drives much smoother now. More good news is the scratch on my old aluminum DS is not bad at all. I may take it in somewhere to get it checked out and make sure it's fine. I'll probably clean it up and keep it as a spare.
Big thanks go out to Jeff=Nitrostang for ordering me this part and trying to get it to me as fast as possible and I saved some bucks doing so.
Here are some pics of the new DS next to the old and stock one. The black DS is the stock one I prepped and painted with black hammertone. Also I put the new DS next to the old one with the grove worn into it.
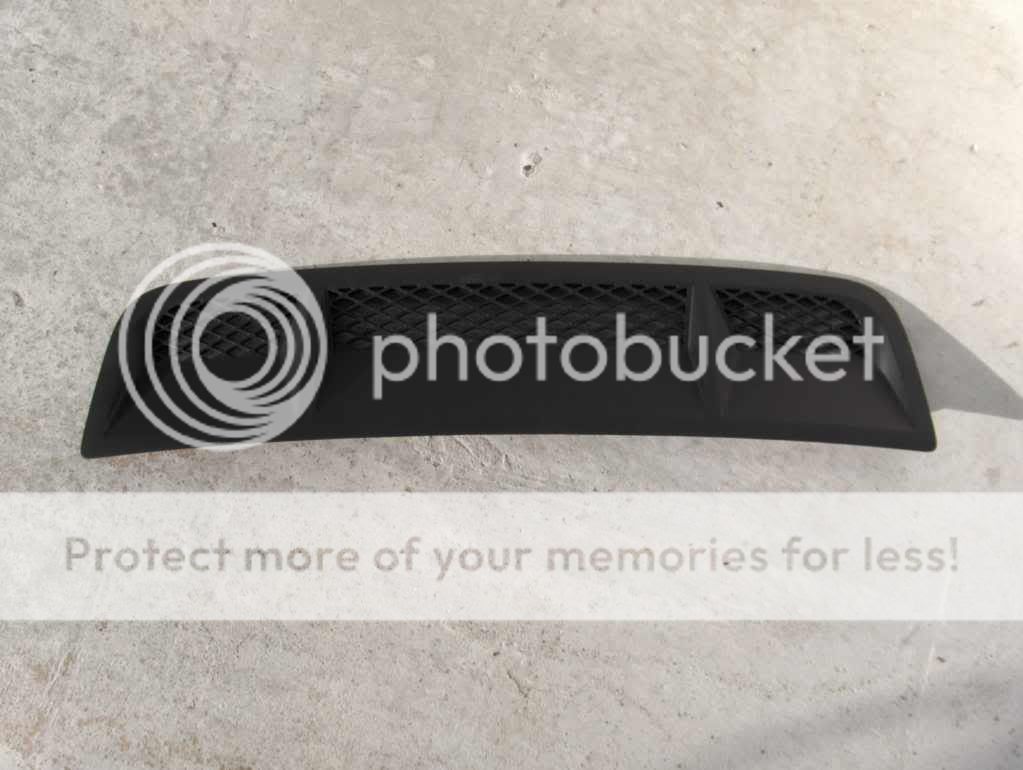
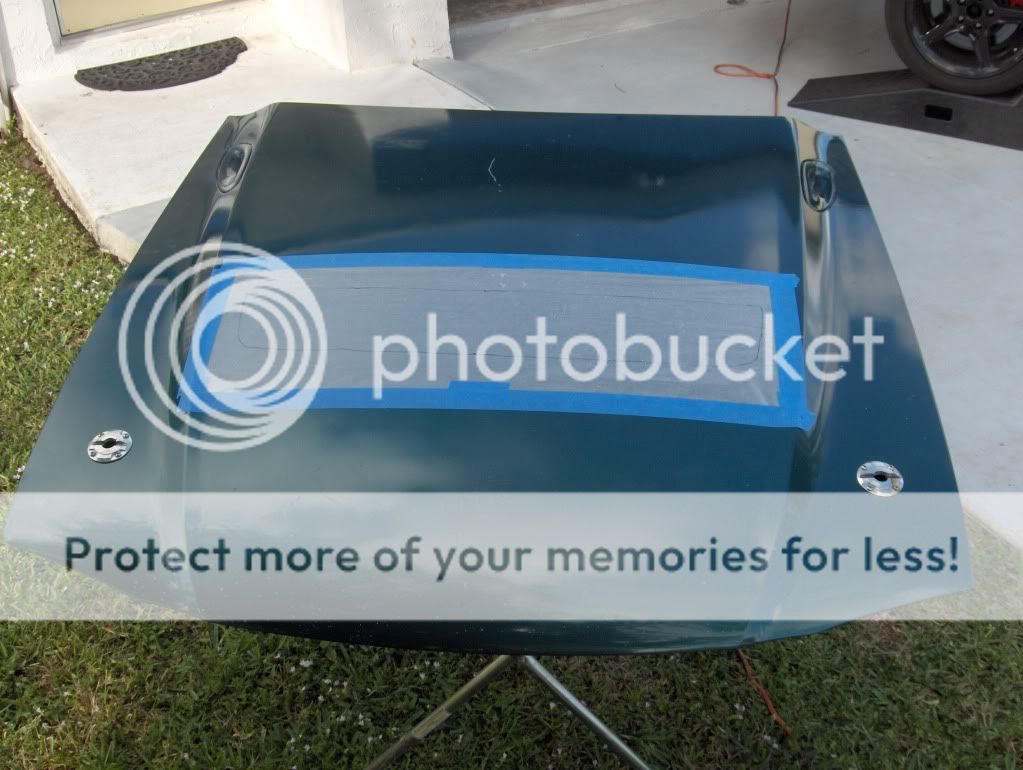
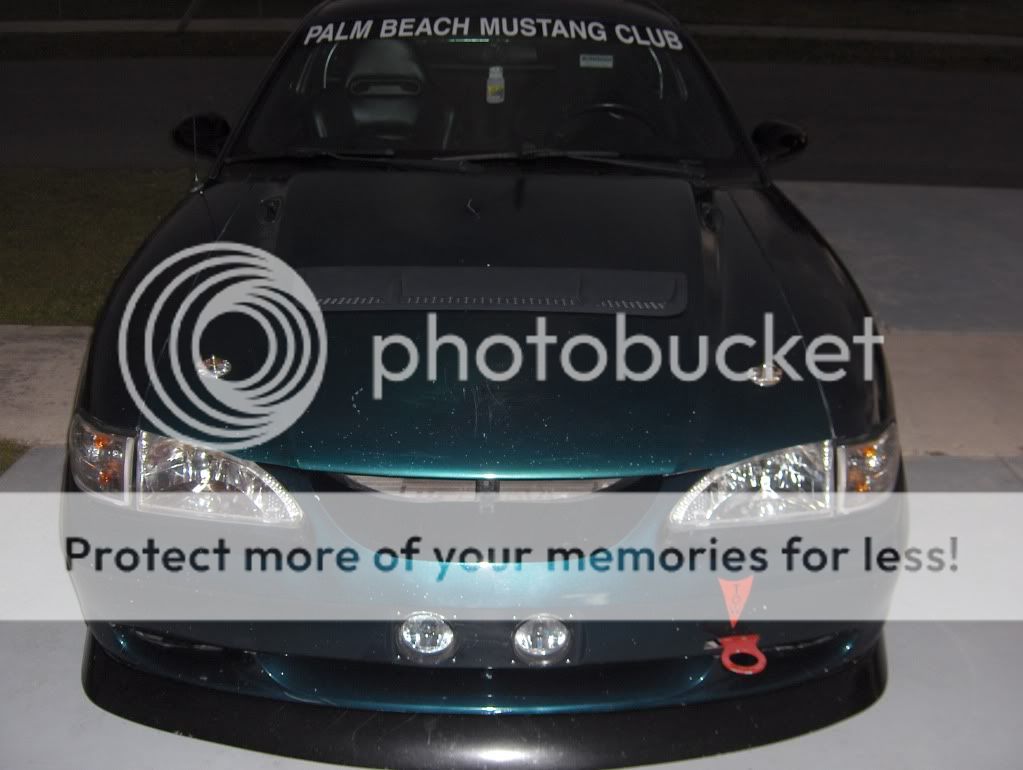
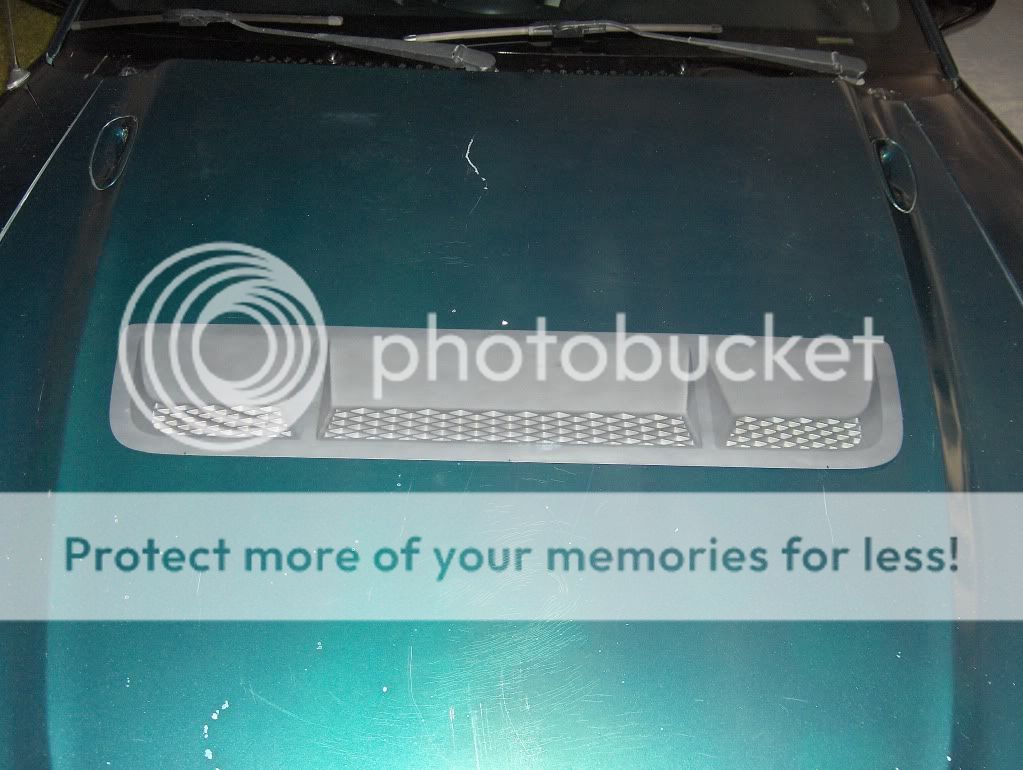
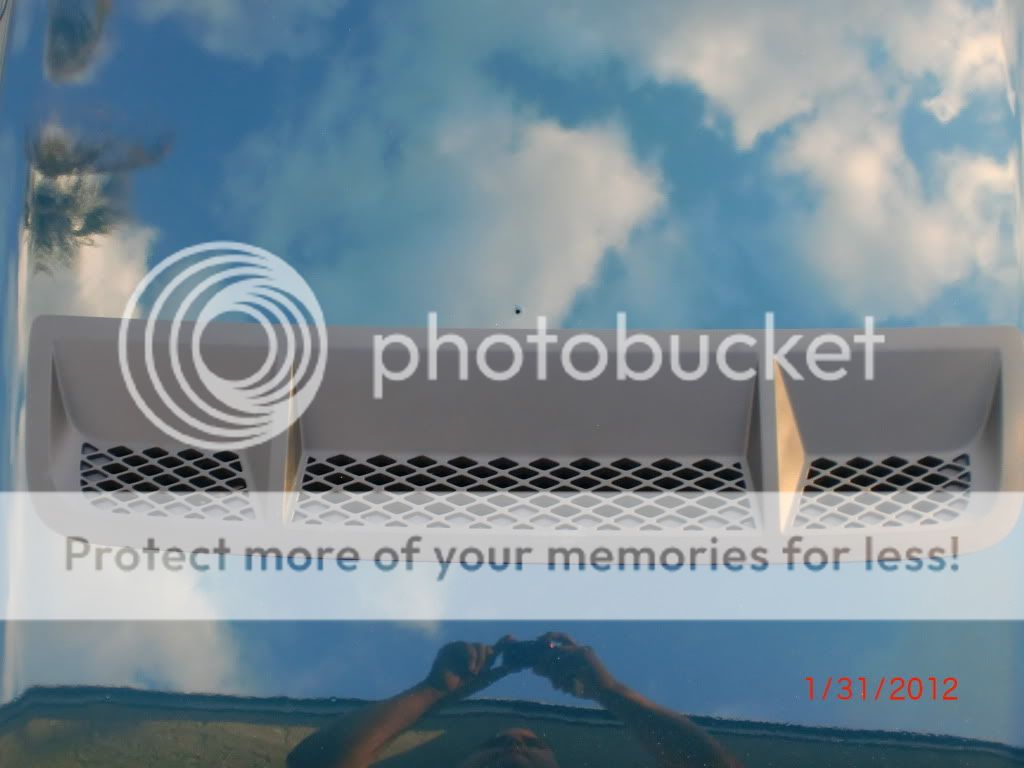
I've been throwing around the idea of getting some type of heat extractor hood. I forced myself to start looking into it when I sold my Boss Cobra R hood and slapped a stock hood on the car in the meantime. The baddest heat extractor hood around is the one from Tiger Racing. Only problem is it's a lift off type hood and it's very expensive. There's a PBMC'er with a 99-04 who bought one and had his body guy take the underside of the stock hood and glue it to the Tiger hood allowing it to be used with the hinges. This is what I would've like to do but that's even more money. My second choice which is what I did was to buy a Shelby GT500 hood insert from the 2010-12 cars and fit it to my stock hood. At only $80 it was much cheaper then buying a complete hood and all the extra cost that comes with that. Also it's a popular mod in the road racing scene because it works. Today I decided to tackle this myself. Kinda easy to do. Took me only 3 hours from start to finish. In that time I removed the hood from the car, cut it, washed it, put the tools away, drove to the hardware store get some stainless steal nuts and bolts, and installed the insert when I got home.
Since this is a common mod I'll list what I did in order with pics for anyone wanting to try it.
1: Buy the GT500 insert.
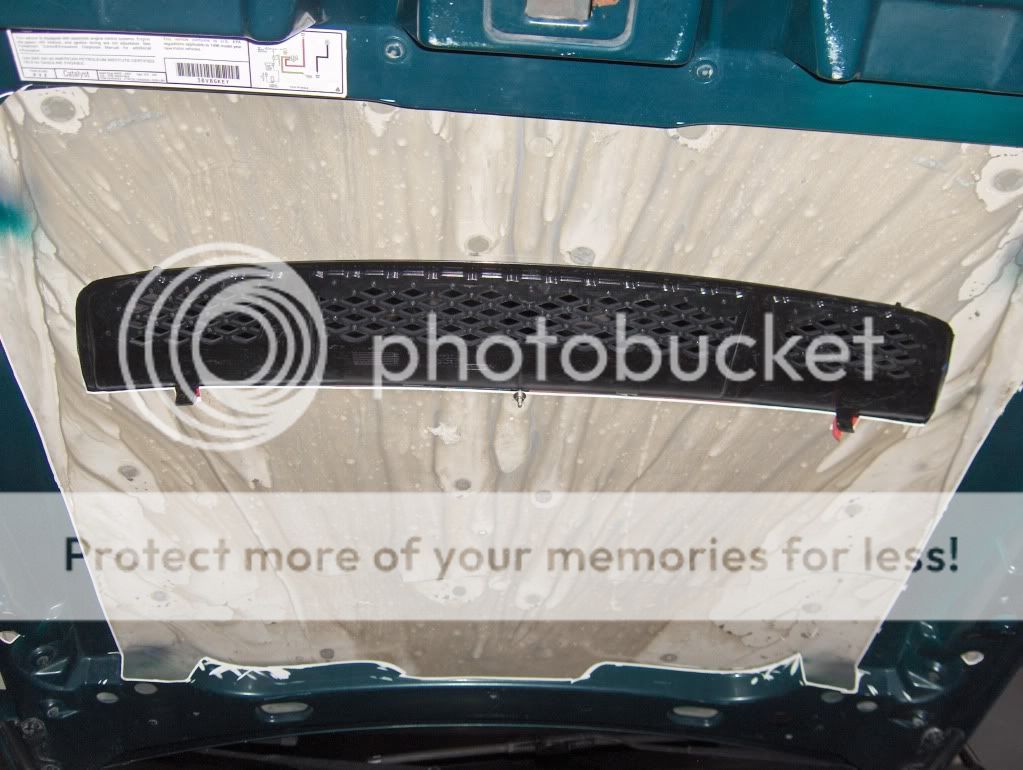
2: Removed the stock hood after drilling a small hole from the bottom out to mark the spot on the outside of the hood where the insert would start. I wanted the insert to be behind the radiator to allow the heat to escape but not so far back toward the engine that the alternator would be exposed to water falling in. I wanted a clean surface to work with so I decided to remove a huge section of the underside of the hood. This would allow me to work with just the outer skin of the hood, and give me even more room under the hood for those needing that extra clearance.
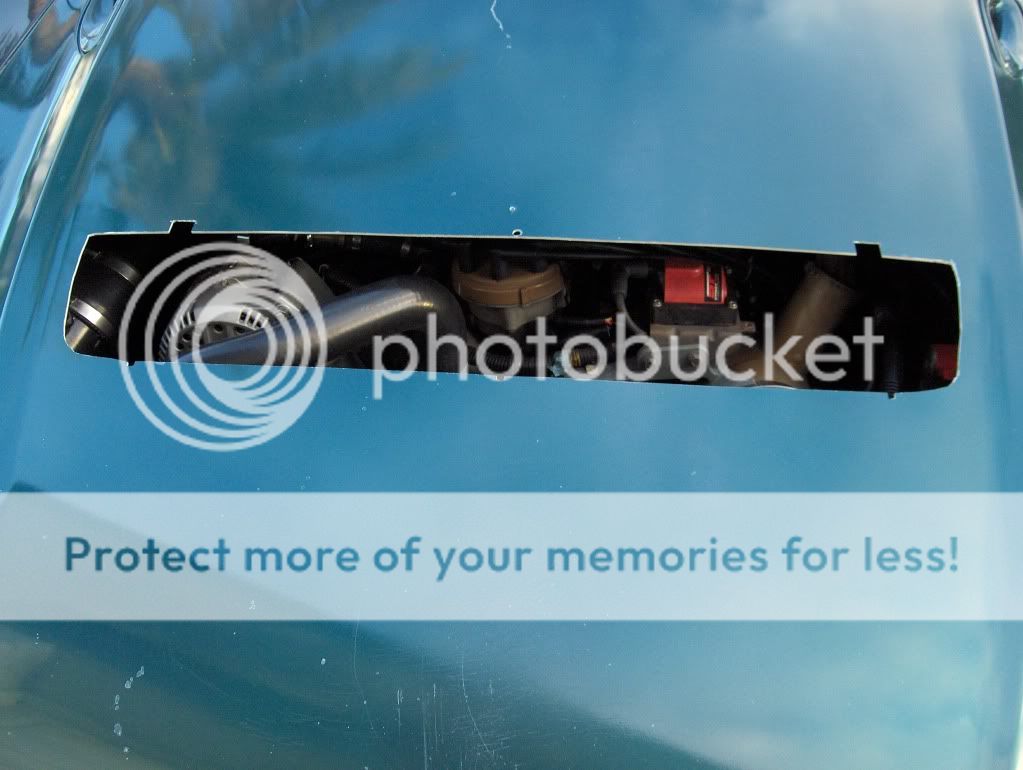
3: The insert did not come with any template to use for cutting. I decided to use some wax paper since it was thin and one could see through it easily to outline the shape of the insert. Once I had the shape I taped the paper onto the hood and measured many times before I started cutting. It really helps to have the right tools for the job. I used both a dremel tool and a grinder both with cutting wheels to cut and shape the hole. I even cut the tabs into the hood to allow the use of the locking clips on the insert just like it would on the GT500 hood.
4: After a little more shaping the insert was able to be installed and removed easily like it should. The insert comes with 3M tape on the bottom side for finale installation but I decided to not use it just yet because the car will be going in for paint very soon. The insert has a small threaded bolt coming out of it in the top center on the underside. I bought some stainless steal nuts and washers and used that bolt to secure the center of the insert to the hood. When it goes in for paint I will easily remove it because I don't want it painted the same color of the car. I think I'll get it painted in gloss black like the rest of the cars trim.
It looks great now. Later I may add some more stainless hardware after the paint job to the ends of the insert. Because my hood is not the same as the GT500 the ends of the insert want to come up. __________________
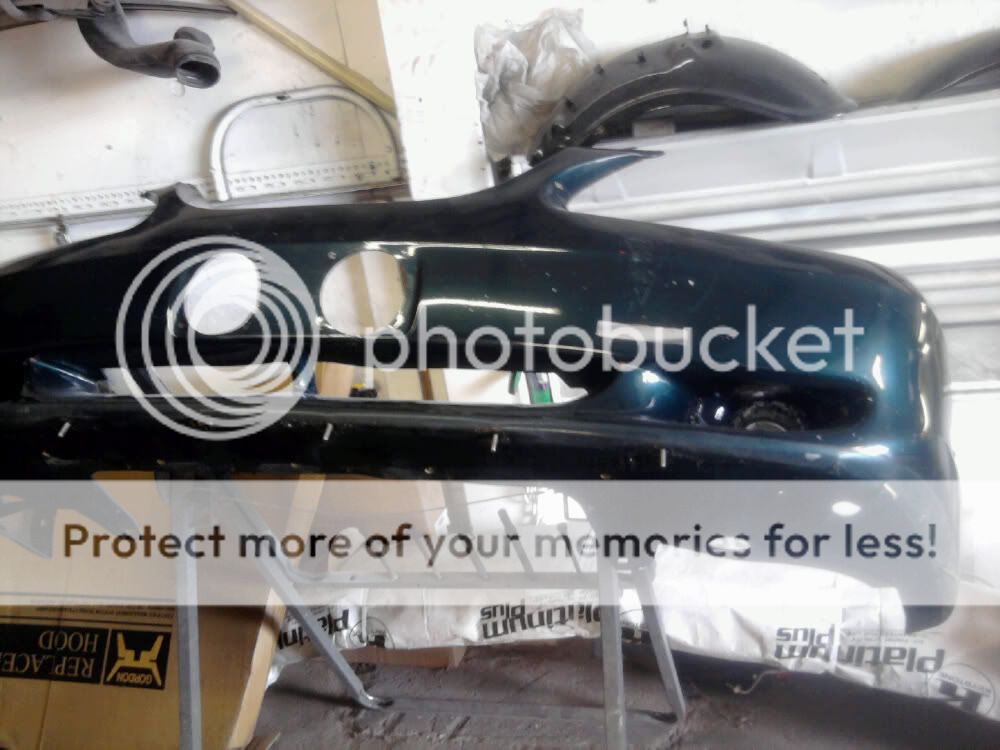
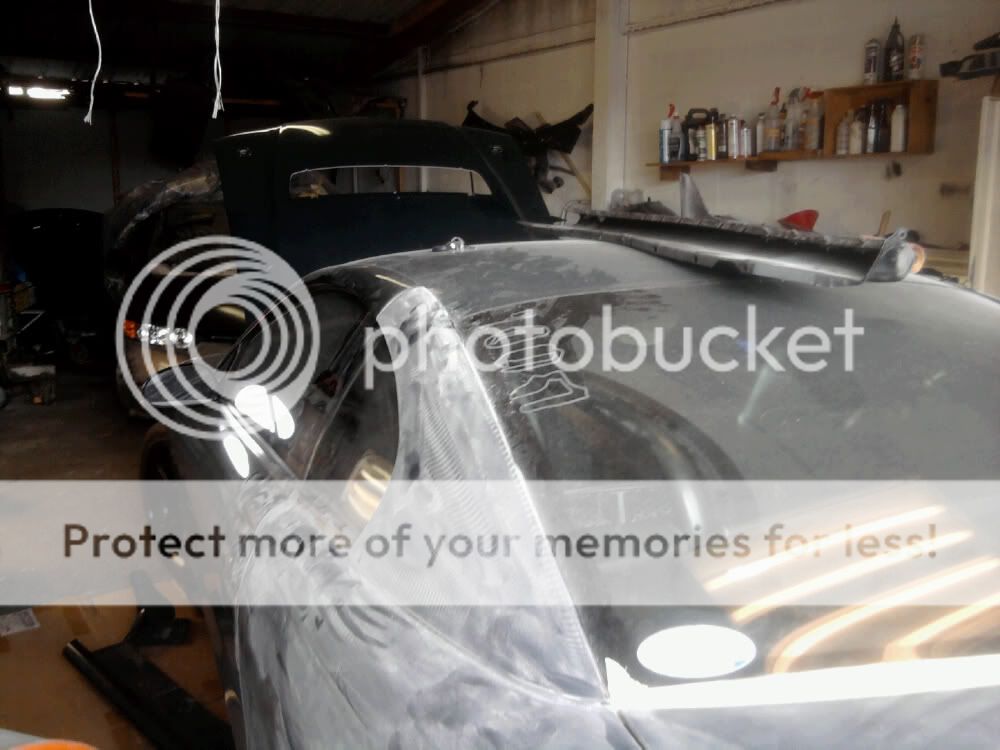
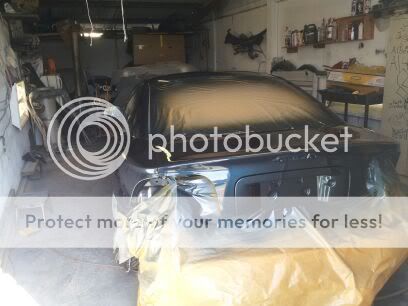
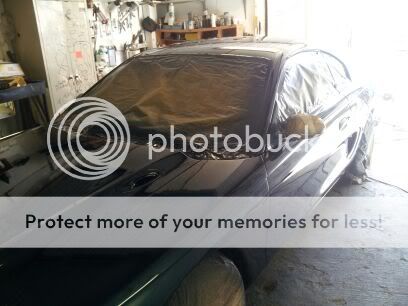
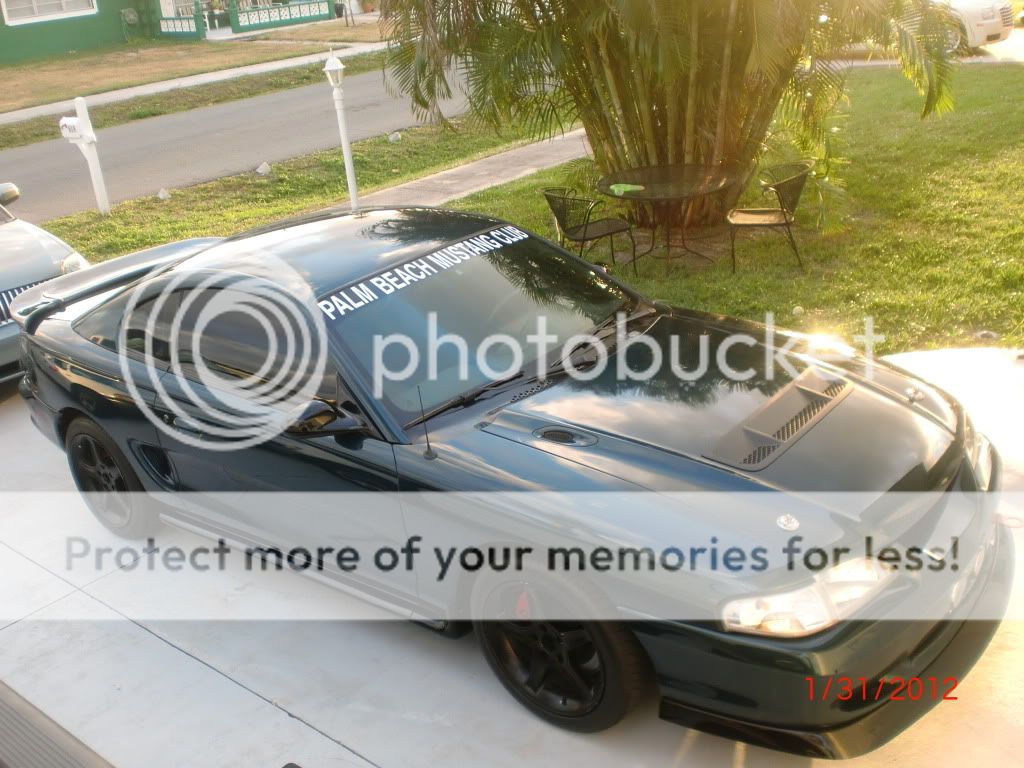
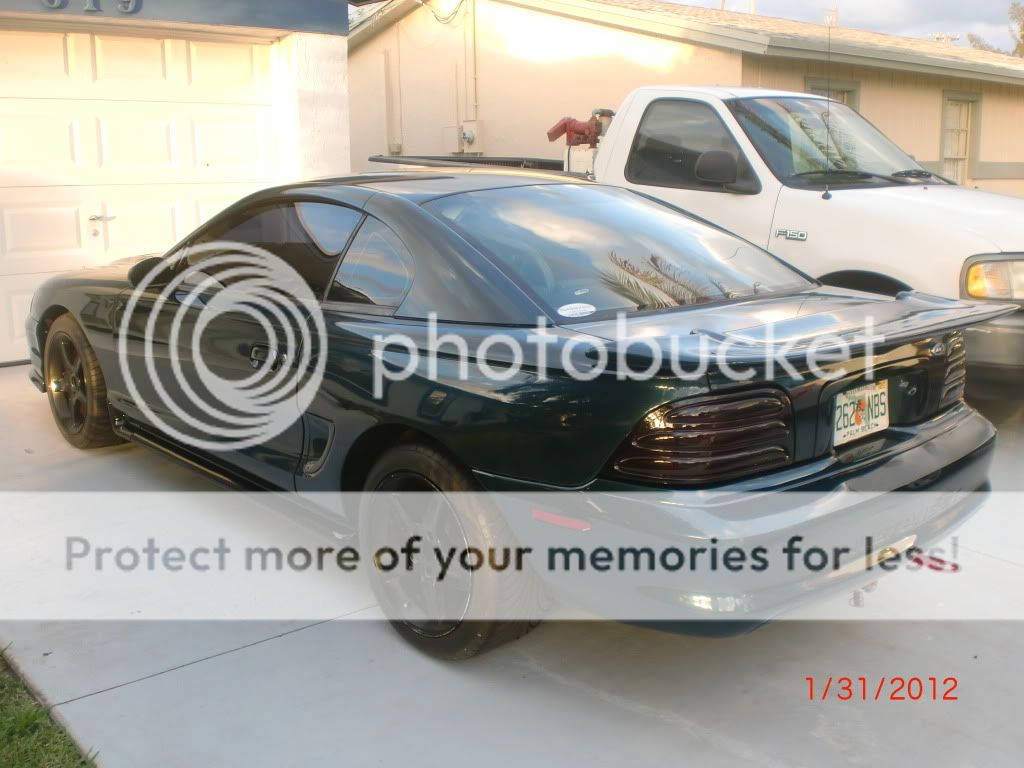
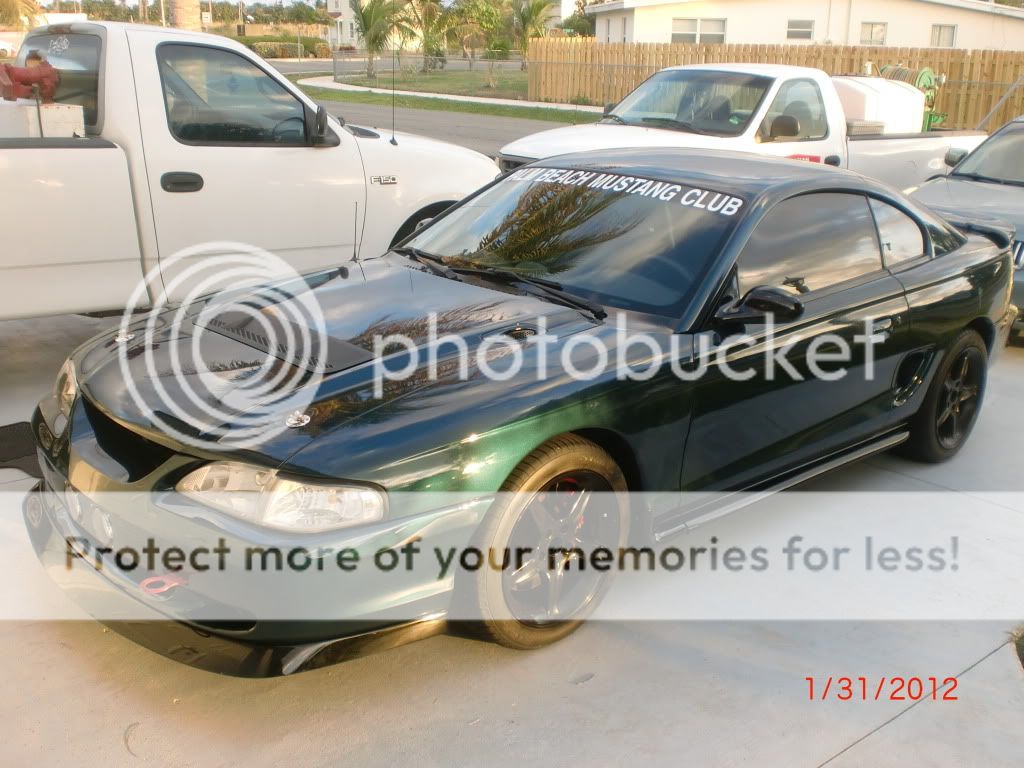
Car is in the body shop and work has already commenced to give it that once great shine it had back in the day. Now this is not it's first paint job. Back in 05' one of those 5 hurricanes that came through here ripped the shingles off the neighbors roof and blew them onto my car like heavy pieces of coarse sand paper. You can imagine how the car looked after. I worked out a deal with a body shop to fix the car. In return I would repair their shop and paint booth that also suffered damage. The paint job was shitty but the car looked allot better then before. Problem was 5 years later the paint started to fade. That along with the wear and tear that comes with road racing had put lots of scratches and pits in the paint. My wifes brother in law is the head painter at a Lincoln dealership and he does side work in his own time at his own shop. He has done many small jobs for me in the past from bumpers, hoods and even completely repainting my wifes white 96' when it got coated in some yellow crap on the highway one year. I decided to keep the car the same color, (dark forrest green) even though he offered to paint my car that 03' or 04' Cobra chameleon color since he has the kit to do it. The car will be mostly dark green with a little gloss black here and there.
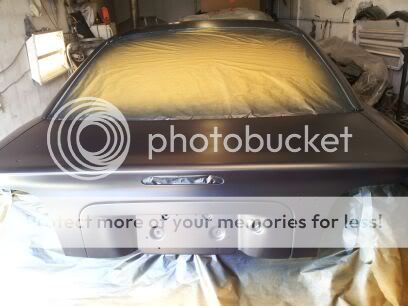
Paint is done. It just needs to be put back together. I should have the car back home sometime this week if not the weekend for sure. He sent me some more phone pics of it but their not so good. I'll get good pics of it once I get it home and finish putting her back together.
Finally got the car home this past Saturday. Looks nice and shinny. No more scratched up hood or f#$#ed up bumpers or faded to death roof. I also had the painter fill the holes where the GT badges use to be for a cleaner look. When I got it home I began putting some things back together like the brake ducts and an HID kit to the fog lights now to match the headlights. Will post pics of that later. She needs a good cleaning inside mostly and out. The only problem was that a tiny hole in the hood was left alone and not painted. This was my fault for not telling the painter that it was just an extra hole and needed to be covered up. It was the first hole I made in the hood for the GT500 insert that later was moved downward about 2". He thought it was a hole for mounting the insert. I'll probably have it fixed soon or just wait until I replace the engine.
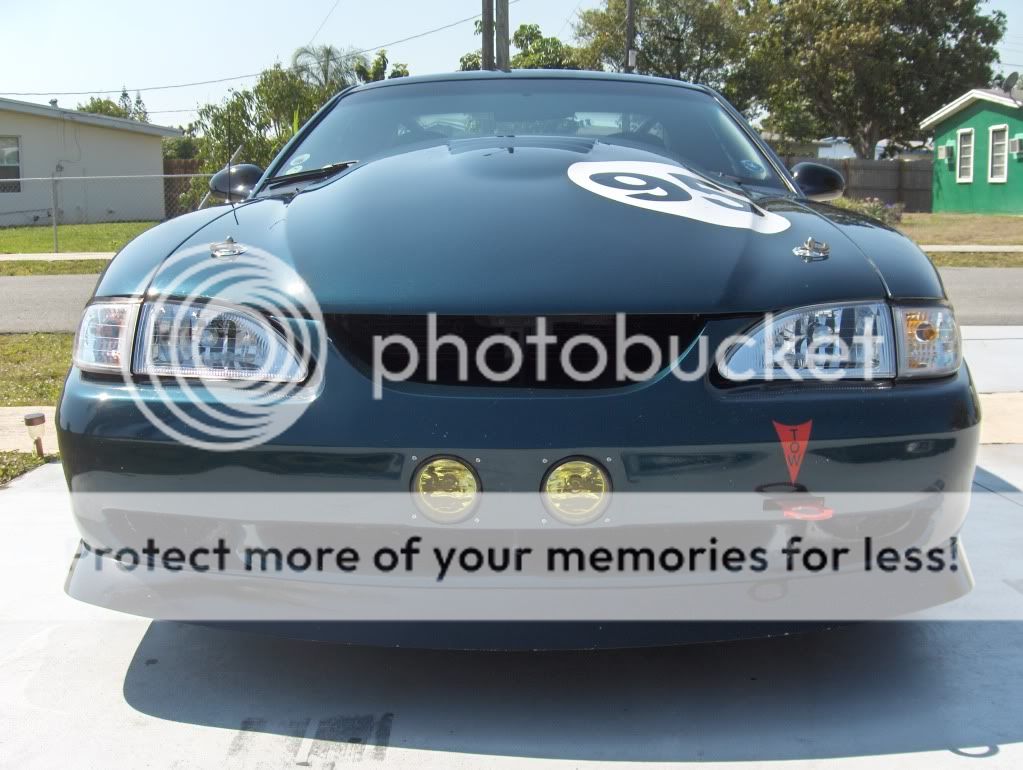
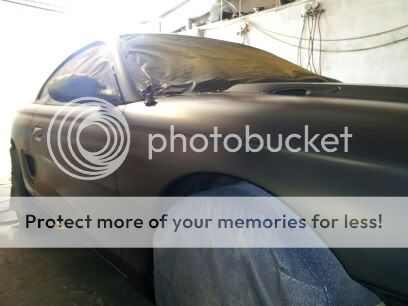
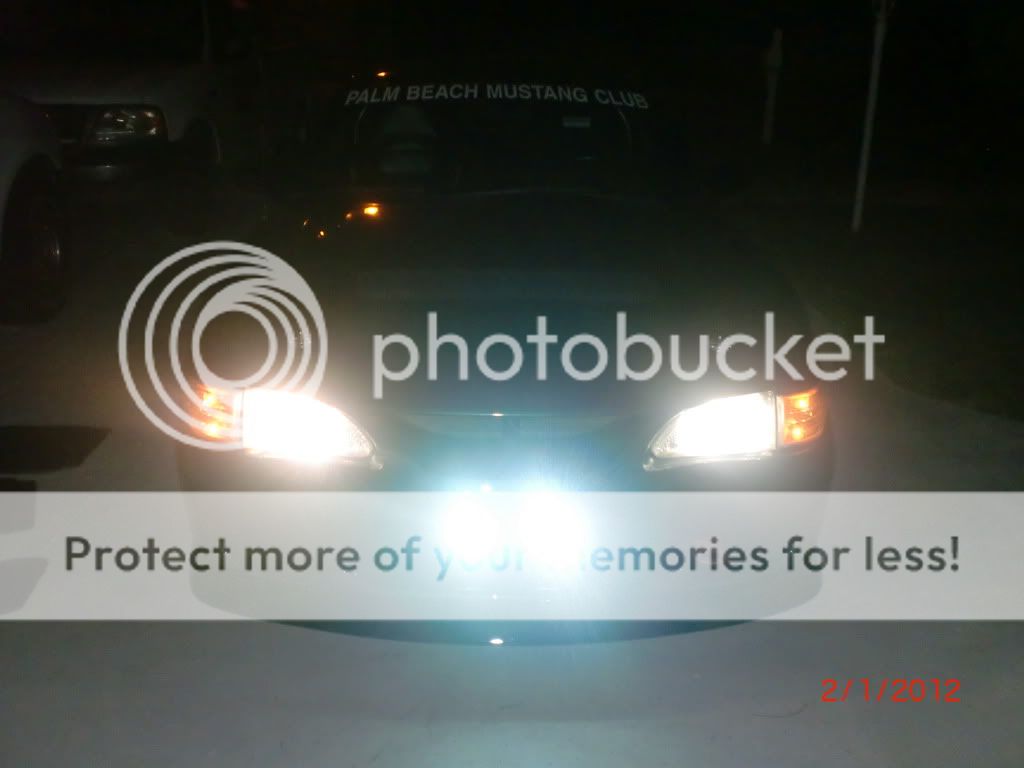
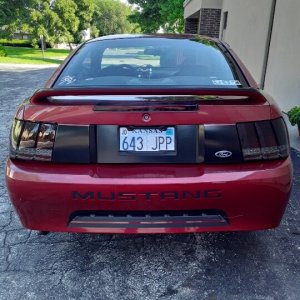
Finished off the cars new paint job with the addition of HID's in the fog lights. I swear their brighter then the HID headlights. Lots of light now for those night runs at the track. Didn't have any before pics but trust me when I tell you their blinding. Please excuse the crappy pic. I'm not a photographer
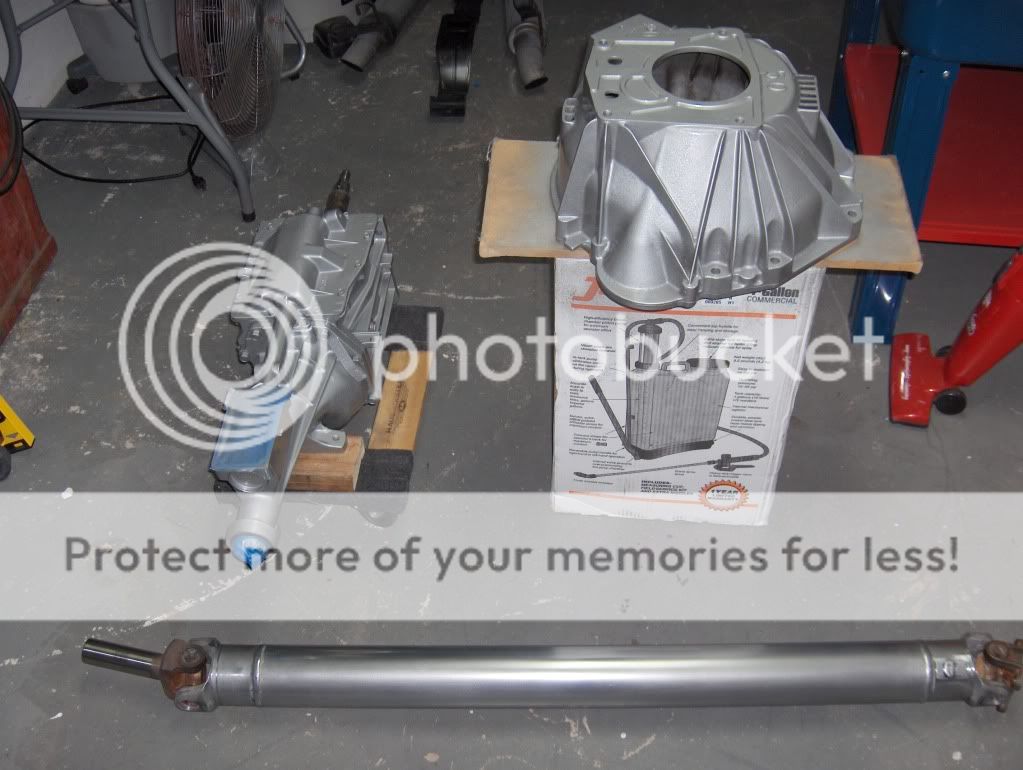
So for some time now I've wanted to change the 5th gear overdrive in my T-5 to a road race ready gear. I was patient and the opportunity to buy a t-5 out of a 95 cobra for cheap presented itself so I got it. Thanks George
The 5th gear ratio on it was 0.68. Astro Performance stocks all types of different gear ratios and had the one that didn't require any modification to the tail shaft. It comes in at 0.89. I had Frank and the guys at Power By The Hour check the tranny for any problems and install the new gear. Btw's I've had the cobra tranny and gear sitting in the garage for over a year. The reason I finally got moving on it was because the car developed one hell of a vibration over a year ago after I blew the engine at PBIR. It started after we performed a quick budget rebuild just to get the car back on the streets since at that time I was broke and had no job and the stang was my only transportation. I've been slowly going through it trying to find what it was. First new U-joints, then a new aluminum DS. The balancer was fine when I checked it. When we took the clutch off during the rebuild we found that one of the friction pucks from the centerforce disk was missing.
I couldn't afford the money or the time at that moment to deal with it so I snapped a bunch of pictures of it and put it back in. I later sent the pics to Centerforce and after some discussion it was agreed that the missing puck was a manufacture defect and they sent me a new replacement disk. If the new tranny didn't fix the vibration I was ready to order a new bottom end from 50RESTO and start fresh. Still may not be a bad idea, we'll see.
Well anyways with the help of Manny=crazy old cuban, and my brother=hotmustang96, we got the install done. Since I'm a clean freak I decided to clean and paint everything before install. I even polished the DS and sprayed clear coat paint on it for a longer lasting shine. Not many pictures on this one like normal but you get the idea.
The car no longer vibrates uncontrollably and 5th gear pulls like a mofo. While we were there we did find that the thrust bearing was jacked up. Most likely it was the cause of all the problem but It was bothering me to have that messed up clutch disk in there anyways. __________________
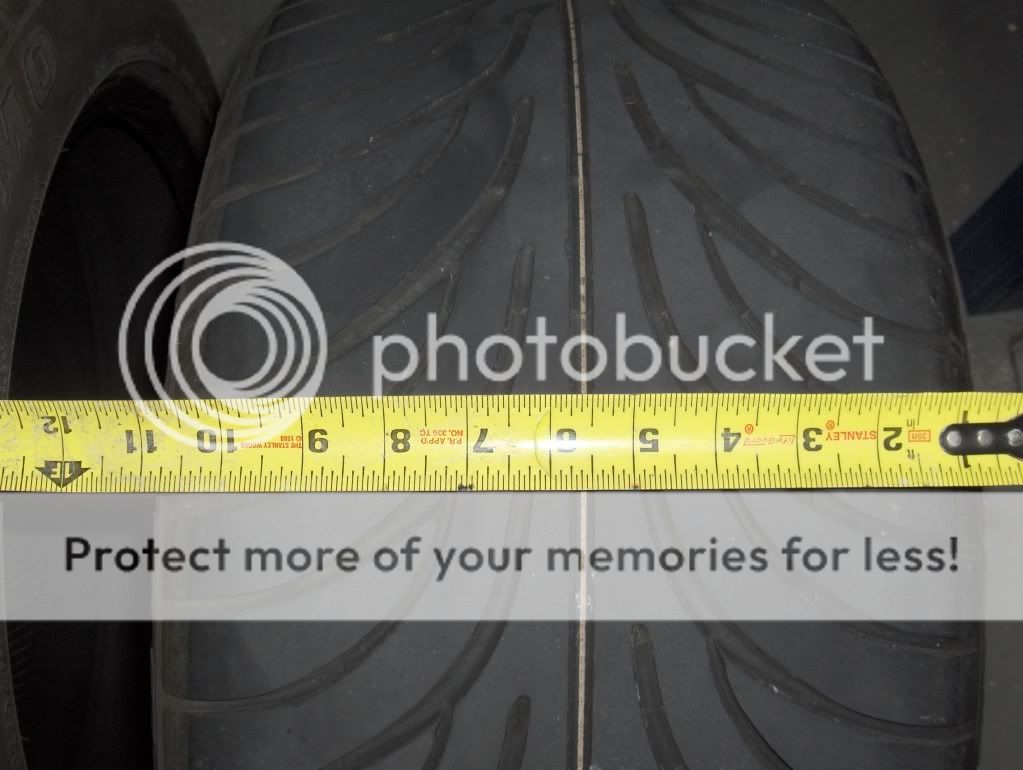
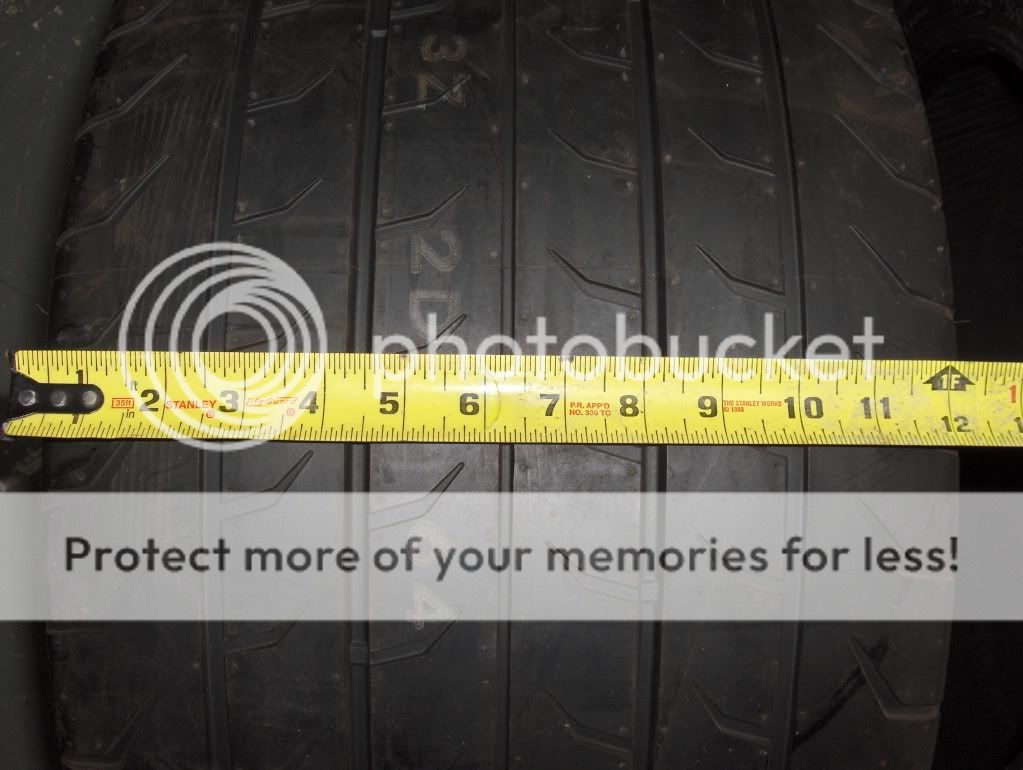
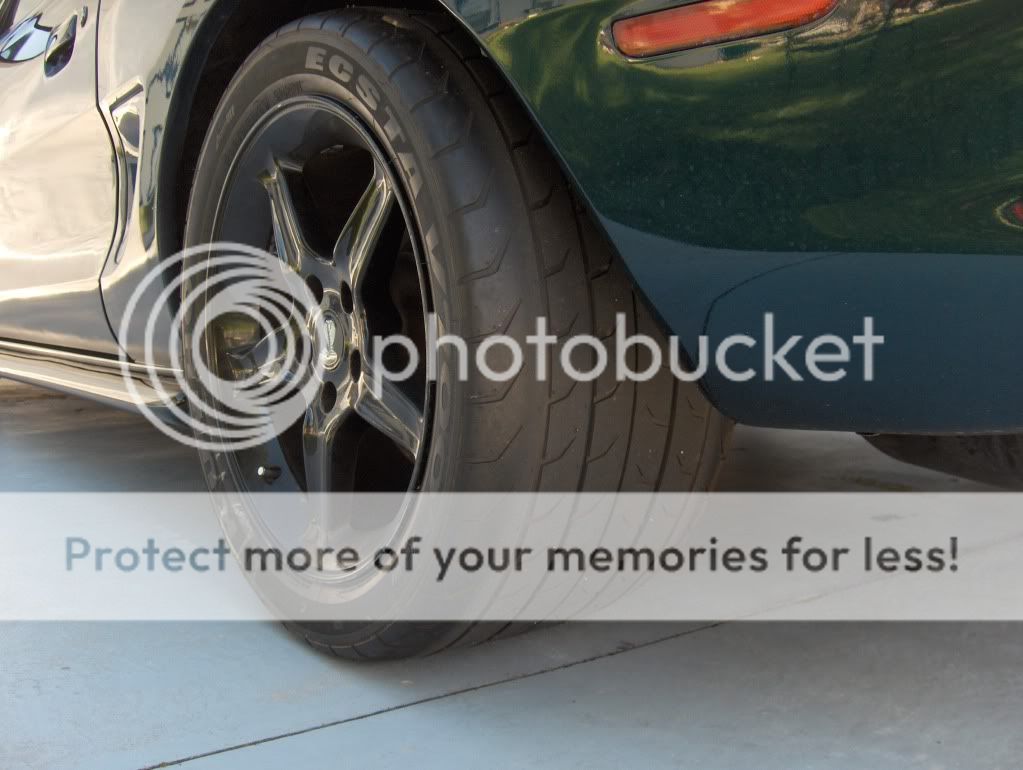
Not a big mod but one that really changes the way the car looks. The 94-98 cars have fat asses and the stock size tires that they normally run look like pizza cutters under there. I had 275's and they looked great but nothing like the 315's that I just installed. I came across a great deal on these Kuhmo Ecsta V700 tires on Ebay. Their DOT approved but for AutoX and Road Race use only. Normally I would never run race tires for street use but since the car is not my DD anymore it works out great. My 275's measured at around 11" wide. These are around 12.5".
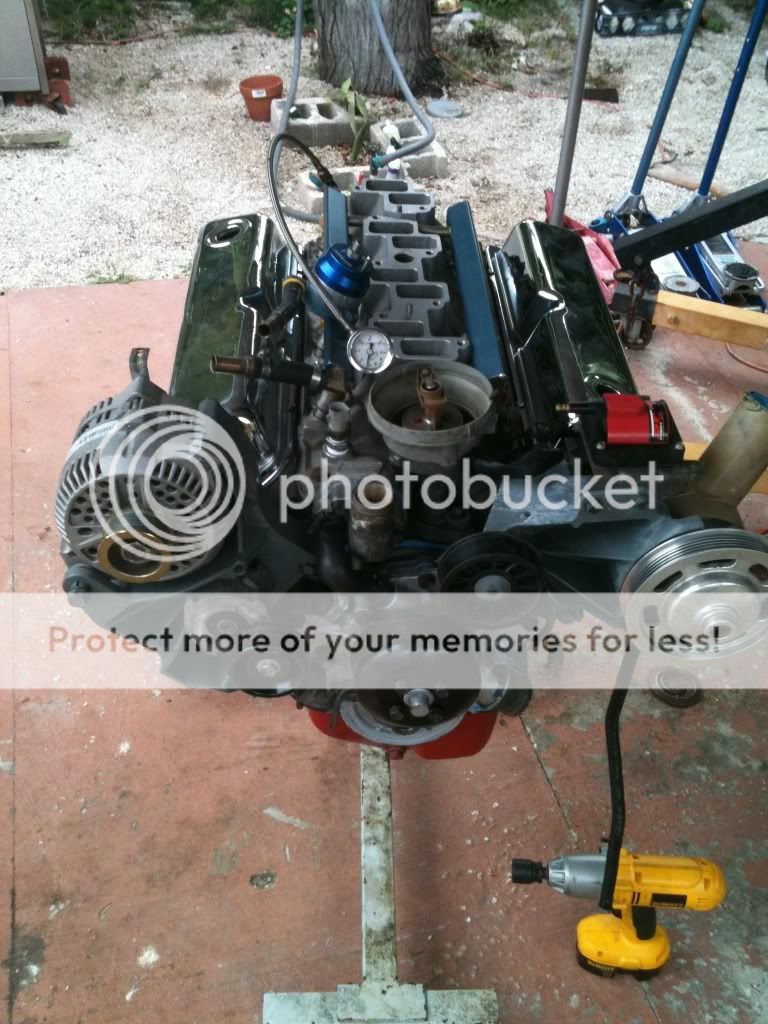
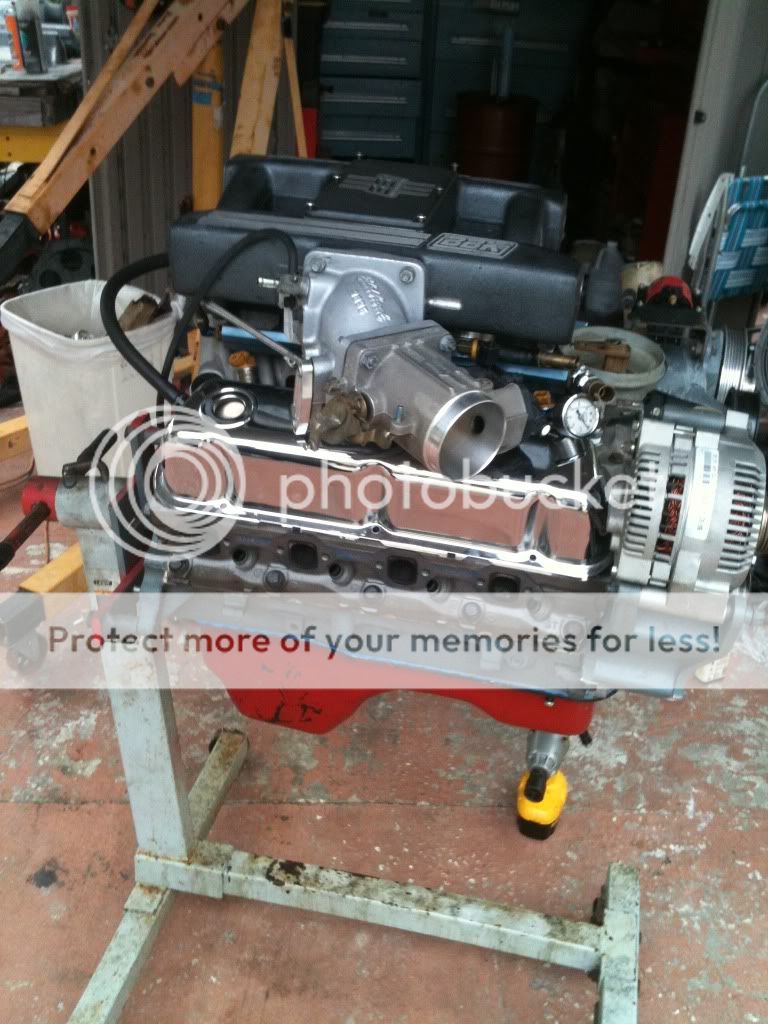
George=Geo302 is assembling this engine for me so it's getting done right
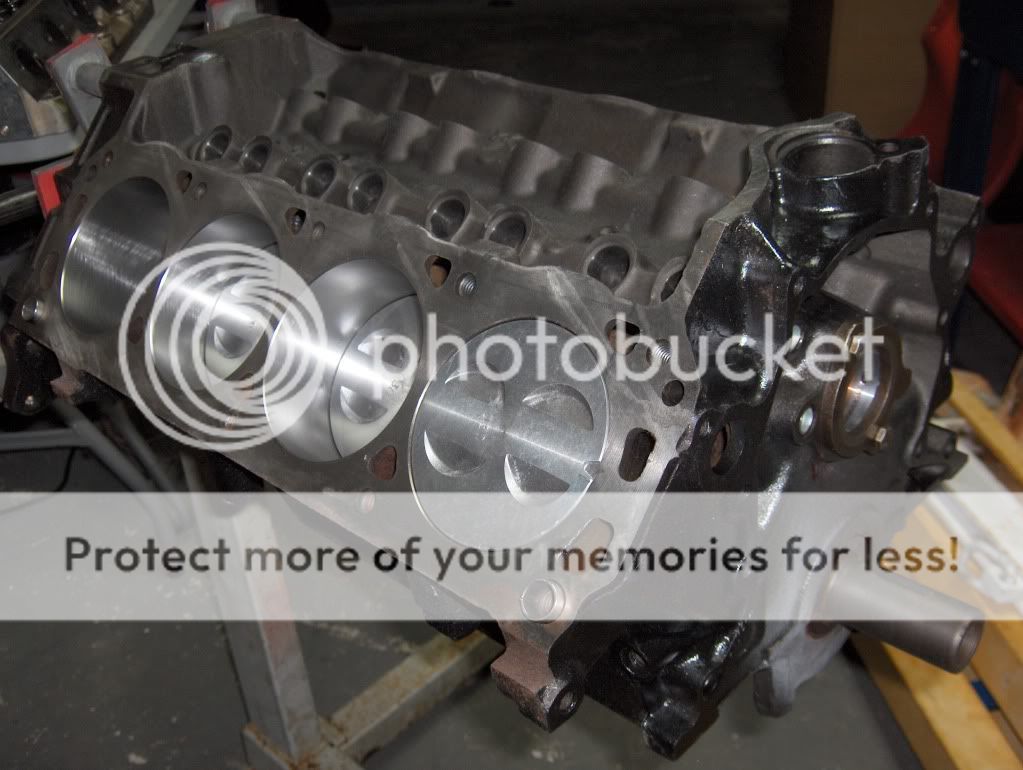
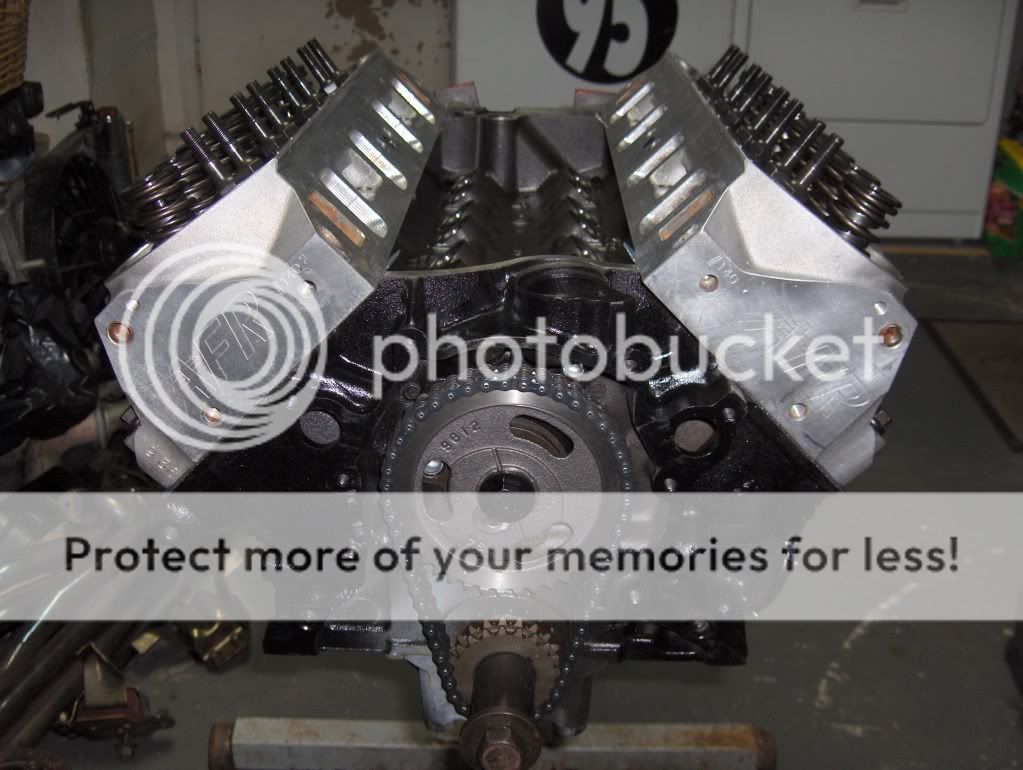
Time to step things up a bit. Decided this time around to buy a complete bottom end from Latemodel Resto. I could not find anyone who could build one for the price they sell it for. $850 shipped. It's a stock 302 block bored 30 over so you end up with a 306. These are professionally put together and it even came painted black which was what I was going to do to it anyways.
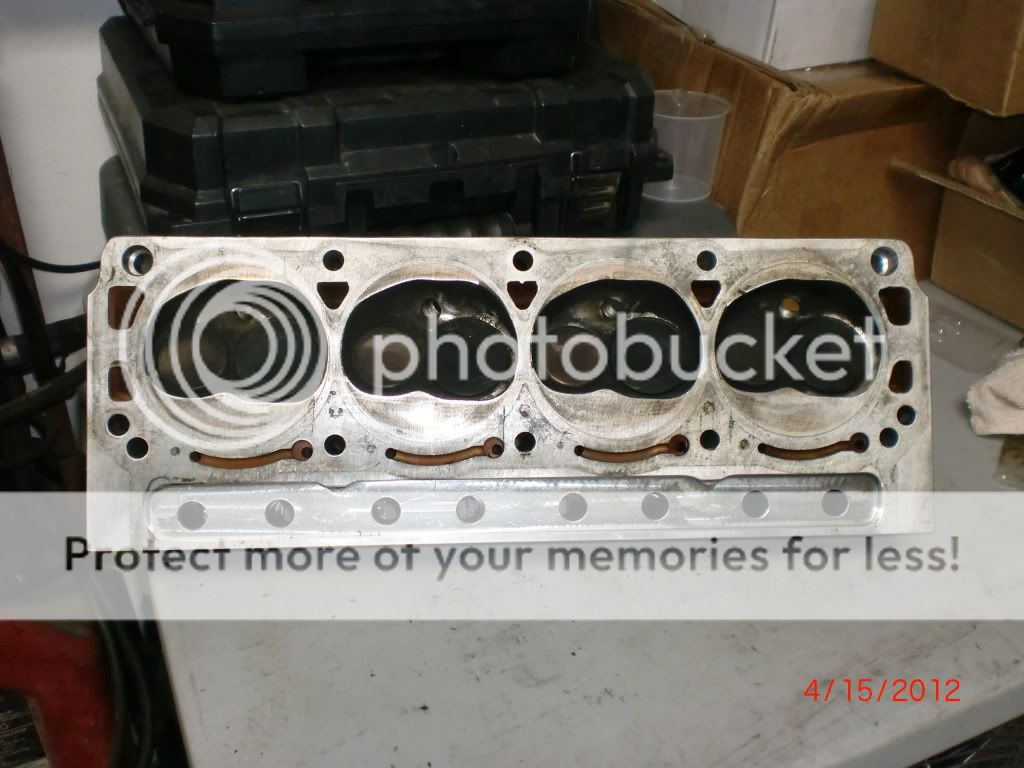
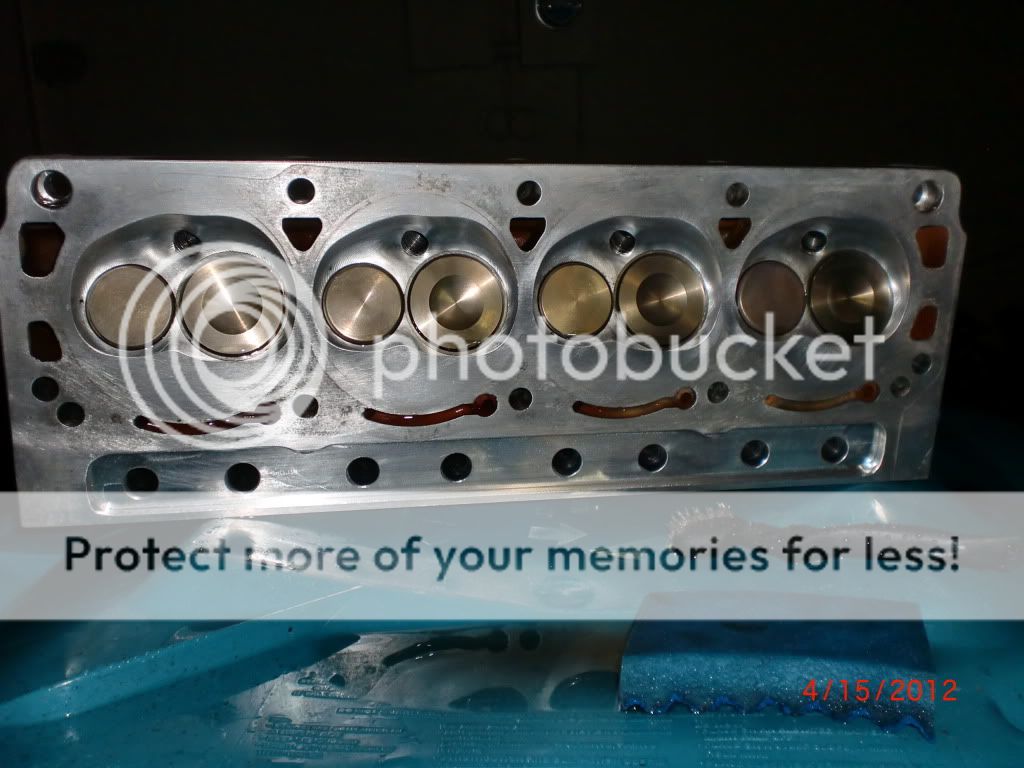
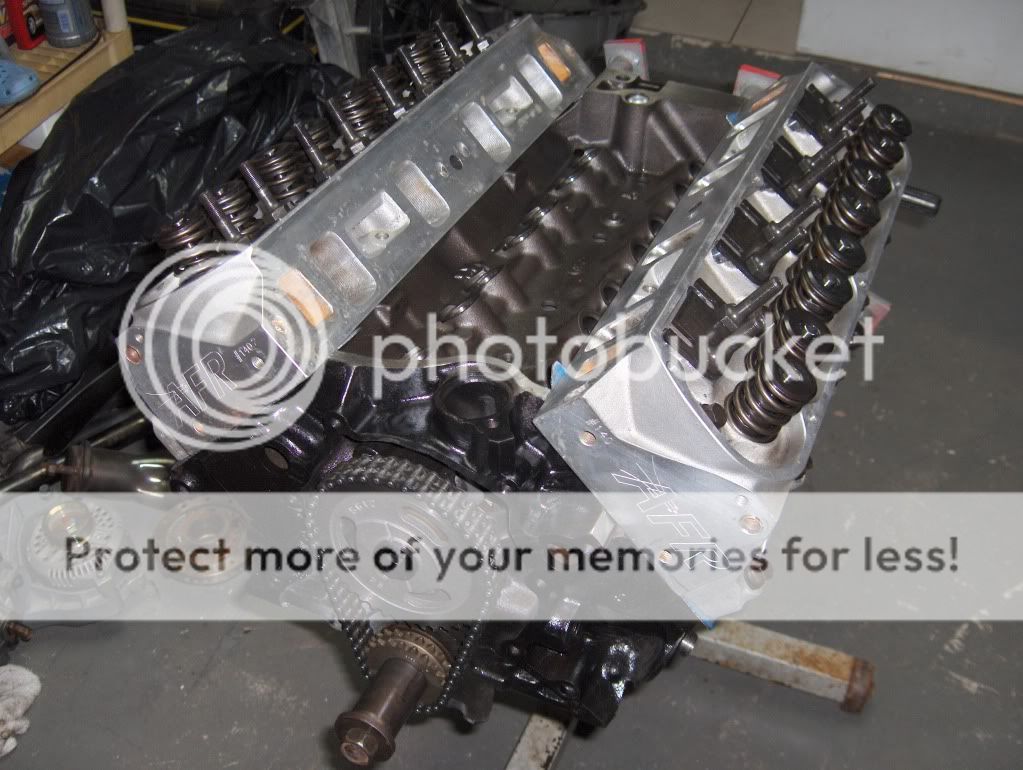
My original plan was to reuse my iron GT-40 heads with 1.7 rockers on this new engine but I got a great deal on a set of AFR 165 heads for $900 shipped. I had them looked over by MPR here in Boynton and everything checked out. They were a little dirty so I spent a few hours really cleaning them up. Here's a before and after pic.
BEFORE
AFTER
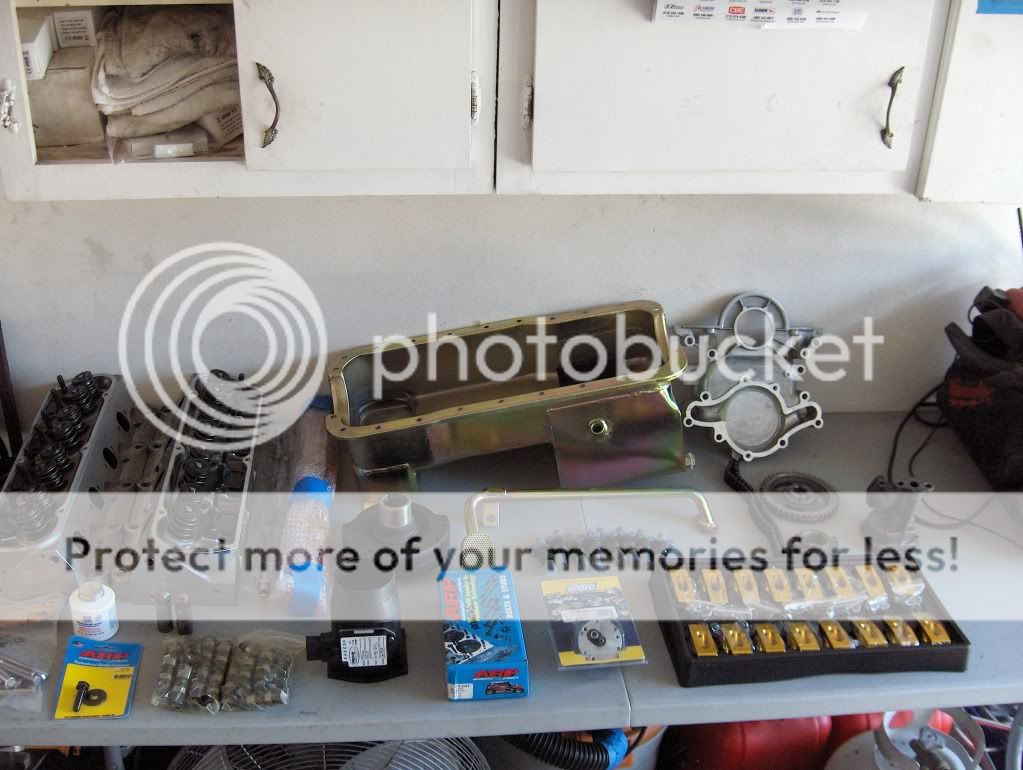
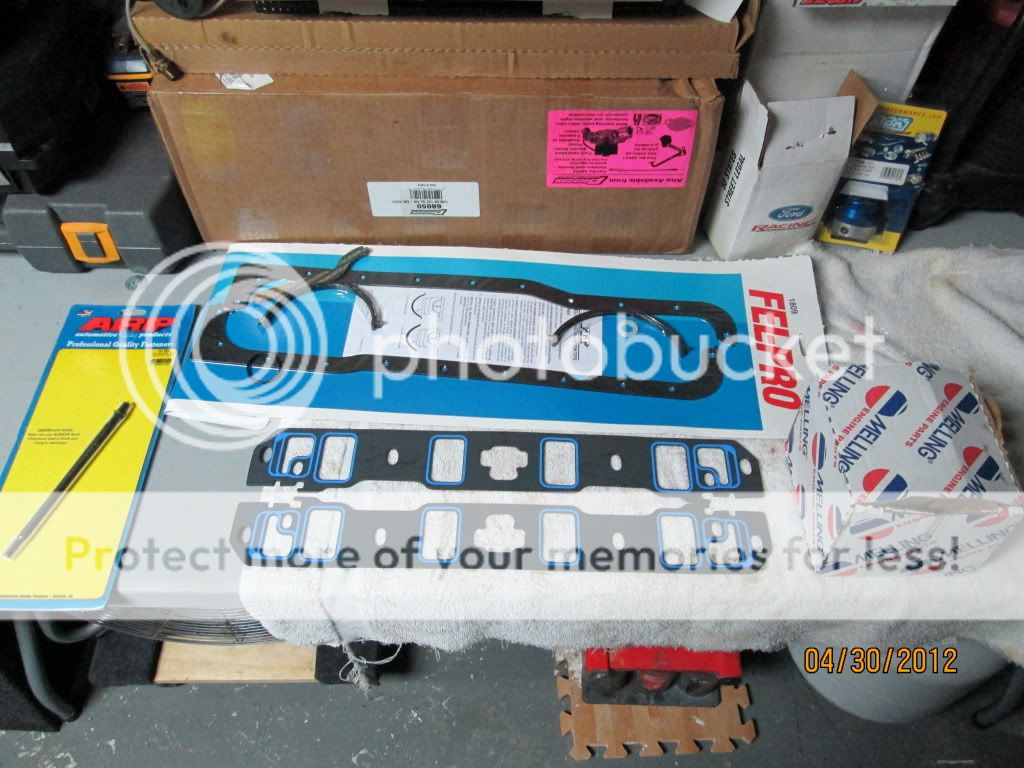
I've been collecting parts for this build. Here along with miscellanies new bolts and lubes is the table of goodies. ARP head bolts, new cam bolt, Proform road race oil pan with pickup and dipstick, 24# injectors, 75mm Pro-M MAF, Steeda #19 cam, new SFI harmonic dampener, new hardened push rods, new 1.6 roller rockers, new timing cover, new hydraulic lifters, new oil pump, and FelPro gaskets.
Yesterday me and my Brother pulled the engine out. I just need the lower intake from it to clean it up. I will be selling this engine if anyone is interested. I'll post up the add later in the classifieds.
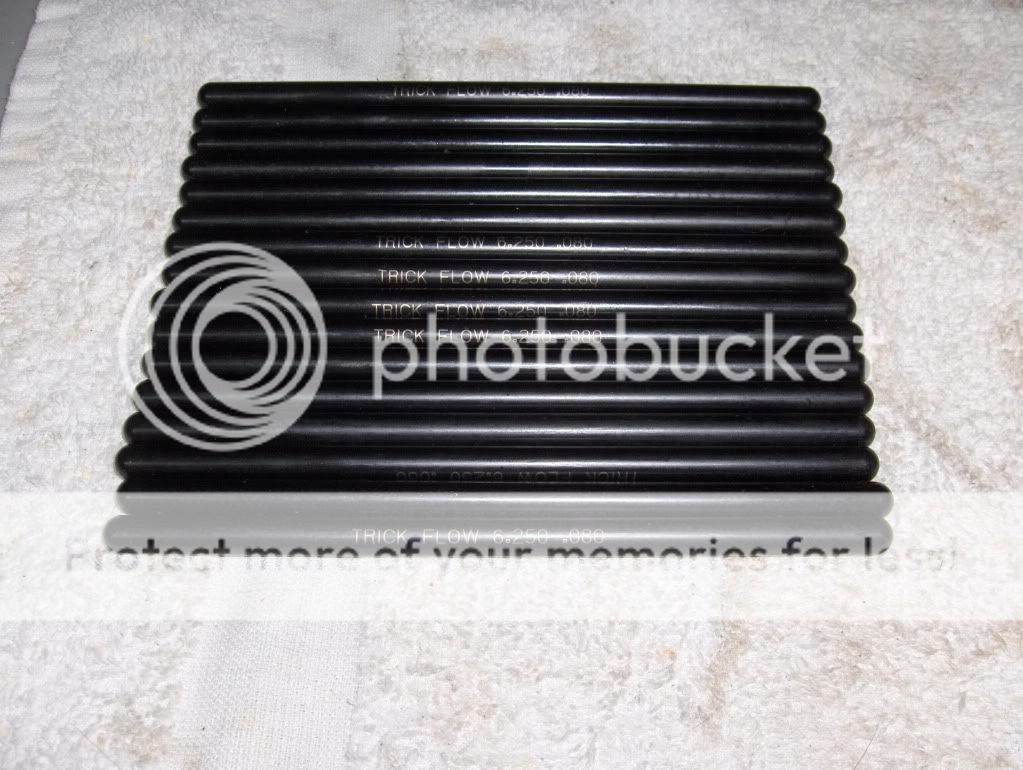
The new one piece pushrods from Trick Flow came in.
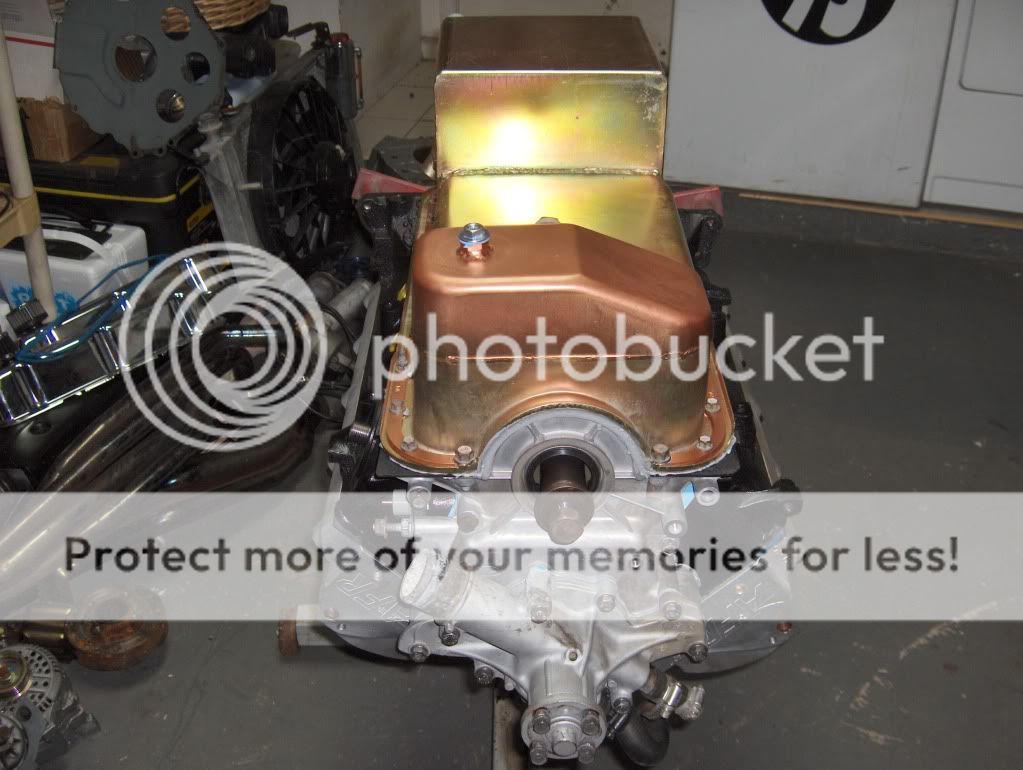
I modified the oil pan by adding another drain at the bottom in the front. We feared that the original one that was facing the K-member would get oil all over it. Also I had previously purchased one of those nice one piece oil pan gaskets to use with the new pan but my guy caught me in time and warned me about it not fitting correctly with this pan. He has the same pan and had to use a special gasket from Fel-Pro and so I ordered the same one. I also put the new timing cover on along with the water pump.
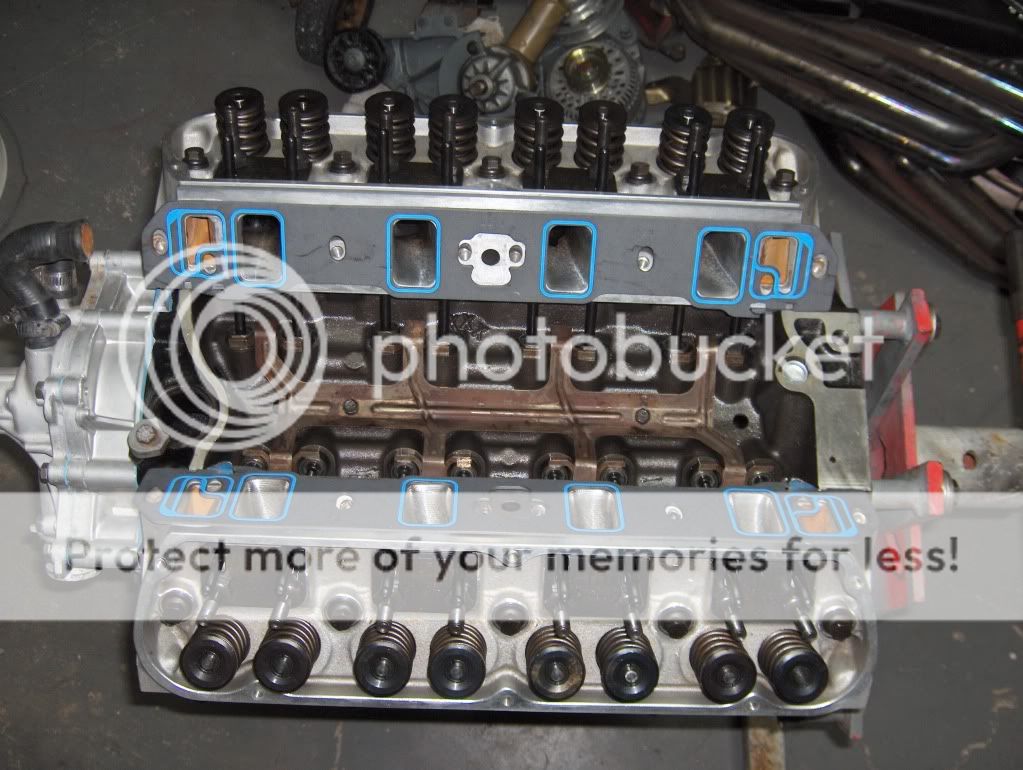
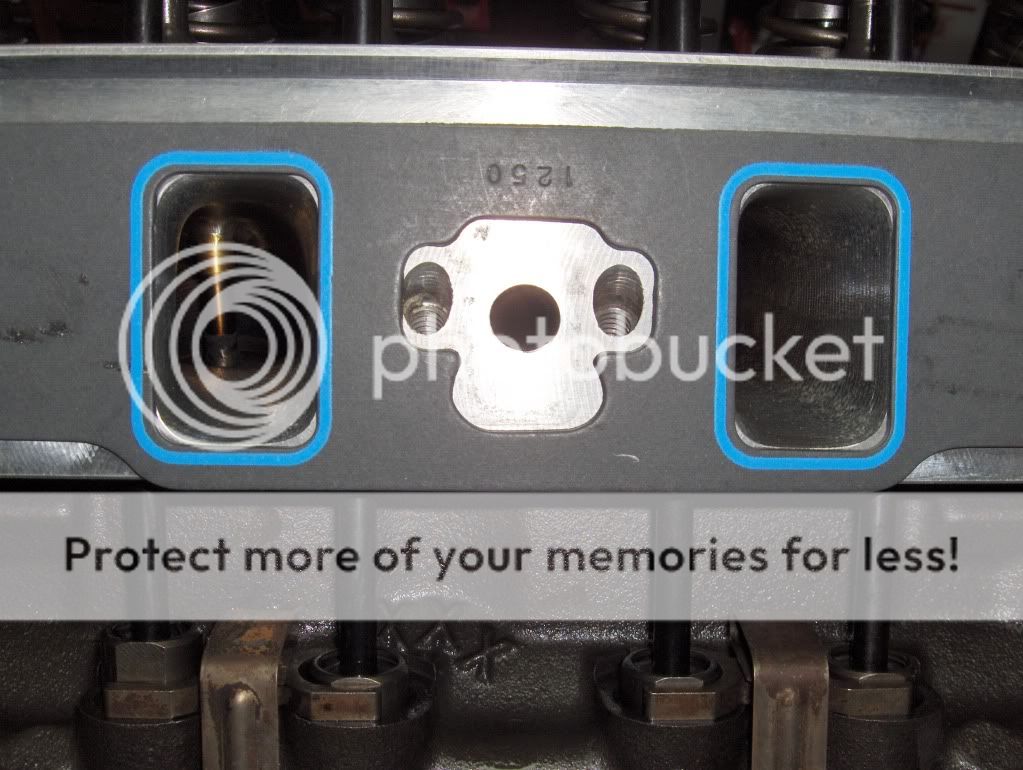
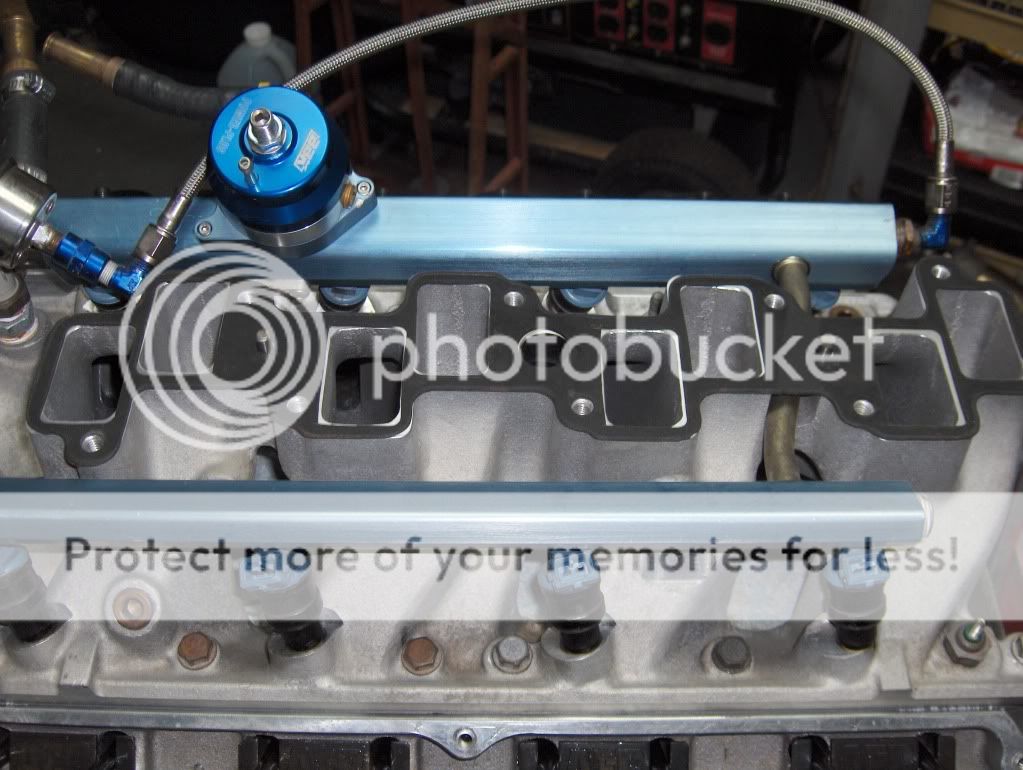
Same thing with the lower intake manifold gasket. The Fel-Pro kit I ordered came with the stock one's but when I test fit them onto the heads they would've restricted the flow of air. The port holes on the stock gaskets were much smaller then the ones on heads. I went on the AFR website and placed an order for their recommended gasket. It was a perfect fit.
Here are the new special order gaskets along with a new ARP oil shaft and high volume oil pump.
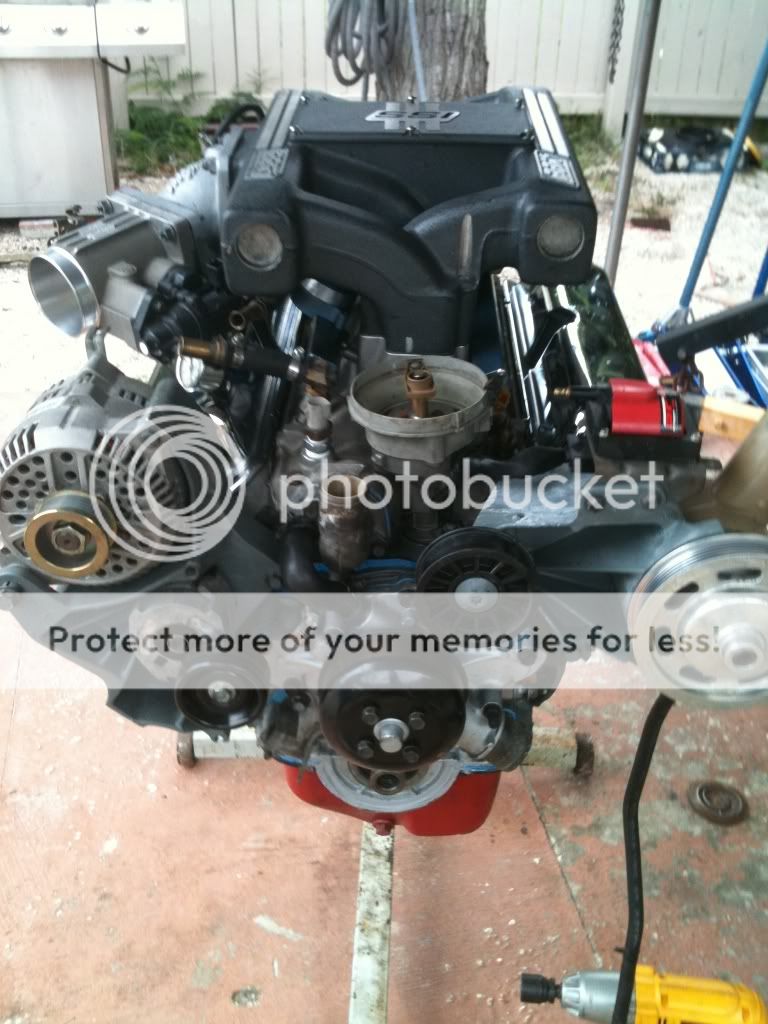
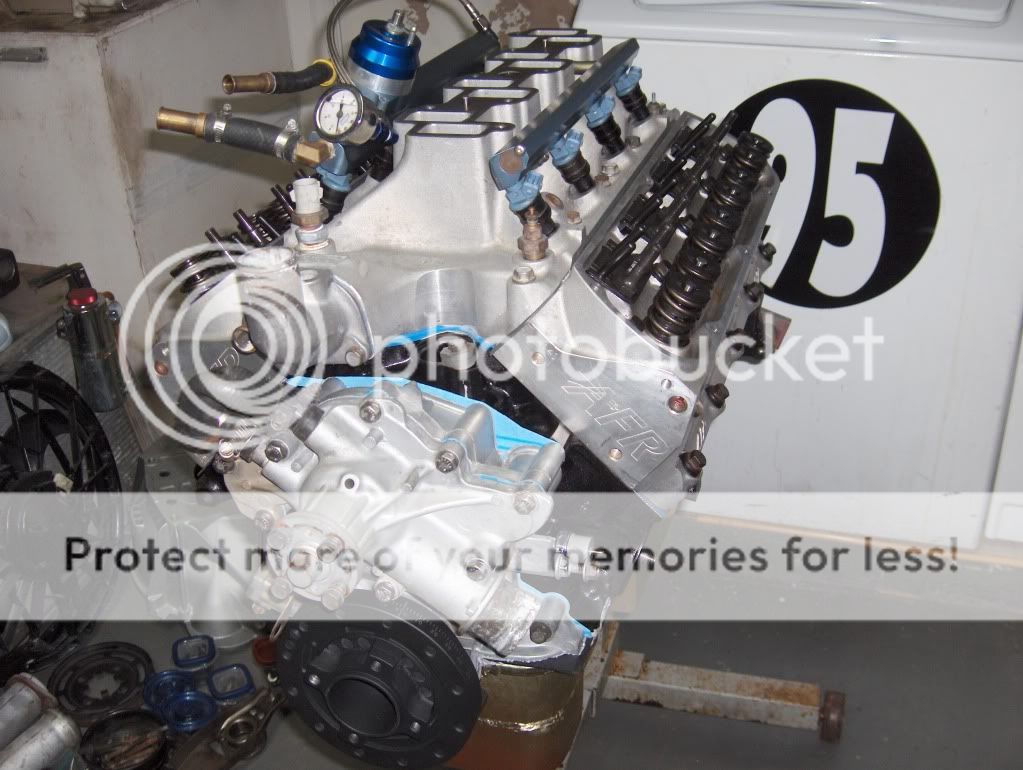
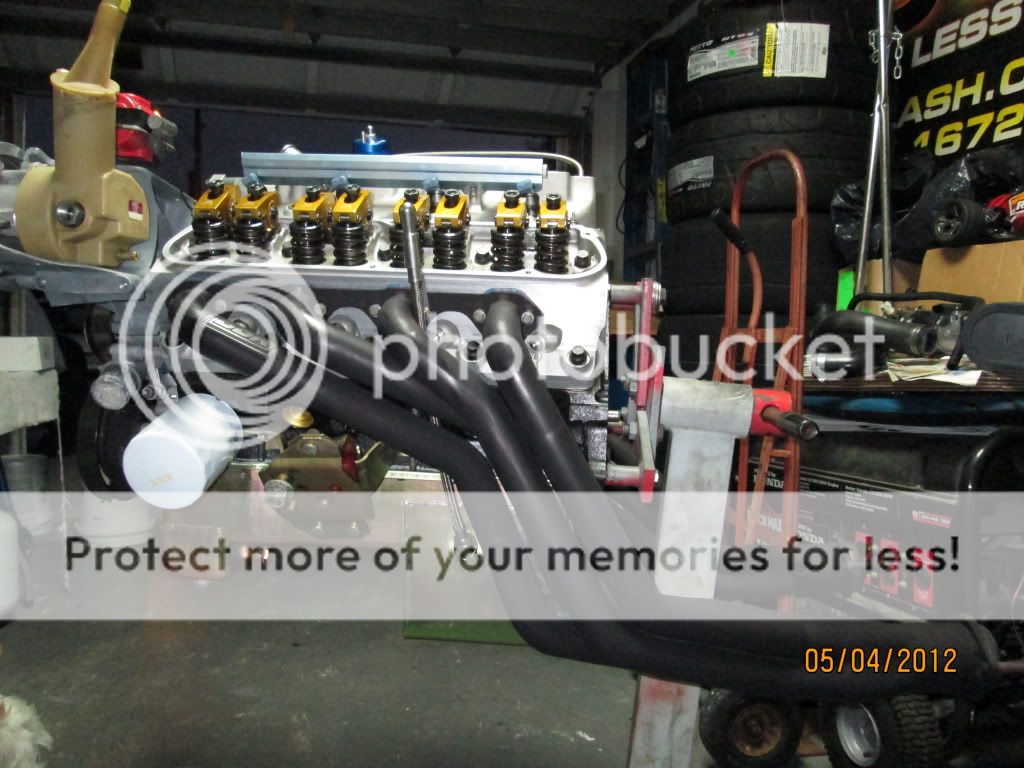
I cleaned up and installed the new 24# injectors onto the lower intake. While I was at it I also "port matched", I guess it's what it's called, the upper intake gasket. Brand new it too overlapped on 4 of the ports so with a razor I carefully opened up those ports for a clean air flow.
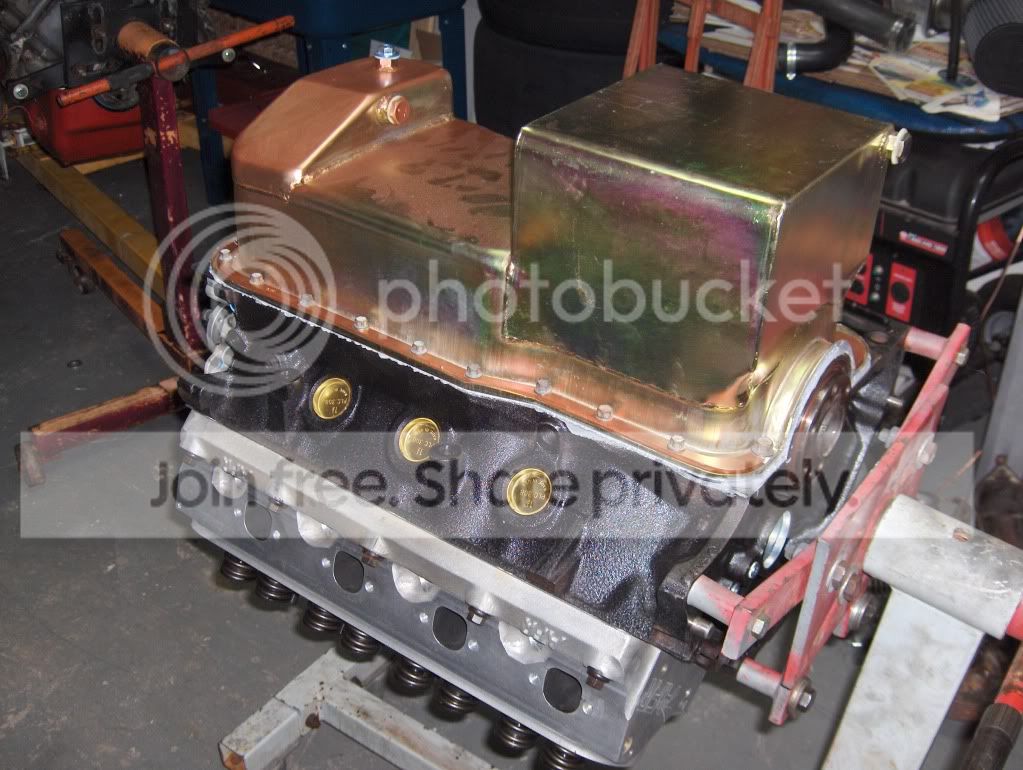
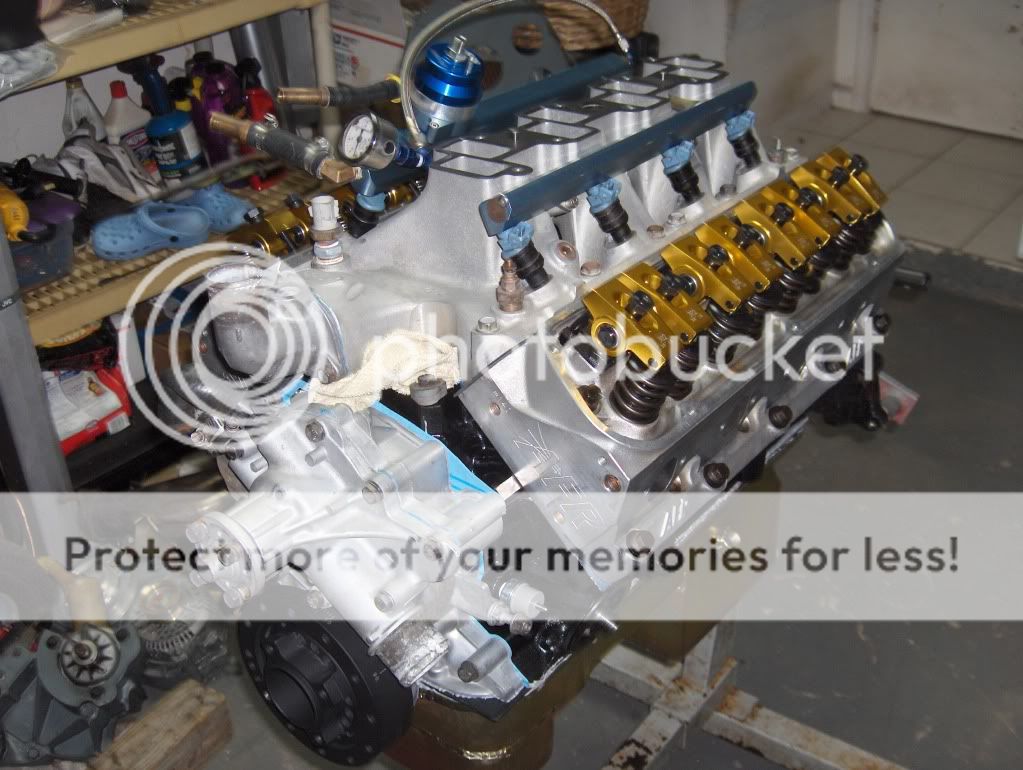
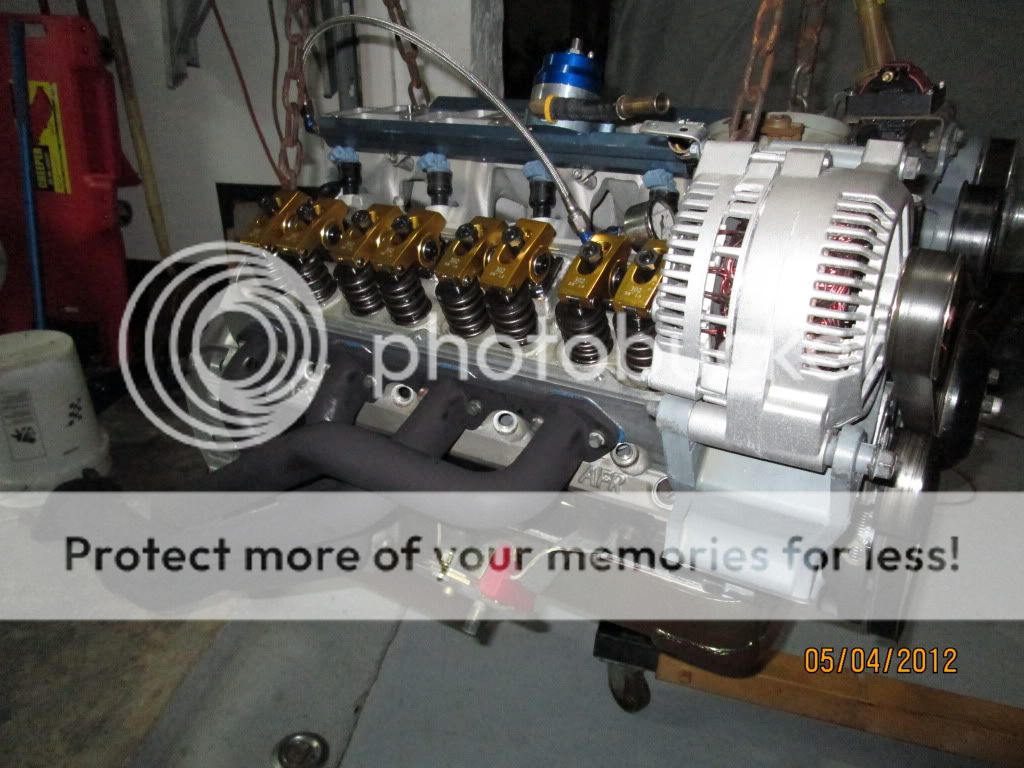
The new 1.6 rockers loosely installed. These will need a final adjustment one the engine is in the car and the oil is primed.
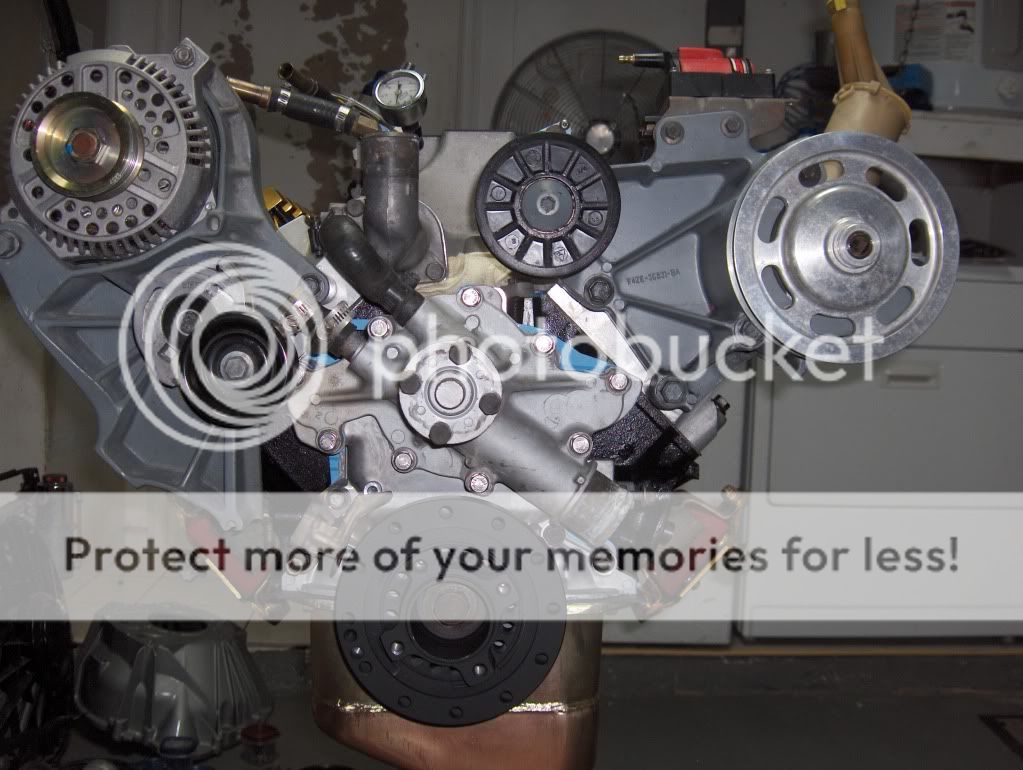
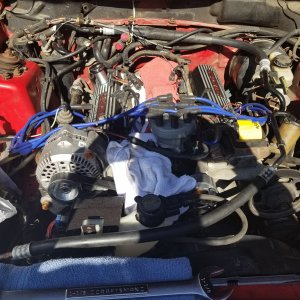
Installed the new SFI balancer and cleaned up the accessories before installing them too.
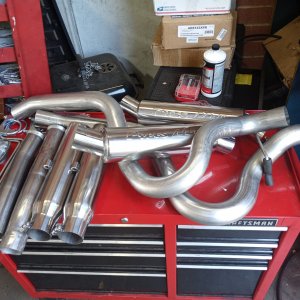
My BBK L/T headers were beaten up. They didn't look as good as they once did so I decided to paint them flat black using VHT header paint. I put a three coats on each one. They came out great. Nice and smooth now.
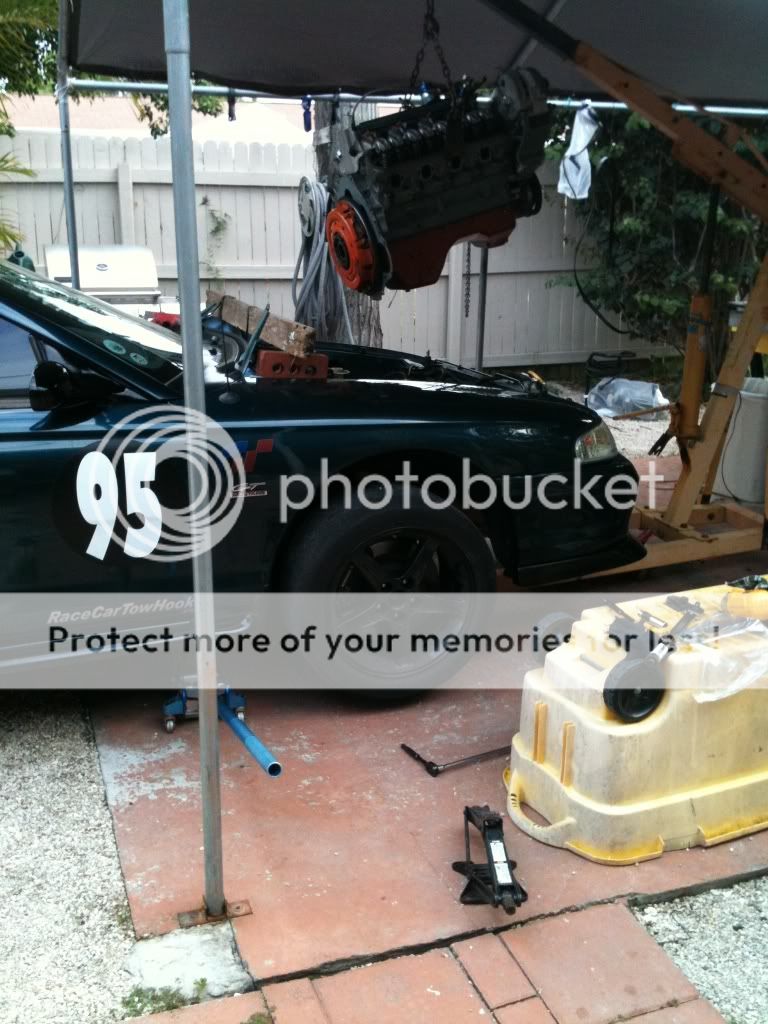
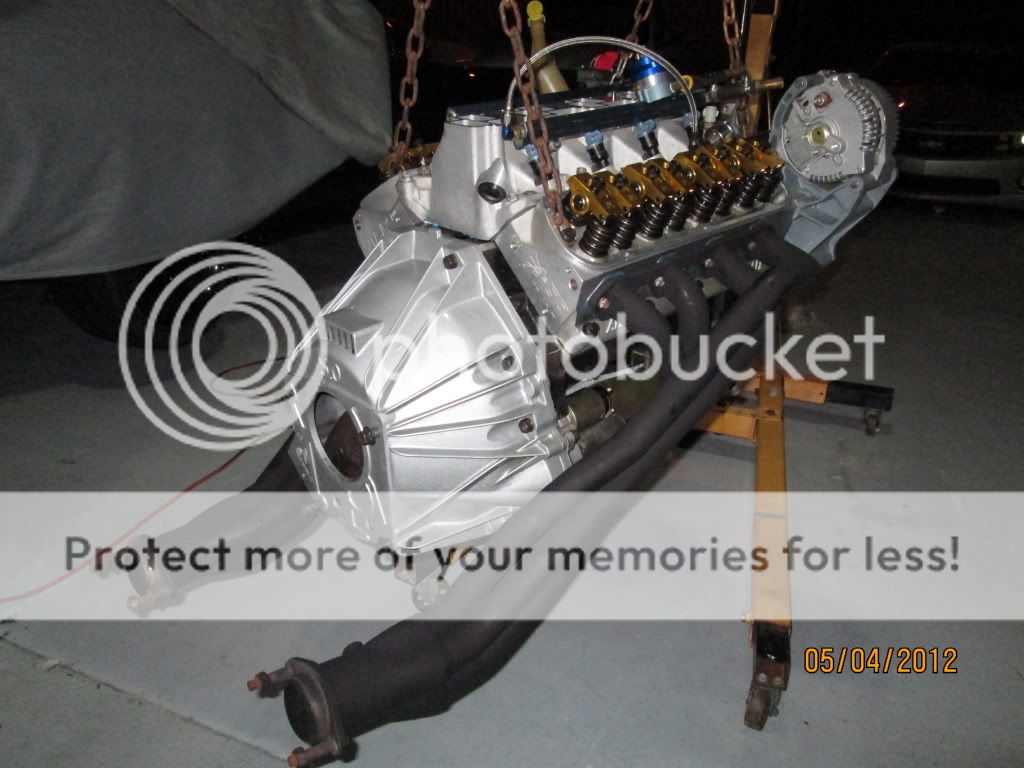
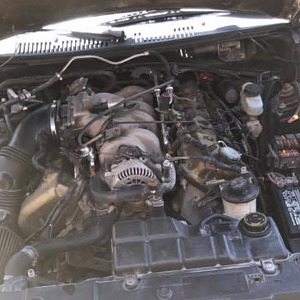
Here is the engine rite before we dropped in the bay last night. I cleaned off the clutch, flywheel and bell housing before install as well. Stayed up till 2am finishing all the wiring. Just need to install the tranny and exhaust and after the rockers get adjusted, the upper intake and fire it up.